Part 51: Day 8: Sliver
Day 8: Sliver
https://youtu.be/mX0EznlgVWo
It's an Obliteration game type again. Go figure.


This is not mere hysterical bluster from the Lieutenant:

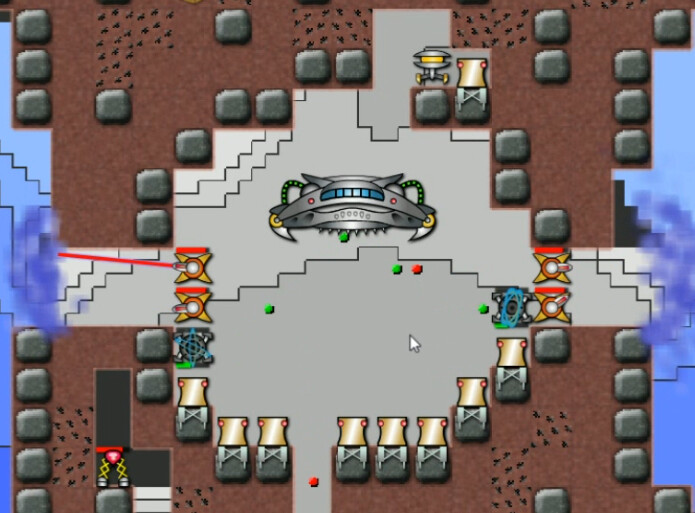
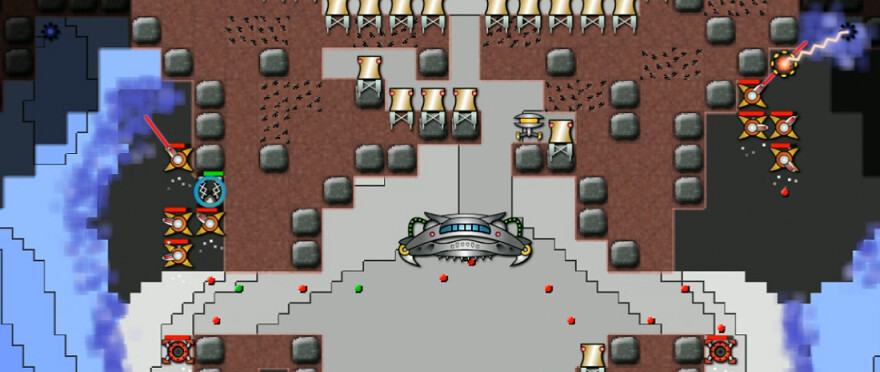
This is a pretty contained area; the surface is nearby above and there's a small cavern below, but neither is really relevant. There are some nice artifact goodies, esp. the Nanochips as mentioned. More important are the half-dozen emitters mentioned. Each pumps out 20k creeper every half-second. That means almost a quarter-million of the hostile goo per second in all. And we're not protected for long in this central cavern, thanks to the decayable terrain on each side. For the first time Creeper World 2, here on the 8th mission, an old feature returns as being relevant again:
** Doom Timer: 5 minutes, 10 seconds
It'll take over a minute for each square of decayable terrain width to be eaten through, and a bit longer for them to reach it(note: I don't check the Doom Timer when playing, just afterwards, so I wasn't aware of this or any later timeframes). It is clear that I've got to move with a purpose here.
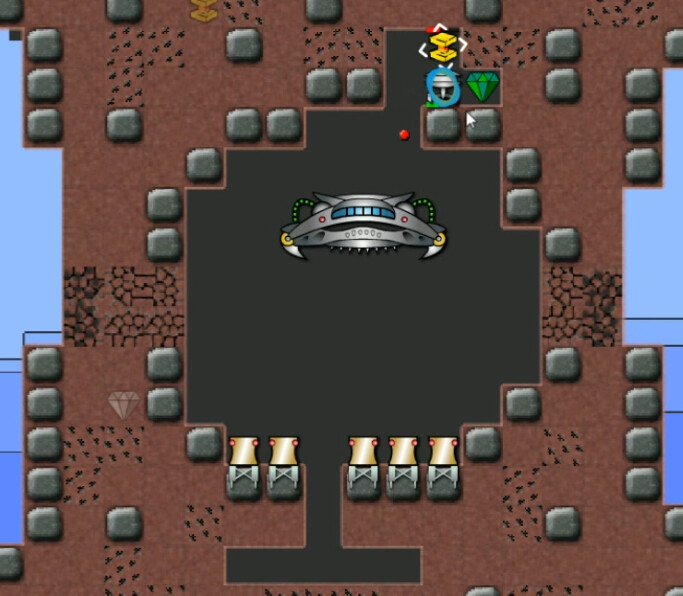
I grab a couple Nanochips from below, a few Reactors get up, and I work on grabbing the ore artifact(Remnants) and getting a Maker up.
Olesh posted:
You'll either reconsider your use of shields, or you'll have to find alternative solutions to the problems presented by not using shields.
I'll spoil enough to say that almost every time, I went with option B -- the 'alternative solutions'. That's one of the features/bugs of a blind playthrough -- be prepared for cringeworthy moments. This is but the beginning. A row of shields above the reactors and a bed of anti-creeper might work nicely. Building shields next to the decayable terrain with weapons behind it might work well too.
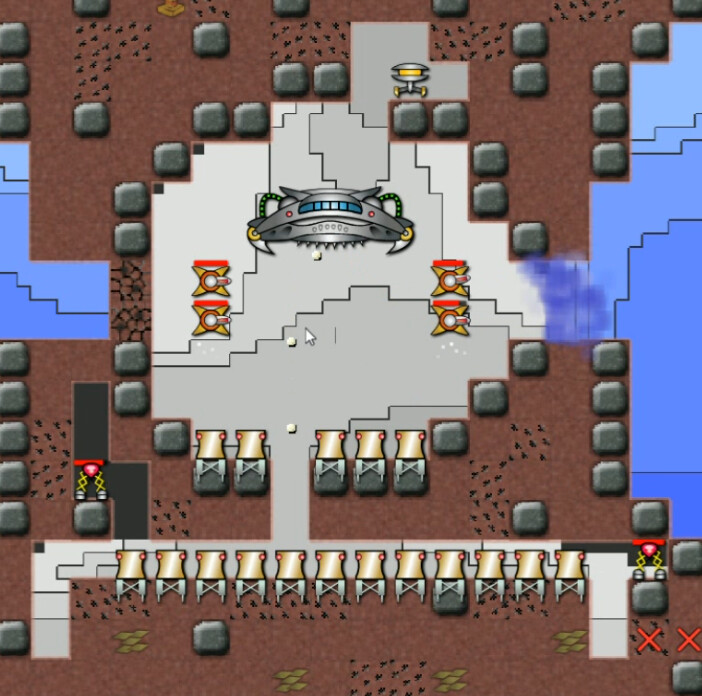
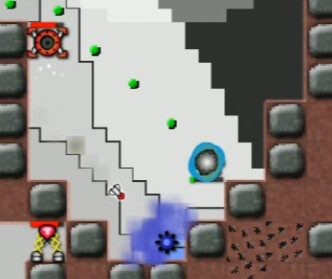
The battle is joined a little over three minutes in. I've got some anti-creeper in place and a couple blasters on each side. I've also hollowed out room for more reactors below, and am working my way towards the ore in the lower-right along with having grabbed a couple of energy crystals.
There's not nearly enough AC to do the job by itself -- density is only a few thousand. But it will slow down the creeper's attack, and that time should prove invaluable.
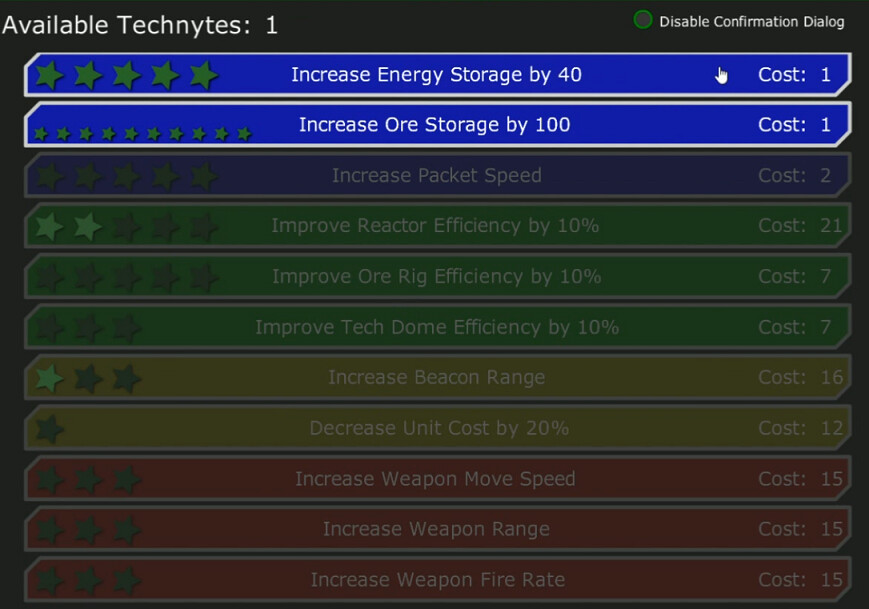
One beacon range -- not the best choice there -- and a couple of reactor efficiency upgrades. With pretty limited space, I figure more energy is a good idea.
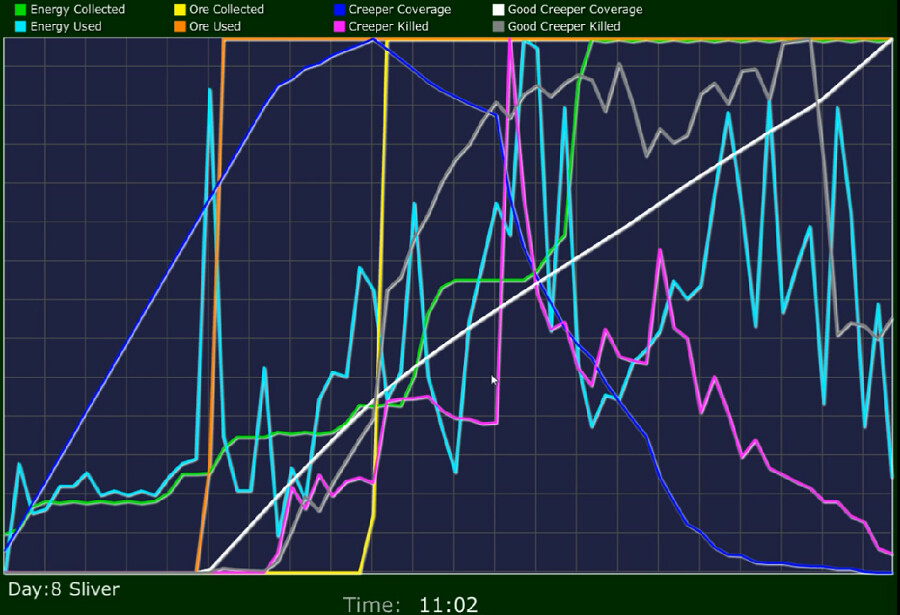
Here, I've got more reactors built down below this shot and the ore is being tapped. It's a 5k strong deposit, so it should last quite a long time. Energy usage is at about 5-6 with income at 7.5, so I figure a pair of launchers here to hit the denser concentrations is the best use of that surplus. Because I have the observational skills of your average stand of dead trees, I leave an additional 91 TechNytes just chilling out and accomplishing nothing. Nonetheless we are pushing the creeper back, albeit very slowly, even with this setup.
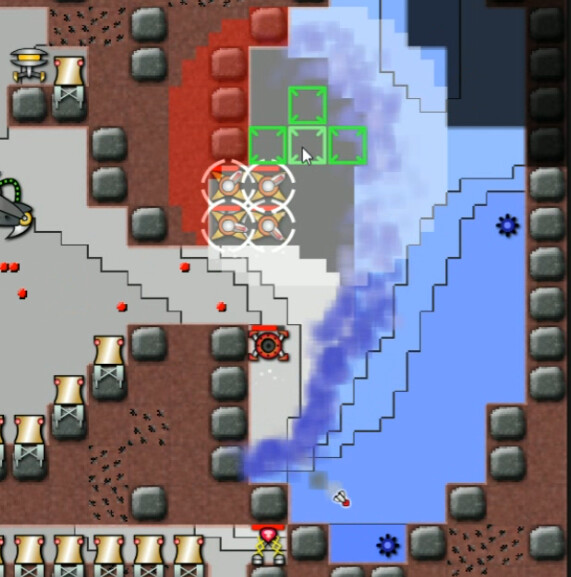
Soon I do realize the need for more energy and a greater push in order to accomplish the task before the onset of a new ice age. A mere two-spot excavation project opens up space into this surface valley, where I add to our reactor farms. This is followed by, albeit a bit late to the idea, maxing out reactor efficiency upgrades and also getting a couple of packet speed boosts to go along with it.
This boosts income to a solid 13.65. That's enough for most missions and should do fine here.
Gravity being what it is, it's most sensible to go after the upper emitters first. Here's a good example of how not to press such an attack. Moving all the blasters that are holding back Creeper that is to a degree 'falling', leads from this ...
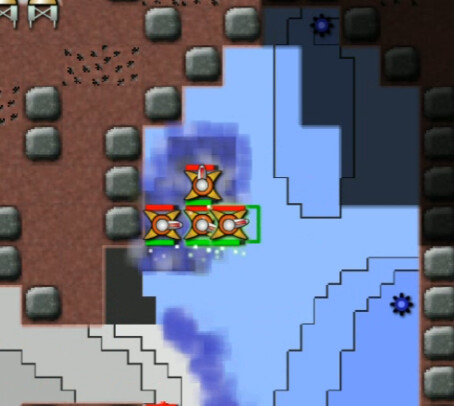
To this. They don't take a lot of damage, but leaving at least one or two in place to keep the enemy at bay is a real good idea.
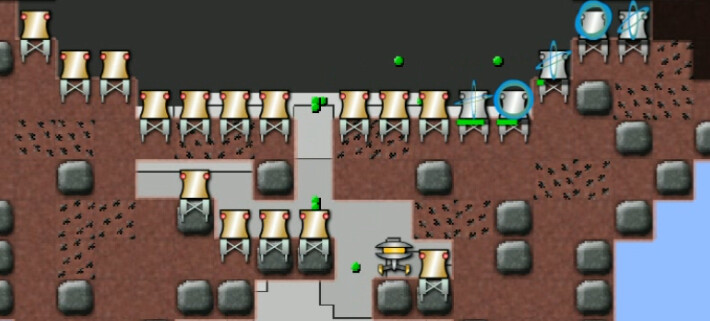
Mostly concentrating on the right side, I get a Nullifier in place on the upper-most Emitter while also moving in some on the left, including placing an additional Beacon to extent operational range. A convenient way to expedite and multi-task this kind of battle is to get a nullifier set up one side, then work on pressing the attack on the other while it builds and powers up.
Final emitter on the right side. Note there aren't any blasters in place; I don't need them. The launcher and anti-creeper combine to dominate this area, aided by gravity of course, and I can easily get a nullifier in place with no gun support.
Shifting the spare weapons to the left side accelerates the mop-up operation, and the Liberation Ship lives to Rift another day.