Part 52: Day 9: Intelligence
Day 9: Intelligence
https://youtu.be/k9Hi9TTt2Is


This sounds decidedly not promising.


If the Creeper on this world took out another NHA ship, we may indeed have our work cut out for us.
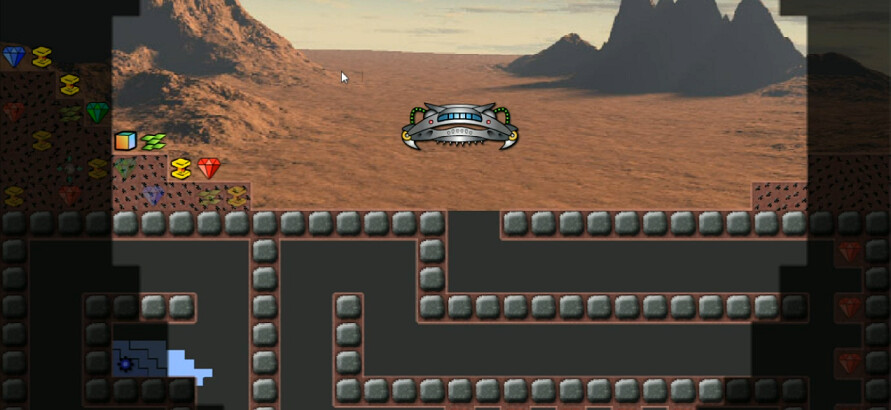
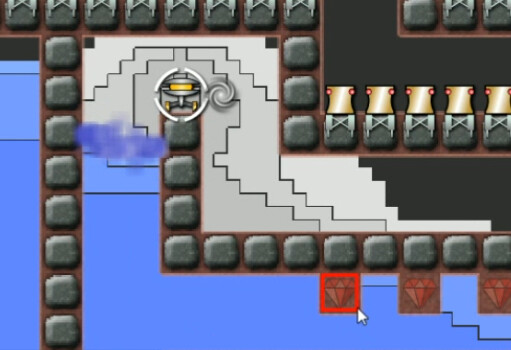
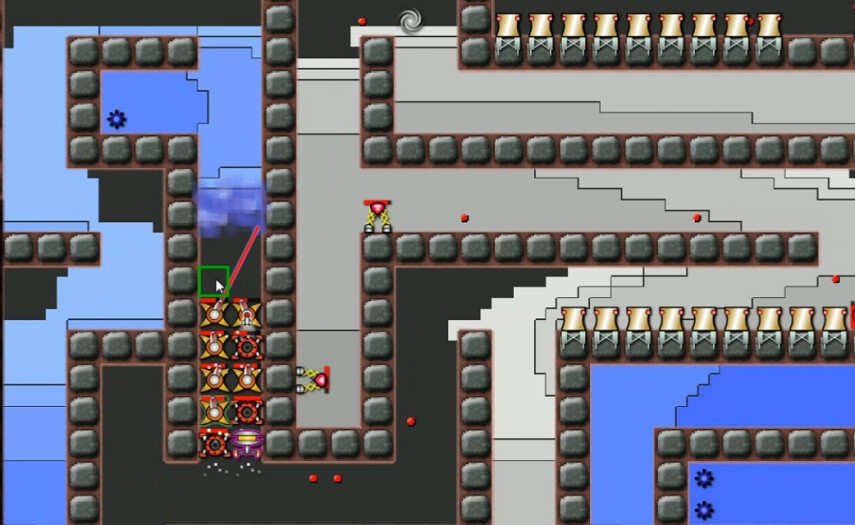
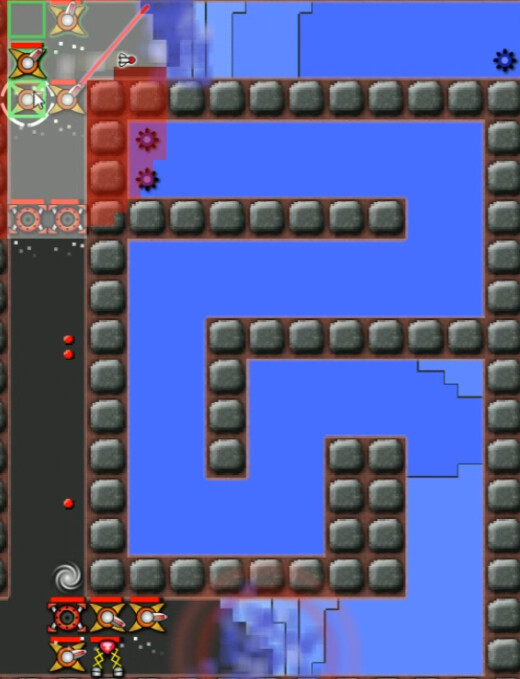
Only one entrance to the underground, as you can see here excavation isn't really going to be an option. We can see one of the emitters close by and there are all kinds of artifact goodies on the left, including a HoloCube. I start by grabbing the freebies, because why not?


The plot stinkens -- Cmdr. Farston and his Liberation Ship apparently bought it here, due to something manipulating the Creeper. Didn't know that was possible -- hence the title of this mission, Intelligence.
After a small overbuilding hiccup, I start mowing through the remains of Farston's ship. With a nice start on a reactor farm going, I build a maker below to aid in the process.

NHA been holding out on us. Why does Farston have this and we don't?? I mean, yes it's sad that he's departed and all, but we should get the cool stuff too ...


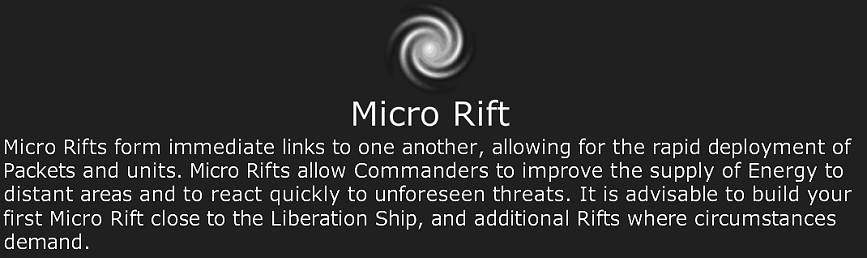
I build a couple, one by the ship and one by the maker, to test them out. A couple Tech Domes also, and a beacon is needed to get around the bend of the passageway. And we might as well get these red Crystals while we are at it ...

I'm thinking it's to ensure Lt. Hale never shuts up.

This occured to me at the time: "Well, at least the Commander's wise enough to say 'I don't know' when he doesn't know. I'll give him credit for that."
We get about 2k ore, and just over five minutes in(not counting reading all the dialog) I get this thing fired up in time. Some of it spills over and I was totally unaware of the vacuum concept at this point so get ready for a bunch of wasted anti-creeper. Nonetheless we are at least starting to fight back, and I soon move it over to the left and into the vertical passageway there so that most of it will go down, not off into the rightward direction.
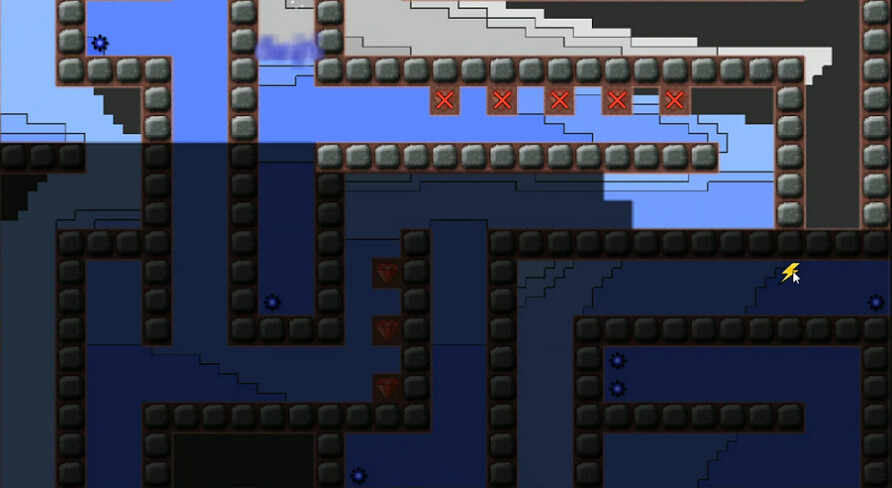
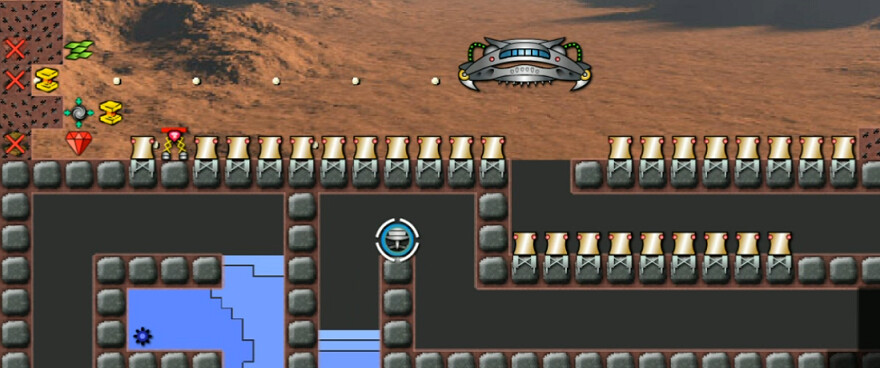
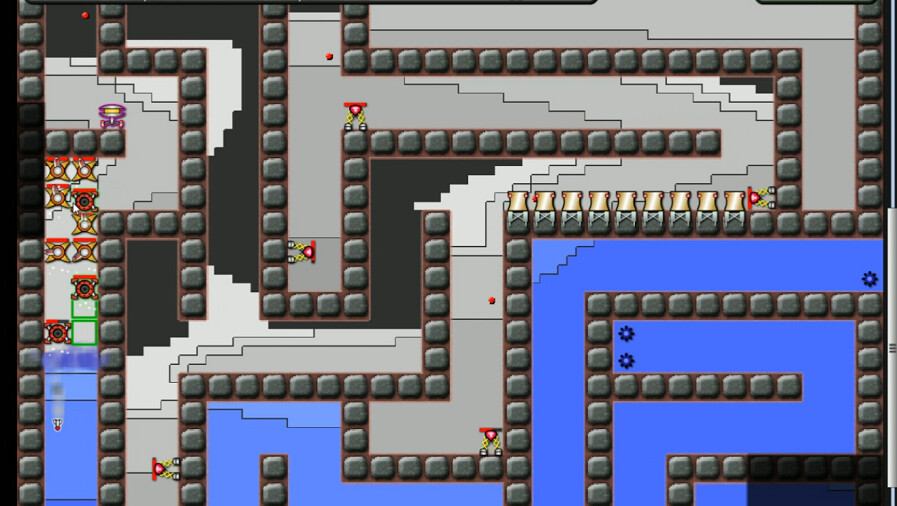
I also take a look down below. There's a lot of work to do here, and I note that Launchers look like they will be needed a lot. You can also see that for most of this there is the one forced path. Not a whole lot of strategic options.
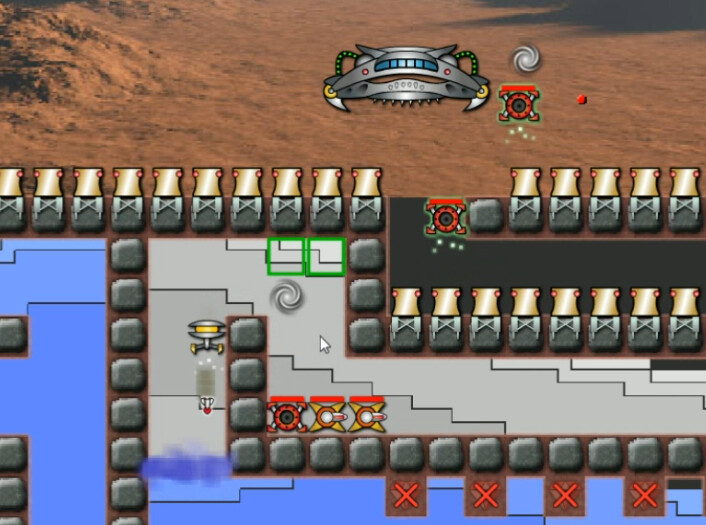
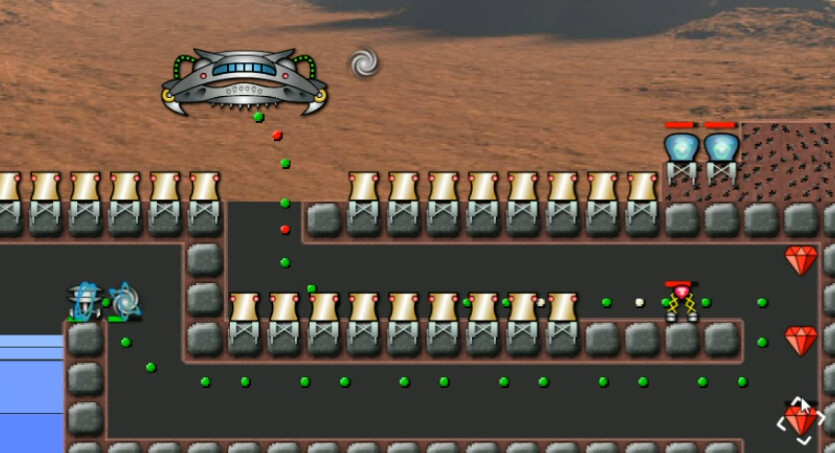
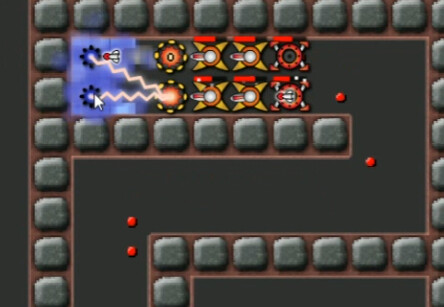
Here's an amusing moment in stupidity. I wanted to experiment with shooting/firing through the walls. The blasters here can't fire through them, but it looked like the two launchers above would move through them ... until they headed off towards the micro-rift and I realized what they were doing. It actually was a longer path but whatever.
The missile firing here is something I would eventually use to my benefit. Launcher range is not based on how far the missile has to travel; it's based on target distance from the launcher itself. So here with the creeper just a couple squares away, it will happily launch up, left, down, and into creeper, traveling a much longer distance than it would normally fire. Making use of these quirks once you understand them can be beneficial.

First nullifier in place as we start moving through the labyrinth. Just seven emitters left now. Piece of cake, right?
A second one goes down in similar fashion, but the third one here is more complicated. A significant amount of creeper descends from above, so I have to wait and clear out enough of it to secure safe passage over to the left.

per usual, packet speed is at the max, reactor efficiency improved as well. In retrospect micro-rifts can render packet speed largely irrelevant, and I could have just built more reactors and upgraded the weapons instead.
Nowhere to go but up, and I do build some more reactors and a couple of blasters as well anyway.
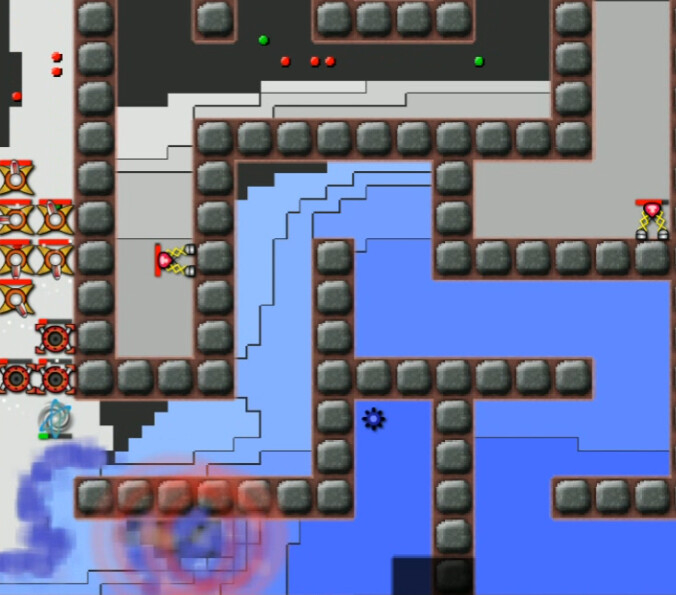
At the top, I release the rest of the AC from the maker. A lot of it even goes where I wanted it to. Some doesn't. Most of what you see here is totally useless. But we've cleared out half the emitters and now it's a long downward trek. Blasters in front works best for falling creeper when working your way upwards, but here the launchers are better for striking ever-further downwards into the deeper concentrations.
At the bottom we're ready to start moving towards another emitter. I also finally realize it might be a good idea to build another MicroRift, since the packets are traveling an obscenely long and winding pathway.

Here's a lovely FAIL -- me getting a blaster blown up because I moved the launchers out of range and two blasters wasn't enough to handle this emitter. The mission title's about the creeper's intelligence, not mine. That's my story and I'm sticking to it.
After that is eventually handled, this is the final section of the maze. Three Emitters, all uphill with dense concentrations having amassed by now.
A divide-and-conquer approach, with another MicroRift and some weapons split off to hold the lower pass while I press upwards to take on the sole emitter on this path.

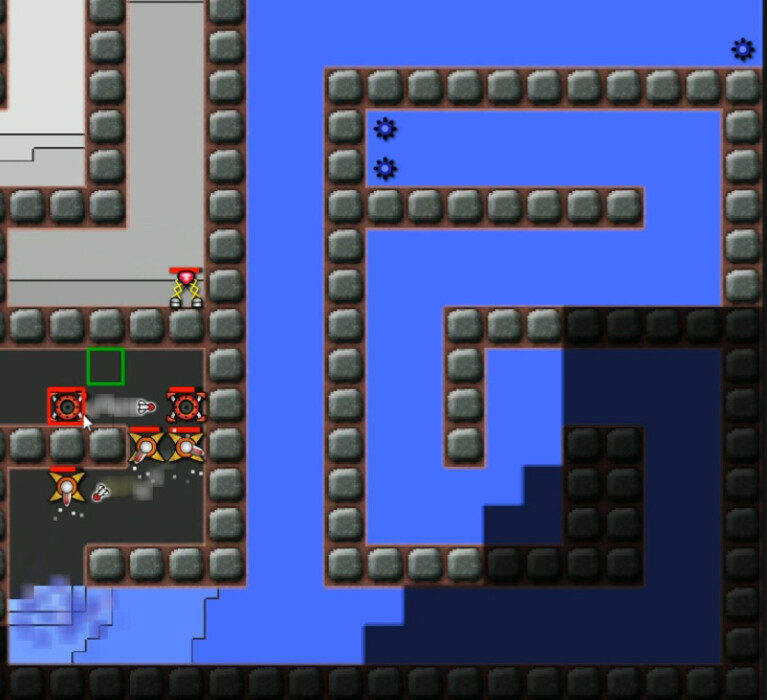
Going in to terminate the final pair, getting these launchers up to these positions is a critical moment. Still quite a bit of creeper up in that passage but they can now reach most of it, and it gets thinned out pretty quickly.
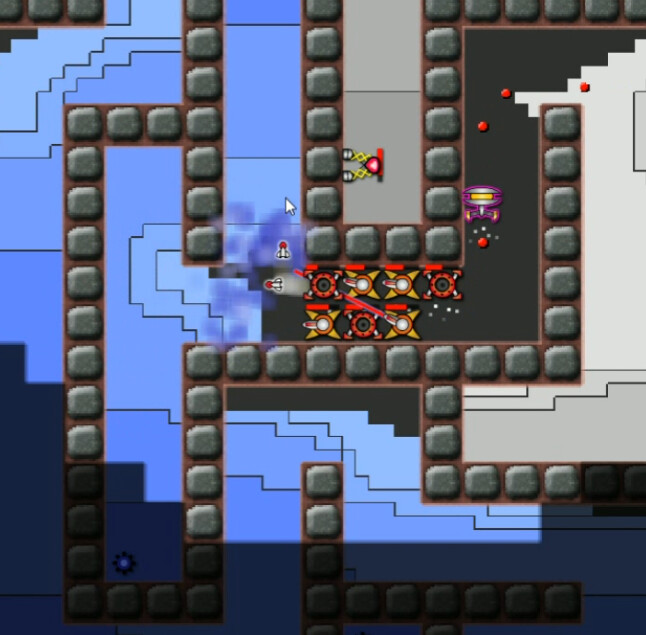
You can see here that this nullifier is about to terminate both Emitters at once -- and that I was completely unaware that was a thing, since I had another one built. These things pumped out 120k creeper per second, each. Good riddance.
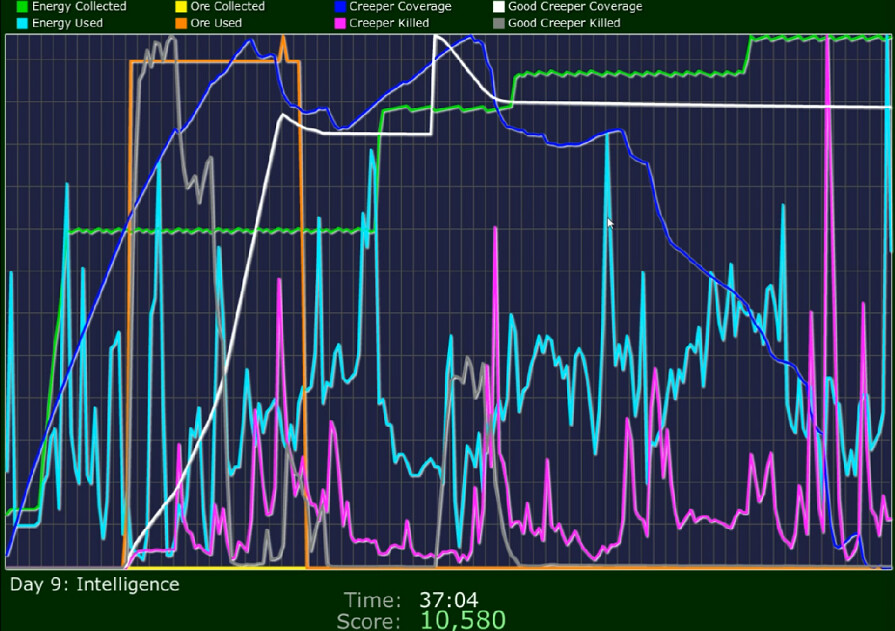
This was a fairly painful mission to go back through and document, simply because it would be trivial to do it in a fraction of the time with the things I now know. Of course that's part of the process of discovery -- you don't know what you don't know. It was a slog, I wasted a ton of Anti-Creeper, and upgrade your freaking weapons already. But still the job did get done, and we succeeded where Farston and his crew failed. There was in fact never any remote danger of failing ourselves, just a matter of how long it was going to take. This was well over twice as long as any previous mission.