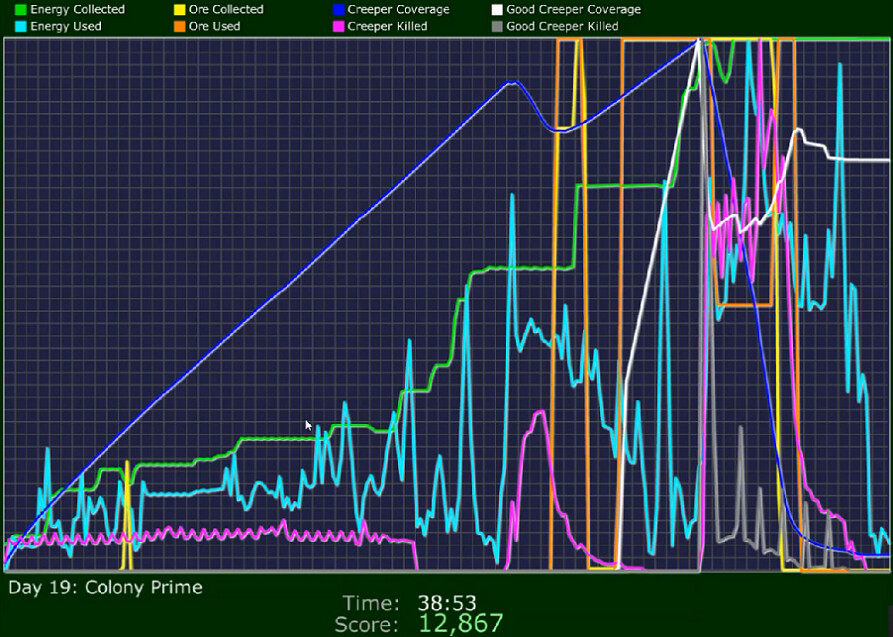
Part 62: Day 19: Colony Prime
Day 19: Colony Primehttps://youtu.be/nyAY3HgAWBA
That's new - we haven't seen bunkers before.

Strap in and prepare yourself for lots of dialogue and exposition. This one obviously is a clear as pea soup in a mud puddle on a foggy, overcast day.


But instead of actually doing that, I'm sure you'll blather on about various plot points of dubious importance and relevancy at considerable length.


Yes, that's some good advice.


Since we have clear communication now, why can't he just lead the defense from where he is?? Oh yeah, that's right, because Dax is the hero of this story. How silly of me :P.


'Hobbled' is a rather amusing if minor typo here.


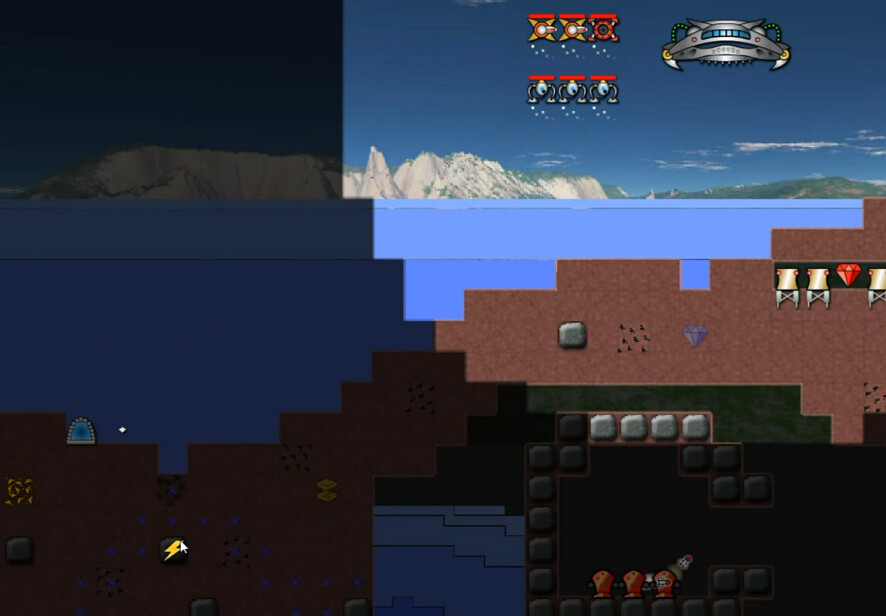
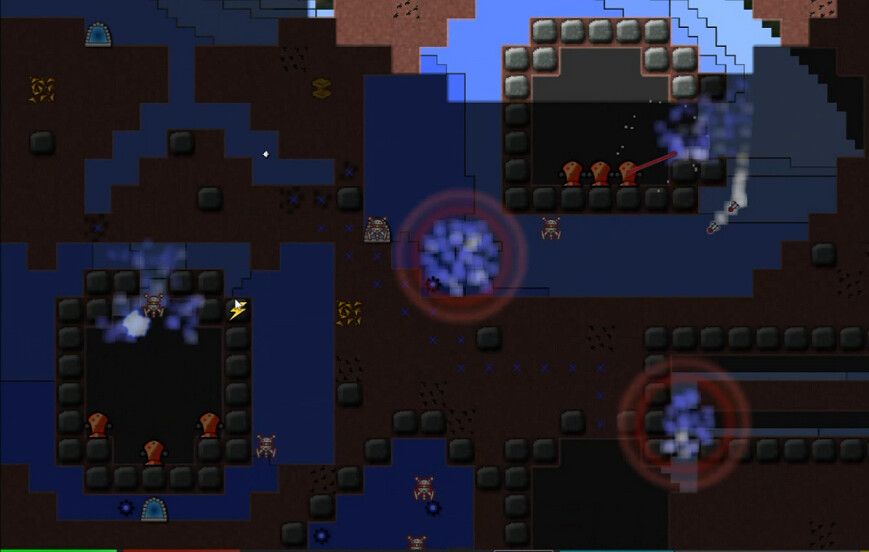
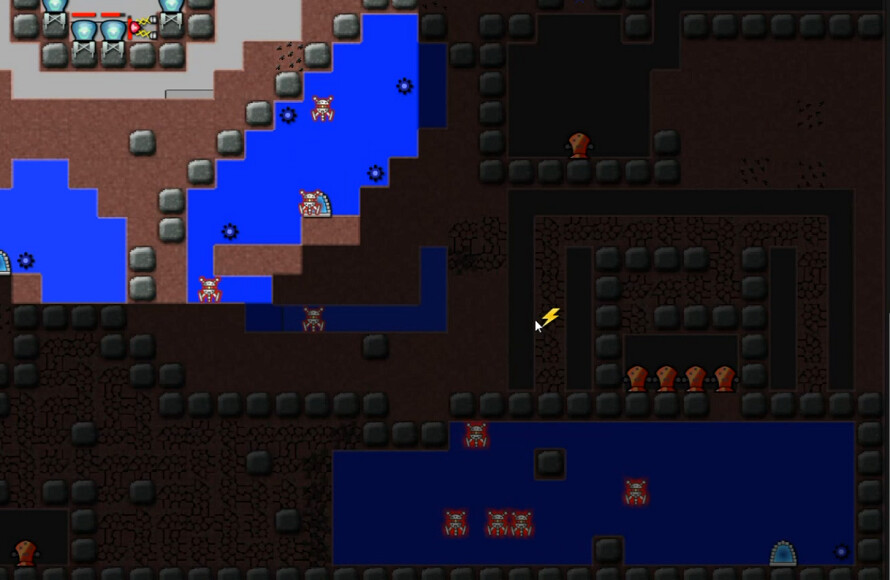
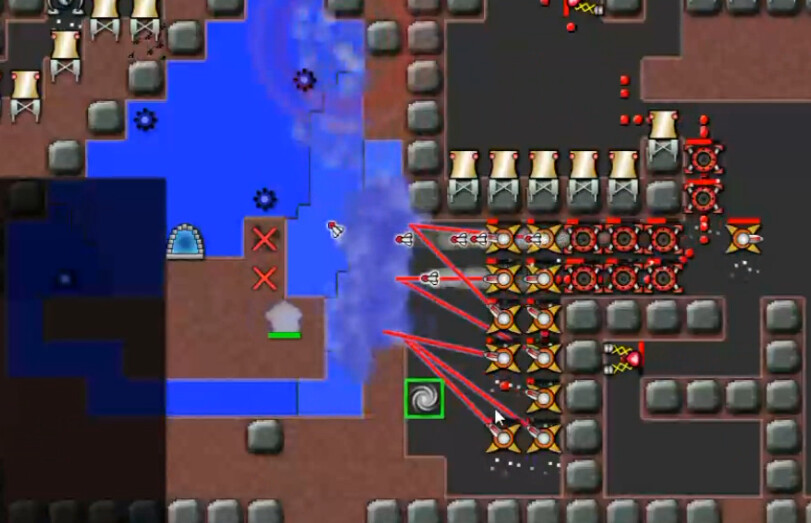
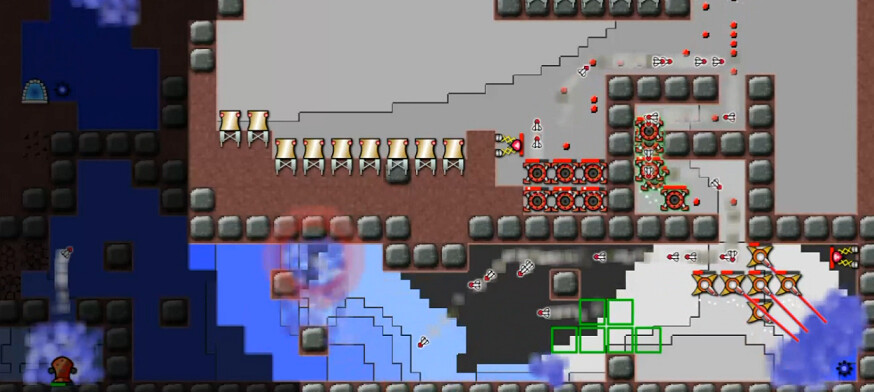
There's a whole 19 seconds on the Incoming Phantoms counter, but we have a few weapons already at our disposal. The reddish things directly below the ship at the bottom of the screen are the bunkers. There are multiple groups of them to rescue, more Styglex excavation going on to complicate things, and as mentioned time is of the essence.
The Liberation Ship itself is not in danger. The bunkers however are ... though not as immediately as you might think.
** Doom Timer: 4:18
The main thing to notice is that Gateway on the left. The excavation packets from it will try to eat down and join the assault on Bunkers further below. If you take out the surface creeper and that gateway, you can buy yourself quite a bit more time. This is much like Day 13(Horror), only a more advanced version of that concept. As described by the good Admiral in the briefing, it's a race against time; any Bunker lost fails the mission, and the more quickly and efficiently you act early on, the more time you have for the more sizable obstacles later in the mission.
Ok then -- let's do this thing. Save the Admiral. Save the NHA homeworld. Save the Colony Prime survivors. Go team. Or something.
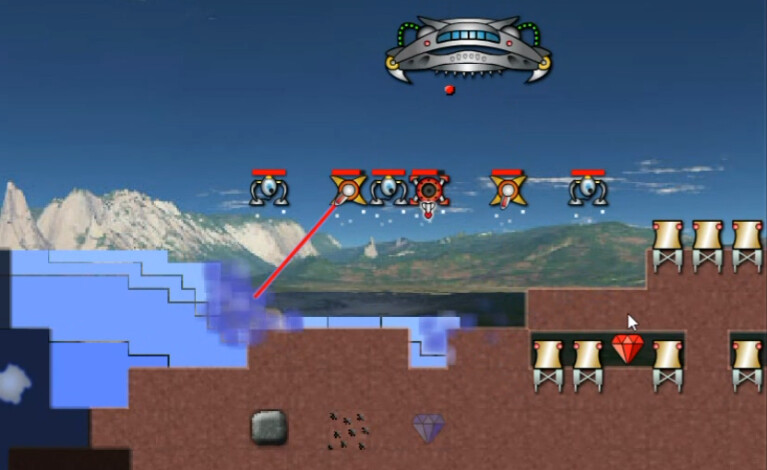
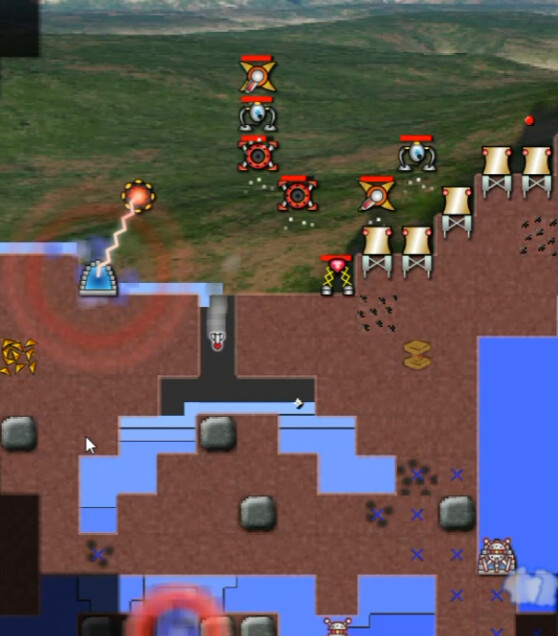
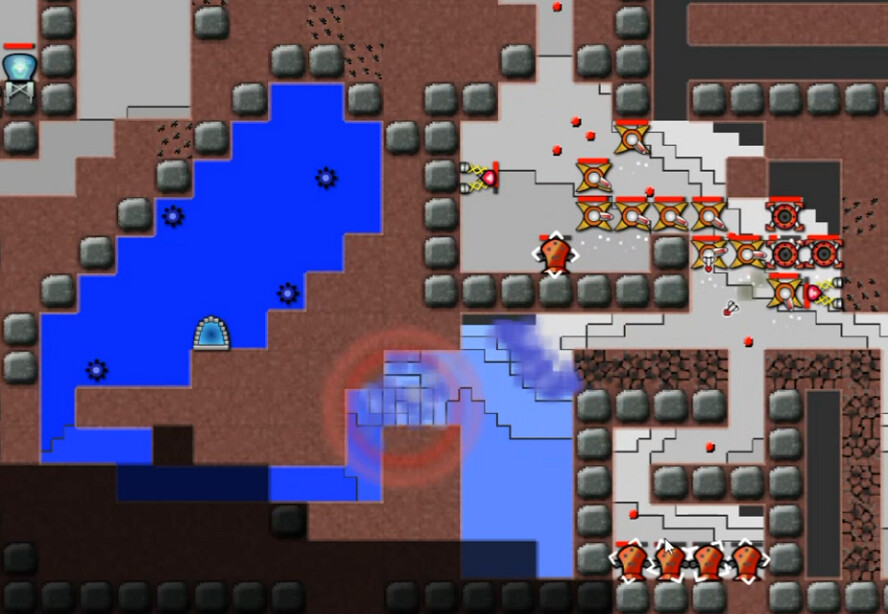
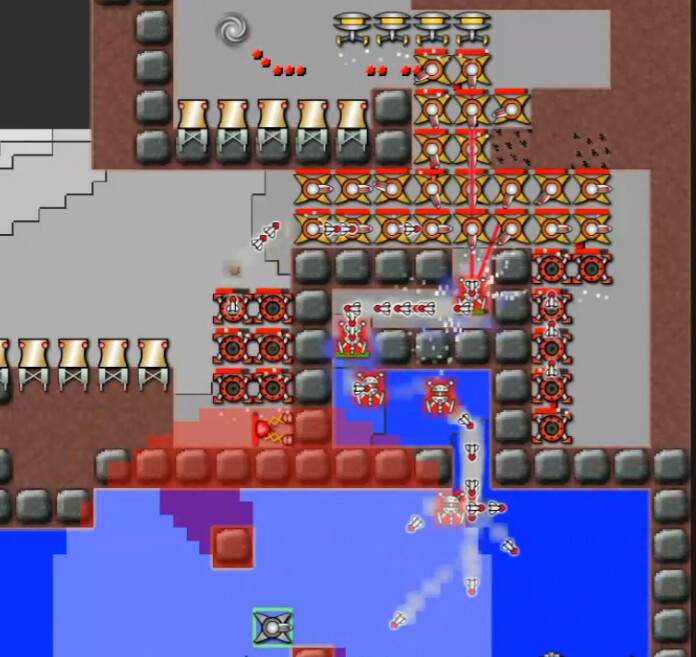
Those three reactors on the very right we can build immediately; the rest require clearing out some creeper to make room. I go for that red energy crystal right away also to give us some start-up capital. It's only 60 I think -- but still, that's a dozen reactors. That second, blue crystal is bigger, holding 100 energy. Building more blasters/launchers to really make use of this and speed things up would, in retrospect, have been a beneficial approach. As it was, I still made progress pushing to the left, adding reactors as surface space was cleared, and eliminating the initial opposition.
I still had only two blasters when the drones gained access to the surface - and that's not enough. I would lose a launcher here, and lose more of my stuff shortly afterwards. It wasn't much longer till, at 4:59(just past ten minutes on the video), one of the bunkers was destroyed and my first attempt ended in failure.
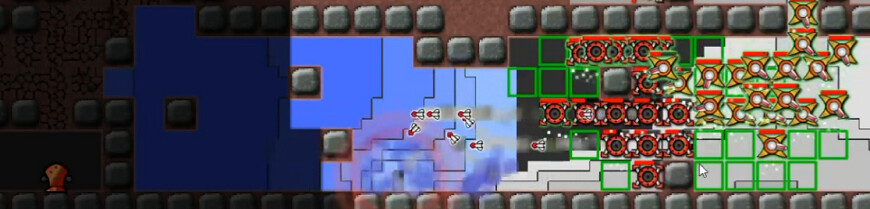
I didn't fully understand what was going on at the time - it's much clearer to me on the replay. Take a look at the setup of the level here. This is earlier, before the surface is connected to the three on the lower-left, but it's almost there. Basically each section has it's own bunkers in the first part of the level, and it's own threats(emitters/gateways/creepers drones). They can handle their own problems indefinitely so far as I know -- but when then excavation 'connects' the various areas and allows creeper to flow between them, the increased pressure is too much for the bunkers to handle, and game over.
In this case, I didn't eliminate the surface creeper and gateway fast enough. Therefore, the creeper flowing down came into the chamber on the left side, and that bunker trio couldn't hold it back. When I restarted at this point, I make a bunch of largely inaccurate comments about how I've only got five minutes to save the bunkers there and blah blah blah ... but I was looking at this for the first time.
The initial build order was actually worse the second time -- didn't get to the crystals as quickly, build too many reactors so I didn't have time to harvest them, etc. But I also did do this, adding another 'shelf' for reactors and going for the Remnants on the right so I coudl get ore for a maker. My main idea on how to do better was to add anti-creeper to the effort, flooding down into that chamber where we'd lost the last time. I still wasn't fast enough though. I actually lost more quickly(4:13, 15:40 video).
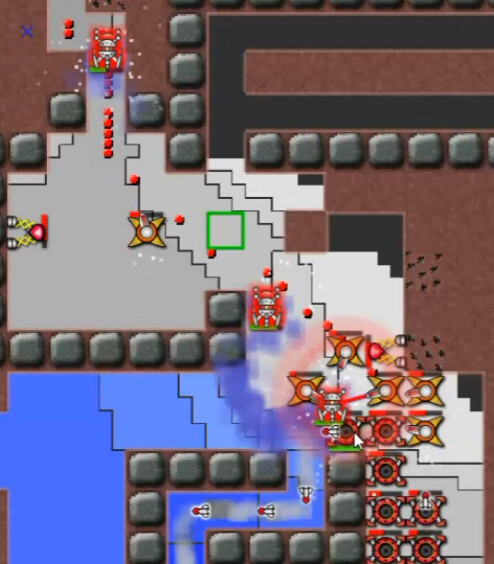
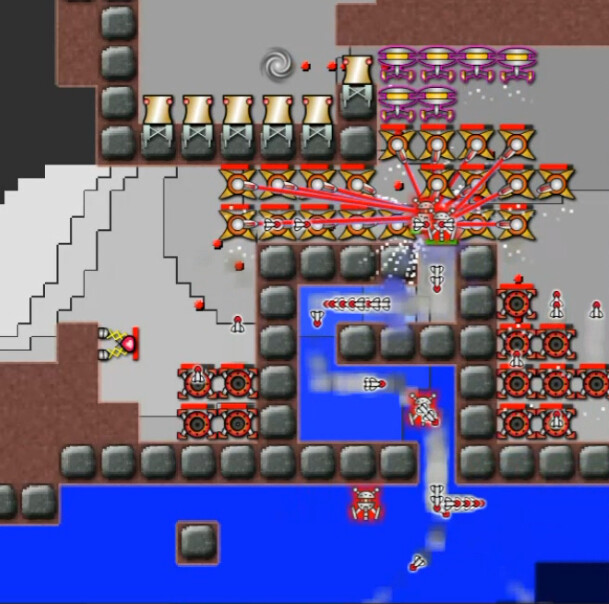
On the third attempt, I both realized a bit more of what was happening, and prevented it from happening again. Here that surface Gateway gets Nullified just as it's about to break through with the excavation.

I wasn't fully prepared to come down here -- need more reactors on the surface, no techdomes yet, that ore patch needs rigs, etc. etc. Lots of things that could be done better but my main concern was relieving the pressure to save the bunkers first, then worrying about everything else.
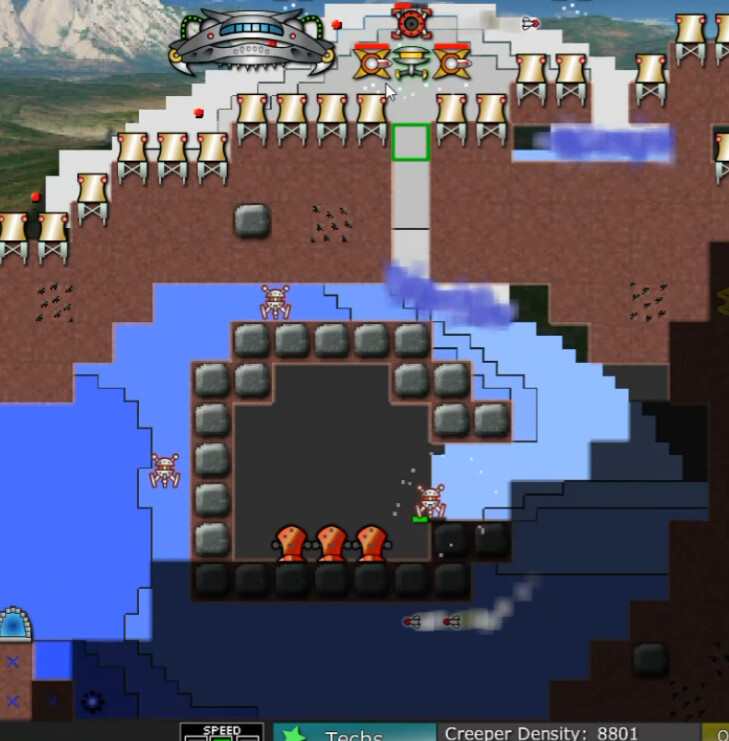
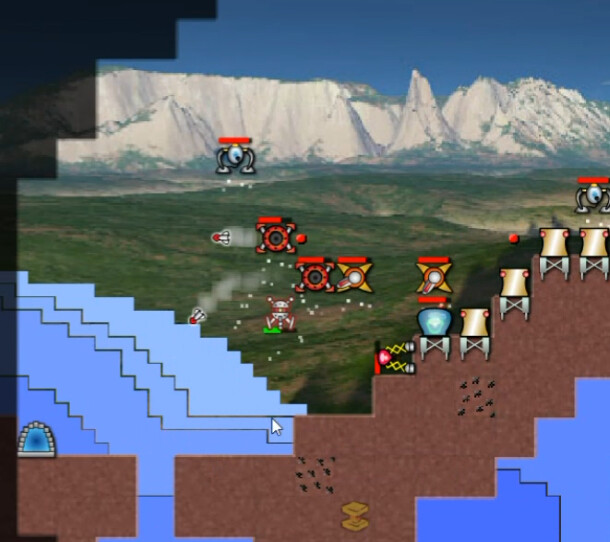
On the right side it appeared that the bunker defenses were very slowly being overcome. I decided I needed help there before finishing off on the left. Our first maker was deployed and started trying to at least even the balance. Moving weapons down that access tunnel in the wrong order cost me the maker and a launcher to drones. Once I got that sorted, I built a number of new reactors to address the overdue energy-supply issue.
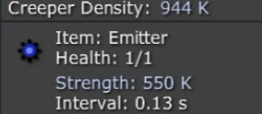
Here's a taste of how significant the resistance is here. The right-side emitter here, and it pumps out over 4 million creeper a second. I spend far too much time dawdling, but eventually did push on the left to secure that chamber.
Here's some positive and negative -- replacing launchers that I'd moved too far down into danger, but also actually rescuing survivors from the bunkers for the first time.


Each Bunker also contains energy, ore, and technytes to aid our cause, so we're not just picking up survivors here but also resources to aid the battle.
I had trouble getting a Nullifier in place close enough to the emitter on the left side though to finish off that area; they are pretty strong and it's a narrow path there. So I did a couple of fire rate upgrades to improve the situation.
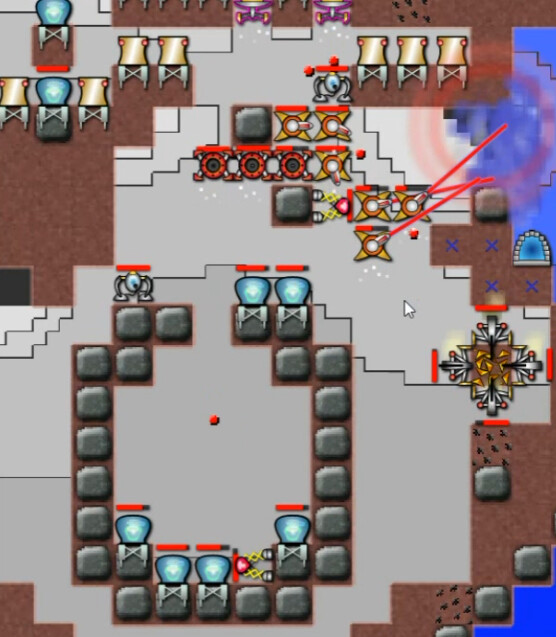
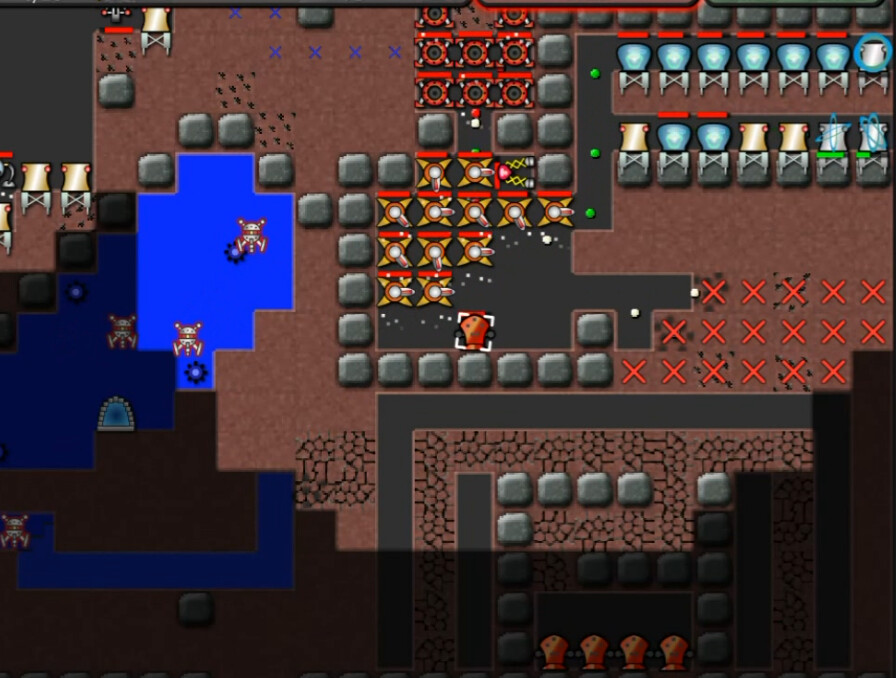
Having secured this area, it was time to push to the right into the next zone. I've got more ore rigs up and a decent amount of Tech Domes now.


Soon the second bunker trio is rescued. Six of them now, with three Gateways and two Emitters taken down so far.
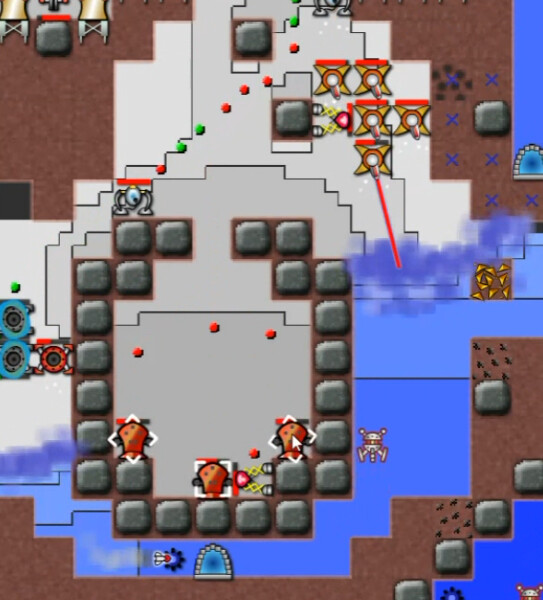
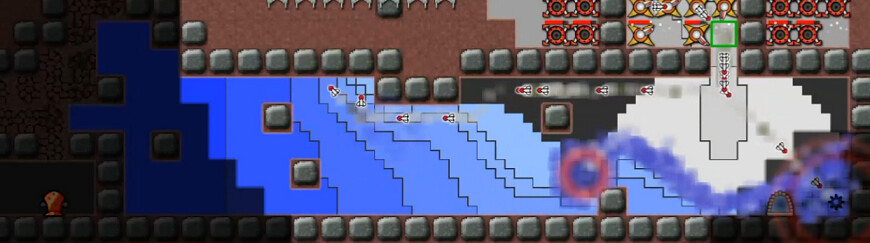
Time to take a closer look at the bottom of the level. The top-left creeper section is actually totally irrelevant. It's not going anywhere. But then there's four emitters in the middle part, eating through the terrain there and threatening to eventually make it's way to the four bunkers on the right. Then below that, the very bottom section swings back the other way with a single bunker on the far lower-left. Here there is no standard excavation going on, it's a different sort of time-bomb with the decaying terrain keeping things going.
We're easily able to get down here in time to rescue this next set of bunkers.


Nobody's getting special treatment today from Cmdr. Joven.


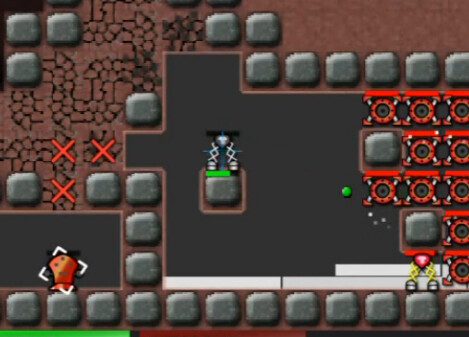
Only the one bunker remains, and it's not real difficult to figure out who is in it. Time to go get the Admiral.
I breached the bottom cavern too early though, being inadequately prepared for the drones. I knew they were there of course. I didn't realize how resilient they where though. The ones higher up in the level were just 8HP drones -- twice as tough as the normal ones, but no big deal. These are nearly SuperDrones however -- 256 HP each. And there's quite a few of them, making them actually more dangerous than the single 750-HP variants we dealt with when rescuing Thrade. They quickly overran my defenses, and soon this happened:

Guh.
Third attempt starts off at 22 and a half minutes into the level, 49 minutes on the video. Here I've done the initial parts more quickly and amassed a larger array of launchers and blasters before coming down into this section.
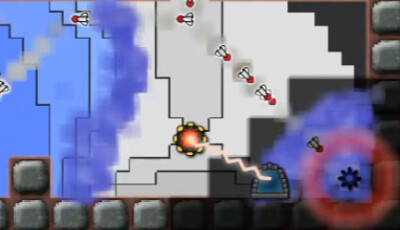
I use the usual excavate to create a larger field of fire strat here. Each of these emitters does 200k per half-second, so a total of 1.6M/second. Not as much as the ones on top, but on the other hand they've had time to amass much more density.
After clearing that section, I go nuts on the blasters and it wasn't too much. The mini-SuperDrones do some significant damage, but the line holds. Getting through that narrow, twisting tunnel into the bottom chamber is another matter; density is 10 million down there. A lot of firepower for an extended period is required.
The periodic drone releases prevent gradually moving down the tunnel with blasters, as it's just too narrow and they'll get chomped. We have to wait until we've thinned it out enough to get all the way through. And meanwhile there isn't much time left now for that last bunker ...
Another drone takes out most of my blasters that I'd been too aggressive with, which then resulted in the creeper eating up most of my launchers -- a loss of time that I really couldn't afford.
I do eventually get the gateway taken care of in-between drone releases, but it's too late.
And I lose again. Took out most of the Creeper but not enough, and it gets to the command bunker before I can finish the job. Just over 42 on the mission timer.
4th Attempt: 1:10:30 video, 30 minutes even mission timer.
I breach into the final cavern about three minutes faster on this run.
I've got a slightly larger force amassed and more energy(about 31 income). Still, two of the drones just make it past my defenses, taking out some reactors before they expire. So apparently my umpteen blasters wasn't umpteen enough. I only had two of the three Range/Fire Rate upgrades each, but I didn't think I could afford to wait for them before going in.
I understood more clearly what I was doing this time: thin out the creeper, move in blasters between drone releases, then nullify and move the heavy weapons in. I'm half-filling the area here with blasters/launchers, but taking no chances. About five minutes left at this point.
Soon the task is done, with less than three squares of terrain before the bunker would have been in trouble again.


And so our path is set for the final battle. One wonders if Platius will show up to help us this time ... or if we will be on our own.