Part 68: Bonus 5: Stygian Depths
Bonus 5: Stygian Depthshttps://youtu.be/9iboTAfoCJo

** Doom Timer: 2:50
Honestly this level is a lot like the last one, Shields Up!. The main difference is that the burst emitters are stronger(millions released every 1.5 seconds) but the drones don't have access to the surface right away so you have more time at the start. It's kind of weird because I actually think that extra time makes this easier in general.
Artifacts of all types, opening on the left. And a 43-second Incoming Phantoms counter. You know what I'm going to do with that(forget about it because I'm looking at other things).
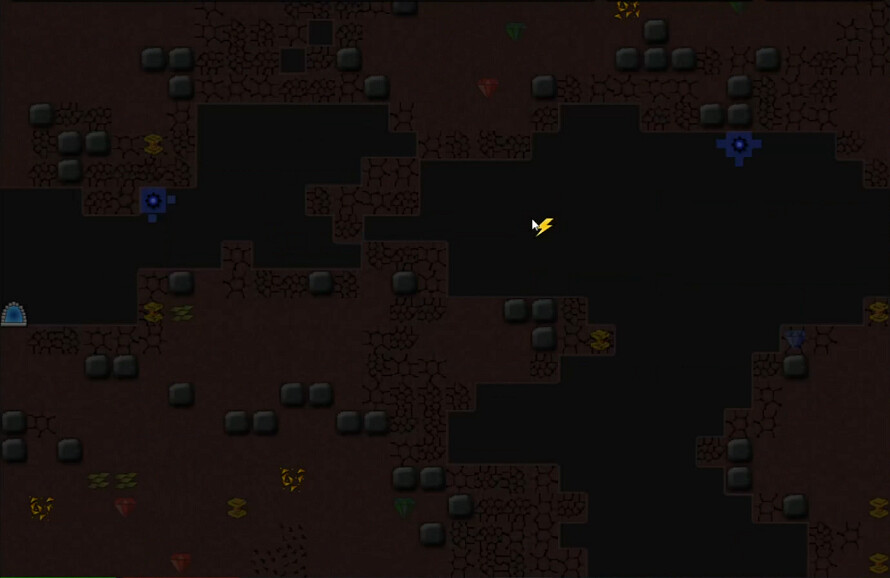
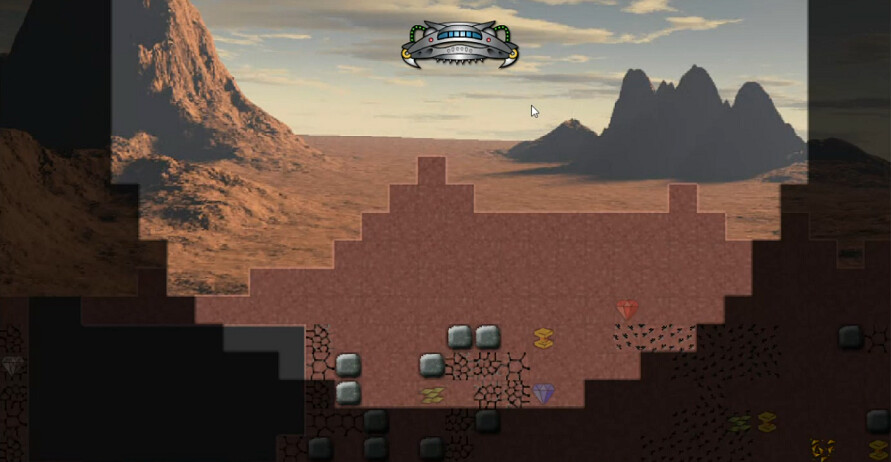
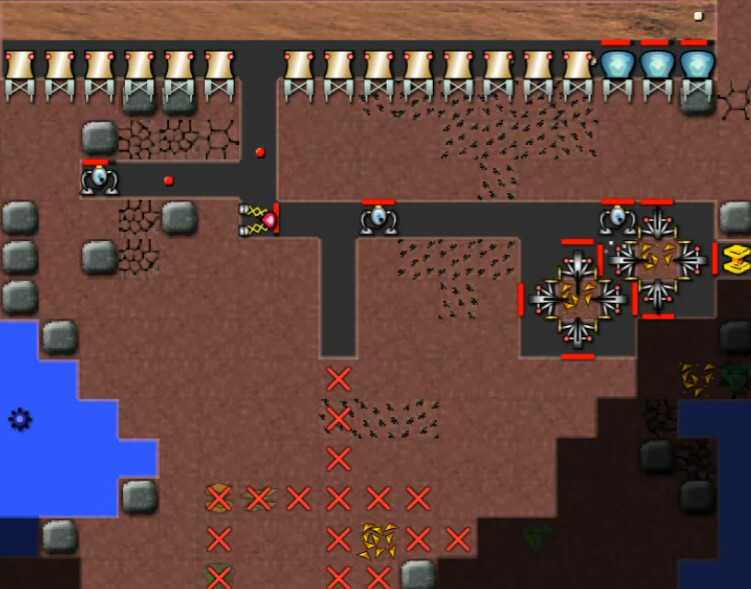
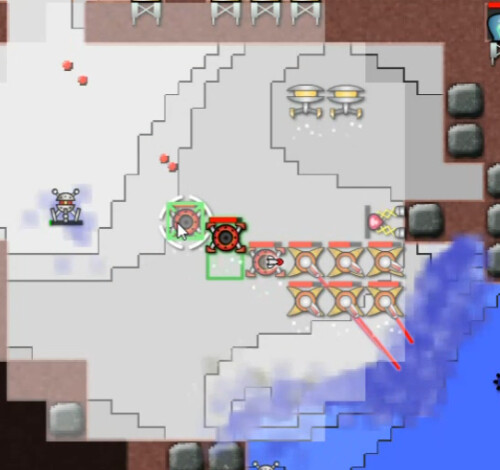
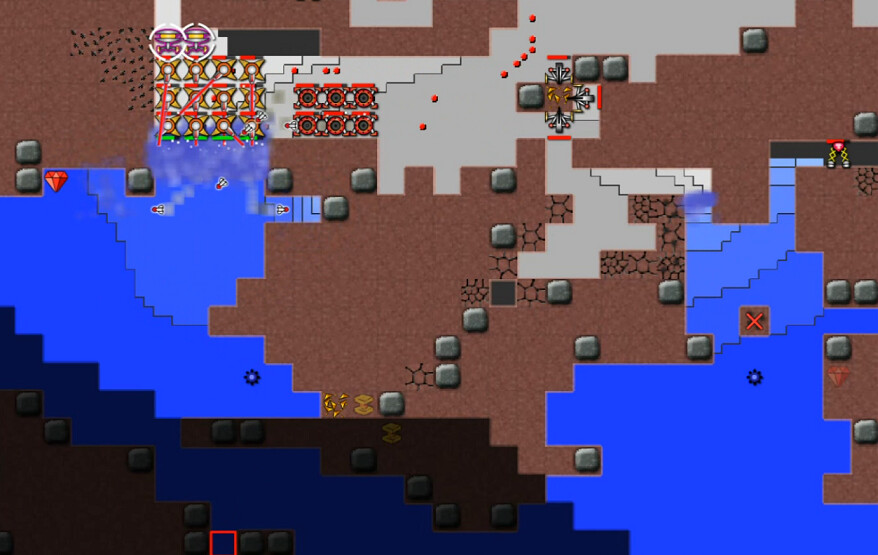
This isn't the bottom of the level, it's more like the middle. It is quite deep, although we've seen a lot of deep ones in the last half of the Story especially. Main thing to see here, shrouded as always, is the decayable terrain that's going to eventually connect up all these caverns.
I almost get the coils up in time, but not quite. And largely because of that, I'm not ready for the drones when they are released:
Like I said, many similarities.
** Take 2: 3:22 video, mission start
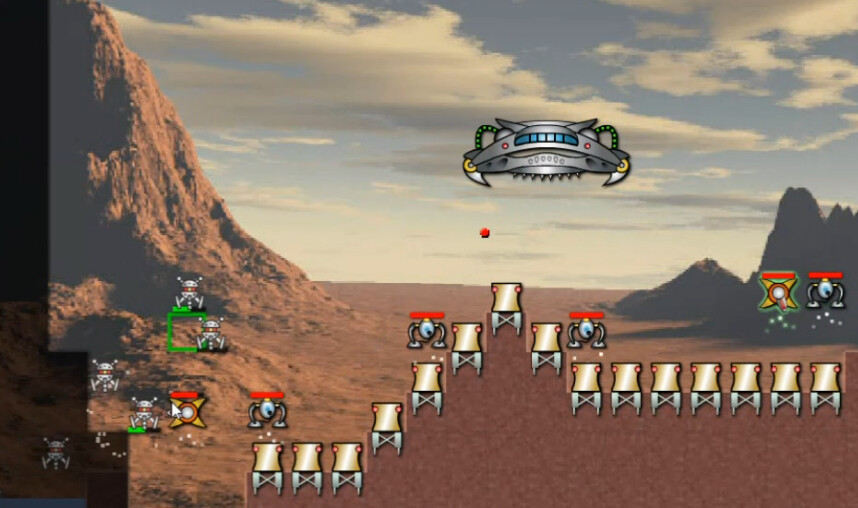
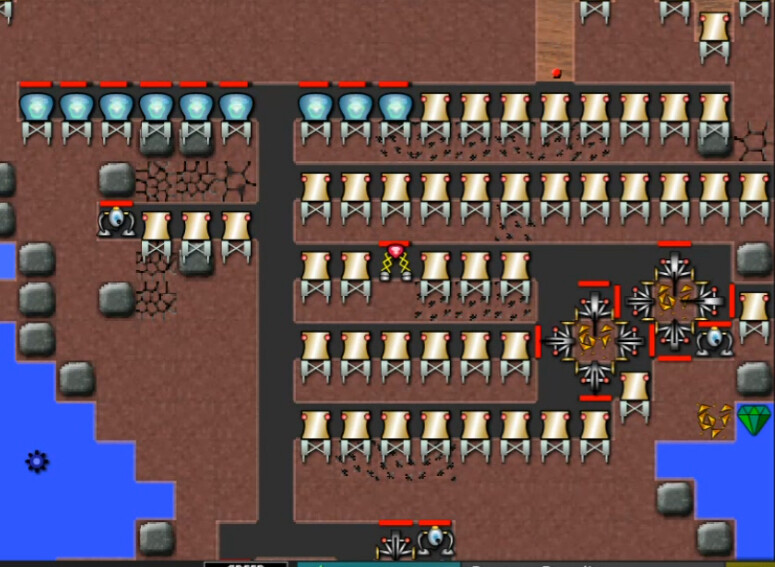
I get five coils up before the Phantoms come, blasters on the left to guard against drones, digging down below to add another shelf for more Reactors; in general, I'm confident in declaring this the 'right way' to start this level.
I lose a batch of reactors once by moving coils at the wrong time, but otherwhise this is the basic approach I followed. A token force on the left-side opening to hold back the enemy, while here on the right I excavate for artifacts and ore so I can use anti-creeper as I push downwards. I've also started the Tech Dome process. Not long after this, a real-life interrupted forced me to restart at another time.
Take 3: 15:49 video, 10:11 mission timer
Essentially the same point in the process, a little more developed and a little faster in terms of time.
This is the main difference, I've been a little more thorough in reactor-farming and I've got just shy of 15 energy coming in now, several times what I'm using. It's definitely time to ramp up.
I'm taking this more gradually than I should. It's working, but I should probably be flooding the zone here with at least 2-3 times the blasters/launchers that I'm using.
After a few more upgrades. Yeah yeah packet speed blah blah blah, but the main thing I'm trying to do here is up the energy/tech income.
Here's an interesting moment; check out that drone on the left. I can literally ignore them because there's enough anti-creeper, dense enough, that it will take them out by itself before they reach the surface. First time I've ever had that happen.

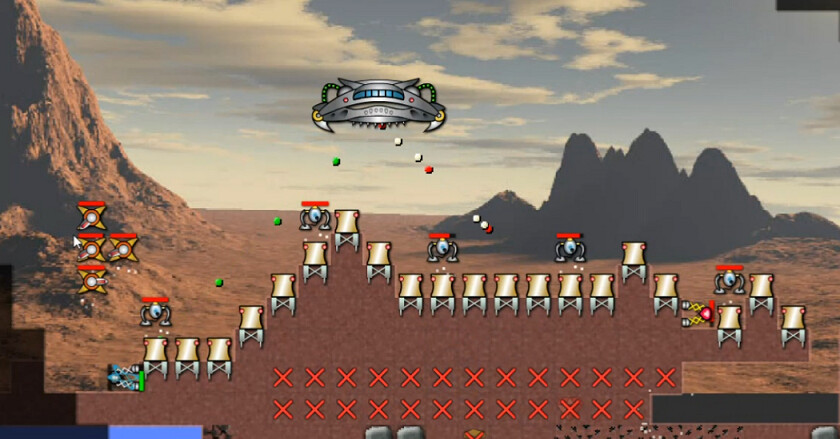
It takes close, concentrated fire and significant AC(anti-creeper, not alternating current) support, but I'm able to take out the first emitter on the first try. Other than only using about half of the available energy this is going quite well.
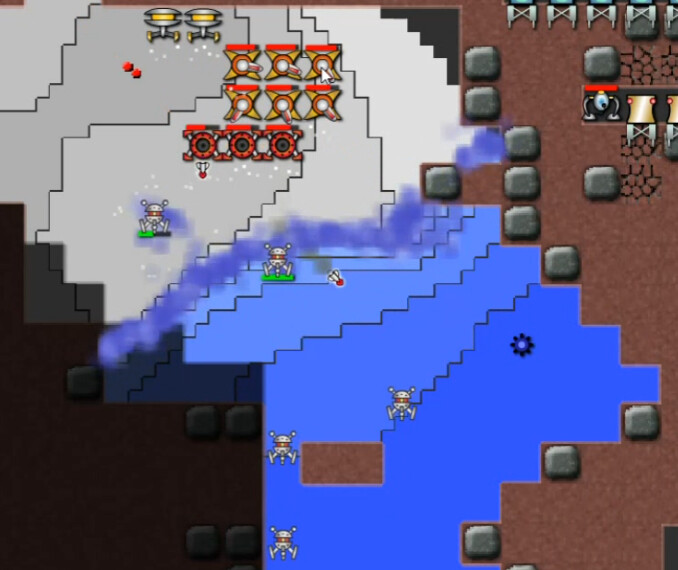
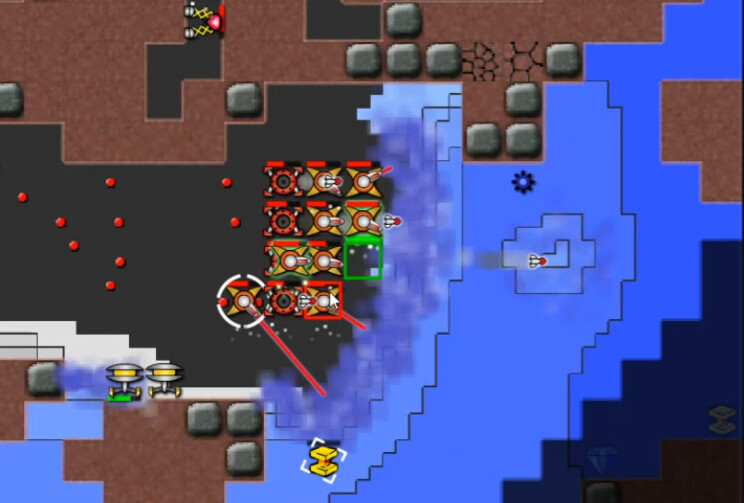
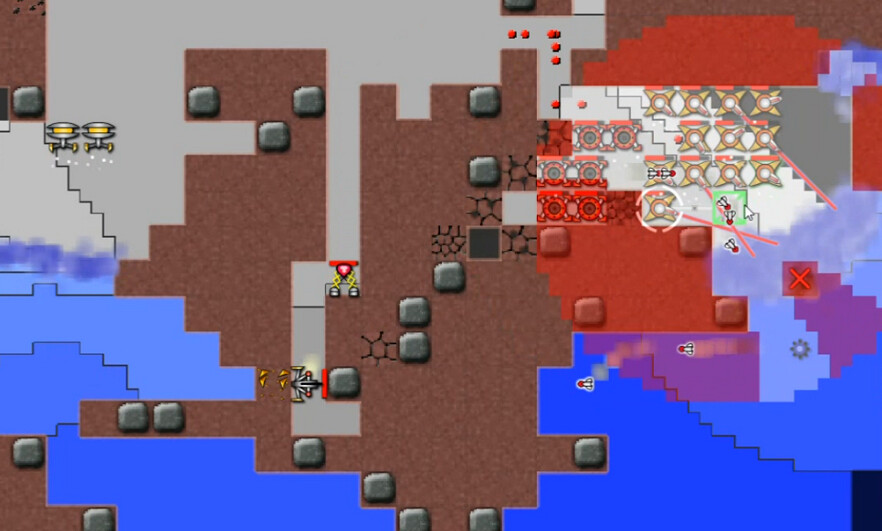
Here's your tipping point for this mission, as I work my way into this wide chamber below what was just cleared. I'm out of ore so no more anti-creeper is coming. The left-side emitter is relatively weak but the one on the right(4 million every 1.5s) is twice as strong as any other on the level. Once that goes, things will get easier.
It was a gradual slog at first, but I soon got to a Remnant, then got more anti-creeper, and I'd added two more blasters and a launcher as well. Still not enough but better. It was still fairly slow going but with some weapon upgrades coming in I started to make easier progress.
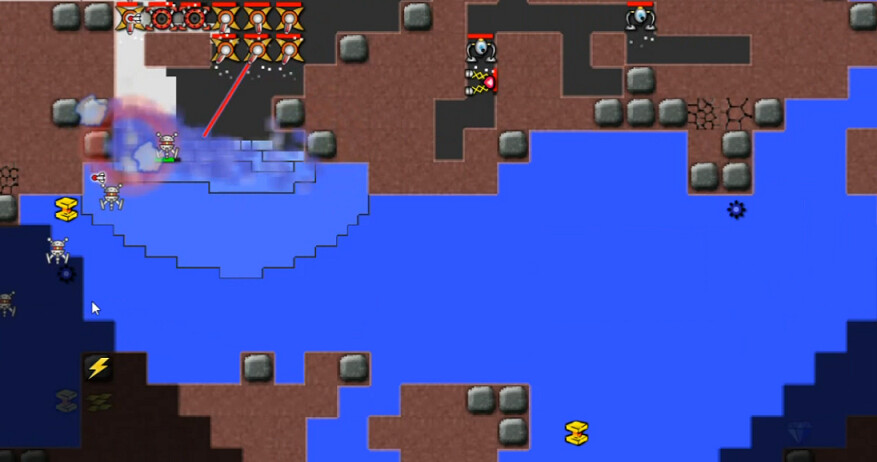
Having turned that corner, it was time to go deeper. This is basically just a reservoir already filled on the right, and more artifacts on the left. No more emitters here.
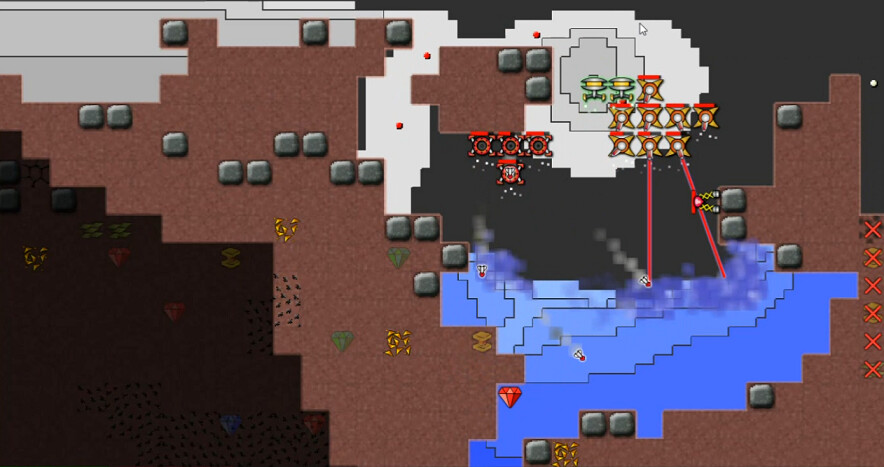
Now I'm finally at the bottom, and I've built more weapons and also decided, knowing it probably wasn't a good idea, to breach on both sides just to use the anti-creeper a little more easily. Density here is around 2 million by this point. Eventually I throw a couple launchers over to the right to hold the rising tide at bay, and push down the left. It's just a cleanup operation here.
Once the nullifier on the left is gone, I leave the makers over there to hold that down(with mixed results, they had to retreat some). I wanted the weapons to switch 'fronts' over to the right so that I could attack the final emitter from above, not fight a more tedious battle along the bottom of the map from left-to-right.
It took just over three minutes to wrap it up after this point.
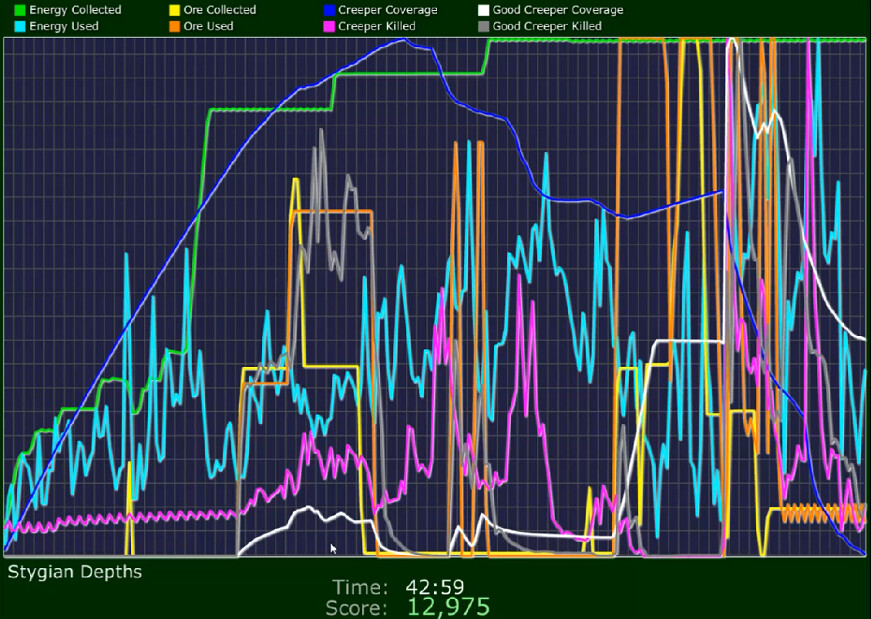
My impression was that this one should have been switched with Shields Up!, in terms of general difficulty. Or even had something with a little more variance in the general concept. In any case, halfway through the Bonus section now. I'm planning on putting up the poll about custom levels after the next mission.