Part 82: Telos
Teloshttps://youtu.be/T4Rvn7oUGQA
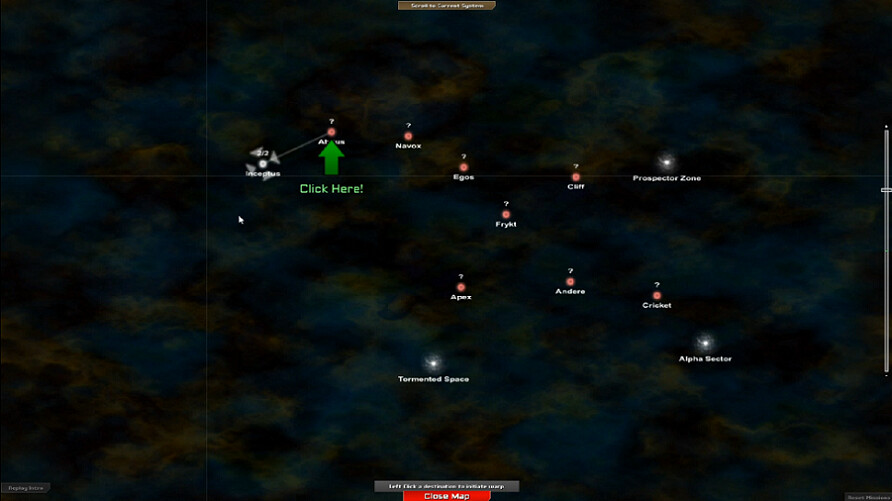
The Sector Map, ridiculously shrunk down. We can, at the top, Scroll to Current System ... but the zoom is still around so this really shouldn't be necessary. Replay Intro at lower-left, Close Map at the bottom, and Reset Missions again at lower-right. Zoom bar on the right margin, though the mouse wheel as mentioned is easier. And we are told to 'left-Click destination to initiate warp.
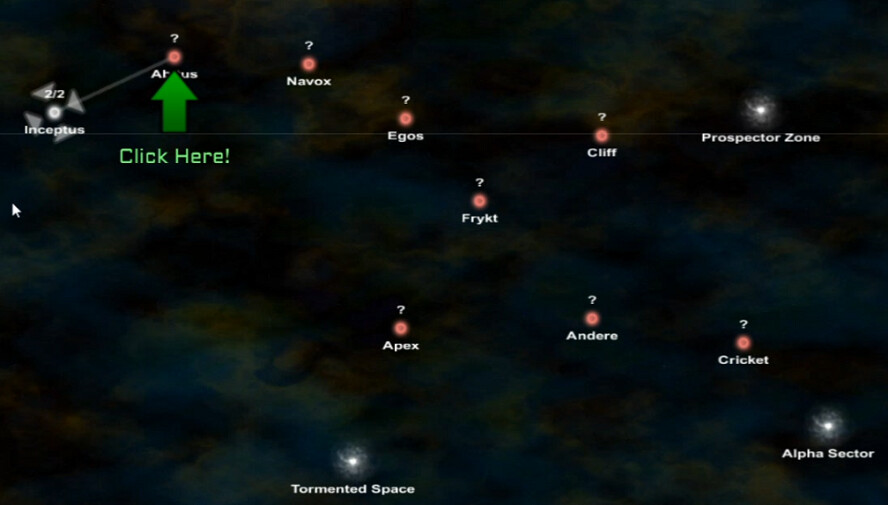
Here, that's better. Still had to shrink it a bit but we can see what's going on. The ?s indicate that we don't know how many planets we need to visit in a sector until we go there. It tells us to click on Abitus. If we choose another system ...
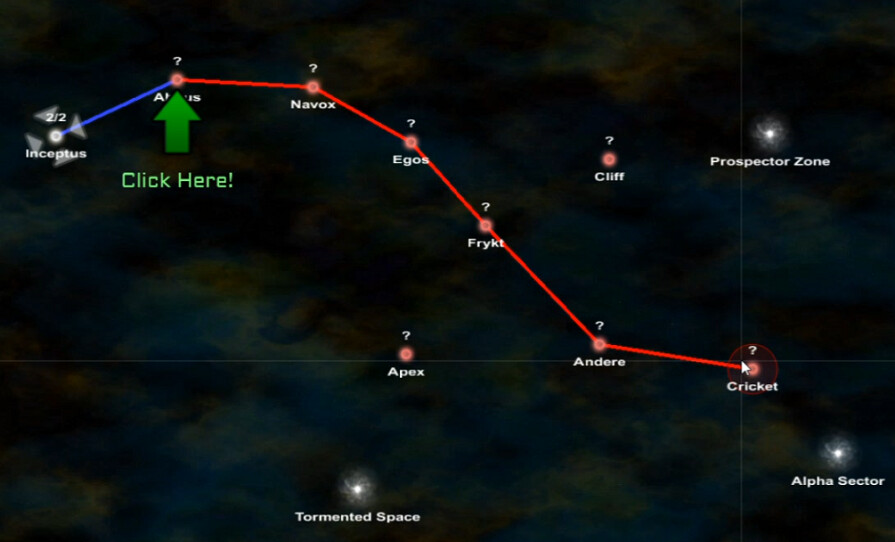
Presumable because plot once again, the warp travel thing has a limited range. I can't just go to Cricket, for example. There are nine systems on the map here; we've finished one. That's not counting the three white bonus areas. Based on the way it's laid out, my best guess is that Cricket is where the 'final battle'. But we'll have to wait and see(and no, I don't want to know ahead of time). The first section of the path is forced; Inceptus(done) to Abitus, then Navox, Egos(where I left off before), and Frykt. From there I think we can choose between Cliff/Andere/Apex. So it's mostly linear with some choice at the end.
When we make the only choice available to us, indicated by the decidedly unsubtle Click Here! on the big green arrow, we head to Abitus. Very quickly.


At least humanity kept trying. Gotta hand it to us for that, at a minimum.


Mysterious as ever, Lia is apparently done explaining things to us for now.

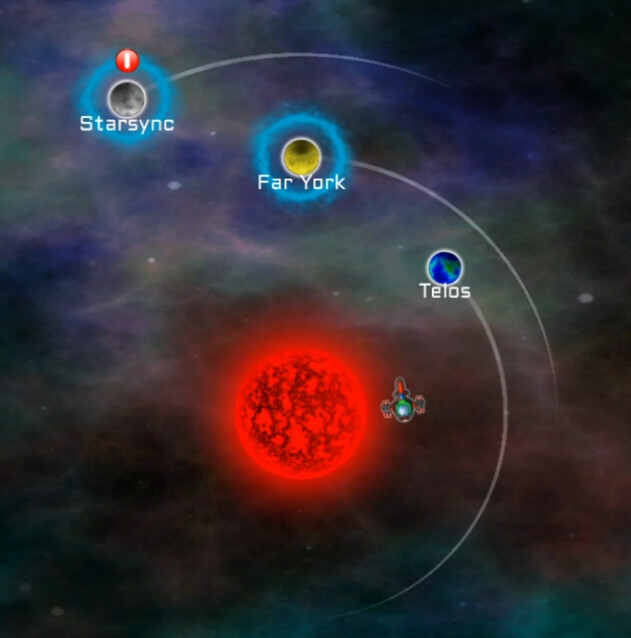
As you can see we'll be staying here a bit longer. There are three planets. It appears the blue aura represents a planetary shield, the red pillar-thingy a warp inhibitor. We are allowed to go back out to the Sector Map at any time now ... I just can't do anything there. Until we take down the local Warp Inhibitor, there's no way to travel to another sector.

A meaningless fraction in the grand universal moral arc eternal timespan thingy .... oh, never mind.


Why do I get the feeling Lia is going all HK-47 here, inasmuch as I'm just a fleshy, organic meatbag?


It would appear reactors have returned to their CW1-style use, except that we are getting them much earlier in the story this time around.

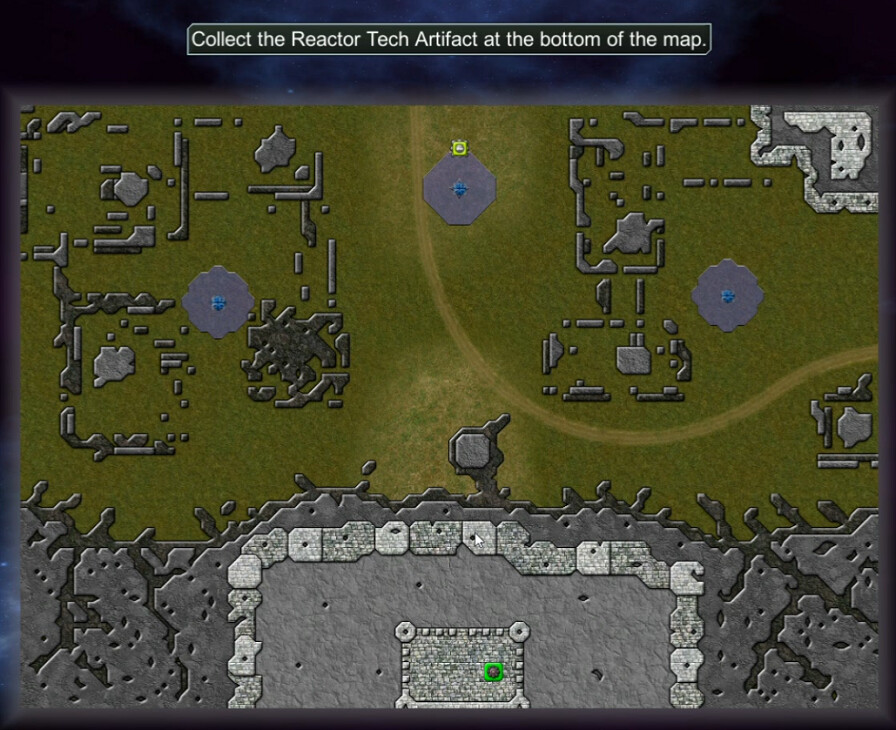
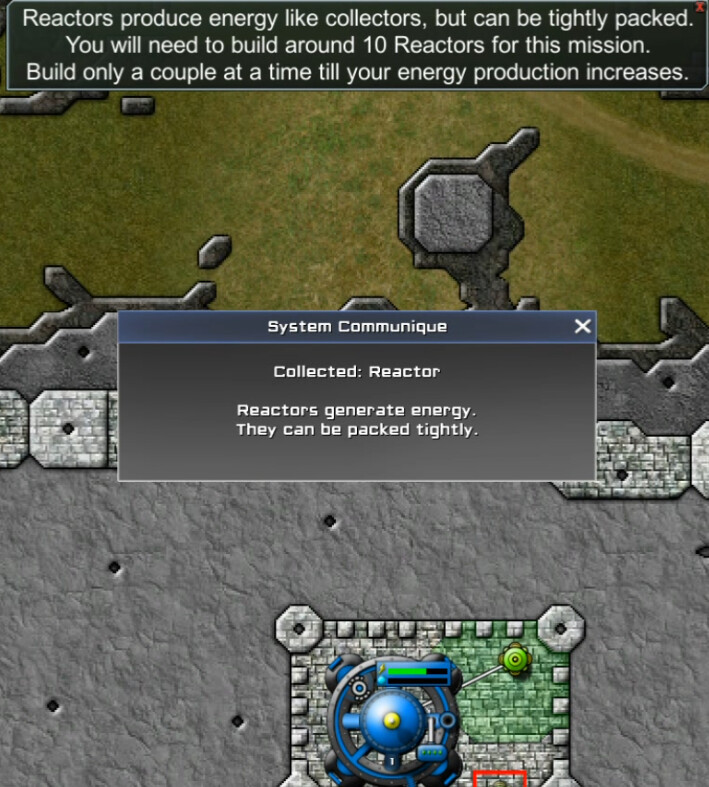
I land at the south and do so immediately. We're still in relative hand-holding mode here so I follow the instructions, though I should point out that this could be done with no reactors at all given the relative weakness of the creeper. As it happens, I would have been better off building one at a time for a couple of them, then upping to two, etc. Or else just building a fair amount of collectors first.
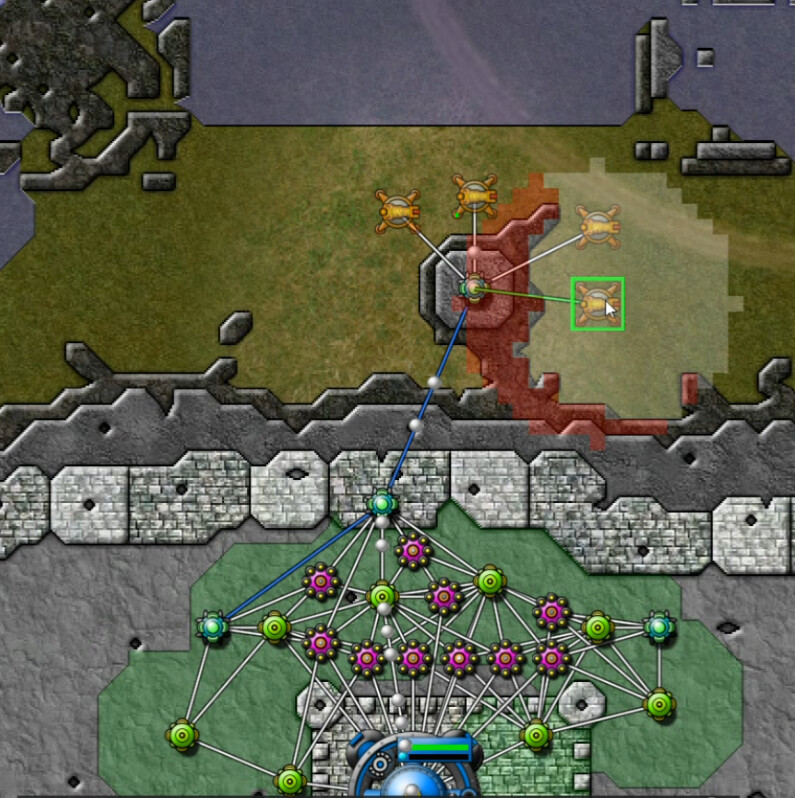
The costs are as before; 5 for Collectors, 10 for Relays, 50 for Reactors so they are a real investment. Once I have the requested 10 of them up, I build some relays out to this little outcropping, and then start throwing some Pulse Cannons in position. Of the three emitters, the one straight ahead is the strongest(5 every 0.5 seconds). That's not much, but it's the most we've seen so far. I have a feeling I need to recalibrate my sense of what's weak and strong from the massive numbers used in CW2. Or maybe these are just really starter-level ones. We'll see.
I soon realize that I have more energy than the current weapons need. I decide to go with a two-wide push here, two 'relay columns' pushing upwards with cannons for both. This appears to be the right amount for the 7 energy I have coming in. They don't use much. As has been discussed in the thread and as in past games, you can survive brief dips in the creeper, so long as you don't stay there too long.
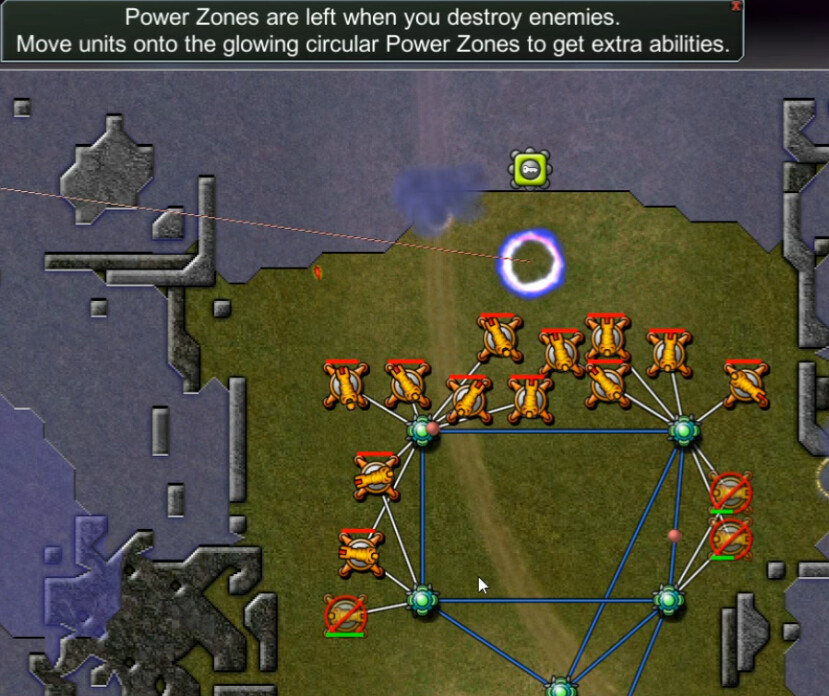
Here's a new feature that I screwed up using the first time because you have to be EXACTLY centered in the circle in order for it to work. 'Touching' isn't enough, and neither is 'mostly inside'.
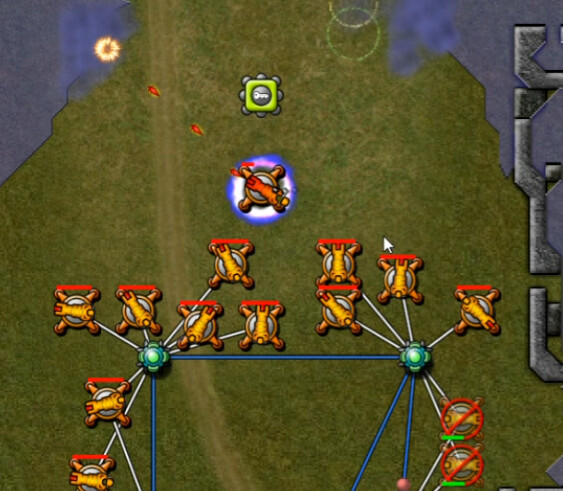
It's hard for a screenshot to do it justice, but along with increased range this is essentially super-rapid-fire mode. A substantial tide of creeper can easily be held back by a single 'machine-pulse cannon'. As you can see it gets off several shots before the first has dissipated. To really see how it works, try timestamp 12:25 or so on the video and watch it for a bit.
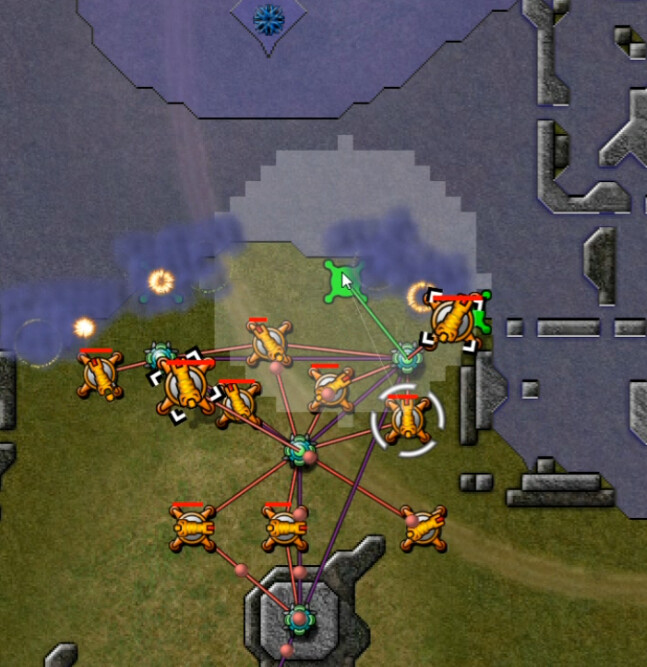
We get the Far York Shield Key, but there are still two emitters out there, on on each side.
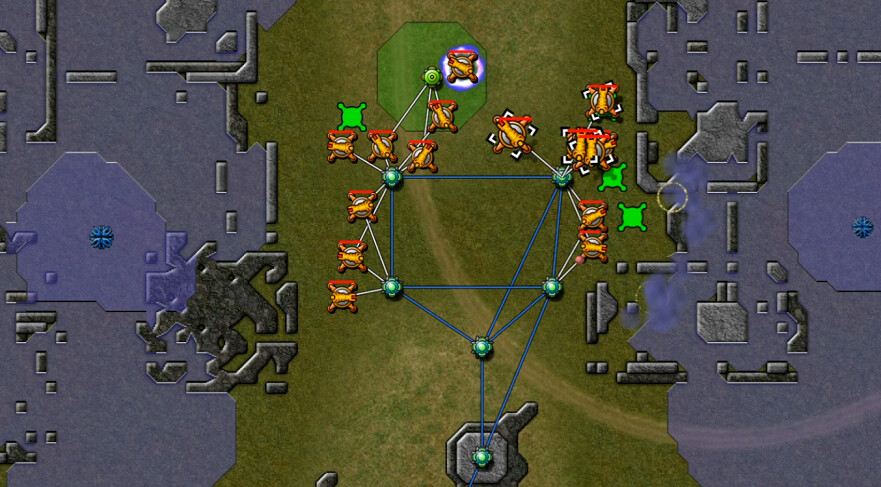
Obstacles like the ruins on either side here make it tough for the Creeper to get to us -- but the reverse is also true. I decide to swing south on both sides for a better avenue of approach.
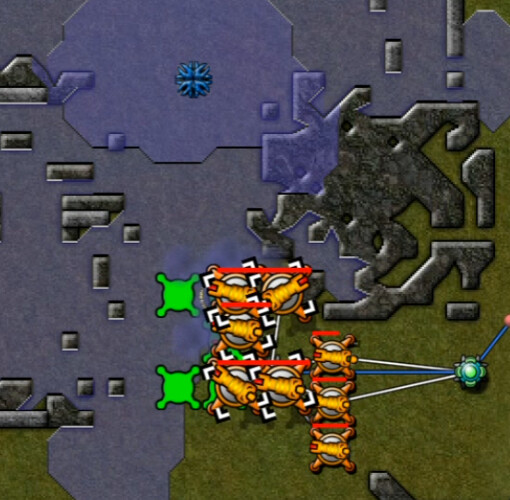
Whoever wanted more group move ... here's evidence that I'm trying.
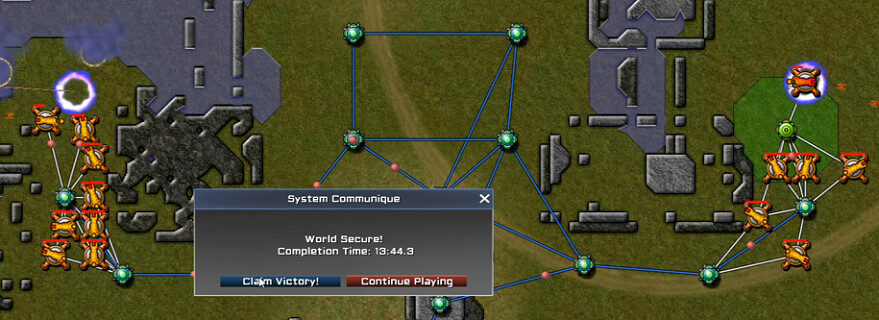
It's a pretty quick process to get close enough for nullifying the two weaker flank emitters, and Telos is toast.