Part 159: School Mode
Postgame Update: School Mode

 : Now that the main game is over, we've unlocked a new bonus game mode to mess around with.
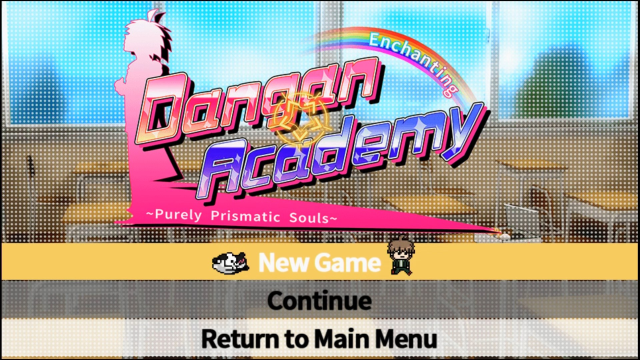 : Enchanting Dangan Academy: Purely Prismatic Souls, otherwise just known as "School Mode," is a fun little resource-management minigame whose real purpose is to allow the player to see all the Free Time Events. There are also some other non-Free Time things you can do in this mode as well and I'll touch upon them briefly.: There's a huge introduction to the mode that I'm just going to be summarizing because it would take its own update or two and frankly I don't really care enough to transcribe it, even if there are some funny lines throughout.
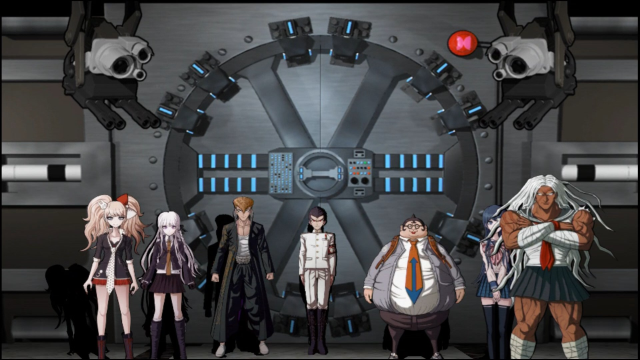 : School Mode begins during the Prologue after introductions and after Monokuma calls everyone to the gym.
 : Everyone reluctantly goes to the gym, just like the in the main game.
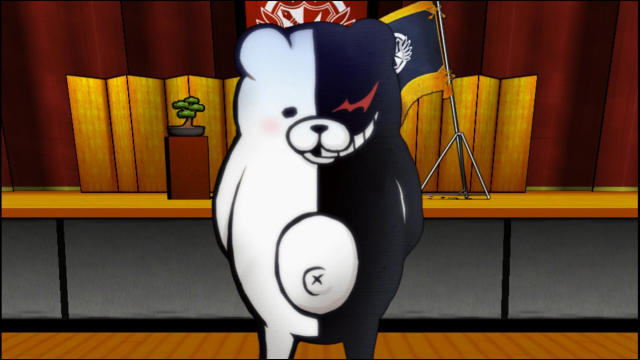
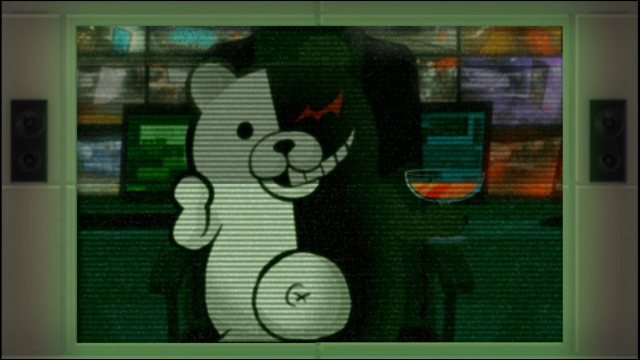
 : I forgot to do something that was gonna be a vital part of your greeting today.: Monokuma shows up but this time something's wrong. He's depressed. The fear for most of the students turns to confusion and annoyance at this point.: He explains to the class that he has forgotten to make his backup robots, meaning if anything happened to him that would be it and he'd be done for. Since that's the case, he decides he can't start their School Life proper. Therefore, he wants the students to build him some backups.: The students aren't exactly enthused about this idea and don't really want to participate.
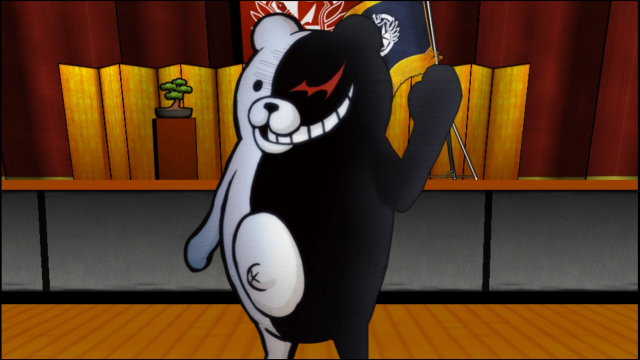
 : Then...would you rather just start killing each other?: This gets their attention and Monokuma basically silences them into helping.
 : Once the backups are done, we'll move on to the main event and you can begin your exciting school life.
 : Monokuma then leaves everyone dazed and confused in the gym. They discuss what just happened a little bit before retiring to the dining hall.
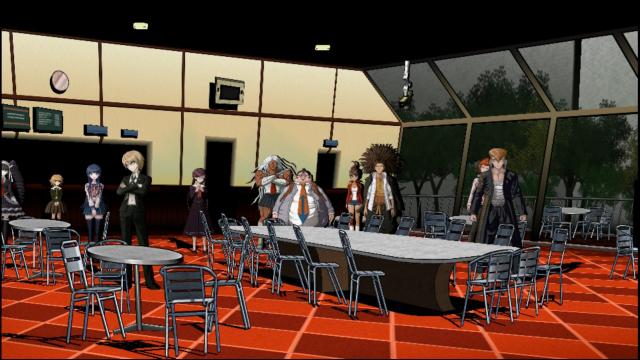 : In the dining hall, the students start discussing how they would even begin making these backups, but they don't make it very far in their conversation before Monokuma shows up once again.
 : I'm going to give you guys the next 50 days to make me a proper set of backups!: He'll give us a backup to make with a due date and we have to create it by then. If you make the backup by the due date, you'll get a reward. If you can't, there's no punishment other than not getting the reward.
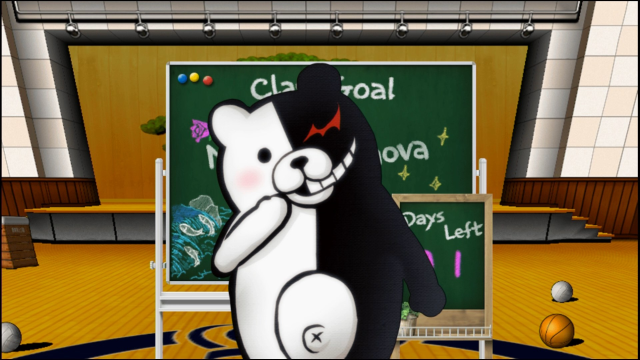
 : So, the concept for the very first backup I need you to make is...
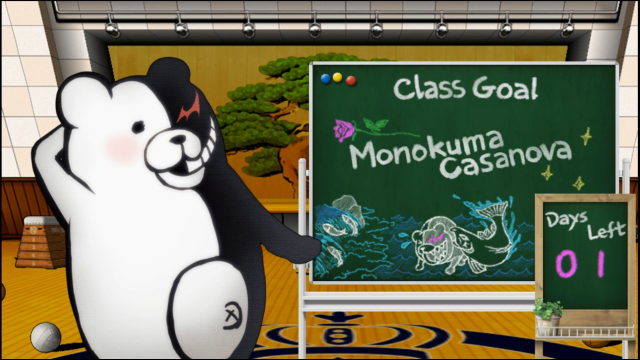 : ...right here!
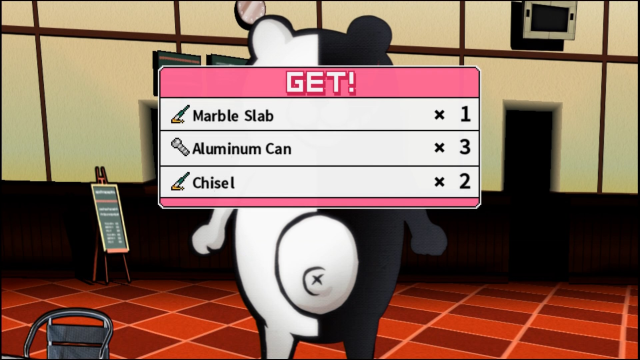
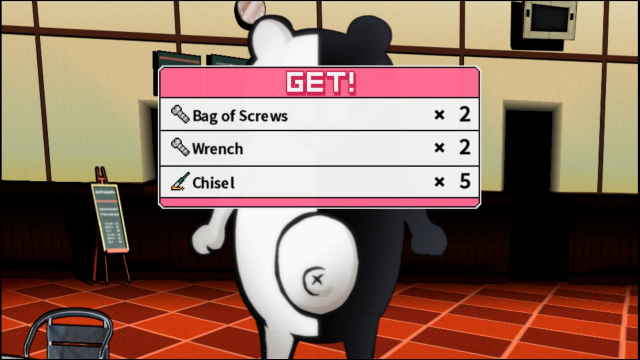 : For this first backup, Monokuma gives us the materials as a tutorial.
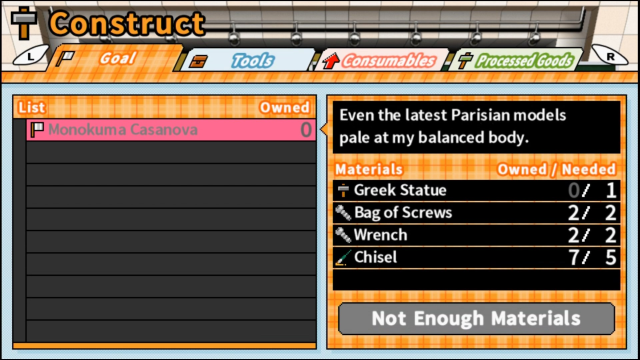 : So to make a Monokuma Casanova, we need the ingredients listed on the right. We're currently missing a Greek Statue and that's because it's a Processed Good.
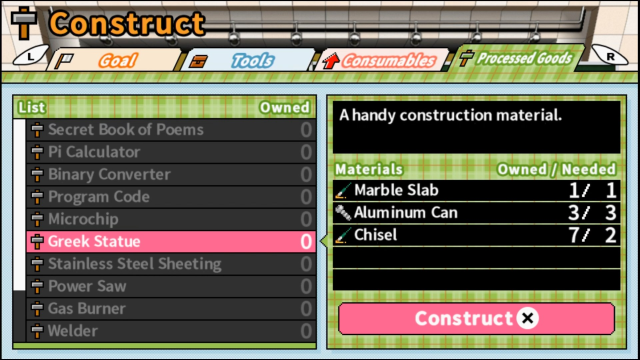 : If we scroll over to the Processed Goods tab, we'll see Greek Statue in the list. We have all the items for it, so we can go ahead and make one.
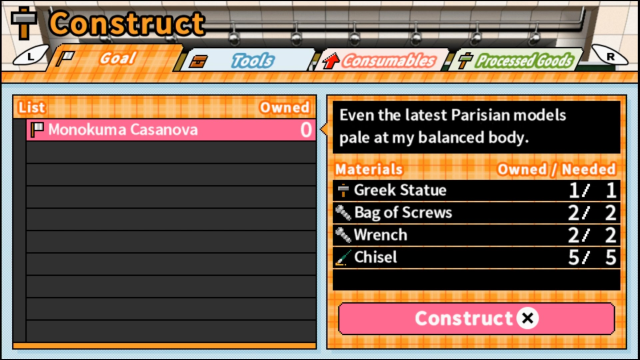 : This satisfies the requirements for the Monokuma Casanova and we can turn it in.
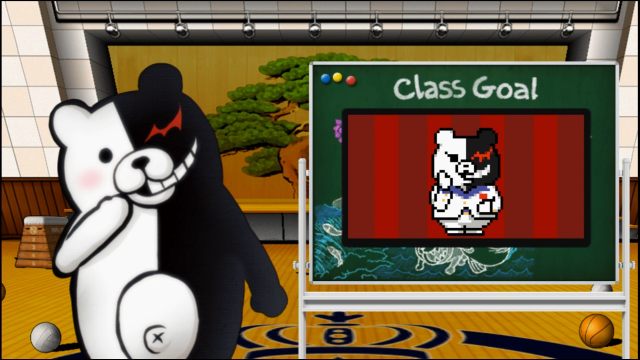 : Hmm... A casanova's supposed to be good-looking, right? Is this good-looking...?: Subjective opinions aside, you created the backup and completed the assignment, so...lemme give you some tickets!
 : You received 5 Trip Tickets.: Monokuma's never impressed by what we make for him, but he'll always reward you with Trip Tickets.: So that was the tutorial Backup. Let's see what Monokuma wants us to make for real this time without assistance.
 : Um, okay. So, the next concept is...
 : ...the same thing! Do it right this time!
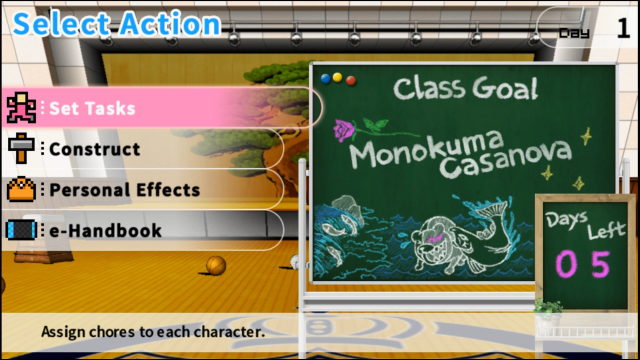
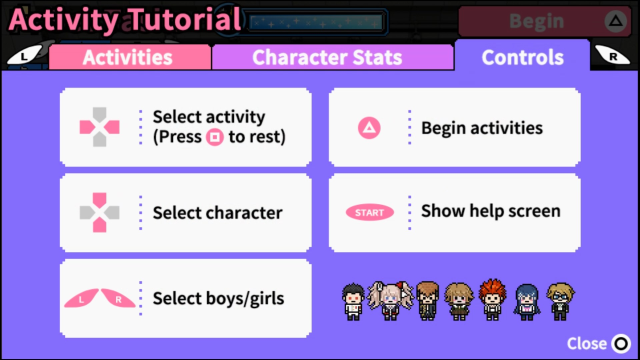
 : This is the main menu for School Mode.
-Set Tasks allows you to assign students to tasks for that day.
-Construct is where you go to build items and complete your goal.
-Personal Effects allows you to review your collected items and distribute Consumable items.
-e-Handbook is just the standard pause menu.
: If you're not really sure what to do, the game helpfully pops up a tutorial when you select Set Tasks for the first time.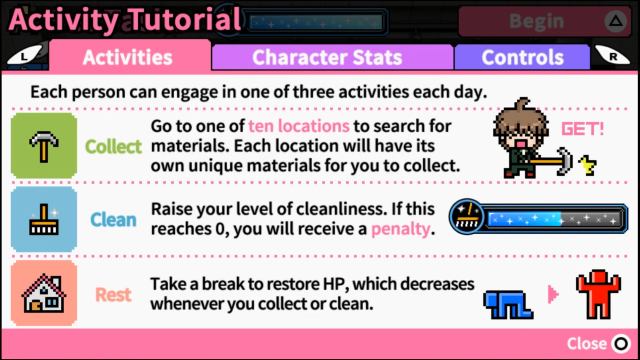
 : So as the tutorial explained you can assign individual students to a variety of tasks. You generally want a majority of students to be Collecting materials every day with a few of them doing the Cleaning. If anyone's HP has the tired blue icon, you'll want them to Rest for the day. If they don't, and their HP goes to grey, they will have to rest for three days to fully recover, and you won't be able to use them for that whole time. You might have 15 students, but it's surprising how big an impact missing a student has on your overall ability to get things done on a time limit.
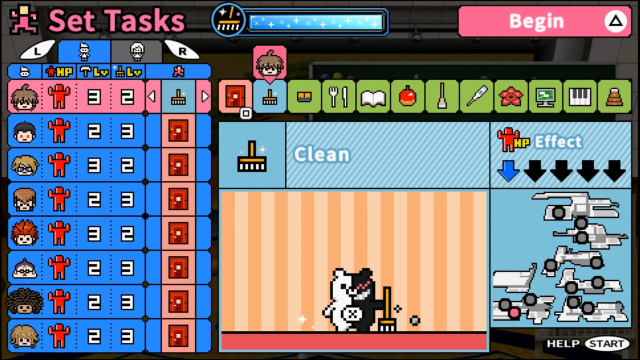 : The Cleaning meter only decreases when the day changes. That means that when the meter is full, like on this first day or after you refill it with a consumable item, you don't have to have anyone clean that day.
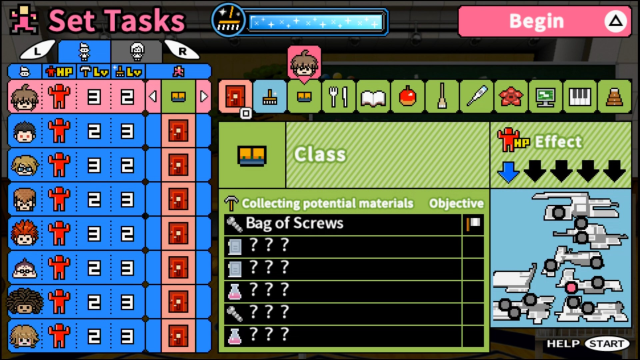 : HP decreases when you Clean or Collect. Depending on where you search for items, your HP will go down at different rates. The first three rooms decrease HP by a little...
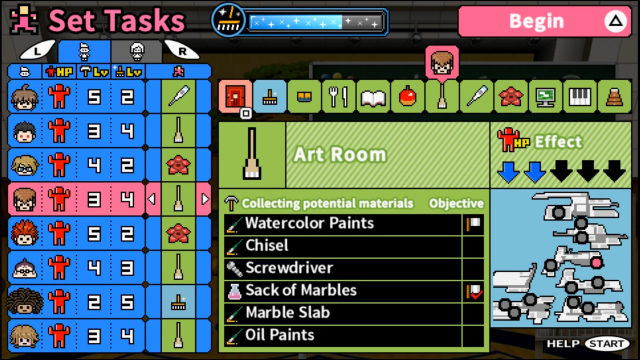
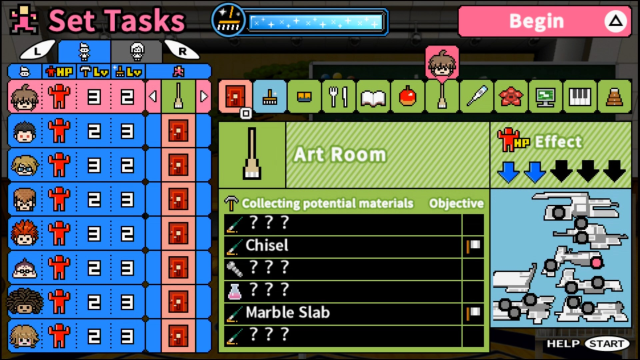 : ...the second three rooms decrease HP by a moderate amount...
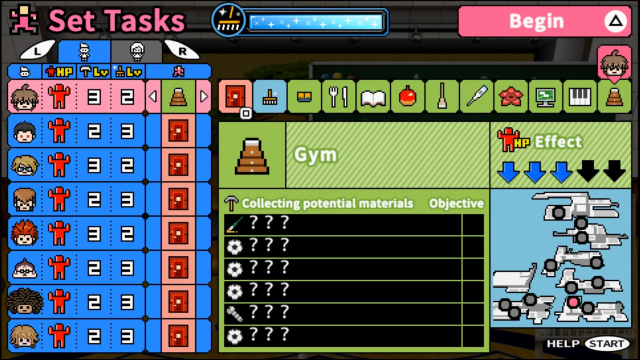 : ...and the last four rooms decrease HP by a lot. Learning to manage the HP decreases when you collect items is main challenge in this mode.: Every room has a different pool of items in it, so you'll need to visit a variety of rooms to collect everything needed for your goal. Thankfully, the game will call out necessary materials with a little flag icon. Additionally, and this part's important, the further down in the list the item in a room is the rarer it is. For example, there might be an item in a small HP decrease room that's a rare find but you can find it more commonly in a room with a larger HP decrease.
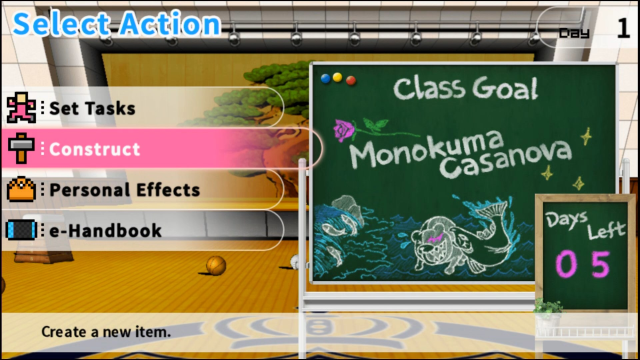 : Next the Construct option.
 : The first tab is the Goal tab. It will tell us what we're working to make and how close we are to making it. For this Backup, we need the items on the right. It's the same stuff as before, but now we need to actually go find it.
 : The second tab is the Tools tab. Here, you can construct some items that will help you by doubling the collection of different types of materials or making Cleaning more efficient. You can only make one of each and they typically take a large number of materials. They're the sort of thing you work towards after 15 days or so because that's when you really start having a surplus of some materials lying around. Just make sure you're not taking items away from the goal you're working towards.
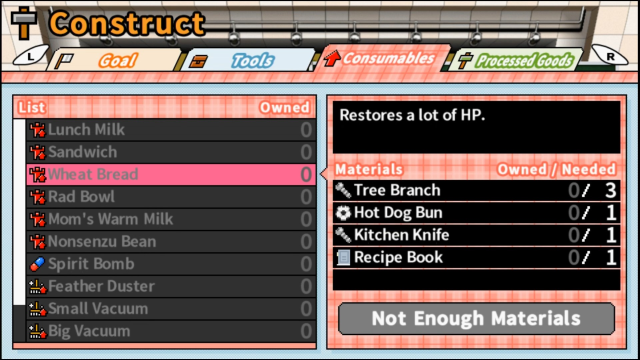 : The third tab is the Consumables tab. Here you can make items that will restore HP in varying amounts, revive people who hit grey health, increase the Cleaning gauge or raise the Collection or Cleaning levels of students.
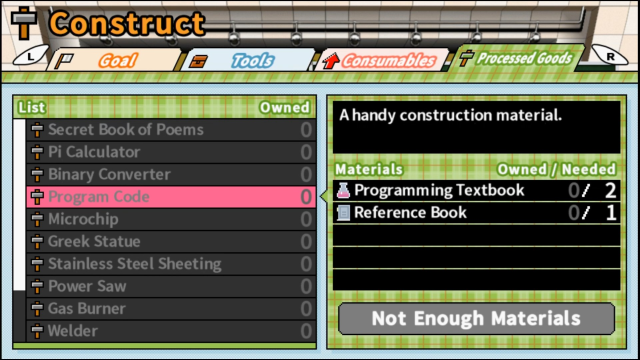 : The fourth tab is the Processed Goods tab. This is where you go to construct the intermediary components used in other items, like that Greek Statue we need for this task.
 : Next is the Personal Effects option.
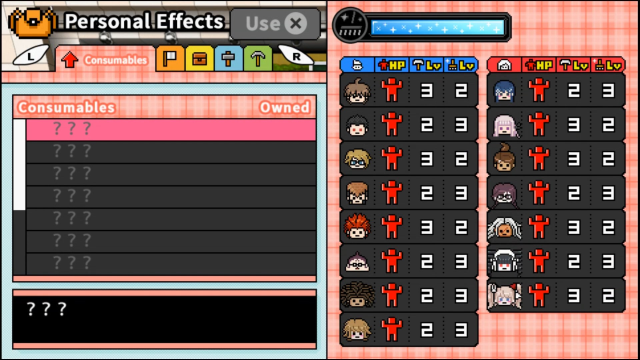 : In here, you can administer consumable items to the students as well as review their Collection and Cleaning levels.
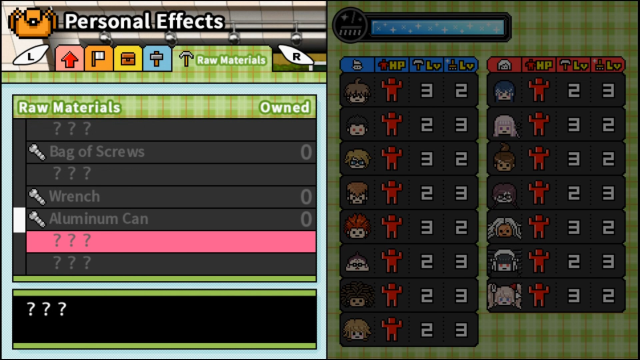 : You can also view all the items you've found or built here. It's the only place to see a list of your raw materials.
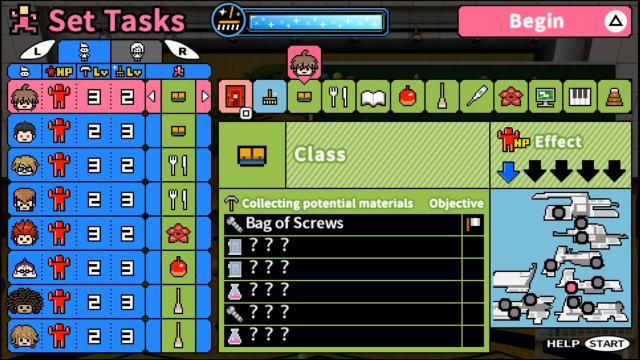 : Let's get started. For this first day, I've decided that since we don't need to assign anyone to Clean since the meter is full, we may as well try and find out what each room has in it.
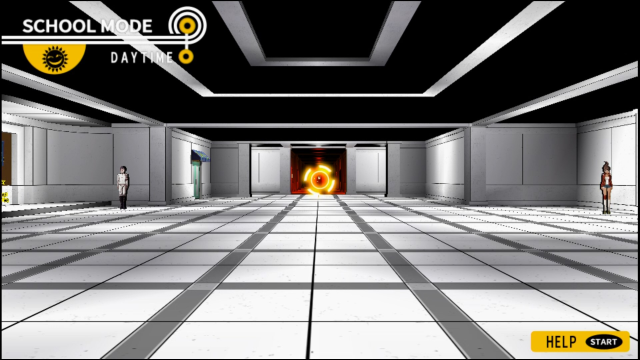
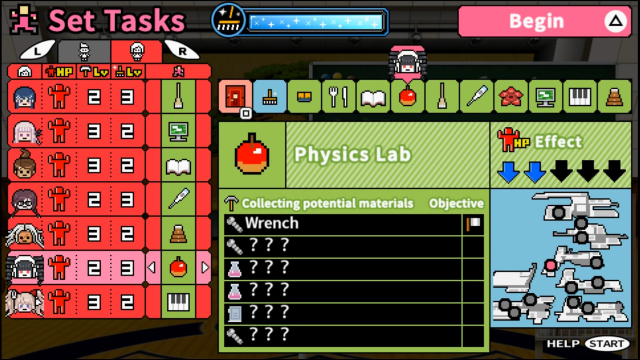 : I went ahead and assigned someone to each room, with a few rooms having multiple people assigned to them. Let's begin!
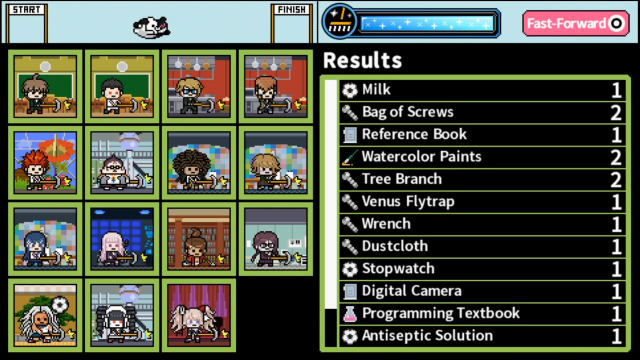 : Monokuma will slowly fly across the top of the screen to the finish line. The students will collect items or do their cleaning while he flies and stop when he reaches the end.
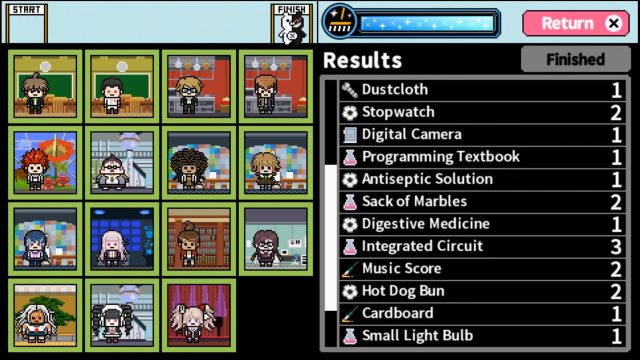 : When finished, you can scroll up and down the list to see what items were found that day.
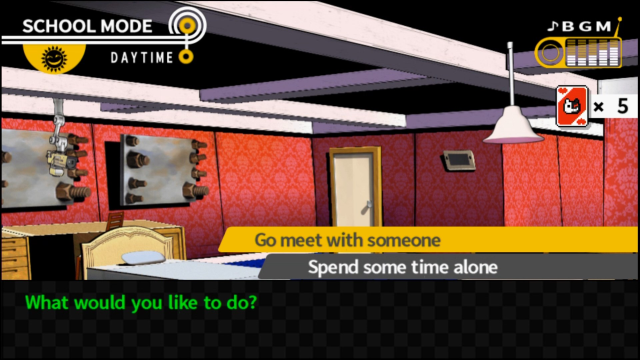 : After finishing the tasks for the day, you're kicked out into Makoto's room.
> Go meet with someone
 : This is where you can spend your time and view the Free Time Events you missed during the main playthrough. It's also where you can cash in the Trip Tickets you earn by completing Monokuma's goals.: Trip Tickets are used as an alternative to doing a Free Time Event with someone as part of getting the "true" ending of School Mode. You choose a character, go on a slightly different Free Time-like event, answer a question and try to raise your friendship levels with everyone. I won't be showing them off because honestly there's an entire small LP's worth of content to be found between the Trip Tickets and the extra content they unlock. Just know that if you want to unlock a bunch of extra scenes and some more "slice-of-life" dialogue with the other characters, School Mode and the Trip Ticket system has you totally covered.
 : Ahmm...this is a school announcement. It is now officially nighttime. Get plenty of rest and get ready to work hard again tomorrow. Okay then...sweet dreams, everyone! Good night, sleep tight, don't let the bed bugs bite...
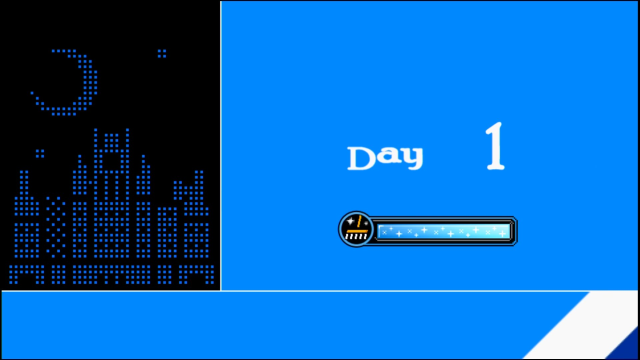 : After doing a Free Time or Trip Ticket Event, the day ends.
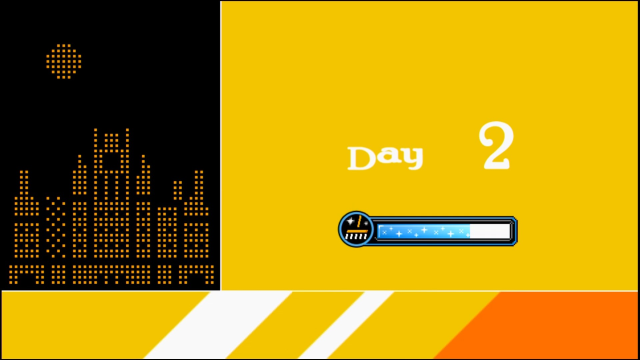 : A new day will begin and the Cleaning Gauge will decrease by about 30% of its total.
 : It's hot! The fortune I predicted for today is super hot!: Randomly, at the start of the day, one student may appear and give some line saying how good they feel.
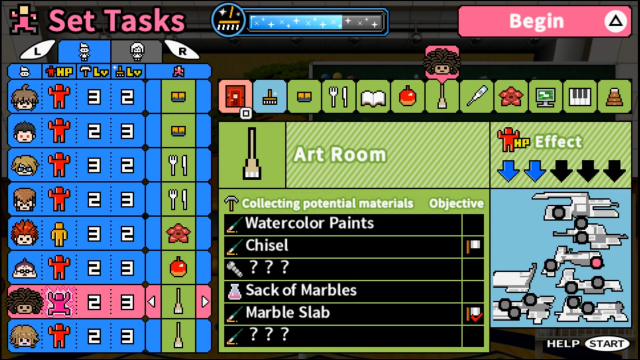 : What this does is give them Hyper energy for the next task they do. They'll collect items or clean at double the pace they normally would, plus it fully restores their HP, even if they were at blue HP the day before. It's basically a free Rest plus a bonus, but you can't count on it since it's completely random who gets it, and you're not even guaranteed to have this happen every day.: Also as a random event, Monokuma will sometimes appear and give you a few Consumable items.
 : The first day got us a few items, but nowhere near enough. The big thing we're missing is Chisels. It's not a particular rare find, but they can only be obtained in the Art Room, so we're going to send more than one person there in hopes of getting more.
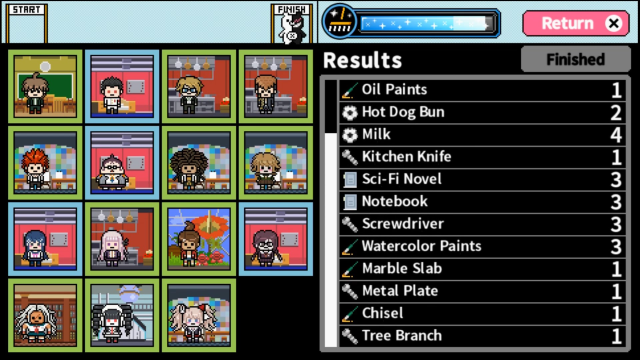 : Unfortunately, assigning four people to the room only turned up 1 Chisel and I need 7 in total. Since all collection is random, this is a possibility but it's a bit of a discouraging start, especially since I only have three days left to find six more of these things.
 : So...in the interest of showing something more complicated, let's take a look at the file I've been using all game to do the Free Time Roundups for the other students.
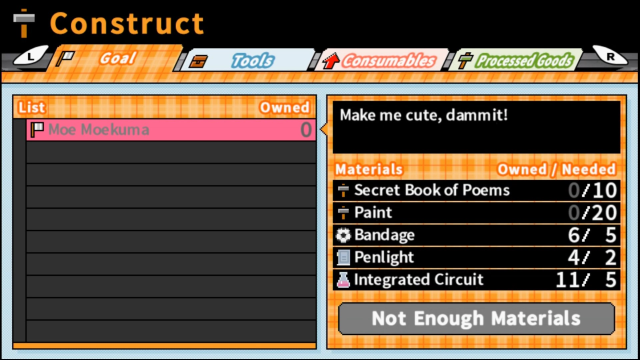
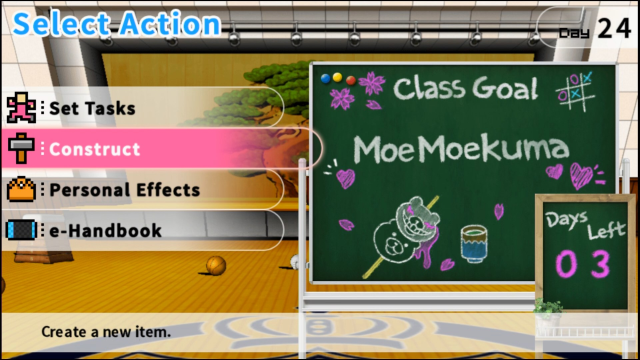 : This file is on Day 24 and my goal is to build a Moe Moekuma.
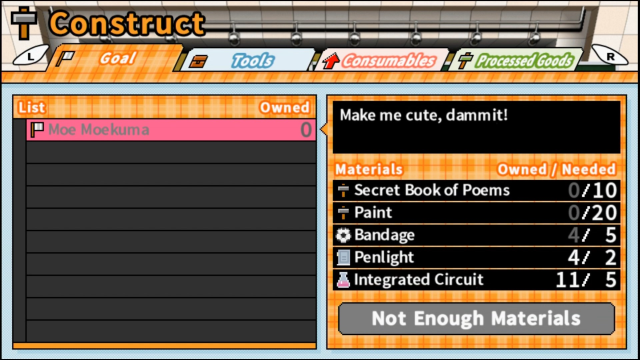 : While it looks like I'm nowhere near my goal, I don't actually construct the Processed Goods necessary for the goal until I'm positive I will have enough of the Raw Materials that make them up to actually succeed. As I've found it, there's no reason to make the actual Processed Goods until you absolutely need to since if you miss your goal but have already made the processed goods needed for it, you might be stuck with a bunch of materials you don't need any longer.
 : Secret Book of Poems requires Music Scores and Sacks of Marbles. As you can see, I'm mostly there to having the 10 required.
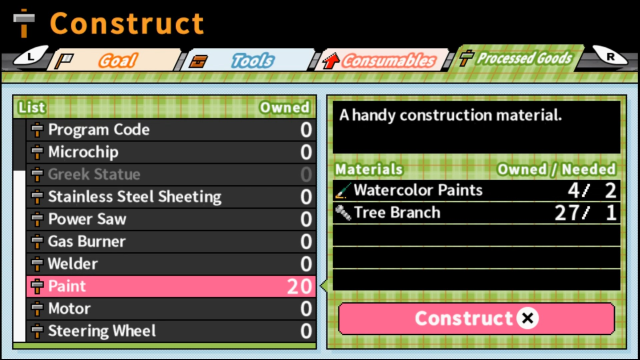
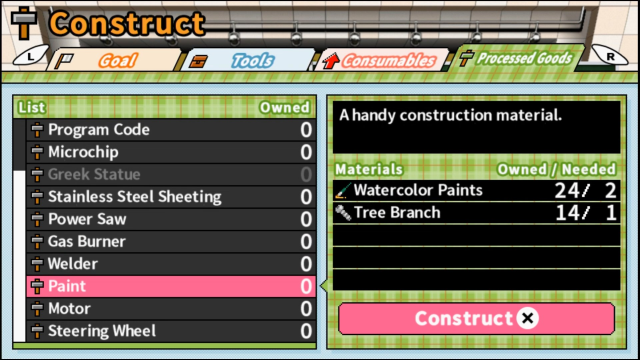 : Paint requires Watercolor Paints and Tree Branches. I'm not as close to having the materials for 20 of these yet.
 : I've actually accumulated most of the tools so far. This is very helpful because I'm getting double the items for everything but General category (the screw icon) materials.
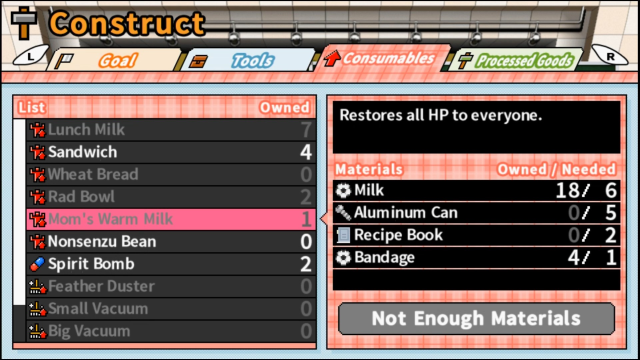 : Finally, in my Consumables category, I have a variety of items but the most important one is the Mom's Warm Milk item. This will fully restore every student back to full HP, making it a good "It's the 11th hour and I don't have everything I need and everyone is tired" item. I save it for emergencies but it's honestly not too hard to construct.
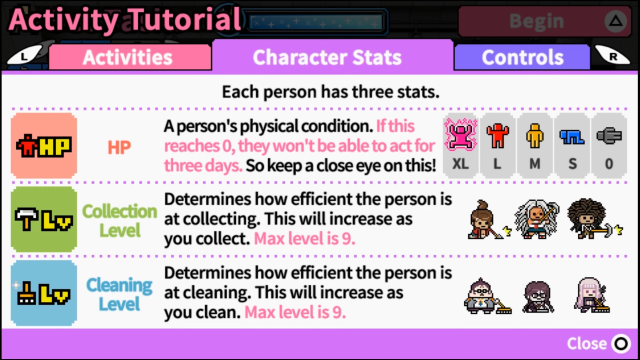
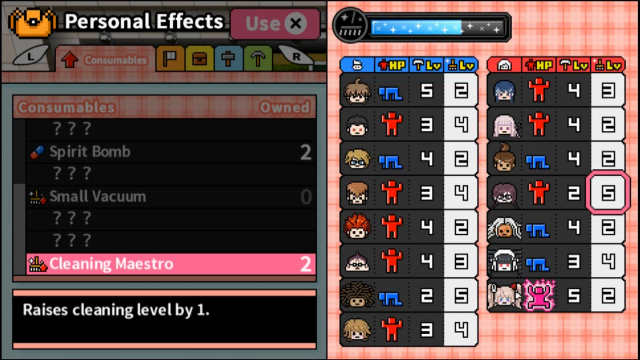 : Here's how the students are right now. You can level up their Collection and Cleaning levels over time by having them do those tasks continuously or you can use some special items to raise stats.
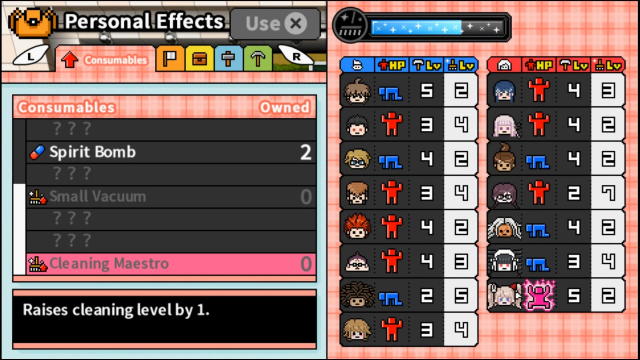 : I had two Cleaning Maestro items lying around that I got as a gift from Monokuma a while back. They each raise the Cleaning level of one student by 1. I'm starting to feel like I need to devote more people to collecting every day, but I've been worried about the cleaning level. As such, I decided to give both of them to Toko, since she had the most cleaning level, only tied with Hiro. She won out because he needed to Rest for the day.
 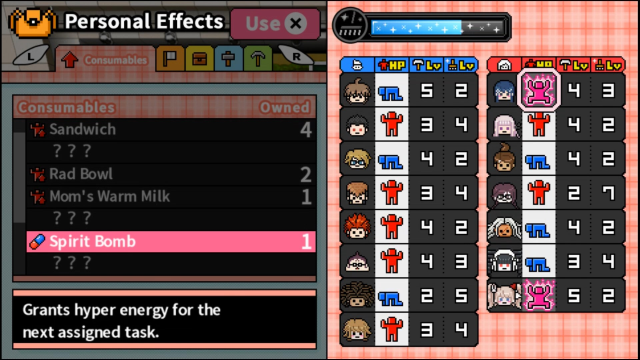 : Additionally, I used a Spirit Bomb item to give Sayaka Hyper energy for the next task. In retrospect, I think I could've given it to Makoto and revived him back to full HP instead of having him rest for the day but it worked out in the end.
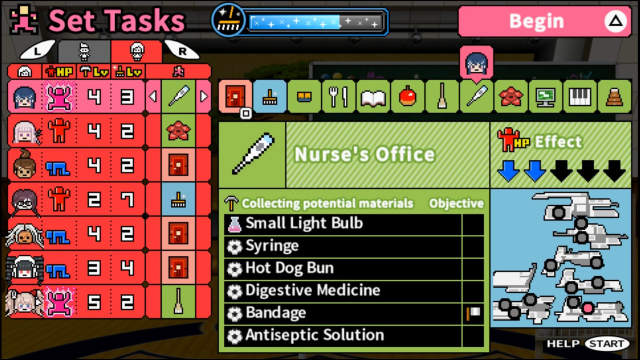 : My priorities today are primarily Watercolor Paints and Tree Branches. I also need to get one more Music Score and one more Bandage.
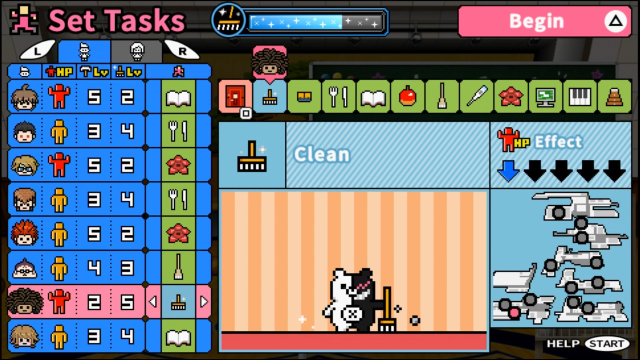
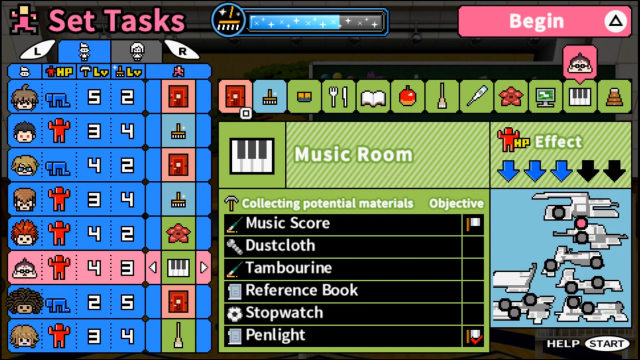 : My plan is to have everyone who has blue HP Rest, let Toko, Mondo and Taka do the cleaning, and have everyone else go collecting. I don't have many options here, but my hope is that I find the Music Score and Bandage today so that I can stop having to send people to the Art Room and Nurse's Office respectively.
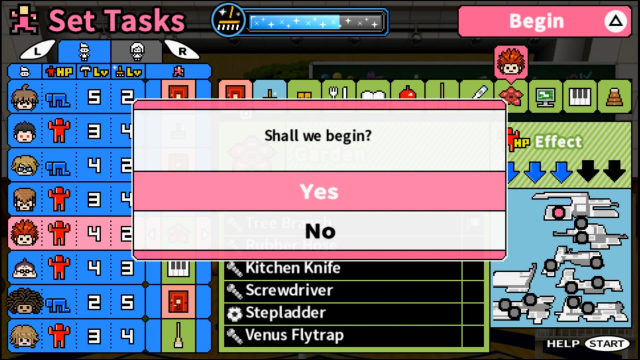 : Let's do it.
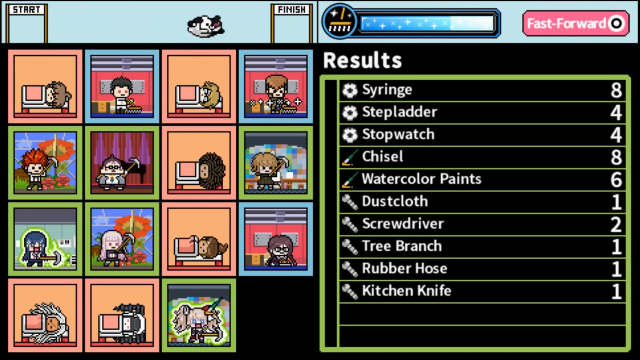
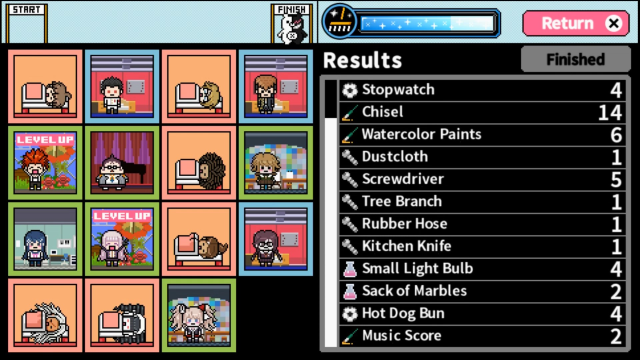 : Well, I didn't get a Bandage, but I did get a Music Score. I can tick off one room from my list. You can also see that Leon and Kyoko leveled up their Collection stat.
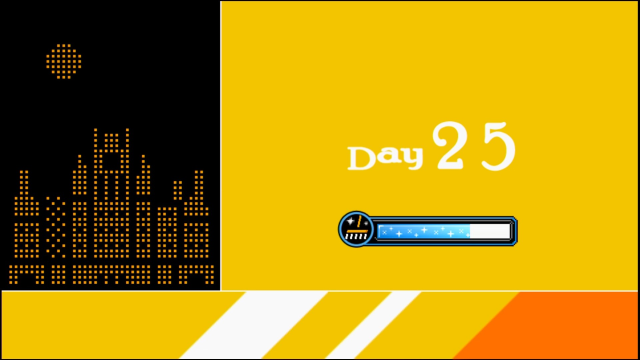
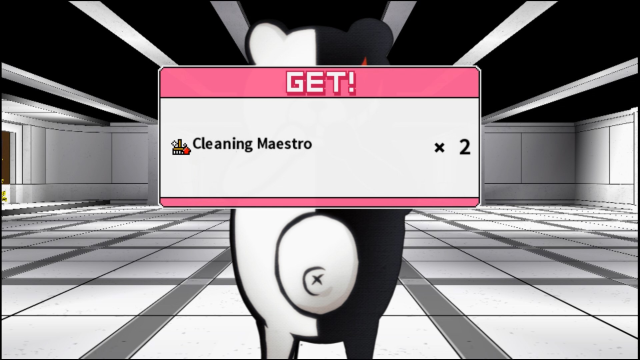 : Day 25 has arrived and Monokuma has gifted me 2 more Cleaning Maestros.
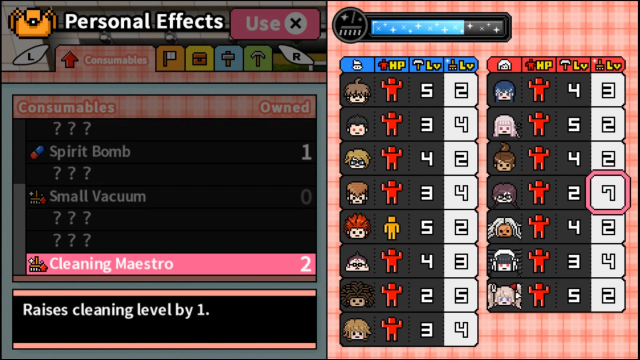 : May as well use them on Toko. I'll be able to lessen the number of people doing cleaning even more.
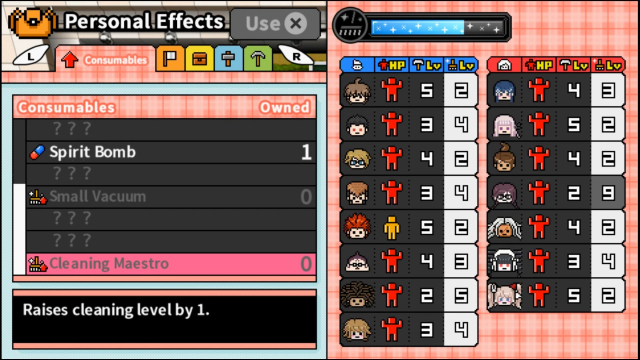 : 9 is the highest you can get a skill level. I also gave Leon a small HP restore item.
 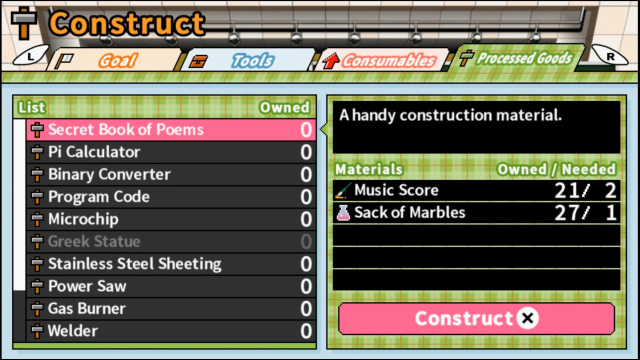 : I now have enough materials to make all 10 Secret Book of Poems that I need but I'm not going to construct them until I have the materials for the whole thing.
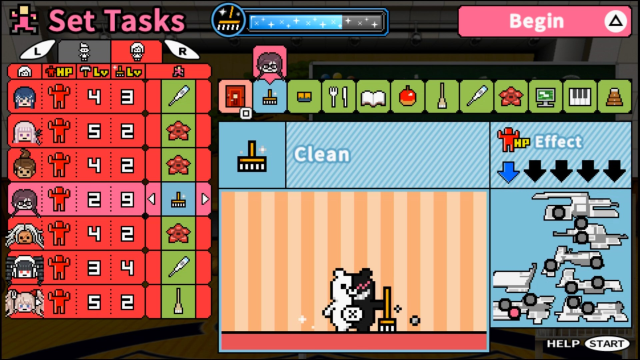
 : Now that everyone's rested up and at max HP, I can focus entirely on getting tasks accomplished. My priority is Watercolor Paints and Tree Branches, but I still need one Bandage from the Nurse's Office. Just to better ensure I find one, I assigned three people to the Nurse's Office. The others have been split up to try and balance finding the other stuff.
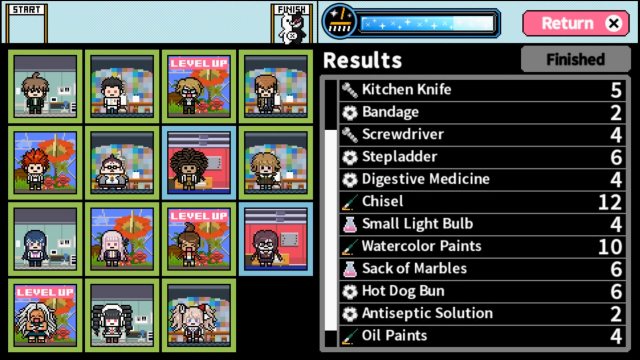 : Got the Bandage, more Watercolor Paints and more Tree branches. A few more level ups across the cast too. These will help.
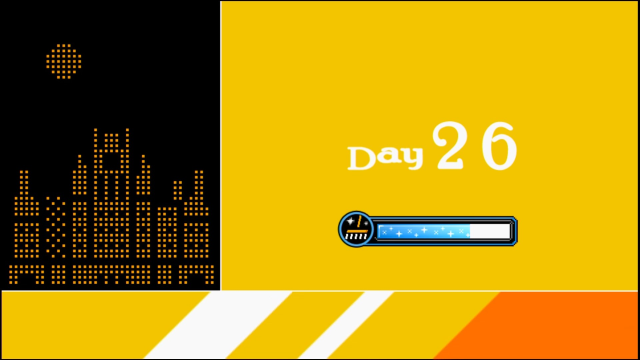
 : Day 26 and Kyoko woke up feeling pretty good. Today's the final day before I have to turn in the project.
 : I'm so close to completion. Literally just the one Tree Branch and I'm done.
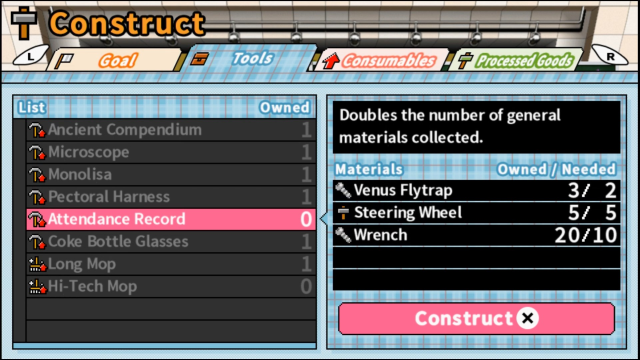 : I made sure to double-check first, but I have enough materials (and none of them conflict with the materials I need to complete my goal) to create the Attendance Record. It will double the amount of General items I find.
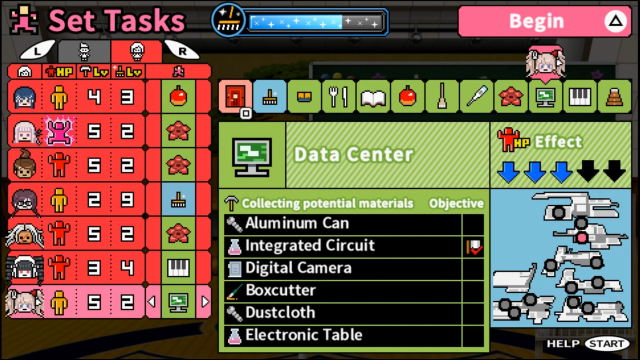
 : I need one Tree Branch to finish the whole thing so I set a bunch of people to search the Garden just to make sure I find it. The rest of the people were sent to random rooms to just generally increase my overall materials.
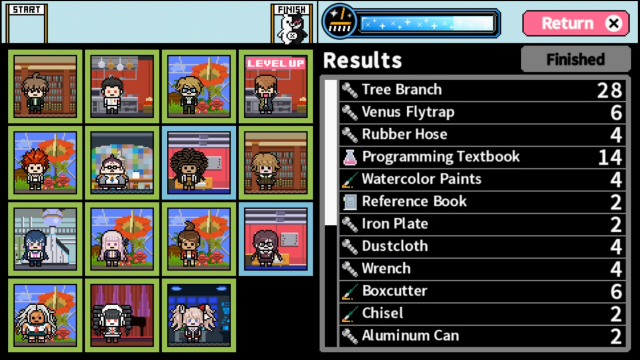 : Well, I certainly found that Tree Branch.
 : Day 27. Review day. Before you can do anything else, a window will pop up requiring you to hand in the item.
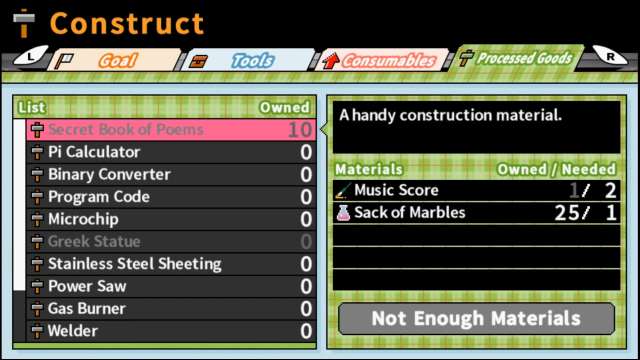
 : I went ahead and constructed the Processed Goods needed for the finished product.
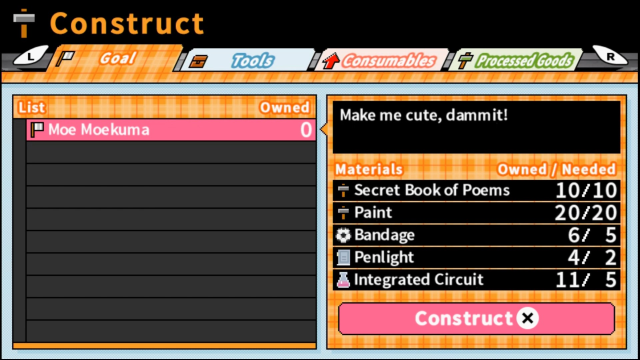 : And there we go, one Moe Moekuma.
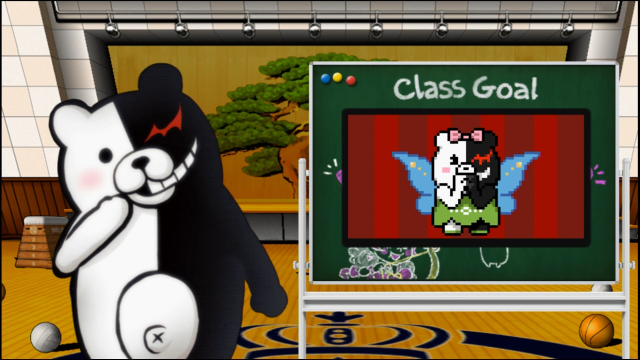 : This is...moe? It's got a certain cuteness, I guess. But...
 : But something about it is off! It's wrong! So DO IT OVER!: It's a total failure, but you did technically finish your assignment, so...I guess I'll give you some more tickets!: You received 8 Trip Tickets.: My hard work is never appreciated by this
 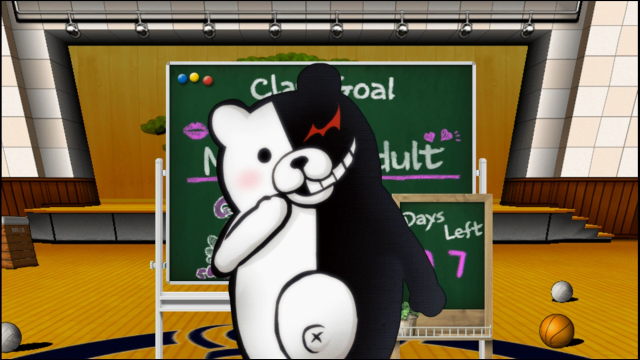 : So, the next concept is...
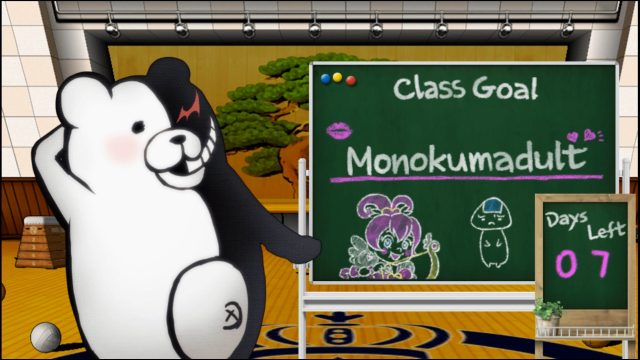 : ...right here!
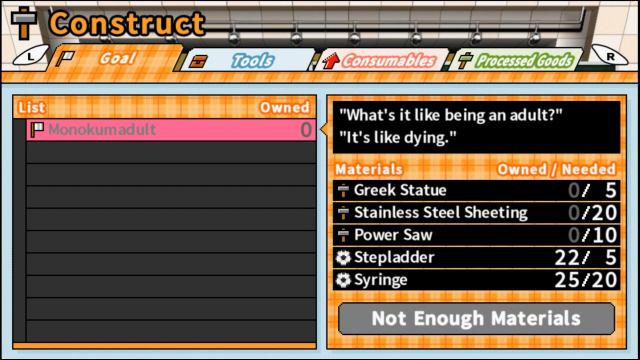 : That's a lot of processed goods that I'm going to need.
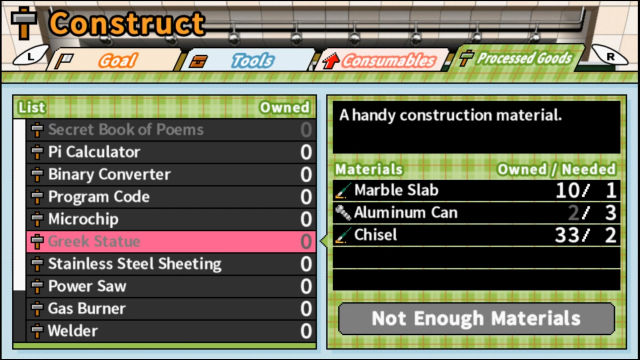 : I'll need some Aluminum Cans...
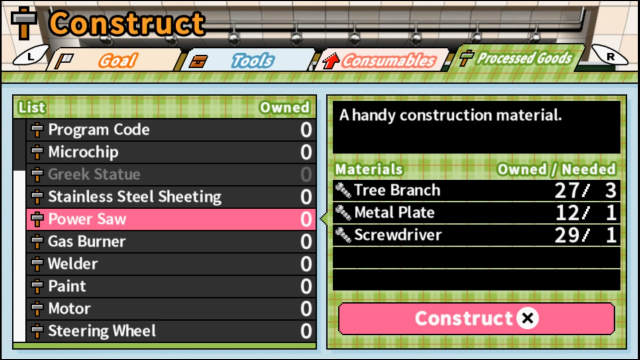 : I just need a few more Tree Branches after finding so many last time...
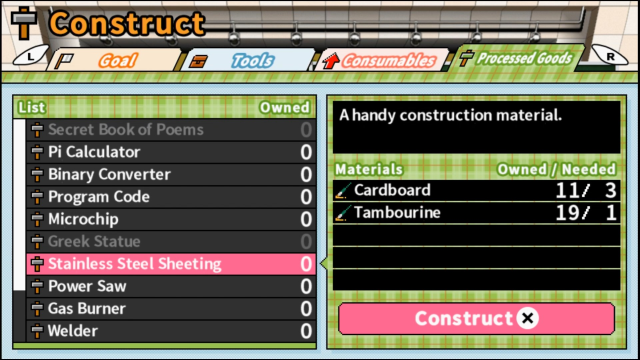 : ...That's a lot of Cardboard that I'm going to need. I'll need a total of 60 pieces. It's a pretty common item but it's found primarily in the Gym, a high HP reduction room. Looks like I know where I'll be sending the majority of people this time.
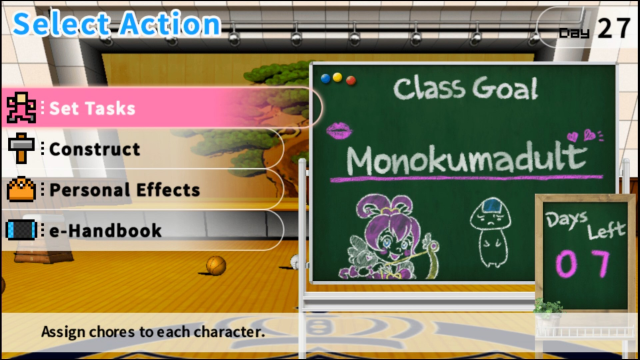 : So that's School Mode in a nutshell. It's a fun little game to mess around with once the main game's over. Once you reach 50 days, you'll get a special ending based on if you finished all of Monokuma's goals and had everyone's Report Cards filled out to max or not. There will also be special individual character endings if you maxed out their friendship using the Trip Ticket system. You can also choose to do New Game + and turn back to Day 1 while keeping your Cleaning and Collection levels. Play through enough times and you'll be able to see everything, but that would probably take three or four playthroughs, something I do not have the time or willpower for. I know I left a bunch of stuff out or skimmed over some aspects but if I went any more in-depth I may as well start a whole new mini-LP just based around this mode.: Next time, we'll start the Free Time Roundups for the surviving cast.