Part 2: "Just like always, she carried her favorite book..."
Chapter 02: "Just like always, she carried her favorite book..."(The Demon King's Castle, Nana 1)

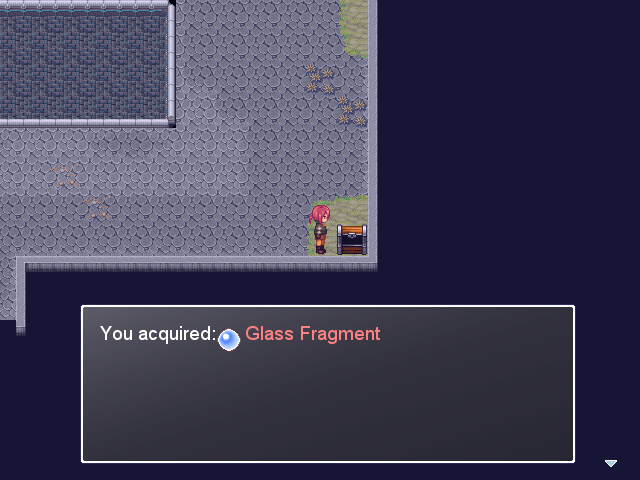
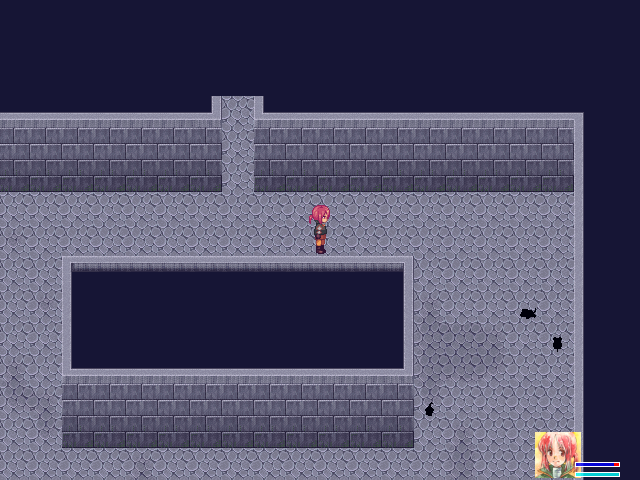
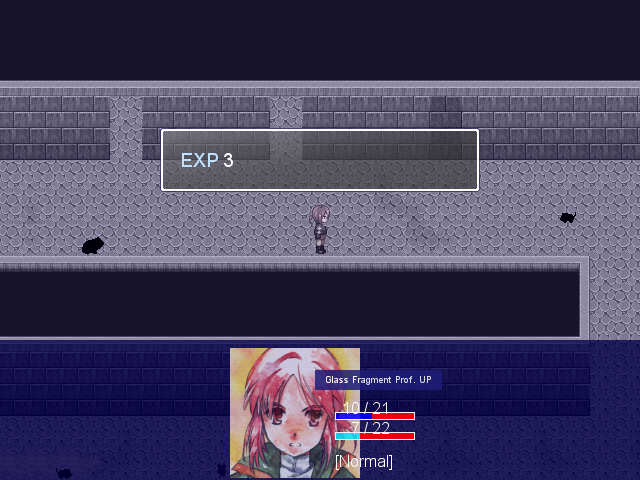
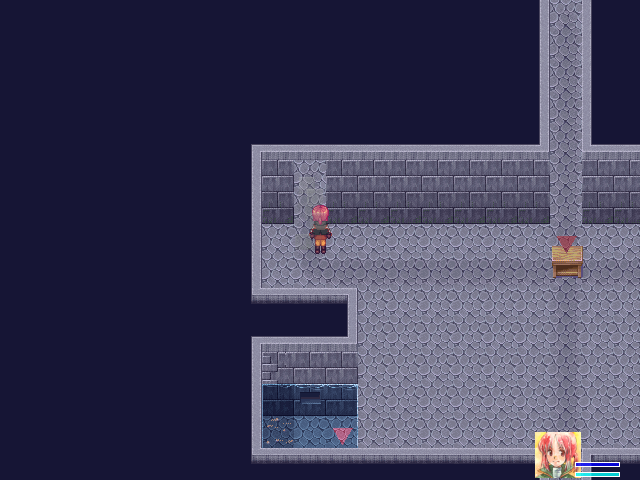
Just inside the Demon King's Castle is this chest. 2/3 of the way to a new Empty Bottle!

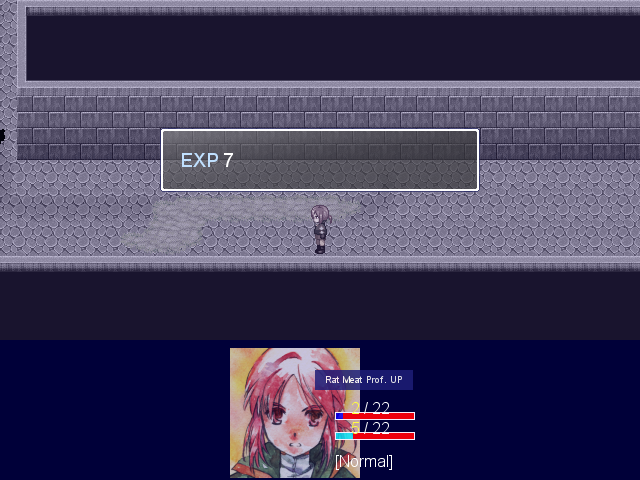
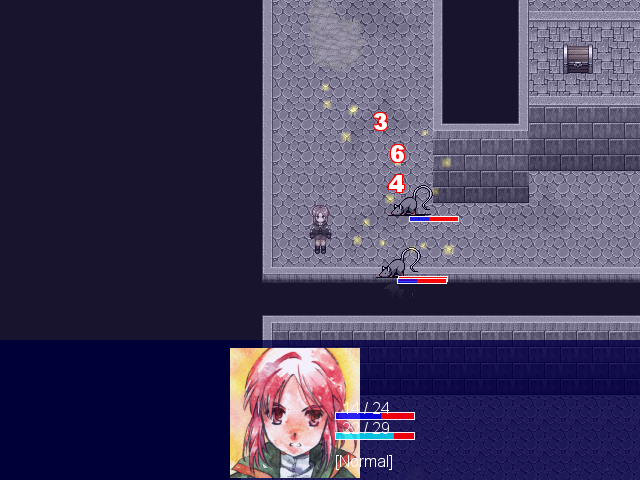
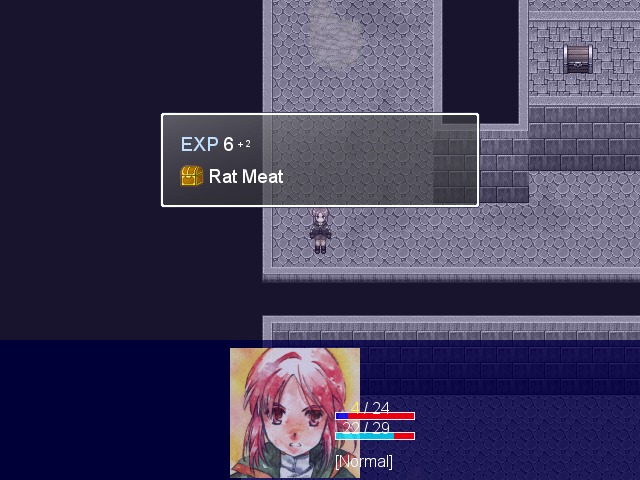
The enemies here in this early part are just the same rats as outside. If you manage to kill one rat in two turns, you can heal back all the damage they do.
Why hello there. That's... quite a mask.
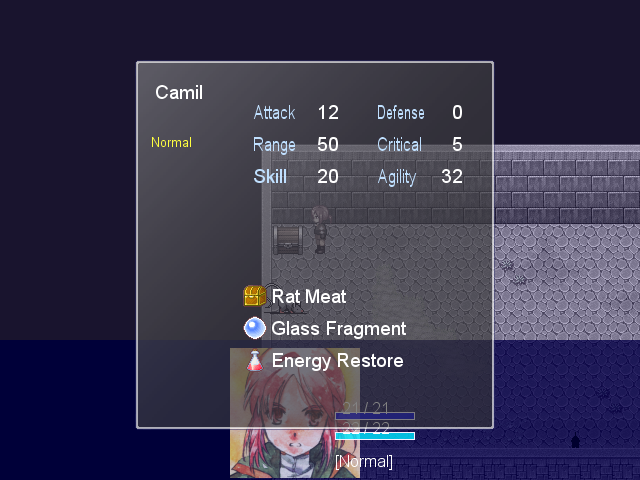
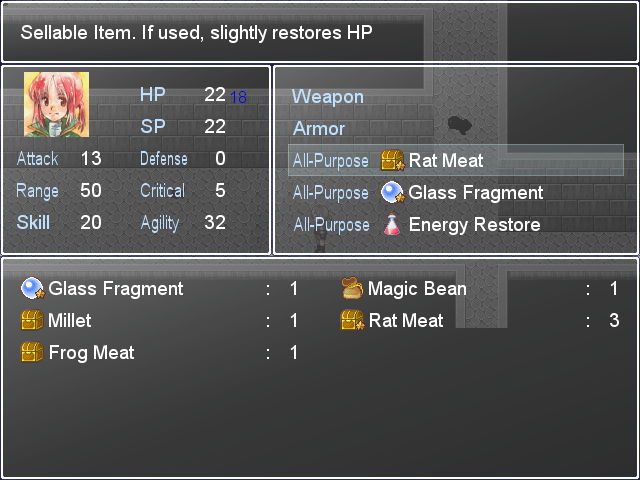
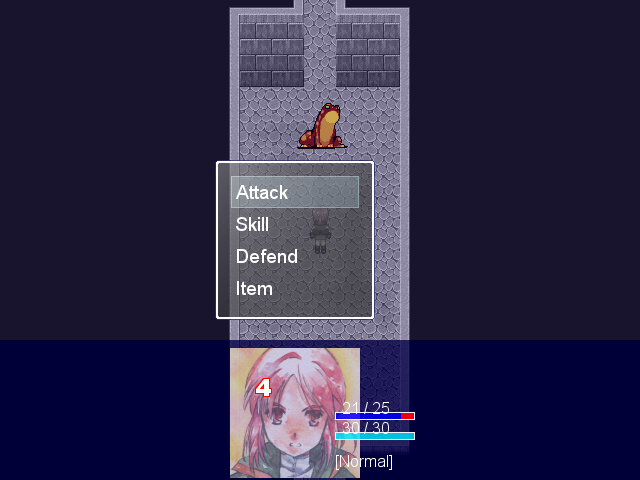
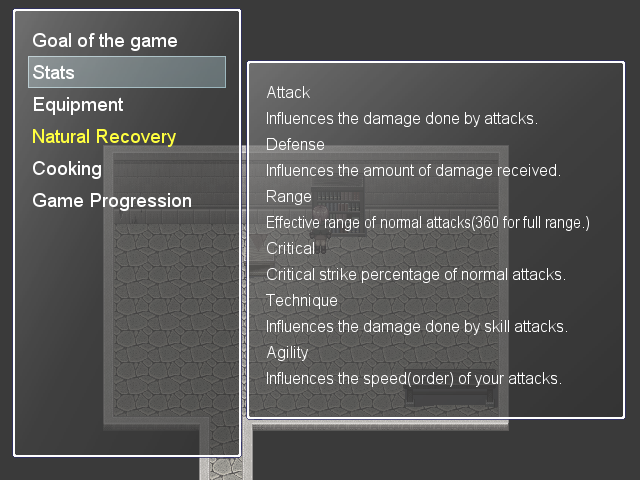
You can hold X to see your status menu in battle, by the way.
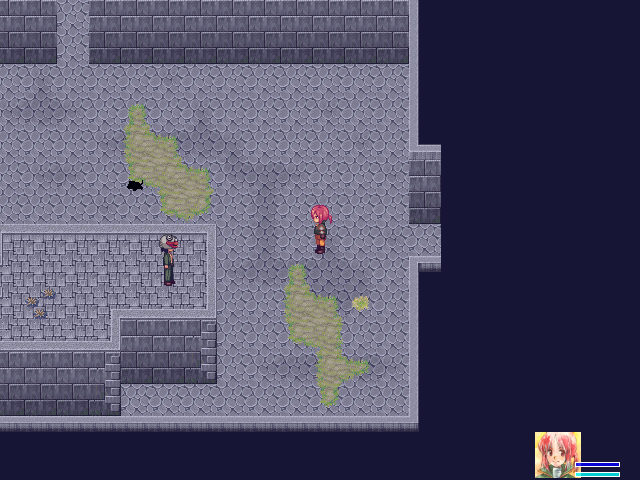
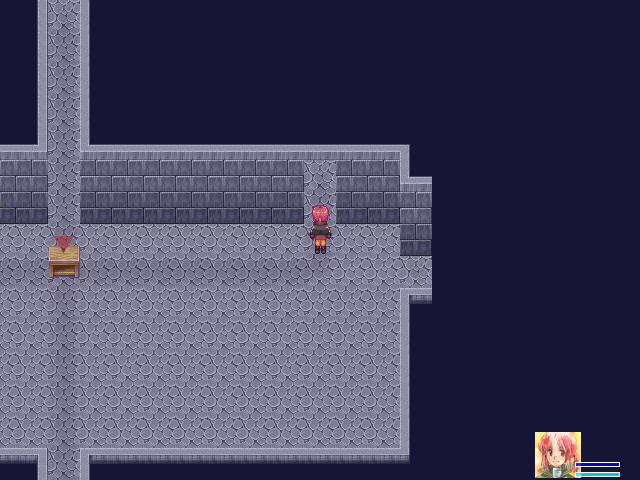
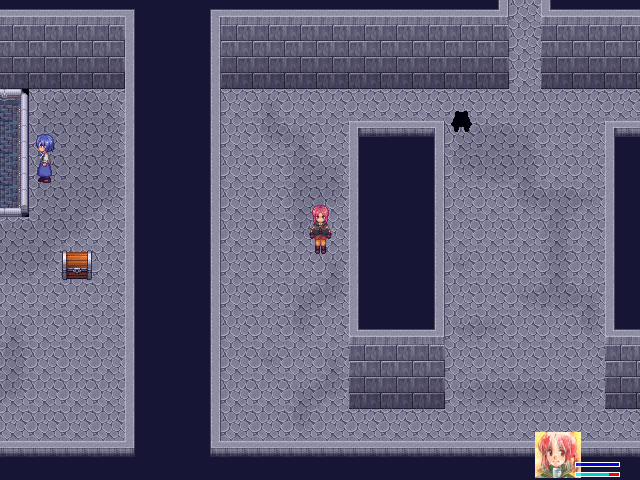
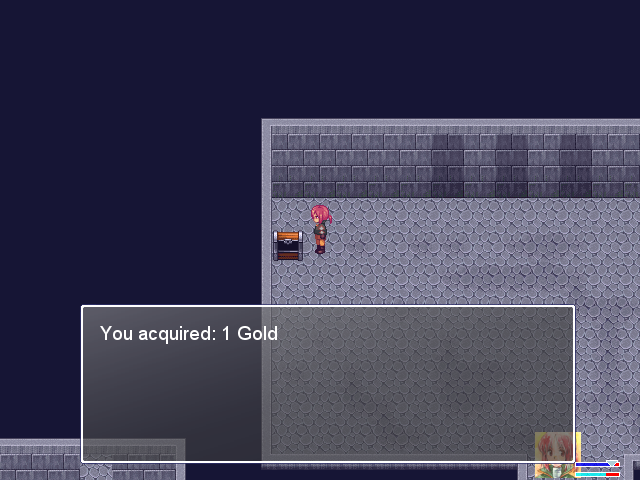
This is the left exit from the previous room. There's nothing there besides this chest, which contains... 5 gold. Underwhelming!
You'll also notice the raised exit to the left. The Demon King's Castle has two entrances; it'll be a while before we can access the second one and talk to Mr. Mask up there.
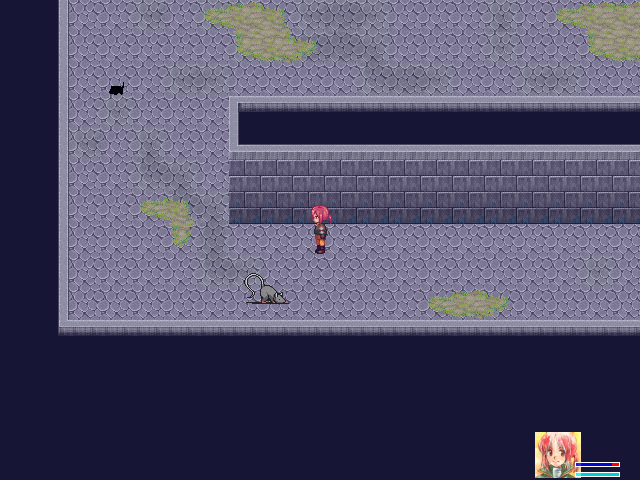
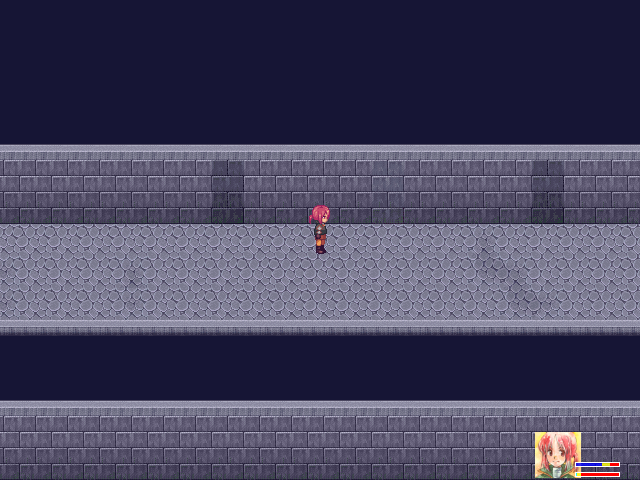
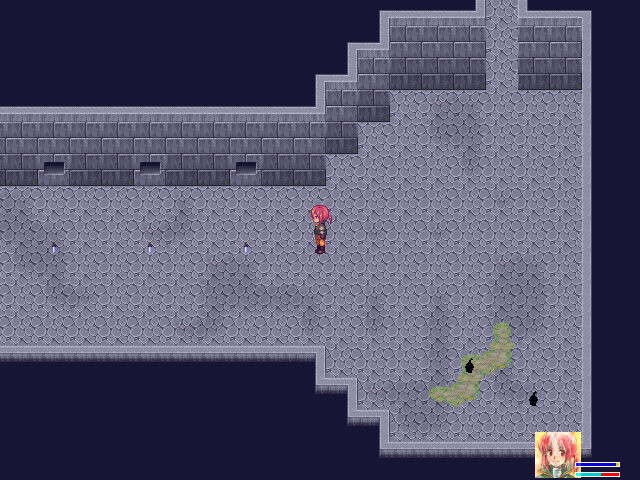
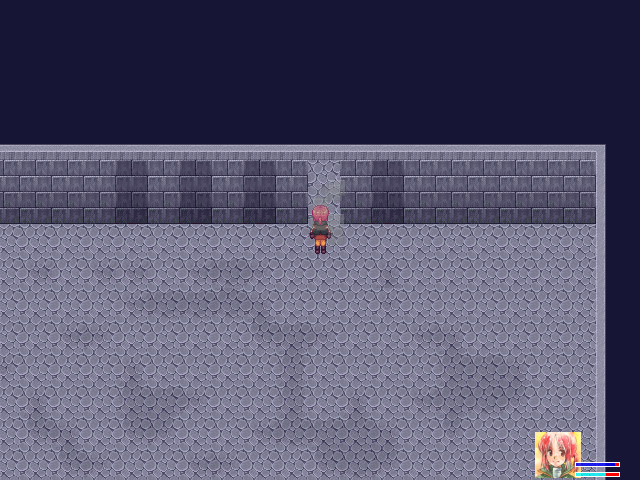
A couple screens onward. They do force you to fight at points; Camil's fight start radius is about the height of this hallway, for reference.
In other miscellaneous numbers, the time it takes to heal from battles is about 1 HP+1 SP per second. The exact amount of regeneration is difficult to pin down, since it's percentage-based until a certain cap. The SP cap is easy to identify, at least--3 SP. It's not very much.
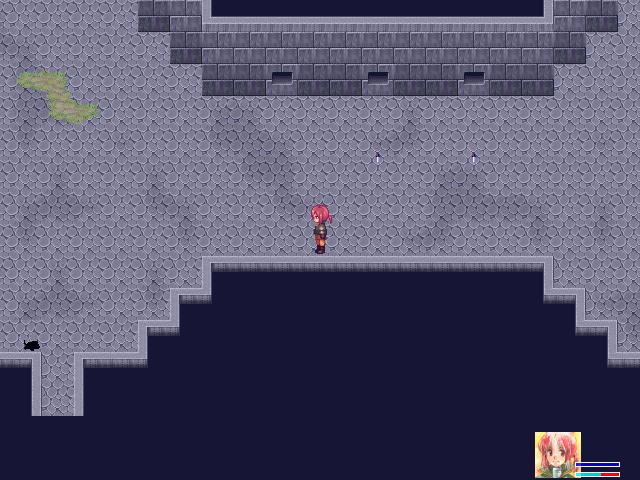
This is not really a game where you should be fighting everything; two rats is still a "should probably use Fire Wave" threshold at this point, let alone three. When the game lets you go around like this, go around. By the time three rats is easy, three rats won't be worth it.
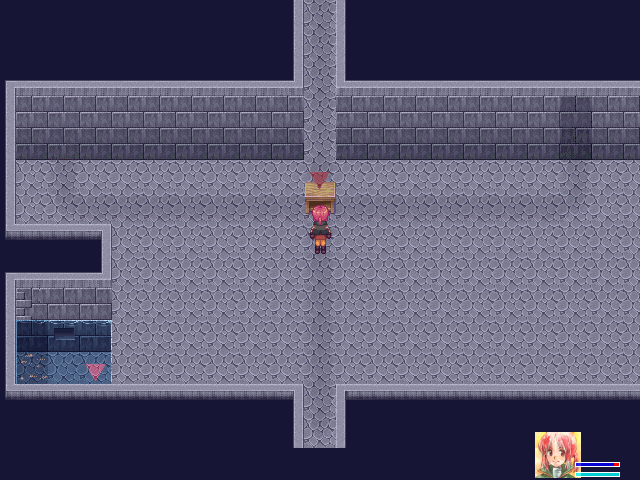
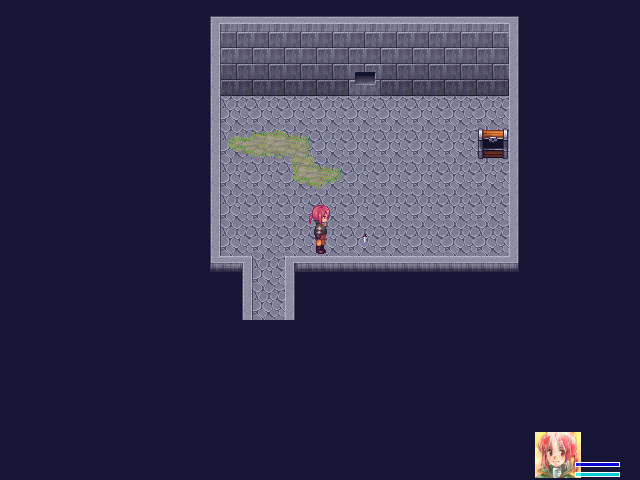
But if you go up one more room, you'll find the first non-Nest save point and spring. This means the three-rat group below is pretty good for grinding, if you're so inclined; enemies respawn once you go off-screen.
The obvious fake wall can be examined to clear it, leading to a short passage...
...that brings you back to the Nest. This lower room is where you can access all of your shortcuts.
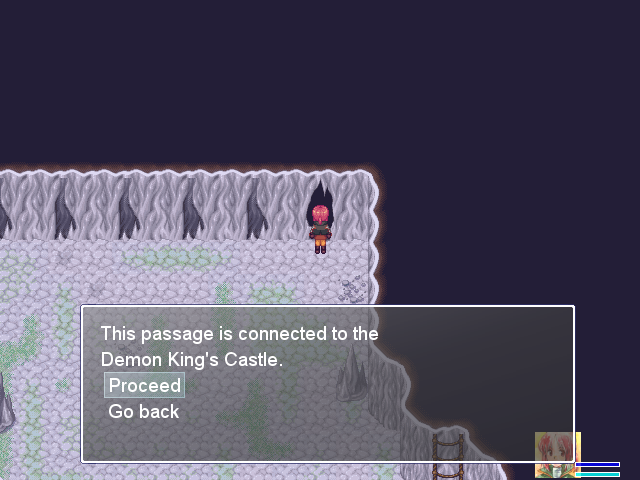
They're very helpful about it, too. (Oddly enough, you can cancel out of the dialogue and walk up to the actual hole, but this doesn't do anything. You have to pick "Proceed." Programming!)
Back in the Castle's save room, up leads to a boss. Let's not; we haven't explored the rest of this place.

The way to the right of the save room has the first new enemies of the area. The Frogs have 15 HP (one Fire Wave, one hit) for a minimal reward (3 EXP instead of 2!) and hit fairly hard. Every non-boss enemy in the game has a drop; just as the rats drop Rat Meat, the Frogs drop Frog Meat, which gives 2 HP and 2 SP. Notably, they're also the first enemy with different movement patterns: most Frogs are aggressive, and if you're in their line of sight, they'll chase you. Not these ones, though.
While the Frogs are not that rewarding to fight, there are two more obvious fake walls with treasure chests above them. But since they'll still respawn after you exit, you'd better make you can fight Frogs several times in a row before you try to go for it.
The left and right ones both have 5 gold.
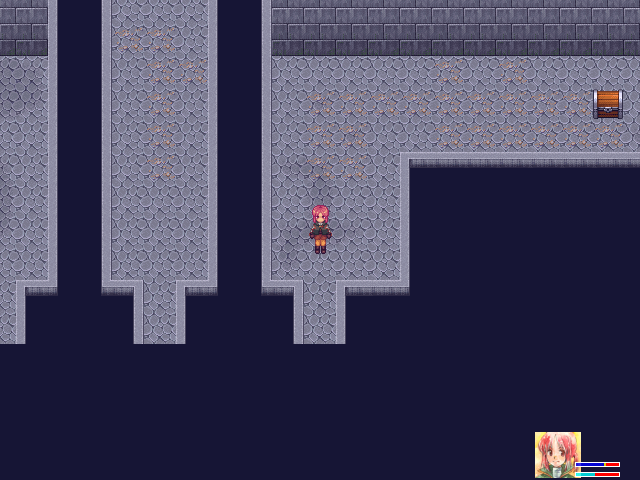
Wait a moment. Aren't there three hallways here?
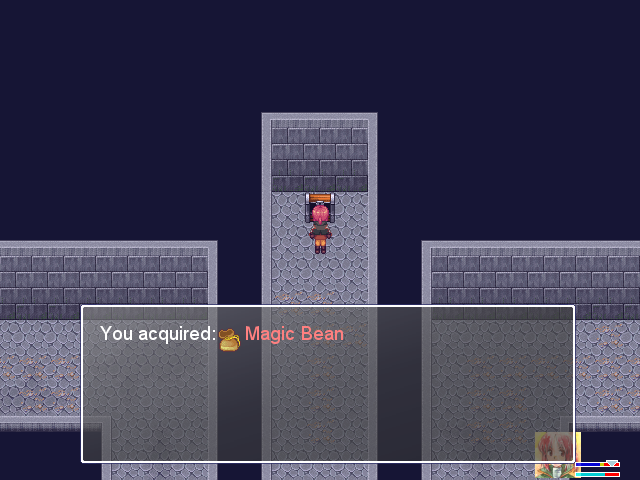
There's a non-obvious fake wall here between them. It contains the first Magic Bean. We could use it on the area to the right of the Nest's entrance, but it's best to save it for now.
Plus, they give 4 HP and 3 SP when equipped. That is a lot for this point.
Fighting a Frog on the way out also shows another one of the game systems: all items level up when used. Generally speaking, it's about a 20% of original bonus per level, and if it's less than 1 it rounds up--so the Glass Fragment at level 1 now gives 2 Attack, and it'll give 3 and 4 at levels 2 and 3. An item can level up a maximum of three times, and it's based on number of fights, not fight experience.
That said, there are exceptions. The exceptions tend to be very, very good.
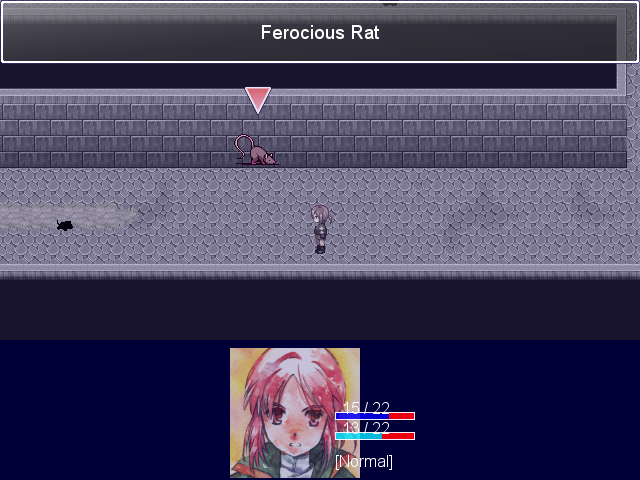
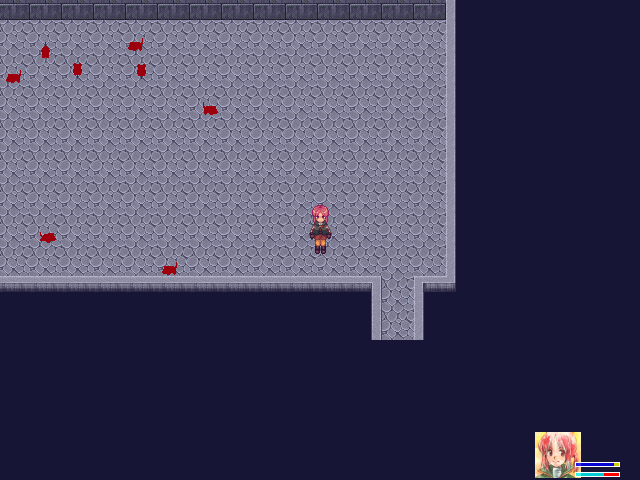
The Ferocious Rats don't look any different, but they have about 20 HP, do 3-6 damage per attack, and will wreck your shit if you are unlucky.
As shown.
Can't say the experience is worth it, but it's very good for this point. Their drop is the Rat Whiskers, which gives +5 HP and +2 Critical; I wouldn't have equipped it even if I got it here.
Red enemies are usually the strongest enemies in an area, but unlike black or blue enemy types, most do not respawn until you leave the area and return. It's worth it to kill this enemy once, since the healing spring is in the same area.
(You will eventually notice that nearly every single area after the Castle either has its healing spring at the end or forces you to cross another zone boundary before you can access a healing spring. The red enemies respawning selectively is a reward for courage, not an exploitable advantage.)
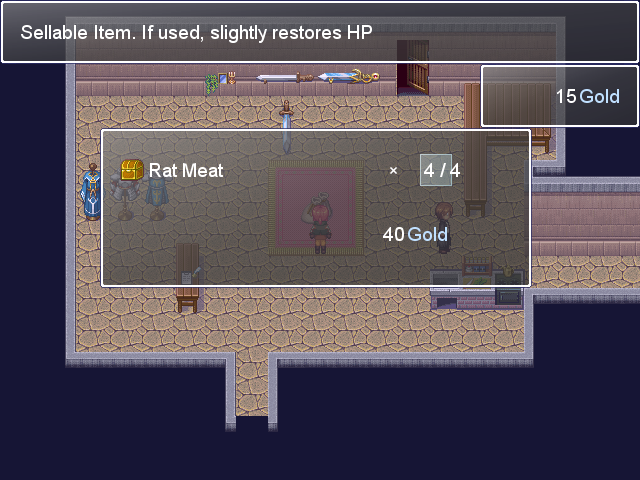

Enemies don't drop gold, so selling items and opening treasure chests are the only ways to get gold. Selling every bit of Rat Meat I've found so far gives me just enough to buy the first armor in the shop, the Fine Pajamas.
Generally speaking, though, you don't have the money to buy many things from the shop. There's another cash sink available, and it's expensive.
There's also one interesting wrinkle with Weapons and Armors:
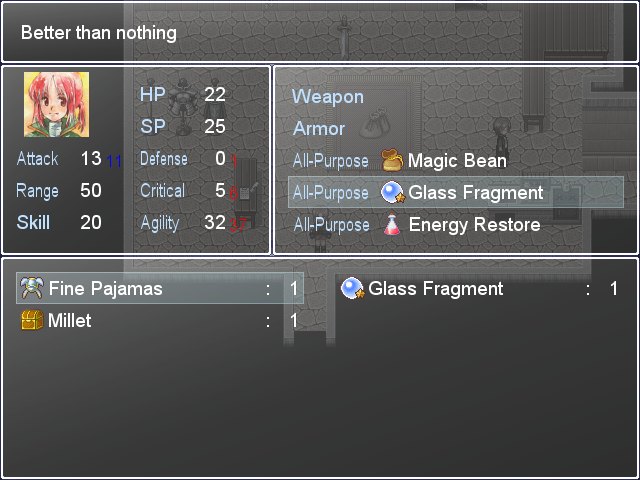
I did say everything can be equipped in the All-Purpose slots... But you can't level up Weapons and Armors if they're in the All-Purpose slots. You need to have them in their proper slot first, at which point the levels will carry over to All-Purpose use.
As a result, a lot of weapons and armors have very good equip stats and abilities in the All-Purpose areas.
The bookshelf has updated!
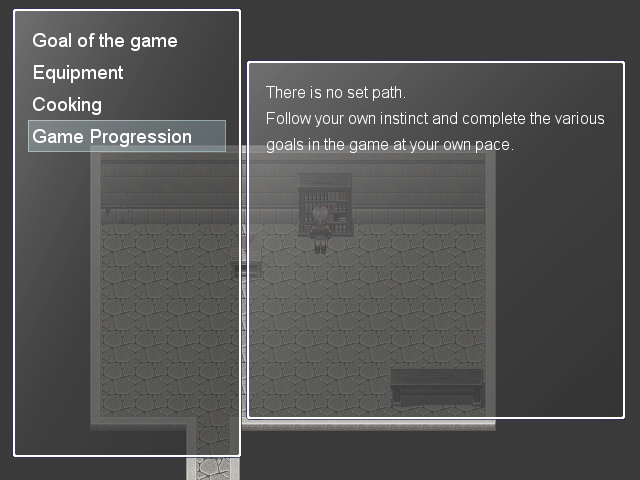
This is basically untrue. There's generally two or three ways to go, but one of them is "doable but hard" and any others are "head into wall, repeat." The Seashore spends half of the game being the most obvious example of this.
2 Defense seems to reduce incoming damage by 1, at least for now. It's helpful. It's also worth noting that since the leveled-up Glass Fragment lets Camil always kill a rat in two hits, any single rat is basically free HP/SP regen at this point.
To the lower-right of the hallway with the three fake walls is another fake wall, with...
There's a treasure chest past that. Now, we could fight them all one at a time and head back to heal after every two or so, but it's really not worth it--drawing two of them would probably merit a reset and they're pretty densely packed. Plus, the treasure sucks.
We'll be coming back for that later.
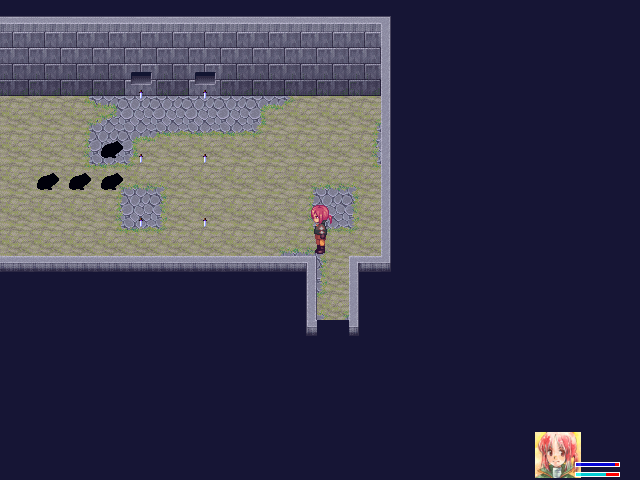
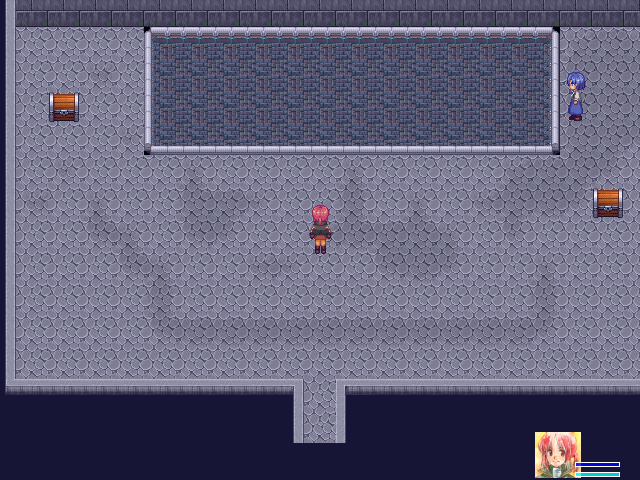
The lower exit near there is much more sane. And, hey, another person!
Traps! They do 10 damage if they hit you or an enemy. Each of the little knives returns and fires again, so if one hits something, that trap won't fire again until you reenter the room.
As a rat helpfully displayed after walking into one, killing itself.
Camil levels up again off of a rat; still +2 HP/SP/Attack.
Single rats may be easy pickings by now, but three rats will still fuck you up, even with the radius of attack thing.
In return, though, we get a chest with 10 gold and...
This'll be disappointing when it gets opened, won't it?
There's a few more rooms but only one route past the chests.
Ooh, a chest!
...come on, that's just mean.
Basically every item sells for a number that ends in 5 or 10, and everything costs a multiple of 10. So that chest was empty.
Despite the discolored textures, the four discolored spots up there aren't fake walls.
The gap in the pattern is, though.

This room would be really damn scary if it wasn't for the traps and the frogs each neutering the threat of the other. There's just enough to kill three frogs, and neither a 15 HP frog or two 5 HP Frogs is really all that scary.
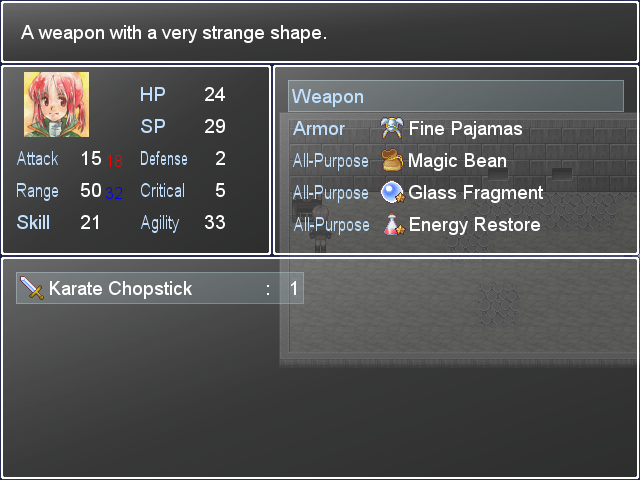
First red chest! While the lower attack radius is unfortunate, more attack is always appreciated. And if you look at its All-Purpose stats...
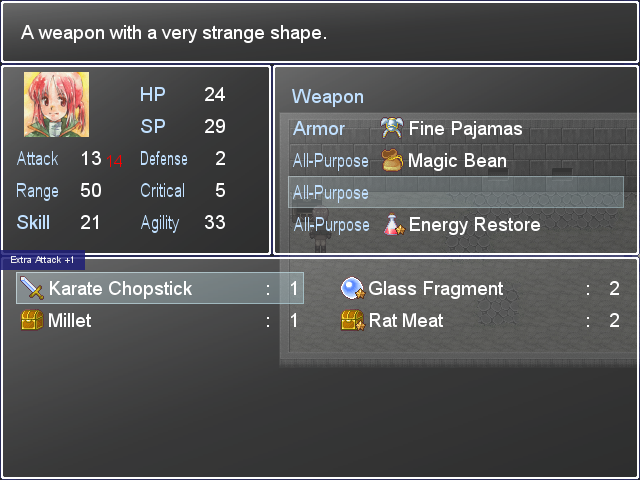
The All-Purpose equip version of the Karate Chopstick has the first equip ability of the game. "Extra Attack+1" activates about 25% of the time. It's still amazing, though, and anything with Extra Attack+ is worth using until you get a better version.
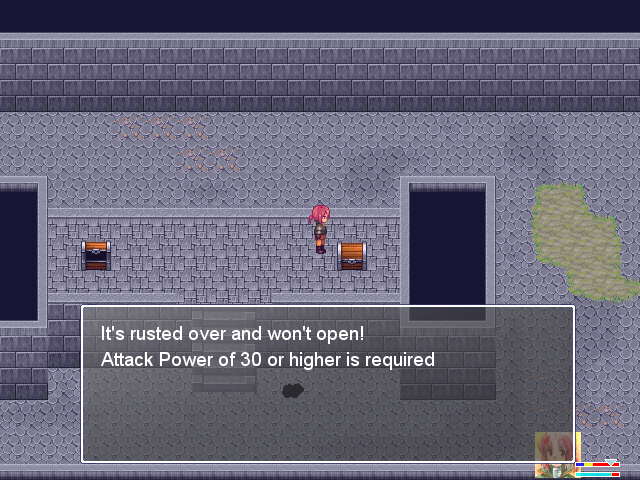
Plus, if we find one more Glass Fragment and max the Glass Fragments and Karate Chopstick, we'll be able to open both rusted chests!
Or, rather, if we just pick up the Glass Fragment in the other fake wall room in the save area. It's opposite the obvious fake wall, and it also has a path pointing to it.
As you've probably noticed, the Demon King's Castle plays a lot with the "fake wall" concept. It's a nice theme, but it does mean the oblivious miss out on a hell of a lot.
There's still one path we haven't taken yet, but "path" is a little generous.
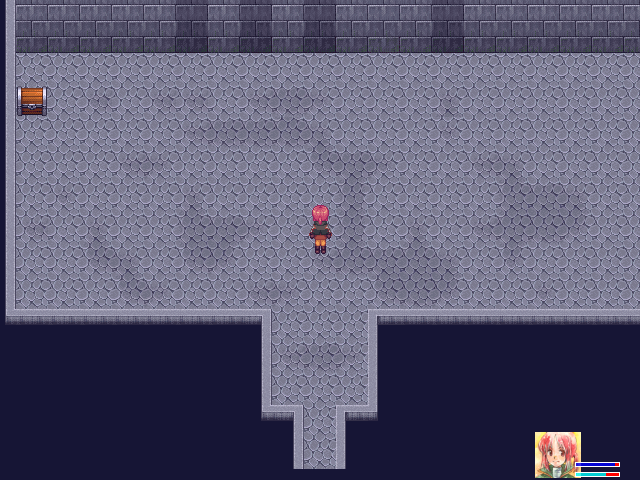
This room is down, to the right, and up from the save point. The two chests each have 10 gold.
 This is supposed to be the Demon King's Castle.
...yes?
At least we got another Glass Fragment out of it.
For all that I waited to fight the boss, there's no real need to do that. The Giant Frog goes down in one hit and two Fire Waves, and he doesn't do much more than a normal Frog.
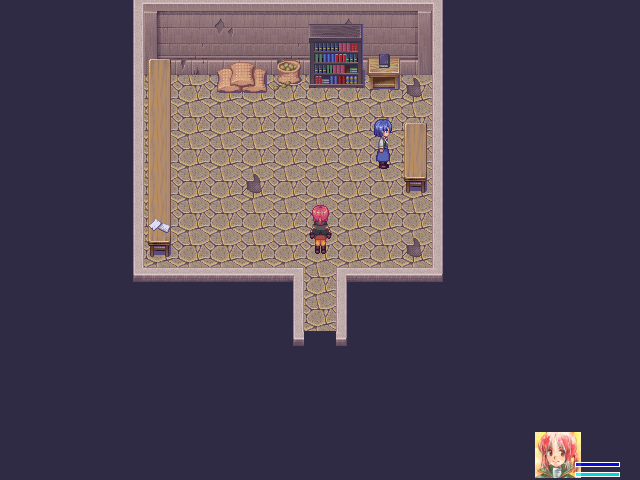
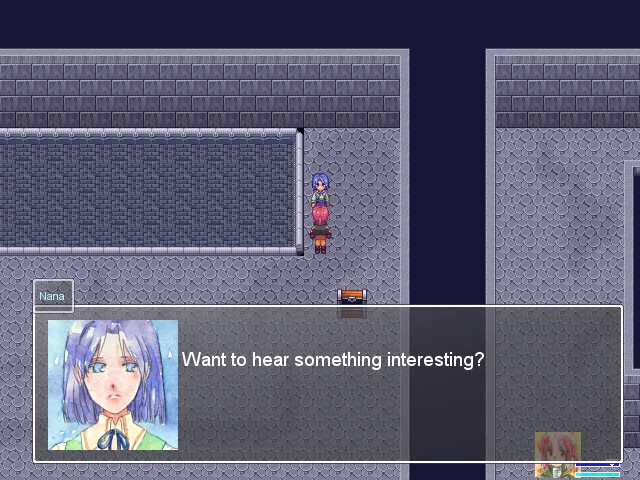
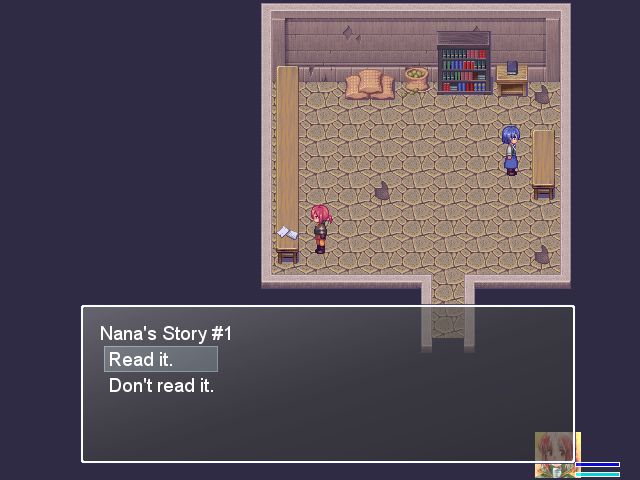
Finding Nana opened up her room, just like Randolf earlier.
Everyone holds a story close to their heart. People on this island are no exception. They are searching for an end to their story.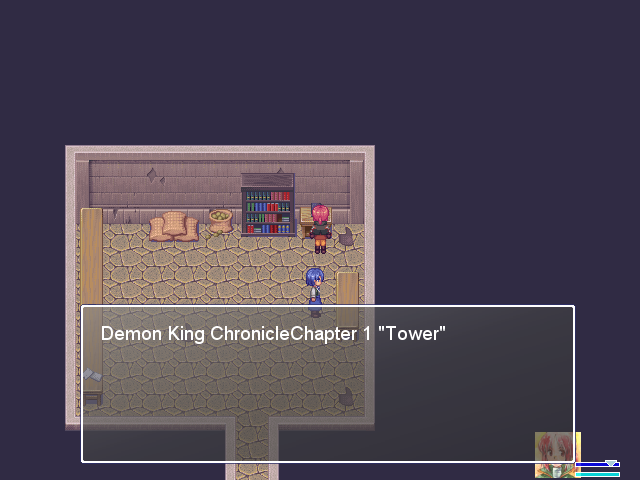
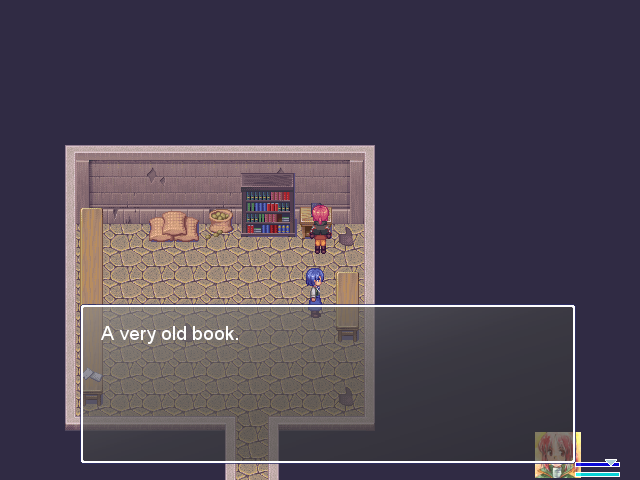
And just like Randolf, she has a chapter of the Demon King Chronicle. She doesn't have a diary, but she does have these papers on the long desk.
(The storytime music tracks are the most important music to listen to, by the way... Though Nana's variation is the least interesting one.)

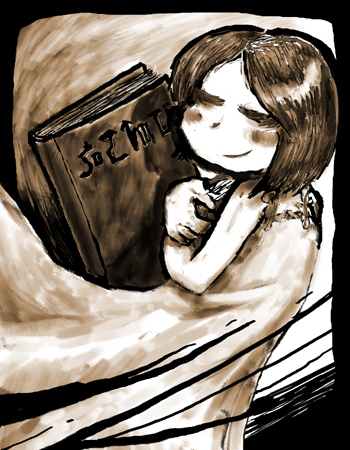
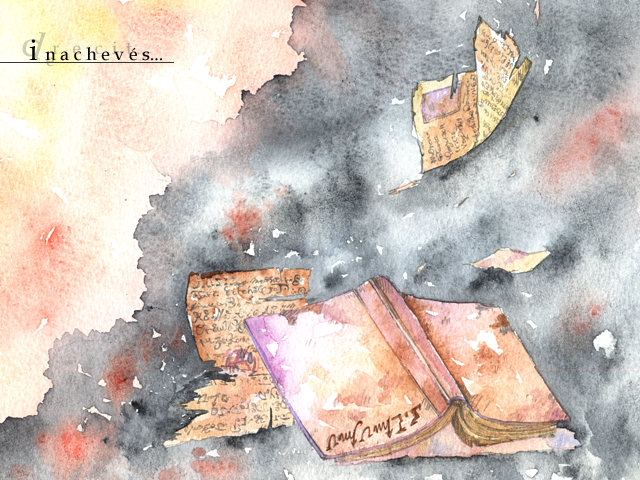
She was always surrounded by smiling faces, and was blessed with a peaceful life. However, that happiness didn't last forever. Her beloved grandfather, was beset by a terrible illness. The girl spent every day surrounded by dark and sad memories. For that poor girl, there were only two things she looked forward to. First, her younger brother who would soon be born. Her only other small joy in life was playing with a neighborhood boy, who she had become good friends with. One day, the girl snuck outside once again, and went to meet the boy. Just like always, she carried her favorite book, the "Demon King Chronicle."
The bookshelf has two more updates:

Additionally, selling all of the Rat and Frog Meat I've accumulated brings me just above 90 gold.
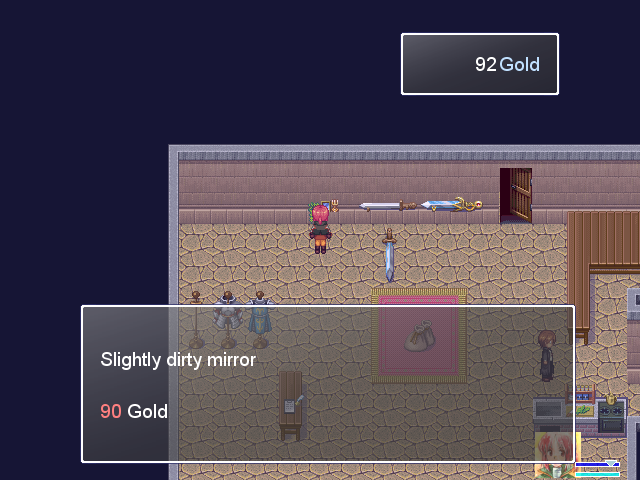
Buying the slightly dirty mirror puts it in your room.
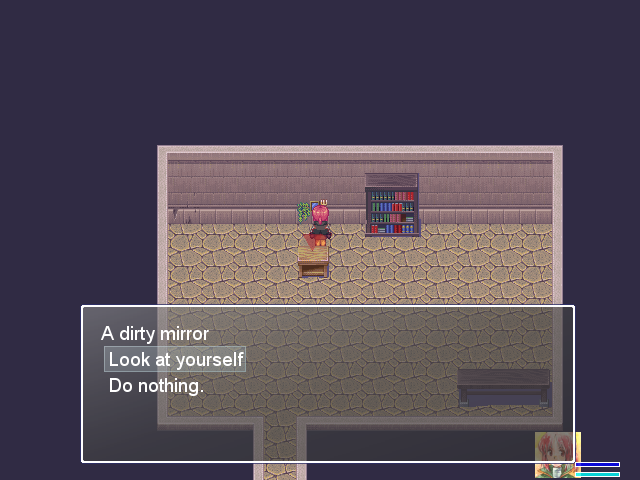
It'll probably give us art or some--

whoa
Clearly I've just never bought the right kind of mirror.
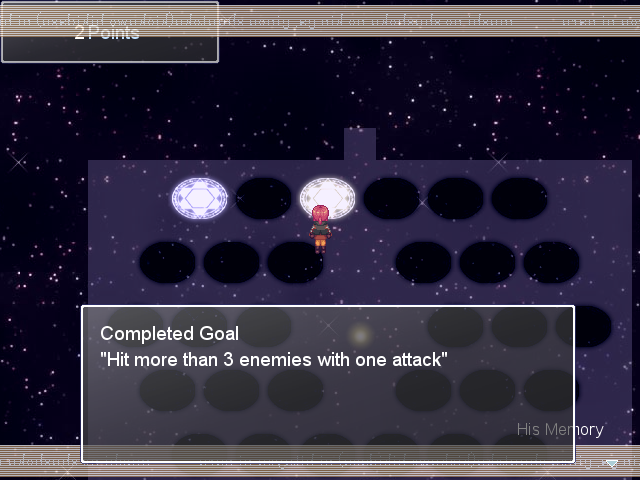
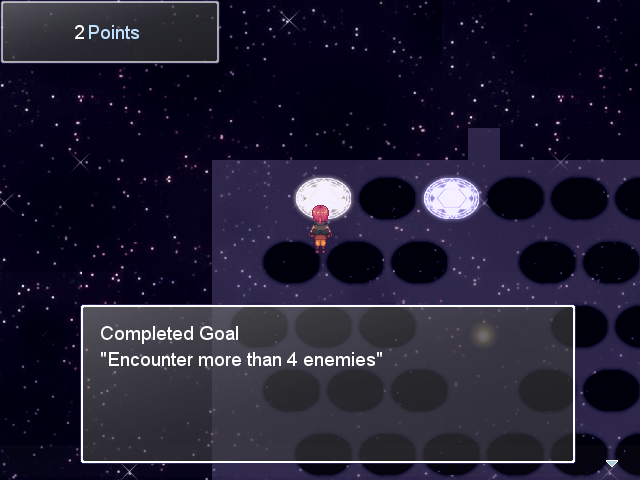
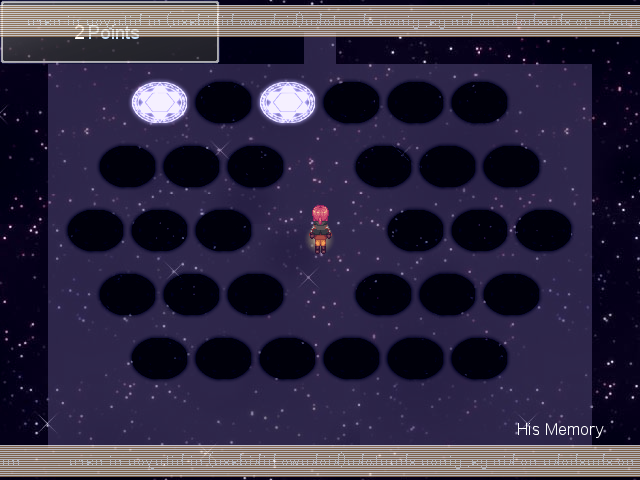
The glowing circles here are an achievements system. You light up circles by fulfilling goals, and each gives you a Memory point. You can't see what the requirements are before you succeed, though.
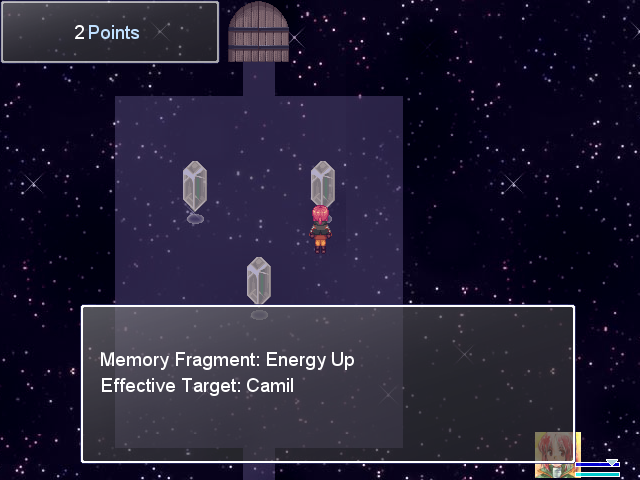

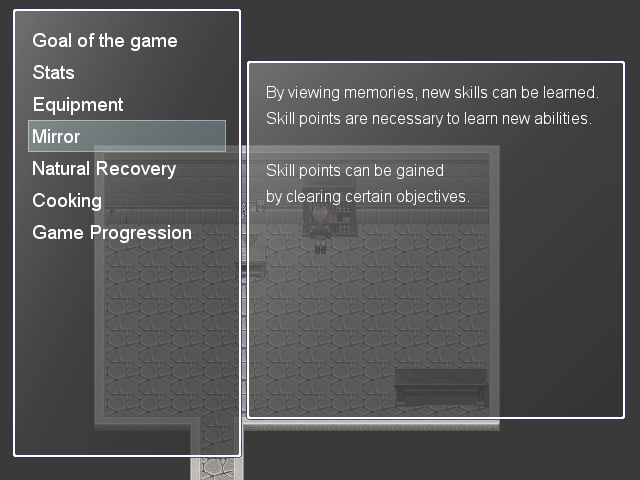
Memory points can be spent in the rooms beyond the first to get new stat boosts or skills. We can't buy any yet, though, thanks to the gold costs involved. Each time you use a crystal, the gold cost increases for all the others.
Notably, Fire Wave is the only freebie you get--all other Magic needs to be acquired through His Memory. It's also the game's main money sink, since Aaron Aaron operates the only shop.
Bookshelf update just says what I've told you already.
Laylaria has something new to say:
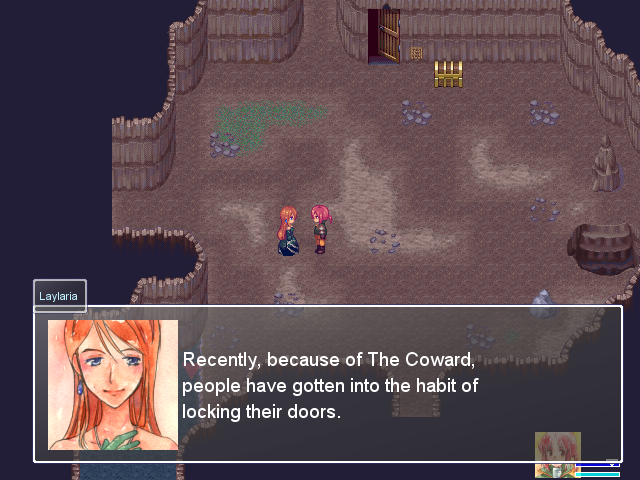
 This used to be such a peaceful island. By the way, I saw Nana Eluonto in her room just a moment ago.
Laylaria will tell you each time someone has a new story segment available... But not the first time, for some reason?
Aaron Aaron also has new dialogue.
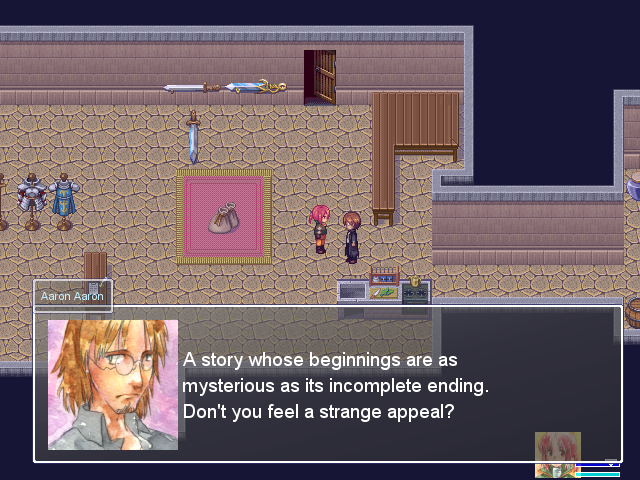
 I count myself lucky just to be standing in the land where the "Demon King Chronicle" was written.
With all of that done, it's time to move past the Giant Frog's room.

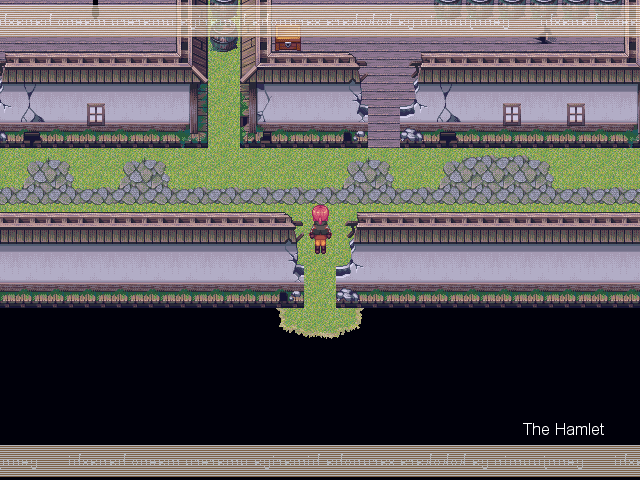
The Demon King's Castle is a long tutorial. The Hamlet is where the game takes the gloves off. That's for next time.