Part 16: "Will you just get out? Please?"
Chapter 15: "Will you just get out? Please?"(The Imagination Part 1, Yellow and Blue 1&2&3)
Welcome back!

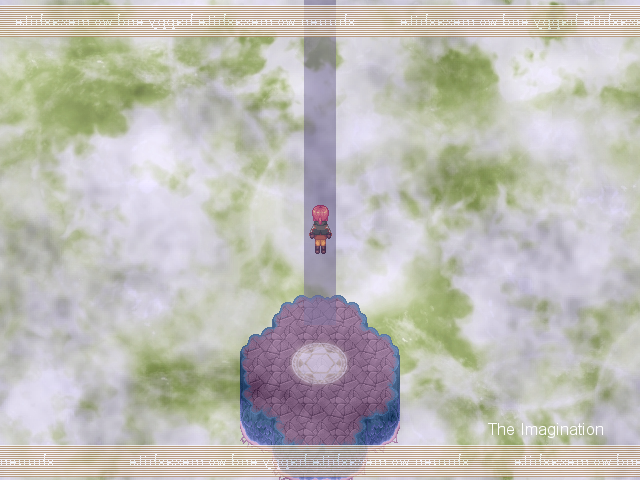
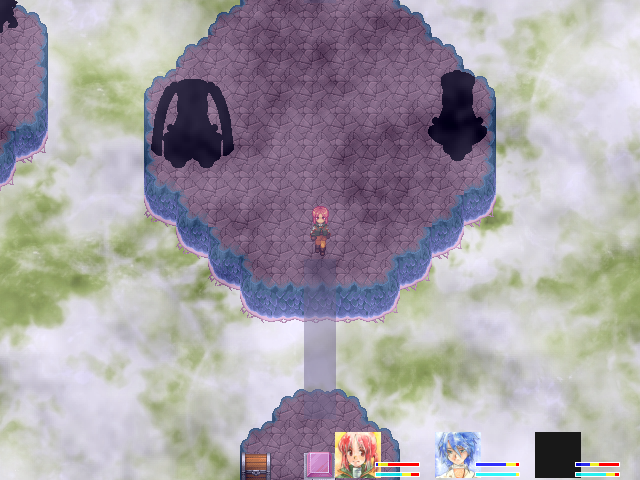
This is the first part of The Imagination. Compared to previous dungeons, The Imagination is a lot more varied and a lot longer. I'll present it in three parts: the first half, the second half, and the final boss. All parts up until the final boss share the same music.
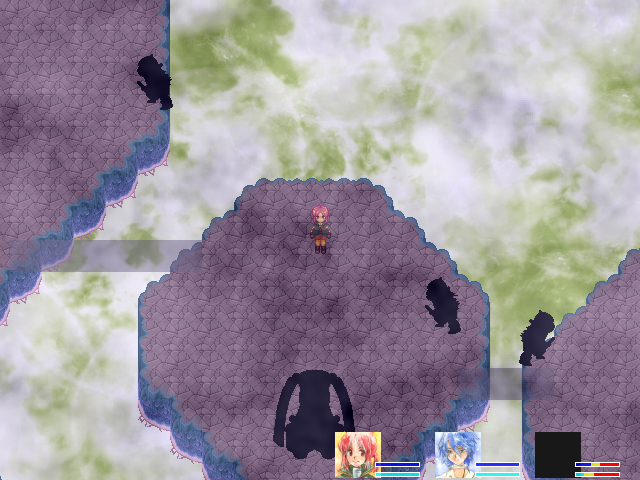
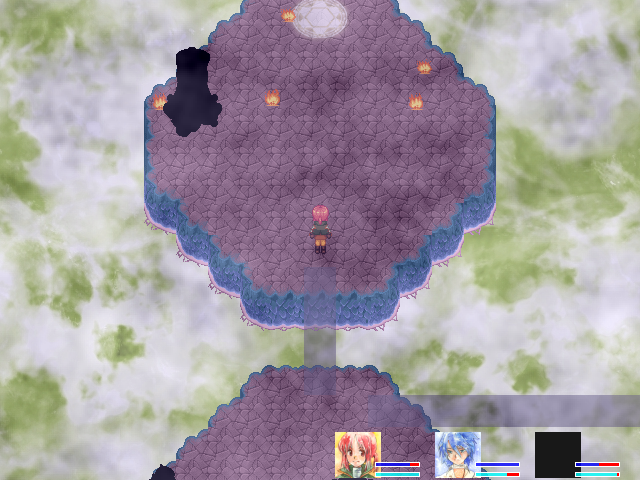
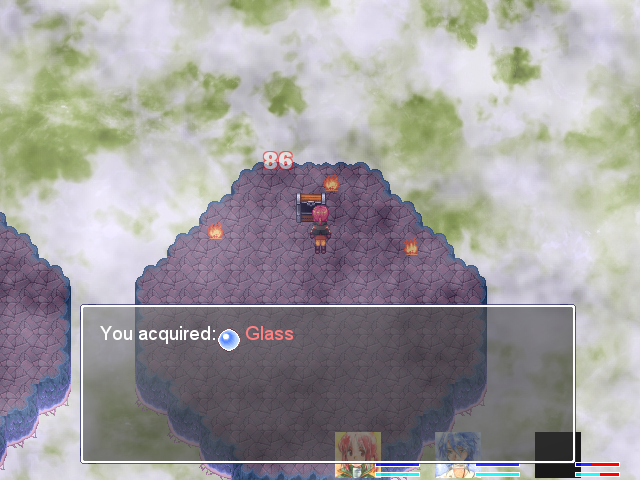
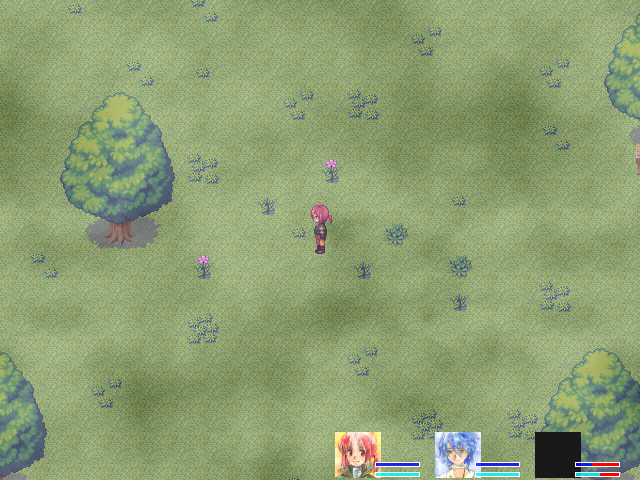
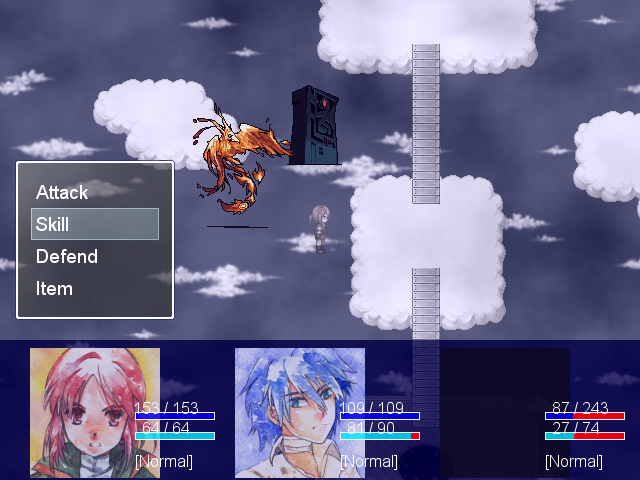
These flames are one of the defining features of the first part.
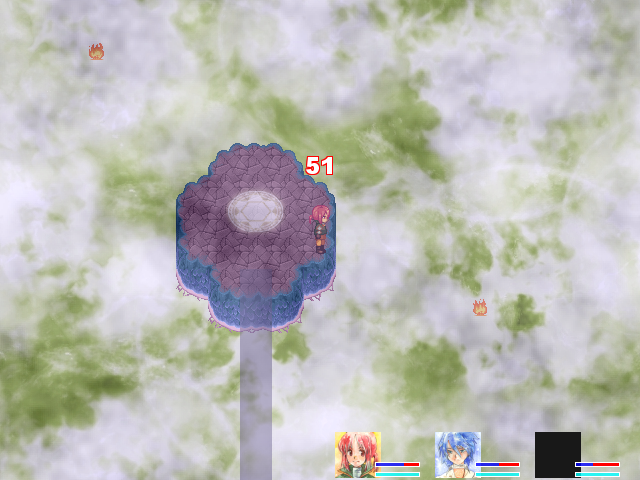
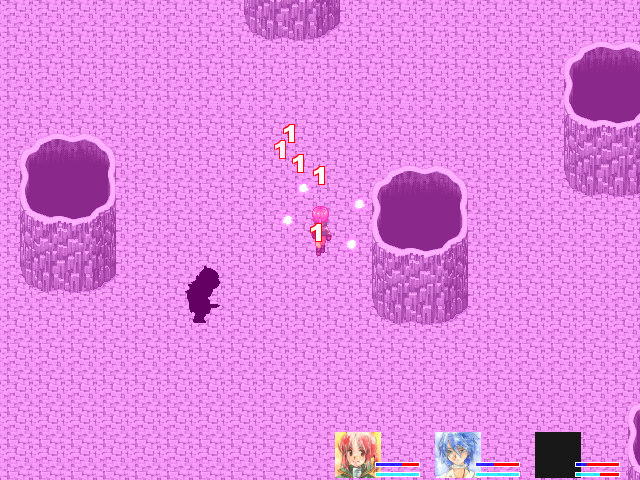
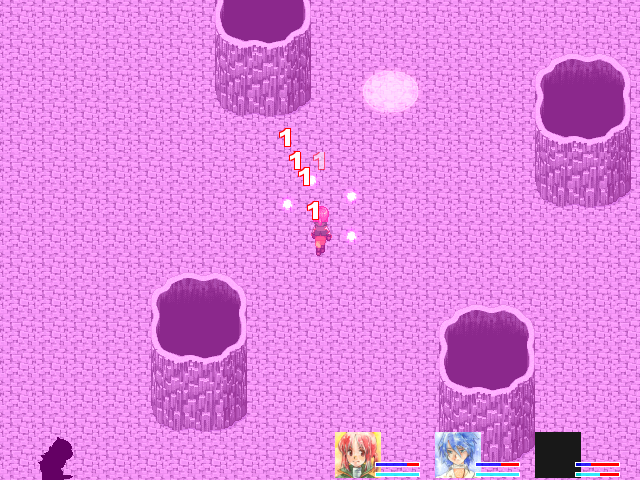
If you walk into one, it'll explode and you'll take quite a bit of damage. I've seen anywhere from 50 to 90.
I run back and heal. I don't need two Slimy Goops on Will for him to use Star Fall Magic yet, so I trade one for the Placebo. Additional Skill and Speed will help.
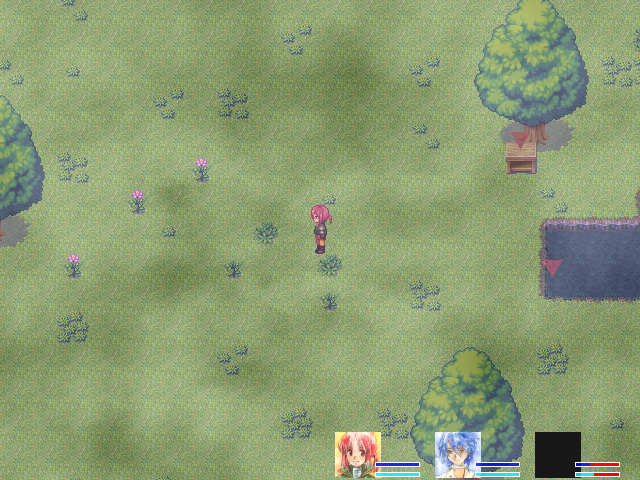
In this first area, you can seek out and hit multiple switches to remove some of the fireballs from the area just before the exit. Strictly speaking, though, you don't have to.
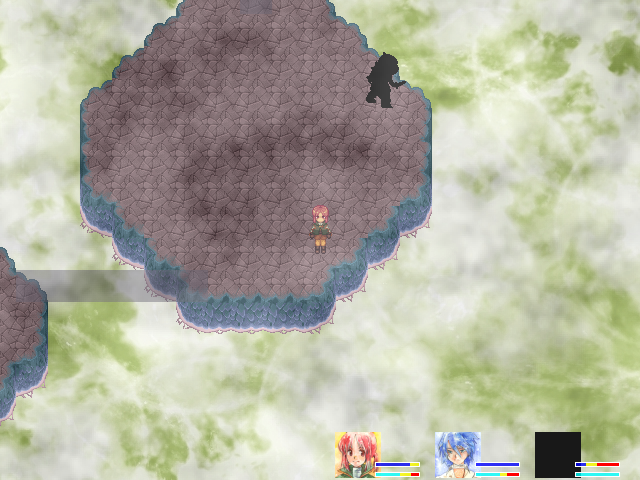
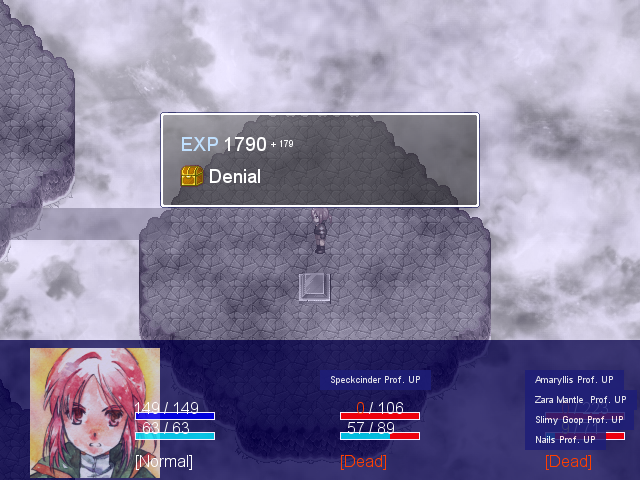
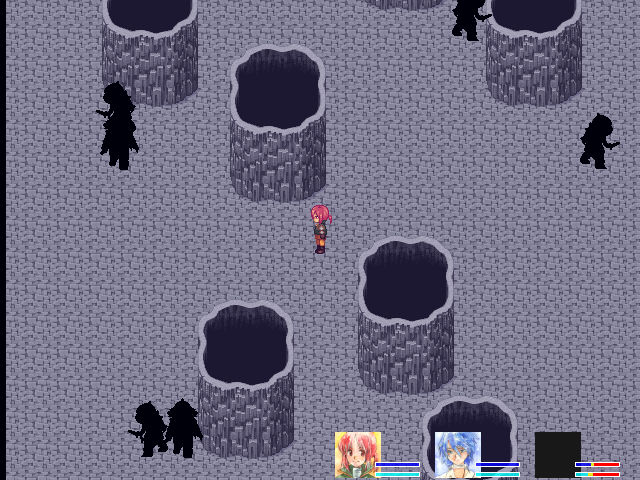
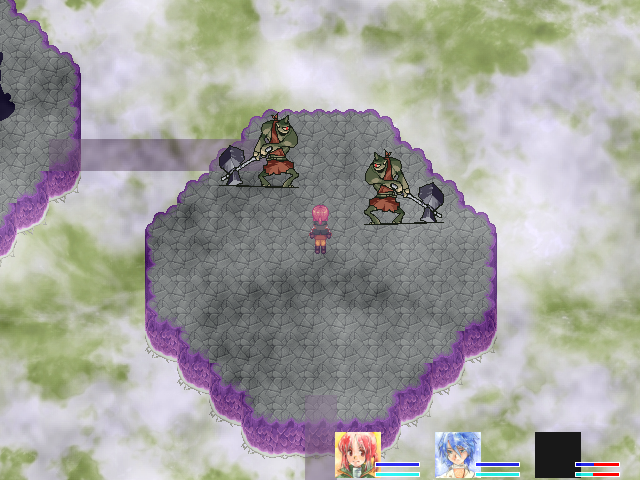
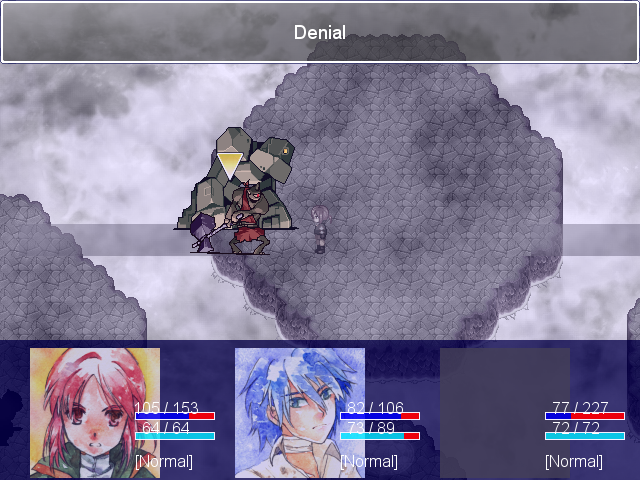
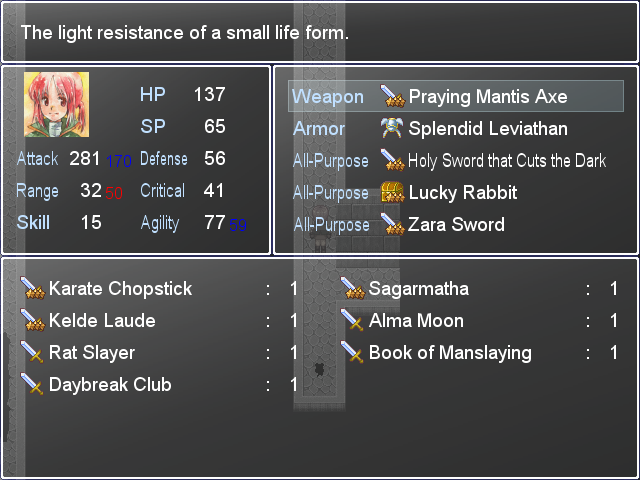
The goblin-like enemies are named Denial. Every enemy here drops an item with the same name as the enemy itself, so the Denial gives me a Denial item. In this case, that item gives +30 Defense.
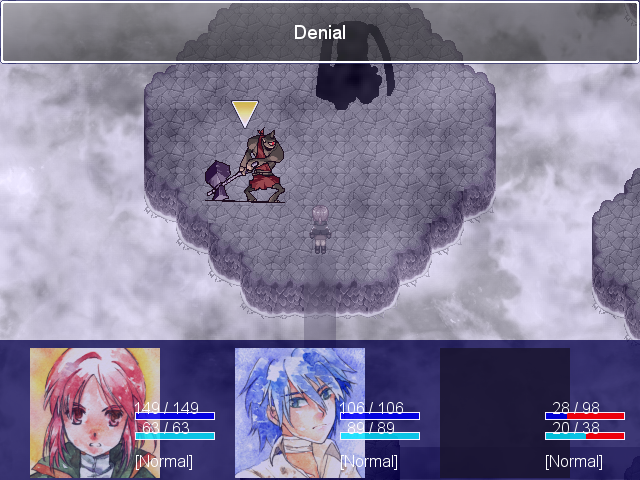
They're fairly easy to wipe out in one turn, thankfully. Movement-wise, they work like the lizards in The Sands--short bursts of movement, but they spend most time standing idly. Like the lizards, they move normally when you fight something else; unlike the lizards, they become aggressive.
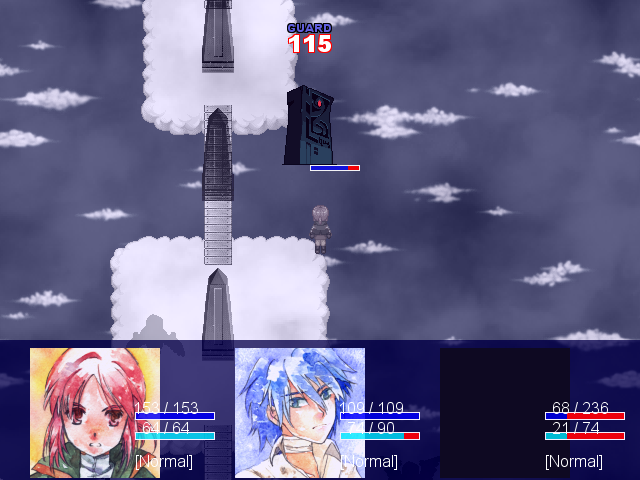
The big guy here, the Echoic Memory, is aggressive but slow. His item gives +38 HP.
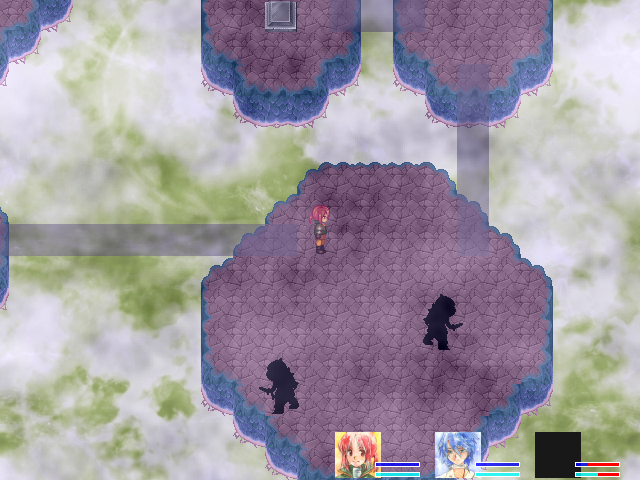
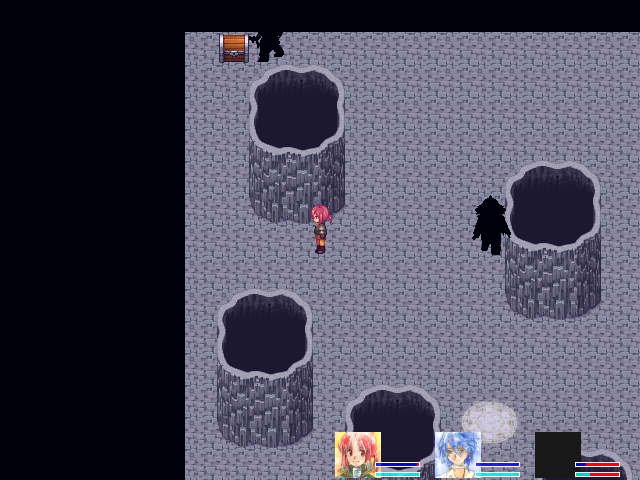
Despite what you'd expect, he's not very tough; one triple-damage critical and one Light Axe downs him. But all of those fireballs in the way of the exit will be a problem, so I backtrack for the other switches; there's a bridge to the bottom-right of the chest.

Unfortunately, narrow bridges+aggressive enemies = way too many fights. I end up killing basically everything on the way to the switch.
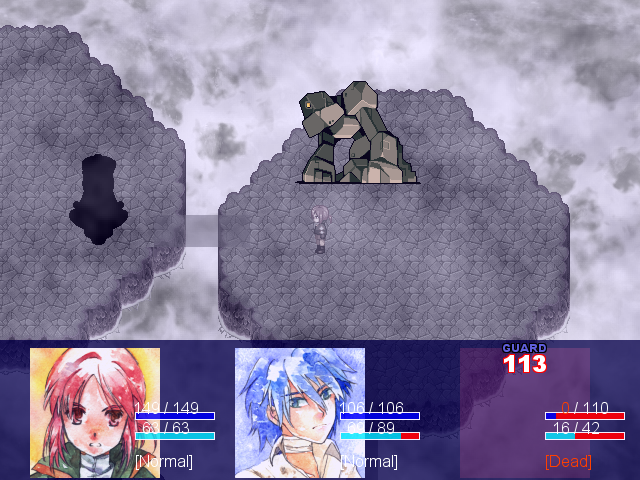
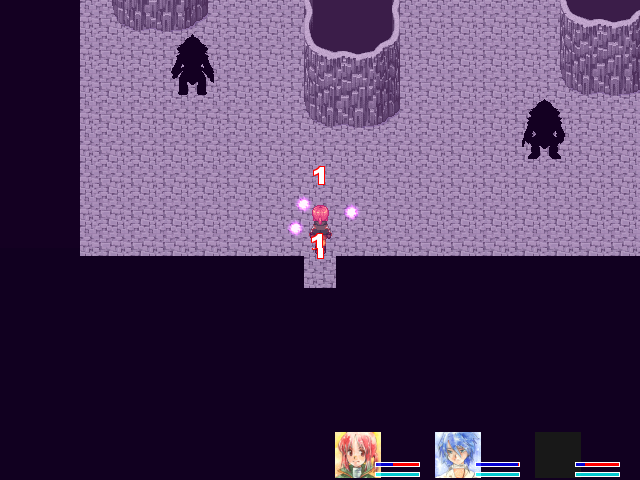
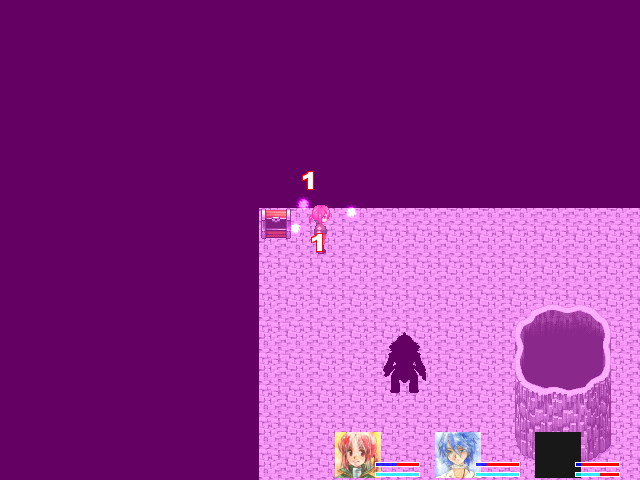
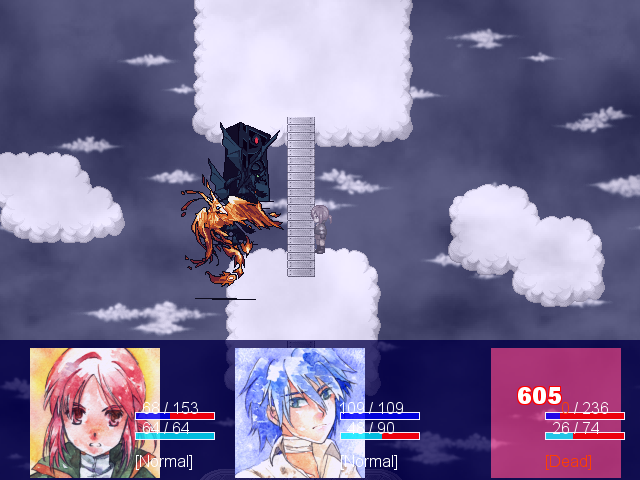
A picture of the ridiculous damage Will takes when something hits him. (Camil takes about 70 from the same enemy.)
Hitting the second switch clears the way onward.
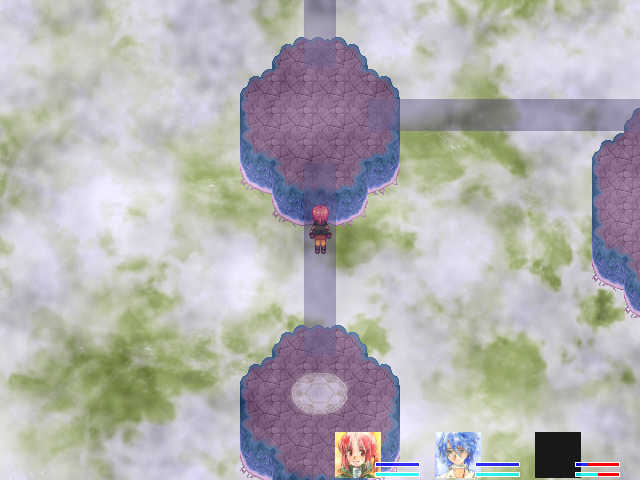
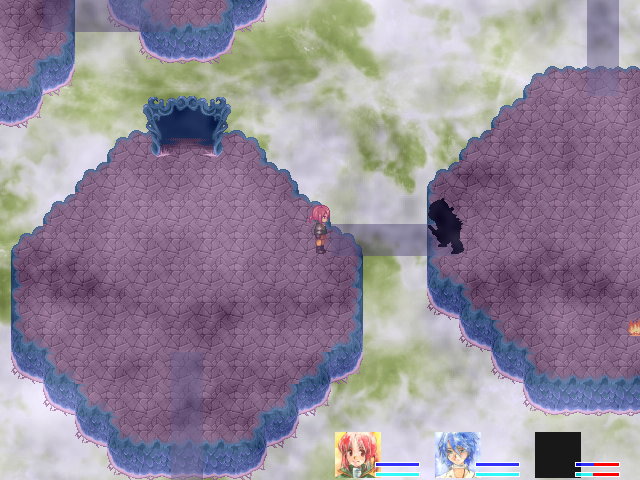
You could just gun it for this one, but that's boring. Bridges lead right again.
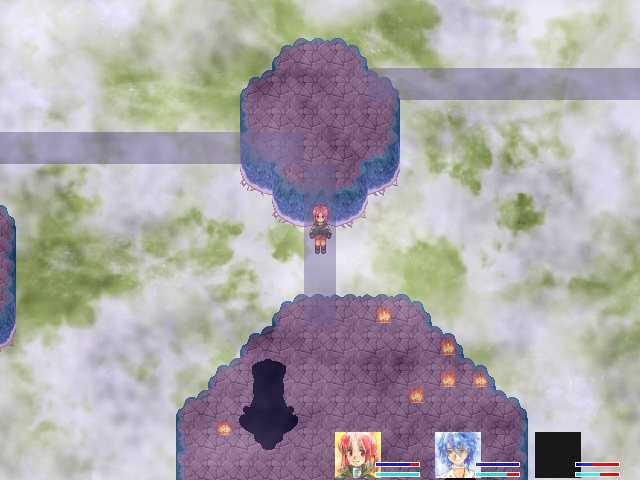
It's a bit more varied this time: there's two areas filled with fire orbs with switches behind them, and the rear-most switch clears the next-closest area, which then clears the closest, which clears the way to the exit. It's a neat idea.

Same deal with the forced fights due to the narrow bridges, though.
You still level up items even if a character is dead at the end, by the way, though the experience is lost. Dead characters also don't regenerate HP after they're revived if they were still dead at the end. Reviving just before the end works just fine, though.
Sadly, the last switch does nothing to thin out the herd around this treasure chest. Ow.
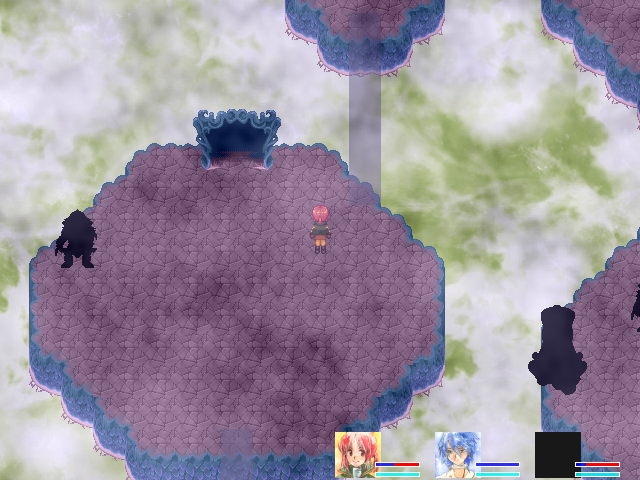
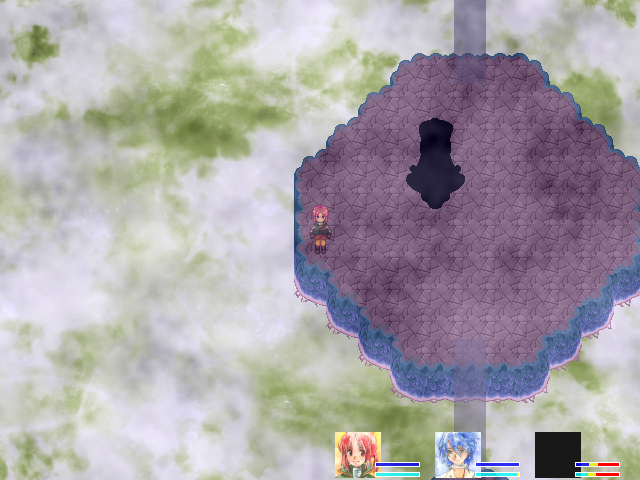
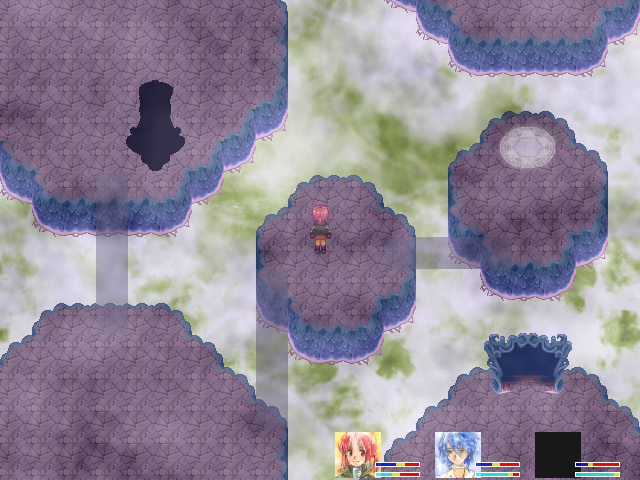
New area. That gate leads to the variation for the second half:
Instead of filling the area with fireballs, they added an underground area filled with poison, which gets turned off when you press a switch. You only take 1 damage each time, but it activates multiple times a second. Trying to just run through is possible, but there's no real reason to bother.
It's highly satisfying to be able to use both Inferno and Star Fall Magic at the same time. The enemies blow up very nicely.
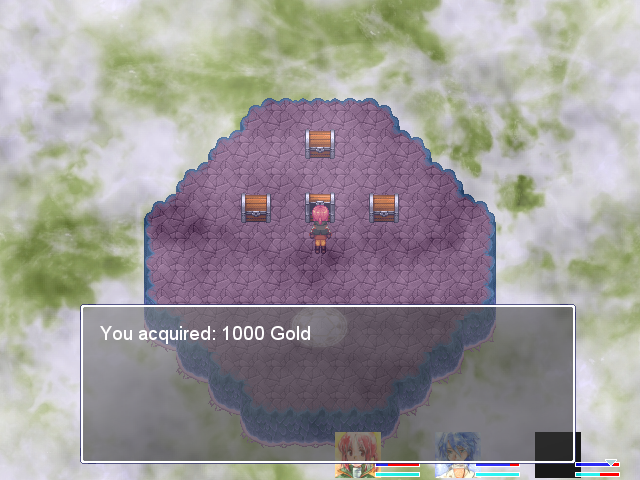
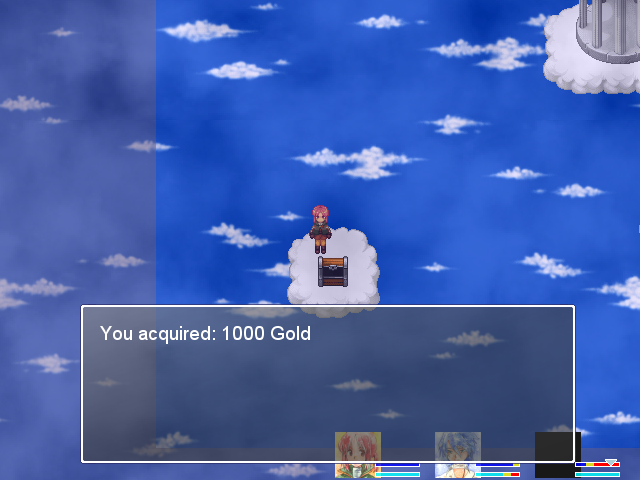
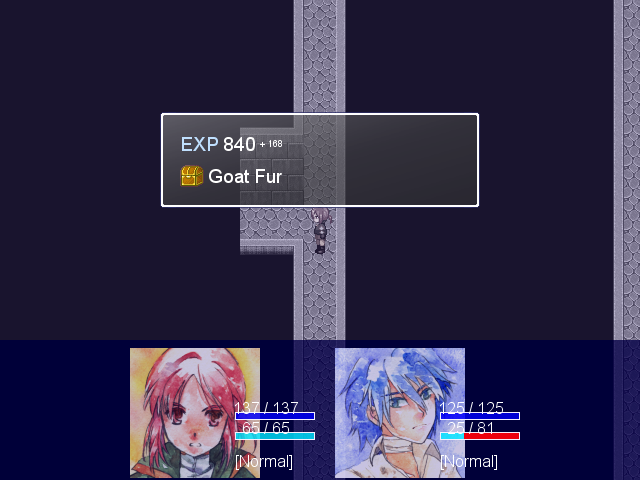
The chest had 1000 gold.
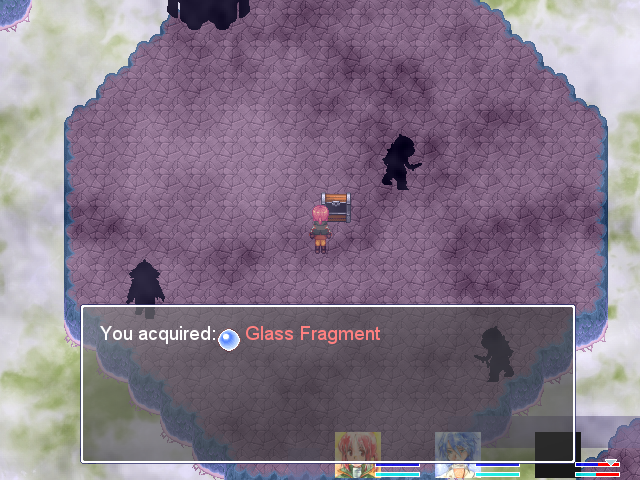
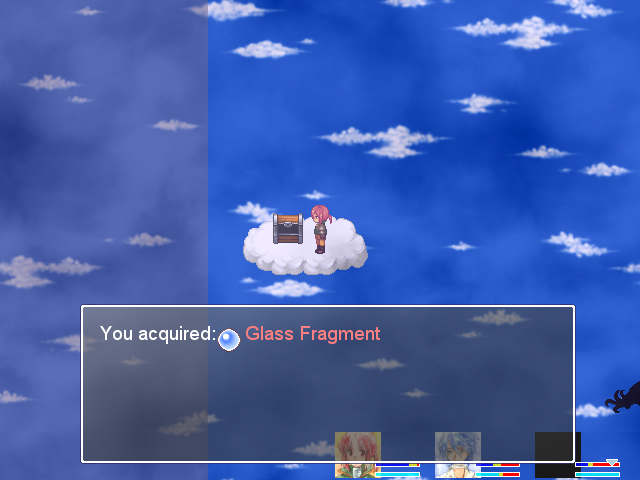
This is pretty much the underground. There's Denials, there's rocks, the chest is really the only place where you have to fight. Their movement pattern deprives the area of any possibility of being interesting. The chest has a Glass Fragment.
Apparently the developers thought the same, because the Denials are completely different in the next area:
None of that "slow, random movement" crap, they move at normal speed and they're incredibly aggressive.
So basically everything needs to be fought. Again.
This time, though, there's one additional twist: no switch. This is because the poison underground has four treasures. The actual way onward is this white portal here.
The new area. That black portal takes you back to the hub...
...where a new flower has bloomed. That's the shortcut to the new area.
But I've got some money to spend, so why not head back to The Nest?
This is new!
You didn't think the game would let you go through a long multi-part final dungeon without storytime, did you? These stories are tied to dungeon progress, and there's seven in total.

The black specks are unread stories, and the oldest ones are at the bottom. To view one, talk to it. They'll turn white afterwards.
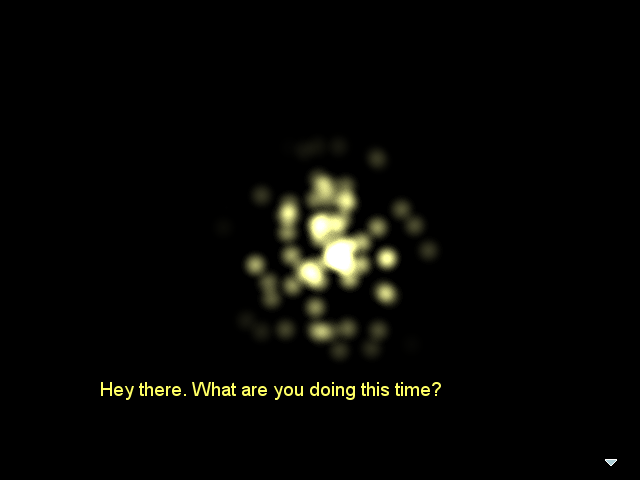
There are two people talking, and they're originally differentiated only by text color and the light effect on screen. I'll call them "Yellow" and "Blue" until they give their names.

 I'm really going to take it, okay?
There's a neat effect where the Yellow changes over to Blue (or vice versa) when the speakers change.
 Hurry up and take it. Weren't you drawing a picture of a flower? Yeah, I changed my mind. I see. Alright, then I'll take it off your hands. I'll take good care of it. Ok. Well, I'll be back again later. You don't have to come back.
Remember the lighting effects at the start, during the "carry on my will to the end" talk? They were represented by a Yellow light effect, just like this one. So if it was Harold charging us to complete his story, then he's probably Yellow up above... And if Yellow isn't Harold, then that implies that someone else asked us to complete the story for him, despite calling its completion "My Will."
The stories are raising interesting points already, aren't they?
 Are you writing something? ...... Show it to me. Do whatever you want. Well then, I guess I will. I'll just flip through it. What do you think? Pretty interesting right? ...... Yup. Pretty interesting. Especially this huge white space. I'm still writing that part... If you are finished, then just get the hell out. Fine, I get it.
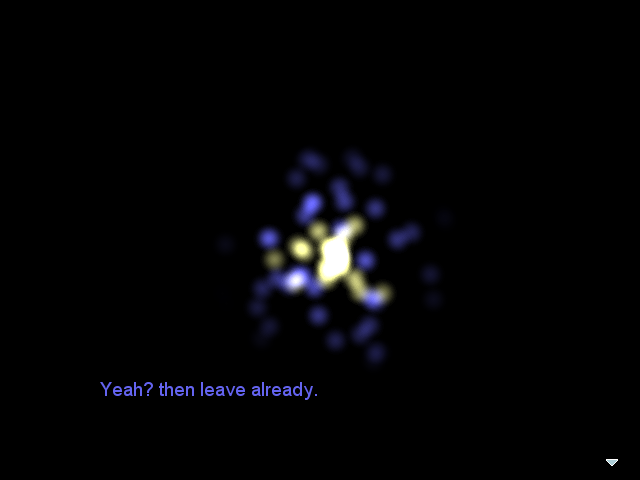 So, why are you living in this hole anyway? I said get out!
Oh, probably-Harold, you are so awful with people.
The completed stories are pretty hard to see.
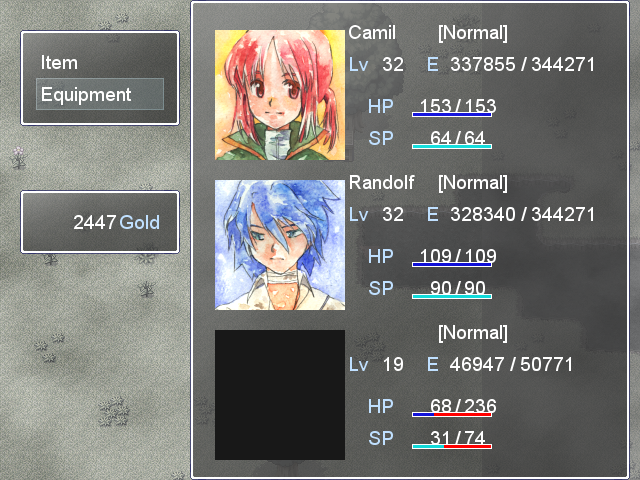
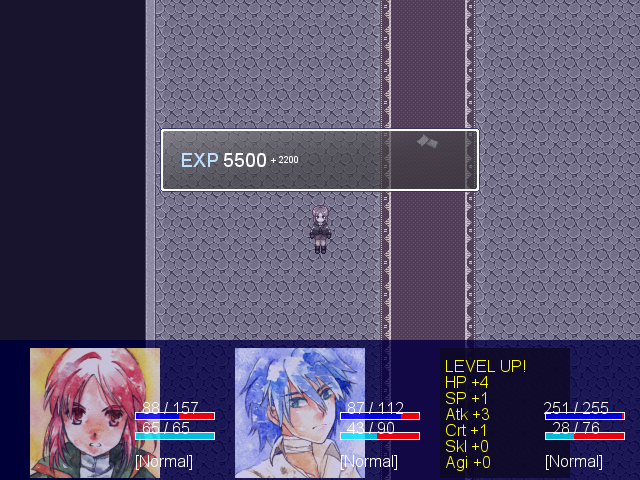
Will has the dubious honor of having earned two more achievements for the team: "take 200 damage with one attack" and "take 300 damage with one attack." That's what happens when you run a "Take 4x damage" set-up.
Randolf also gets a +10 Skill crystal that I missed before, while Camil gets one for +4 Agility.
Will switches his set-up. He's faster than Randolf, who always goes before the current crop of enemies anyway, so he doesn't need Fast Attack yet.
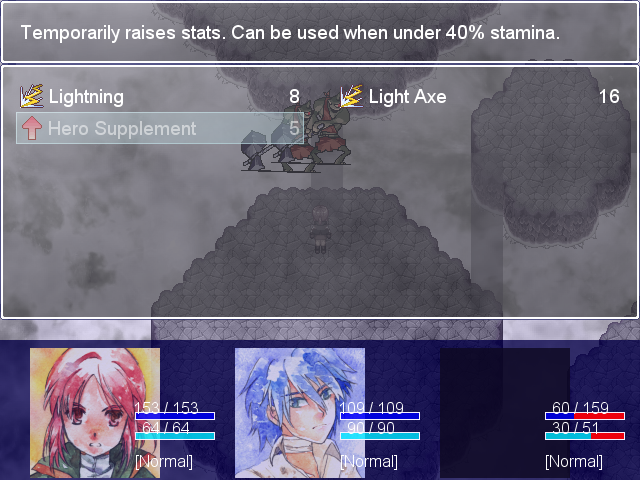
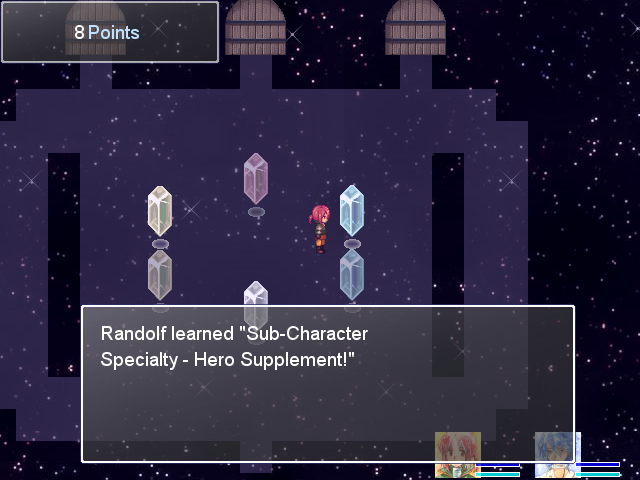
I already described the effects of Hero Supplement--gives you Hero status, which nearly triples attack while adding +10 Critical and multiplying Skill and Speed by 150% and HP by 130%. It's not the easiest spell to use, though, what with that absurdly low threshold, and unlike Nana's Happy Ending Supremacy, it gives him no Evasion to survive that turn with.
I spent about a full minute just waiting for this asshole flame enemy to get out of the way. For some reason, they can't float off of land.
1000 gold for the chest in the poison underground, Rice, Wheat, 1000 gold, and a Glass Fragment in the cache through the portal. Worth it.
The poison effect can kill, by the way. I was inattentive and Camil died on the way out. (This has no effect on who walks on-map.)
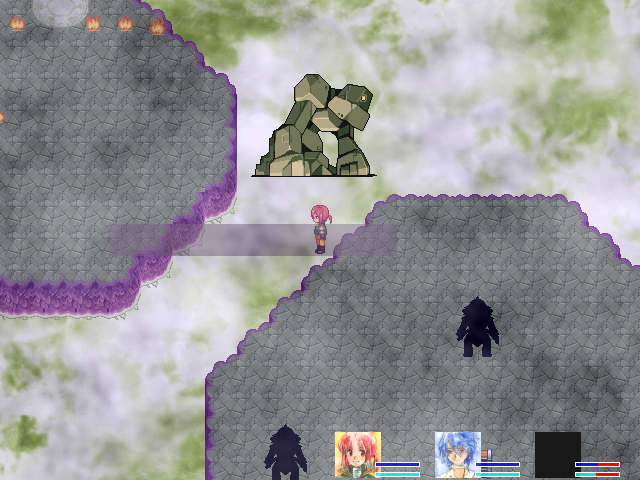
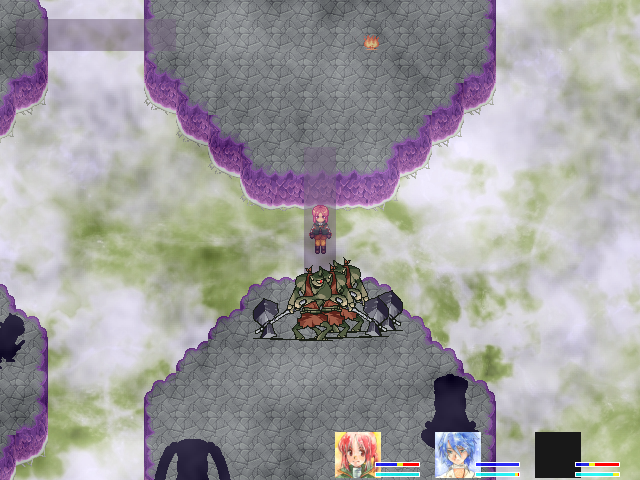
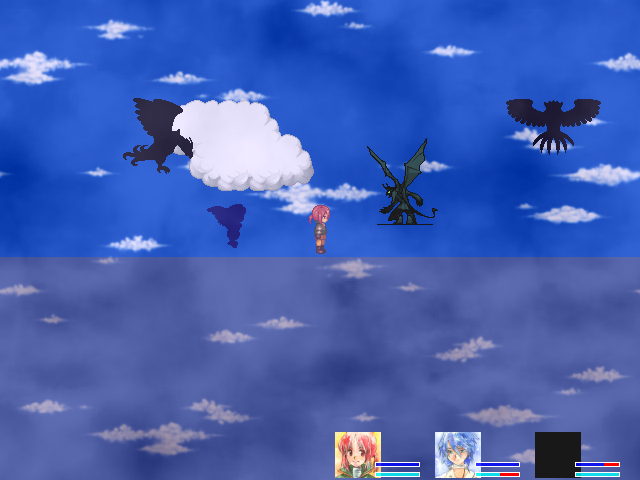
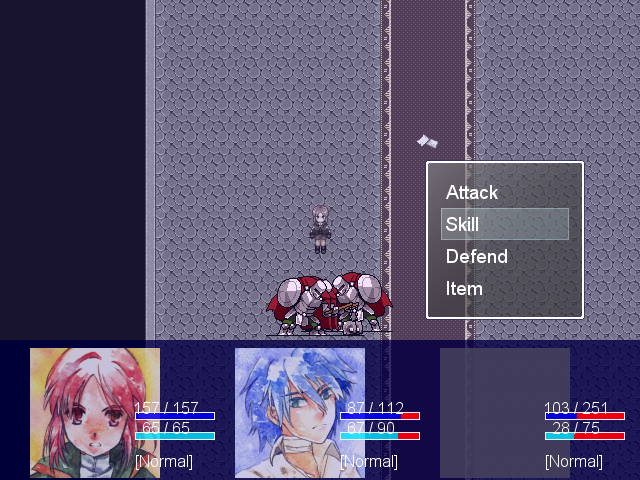
Back in the new area. The obelisks are named Isolation, and they'll randomly defend or use a hit-all attack. It does fairly decent damage.
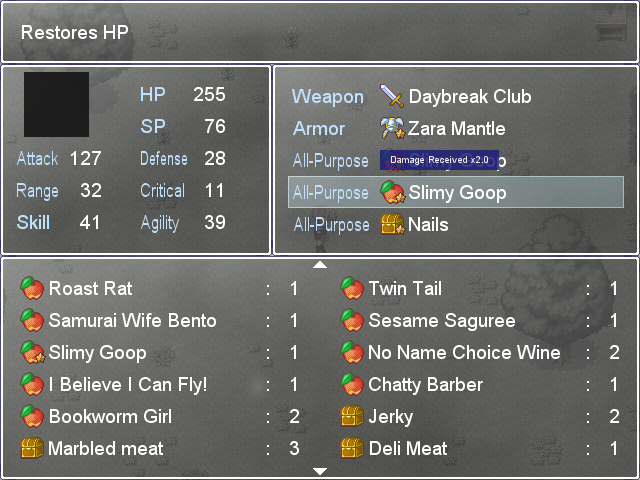
(Will is back to double Slimy Goops and the Nails; too much max HP for Parts to work and too slow without Fast Attack.)
The birds are Imprinting. An Imprinting will use Flame Fang every turn, hitting all characters for decent damage. Camil's high magic resistance from the Mask of Determination means they're basically a complete non-issue for her, but the others have problems. They're aggressive.
The demons are Resistance. They attack single targets and they're fragile.
They hit pretty damn hard in that single attack, though.
They move just like the lizards in The Sands did--erratically, in larger single movements. They become aggressive when you fight something else. Their item gives +35 HP, +5 SP, and +4 Agility.
I fight basically everything on the screen in two engagements. This was not the best idea.
The fact Camil survives most frequently is definitely showing.
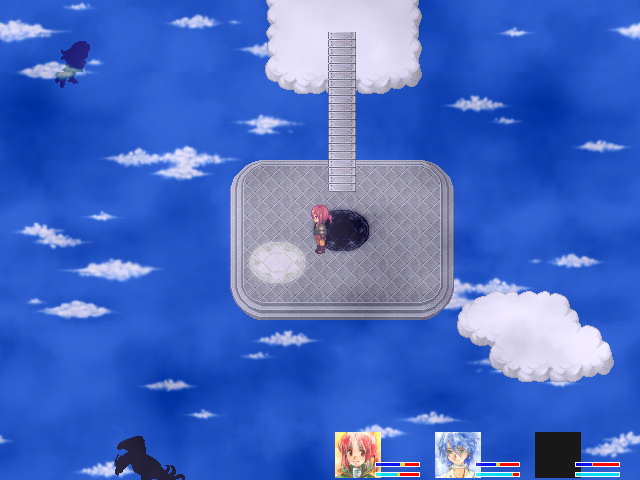
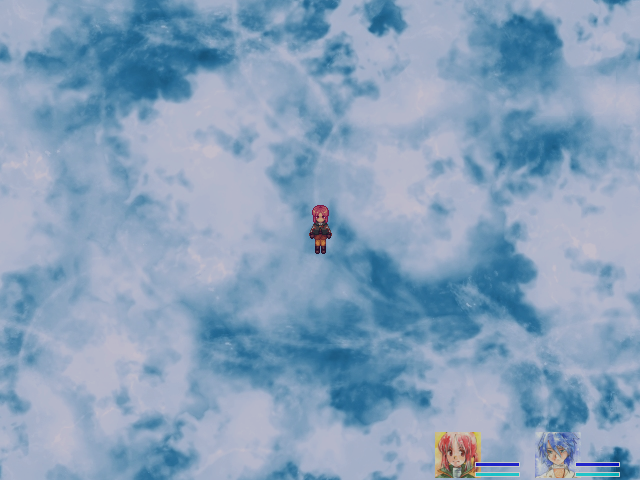
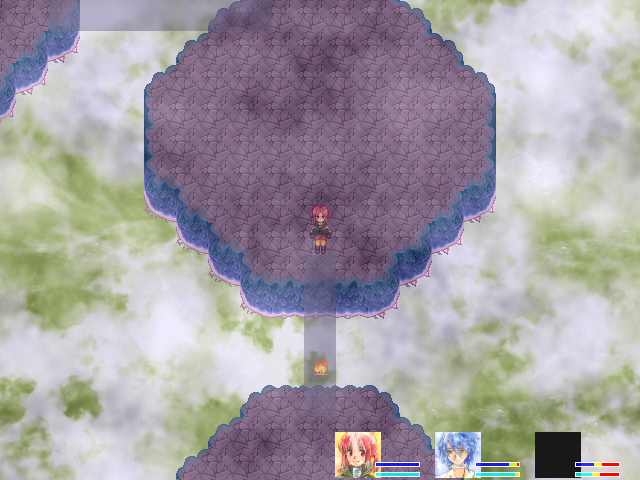
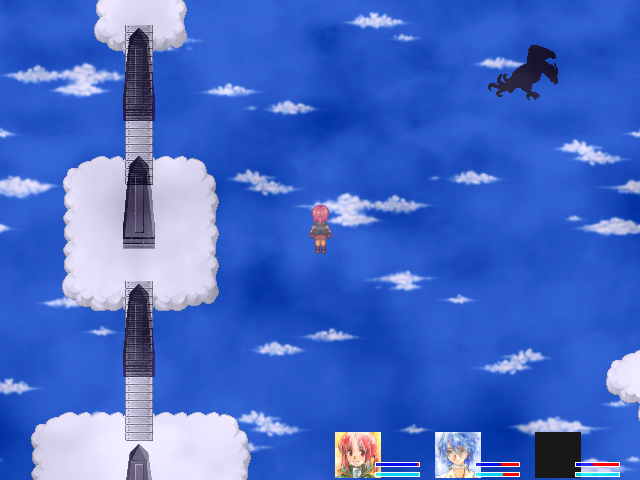
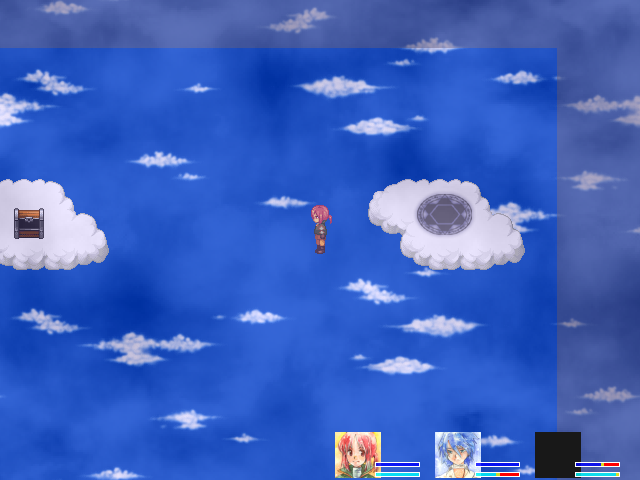
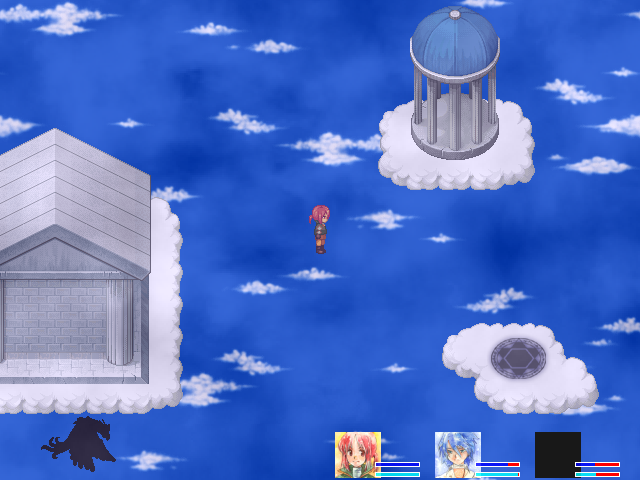
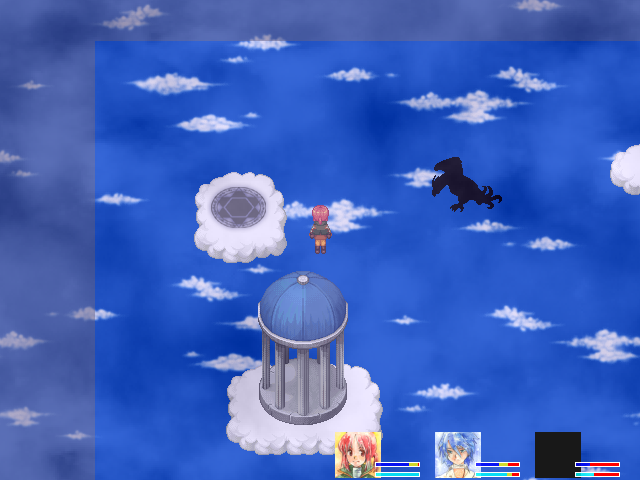
By the way. You know the clouds?
The game is tricking you. You can walk wherever the hell you want.
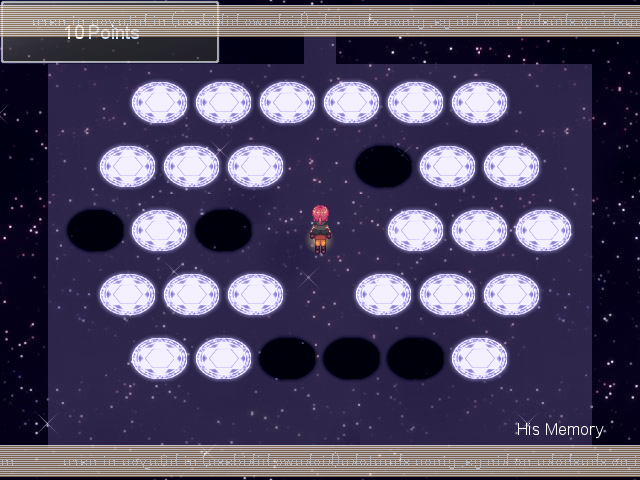
This chest, down and to the right of the start, is here to embarrass you.
...because if you don't realize you can go off the clouds, you have to fight a LOT of enemies. The resulting moment of realization is definitely something.
Not that I'd know from a previous playthrough or anything.
 That is the cutest goddamn mimic in the world.
I mow down the Compensation in one turn, though. No mercy for the adorable. It has a chance of dropping its item, but it's not guaranteed, and there's no other reward. Said item is +15 HP and +28 Attack, though, so it's not really worth it. Just use a Chatty Barber instead.
The other chest is a Magic Bean. I have two of them and haven't been able to use either; no more available planting spots.
...oh, wait. I never did get the rewards for the one I planted in The Disease. I should do that.
Next area.

Going south leads to a whole lot of nothing.

Glass Fragment in the lower-right, though.
If you're just after the exit, you can get there in about ten seconds. Ah, the hazards of nonlinear design.
New area.
As I move through these, I'm basically engaging a Resistance and forcing them to group together, preferably close enough that even Lightning or Light Axe can hit multiple Resistances. You have incredible mobility here, and that means you can minimize the effect of Randolf's tiny spell attack area better than just about anywhere.
1000 gold.
This in the upper-right; it's a Glass Fragment. Interestingly enough, opening the chest just as an engagement starts appears to make the encounter period last about a full second longer. This doesn't strike me as very useful, but hey, you never know.
Exit's in the upper-left.
The Chronicle is an obvious lure.
The enemies here are Conflicts, and they are incredibly easy to stack on top of each other. That's three of them right there.
That, meanwhile, is about 4 right on top of each other, plus one on the side.
It's basically THE grinding area. Look at that.


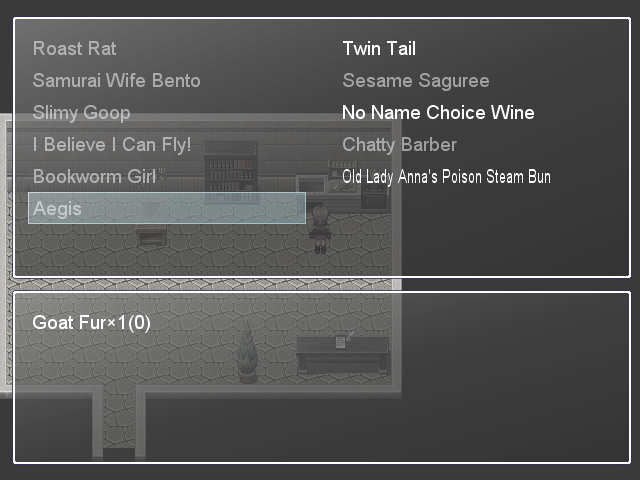
The Aegis is damn good. Sadly, it has one limitation: you can only make one. The recipe vanishes afterward.
If I could make four of the Aegis--two Armors, two All-Purpose--then I would, no question. It's that good.
 I think I figured it out. You're a writer, right? And now you're worried because you're in a slump. That's why you look so unhappy. So you're thinking, if circumstances were different, things might work out,
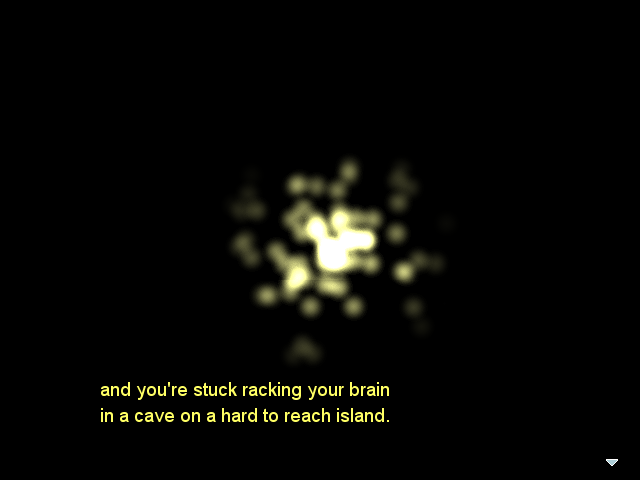 So then why are you here? Hmm... I wonder why. Probably because I'm bored. I see... Well, get the hell out. Also, I still owe you for the flower. Just get out right now. That is the best way to pay me back. Oh, and about your theory... First off, I'm not in a slump. I'm the same as ever.
 Aww, I was close. Actually, you didn't even get one right. Will you just get out? Please?
The most touching tale of friendship.

I'm up to 35 bottles now, by the way.
(I make another No Name wine while I'm here.)
The Aegis requires Goat Fur. Where do you get Goat Fur, you may ask?

If you said "Asper Bison," then you've either played the game or you have a very confused understanding of goats.
During the grinding, Camil masters the Holy Sword that Cuts the Dark and Randolf masters the Black Ladybug.

As you'll note, Camil is slightly better-off wearing the Ax as a weapon and the Sword as an All-Purpose. Weapon bonuses are weird.
I head back and make the Aegis.
It's an incredible armor. +30 Skill, +4 SP, +75 Defense, +5 Agility.
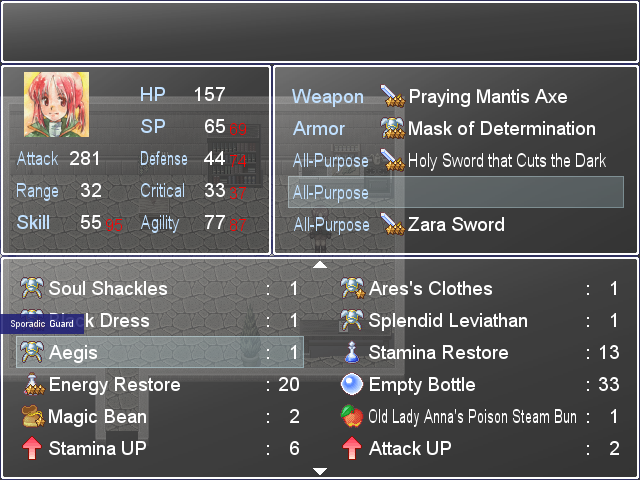
It's even better as an All-Purpose: +40 Skill, +4 SP, +30 Defense, +4 Critical, +10 Agility, -5 to incoming magic damage, +4% flat evasion chance, and Sporadic Guard. That is absurd levels of good.
It has one slight downside: it doesn't grow as much as normal items each level. This means you lose out on a few points of Skill, Defense and Agility, but... When presented with those stats I think of it more as the game frontloading its gains, because those would be damn good benefits even as a final-level item.
Camil gets the Aegis, and once it's mastered it won't ever leave her All-Purpose slots. The Skill bonus is great, yes, but Randolf gets access to an item for Sporadic Guard that better suits his needs, and the Aegis has +Critical and +Agility. It also means that when Camil uses Inferno, it'll be stronger, and situations where a strong Inferno matters are very definitely "oh shit" situations.
Plus, with Mantis Ax + Mask of Determination + Zara Sword + Aegis + Holy Sword that Cuts the Dark, she has over 90 Agility, Critical Damage x2.0, Extra Attack +1, Sporadic Guard, -52 to all incoming magical damage, and 15% flat chance of evading any incoming attack. She may only have 40% critical chance with that set-up, but Camil has still officially reached "scary."
Randolf gets the Mask of Determination while she's leveling the Aegis. Camil will miss that +12 Critical for a while, but at least Randolf can make good use of the +10(x+1) Skill on it. Randolf also switches the Daybreak Club All-Purpose for the Sagarmatha; Will will be using the Daybreak Club as his source of Sporadic Guard against the final boss, so I'd like him to get a level or two for it.
Interestingly enough, while Will doesn't show up in the pre-.txt Battle Records screen, he's added just fine to the .txt version.
Three flowers marks the halfway point of the dungeon; the fifth is just before the Final Boss. Join me again next time for the second (and more difficult) half of The Imagination.
Annihilation Record:
Annihilation count:29
No new entries.
Current winner: Cake Attack (26)
Next: Feldherren (35)
Battle Record:
2014/04/11/ 23:54:04
Demon King Chronicle
■Battle results
Playtime:16:31:02
Save count:175
Steps taken:83682
Battle count:976
Max damage:479
Max damage taken:605
Items:73 Types 156 Items
■Treasure Chests
The Nest: 8/8
Demon King's Castle: 26/26
The Hamlet: 31/31
The Snow Fields: 20/20
The Dragon Mountain: 6/6
Sands of Remembrance: 26/26
The Tower: 11/11
The Seashore: 12/12
The Mirage: 9/10
Leviathan Depths: 5/5
The Disease: 18/20
The Imagination: 14/32
Unmapped area: 7/10
■Camil(33)
HP:137
SP:69
Attack:281
Defense:75
Range:32
Critical:41
Skill:45
Agility:82
・Praying Mantis Axe(3)
・Aegis(0)
・Holy Sword that Cuts the Dark(3)
・Lucky Rabbit(3)
・Zara Sword(3)
■Randolf(33)
HP:117
SP:81
Attack:225
Defense:29
Range:64
Critical:17
Skill:145
Agility:69
・Speckcinder(3)
・Mask of Determination(0)
・Sagarmatha(0)
・Varnished Bird Wing(3)
・Black Ladybug(3)
■(23)
HP:255
SP:76
Attack:127
Defense:28
Range:32
Critical:11
Skill:41
Agility:39
・Daybreak Club(0)
・Zara Mantle (1)
・Slimy Goop(1)
・Slimy Goop(1)
・Nails(1)
■Top 10 defeats
Green Mud Man(178)
Rat(160)
Toothy Piranha(157)
Mermaid(143)
Abominable Snow Monkey(97)
Wake-Eater(89)
Merman(84)
Monkey(83)
Deformity(82)
Mutt(80)
Glossary:
No new entries.