Part 11: Frivolity
Update 11: FrivolityLast time, we went and defeated the Byakko Leader. Then, he dumped us in a pit because he was a huge jerk and a terrorist, and we escaped thanks to some sewage slug. Then, we wandered through a desert and then defeated the real Byakko Leader.
After defeating him, he told us where we can find answers: the Dum Dum Factory in Bullet Valley.
So naturally, we're going to be heading everywhere but there first.
Now, you might be confused about a few things. Why I'm not heading for Dum Dum Factory when we know exactly where it is, or why I only have Patamon in my Digimon squad right now.
The answer is because you're a Dum Dum
fucking tree maze
Well, the answer to the first one is simple - when we enter and complete the plot stuff in Dum Dum Factory, we'll be locked into a series of plot-related events that kinda screw up my plans for the foreseeable future. For that reason, I'm handling all the stuff we'll be covering in this update before doing that in order to get it out of the way now.
So, in other words, this update is a massive tease for the audience members that desperately want to see the plot progress.
As for the answer to the second question, this DRI agent will only show up after 1) We've gotten the Byakko Badge, 2) We only have one Digimon in our party, and 3) That Digimon is under level 30.
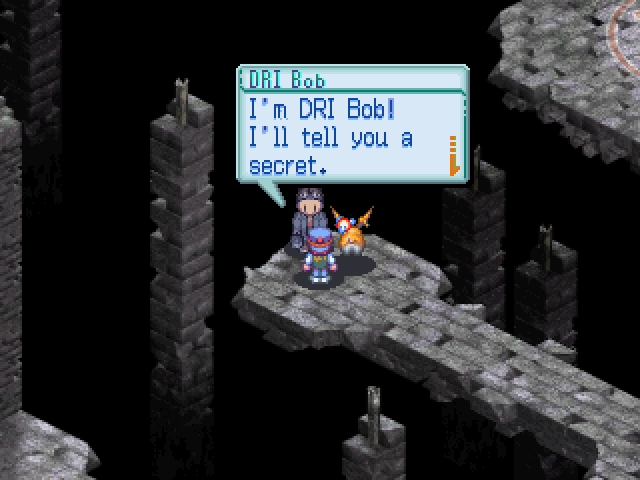
HI BOB
DRI Bob: Hey, have you seen Paildramon? I've been looking for him forever, but I can't find him. If you find him, I'll give you something great...
Yes, there is in fact an eighth Digimon partner, and this is his DRI agent. That means we have three open DRI quests right now, and we'll be getting those this update.
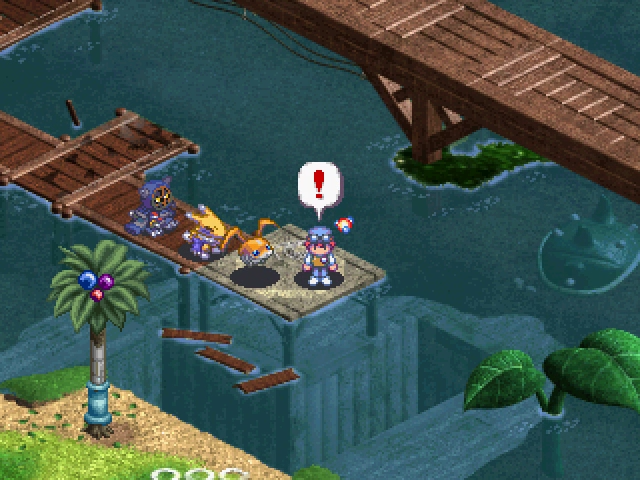
First, though, exploration! (We have all our partners back now; the only time we need to remove all but one is to get the quest to begin with.)
Wait, why?
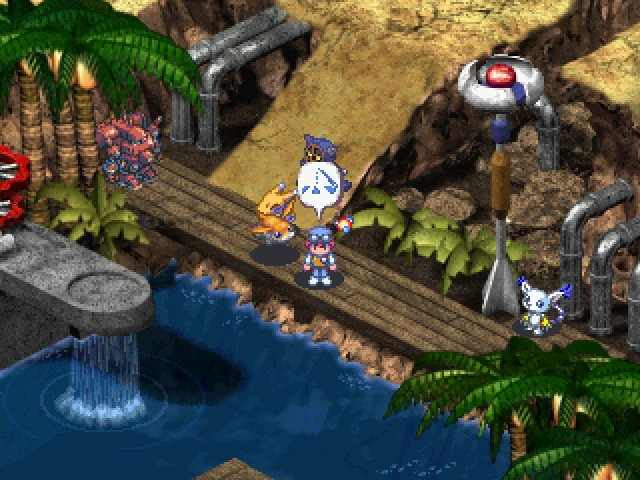
Now that we've got Submarimon, we can finally go around exploring all these places that we saw back when we first entered the area.
NO! NOT THE SEABED!! ANYTHING BUT THAT!
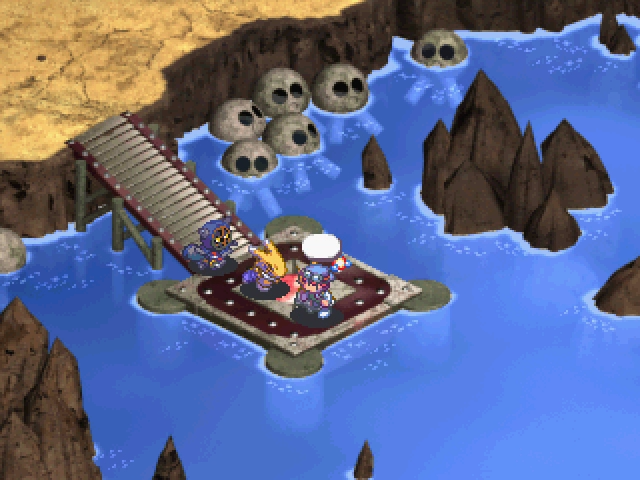
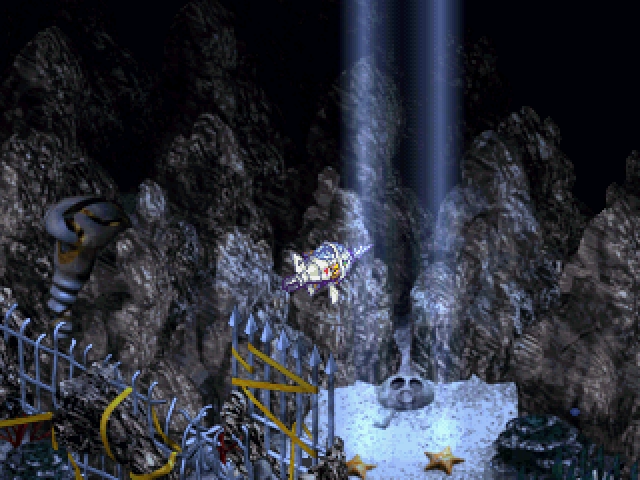
Click for music.
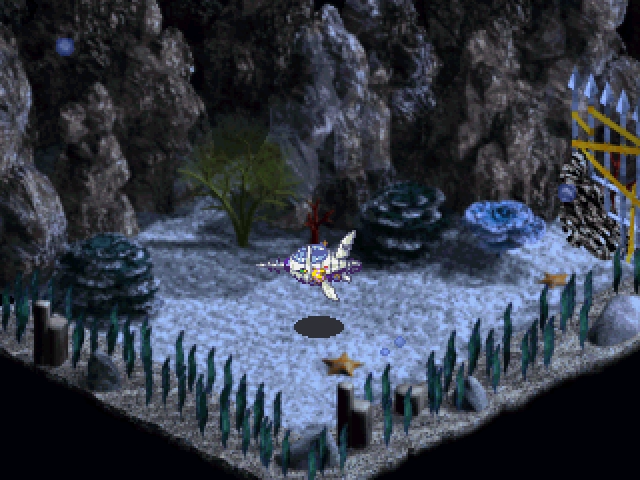
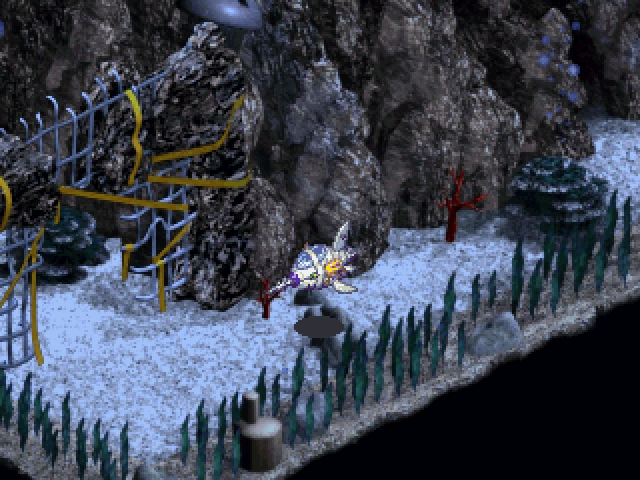
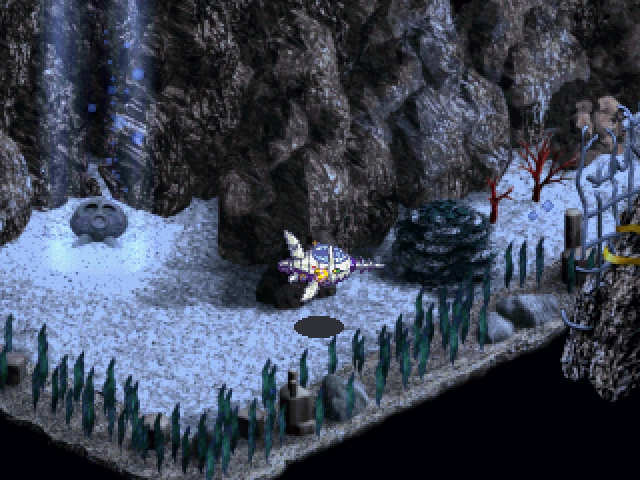
Welcome to ninety percent of this update, unfortunately enough. This particular Seabed map is Seabed 01, and it comes with a new encounter.
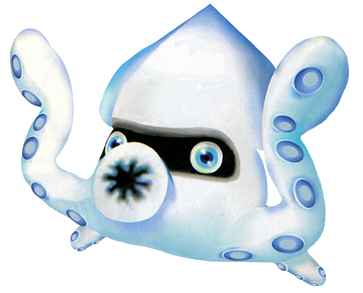
Name: Gesomon
Level: Champion
Location: Seabeds 01, 02, 04
Drops: Runner Sandal
3 STR, 4 DEF, 3 SPR, 2 WIS, 4 SPD,
3 FIRE, 3 WATER, 2 ICE, 2 WIND, 1 THUNDER, 2 MACHINE, 2 DARK
EXP: 136, BIT: 240
Regular Attack: Water Element
Technique: None
Yeah, nothing special. Just like every fish monster, Gesomon is weak to Thunder. The Runner Sandal makes it easier to run away from battles, which means I'm not going to bother grinding for it.
The only other encounter in Seabed 01 is Dolphmon, and we've already gone over him.
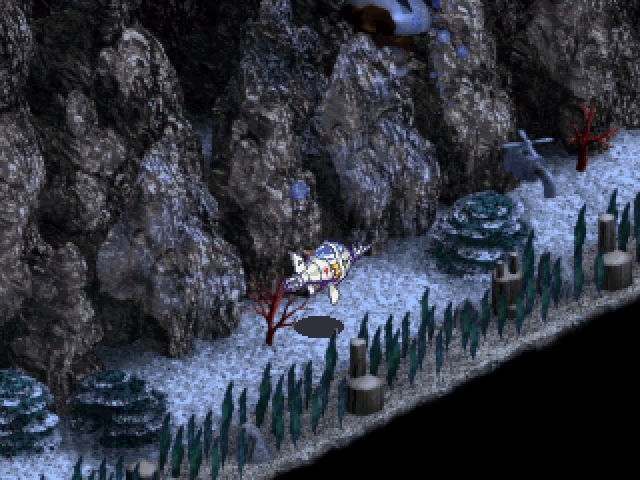
Anyway, Seabed maps usually come in one of two patterns; end to end, and end to end with a stop in the center. This map is an example of the latter, with exits both to the north and south of this screen.
And you know that stops in the center mean having to ascend just enough so that you can go forward over it. Keep in mind that going forward is also descending so that means you need a lot of height everytime this game puts an object in the way. Ho. Ly. Shit.
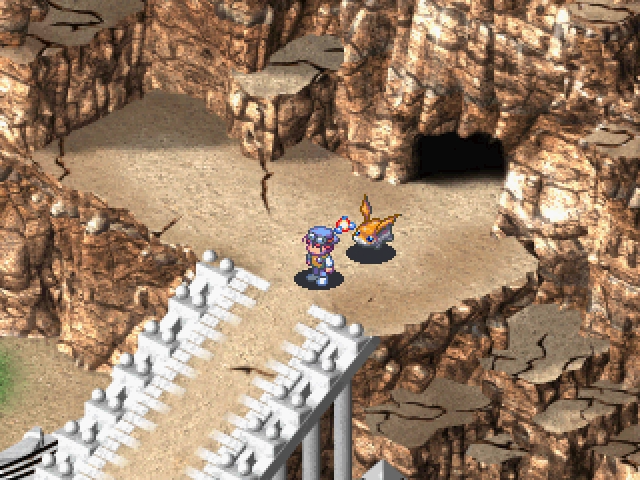
The north exit is the first one we'll go to.
It lets out in Kicking Forest, offering a quick way to head from Central Park to Seiryu City without having to go through all of Wire Forest. Plus, the fights in Seabed are actually worth experience and BITs (and more importantly, DV EXP), so there you go.
Every map should just be a point-to-point exit with no barriers. Sounds lame, but the alternative is much worse.

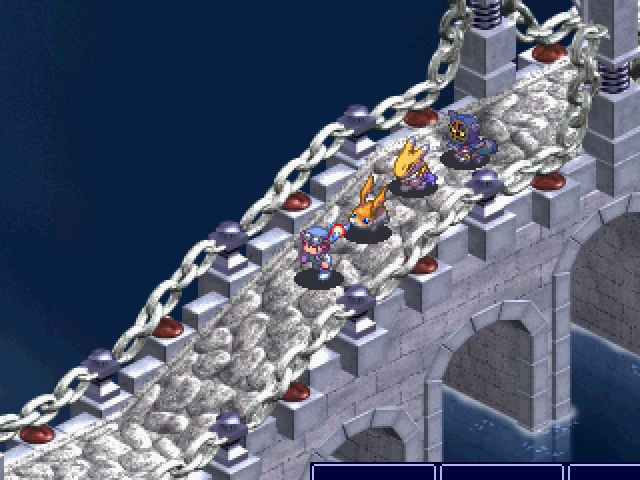
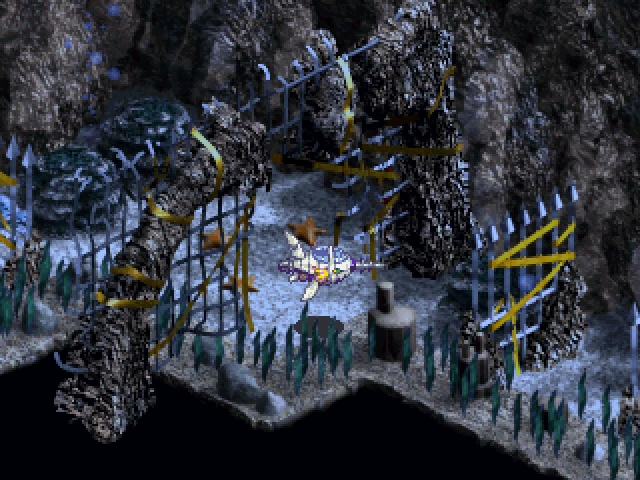
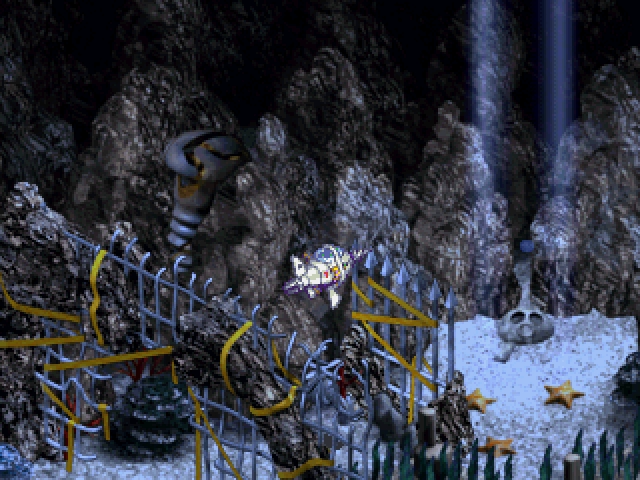
The south exit to Seabed 01 is also a nice shortcut (although the tank controls make it a pain and a half to get through).
Mainly because it lets out in Bulk Bridge - see the bridge? That's how you know.
There's also this weird place with nothing in it, down south past the exit to Bulk Bridge. I don't know what it's gonna be used for, but I get the feeling it's going to be important sooner or later. Or maybe never, and I'm full of shit. Who knows.
Naaah, I don't think this game thinks through what dead-ends say to a player, anyway.
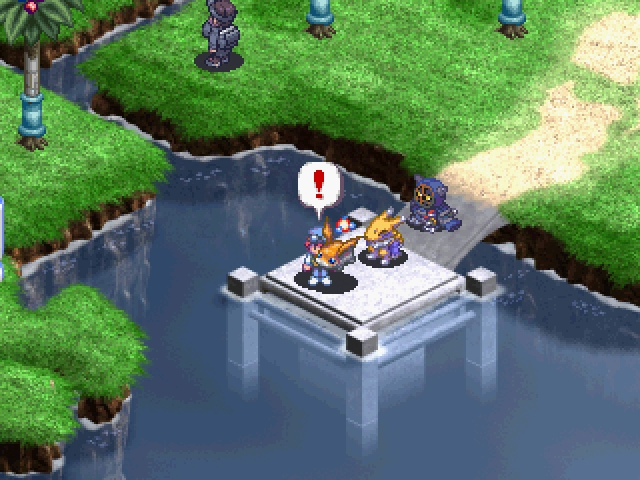
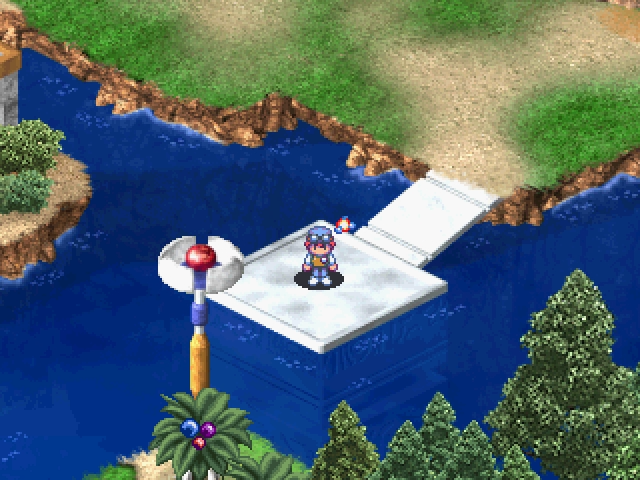
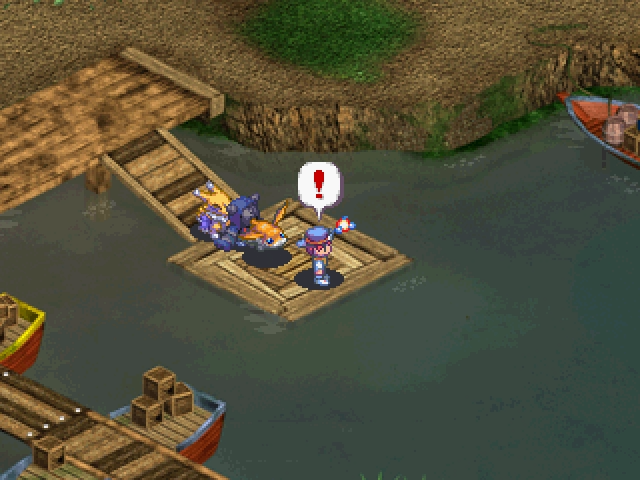
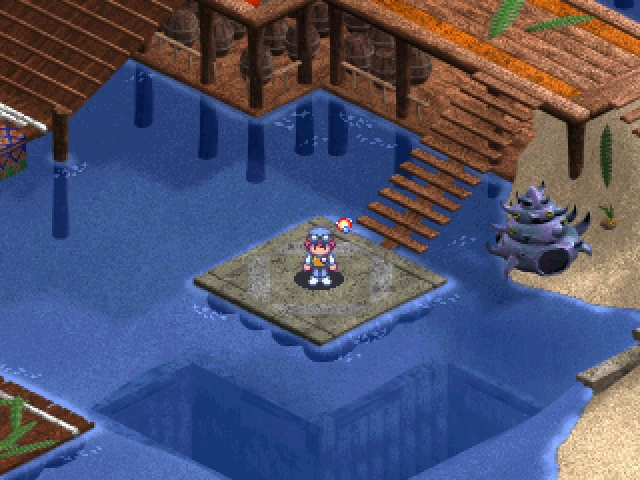
Anyway, that's the Dive spot in Central Park taken care of, so now we can go check out the Shell Beach spot.
What is that statue in the corner? TELL ME
This isn't an LP. It's a tourist's guide to Digimon World 3.

It's another of the three-exit maps, though this time we're starting on the northern exit.
The middle spot leads to Phoenix Bay - a nice shortcut from Asuka City to Suzaku City. Y'know, if we ever have a reason to go back there.
Tell me, is there a plane section, too? And is it just as boring?

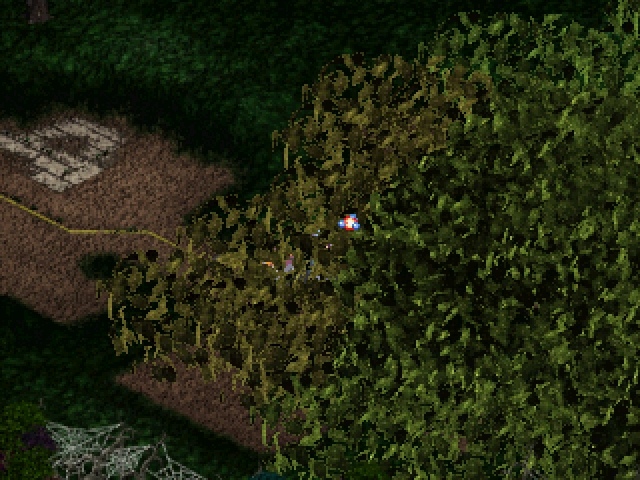
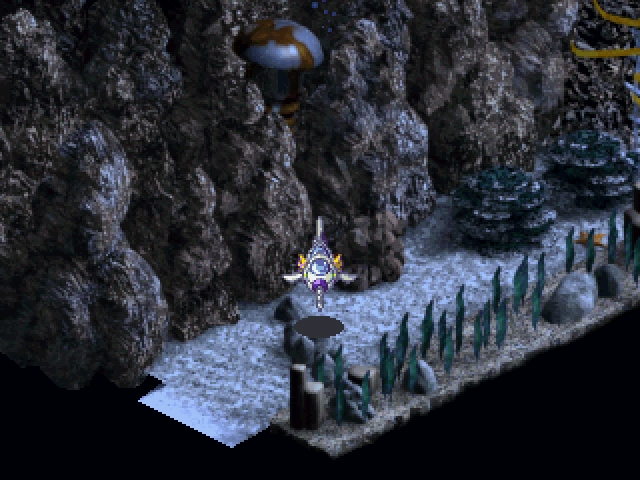
The final exit, the southern-most one, leads to Ether Jungle.
Now, you might be wondering, 'But we never saw a dive spot in Ether Jungle when you explored it the first time! Did you skip something?' Jerks. I'm not that incompetent.
Liar.
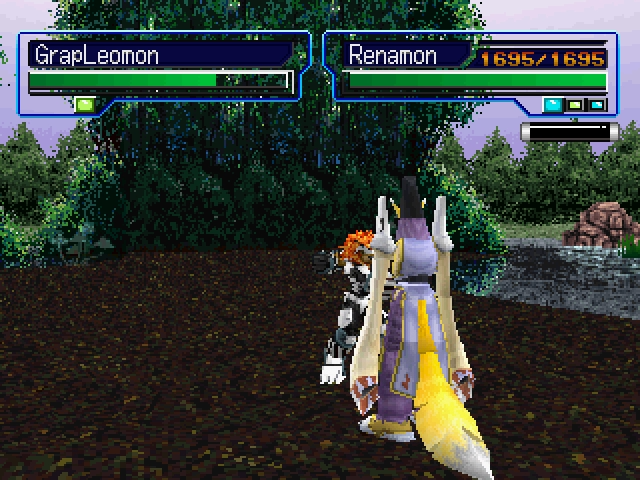
This is the first example of an area where part of it can only be accessed from a different method entirely. You might have also noticed the ledge in Wind Prairie, on the cliff to the east of Seiryu City, or the chest in Pelche Oasis that we can't get to yet - those are more examples of the same. But enough about that, we have an Ultimate fight.
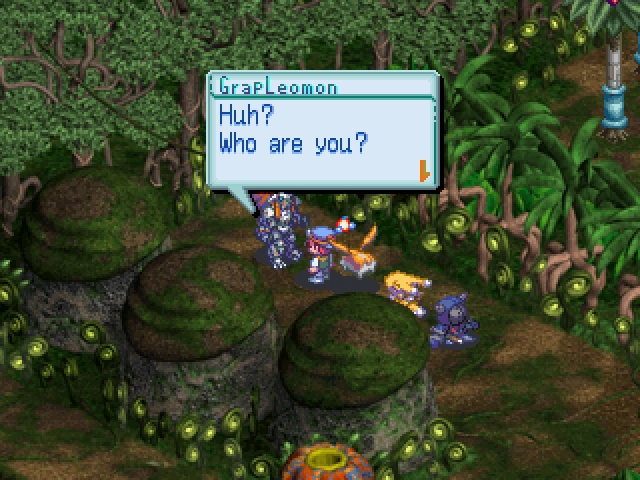
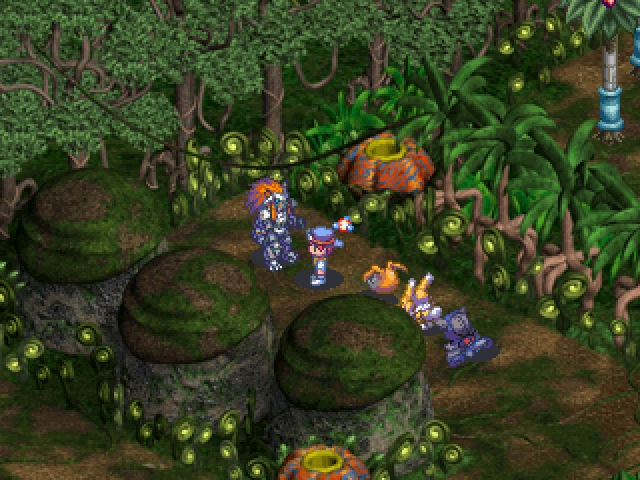
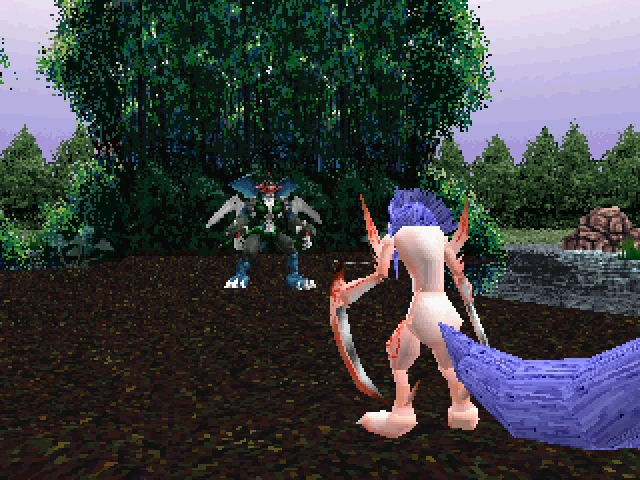
Kite: Hey GrapLeomon, I have a favor to ask. Can I get Kumamon DDNA from within your DDNA?
GrapLeomon: Ha ha ha ha! You're a funny kid! If you can defeat me, You[sic] can have it!
Capitals letters are hard, okay?
They Sure Are, Yeti. English Is Difficult.
Click for music!
GrapLeomon is a fun fight, especially since he's probably the first person we've fought with multi-hit attacks.
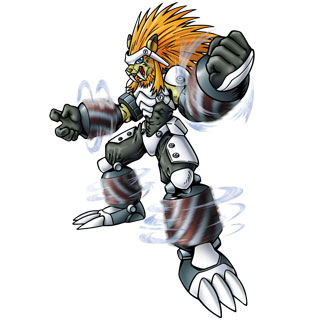
Name: GrapLeomon (Boss)
Level: Ultimate
Location: (After Accepting Kumamon DDRI Quest)
Asuka South - Ether Jungle (Seabed Entrance)
Drops: Kumamon DDNA (After Defeat)
5 STR, 5 DEF, 1 SPR, 1 WIS, 4 SPD,
2 FIRE, 2 WATER, 2 ICE, 2 WIND, 2 THUNDER, 2 MACHINE, 2 DARK
EXP: 280, BIT: 560
Regular Attack: No Element
Technique: Cyclone Turbine (Physical, Hits Three Times)
Cyclone Turbine can actually be dangerous, thanks to his 5 in STR, but if you survive the blows Counter Crest makes it basically trivial. Without the Counter Crest, you'd need a lot of speed to be able to keep up the healing while also doing damage.
His regular attack is just him jumping over and punching you for about 350, 400 damage.
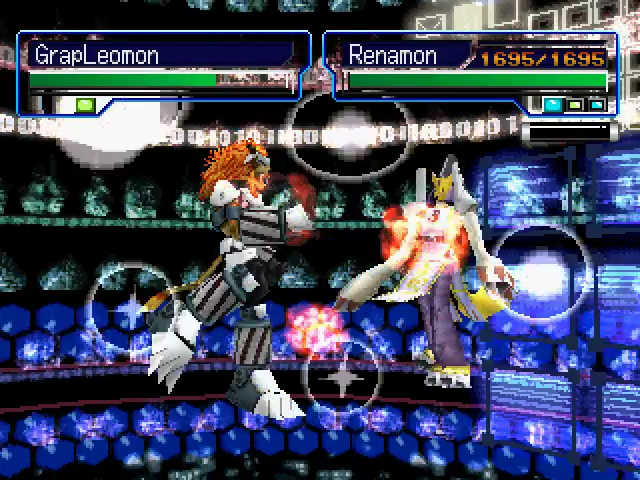
Cyclone Turbine, GrapLeomon's signature tech, is fairly dangerous, hitting three times for about 350, 400 each. That 5 in STR isn't just for show, you know.
To deal with him, honestly, use magic - his 1 WIS means that Magic Techs will hit even harder than usual, and fortunately Taomon can eat the Cyclone Turbine and have some health left over.
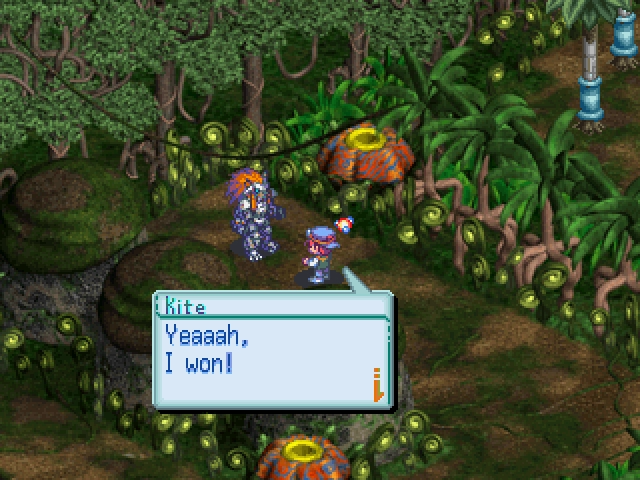
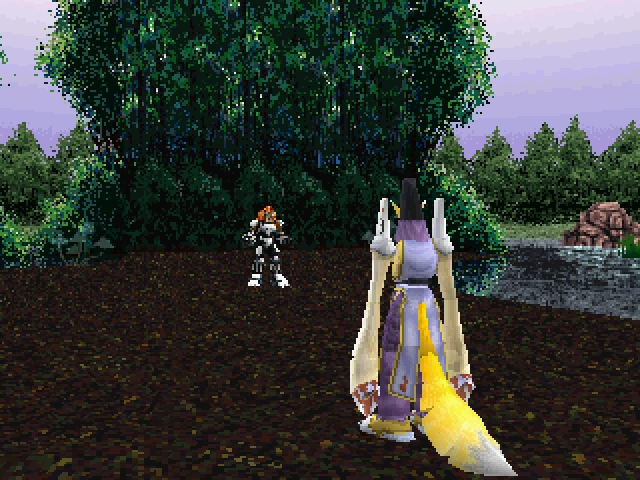
GrapLeomon: All right, I must keep my promise. That is my code of honor.
Kite: Yeah! I got the Kumamon DDNA! Thanks, GrapLeomon!
Amusingly enough, leaving the screen and coming back means that GrapLeomon despawns. However, going into your menu counts as leaving the screen (for some weird reason). So, if you're healing up or something, you come back to see that GrapLeomon disappeared from right in front of you.
Also hey, does this count as the Leomon death for this game?
He Shoryuken'd outta there.
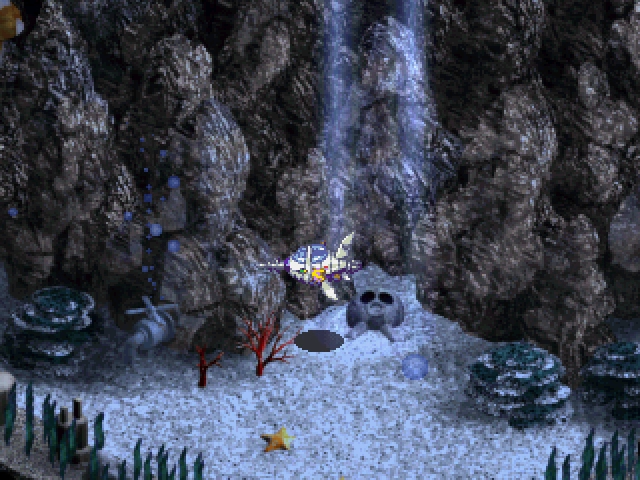
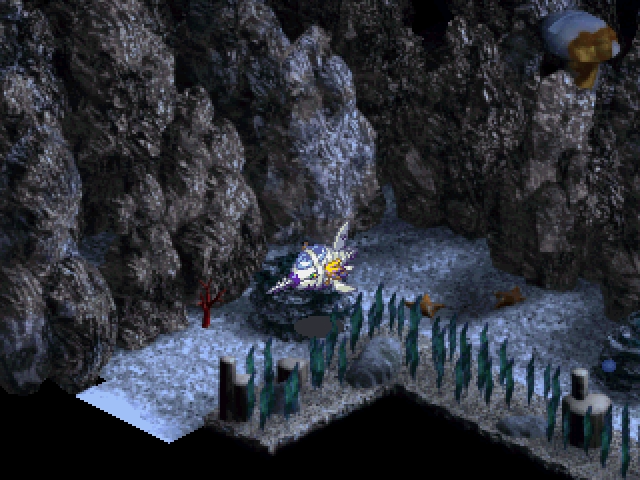
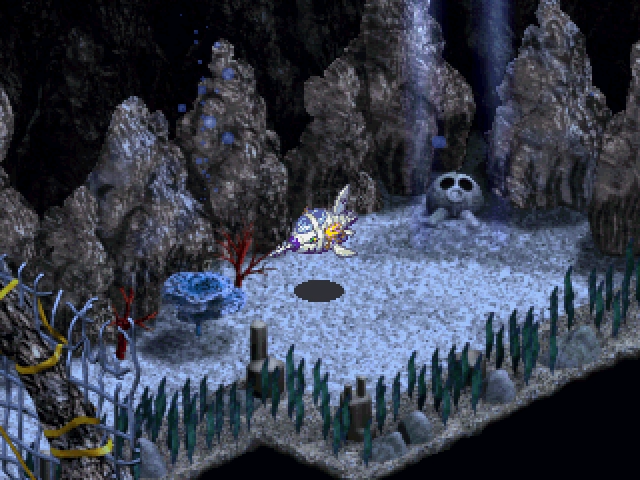
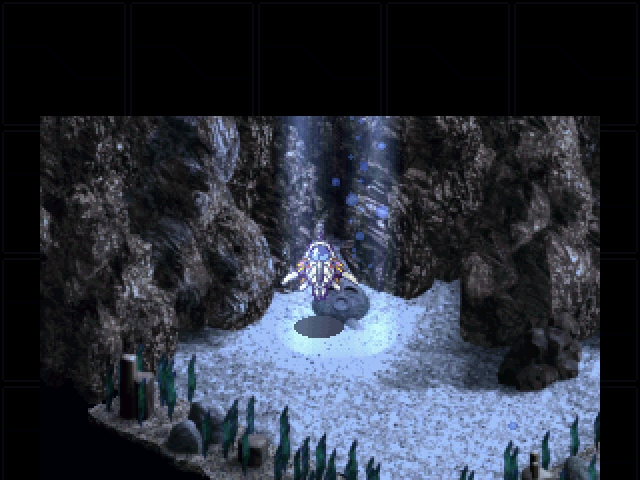
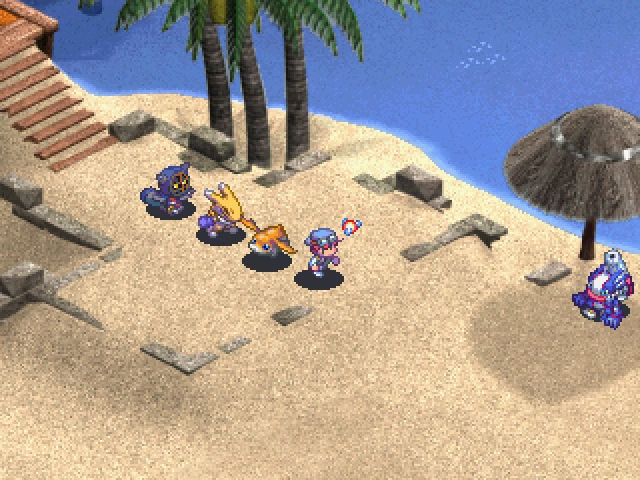
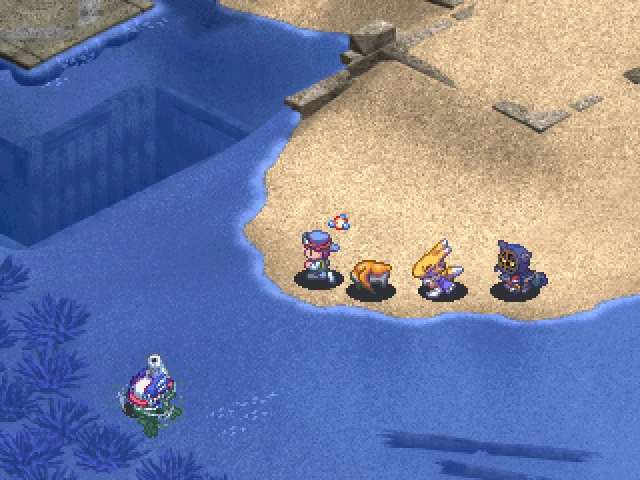
The final available Seabed entrance is down in Divermon's Lake.
Everything looks the same.

It's a Point A to Point B type map, but the difference here is that the only encounter is Divermon. Right now they aren't threats, since I can go toe to toe with my Counter Crest, but back when we got the Digi-Egg of
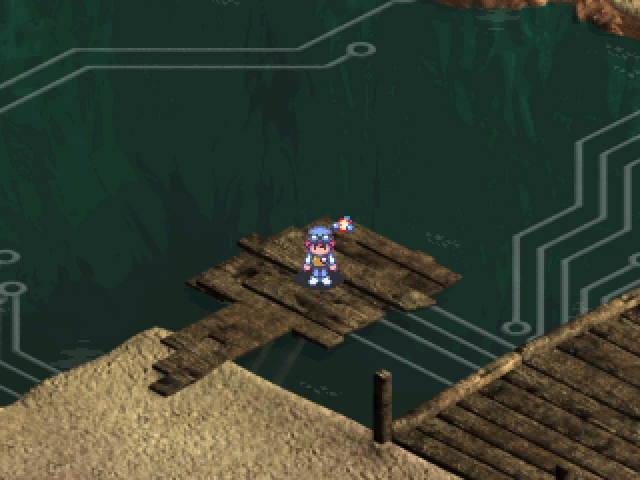
Click for music!
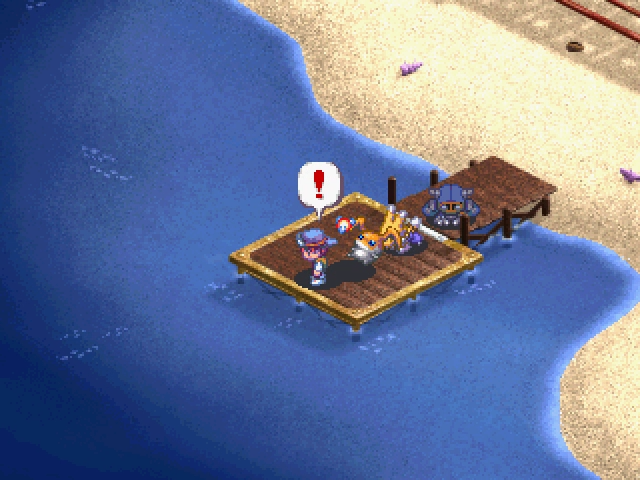
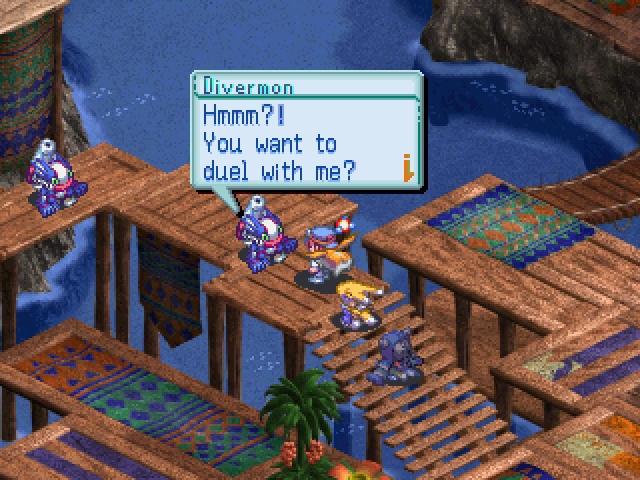
Welcome to Duel Island!
Retard-chu strikes again.
As the name suggests, this place is basically a tropical island. Man, why couldn't South Sector have looked like this? It would have been so much better than the shitty poop swamp we got.
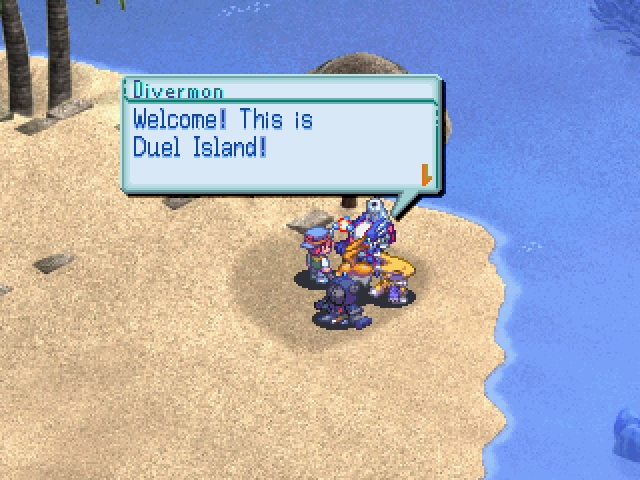
Divermon: A paradise for duelists where stronger card duelists gather!
Unfortunately for us, this place is all about the Card Battling, and I'm having none of that so long as I can avoid it.
Procrastinator! Thread, I demand you protest the lack of card battles!
So, regrettably, this'll probably be the only time we drop by, unless there happens to be plot-related stuff in this place.
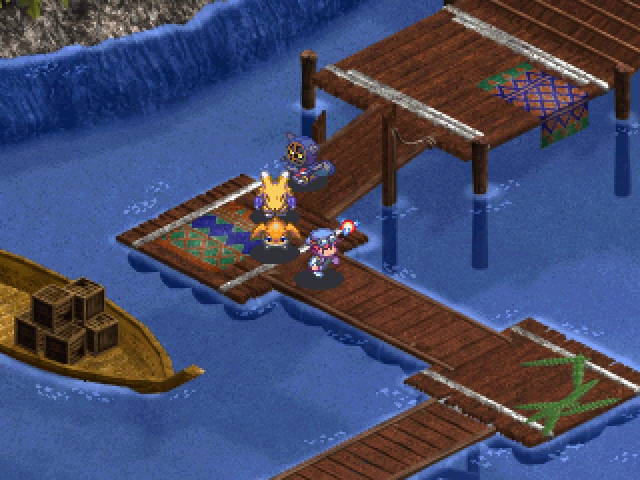
A shame, too, since I really, really like the color palette they chose.
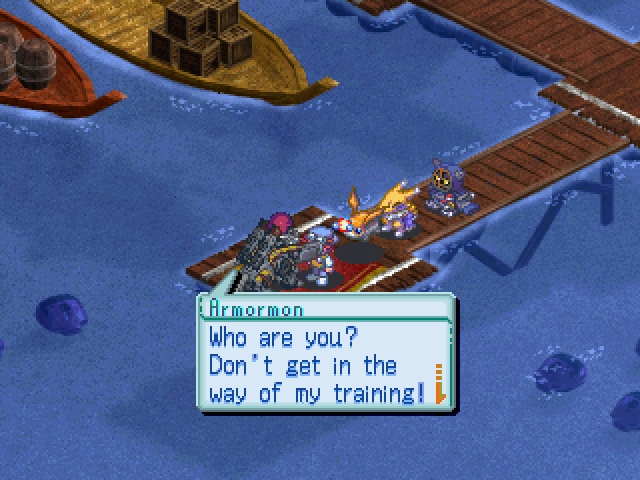
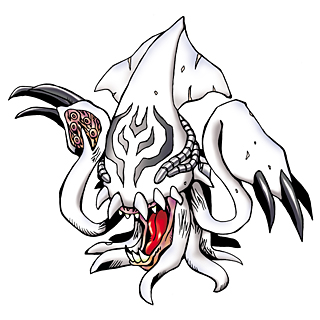
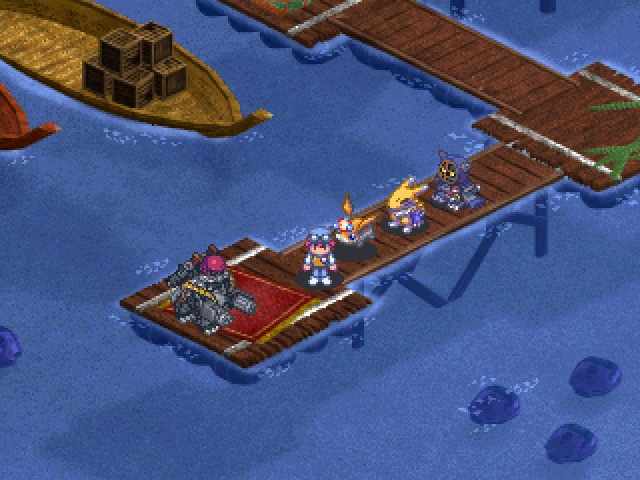
Kite: ...Hey Armormon, can I ask you a favor? Can I get Monmon DDNA from your DDNA?
Armormon: ...I refuse! It is too important to give away. If you really want it, you must take it from me.
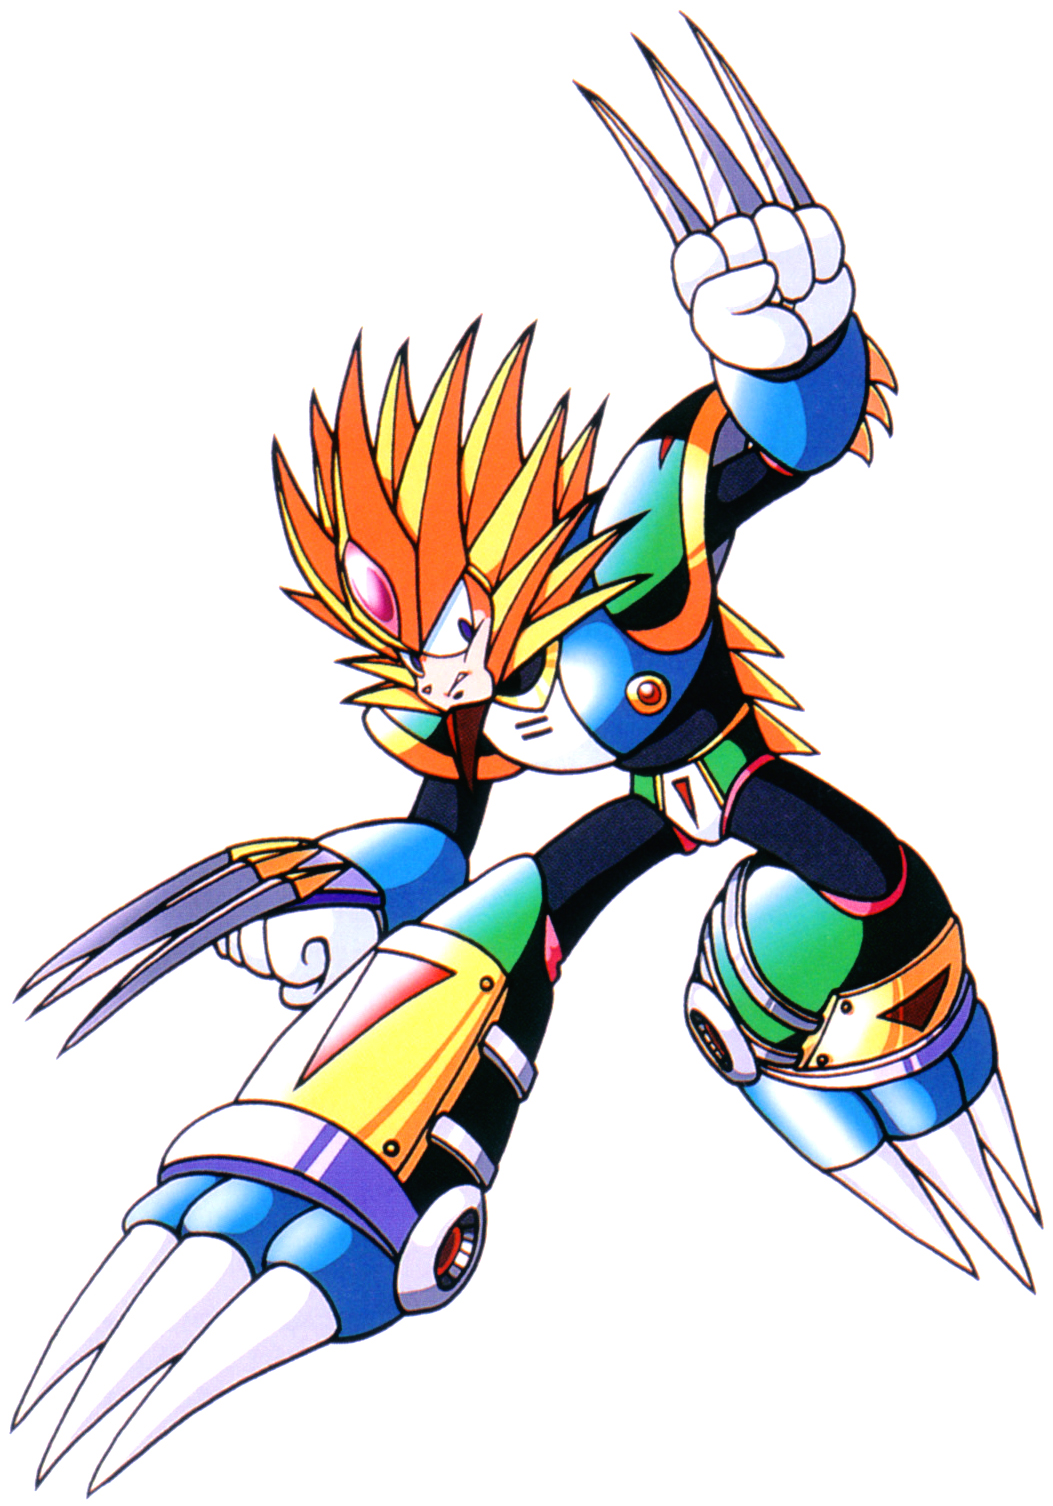
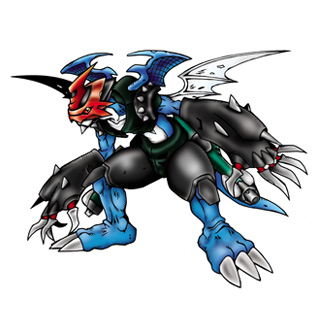
Armormon looks pretty neat, not gonna lie. A few goons in the thread voted for Monmon as one of our starting partners solely for the appearance of his Digivolution line.
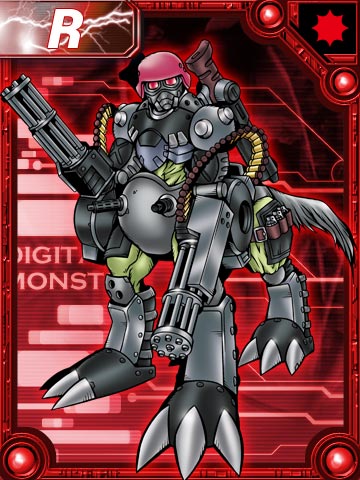
(Sorry, no official Bandai art for this guy. Not sure why, but it probably has something to do with the fact that he's only appeared in Digimon World 3.)
 that's both ridiculous and cool. The term 'Digimon' gets stretched more and more I see.
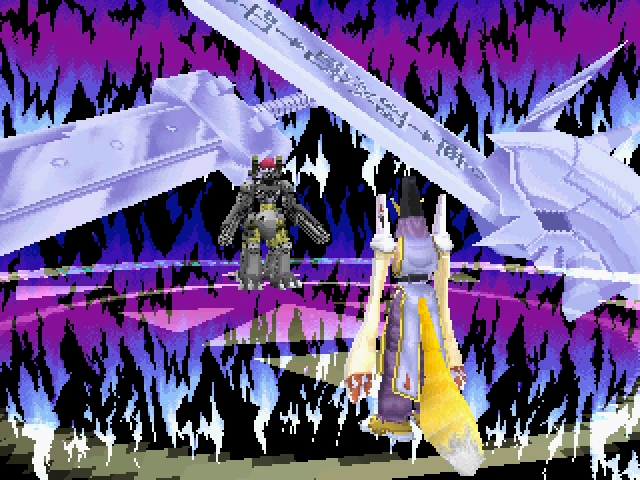
 Name: Armormon (Boss)
Level: Ultimate
Location: (After Accepting Monmon DDRI Quest) Asuka East - Asuka Duel Island
Drops: Monmon DDNA (After Defeat)
4 STR, 3 DEF, 2 SPR, 2 WIS, 4 SPD,
2 FIRE, 2 WATER, 2 ICE, 2 WIND, 1 THUNDER, 3 MACHINE, 2 DARK
EXP: 280, BIT: 560
Regular Attack: No Element
Technique: Justice Strike (Physical, Hits Four Times)
He's weak to Thunder elements, and Magic Techs. His Justice Strike hits four times, which can be dangerous, but he's pretty much a glass cannon.
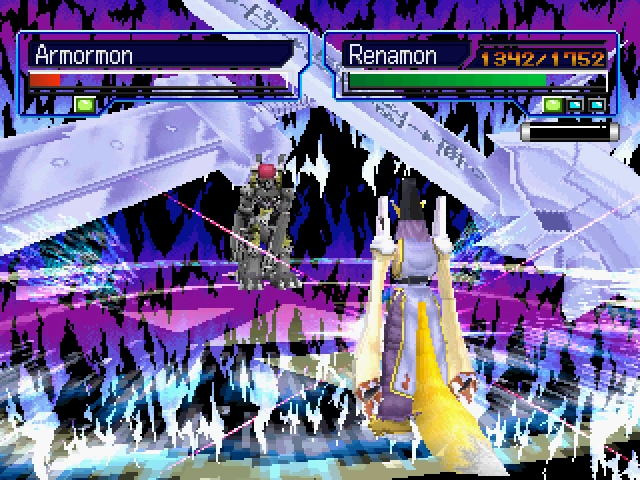
His regular attack is him swinging his gun barrel arms at us and then hitting us with a shockwave. No big deal.
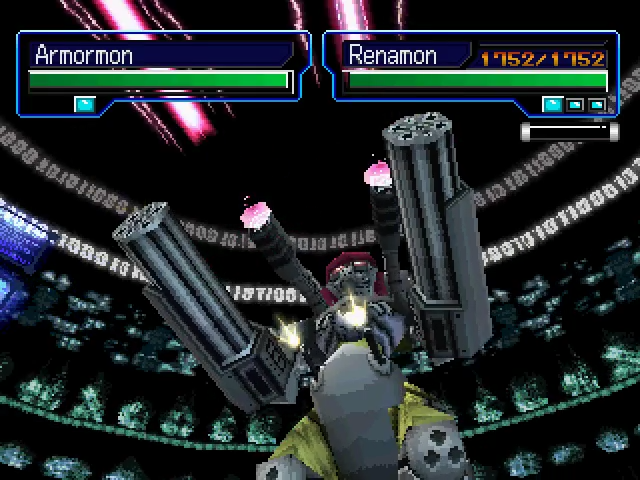
However, Justice Strike is very much something you want to prepare for. In the video, I used Double Guard specifically because of this move; assuming full power and all four hits connect, it's enough to pretty much one-shot Taomon and Rosemon. Kyukimon would probably take about half of his HP in damage, but that's because Kyukimon is ridiculously broken for some reason.
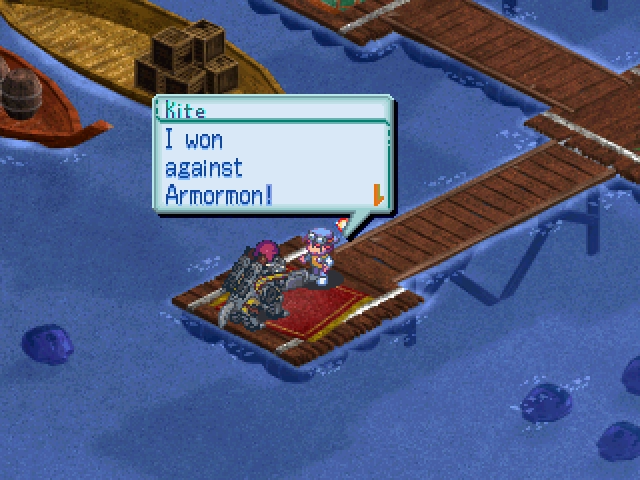
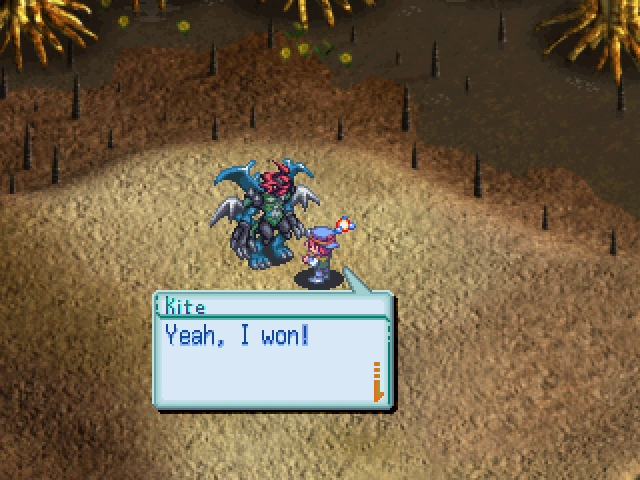
But eventually, Armormon gets owned.
Armormon: ...How could I lose... But you did win. Here take this.[sic]
Kite: Yeah! I got the Monmon DDNA!
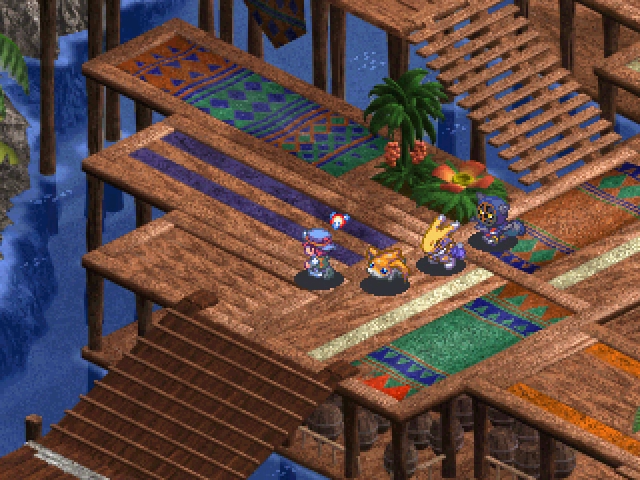
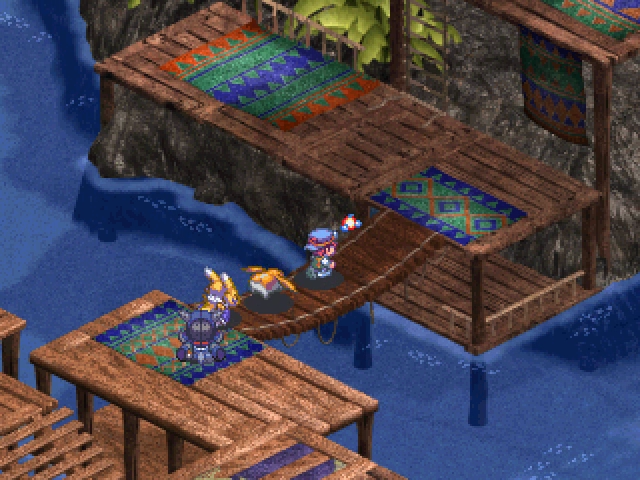
The rest of the island to the west is blocked off by these guys who want to play cards with me, so screw them. (I'll eventually get around to beating them, don't worry. I figure brute forcing it with high-level cards from Cardmon drops will do it, because fucked if I'm putting any modicum of thought into building the deck.)
"Zero thought. Straight power." And you wonder why I make fun of your skills.
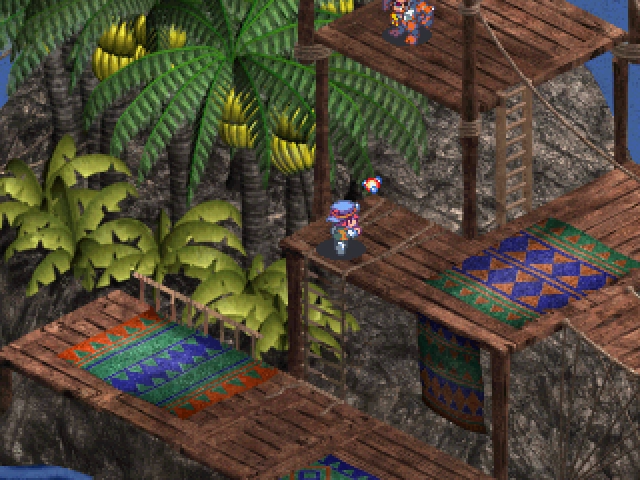
The last spot to visit on Duel Island is this little standalone bit over here.
What a stupid sentence.
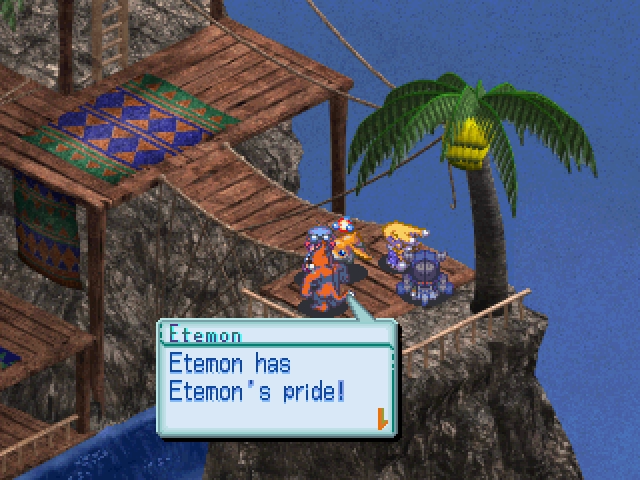
Etemon: I can't lose to Divermon in Card Battle!
There seems to be a rivalry between the Etemon and the Divermon.
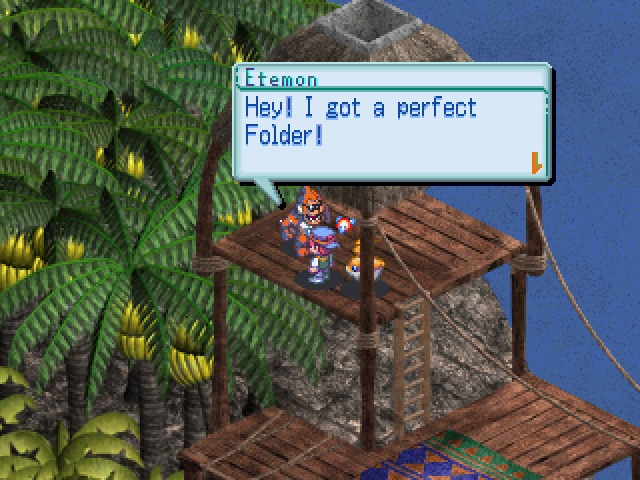
Etemon: Now I'm going to beat those fish!
...Eh, not my problem. We're leaving.
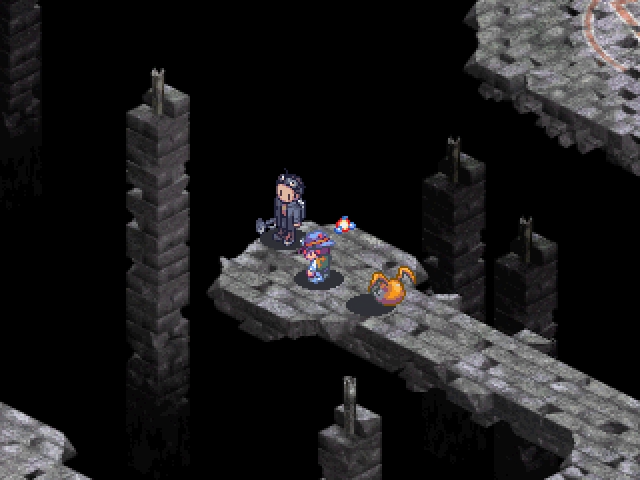
~Magical screenshot teleport to Bulk Bridge go!~
HAX! HAXXXXXXXXXXXXX!!
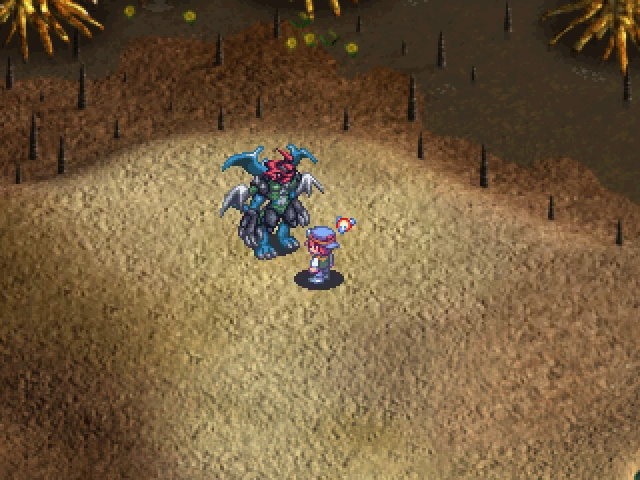
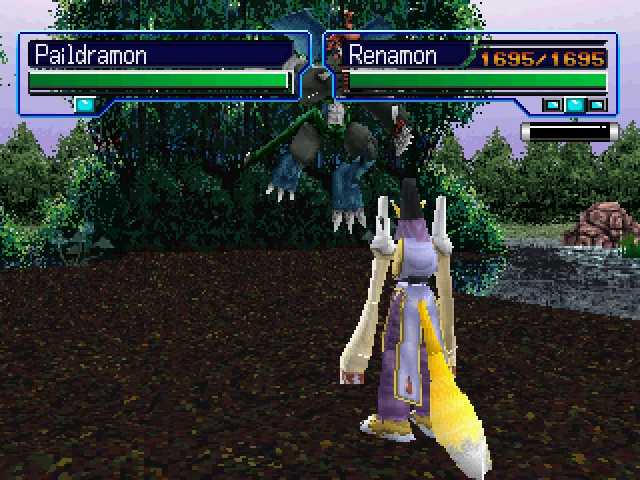
Paildramon, the guy that DRI Bob was looking for, is right here; this is that empty area in the west after the eponymous bridge.

Kite: Hey Paildramon, I have a favor to ask. Can I get Veemon DDNA from your DDNA?
Paildramon: No way! They stab you with a needle for that! Unless I lose in a battle, you can forget it!
..."They stab you with a needle for that!" That's actual game dialogue?
Oh yeah, 100% the game right there. I had nothing to do with it.
Kite: Oh, all right. I only have to win, right?
Paildramon: Yeah, right! Try it if you can!
Well, he certainly talks tough. Let's see if he can back it up.
Spoiler alert: he can't.
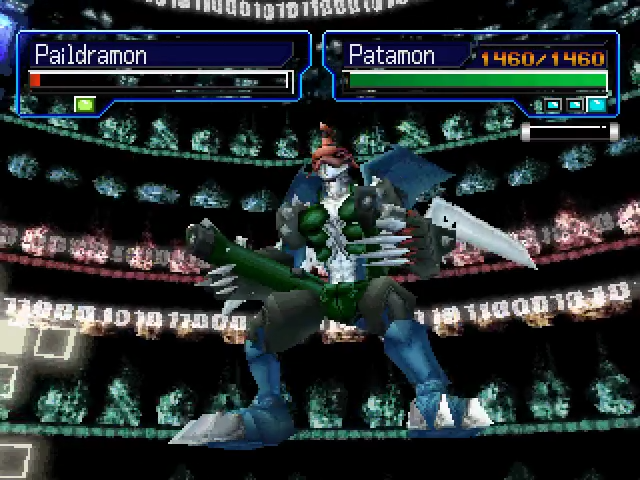
Name: Paildramon (Boss)
Level: Ultimate
Location: (After Accepting Veemon DDRI Quest) Asuka South - Bulk Bridge
Drops: Veemon DDNA
3 STR, 2 DEF, 3 SPR, 4 WIS, 3 SPD,
1 FIRE, 2 WATER, 3 ICE, 2 WIND, 3 THUNDER, 2 MACHINE, 1 DARK
EXP: 200, BIT: 380
Regular Attack: No Element
Technique: Desperado Blaster (Physical, Hits Four Times)
This guy... He's not tough in the slightest. He's got basically no health (under 1400), no physical defense, and no Fire resistance. Kyukimon is a physical attacker with a Fire Tech. Do the math.
One physical attacker + One Fire Tech - Enemy's Low Defense = One Dead Digimon
Do I pass maths?

His physical attack is nowhere near as neat as Stingmon, sinc all he does is fly over and kinda ram Taomon.
His Desperado Blaster is equally pathetic, since it's supposed to hit four times for relatively weak damage, but 'weak' in this case means double digits, and Kyukimon blocked all the shots anyway.
Dude... That was pathetic.
Kite: OK, hand it over!
Paildramon: Oh, all right. Here, take it. Ouch!
Kite: Yeah! I got the Veemon DDNA! Thanks, Paildramon!
Paildramon: Yeah, yeah, I'm never doing this again. Later!
Wonderful, that's all three of the DDNAs we were missing.
Now, to deliver the quests and receive our rewards.
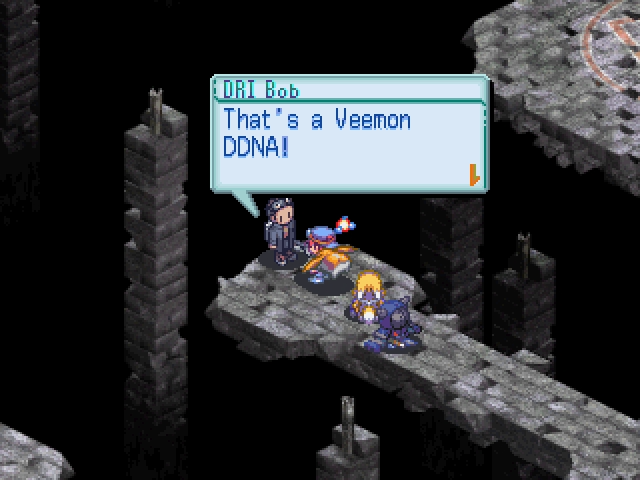
DRI Bob: So you found Paildramon! Thanks! I'll add Veemon as your partner! Go see Piximon or Dr. Kadomatsu at the lab. Veemon should be in the list under Switch Digimon!
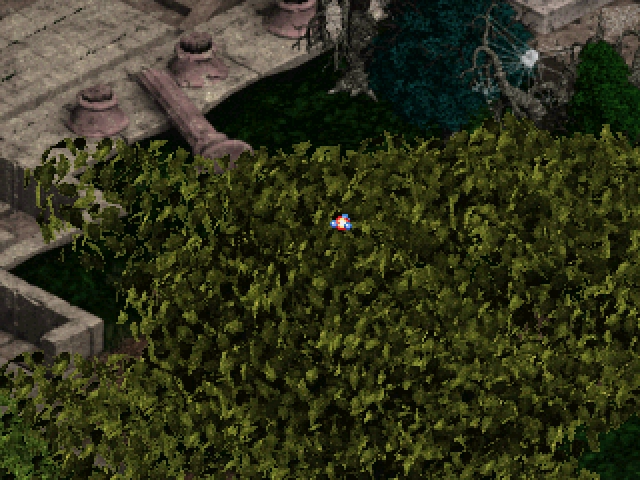
Rssm frssm tree maze.
You should have the way memorized by now.
Remember, this guy is South 1, West 1 from the start.
DRI Yuji: What?! You got Kumamon DDNA from GrapLeomon? Wow, it's real! Thanks! I'll do anything you want... Hey! I know! I'll add Kumamon as your partner! Go see Piximon or Dr. Kadomatsu at the lab. Kumamon should be in the list under Switch Digimon!
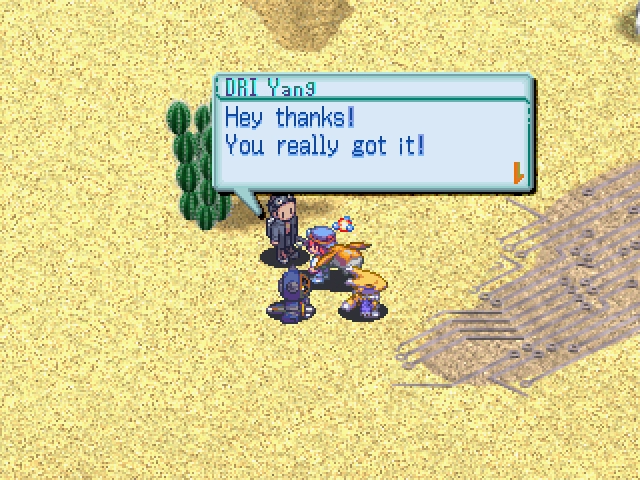
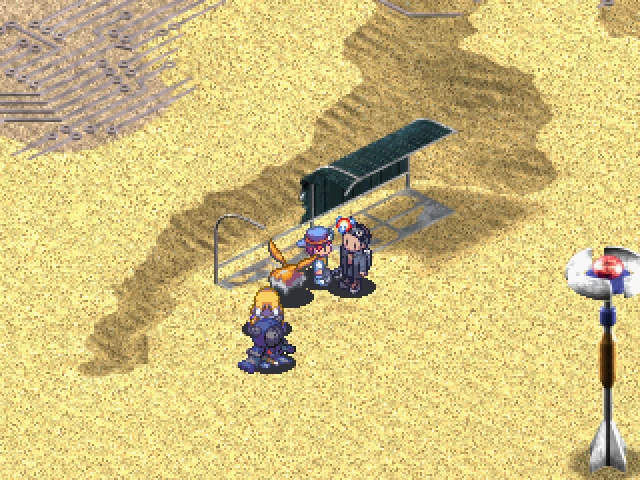
And then this dweeb, who's South 3 and West 3 from the start.
DRI Yang: OK, I'll add Monmon as your partner like I promised. Go see Piximon or Dr. Kadomatsu at the lab. Monmon should be in the list under Switch Digimon!
Good, that's taken care of, now.
Other errata before we finish things up here:
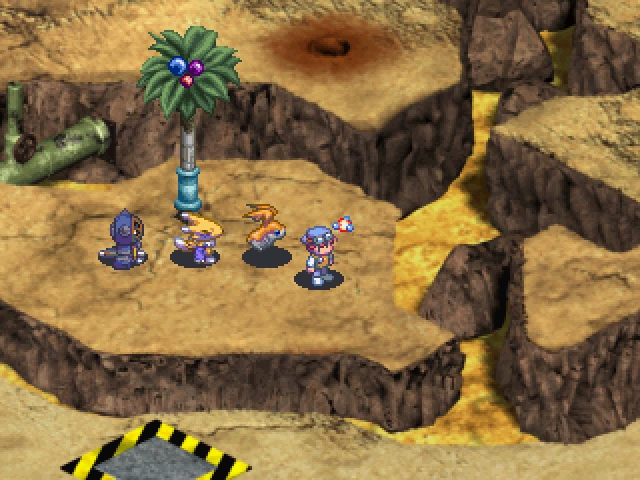
That little nook is where we'd find Taomon, should we not have Renamon already. MagnaAngemon is in South Badlands, but we don't care about him. As for Kyukimon, we don't have access to him yet. (Or, rather, we do, but I'm not going there because I don't want to go to a place I'll be going for plot reasons later.)
Anyway, that's everything that's available to us through the Seabed areas. Next time, we'll finally head out to Dum Dum Factory and figure out what's up with those A.o.A jerks.