Part 4: A Bit Damp?
Update 3: A Bit Damp?Before we get to the meat of the update, I just wanted to point out that turning off the game resets all traps and mechanical goodies.

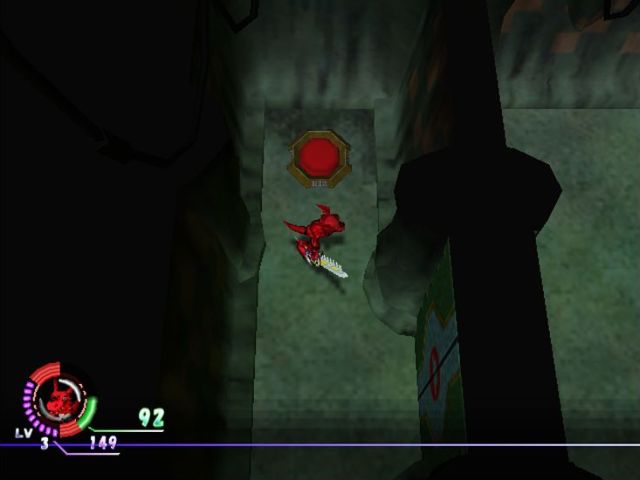
So the switch that does nothing is back to being red.
Aw yeah. Dungeon Time (tm).
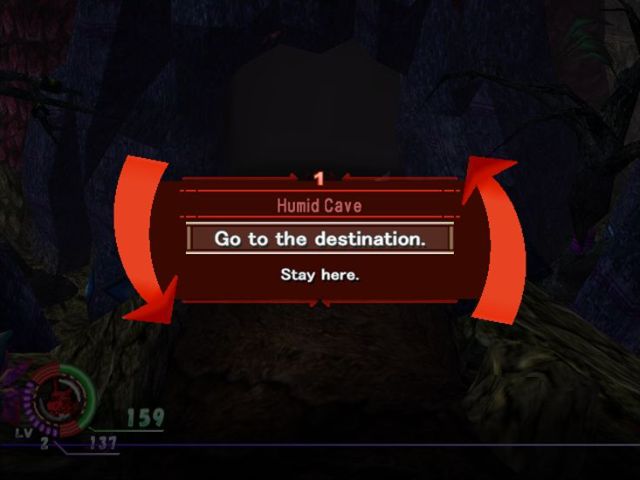
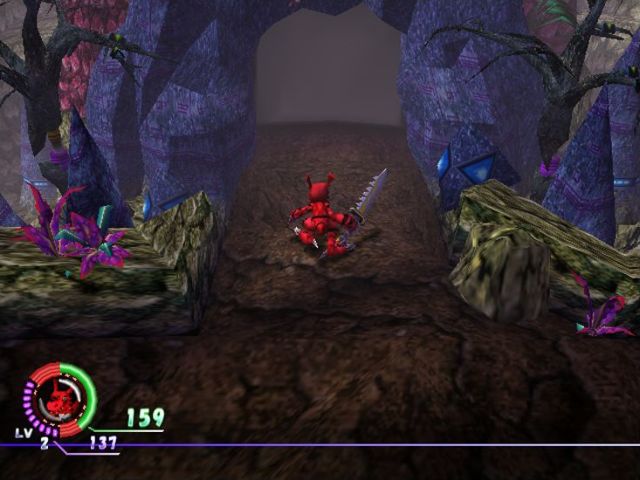
Today's exploration du jour is the Humid Cave.
So, dungeons. Dungeons make a return from Digimon World 2. You run around, exploring, killing stuff for experience, and collecting treasure.
It's just that the treasure is randomly dropped, so it's possible to have an amazing weapon by the time you get here. Not likely, but possible.
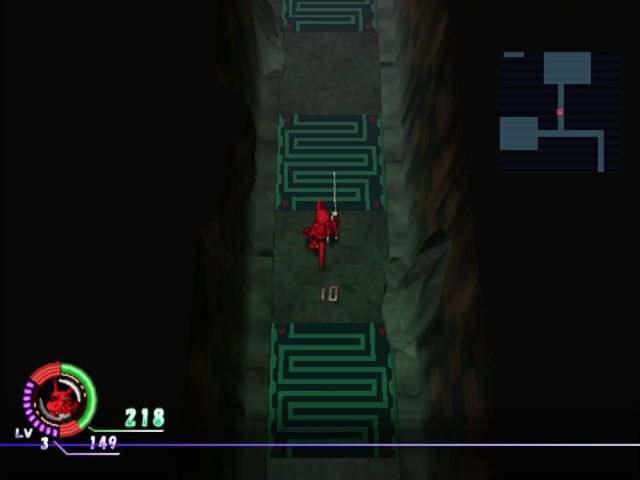
Anyway, dungeons are long, narrow passages occasionally broken up by enemies or larger rooms filled with enemies. Not the most exciting prospect, but still better than the "take two steps then fight a battle" idea from 'mon World 3.
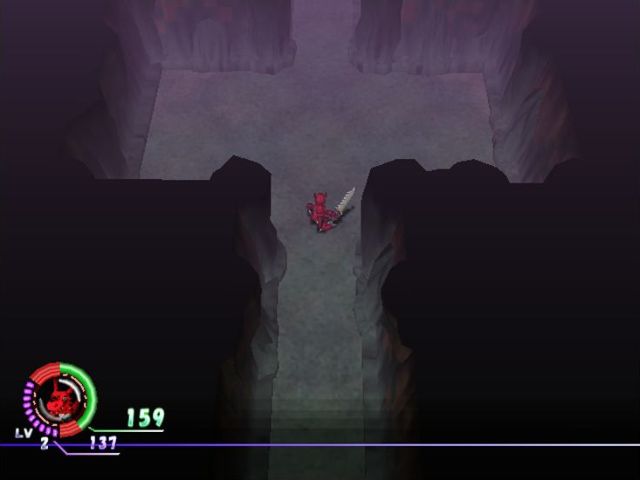
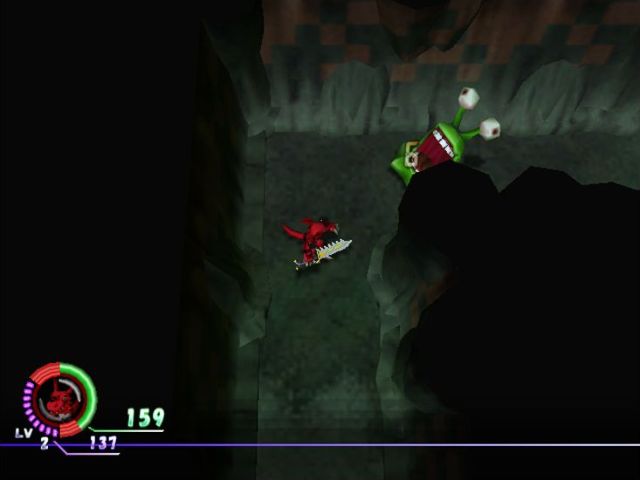
On this floor of the dungeon, Numemon are our only concern. So we're only in trouble if we get ganged up on.
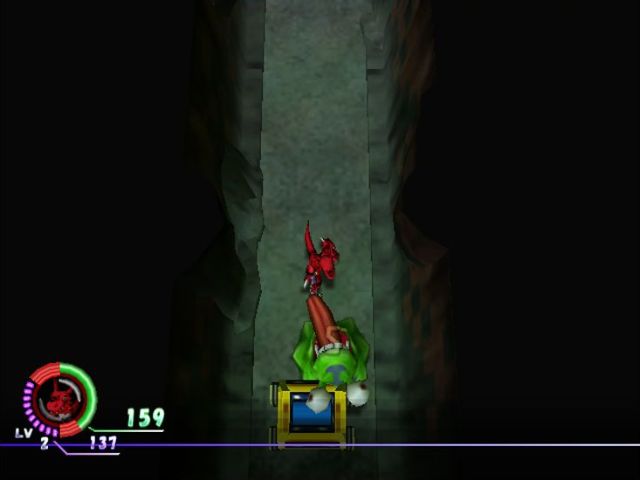
The corridor in the last screenshot reached a T-intersection. Taking the south path leads to a Numemon and a Raise Disk.
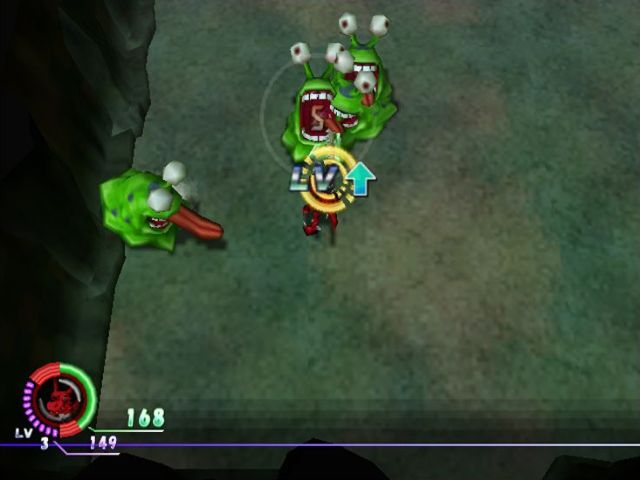
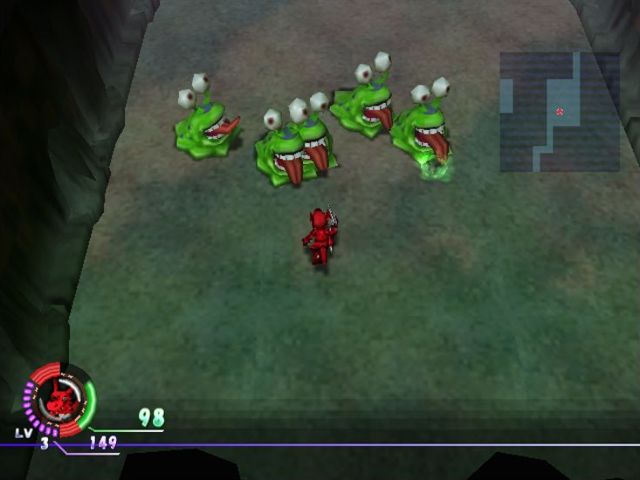
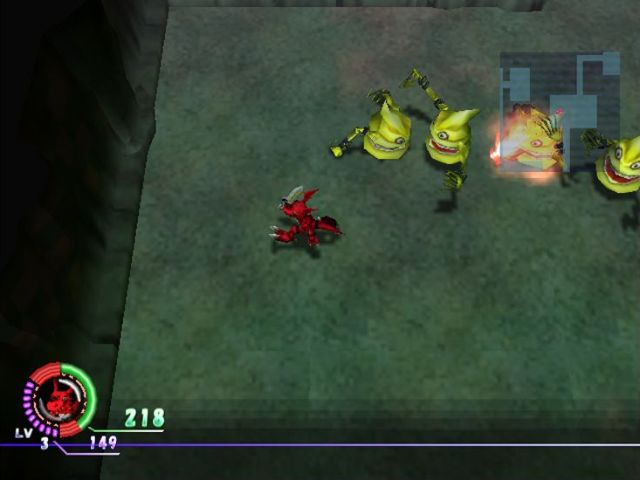
Pictured: me getting ganged up on.
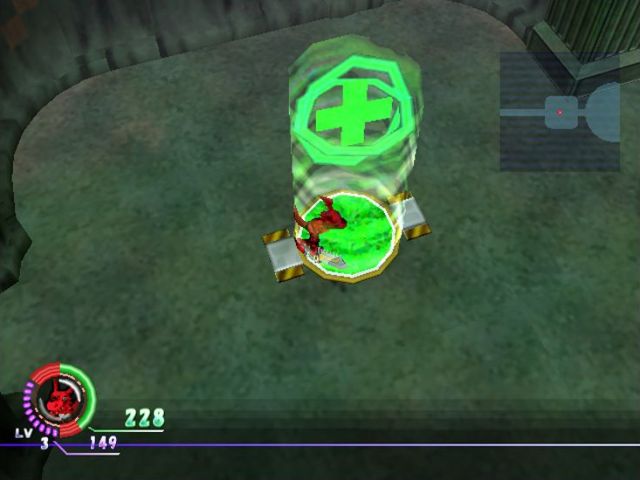
Also a Level Up, which completely refills HP and MP. Caught the notifier this time.
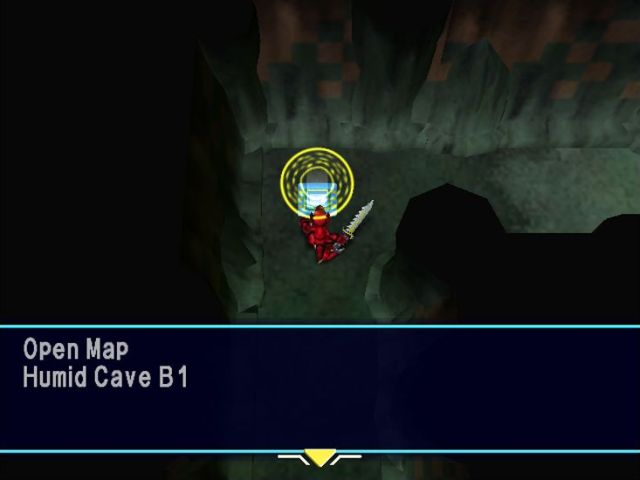
This thing gives us the map for this floor.
If you notice, it's the same type of gizmo as the Exploration Team uses for messages on the surface. I like to think that they all went through here, mapping the place out for us.
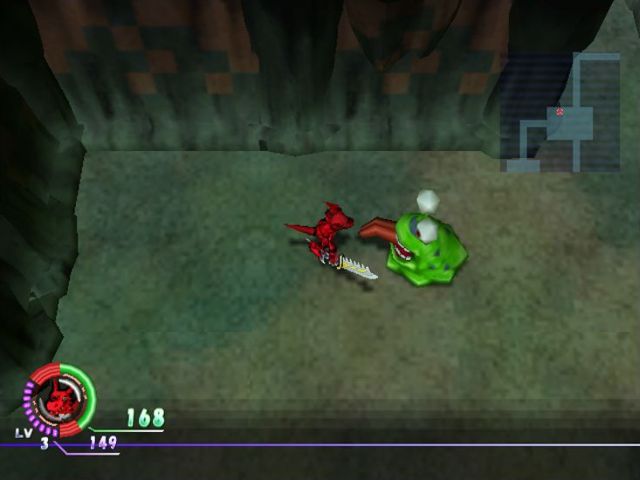
Now that we have the map, I won't have to describe the dungeon layouts in as much detail. Although they aren't hard - go in one direction until you can't, then go the other way.
This room here has 4 Numemon.

After clearing them out, take the south path. I'll get to the north path eventually.
The south path has a couple Numemon in it as an ambush. Nothing major.
oh for fuck's sake guys!

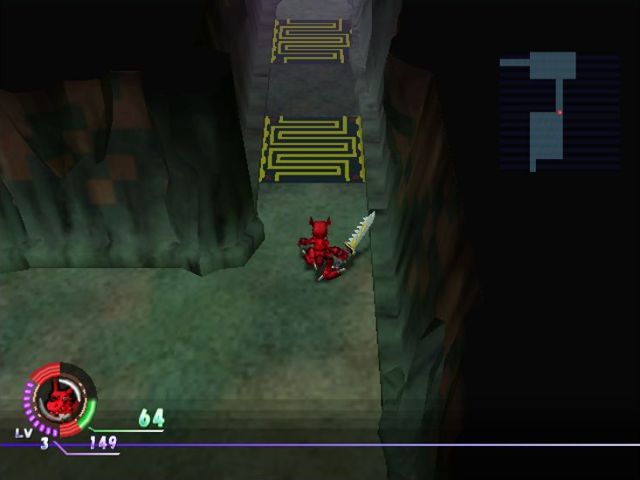
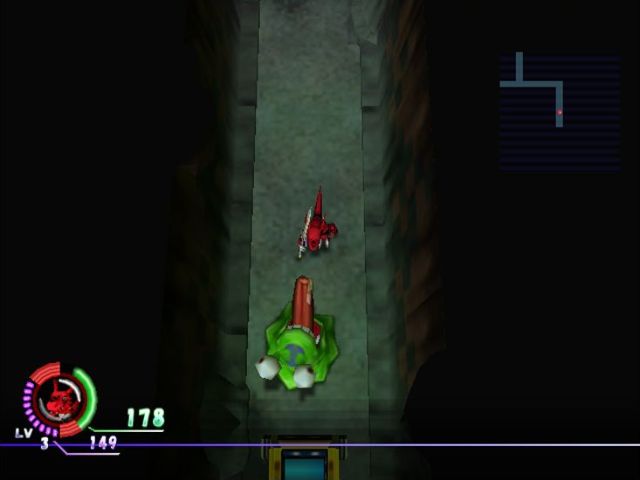
The yellow things are electrified. Touch them and take some damage, though it isn't much.
argh Numemon!
Occasionally there are locked doors that require you to kill everything in the name of righteousness and EXP. Others you can just run through, ignoring everything, though this isn't a good idea.
For one thing, you miss out on EXP. For another, the enemies keep following you. So you have like 5 HP left and you're running away and boop! Numemon you ignored.
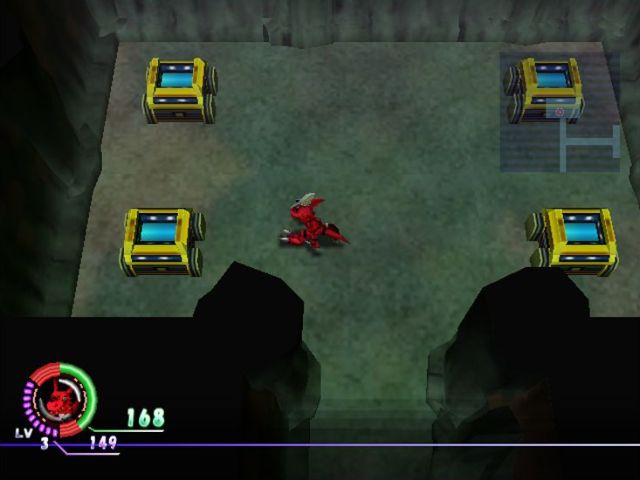
After clearing out the Numemon in the last room, taking the left exit takes us to the north branch from that other room way back when. This is a treasure room, where there are no enemies and just goodies.
Even though the goodies are crap, the bottom right chest had nothing in it.

Anyway, that's it for this floor. Next floor is the last for this dungeon.
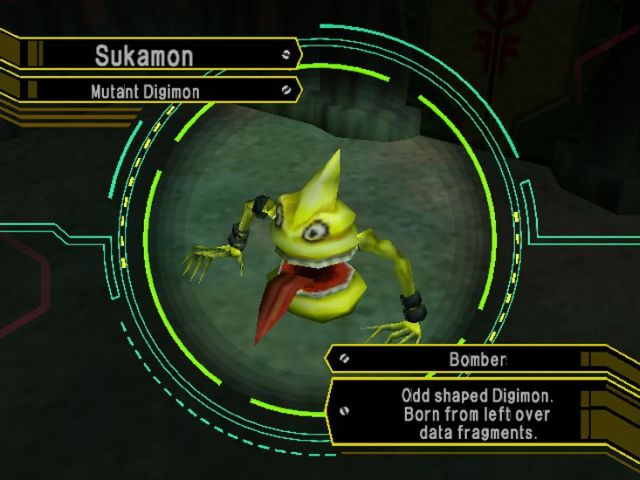
Meet the Sukamon. This bugger is probably the most dangerous thing you have to deal with in Death Valley. Not only do they hurt when they hit (16-20 HP)...
...they go into this invulnerable state when they have about 1/3 health remaining. They come up close and swing at you, with really awkward timing.
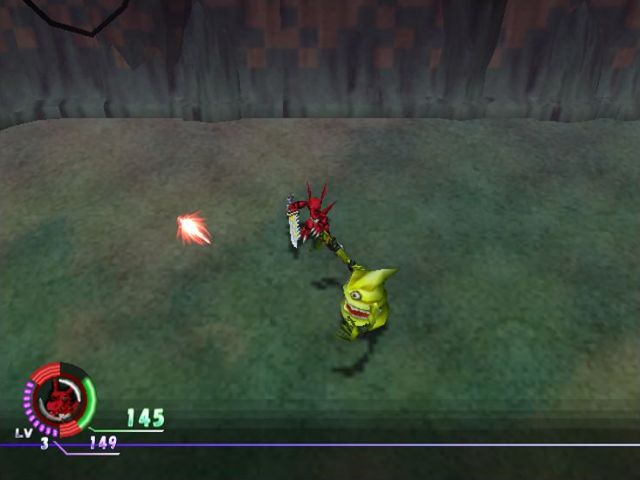
They can also shoot fireballs, though those things aren't as dangerous because we're Guilmon.
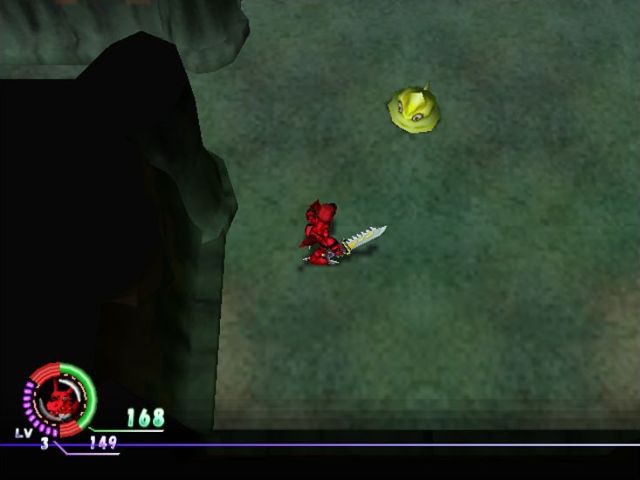
This is the next room, by the way. One of the Numemon upstairs dropped an Armor Board for our Sub Slot. It upped our Max HP and Def, meaning the Sukamon really are more annoying than dangerous.

After killing all the Sukamon in the above screenshot (there were a few offscreen) the midway Security Hole activates. It's functionally identical to a regular Security Hole, only it's in dungeons.
Leaving the room on the right and going up leads us to a couple Numemon and a closed door.
Killing the Numemon doesn't open the door - this one needs a button activated. A button is just a switch you walk on.
Pressing the button gives us access to an HP Disk Alpha and a map for this level. This is the only one until right before the end, when it's not useful.
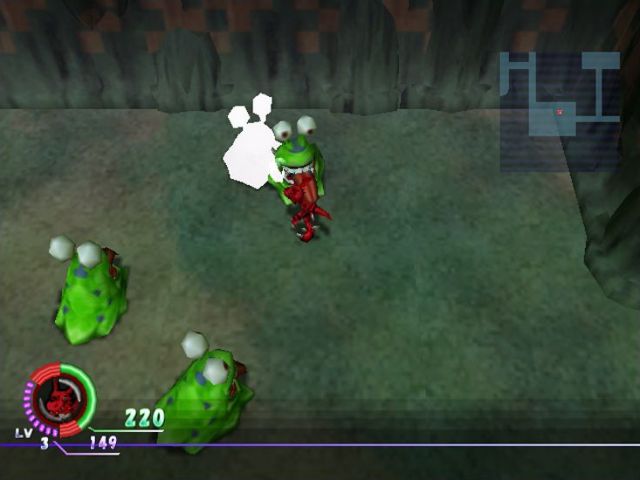
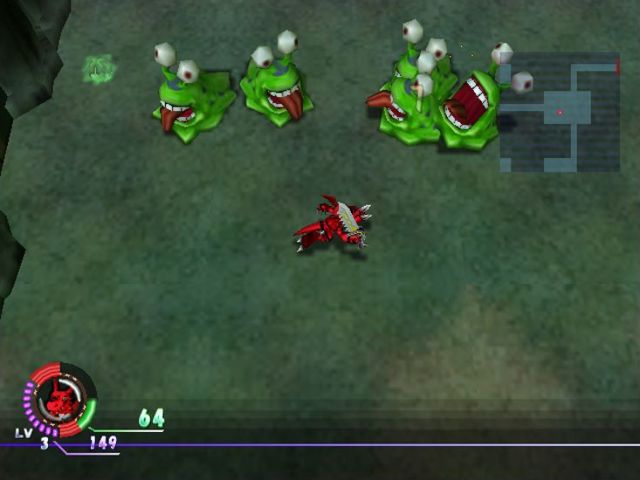
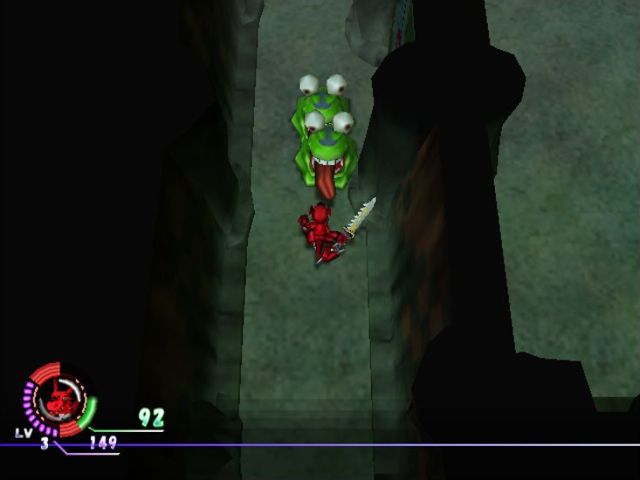
Going down from the Security Room leads us to some Numemon and Ghost Numemon.
Actually, the hit animation has a few white frames to simulate blinking, and I caught it during one. Better than being invisible, I guess.
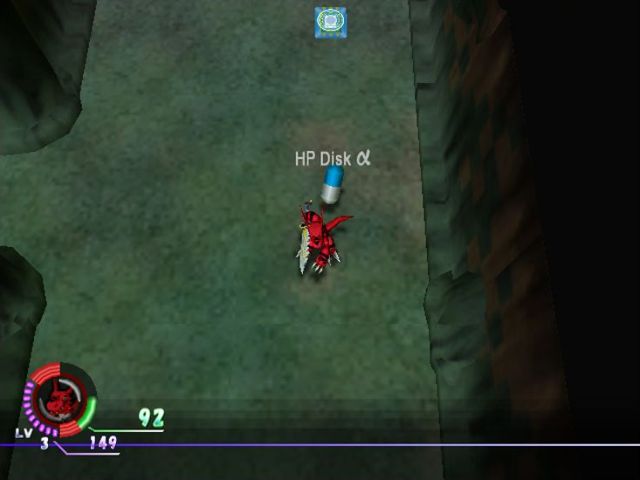
Killing the Ghost Numemon and heading to the right leads us to another Numemon and an HP disk.
This is the correct way to go.
I tried to jump the floor panel, but I got just the end.
More Sukamon aaaaaa
Well at least they wouldn't do that again

aaaaaaaaaaaaa
Why

Though killing everything leads us to the second map unit and some BITS.

Oh boy! The rounded nature of the room, along with the pillars, means that we're in the pre-boss room.
The Thing gives us full of something. There's also a purple one for another something
hint: they're the same color as the thing it gives us full of.
Here's a seond hint
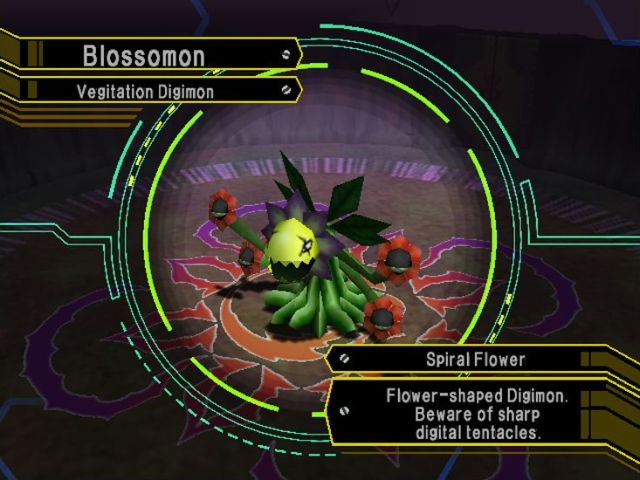
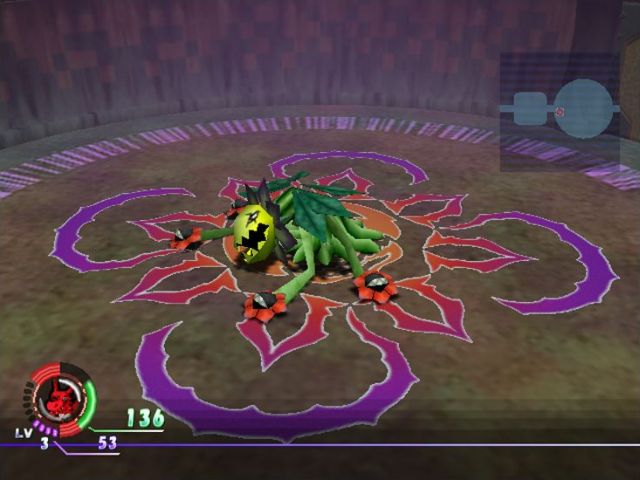
Ah, the first boss.
Welcome to Blossomon. Blossomon is a chump if you play it safe.
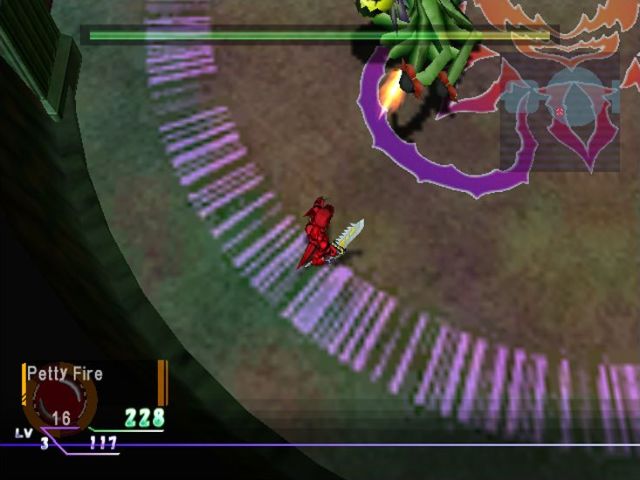
The Petty Fire does pretty decent damage. Three knock Blossomon down and take off most of the health bar.
Bosses have three health bars no matter how much HP they have. It goes Green-Yellow-Red.

Blossomon dies, though not without hitting me once. Ow. Look at the difference between my HP here and before the fight.
That's one hit. I would be dead without the Armor Board.
Blossomon falls, spent, and decays into our prize:
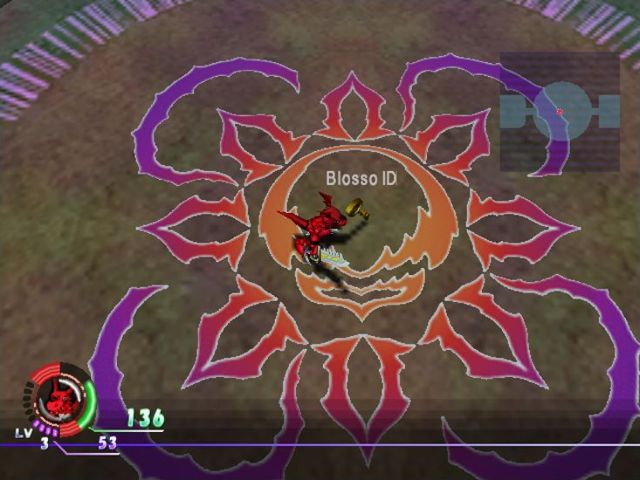
The Blosso ID. This is one of two we need for access to the second-best grinding spot in the game, IMO.

Exiting to the right gets us more worthless treasure (HP Disk Beta is just overkill) and the exit.
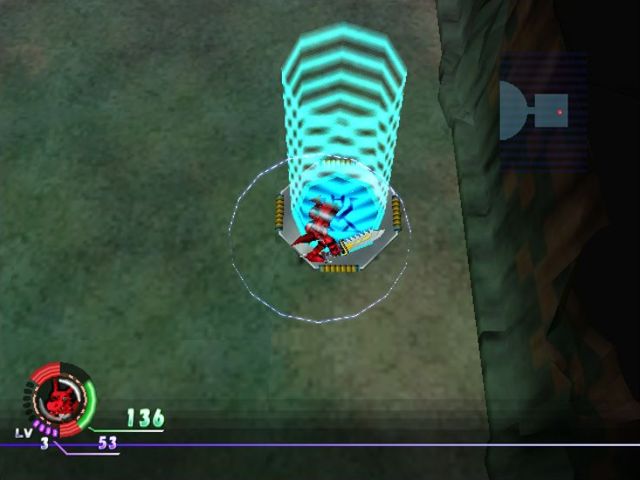
And we take the teleporter back to Home Server, to sell off the junk we got and buy more junk.
Well, what else are we going to do with the BITS? Save them? Pfft.
For those who care, here's Humid Cave in video form (sorry about the audio mess-ups, random glitch with my computer's editing software. The problem's fixed, now.)
Humid Cave