Part 23: Dungeon: Derelict Tunnels
Dungeon: Derelict Tunnels
To Waterfall Entrance
Derelict Tunnels
 Most of Broken Valley is already full of enemies, so there aren’t really any dungeons here, other than the Red Ore Mine we already did. In fact, the Derelict Tunnels dungeon is the only one. It’s rather interesting, as it has three entrances, and each is in a style of its own. One is a mine, another a goblin village, and another is an old tomb.
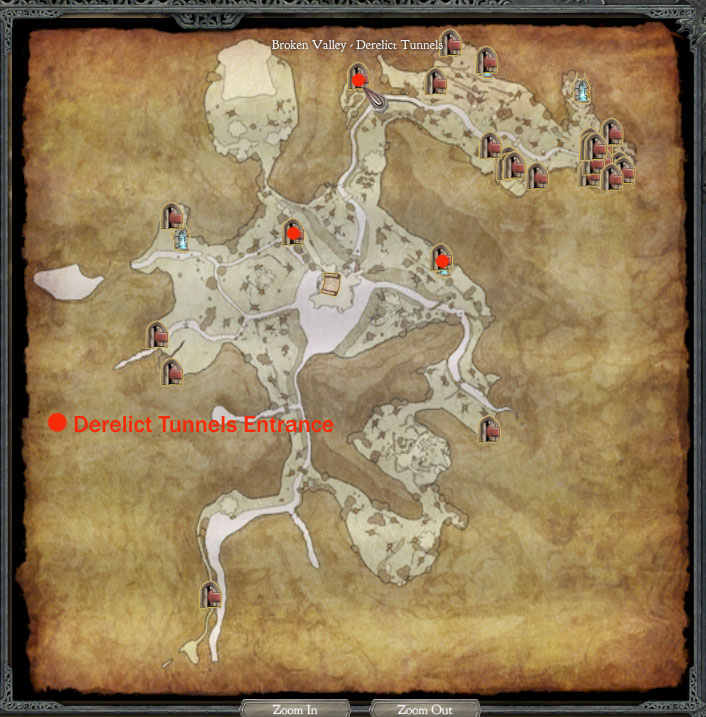
The dungeon also has a unique gimmick to it. Now that I think about it, almost every dungeon has a secret quest or hidden area to discover
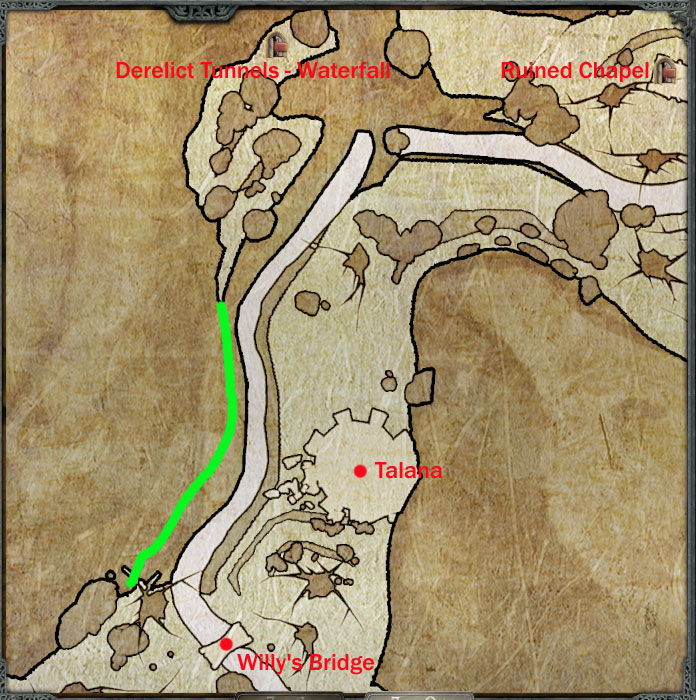
There’s a small path near where you meet Talana which climbs along the cliff. It’s not shown on the map, but I highlighted the path in green.
Video: To Waterfall Entrance
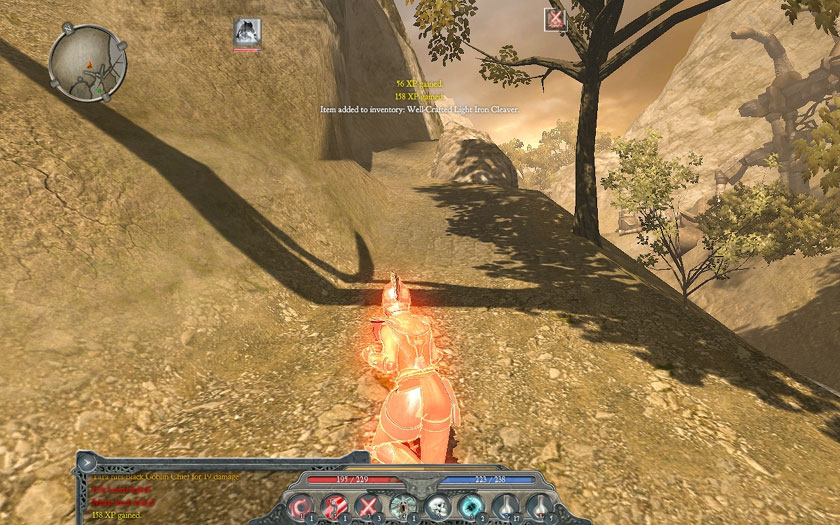
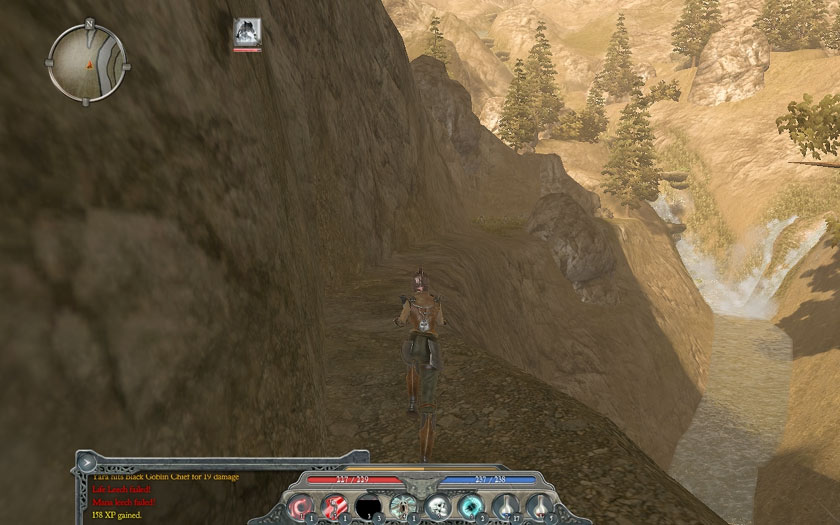
The path gives you a nice view of the waterfall, although it’s infested with goblins.
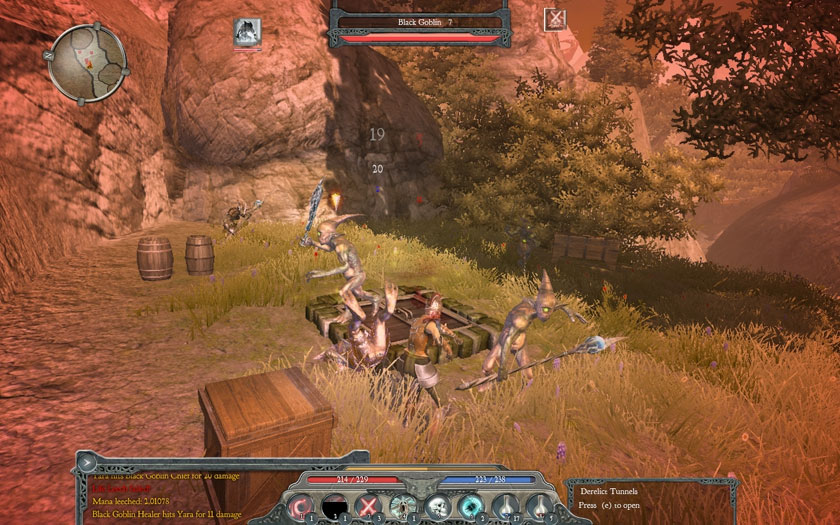
At the top is one of the entrances to the Derelict Tunnels dungeon. There are three entrances, but this one is the most out-of-the-way one.
Video: Derelict Tunnels Dungeon

This one appears to be a mine which had everyone in it killed horribly.
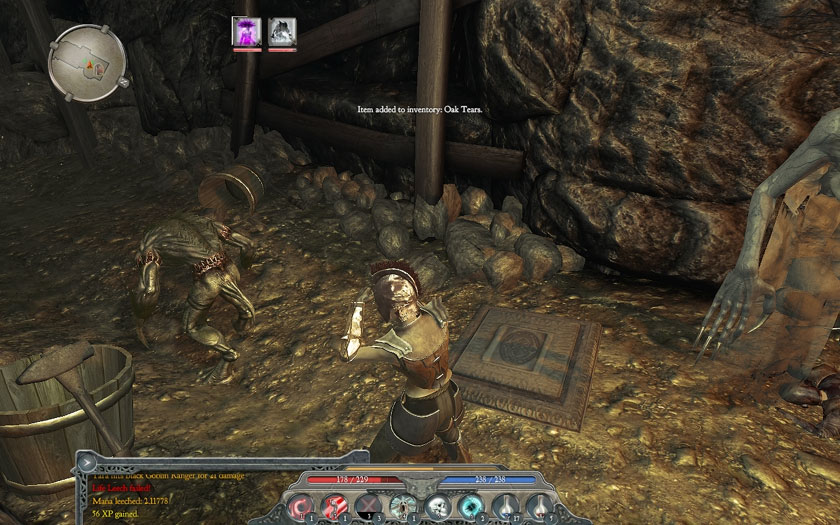
The gimmick of this dungeon is that every few meters it has a pressure plate. Stepping on it does one of several things: Spawns a treasure chest, spawns an enemy, teleports you to one of the entrances, injures you, or heals you.
The order in which these things happen is fixed, it’s not tied to specific plates. If you save and step on a plate and get poisoned, then reload and skip that plate and step on the next one, THAT one will poison you. No matter what plate in the entire dungeon that you step on first, a treasure chest appears.
There are three teleportation plates, and they always send you to the entrances in this order: Waterfall entrance, Goblin Hamlet entrance, Lovis Tower entrance. That happens regardless of what entrance you used to enter the dungeon. That’s another reason why entering from the waterfall entrance is the best idea.
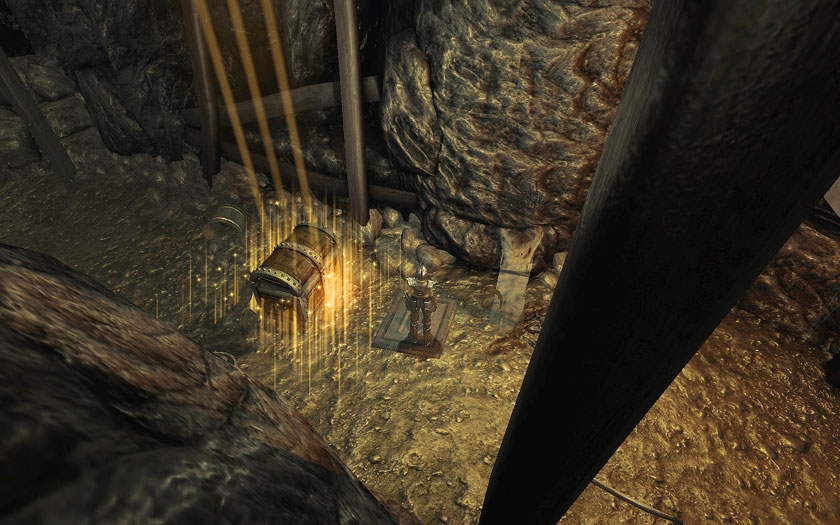
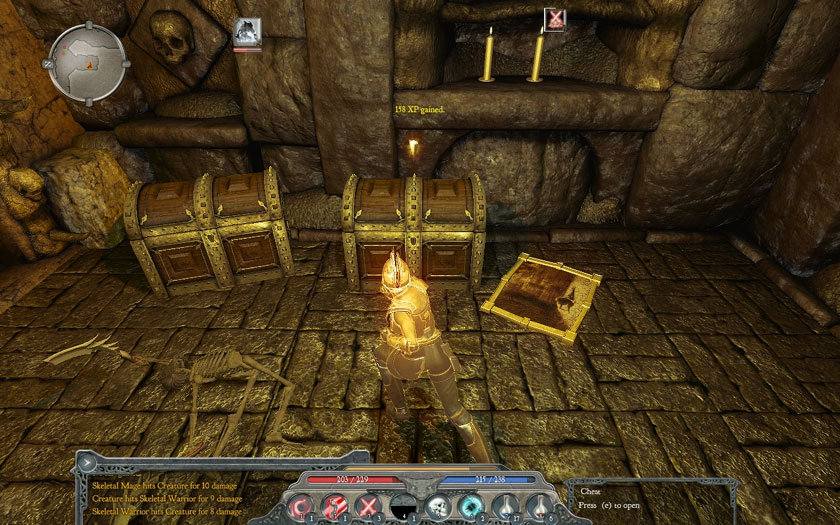
This first plate gives you a treasure chest. Something to note is that as soon as you empty this chest, it vanishes.
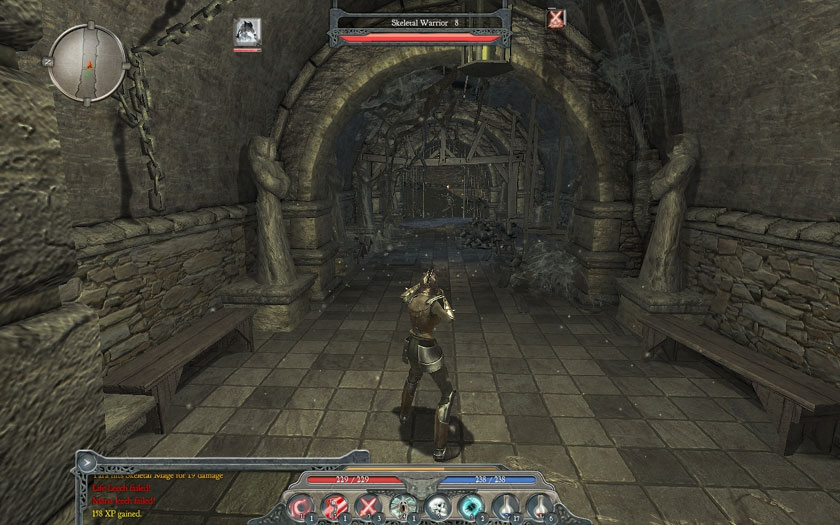
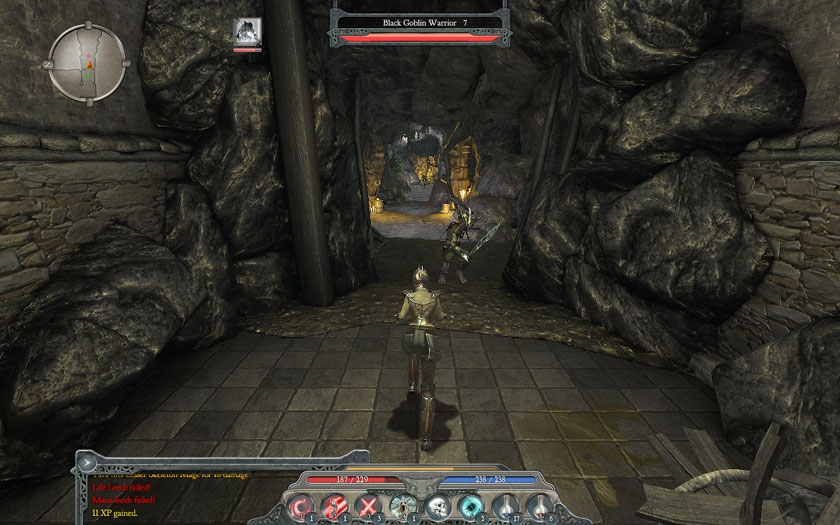
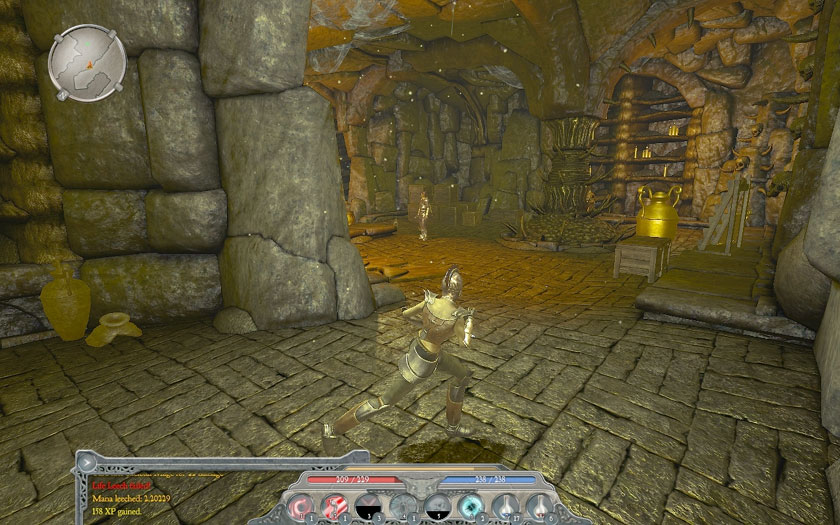
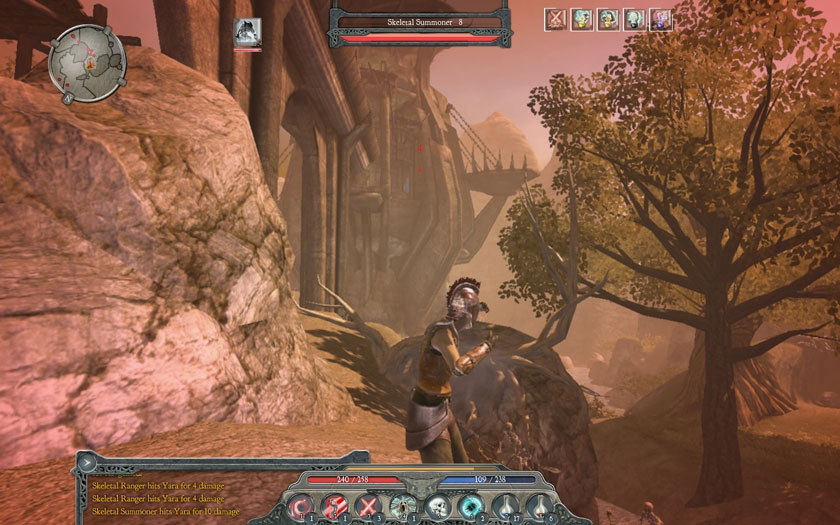
A bunch of skeletons infest this area and they have killed the miners.
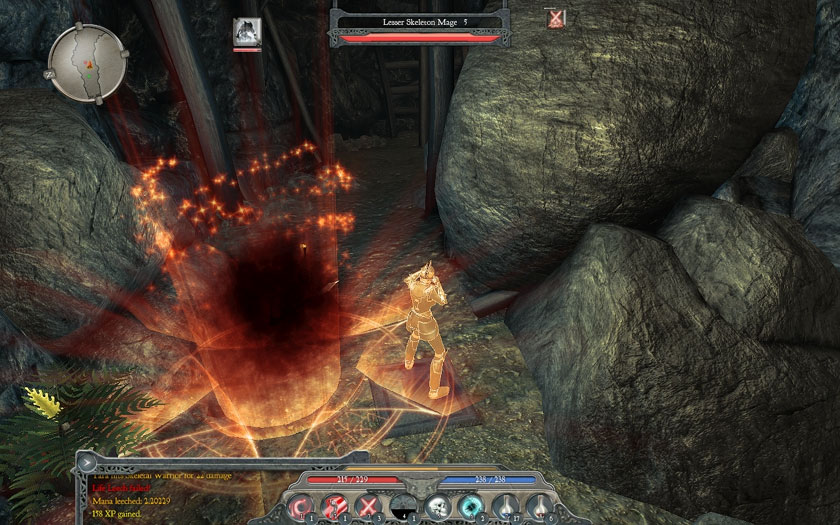
This plate spawns a level 5 skeleton mage, which is no threat at level 10. It only gives 11 XP.
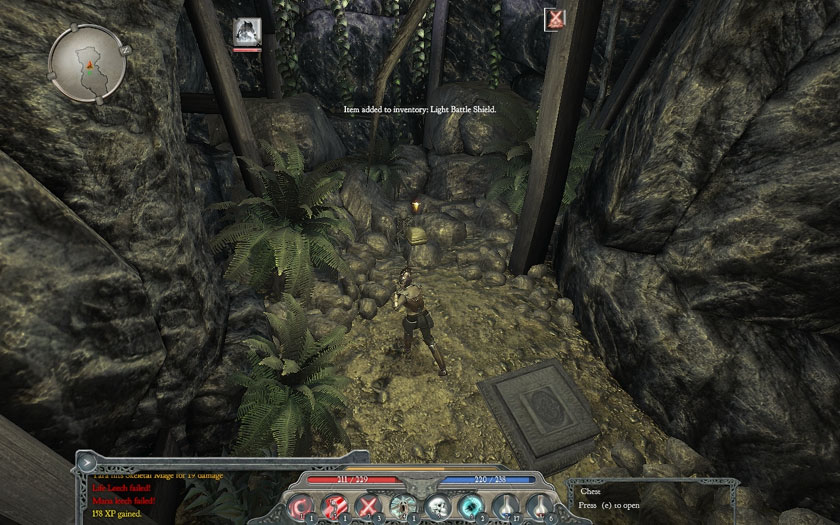
One of the paths has a dead end, which contains a shield and chest.
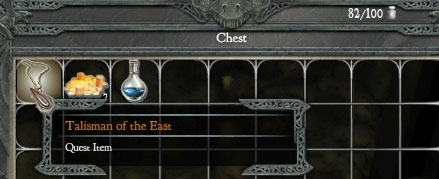
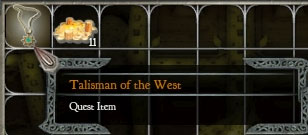
Inside is this unique amulet with no properties. It can’t be equipped, and it will be used later as part of a non-official quest in this dungeon.
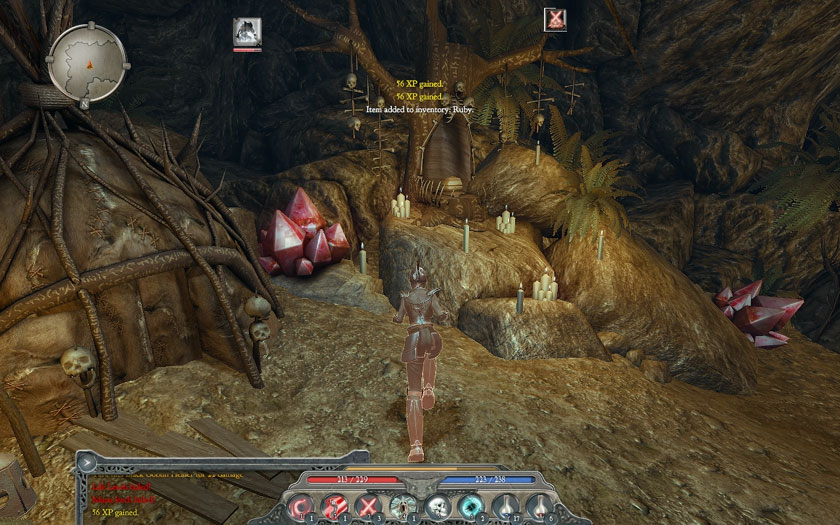
Towards the center of the dungeon it starts to look less like a mine and more like an old temple.
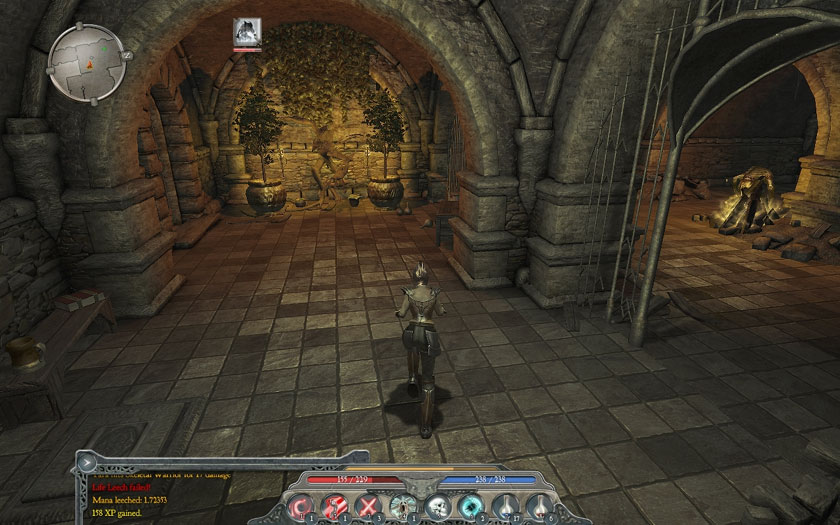
This is the center. Three passages radiate away from this area. There’s a statue of a demon straight ahead, which is key to the quest, but there’s no point doing anything with it now. On the bench is a book which explains the quest.
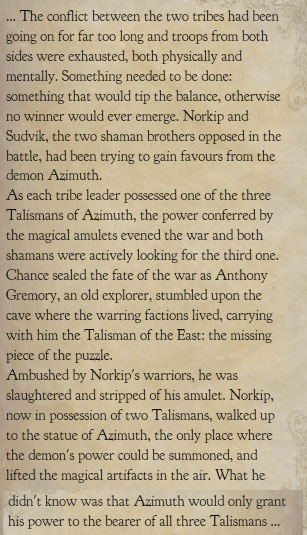
Simple enough. We need to find three talismans in these tunnels and bring them back to the statue of the demon Azimuth. Then the tricky part happens.
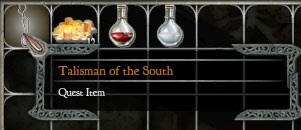
I headed towards the goblin hamlet entrance because…
…that’s where the next teleporter touchplate takes us. There’s a small goblin community in these caves (and a lot of Red Ore, too).
Nestled in the hollow of that carved tree is the second talisman.
The path splits. The left is a dead-end, which only has a goblin totem. You might think that’s where one of the talismans is, but no.
Returning to the center and taking the last path which looks like a tomb.
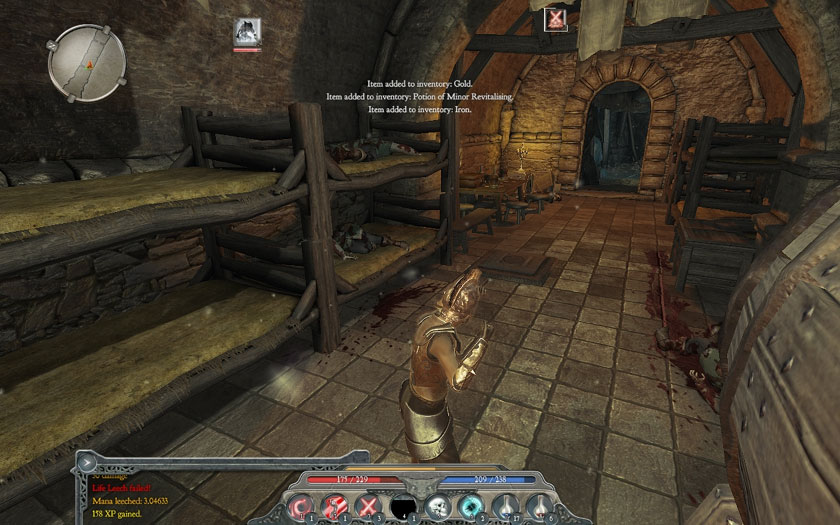
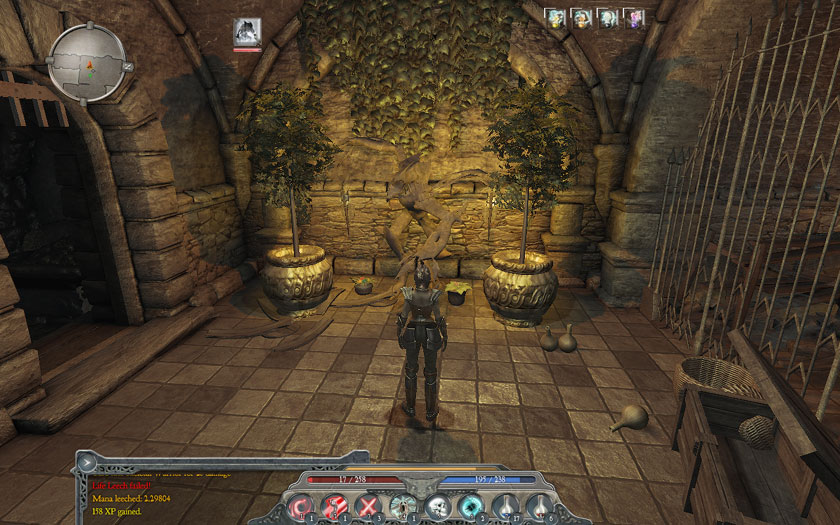
There are some treasure chests and such here. That painting, like most others in the game, shows a scene from Beyond Divinity.
One of the chests contains the third talisman. Nearby on a bench is a book
Farther on, one of the rooms has a real live person in it. This is Hallorn, one of the Bandits, and he has a bounty on his head.
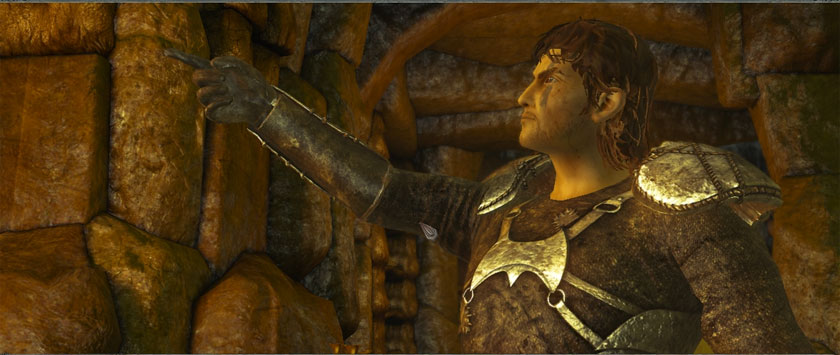
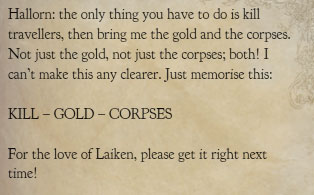
 (Hallorn) You! Your money or your life!
  (-400 XP) Must remember to bring Jagon the treasure! Mind-reading him makes some extra treasure appear in one of the chests, or maybe it makes one of the chests appear at all. Something like that at least.
1. How ironic! For your life will be my money.
3. You’d think a professional bandit would have something more original to say.
The first option only appears if you took the bounty quest. Let’s have fun with this guy. He’s not very bright, so I’m choosing option 2. Let’s take him out philosophy-style!
 An interesting proposition. One’s life may be worth more than money, but what is the value of a life without money? Is a life of poverty a life worth leading and is therefore putting life before money the better choice? Wuh? It’s not a given to judge life higher than wealth, you see: the rich man will die to protect it, the pauper will die to attain it. I am the rich one now, the pauper should I comply to your wish. So you appreciate the conundrum you put before me. Uh… Then again, life is life, and I must balance carefully whether I shall risk the pleasures of this earth for the – in comparison – meagre price of gold. Of course, many of those pleasures do come at the price of the gold in question, which brings us back to our original dilemma.
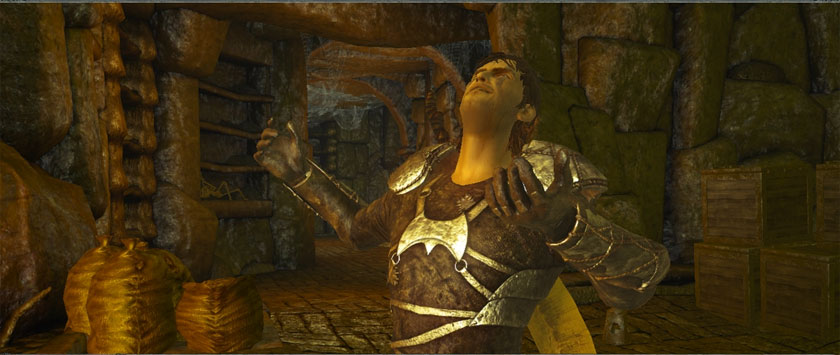 Stop! No more talking! Hurts Hallorn’s head! Ooohh… I… I’ll kill you!
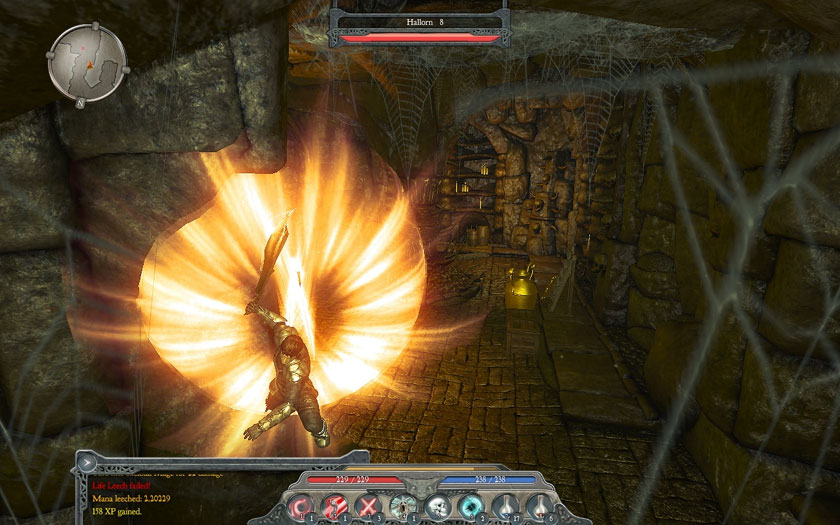 Hallorn uses Rush Attack. He would probably be harder if I was a lower level. But at level 10 he wasn’t too tough.
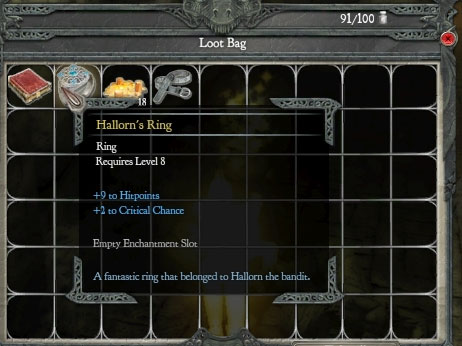
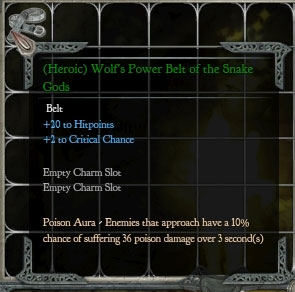
The ring to turn in for the bounty. I like the Critical Chance, but that’s all it has which is worthwhile. The belt was also good.
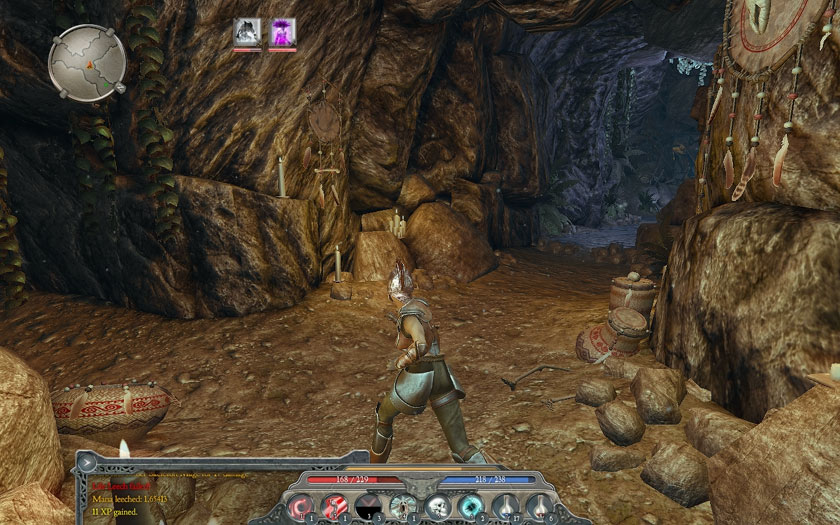
The next pressure plate took me a short way to the Tower entrance to the Derelict Tunnels. I haven’t been here, so I didn’t stay long.
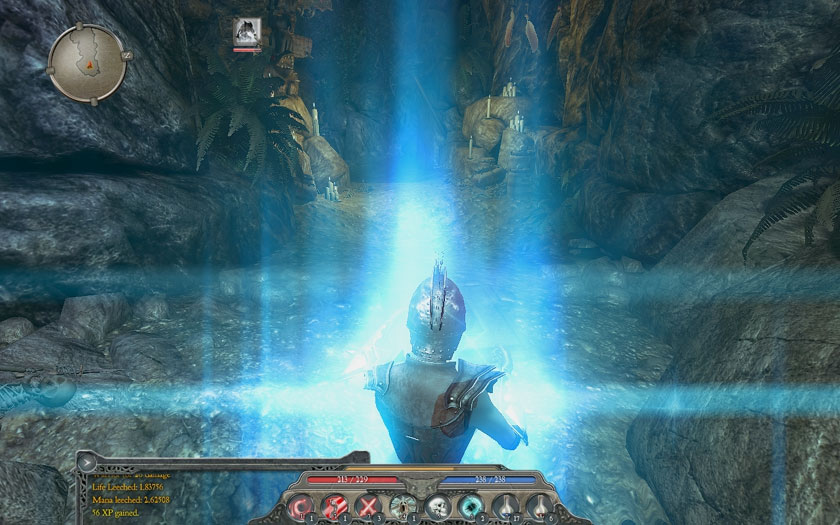
With all three amulets, it’s time to go back to the statue. You should probably save before messing around here.
You need to stand in front of the statue and right-click one of the amulets and select “Use”. That triggers a dialogue where the statue seems to notice you. Then select the order of the next two amulets. If you get it wrong, you get a nasty shock which nearly kills you, and if you have low enough health you will die.
I can never remember the order the first time. But there is a hint. The teleportations take you to the Western, Eastern, and finally Southern entrances in that order. Raise the amulets in that order.
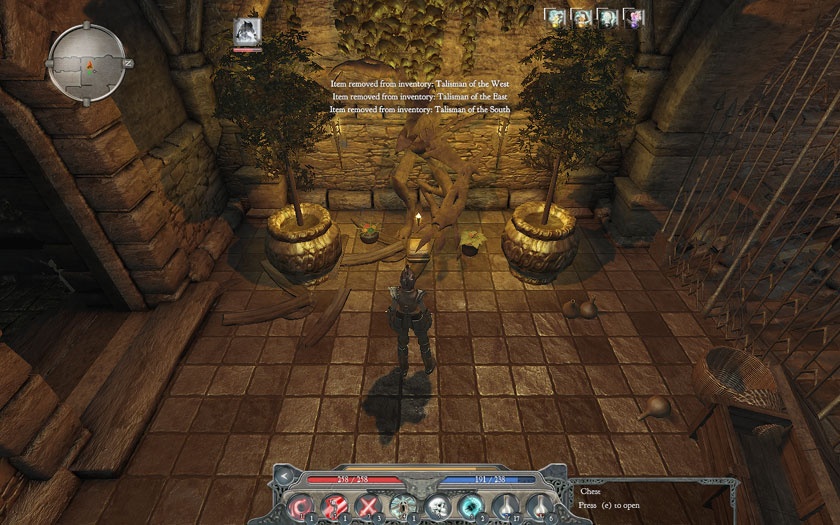
That makes a chest appear. Inside is your reward, and a pretty good one at that:
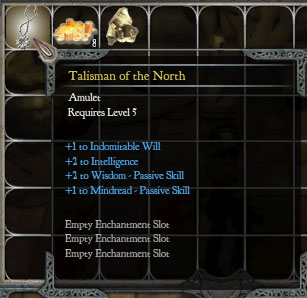
The Talisman of the North always has +2 Wisdom and 3 Enchantment slots. The other modifiers are random. The +1 Mindread I got this time will be helpful early on because sometimes I forget to swap my +Mindread and +Wisdom jewellery around.
To Waterfall Entrance
Derelict Tunnels
The Maps
World Map
Waterfall Path
Derelict Tunnels

Reader Participation
Unless there are objections, I’m going to omit the videos of Pyrania fighting the generic enemies. MeGUI really does not seem to like long videos (where "long" means > 15 minutes), and I don’t want to wrestle with it. I’ll have to save combat videos for special occasions.
I’ll probably work on the next chapter now, Pyrania’s stuff will take a while, because I need to show off the alternate quest approaches. All I've done for her are the dungeons.
Veyrall posted:
Step 1: Find the most violent sociopath possible
Step 2: Get him drunk
Step 3: Hand him a nasty weapon
Step 4: Make him feel like he's hot shit for disobeying authority
Step 5: Send him to stand out in the middle of a field until a tiny redheaded woman with glowy eyes murders him with her fists.
Step 6: Repeat
Who are you calling tiny?