Part 2: Episode 2 Snail's pace in space
Episode 2 Snail's pace in spaceWhy would anyone make the backgroud music for the map screen shorter than 10 seconds? There are not many good music pieces in this game, but there sure are some really bad pieces. And I'll spare us by not posting the map screen music here.
Time to move on!
So we take it slow by moving one square per turn:
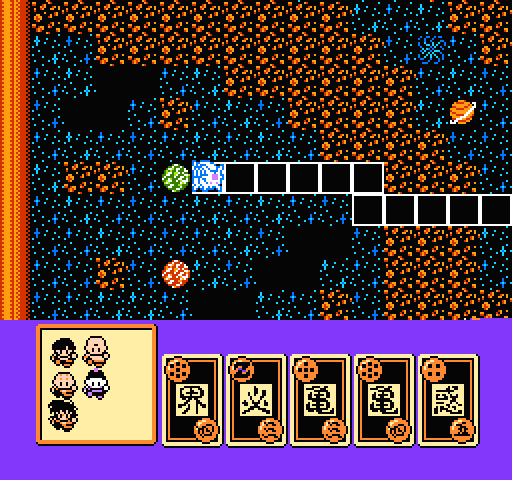
And the Earth which appears to be blue in the intro has turned green as soon as we leave!
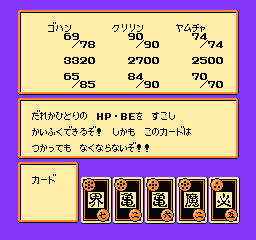
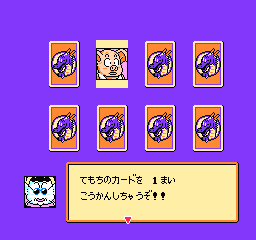
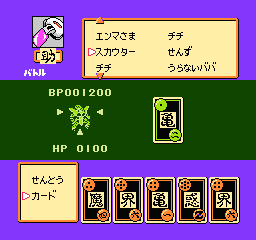
In this game, in place of inn and item mini-games, there is a draw at the end of each turn.

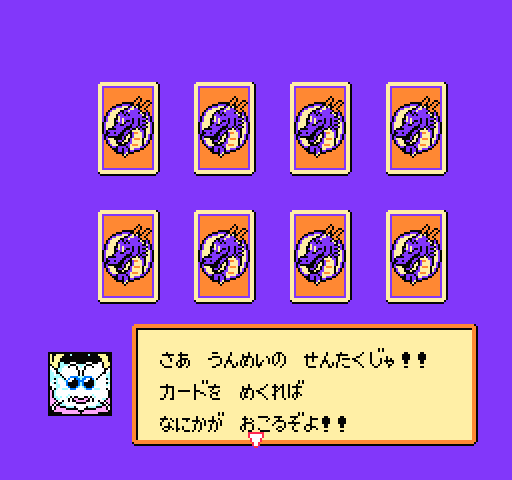
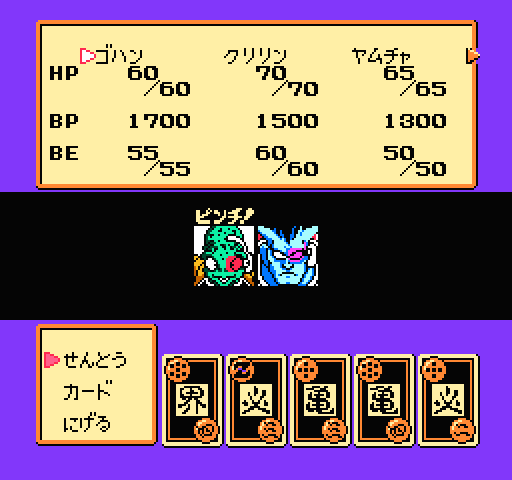
We pick one of the eight cards, which grant different effects based upon the character shown on the card.
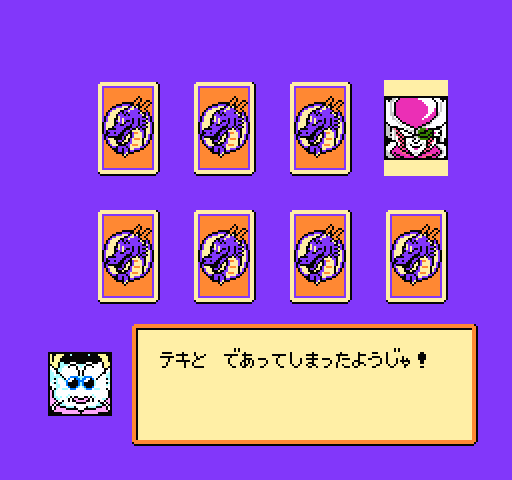
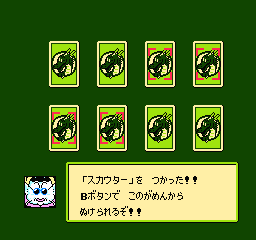
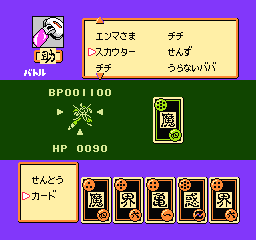
On this map, Each column has exactly one Freeza card and a Freeza card will give us an enemy encounter. If we have a scouter card, then the game will give us a choice and we can use a scouter card by choosing the right option. This will let us can see which card is a Freeza card:

Besides Freeza, each column has a different set of characters which the game randomly picks one from. Some of the characters are unique to that particular column.
For the far right column, we have Bulma and Kame:
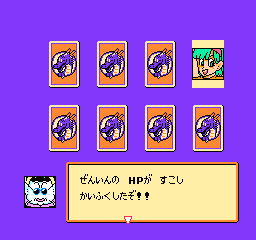

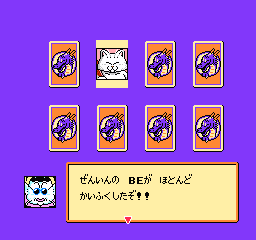
Bulma card will heal either HP or BE by a small amount for all characters.
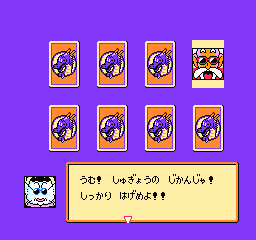
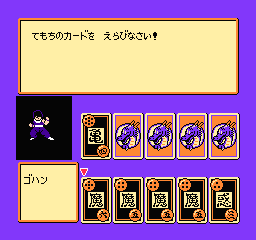
Kame card will let one of the characters to play a training mini-game. On this map, we will play the symbol matching game from the first game. However, the amount of BP we gain is much higher than in the first game.
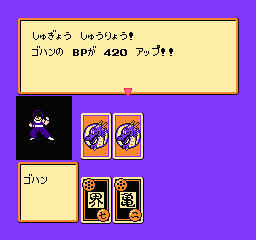
At around 2900BP, Gohan gains 420BP after matching 3 cards in the game. For reference, the BP gain in 1 battle on this map is 100 - 200BP per character, so I think 420 is pretty good. The amount will increase as level increases, so it is the best to keep playing it with the same character to maximize the gain.
For the second column from the right, we have Korin, Oolong, Vegeta and Ginyu:
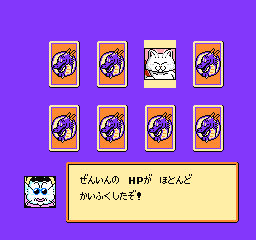
Korin card heals either HP or BE by a large amount for all characters.
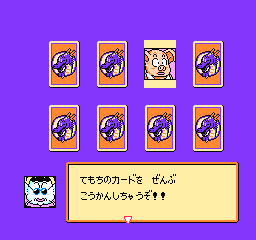
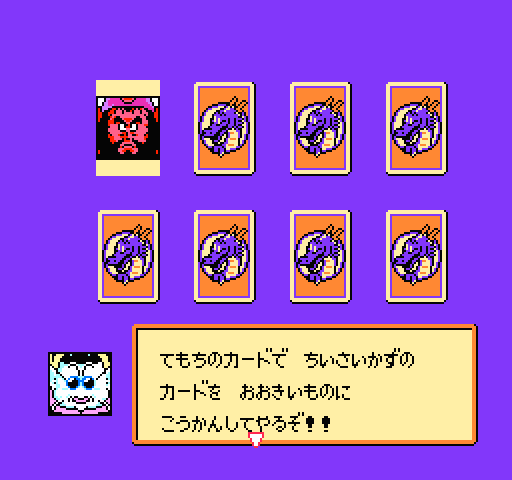
Oolong card will swap all five(left) or just one(right) of the cards with new card(s). If we are keeping good cards for later use then this can mess up our plan. On the other hand, if we use up all the good cards then this is a good way to get some new one.
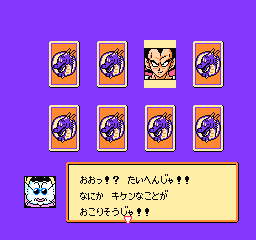
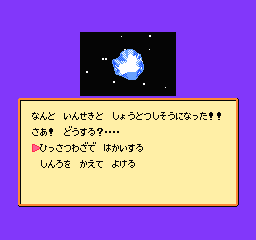
Vegeta card will trigger a collision event. We will have a huge piece of rock or a large fire ball in front of us and we choose either to destroy it with Ki blast or try to dodge it.

If we use Ki blast(left), we will use 10% of BE from every one. If we try to dodge it and is successful(centre), then we are safe. But there is a chance that it can fail(right) and in that case every one some of their HP.
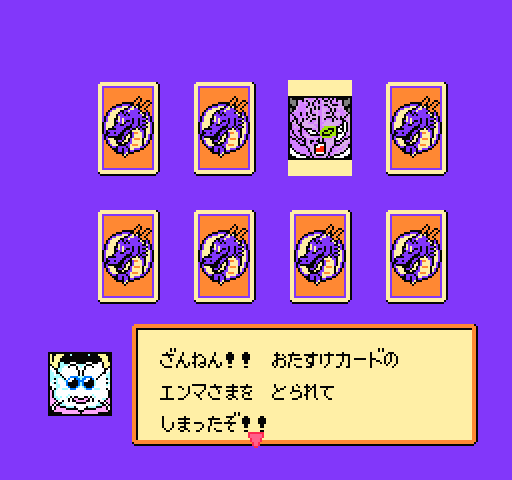
Ginyu card will steal a random item card from us! Space is a dangerous place indeed.

For the third column from the right, we also have Korin, Oolong and Vegeta. And instead of Ginyu, we have Porunga:
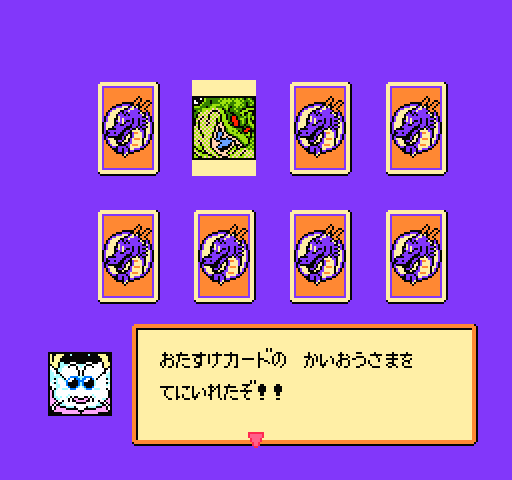
Porunga card is the opposite of Ginyu card and it gives us an item card.
For the far left column, we have Korin, Bulma and Enma:
Enma card will change the attack and defense of one card to Z.
Out of the four columns, the Kame card of right most column has the most worthwhile and long lasting benefit. So we will choose that column for every turn.
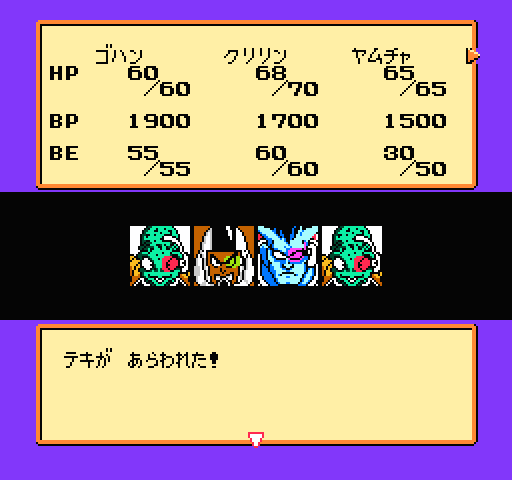
And it doesn't take long to meet our first enemy encounter!

Oddly enough, instead of two spaceships shooting at each other Star Wars style, we park our spaceships on a drifting rock and duke it out on the surface.


This tune is easily the best tune of the game!

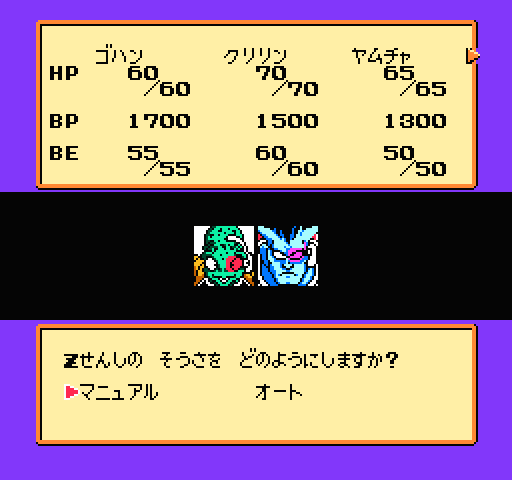
Our first encounter is a group of 2. On this map, each enemy is worth 50BP to each of our party members. On the screen, the left option is "Manual" and the right option is "Auto". Since we have some good cards and we have the advantage of 5 against 2, we use the "Auto" option. The "Auto" option does not use our cards and it uses other random cards instead. Let's see how our initial group fare against the enemies:
A improvement during the battle scene is that the game will move to the next attack automatically, whereas the first game will stop and wait for the user to dismiss the text.
When a character is in critical condition, a "Help!" sign flashes above the portrait instead of showing a hurt portrait. Here we also see the new multi-target attack. When a character uses a card with matching style, that character can either execute a critical hit or hit every enemy with a standard attack.
Finally we have a demonstration of Ki attack. Unlike the first game, the view point does not change to first person view when a character execute a Ki attack, instead it sometimes adds the stare down between the two at the bottom of the screen. This stare down animation, the battle music and the sound effects give the battle scene a very intense atmosphere.
After the first round, we choose the "Manual" option and we have 3 choices under it. The first is "Attack", the second is "Item" and the third is "Escape". The first thing to do is to use the Bulma card to heal one of the party members.

Then we go back to the first menu and use the "Auto" option again. This time, we defeat both enemies. Another improvement in this game is that once an enemy is defeated, any party members still targeting him will switch to another enemy. This is a standard RPG feature which is missing in the first game.
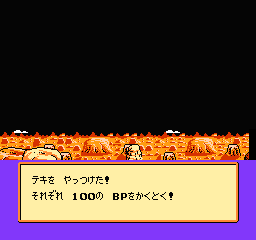
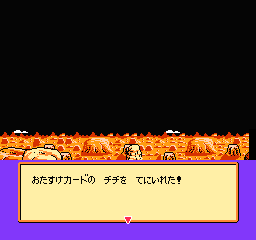
We gain 100BP for each of our party members and we also obtain a Chi-chi card. I'll list out all the item cards in another update.
Back to the map screen, we use the Bulma card again and we will keep using that card every turn until all party members are healed.
Soon we have another enemy encounter with two enemies and as before we use the "Auto" option to deal with them.
Another Ki attack on Ten. The size of the explosion varies depending on the amount of damage dealt, so it is smaller this time.
Yamcha uses Kamehameha and the stare down is not shown this time. Maybe it only shows when that attack is one of the more powerful ones for that character.
Then We spend another round to defeat the enemies and receive another Chi-chi card.
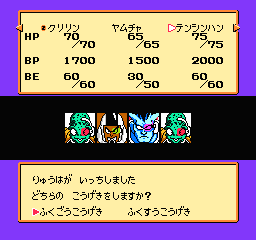
In the next enemy encounter, we face a group of four enemies:
Guess which ones are the stronger ones of the bunch?
We will see them again in another fight where we have a scouter card. Here are their stat:

What? The two at the centre are actually the weaker ones!
With four of them, it is time to use the "Manual" option
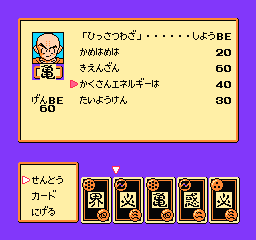
We use Scatter Shot and let Ten use 7 stars Turtle style card and pick the right option to attack everyone. One of the enemies uses a 6 stars card with matching style to deal heavy damage on every one. But in the end Krillin's Scatter Shot saves the day!
Krillin you are the best!

See you in the next episode of Dragon Ball Z2 LP!