Part 2: Their Final Exam! Can They Survive It!?
Howdy, folks, and welcome back! Last time, on Dragon Ball Z: Attack of the Saiyans, we kicked off our adventure by learning that Krillin, Tien, and Yamcha are ready to take their final exams and graduate from Master Roshi's tutelage. Today, we're going to see said exam, so let's head out.
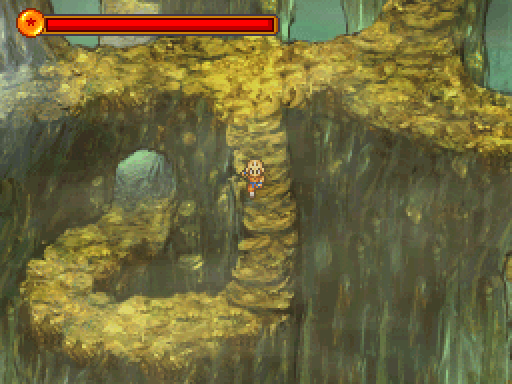
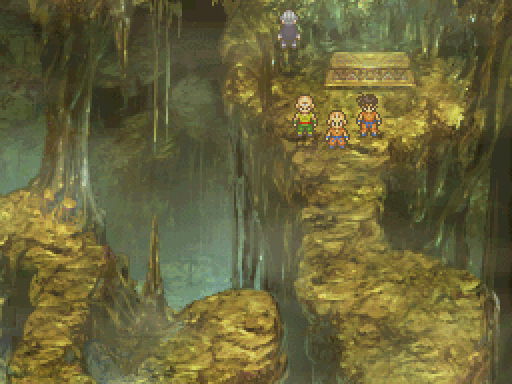
To move forward, we've gotta leave the island.
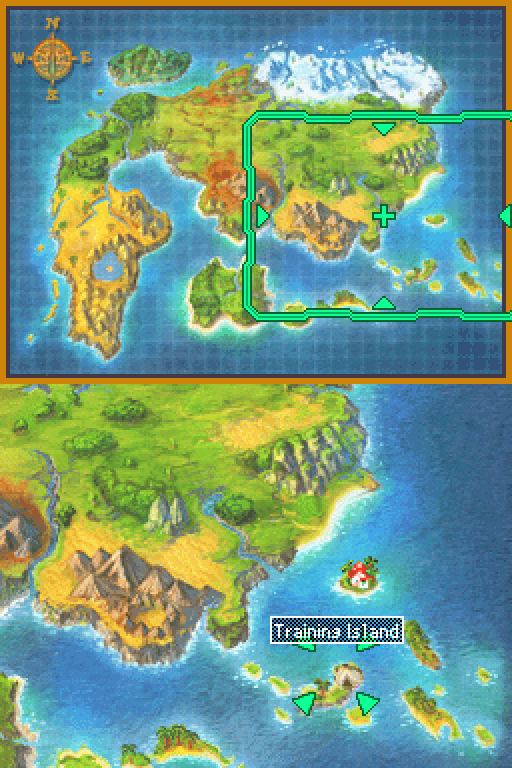
This is the world map; the bottom screen displays the various locations you'll visit, while the top screen is a straight map. The Training Island is our only location as of the moment.
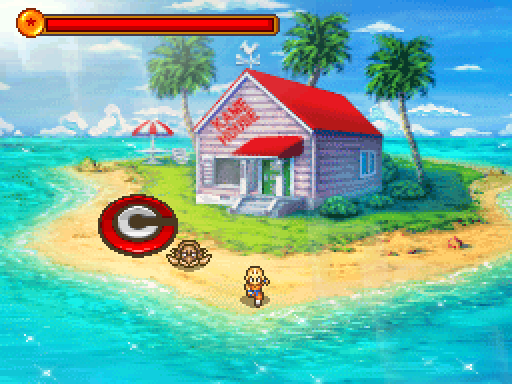
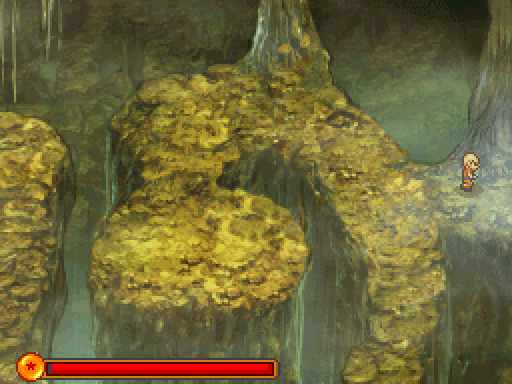
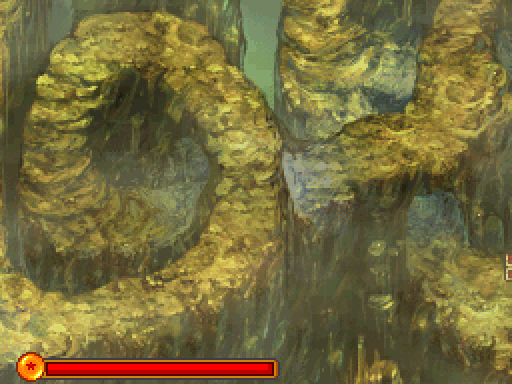
And here it is, in all its glory!
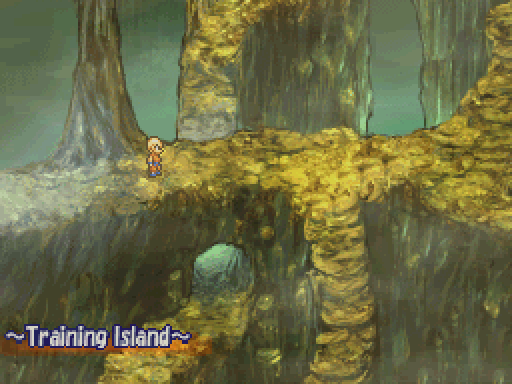
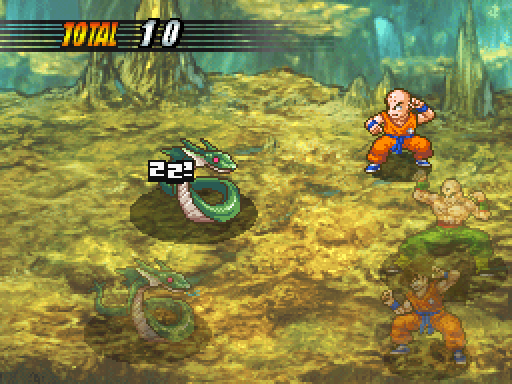
They're not fucking around, either; you step inside and move forward a few steps, and you're going to fight.

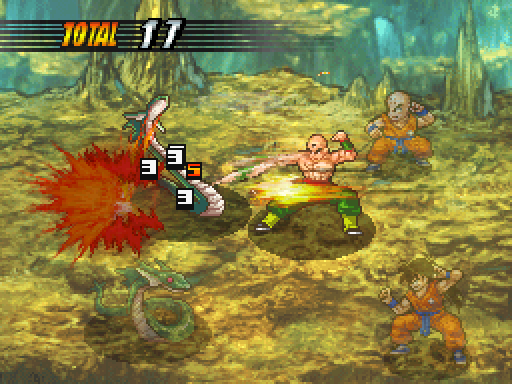
Encounters are random, and when one kicks in, you get a mosaic effect and this red star.

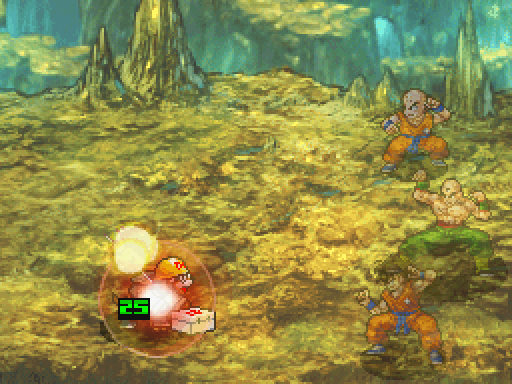
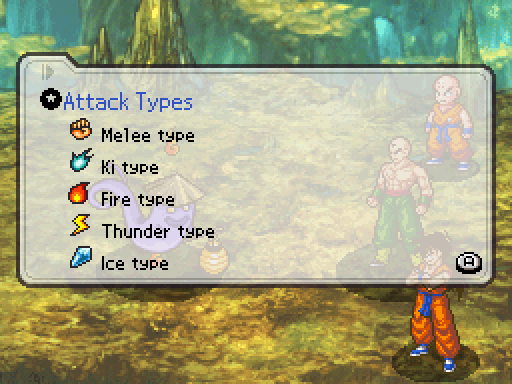
And here's our battle screen; you pick what you want to do on the bottom screen; the grayed-out option on the far left are our super attacks, but we don't have any of those unlocked yet. The bottom option is Defend, the left option marked by the Hadoken is your special moves, counting your Ki blasts and physical combos. The top option is your item command, the right option is to switch out party members, which only applies when we have more than three, the option on the far right is to run like a wuss, and the middle option, the fist, is to do a basic physical attack.

Physical attacks aren't just one punch; they're a short series of attacks.
They're about four or five hits each.
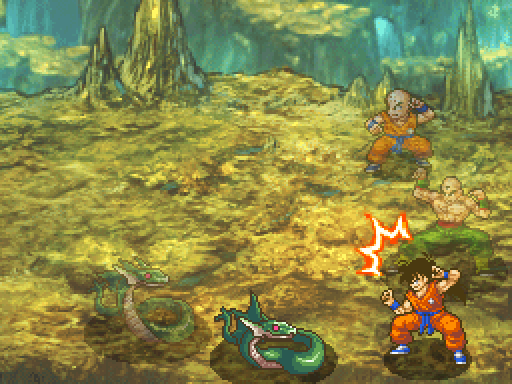
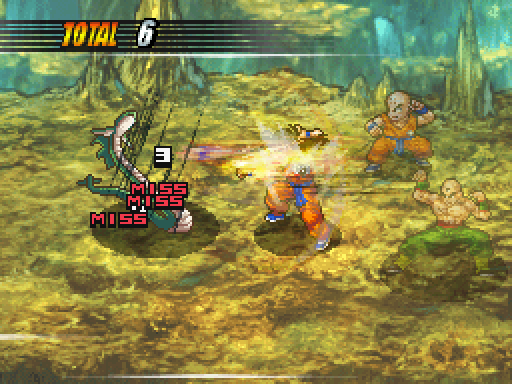
When an enemy comes to attack a character, this animation will appear; when it does, hit the button corresponding to their position on the screen.
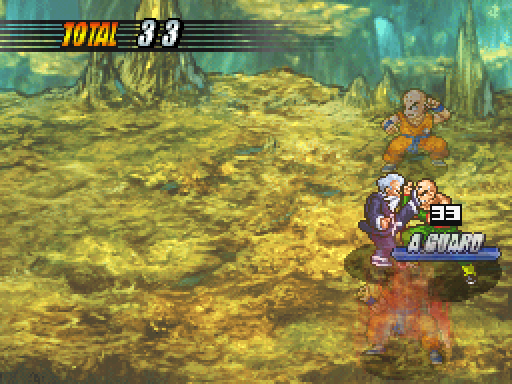
Wow, that sounds a little more stupid than I thought. Basically, depending on where the character is in the party order, you hit X, Y, or B to activate their Advance Guard; with this party, Krillin is X, Tien is Y, and Yamcha is B.
If you time it right, much like in Super Mario RPG or Paper Mario, you'll guard and receive less damage. These snake fellers can also inflict Poison, and a successful Advance Guard will reduce the chance an ailment is inflicted.
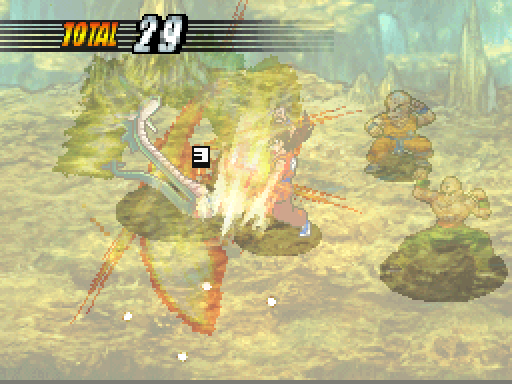
Some of these shots look really goddamned cool, too. I can't tell you exactly how much an Advance Guard reduces damage by, but it's a good little bit.
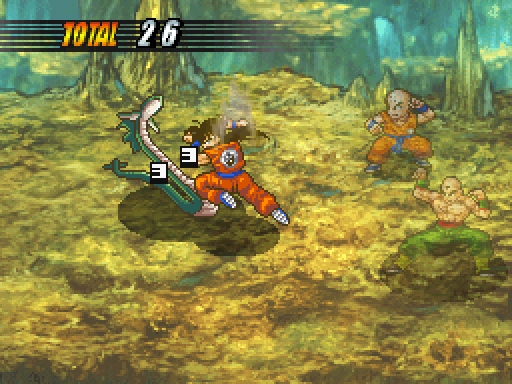
The character's attacks are either punch or kick combos, but they also tend to reflect a character's style. Tien's attacks are more like snake strikes with his hands. I'm sure there's a proper term for it, but it's late and I'm full of Quesarito.
And here's Yamcha kicking the shit out of a snake. I didn't want him to feel left out.
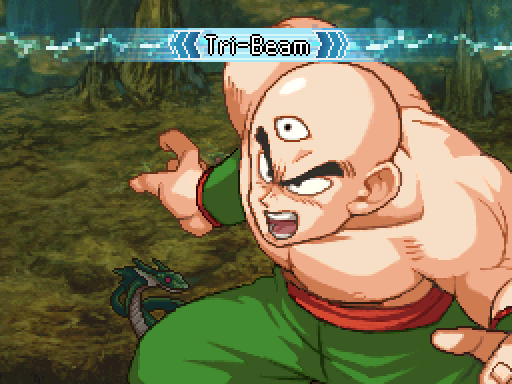
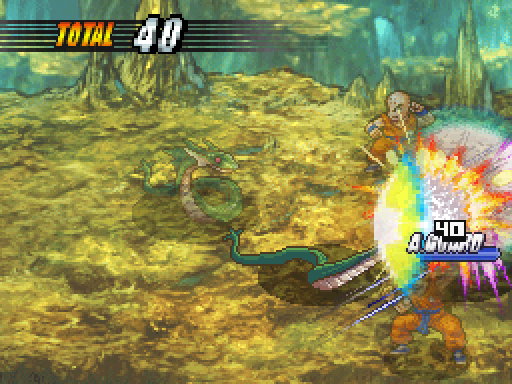
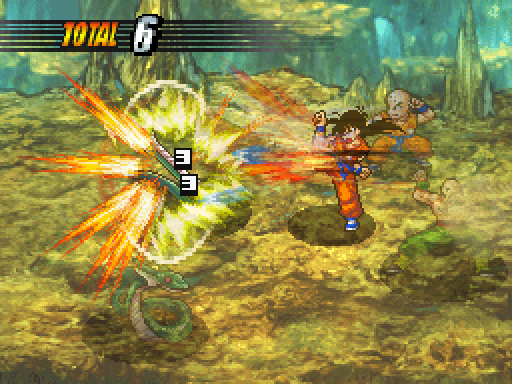
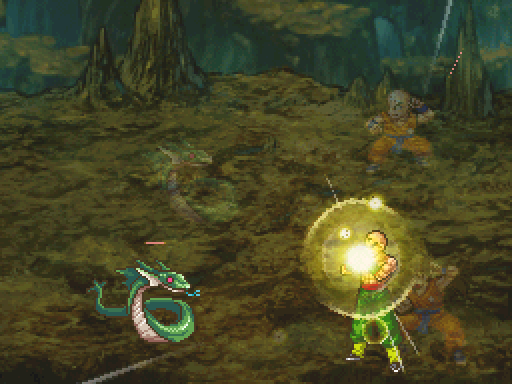
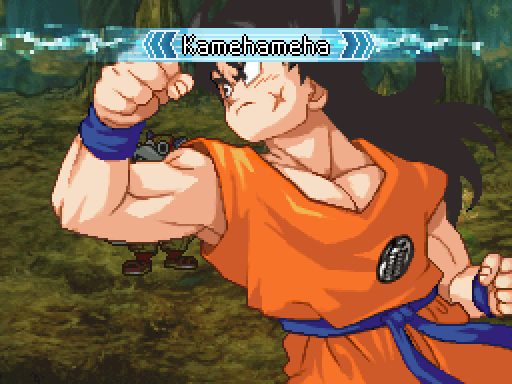
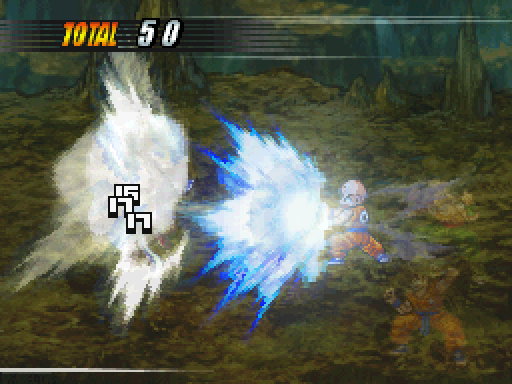
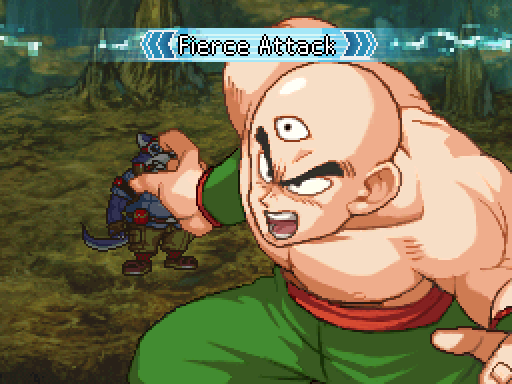
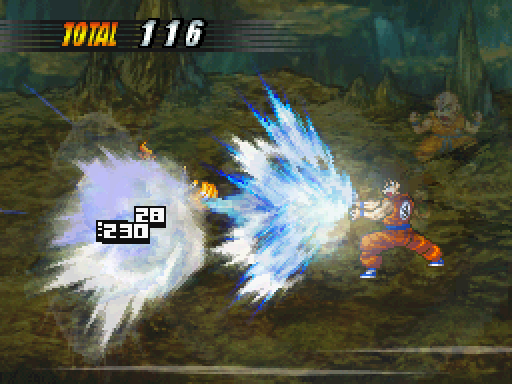
And here's an example of a Ki attack; each character has their distinctive moves. Krillin and Yamcha have the Kamehameha Wave, and Tien has the Tri-Beam. Each character also has a physical combo in their Ki attacks; Yamcha has the Wolf Hurricane and Wolf Fang Fist, while Krillin has the Rangeki, and Tien has the Fierce Attack.
This game doesn't seem like to play nice when trying to make .gifs. I'll be working on trying to figure something out for that, but for a little bit, it's going to be pictures with descriptions.
During each of these, you get a neat little shot of the character before the attack launches.
Ki beam attacks tend to do a bunch of damage, as befitting firing a beam of pure energy at something; Tien's Tri-Beam is unique in that in uses his life-force to add some more "oomph" to it, and so it does a bit of damage to him when he fires it off.
When an enemy is killed, they fade out of existence.
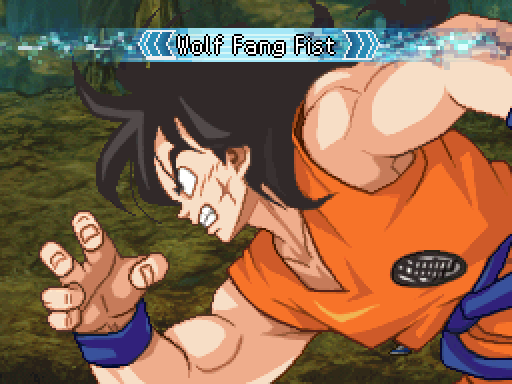
When I'm using Yamcha, I'm mostly going to be using the Wolf Fang Fist attack. It hits a lot of goddamned times.
In the beginning, a lot of attacks like this are going to have a few misses in them. I'm trying to think of a way to justify it, but I've got nothing. You'd think with them being accomplished martial artists, they'd hit more often, but maybe they're still kind of learning. Or mastering these attacks. I don't know.
The final strike of Wolf Fang Fist is a strong heel strike.
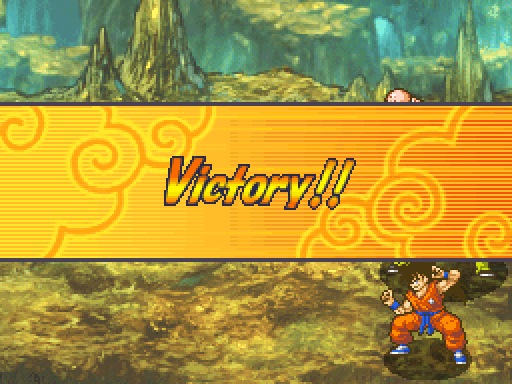
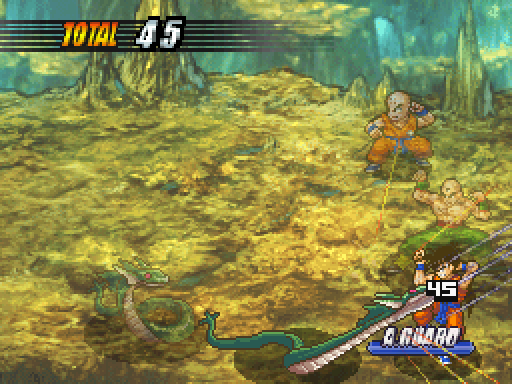
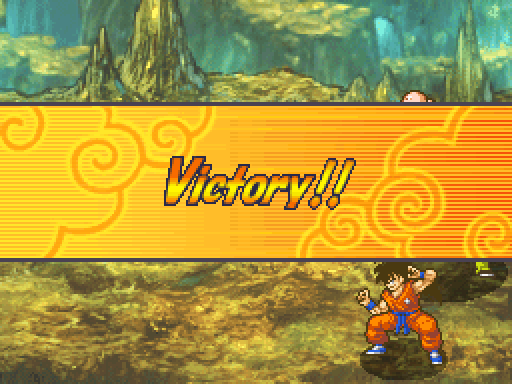
The game is kind enough to inform us when we've won a fight.
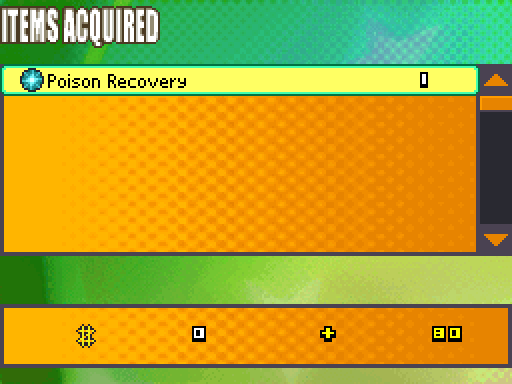
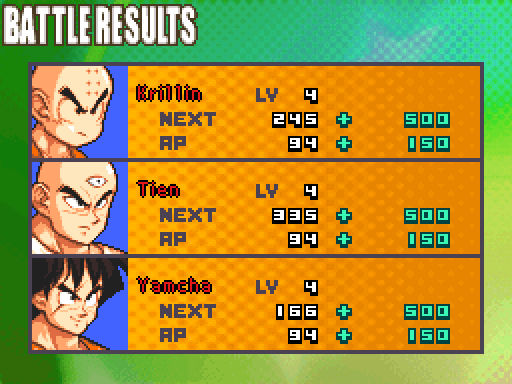
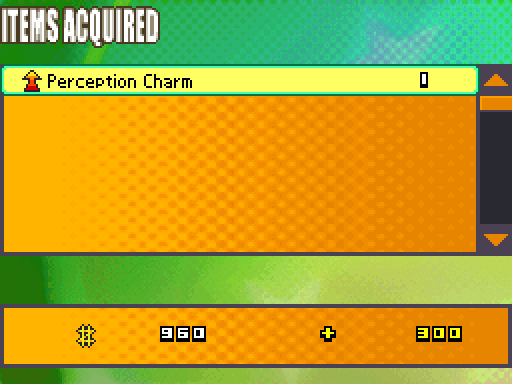
After the fight, we gain some EXP, AP, as well as potentially finding an item and gaining some money, which is called Zeni in this game.
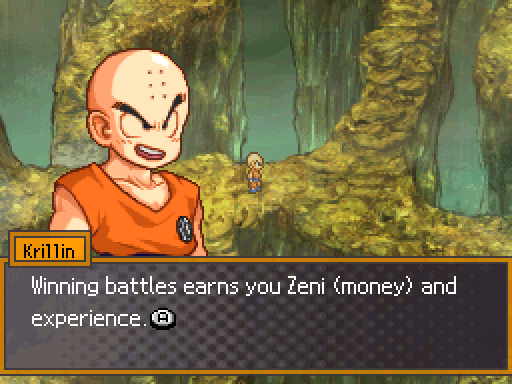

Krillin sums it up pretty well; with AP, you can upgrade old skills and learn new ones, as well as enhance existing stats, such as Power, Defense, HP and Ki. I'll go into detail with it later, when we actually have enough AP to do something.

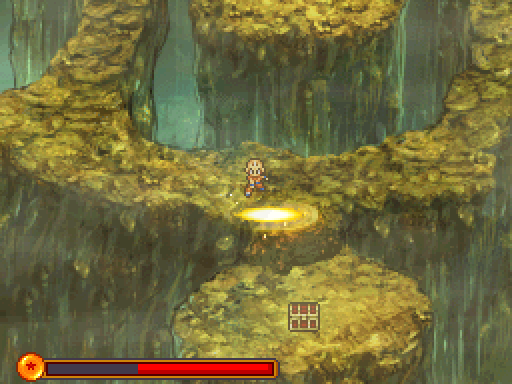
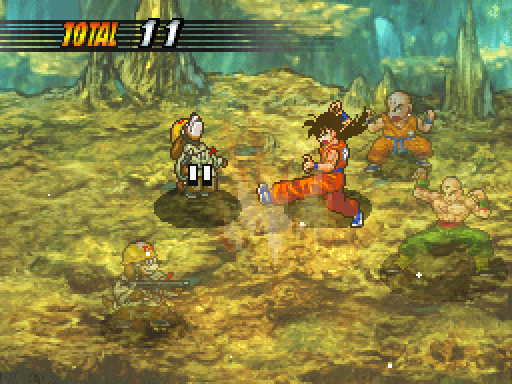
Moving around up there, to snag a chest, we get into another fight.
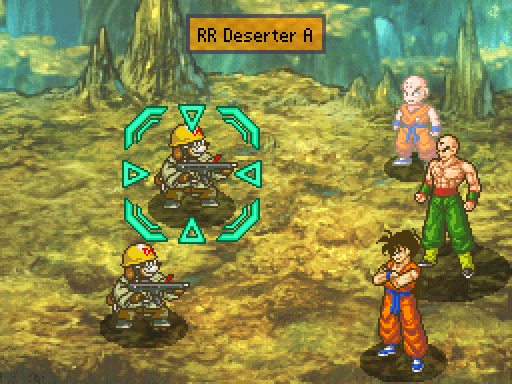
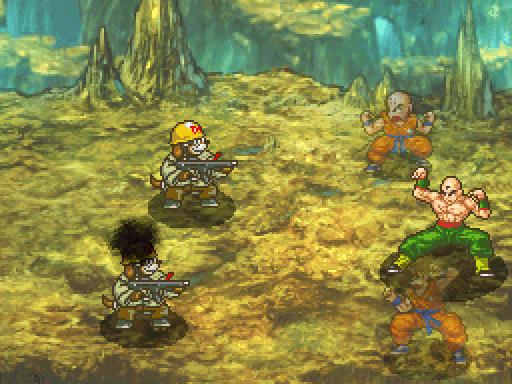
The Red Ribbon army was part of the antagonists in Dragon Ball, and Goku fucked them up a whole lot. We'll meet more remnants later on.

Also, there's a lot of animal people in the Dragon Ball world. People don't find them extraordinary, either, kind of like in Final Fantasy IX; they're just part of the world.
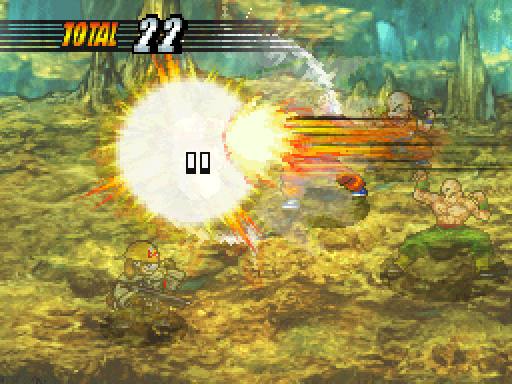
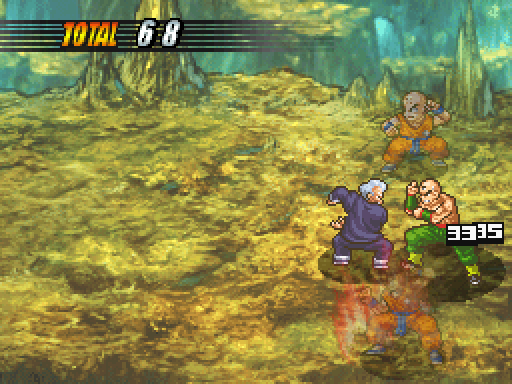
And yes, that dog guy threw a fucking grenade at Tien.
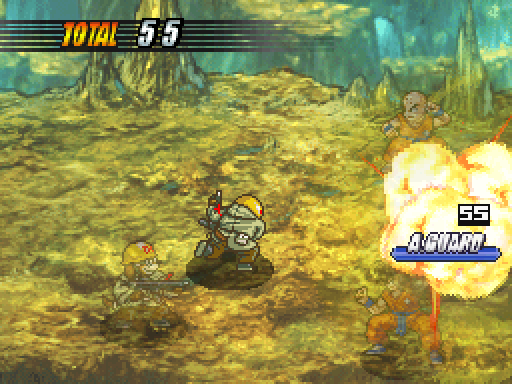
Their guns aren't just for show, either. They'll shoot the shit out of someone. The damage here is so high because I fucked up Yamcha's guard on that one.
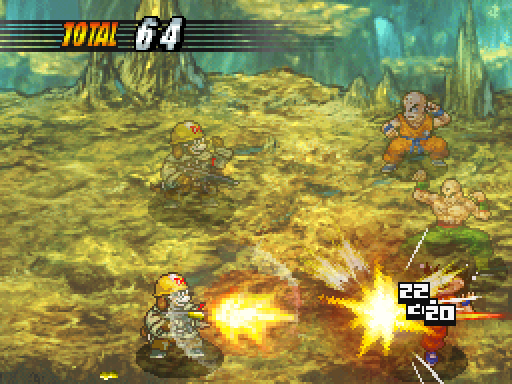
They can also heal themselves for a small amount of health.

One thing I didn't mention earlier was that, after each round, your party will regain a small amount of HP.
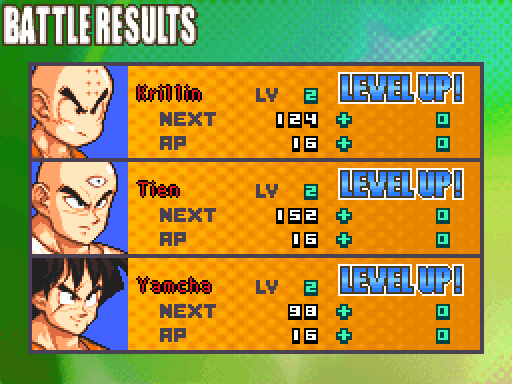
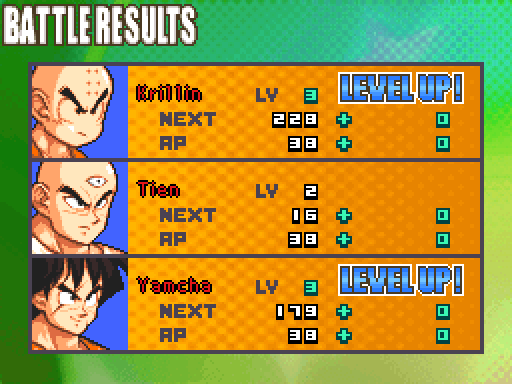
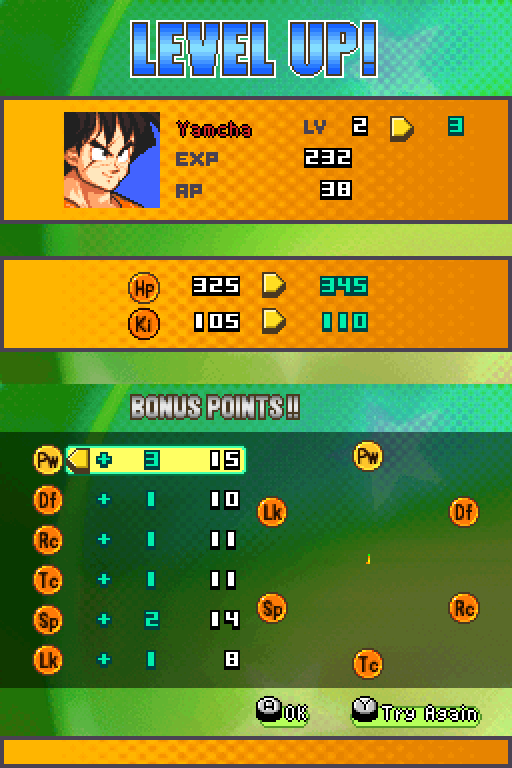
After that fight, everyone gains a level.
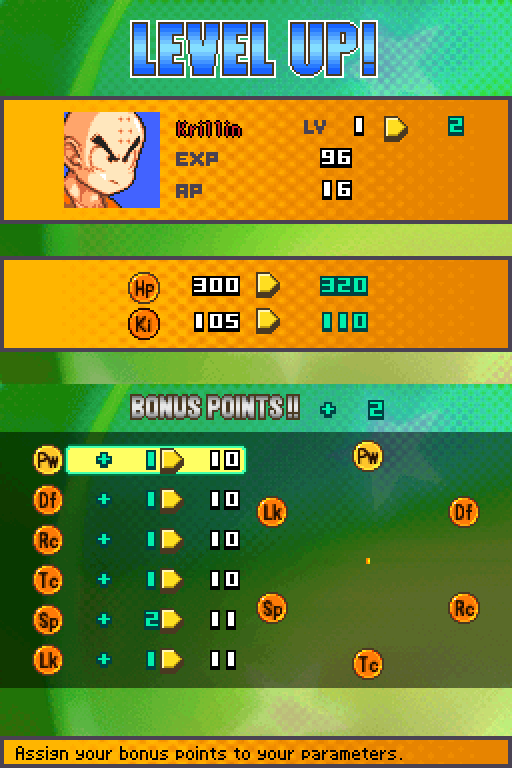
When you level up, you can see what stats get what boosts, as well as getting two points to assign to whatever you'd like. For most characters, I'm going to throw one point into Power, which will boost their physical strikes, and one point into the TC stat, which you can think of as Skill; it'll boost their Ki attacks. I've also heard that it affects the accuracy of their attacks, but I'm not 100% on that.
DF stands for Defense, and the higher that number, the lower damage a character will take. RC stands for Recovery, and the higher that number, the more HP a character will regain after battle; SP stands for Speed, and that affects the order in which characters act during battle, and LK is luck, which affects a shitload of things, as it does in most RPGs.
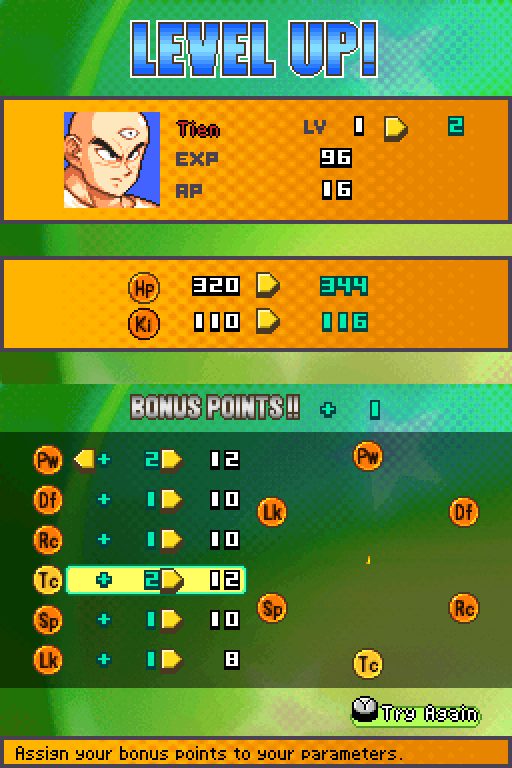
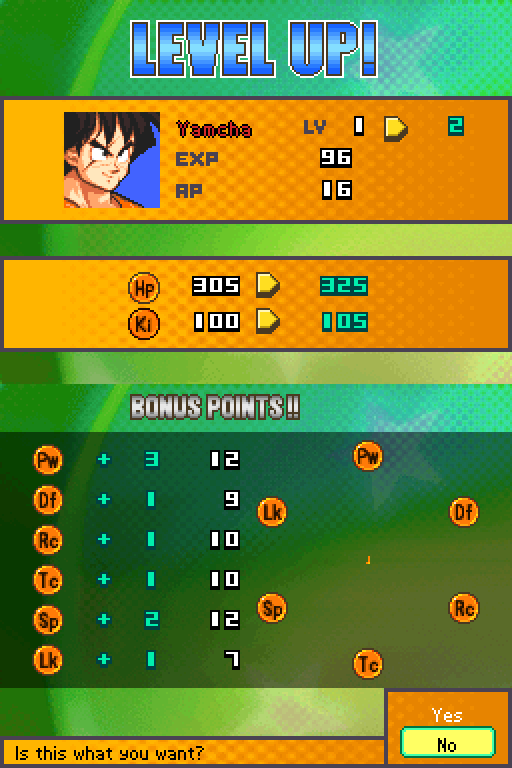
For Yamcha, I'm going to be trying something here that I haven't fully tested before. Instead of giving him points into his Skill, I'm going to throw all of them into Power. Wolf Fang Fist is, by far, his best attack, and his Power affects that. There'll be some equipment later on that will affect accuracy, so I'm not too worried about shafting him on that.
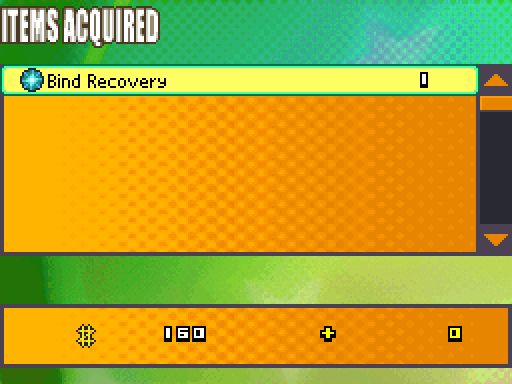
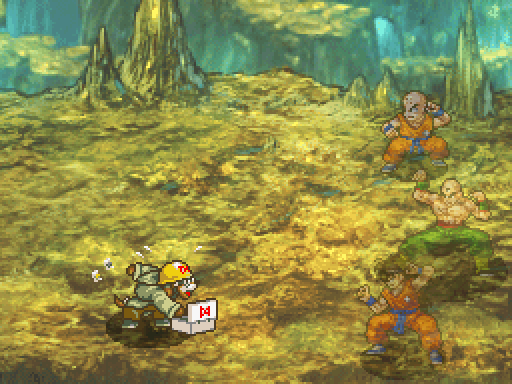
And we also snagged a Bind Recovery from the fight.

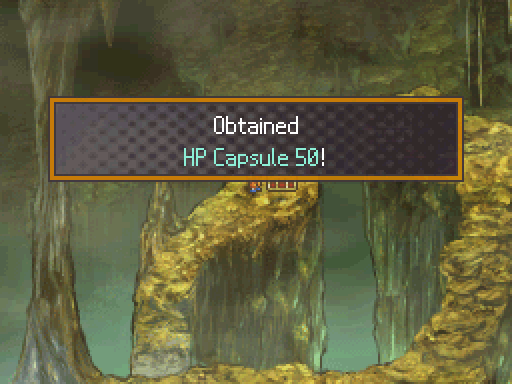
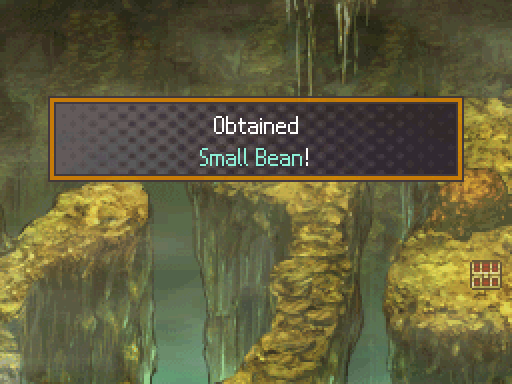
In the chest, there's an HP Capsule 50, which will restore 50% of a character's HP when used.
There's a fair bit of treasure scattered about here, too.
Hmm. That chest is hidden behind a rock.
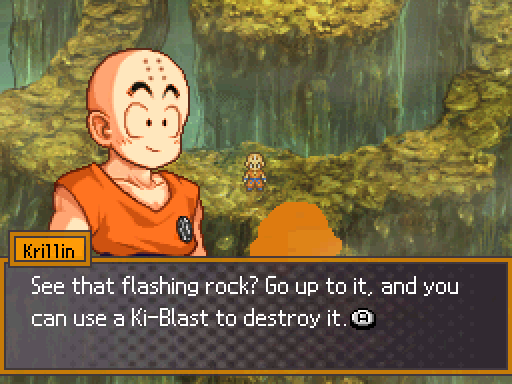
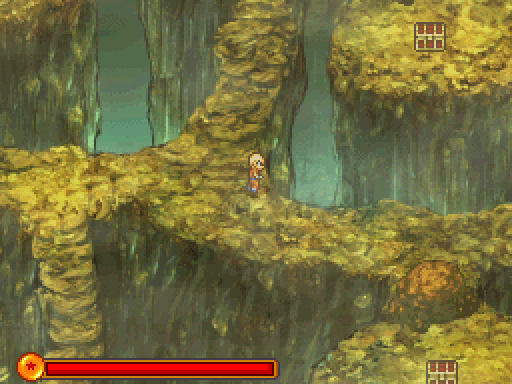
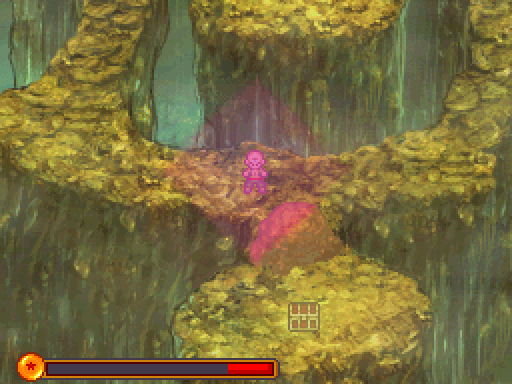
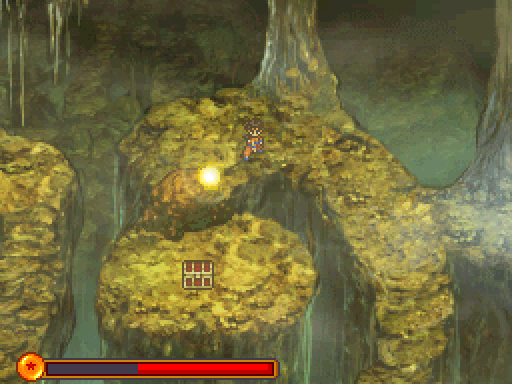
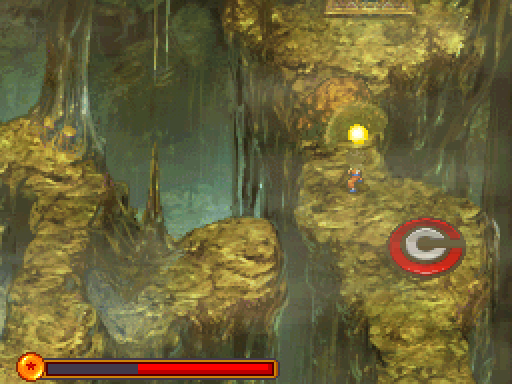
On occasion, you'll find blinking rocks or other objects, which you can interact with.
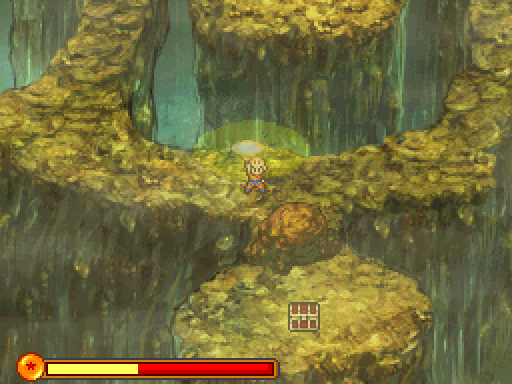
That bar on the bottom of the screen is your Ki meter; you can hold down B to power up a character's Ki attack to blast at these objects. When you run around on the map, that bar will recharge.
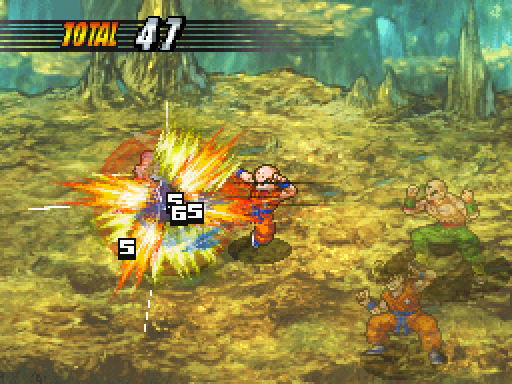
Krillin throws his Destructo Disc.
While Tien fires out a...Lavender colored Tri-Beam. Huh. I'm pretty sure it was yellowish before.
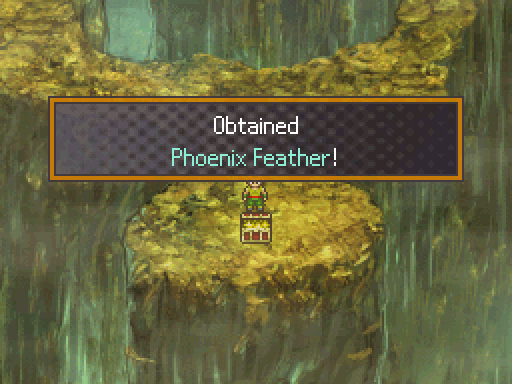
This is a revival item for when someone is knocked out. Hopefully, I won't have to use it for a little while.
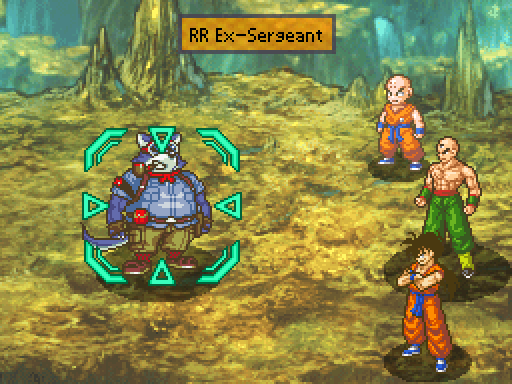
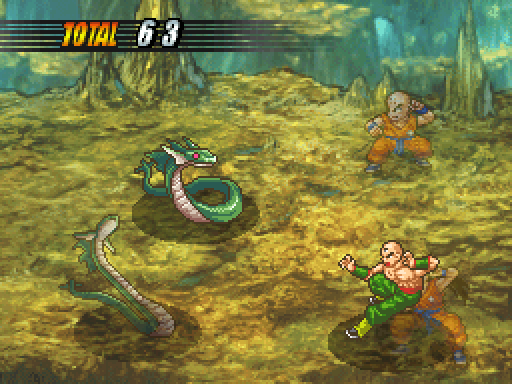
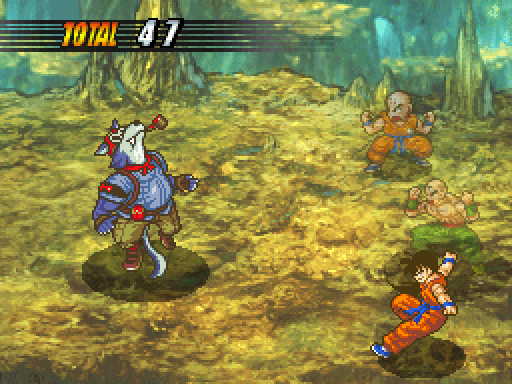
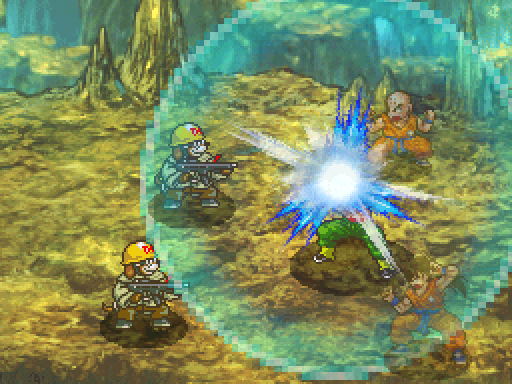
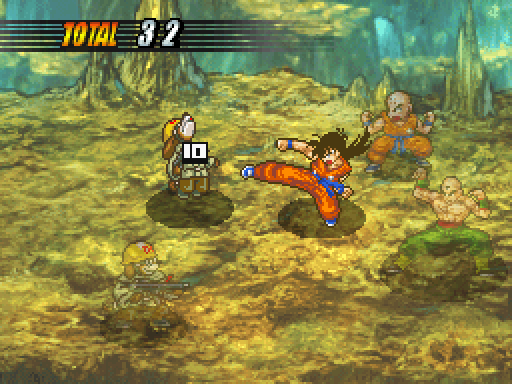
A couple steps later, we encounter a new enemy.
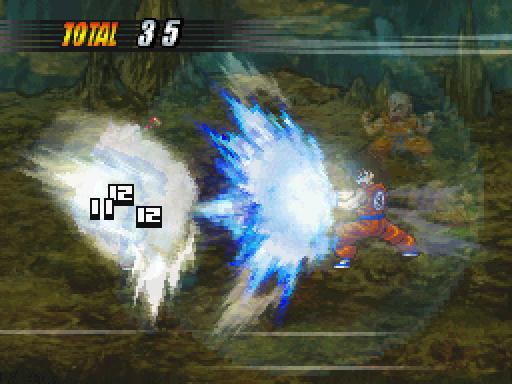
There are very few attacks that hit just once. Tien's Tri-Beam is an example of one of those rare attacks, while the Kamehameha's all hit multiple times. Yamcha's hits five times, if I remember right, while Krillin's hits three times.
Yamcha, however, is more of a physical fighter than the other two. He's also pretty damned fast, and one of his unlockable skills gives him perfect accuracy at the cost of some Ki. Wolf Fang Fist is really good, especially since it hits so many times.
Krillin is a bit of a utility character, being average in most stats. He might not be the star of any battles, but he'll definitely be a damned useful part of it.
Tien's strengths lie within his Ki attacks, and he also has a better recovery than most. One of his skills raises his status ailment resistance, so he can make a pretty decent tankish character.
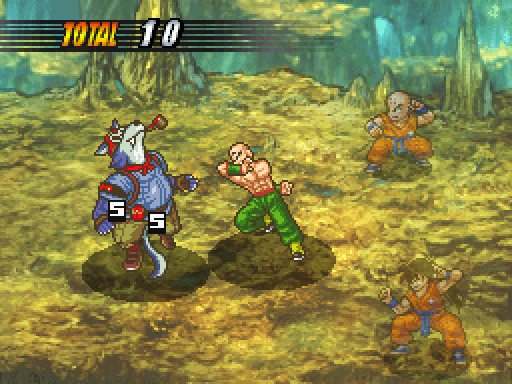
It occurs to me that I blitzed this guy fast enough that I didn't see any of his attacks. And I didn't encounter any other Ex-Sergeants while in here. Whoopsie. My bad.

I have just one reason for showing this fight.
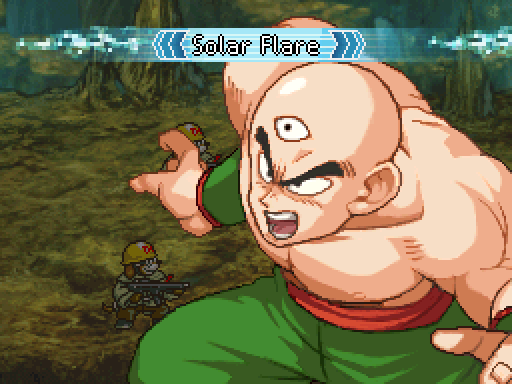
It's so that I can remember to show off the Solar Flare. There's a pretty good chance I'll never use it again.
The Solar Flare involves a character reflecting the brilliance of the sun into their opponent's eyes to blind them.

The chance goes up the more you power it up. That Deserter with the black cloud around his head is blind and his accuracy is now shit because of it.
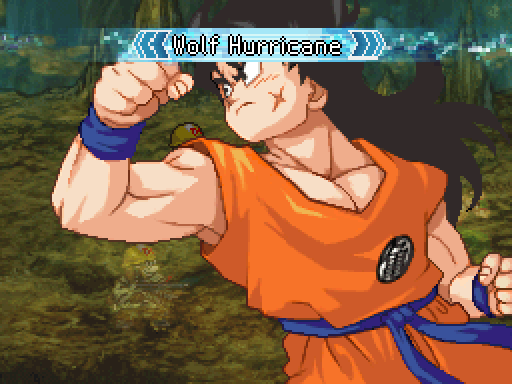
Wolf Hurricane is Yamcha's basic physical combo. It has less hits than Wolf Fang Fist, and a lower Ki cost.

It's also a bit showier than Wolf Fang Fist (fuck, maybe I should just abbreviate that as WFF from now on), but the lower amount of hits makes it slightly useless. It's all show and little substance.
'course, that's a pretty fair assessment of Yamcha, now that I think of it. He's quite the flashy fighter, but he's not one of the stronger fighters around.
Then again, that's true of anyone who's not Goku, Gohan, Vegeta, or Piccolo.
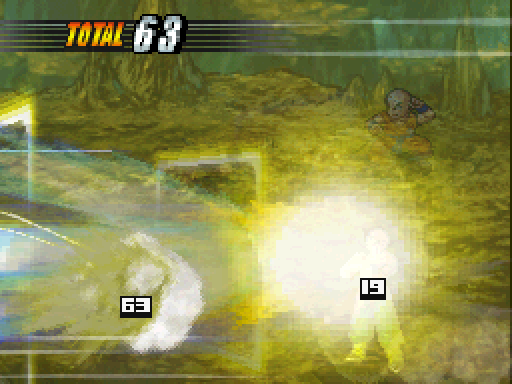
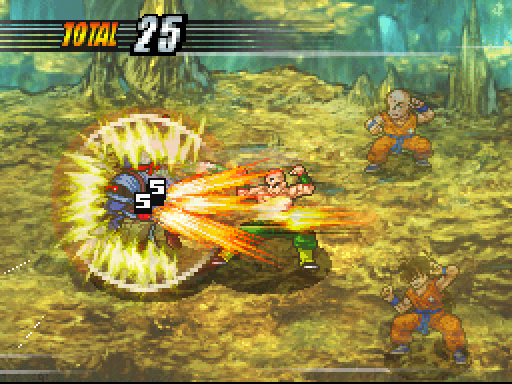
Damage will wind up extremely impressive later on; I don't know what the damage cap is, but I've broken 100,000 before.
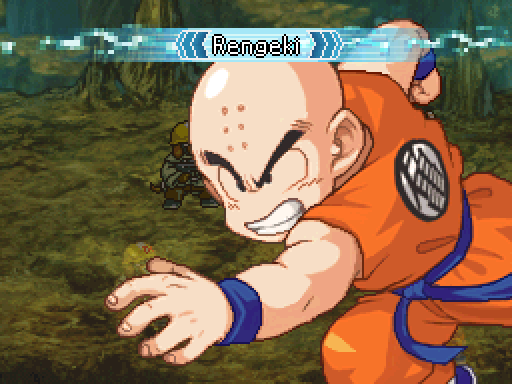
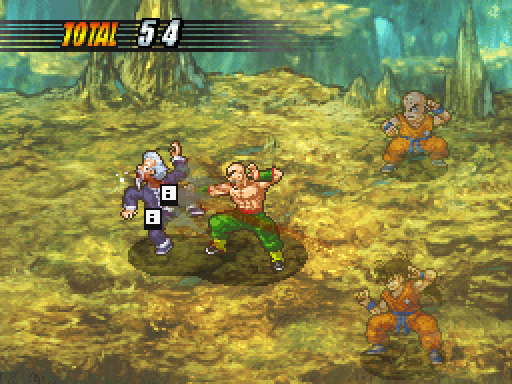
Krillin's combo is called the Rengeki.
For shots like these, is it better that I show them with all the action and power shots and stuff, or would you prefer just to see the hit connecting and the damage?
I'm leaning more toward the flashy looking strikes myself (I say, as Krillin is punching a dog man in the dick).
And he ends the combo with a Shoryuken.

I'm also thinking that, instead of posting their level up screens each and every time, maybe I can just post their stat screens at the end of an update. What do you all think of that?
I'm also having some trouble deciding how often I should show the lower screen; during an LP of a DS game, it tends to bug the shit out of me when someone posts both screens, since those shots look so big and ungainly.
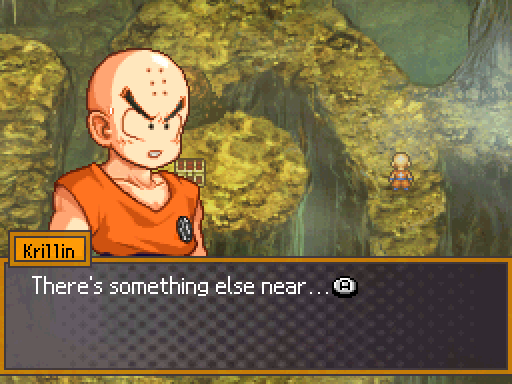
This next fight introduces us to the concept of different kinds of attacks.
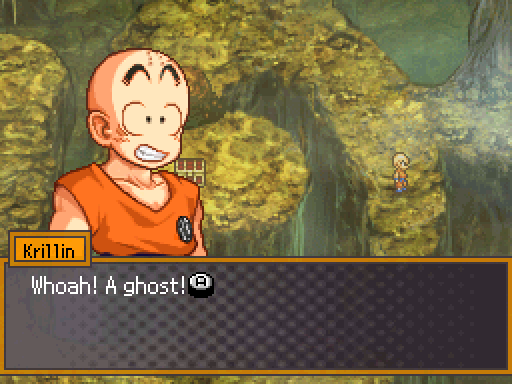
And involves us kicking the shit out of a ghost.
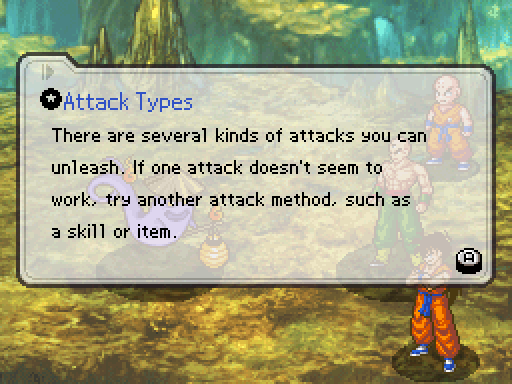
Physical and Ki are the obvious ones, but you'll need either a piece of equipment or to use an attack item to use one of the elements in an attack.
Ghosts are very resistant to physical attacks, but Ki attacks quickly ruin their shit in short order. Tien's Tri-Beam would probably do nearly 200 to one of these guys.

Tien leveled up after the fight, which is neat. He gets the same Power and Skill boosts as nearly everyone else will. It's one of the best ways to raise a character, since it increases the power of their attacks; as long as you're good at the Advance Guarding, you'll be A-OK in basically every fight in the game. Healing items are cheap to buy and easy to find, so that's not a huge concern.
Yamcha's on-map Ki blast is his Spirit Ball.
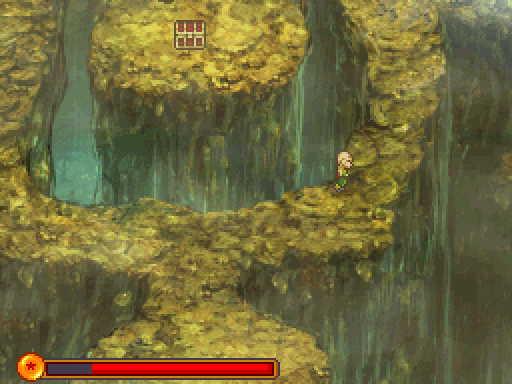
We're about halfway through this dungeon. It's a starter dungeon, and about as long as you'd expect.
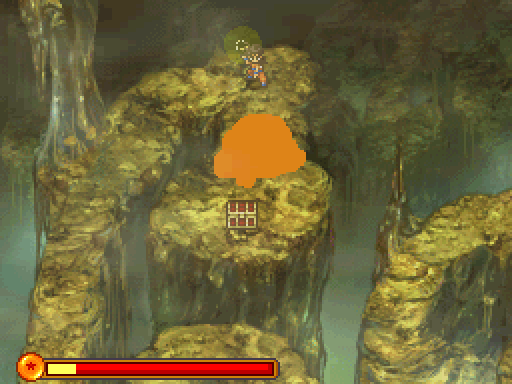
Up the path leads to another breakable rock and a treasure chest.
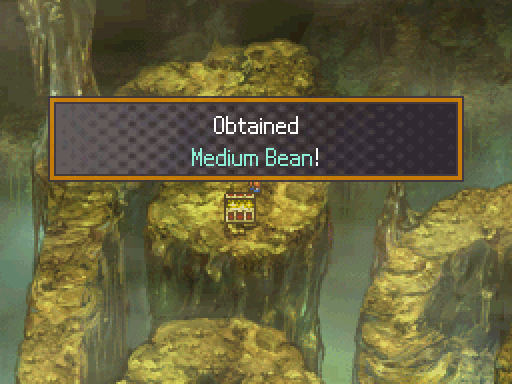
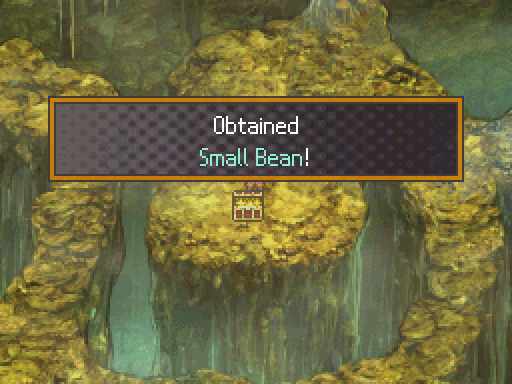
Medium Beans restore 300 HP when used.
...Did I seriously take a shot where the character is hidden under the terrain?
goddammit

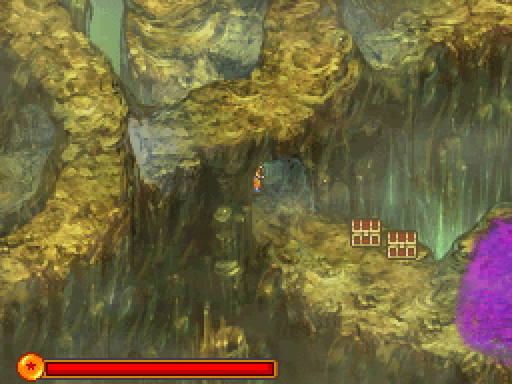
Following the path leads us to these two chests and that patch of purple fog.
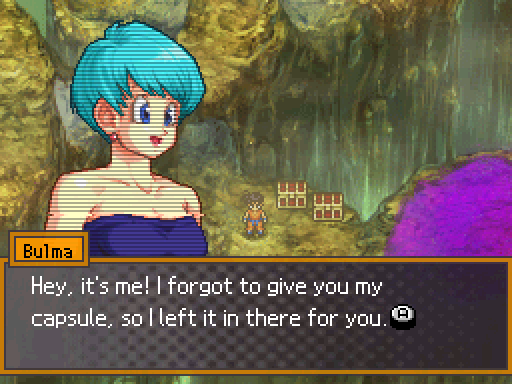
Jesus, Bulma, don't do that!
This is Bulma, the daughter of Dr. Briefs, the man who invented Capsule technology, and the owner of Capsule Corp. She's headstrong, intelligent, easily angered, and eventually marries Vegeta and gives birth to Trunks. She was also Goku's first friend after Grandpa Gohan died.
This introduces a new mechanic, and one that will last the entire game.
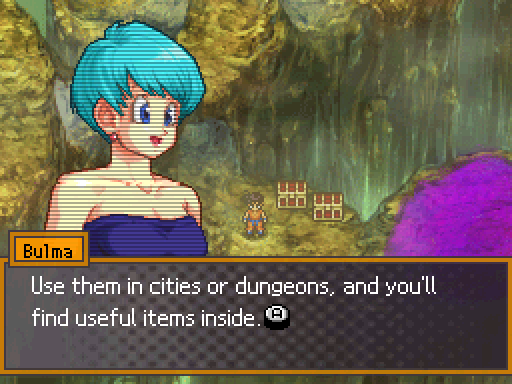
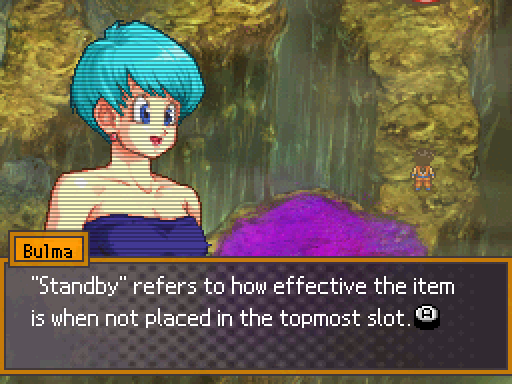
On the bottom screen, there's two sections where you can equip this Capsules. They all provide different effects.
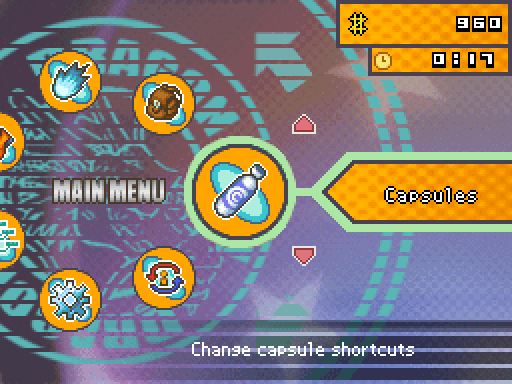
In the menu, there's a whole bunch of options I haven't shown off, because they're not relevant just yet. We want the Capsule option.
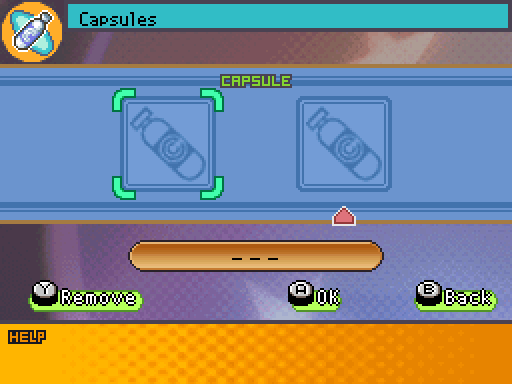
The box with the arrow below it is our active Capsule.
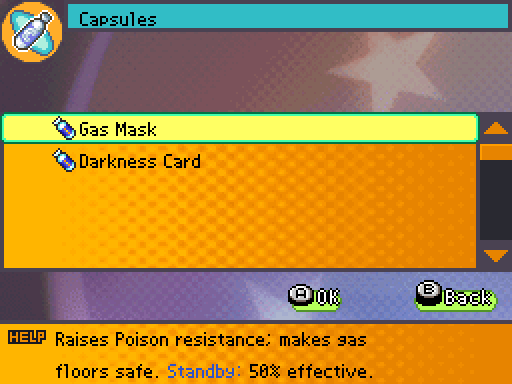
You'll notice this also lists a Standby effect; a Capsule is considered in Standby when it's not your currently active Capsule.
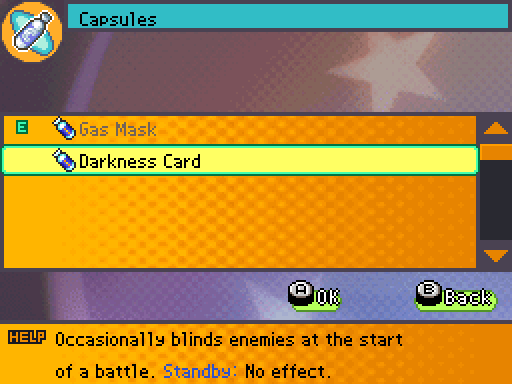
Some Capsules have no Standby effect and must be equipped to be effective.
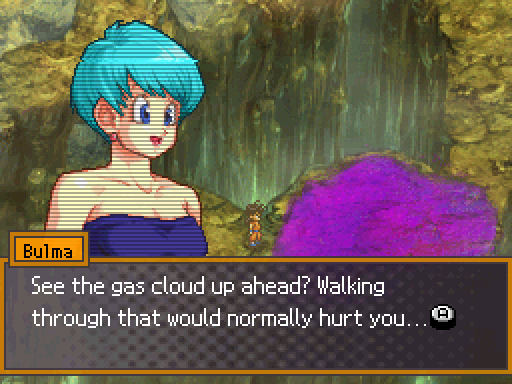
Walking through that field would drain our HP severely, to the point where there would be a very real chance of us being killed if we got into a fight.
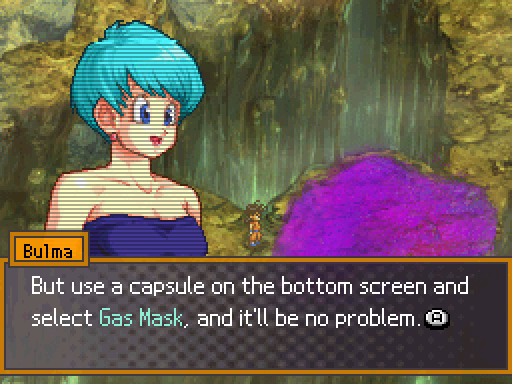
...I could have just cut this dialog out, since I explained a lot of that already.

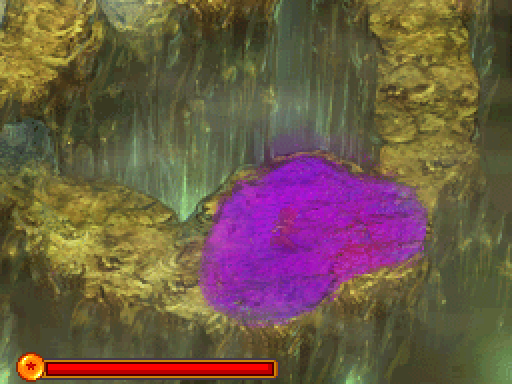
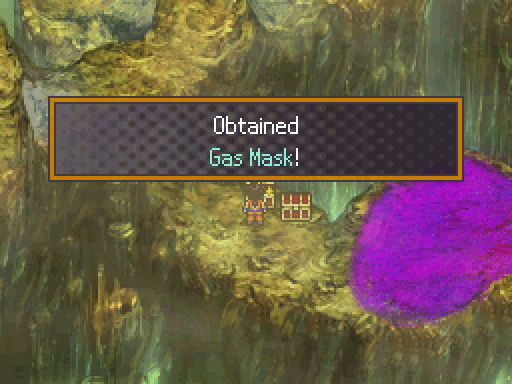
With our Gas Mask equipped, we're immune to the effects of the poison mist. There will be a lot of different damage floors as the game goes on, and the Capsules to combat them.
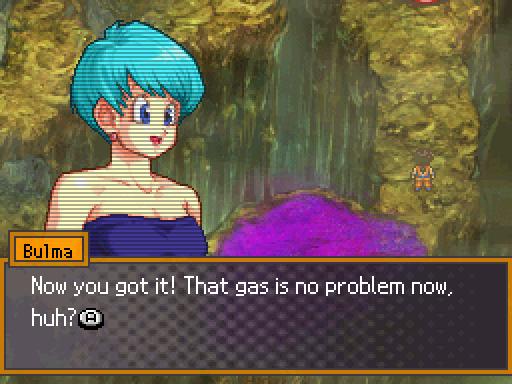
Not even a little bit, Bulma!
Piss off, Bulma, I mentioned that.
Byeses!
This is my favorite save point dressing. It just looks so chill.
Absolutely it is, Krillin!
No, they're not blowing it up, despite what this shot looks like.
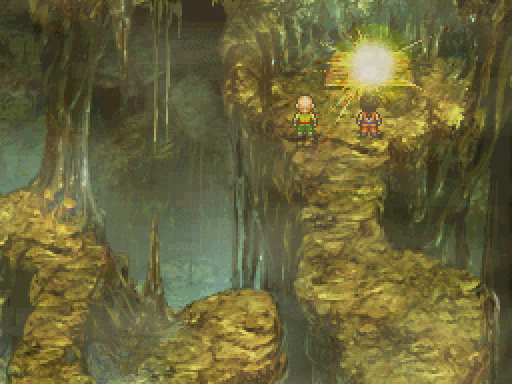
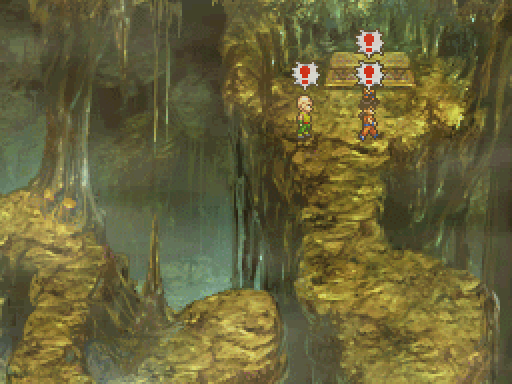
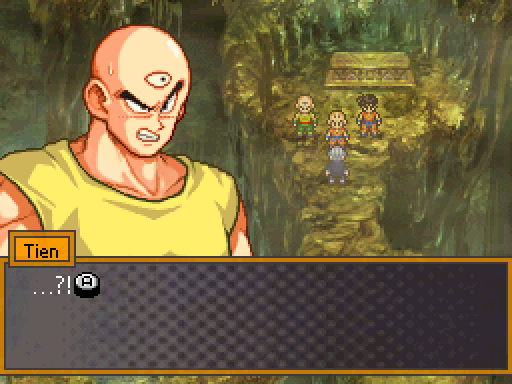
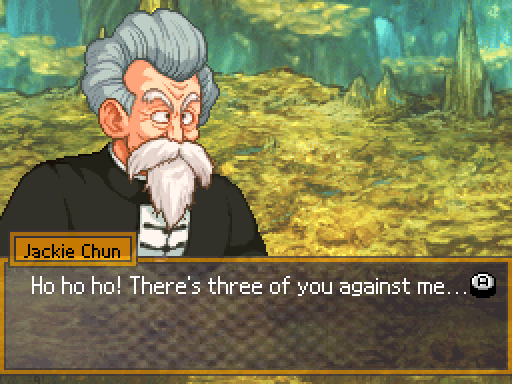
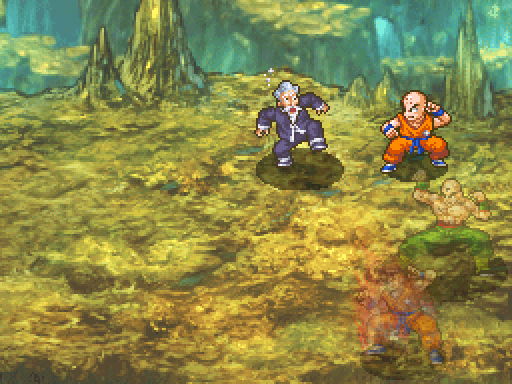
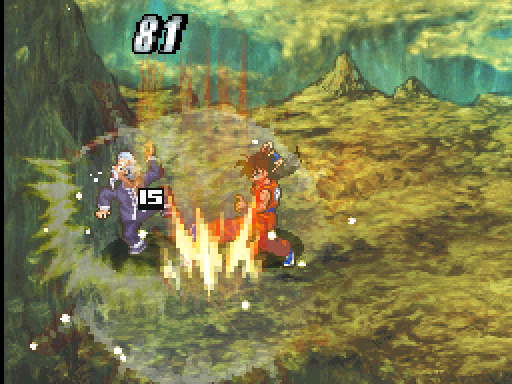
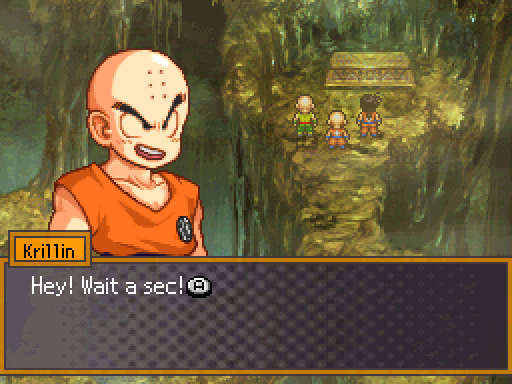
You didn't think we'd get out of this without a boss fight, did you?
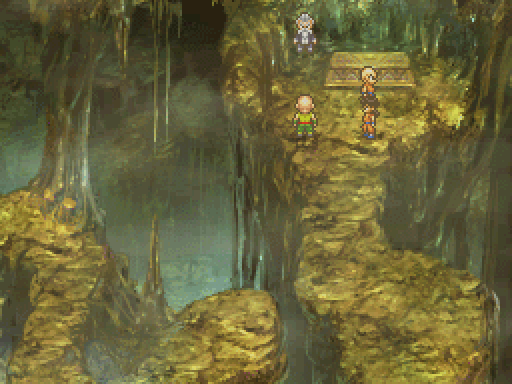
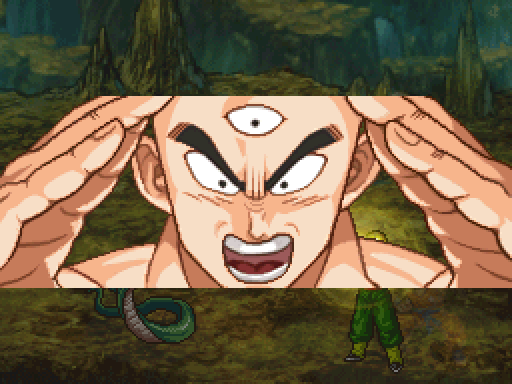
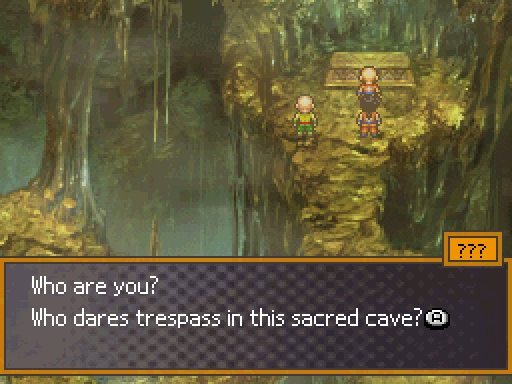
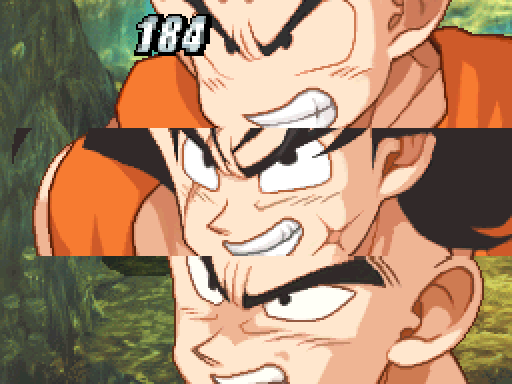
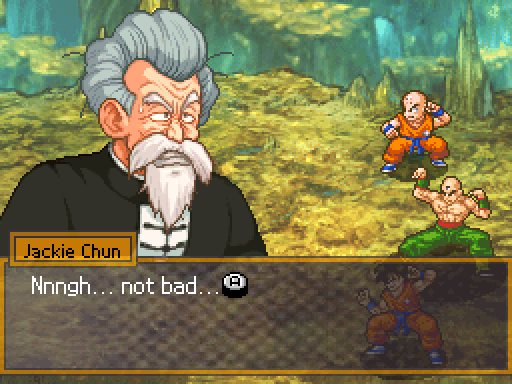
An old man comes flying down from the ceiling.
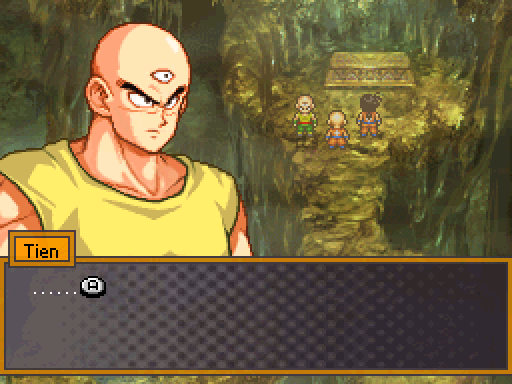
I'm not sure why he has a hashtag over his head. Is it supposed to represent his anger? Because I thought those were usually red.
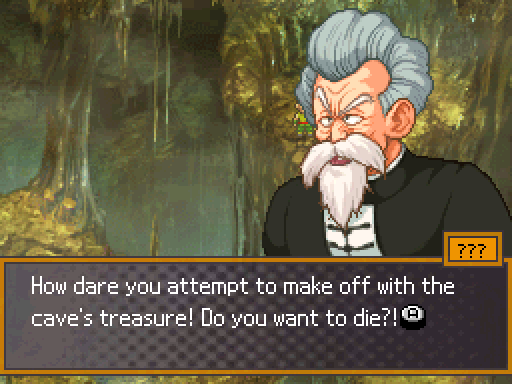
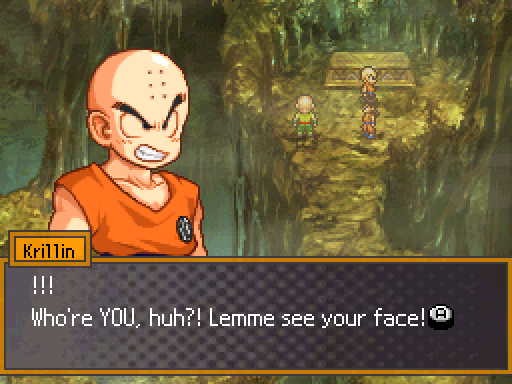
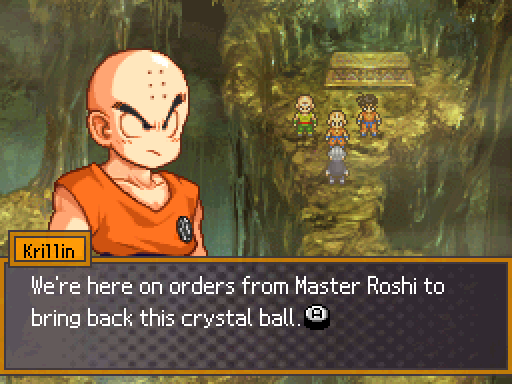
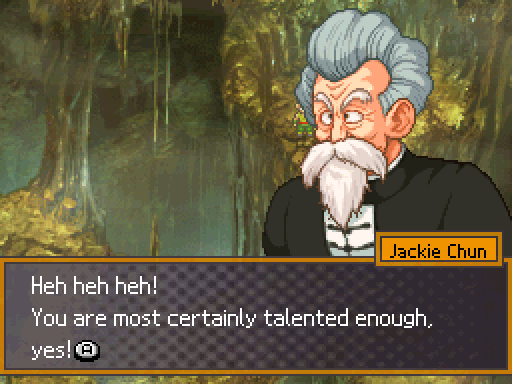
Look, an old guy sent us. Rather than get Grandpa going about the war again, we figured it was easier just to wander over here until he forgot we had talked to him.
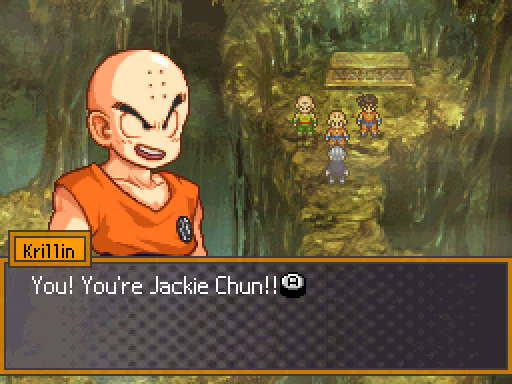
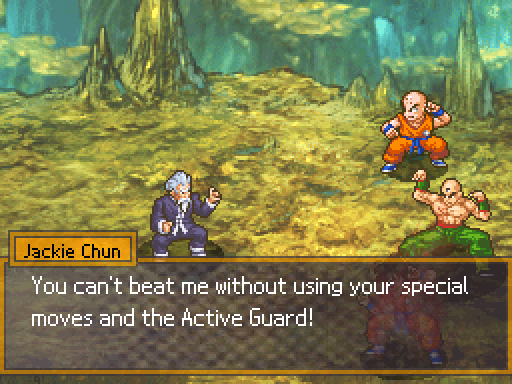
Oh, yeah, Jackie Chun.
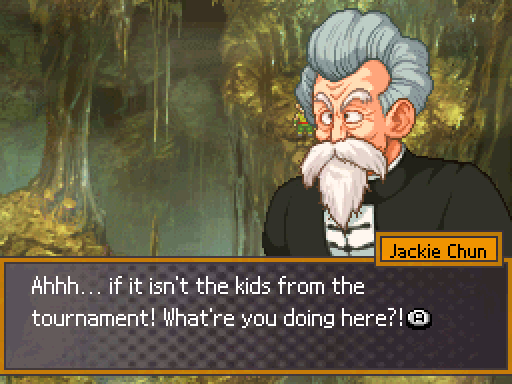
That's right; Jackie Chun was one of the fighters in the World Martial Arts tournament, where he defeated Krillin, Yamcha and Goku. They were unaware of his being the same person as Master Roshi, and Roshi made sure of it. He only fought them as Jackie to make sure they knew that, no matter how strong they got, they always knew there was someone stronger than them, to help them not become arrogant and overconfident in their abilities.
Also, he kicked Goku's ass in that tournament after Goku went Oozaru; he blew up the moon with a Kamehameha.
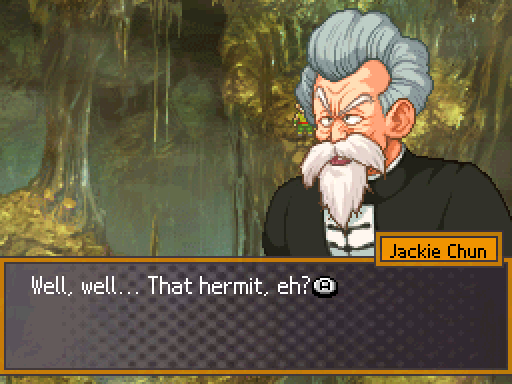
The Turtle Hermit, thank you.

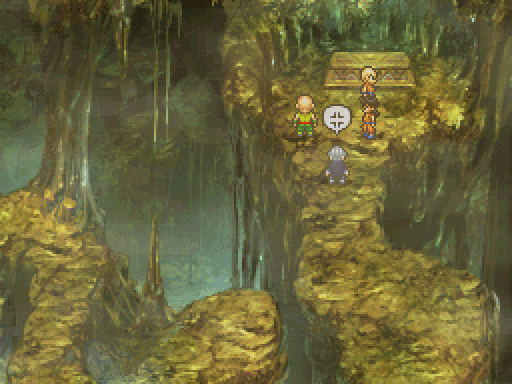
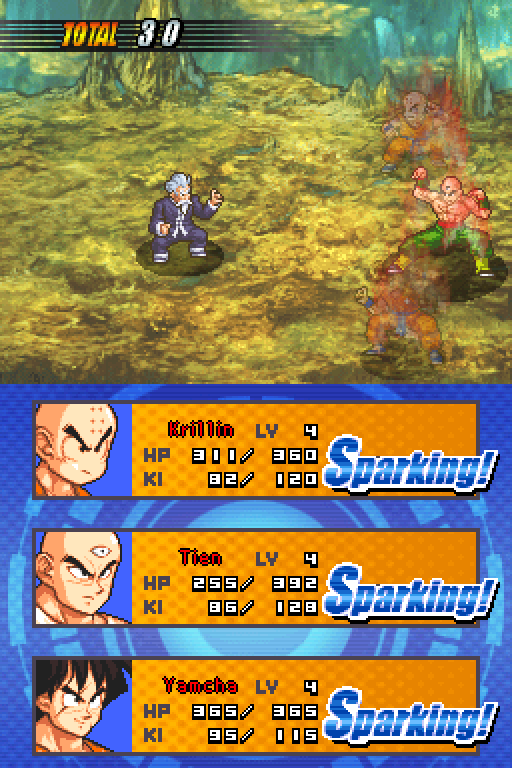
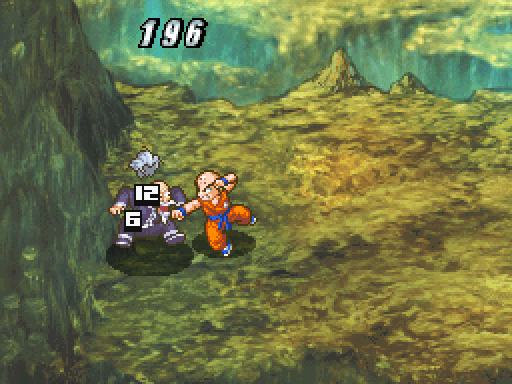
And with that, he rushes the party, ready to fight.
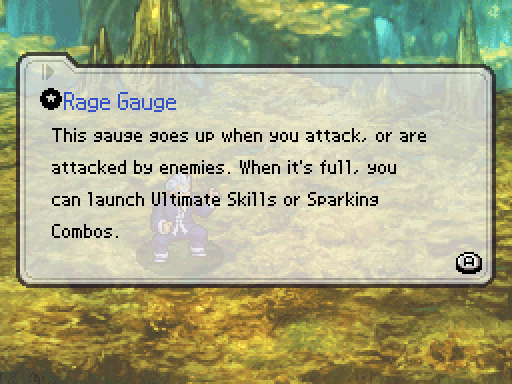
I left this unmentioned, since this fight brings it up. It hasn't really applied before this.
Think of the Rage Gauge as a sort of Limit Break. When you fill the gauge in battle, it'll remain full until either you spend it, the character dies, or the battle ends. It doesn't reduce to zero after the fight ends, but it'll drop a bit. Attacking and taking damage fills it up.
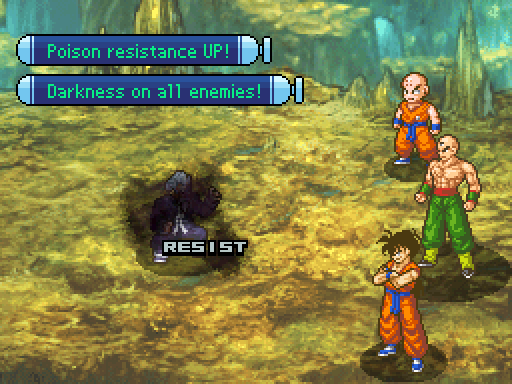
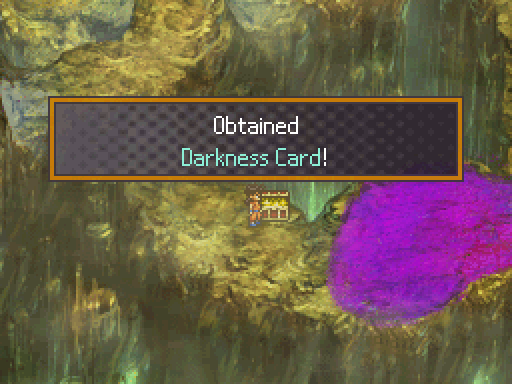
I had the Darkness Card as my active Capsule. It tries to blind enemies at the beginning of a battle.
 To see the fight in motion, click here!
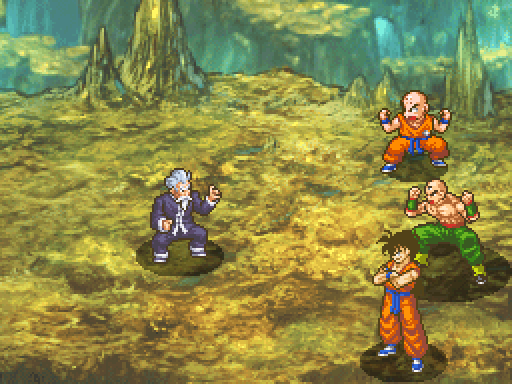
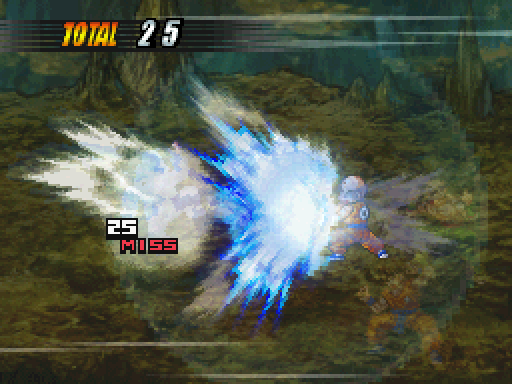
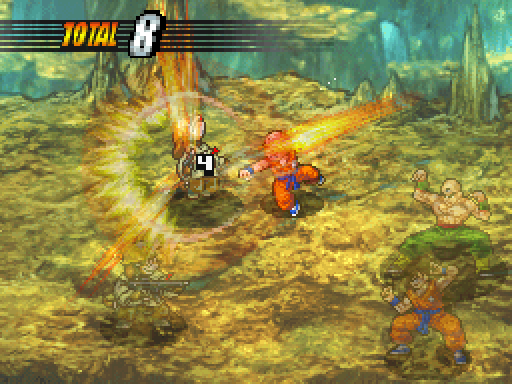
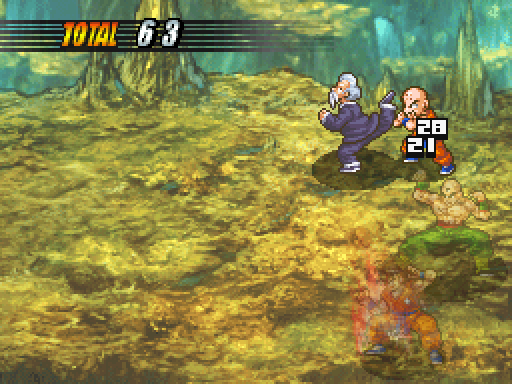
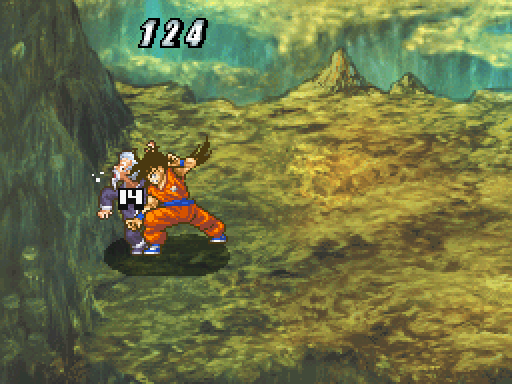
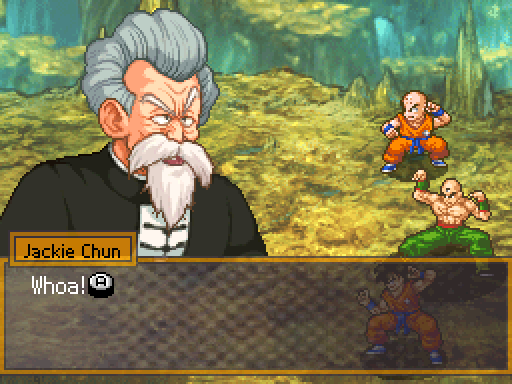
Jackie Chun is kind of a bad mamma-jamma this early on. He's far tougher than anything else we've fought and hits a lot harder.
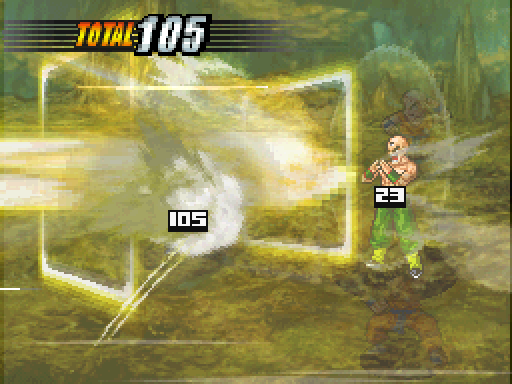
Our best option is to just pour the damage on him.
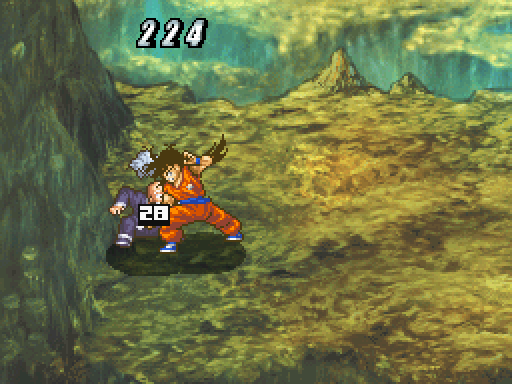
Yamcha contributes by kicking him in the crotch.
He's got a short combo of his own that deals good damage.
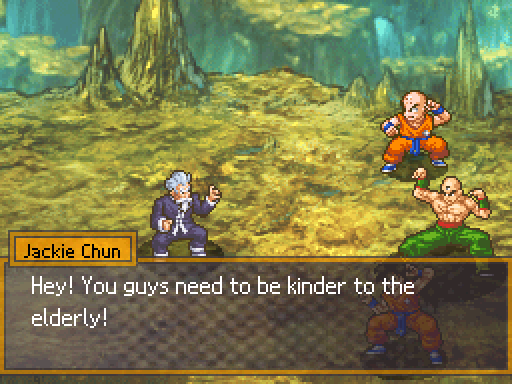
So, uh, yeah, this is a fight of three young martial artists kicking the shit out of an old man.
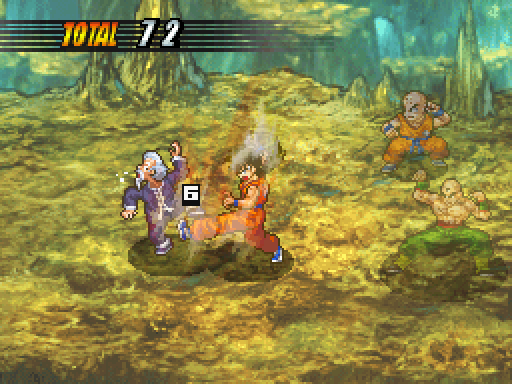
Jackie Chun is also a good teacher to the player; until now, pretty much every Advance Guard opportunity has had the same time frame. With this attack, he stumbles around a bit in front of your character. If you hit the Advance Guard too soon, you've fucked yourself out of getting it for that attack.
He's got a funny looking combo here.
Until this point, you could get through this place easily enough with just your physical attacks and not watching your health too closely.
Jackie Chun is a good opening boss in that he's a rise in difficulty, but that he's also actively teaching you that you'll need to utilize the tools you have in battle; on that same token, he's also not overbearing about it or patronizing toward the player. You'll learn to use the Advance Guard not because he tells you to, but because he'll beat the shit out of you if you don't use it.
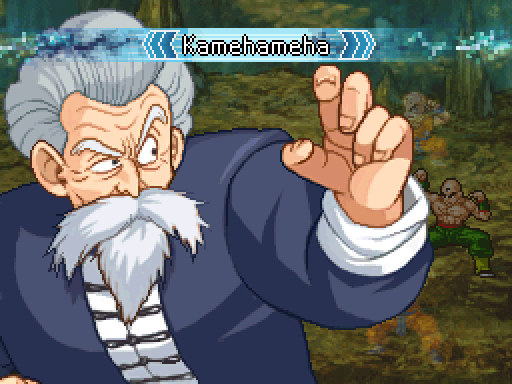
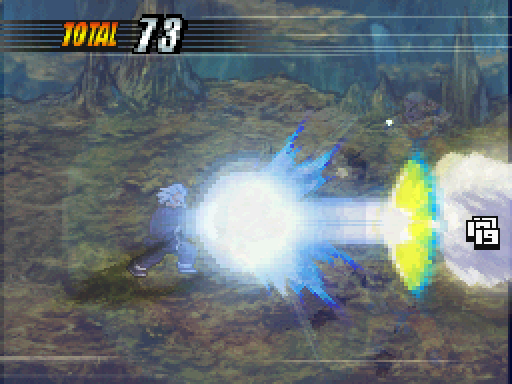
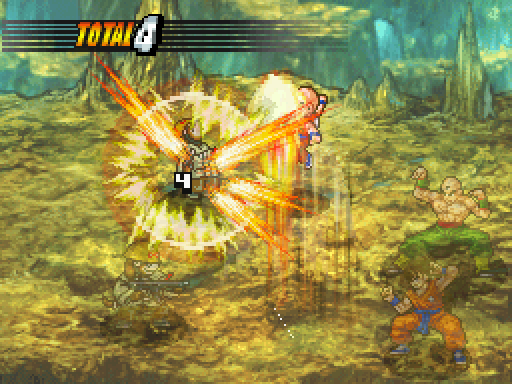
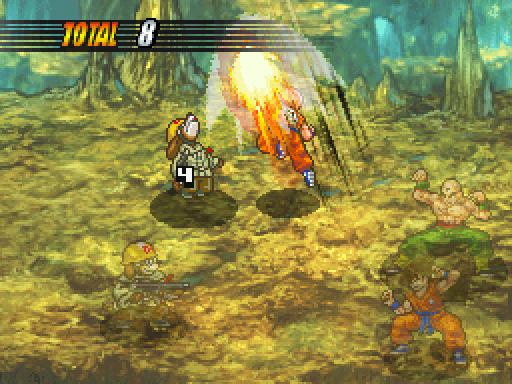
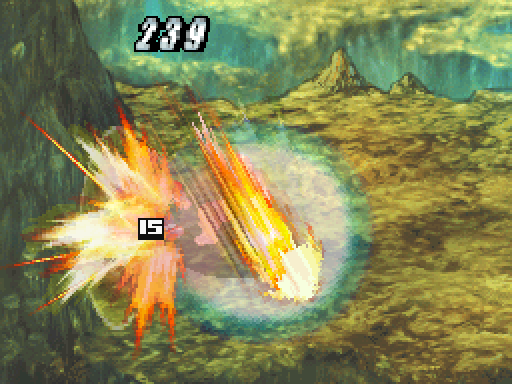
He's got the Kamehameha Wave, and it's as powerful as you'd expect.
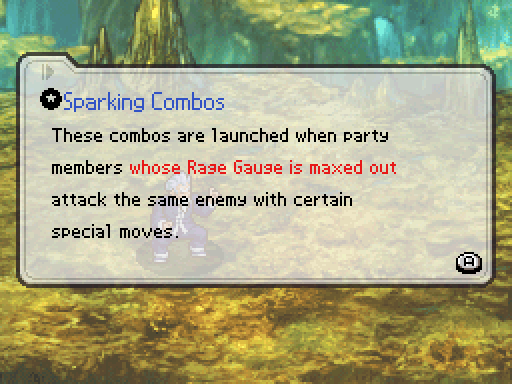
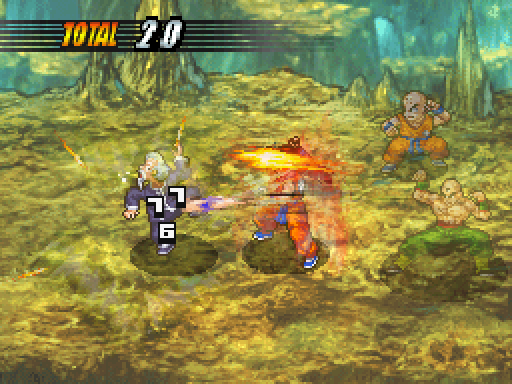
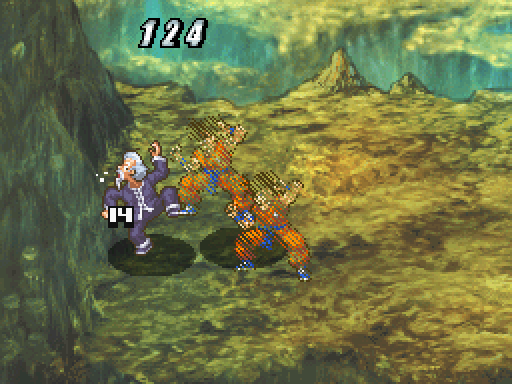
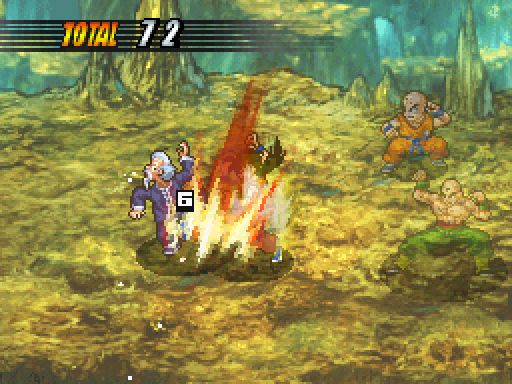
Sparking Combos were mentioned at the beginning of the fight. They require two or more characters, and you need to select the proper skills from the characters to activate them.
There are some that are common among all characters, such as any two characters using their basic combo (such as Krillin and Tien using Rengeki and Fierce Attack), or any two with one using a Ki blast and the other their combo (such as Krillin using Kamehameha and Yamcha using the Wolf Hurricane).
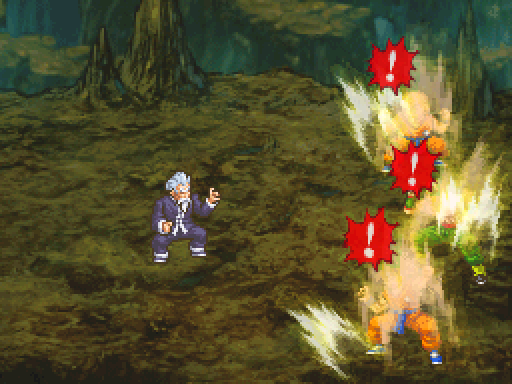
There are some others, however, that have special names and require certain combinations of characters and their skills.
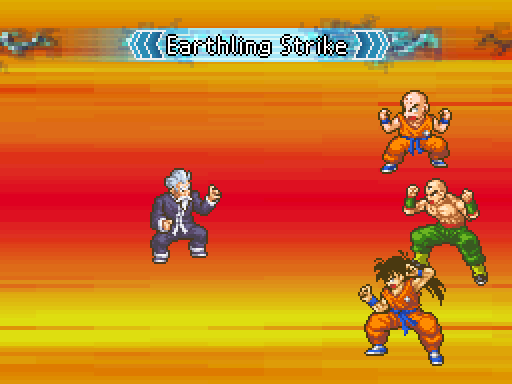
These three, using their basic combo attacks, link up to use the Earthling Strike.
These attacks will never miss, either, so they can drop a ton of damage on whatever is unfortunate enough to be hit by it.
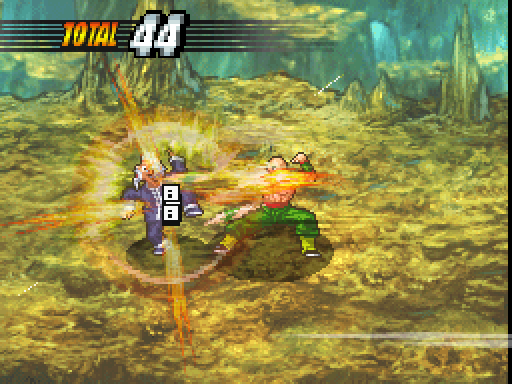
In this one, Tien starts out with his combo, before kicking Jackie away.
Where he smashes into a wall, which deals even more damage.
Yamcha then drops in with the Wolf Hurricane.
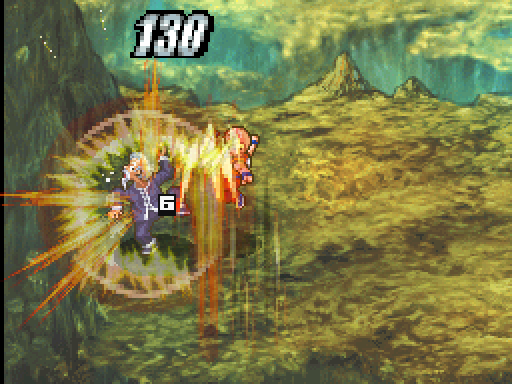
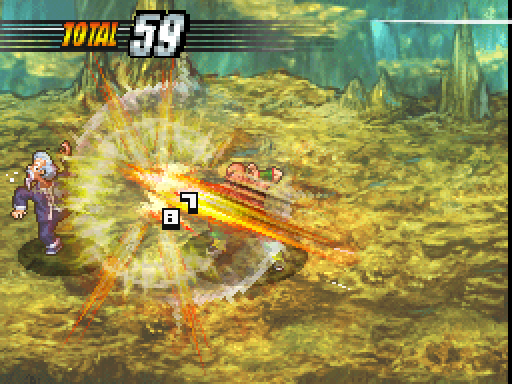
Before giving way to Krillin, allowing him to do his part of the combo.
However, it's more than these three doing their combos one after the other.
It ends with them doing an extra-power attack to Jackie.
However, using this empties all of their Rage Gauges. But, it also deals a large chunk of Jackie's health.
"You've knocked my dementia up a notch!"
You started this, man!
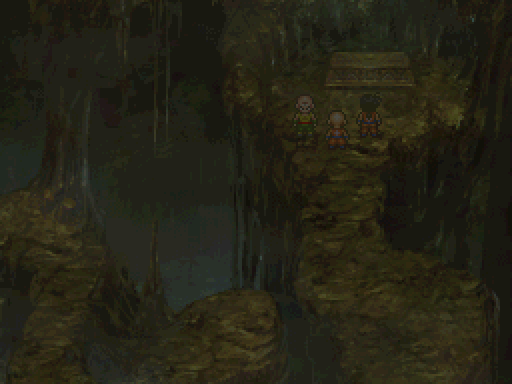
Though, that is pretty much the fight, so let's skip to the end.
I'm also trying very hard not to mention Yamcha ending the fight by smashing Jackie's nads.
He drops 1500 EXP, but the game divides it between the three characters. If only Krillin had survived, he would have gotten all 1500 to himself.
He also drops this Charm, which is a usable item in combat; it raises your Evasion rate for the next attack. It also sells for 2500z, which I imagine I'll probably do.
And with that, he flies off.
Krillin, you can fly, too! Fuckin' go after him!

Roshi actually paid off another fighter in the World Martial Arts tournament to pose as him in the crowd, so that nobody would become suspicious that Roshi and Chun were the same person.
Don't look at me like that, Tien. I'm just reporting what happened.
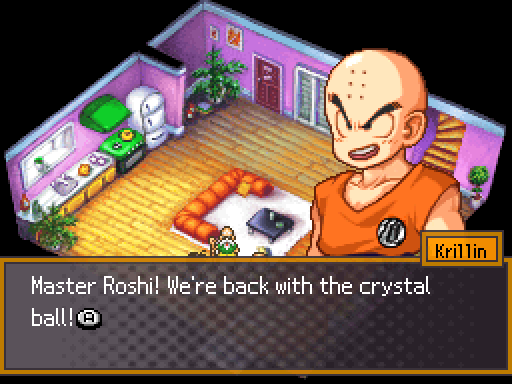
The scene fades to black...
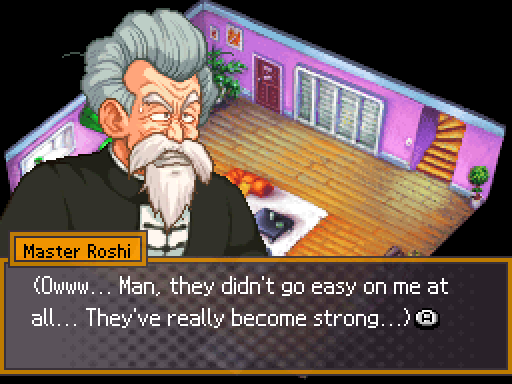
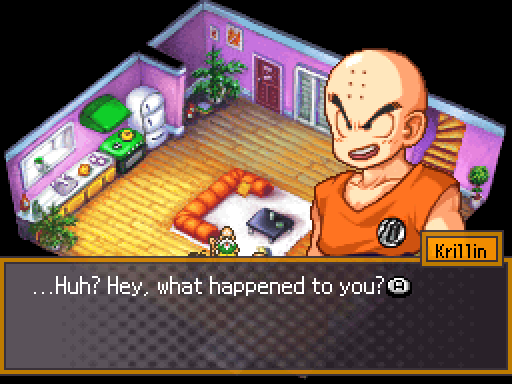
...And we come back to the Kame House, where Jackie Chun is rushing inside.
Well, y'know, you did try and kill us, unprovoked, in a cave.
He changes back into Roshi just in time.
This isn't a meaningless fetch quest, by the way.
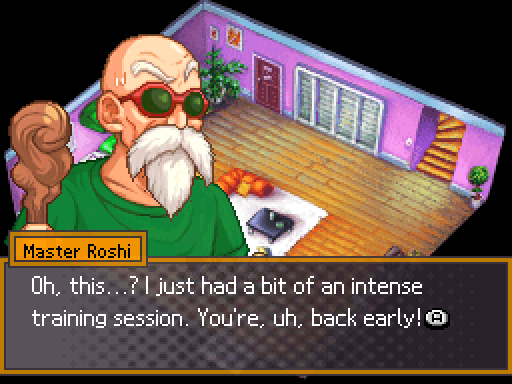
Roshi quickly thinks of a cover story for these guys, so that they don't realize he's Jackie Chun. Our party members are about as sharp as a brick, so they fall for it.
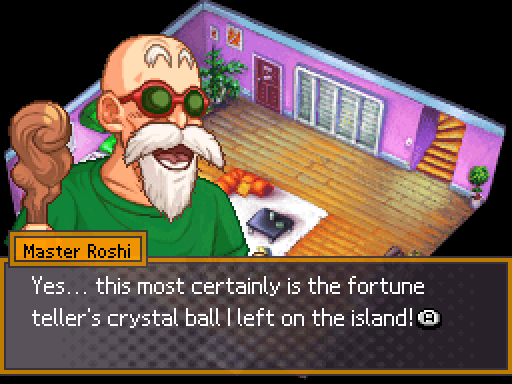
Don't forget, Roshi is Fortuneteller Baba's younger brother.
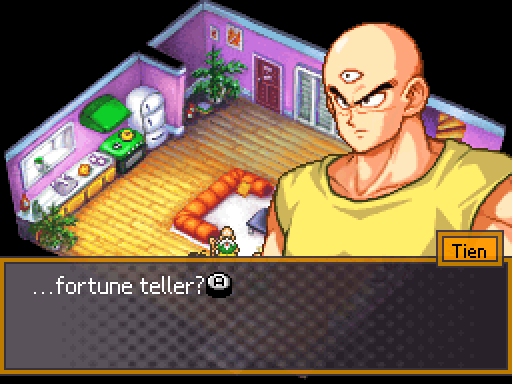

And Roshi just dumped it in a cave. Way to be classy, Roshi.

Y'know, my brother gave me an old Spider-Man action figure when we were far younger, and I don't use it anymore, but you don't see me whipping that fucker into a cave for some shnooks to go find to prove they're worthy of graduating from my school.
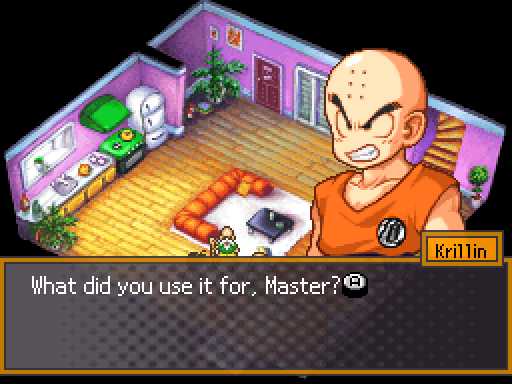
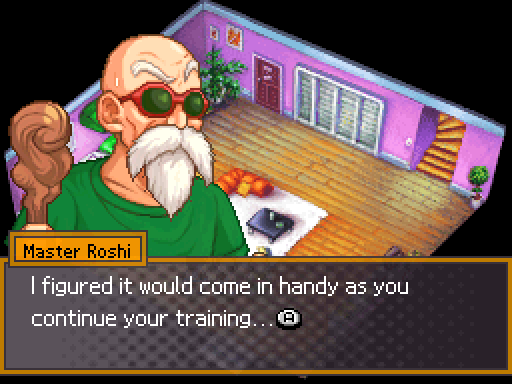
"Well, Krillin, it got better reception for the dirty movies than my TV did!"

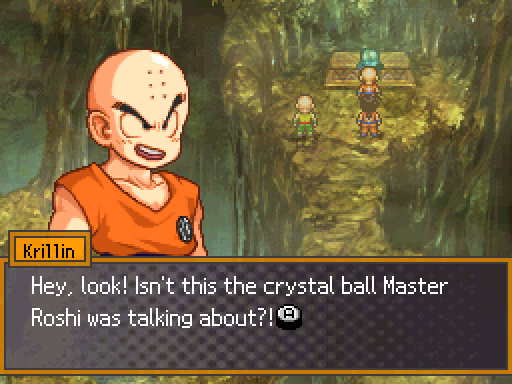
This is where you find out it's not just a fetch quest.

The crystal ball can now be accessed from the menu, where we can use it to see our next goal, in case we'd forgotten, or if we have multiple objectives and need to check on where one is. It's the nice kind of feature I like in RPGs, just in case I set the game down for a week and then proceed to forget every bit of story progress I've made.
It's certainly helpful if you have an idea of where to go, but don't know the location's name. There's a lot of different places to visit in this game and sometimes, the names blend together.


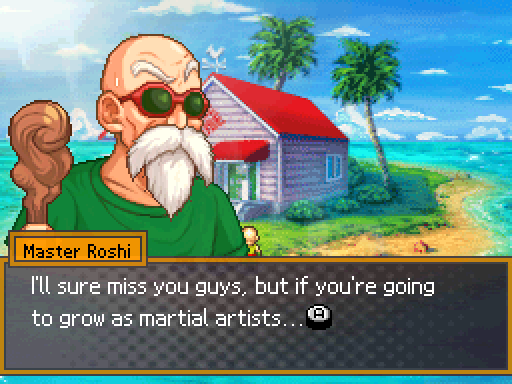
We head outside, where Roshi has some parting words.
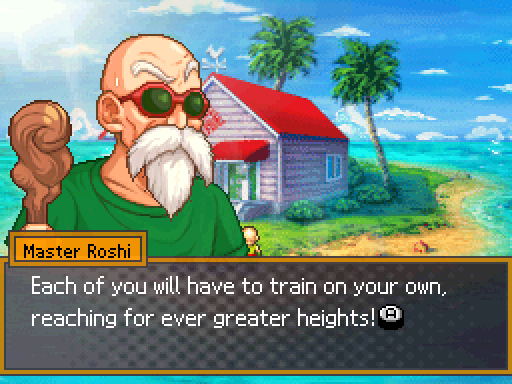
Yamcha and Tien apparently don't see the need to acknowledge what Roshi said.
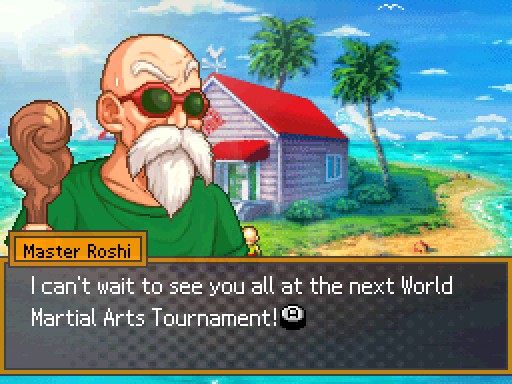
But that polishes off the prologue! Sorry it was so long, but I figured that was better than having an average size update, followed by one that was just the boss fight and that bit of dialog afterward.
Anyways, next time, we'll be hanging out with Krillin, so stay tuned!