Part 23: Into The Hermit's Cave!! Will The Sacred Water Be Recovered?!
Howdy, folks, and welcome back! Last time, on Attack Of The Saiyans, we met Korin and discovered he's a terrible fucking keeper for the Senzu plants, having forgotten to water them. Today, we're going to go get the water he needs to revive the Senzu plants, so let's head out.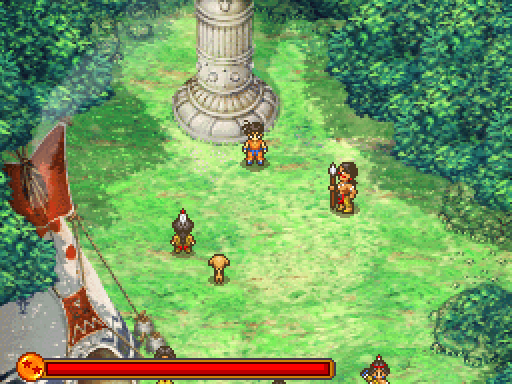
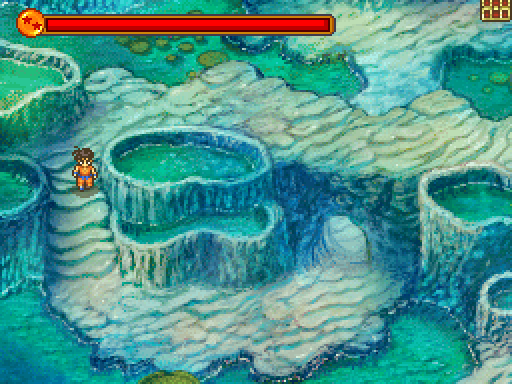
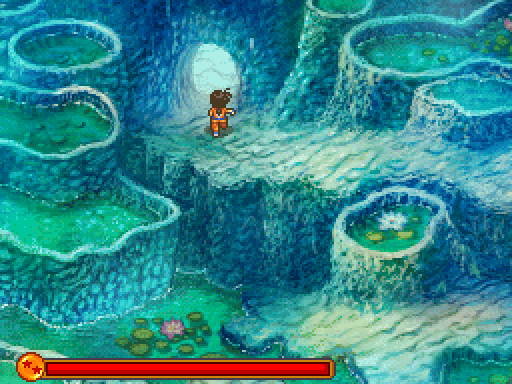
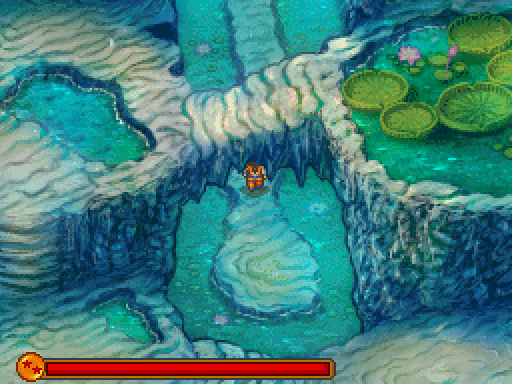
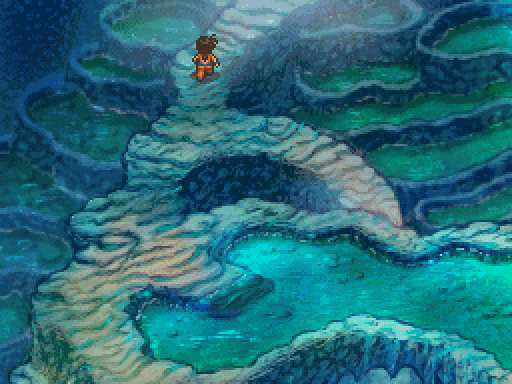
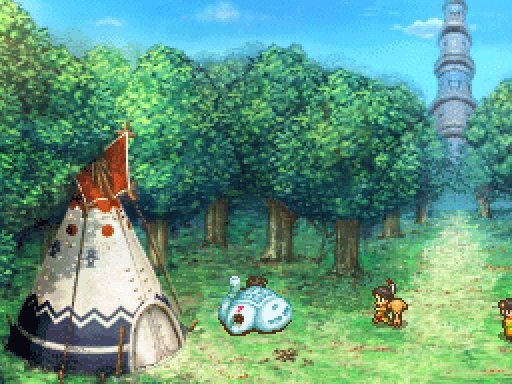
The cave we're hitting up is right over here, so it's not that long of a trip over there. Oddly enough, this is actually an entirely separate area on the world map, so if we decide to leave here for whatever reason, we can actually pop over to whatever locale we wish, all real quick-like.
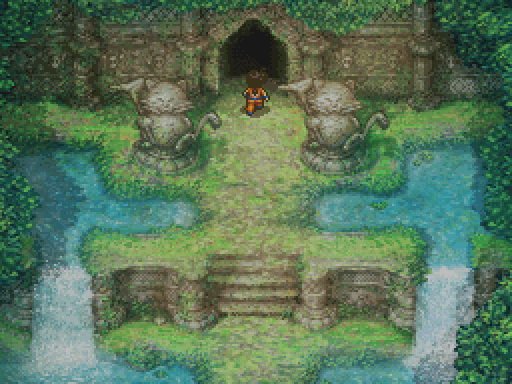
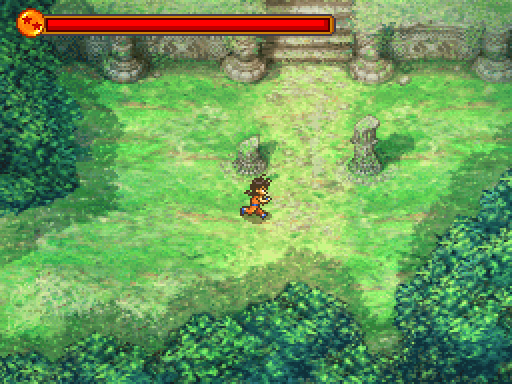
See, you know this place is important, because Korin has statues of himself out in front.
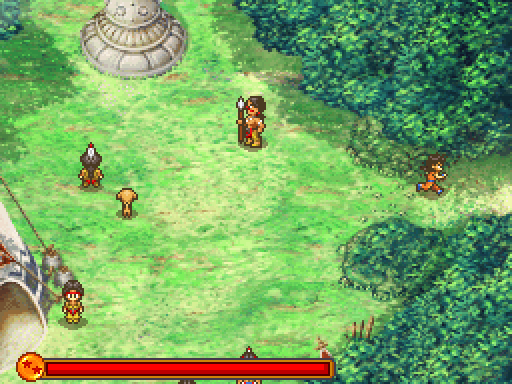
This place isn't too long, but I'm not a big fan of it. Something about it is just kind of a pain in the ass.

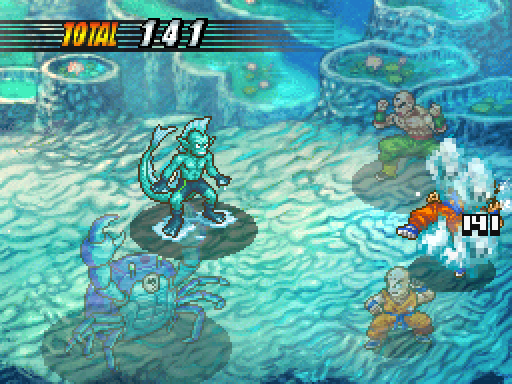
We've got some new enemies to look at, too!
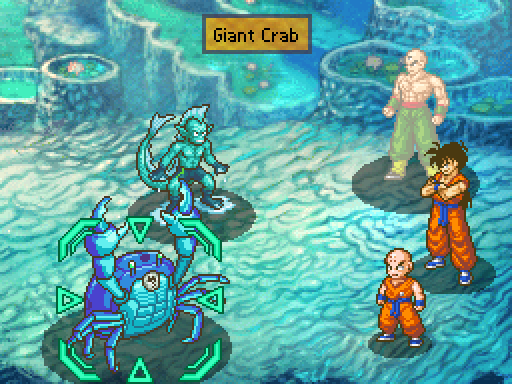
Giant Crabs are nothing too scary, but with 650 HP, they've got some staying power to them. Ki attacks are far more effective than physicals, it seems, and that's probably due to their tough outer shells.
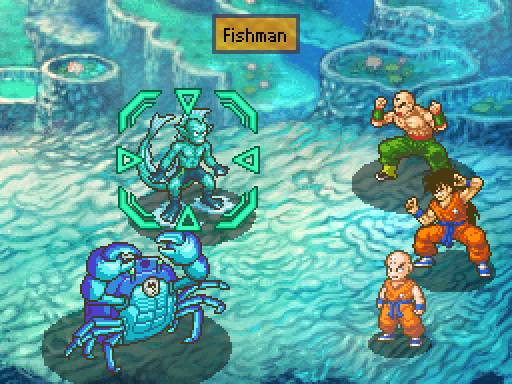
600 HP on these guys, but you can beat 'em up however you'd like. They're also resistant to Ice.
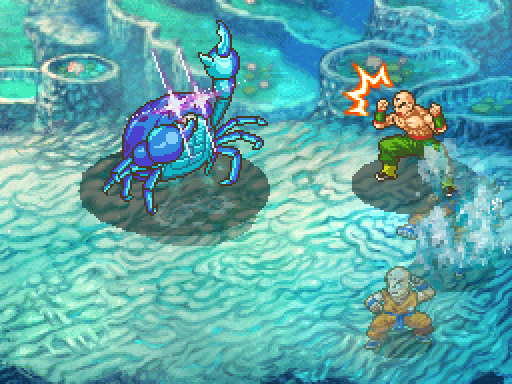
They've got some annoying attacks, too.
While it appears they're merely just throwing up on someone, there's actually something far more devious at work.
This attack can inflict Freeze on a character, which is like a dickier version of Paralysis. In addition to taking up their turn, the afflicted will also take a bit of damage each round, replacing their regular healing routine.
Crabs, in addition to have glowing eyes, have another one of those attacks that hit multiple times, but for small amounts of damage each time.
In this one, they drop a ton of crabs on someone. I was going to make a pubic lice joke here.
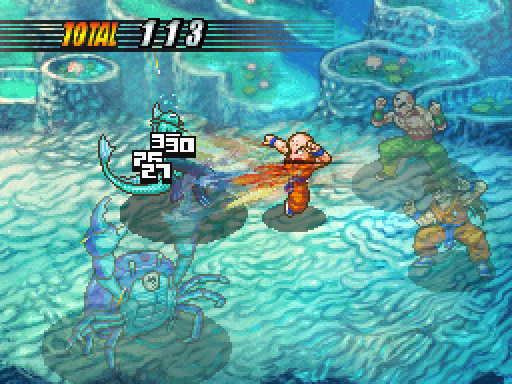
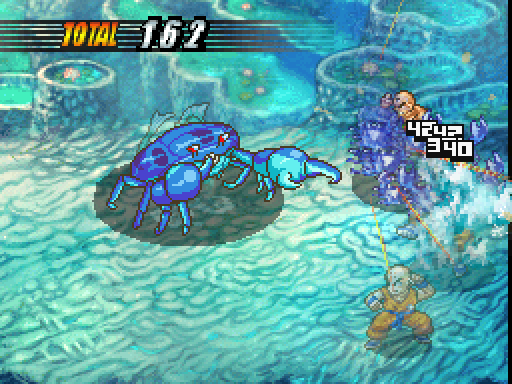
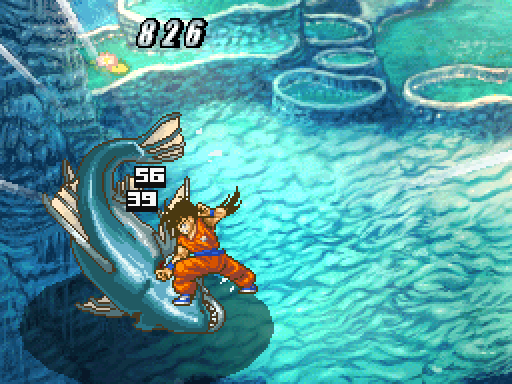
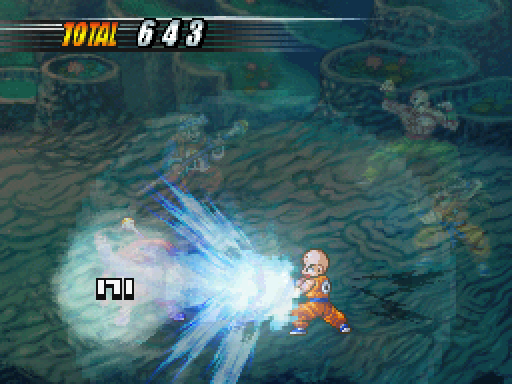
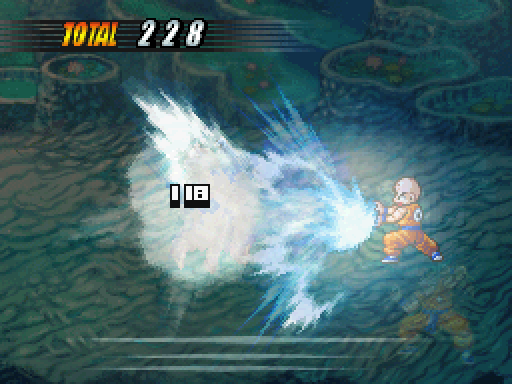
So, Tien's Absorb Bracelet, combined with the natural healing, will help to restore about half the HP it takes to fire off a Tri-Beam. I'm not a big fan of attacks that absorb HP to do damage in the first place, but being able to automatically restore half the cost definitely makes this more attractive. Plus, using 40 HP to inflict ten times that amount in damage isn't too bad of a trade.
Hell, looking at this shot, Tien restored 57 of the 80 HP it took him to fire the Tri-Beam, so it's becoming even more cost effective to use. I'm not sure if Tien will ever remove that Bracelet.
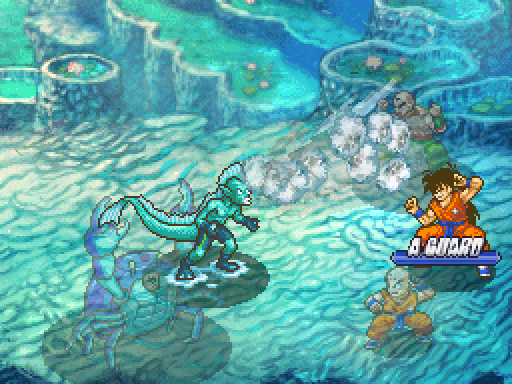
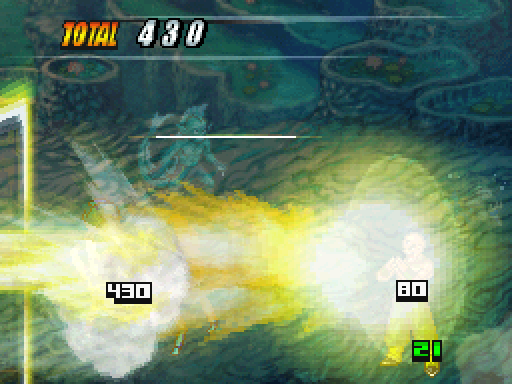
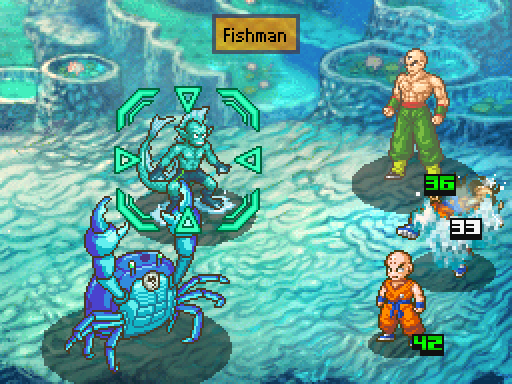
Fishmen can also make Guile proud.
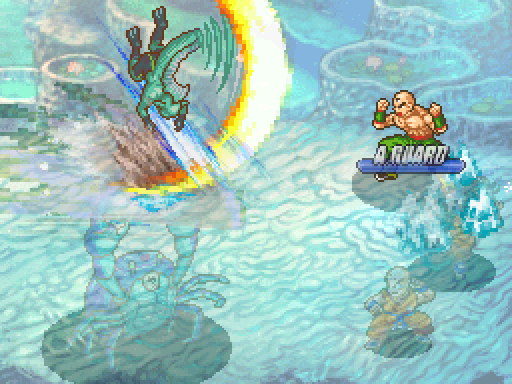
His Flashkick, however, also shoots out a shockwave.
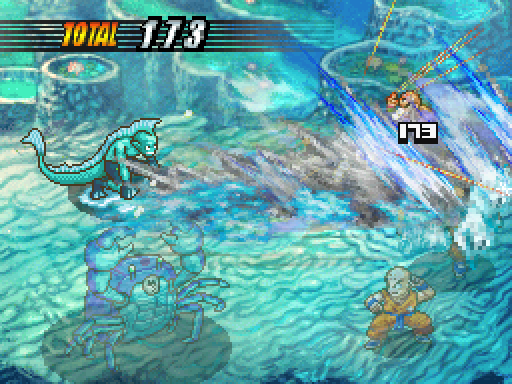
Which, good Lord, does some decent damage. I'd reckon that Tien is my beefiest dude at the moment, not only in terms of HP, but also in Defense. Not that Yamcha or Krillin would take a ton more than this, granted, but it'd be closer to, if not over, 200 damage.
Fishmen also have a slide kick.
It's not quite as effective as the Point Man's, but still does respectable damage.

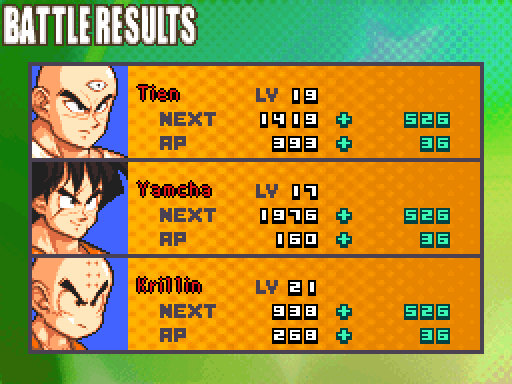
We get a fair bit of EXP, too.
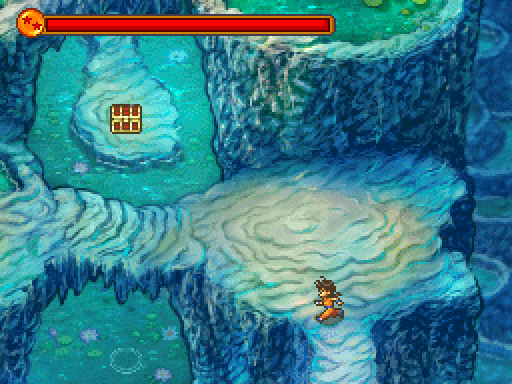
This leads to a dead end, but you can see the chest up there, just as you would if you'd gone the other way.

This dungeon has a few different paths to get to the treasure chests.

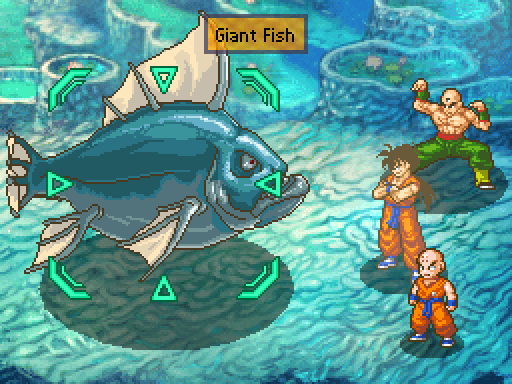
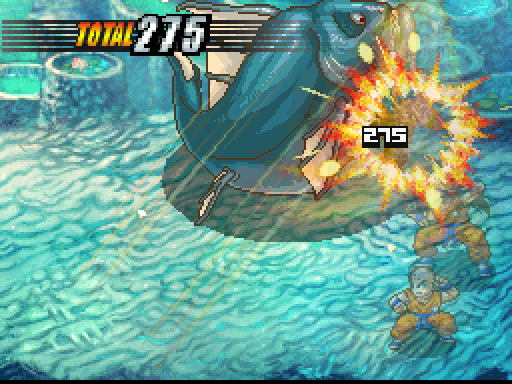
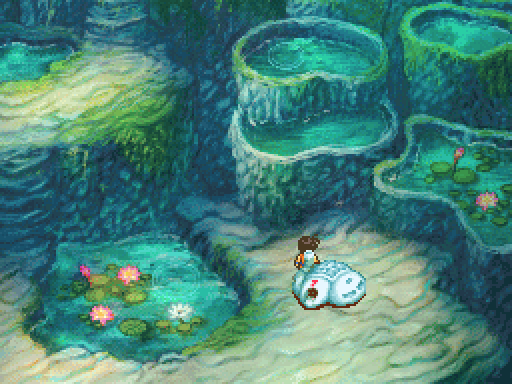
There are also some big-ass fish in here, but they're not that big of dicks.
They do have 1,480 HP, though, so it'll take a minute to drop 'em.
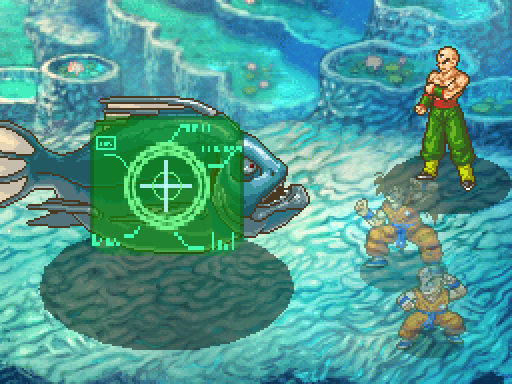
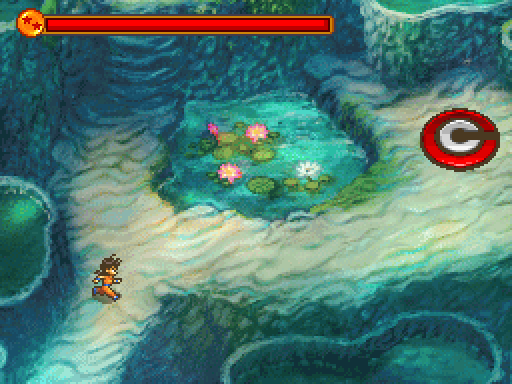
Oh, hey, guess what I remembered to equip as one of my Capsules?
I have no fucking idea what the hell the power level in the upper corner actually measures, but I guess it's there for flavor. Like most power levels, come to think of it.
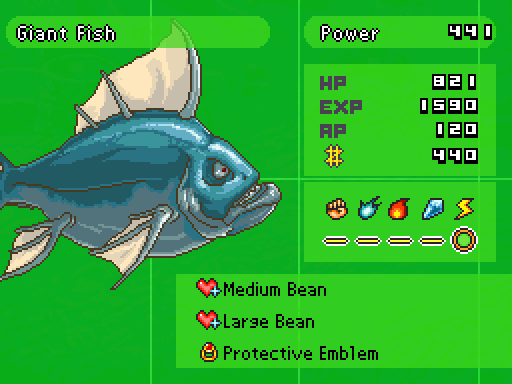
That Protective Emblem he can drop is an accessory that increases Defense power by 10%.
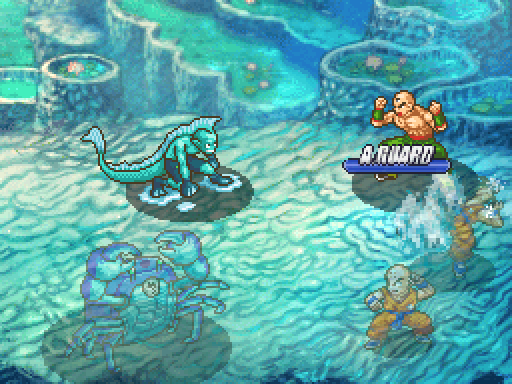
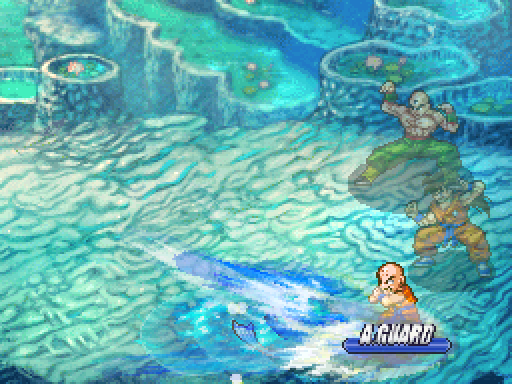
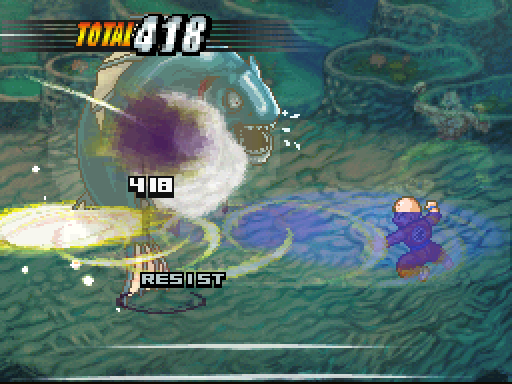
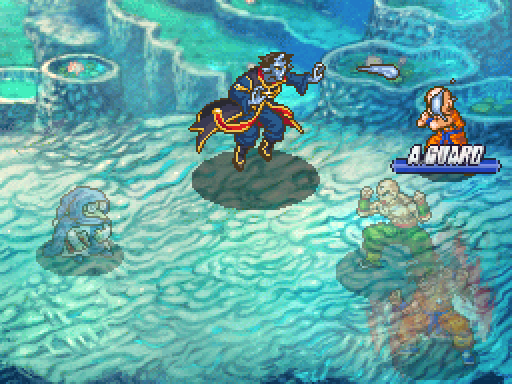
They have a few different attacks, but I've seen this one the most. I dislike that you can't have more than one person pull off their Advance Guard; you've got to prioritize who doesn't get their ass kicked as hard, which can get tricky when everyone is on the ropes.
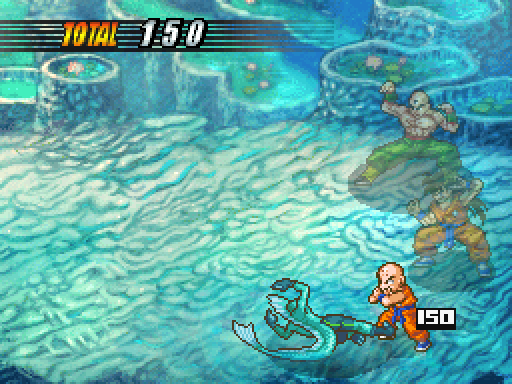
He can also bash into someone for a good bit of damage. I missed the Guard with Tien here, so this is a lot higher than it would have been with that, but that is still a scary amount of damage.
Since it's a big enemy, I decide to go for the big finish.
Yamcha is my hardest hitting physical attacker at the moment. To give you an idea of how Yamcha is going to turn out, by the end, he'll be hitting just as hard, if not harder, than Goku.
However, by dumping all of his points into Power, he's falling behind on the Skill curve, which helps with accuracy and Ki damage attacks, so he's really only good at punching things. There will be accessories later on that will fix his accuracy issues, though, so it'll wind up being A-OK.
Also, he has the Wolf Fang Fist, which hits enough times that it's entirely worth it.
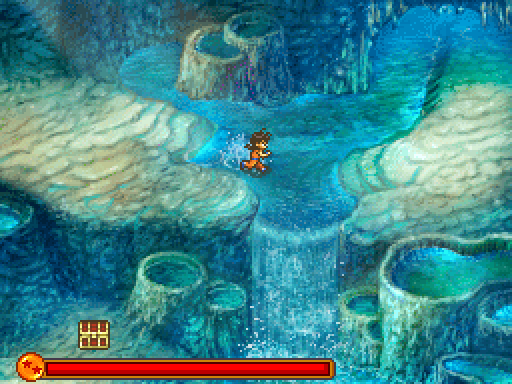
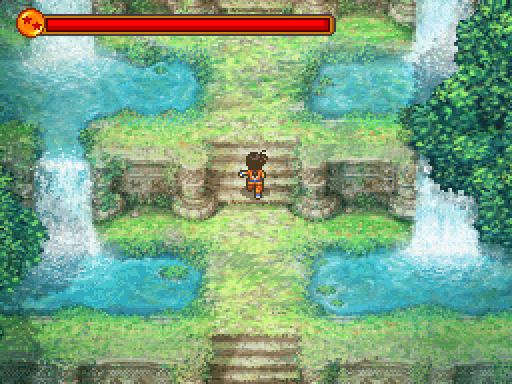
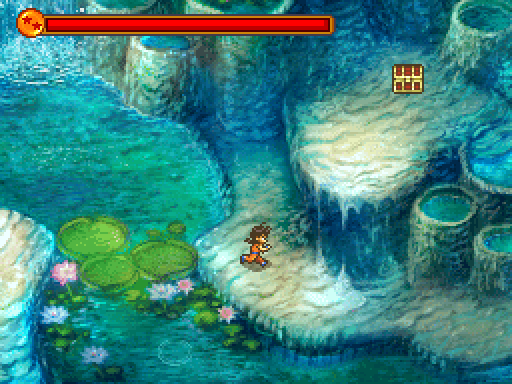
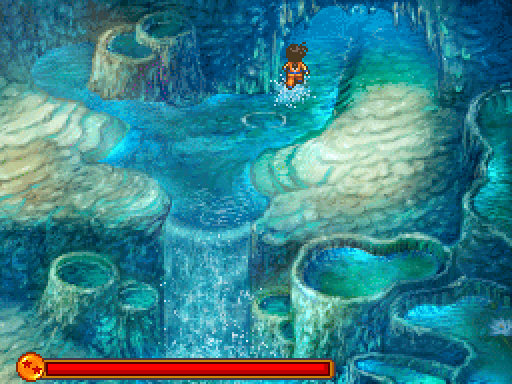
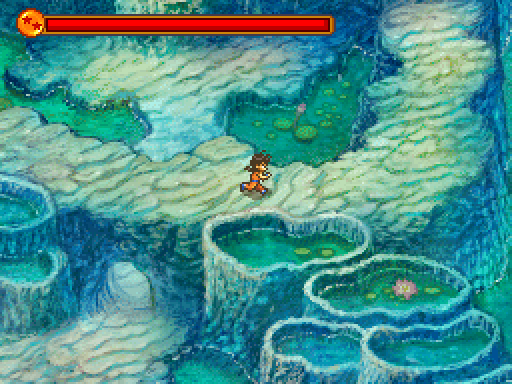
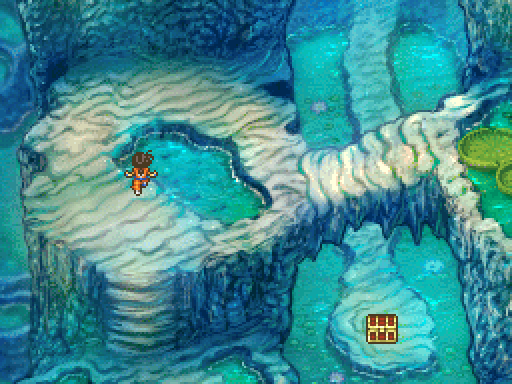
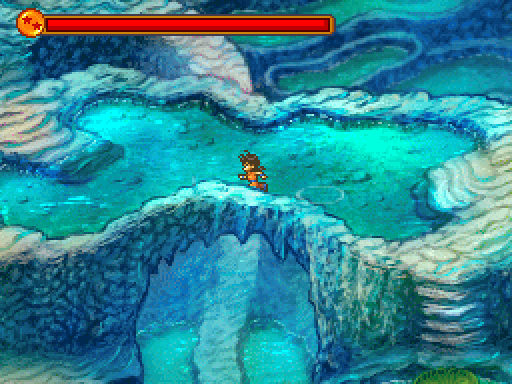
To snag this chest, we've gotta drop down this waterfall.
It's nothing incredible, but it could come in handy in the future. Plus, all it costs is a bit of the Rage Gauge, and that shit is easy to get back. Especially when I get some points into the Rage Gauge increase ability; when that is up a few levels, Yamcha can basically max out the Gauge in a single WFF, while Krillin could do better than half, if not three-quarters, of it with his physical combo skill.

We then have to jump down and head up and around again to get back to where we were.

On the way, I encounter another new enemy.
I can't guarantee I'll get scans for every new enemy we encounter, but I'll certainly try.
Also, it doesn't activate at the beginning of a round. When you use the Scouter, you select it with whichever character and it is used on their turn; if I wanted it right off the bat, I'd have Krillin use it, as he's the fastest of the group.
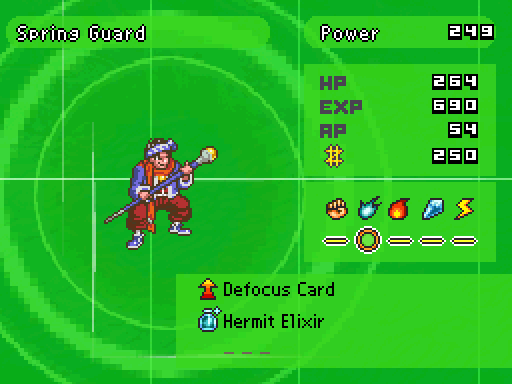
These guys don't like Ki attacks, by the way. They're actually weak to them! A circle below the element (physical, Ki, fire, ice or electricity, indicates a weakness, by the by. A triangle indicates a resistance. A Defocus Card will reduce an enemy's accuracy, not that I'd ever remember to use it if I had it.
Though, in response, they can light you on fire. It's just a single hit, however.

Tien, being the kind of guy who doesn't like being on fire, responds by kicking him to death.
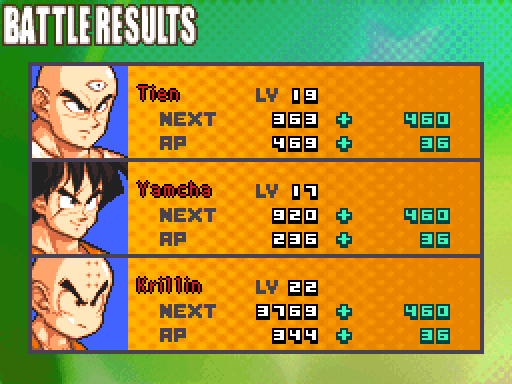
EXP for an area is fairly consistent, with only a few deviations here and there. I don't see much wrong with that.
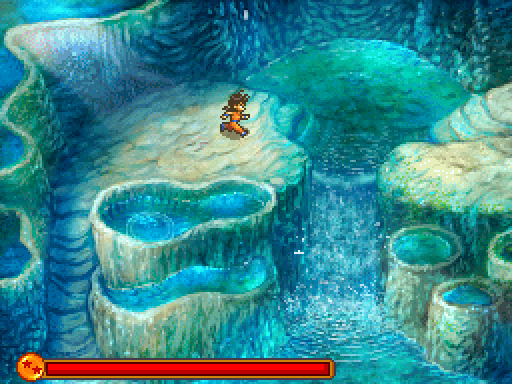
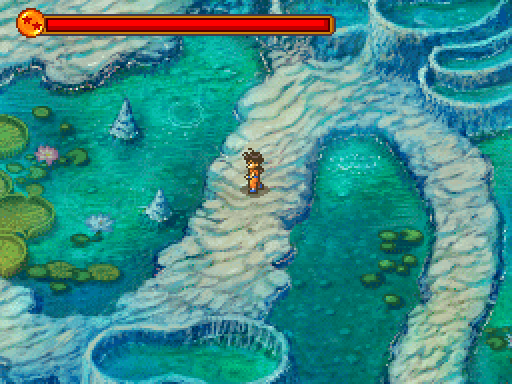
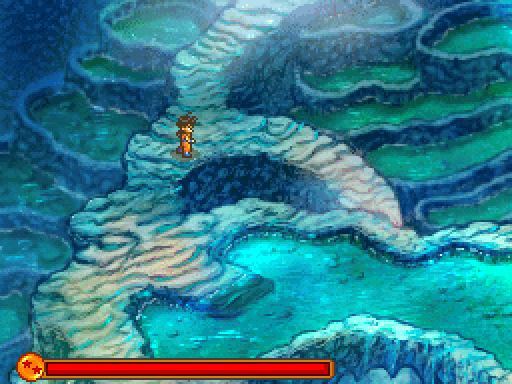
This path is one of those that is hidden, but right under your nose. It might not occur to you to check it until you move to this screen.
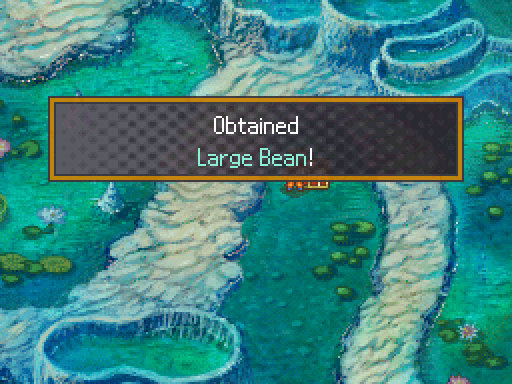
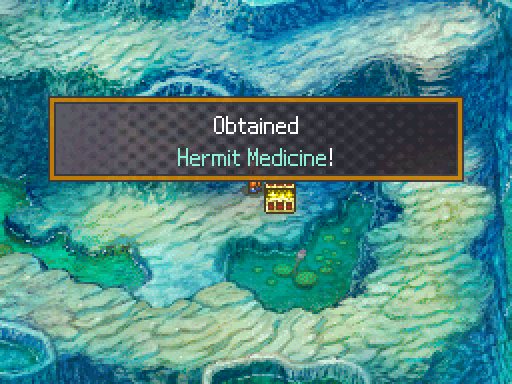
It leads to a Large Bean, which is still pretty much a full heal for anyone.
I think after the end of this dungeon, Tien has around 830 HP, but I'm pretty much still counting a Large Bean as a full heal for him.
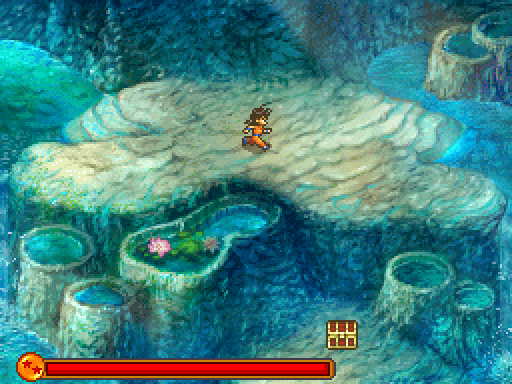
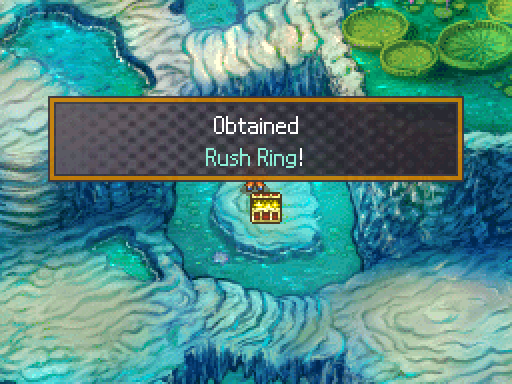
Hey, that chest is easy enough to reach.
You might get it by going down that path first; it's kind of a toss up.
So, uh, commentary.
Oh! Another chest! Hopefully they'll be distracted by wondering what's in there instead of considering my lack of commentary!
I remember this dungeon differently as it really is. I always remember it being a huge pain in the ass, but it isn't too bad, not really.
The enemies aren't bad, it's not very long, it's kind of fun to look at, and there's nothing offensive about finding the treasures in here.
For some reason, in my mind, I always think of it as a pain in the ass on par with the Lodestone Cavern, in FF4. But it's nowhere near that.
Nor does it have a dumbass gimmick associated with it.
This is kind of an interesting accessory. It'll take a small amount of Ki when using a physical attack, but in exchange for practically guaranteeing a Chain Attack to occur.
I've not played with it very much, but I throw it on Yamcha for now. Maybe it'll wind up being incredibly useful. Or possibly not. We'll find out.

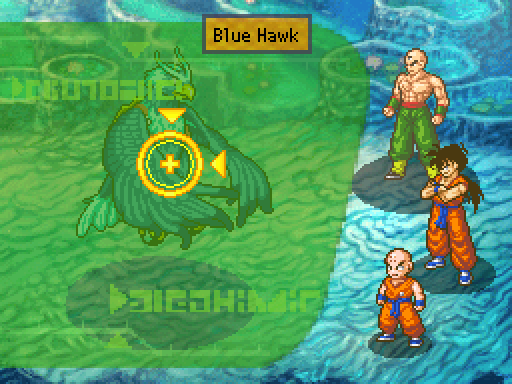
I'd reckon this fellow is probably the most dangerous regular enemy in the dungeon.
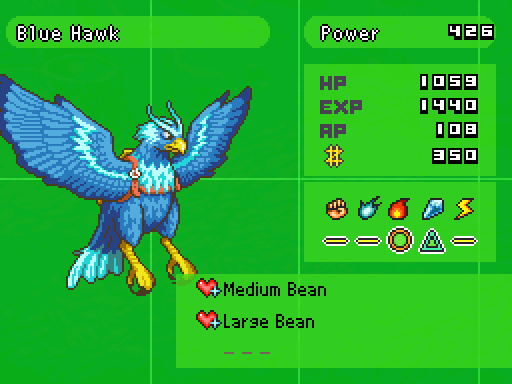
Weak to Fire, though, but we don't have access to that element. And their drops are less than stellar, but nothing I'd complain if I got. Not that I will, since I'm still grinding carrots.
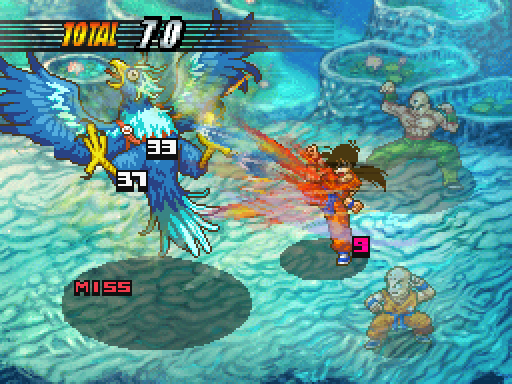

Well, it took 9 Ki, and missed. If it had hit, Yamcha would probably have done around 150 to 175 damage.
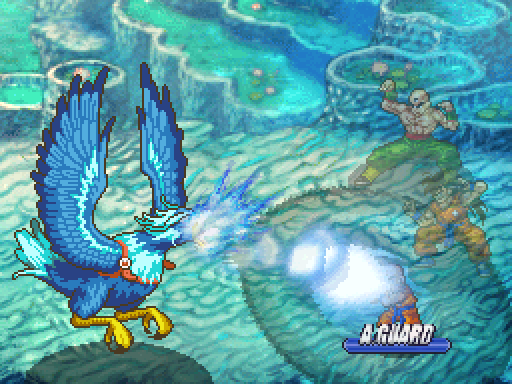
Like certain DBZ villains, the Blue Hawk can fire a mouth blast at somebody for good damage.
He can also hit the entire party at once.

If you're playing along, expect a few levels out of each area you go through.
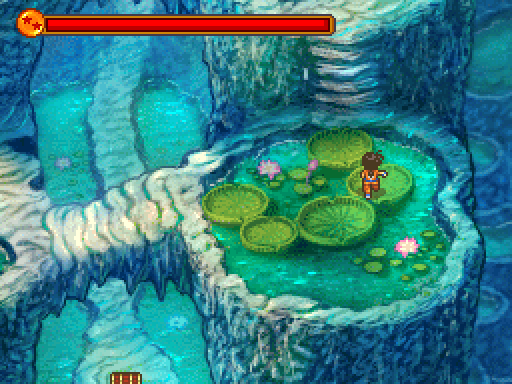
This is also the last bit of area for this dungeon. We're at the boss fight!
And, as always, there is a save point before the boss.
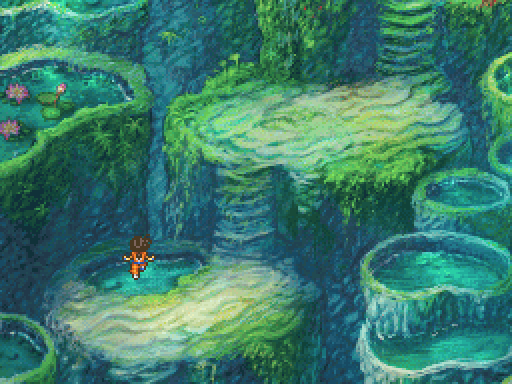
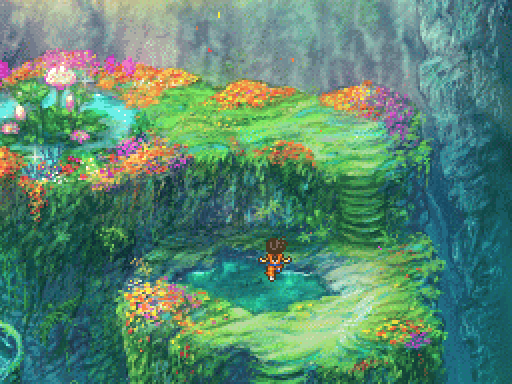
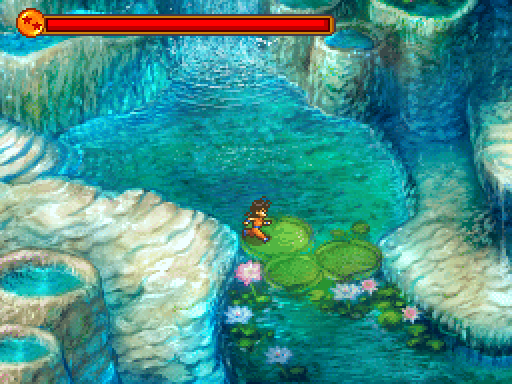
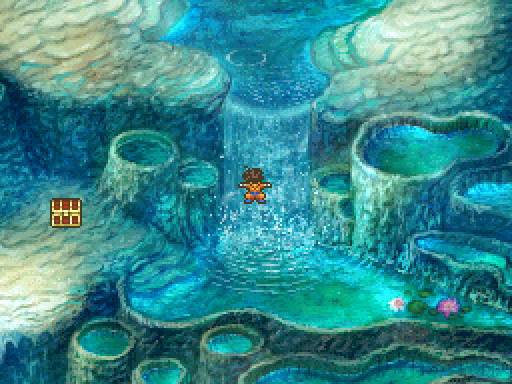
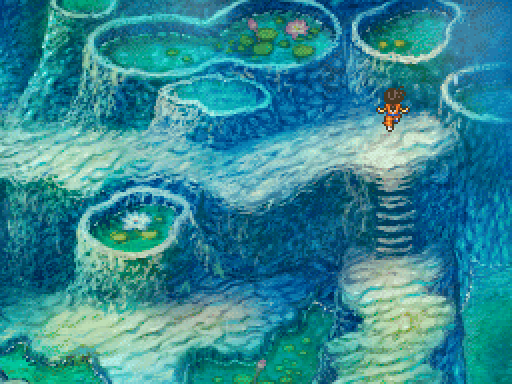
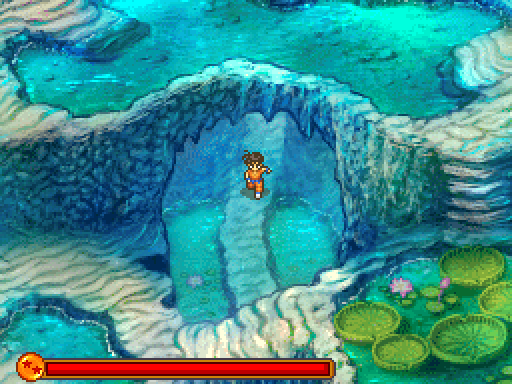
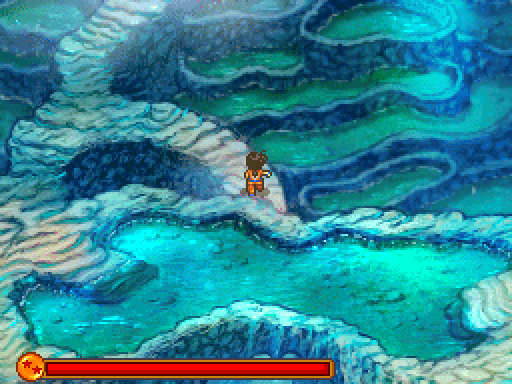
There's a series of jumps to make it to where the water is located.

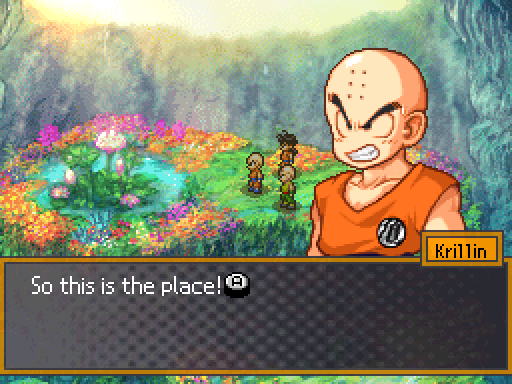
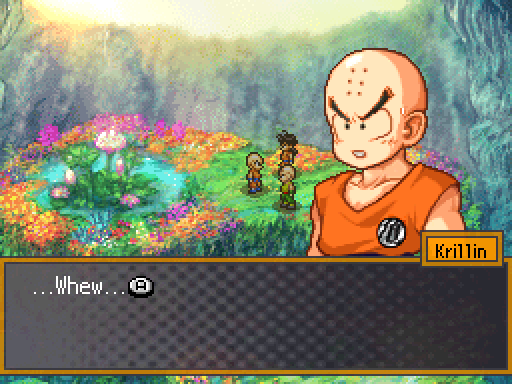
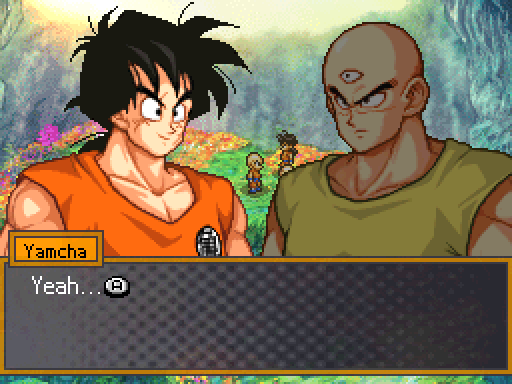
In case you'd forgotten, there are little emotion bubbles in pretty much every scene.
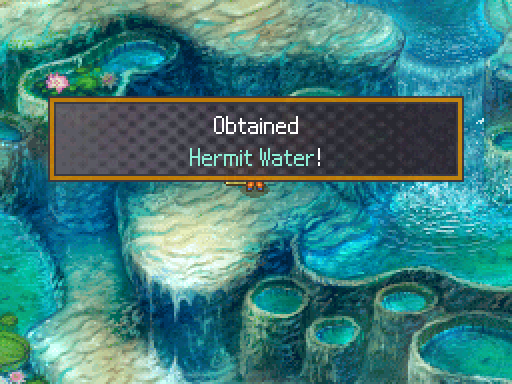
 : So we just need to take the water from here, right? Let's get this water back and get to training!
 .png) : Right.
: Right. 
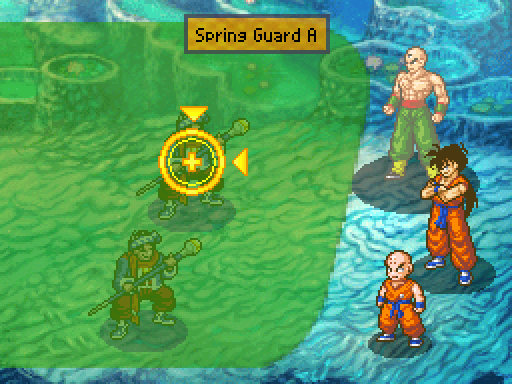
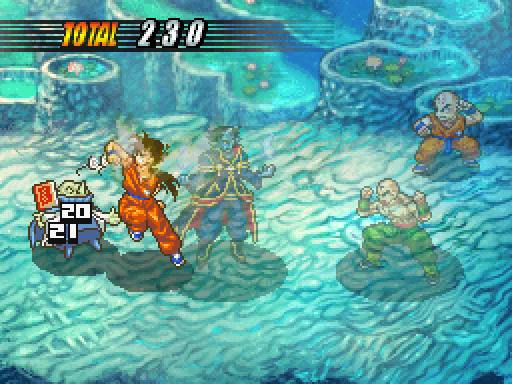
Immediately after that gripping dialog, this little feller hops out of the spring.
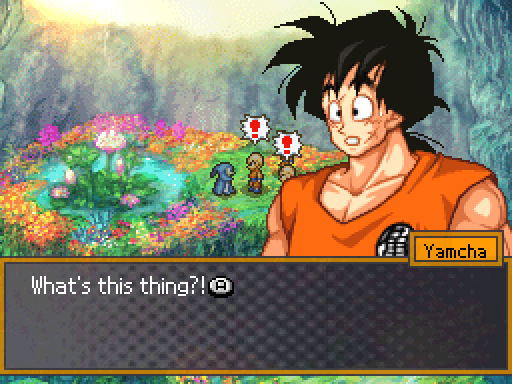
A little douche with no name or portrait, but a speaking role.
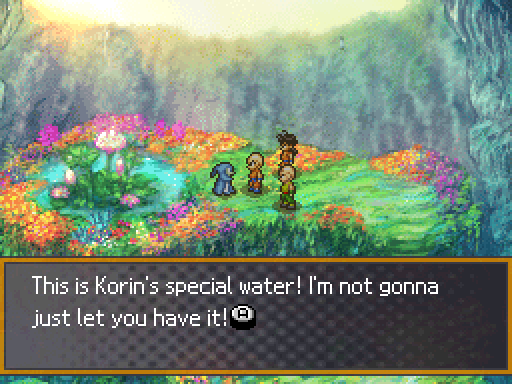
He's also the guardian around these parts. Come to think of it, I'm pretty sure any and every important thing in the Dragon Ball world has a guardian of some sort.
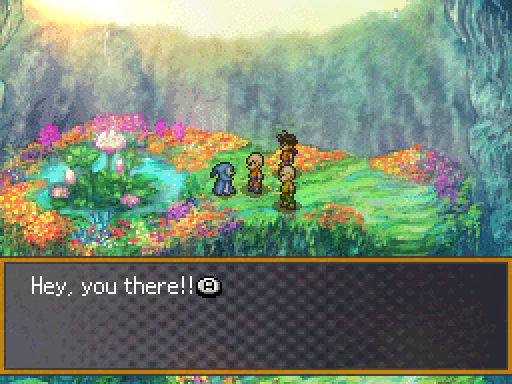
 : Korin himself asked us to come and get the water for him!
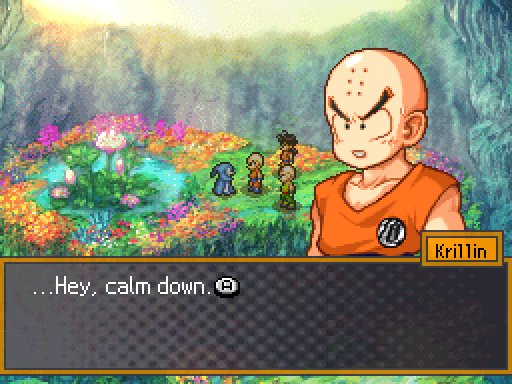
  : What's that?! Lying won't get you anywhere!!
 And just like that, it's time to rock!
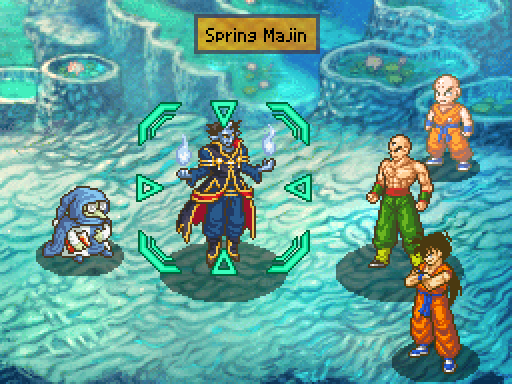
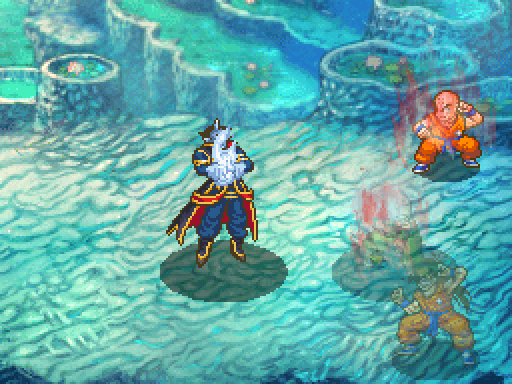
He also picked up a Majin at some point between talking shit and the fight beginning.
Oddly enough, I don't have Scouter data on these two, so it's gone forever. Oh well!


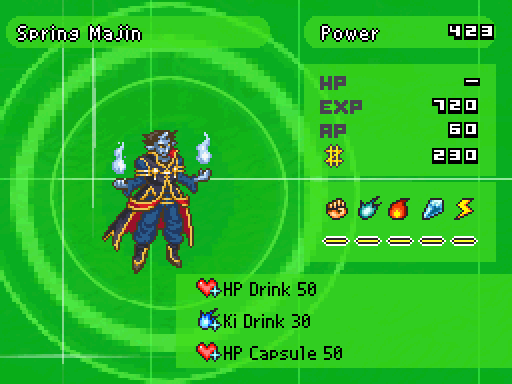
Personally, I like taking down the Guardian first. He's got a little less HP, with 3300 compared to the Majin's 3600, and he can inflict Stun as well as do some healing stuff.

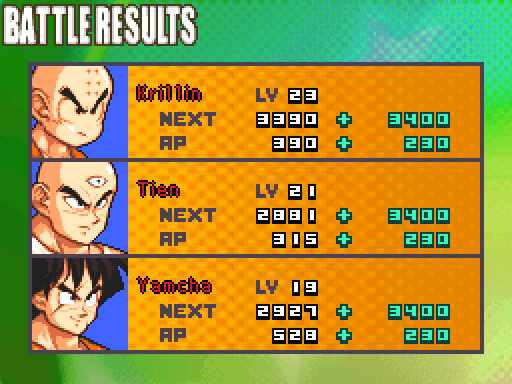
At first, I didn't think I had scanned these two, but looking through my footage, I just didn't screenshot it. Let's get those posted, shall we?
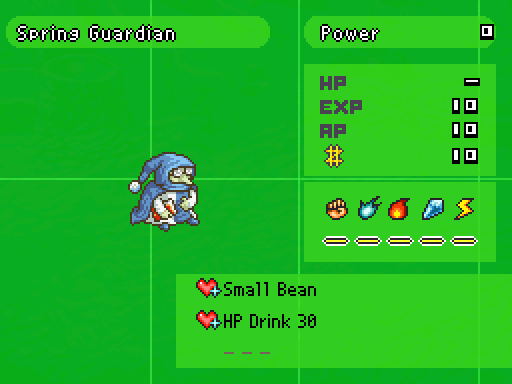
I guess they hide the true EXP and AP values here. I'm not sure why; the HP I can kind of get, but even so, that's kind of dumb. As is the power level of 0.
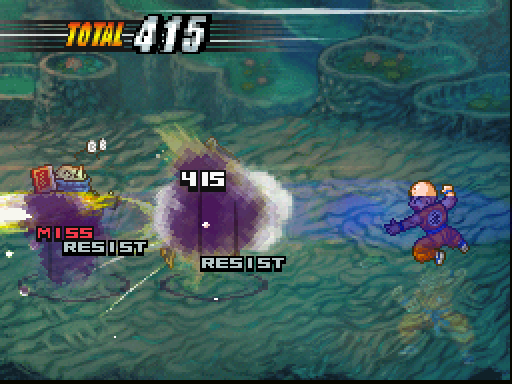
The Majin can shoot some loogies at you with his hands, which can put someone to sleep. I'm not sure the logic on that, but whatever.
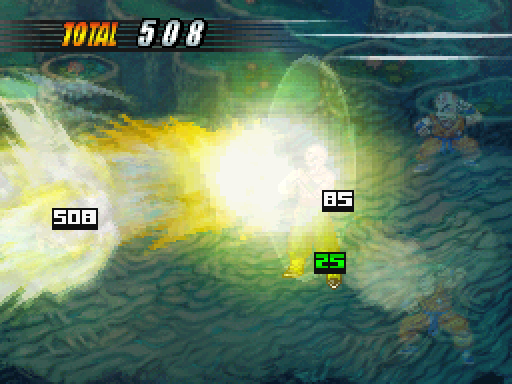
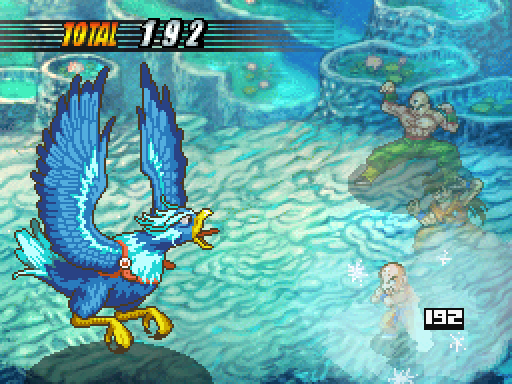
I dogpiled the Guardian proper with the best I have, and he didn't last long. He's actually finished off with a Multi-Form Attack.
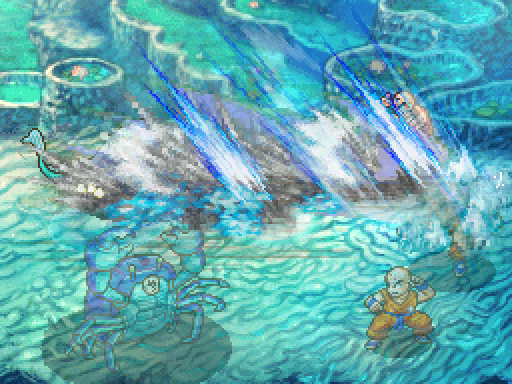
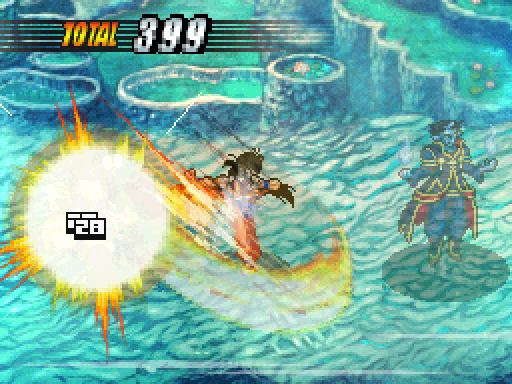
This guy also has a version of Unlimited Blade Works, but using icicles instead.

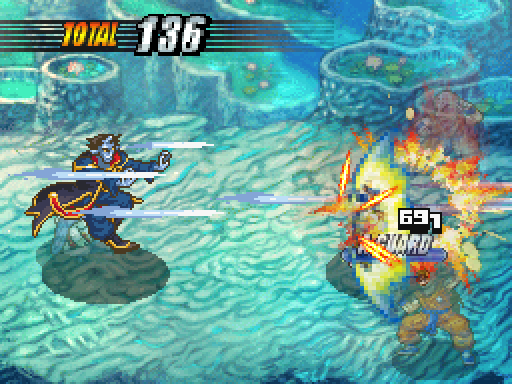
In addition to being able to summon a blue pillar of flame that deals pretty good damage. That 210 is through a Guard, too, so this could deal upward of 300 damage if you're not careful.
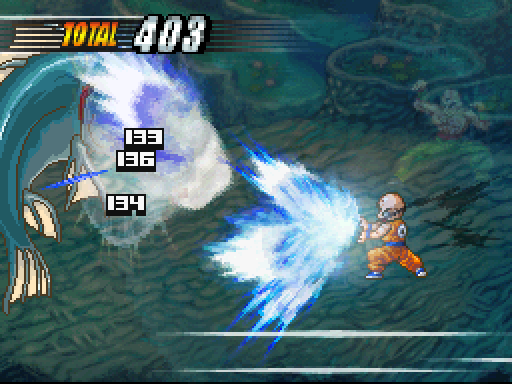
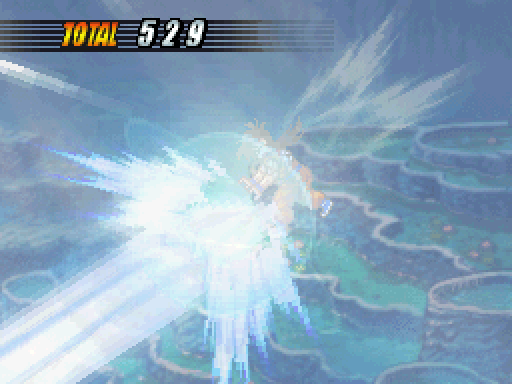
Krillin gets the honor of finishing him off with a Kamehameha.
I don't know why the Scouter data for these two is so weird. Maybe they just want to surprise you. Or something. Or else Scouters are actually pieces of shit, but are relied on because their main operators are morons.
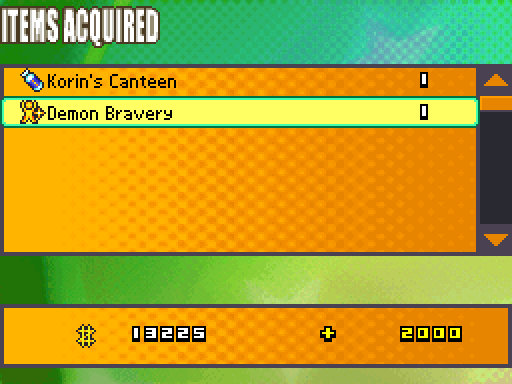
The Canteen here increases the recovery of our Ki-Blast meter (the on-screen one when we're on the field), while the Demon Bravery will make someone invincible until their next turn.
 : How could Korin not tell us ahead of time about that weird thing being here? Would've been nice to know...
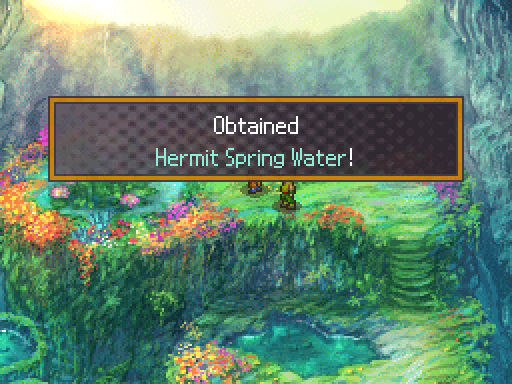
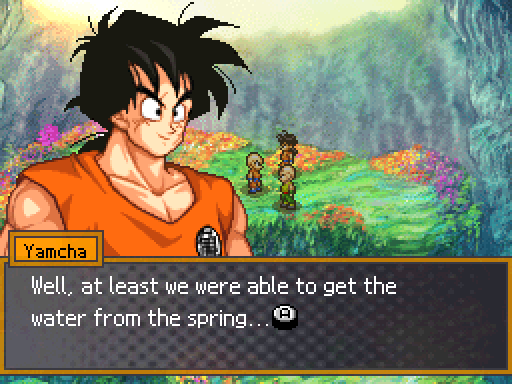
It wasn't too difficult, Yamcha. Even though your ass got dropped.
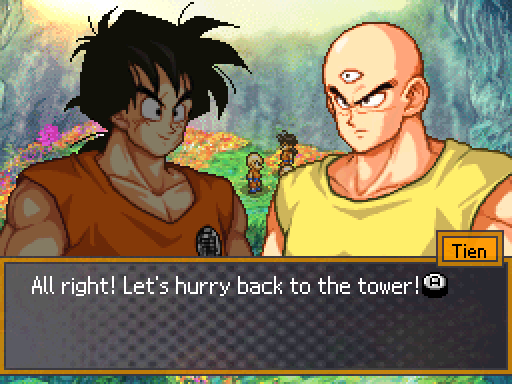
Yeah, 'bout that, Tien...
We're actually going to hit a save point and be done with this update.
Just like so!
But next time, let's deliver that water and see what happens next. Stay tuned!