Part 2: Forest Foray.
Update 02: Forest Foray.

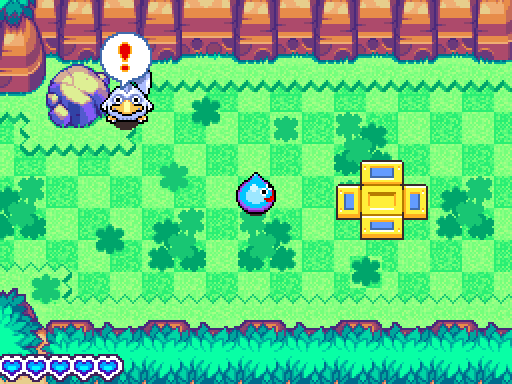
Now that we’re done with the tutorial segment, we can begin exploring Forewood Forest in earnest. We still won’t be able to explore all of it yet, but there’s much more to see and do. But first, we never actually opened our letter from Mother Glooperior.

 Just come to the church whenever you wish. The Goddess will always welcome you. I’d like you to have this, too. I hope it will keep you safe.
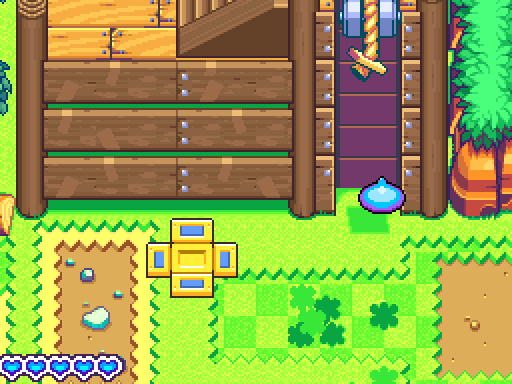
Chests are always handy to have. I’ll save looking at the rest of the items we collect and their descriptions for a later date, when they actually become more relevant.
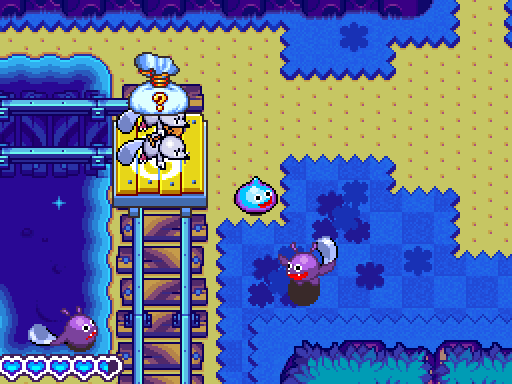
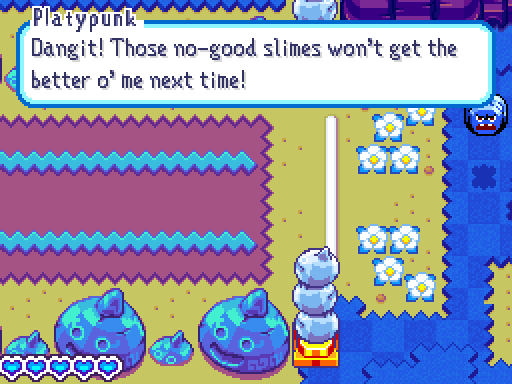
Ah, our very first enemy! The Platypunk has 3HP and drops 12 Gold if killed, with a 3/16 (18.75%) chance to drop a lucky bag. Almost everything has this same 3/16 chance for a lucky bag, but the contents differ depending on the area and the enemy.
Platypunks are not the most threatening enemies in the world, especially since their attack leaves them very vulnerable afterward. It would be an easy kill… But there’s actually a reason to avoid killing enemies in this game. You see, I wasn’t joking when I said that holding someone over your head renders them powerless. Rocket is perfectly capable of catching and carrying around his foes indefinitely.

Enemies can then be thrown onto the railway carts and sent back to town, where they will be reformed into good hard-working Boingburgians. (Boingburgers?) There are rewards for collecting 30, 50 and 100 of each enemy; the latter two are only cosmetic though, so feel free to stop at 30. (I’ll be farming up enemies off-screen, of course.) We won't be seeing the rewards for a while yet, so don't worry too much about it.
Oh, and this is the Jailcat. It also has 3HP and drops 12 Gold, but its pouncing and slashing are at least more threatening than the Platypunk’s attack. This move is telegraphed by the Jailcat hopping in place though, so you still shouldn’t have much trouble with them.
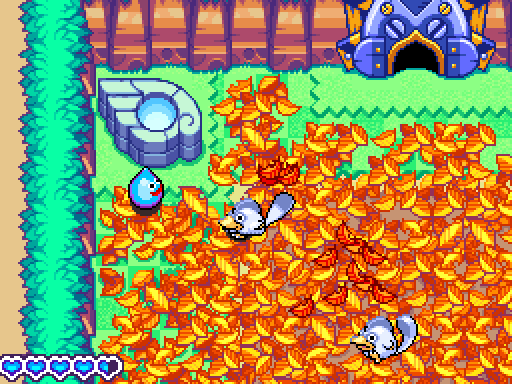
The Platypunk is actually the least common enemy in this part of the Forewood Forest, so some farming ensues. Afterward, we can explore the path that Babbo blocked off last time. The barrier has helpfully disappeared, so let’s waltz on in.

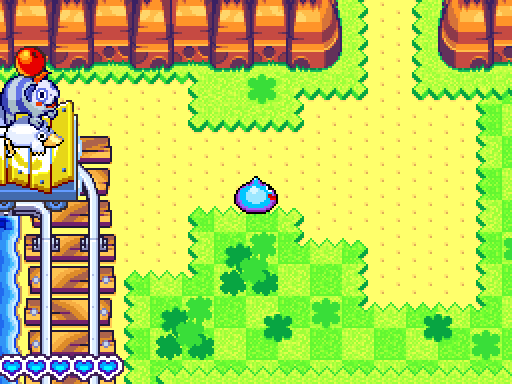
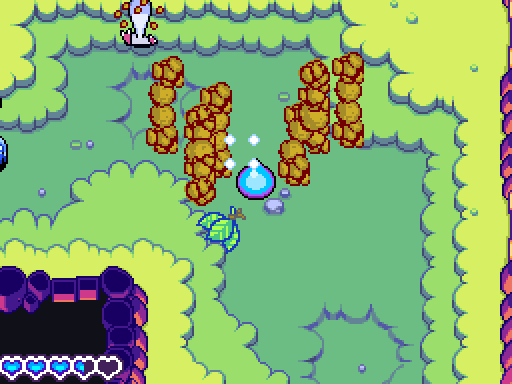
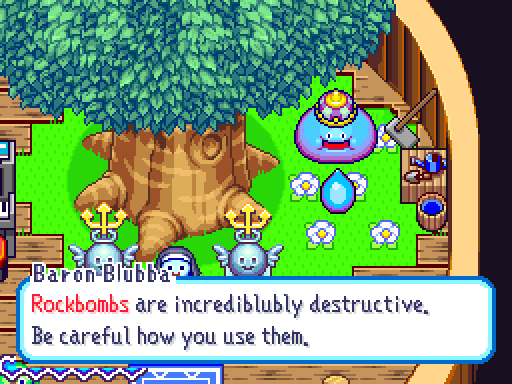
If there just happens to be a blubby big rock in the way, a rockbomb should get rid of it.
The camera helpfully pans over to said rockbomb, just in case you can’t put two and two together. Oh, and despite being a monster, the rockbomb is treated as an item in this game.
Other new sights include this catnip, which Jailcats adore. Those silly cats are more interested in running around near catnip than they are in attacking you. A bit of a niche item, but it has its uses.
The Mischievous Mole is hardy but poor, having a superior 4 HP but only dropping a measly 5 Gold. Their shovel-smack is basically the same as the Jailcat’s pounce, so you shouldn’t need to worry about this one.
At any rate, using the rockbomb is fairly straightforward. Just be aware that it explodes whenever it hits the ground, so you only have the one chance to catch it. Take care not to blow yourself up.

 Now blubby up and carry me back to town, Rocket!
Despite being a little bit demanding, Baron Blubba is one of my favourite slimehabitants of Boingburg. So let’s nip back and throw him onto the Trans-Slimenian.

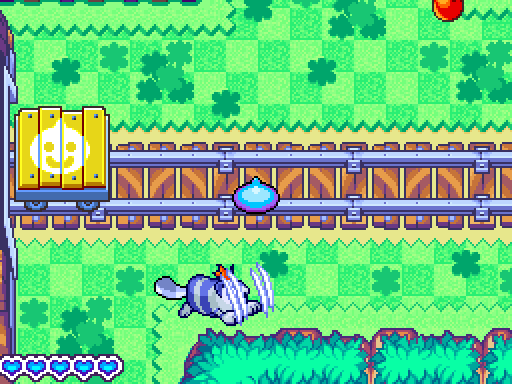
Pictured: Why catnip can be hilarious. Also, enemies who get the way of railway carts will all get flattened like that. Rocket will too, but only if he get squashed between it and its exit point.
 Any longer and my blubly round bottom would have become all square!
Nifty. Alright, back to the exploration!
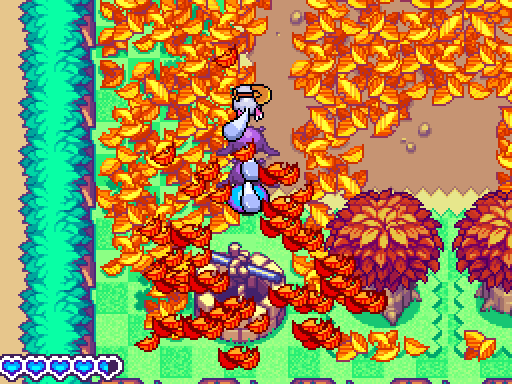
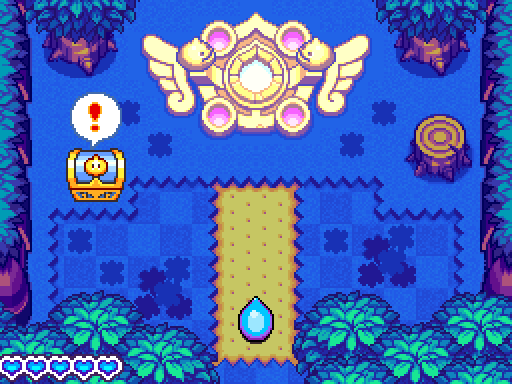
Ah yes, this is why we can’t explore the rest of Forewood Forest. We have no way to get this rope down, so we can only continue eastward instead of moving upward.

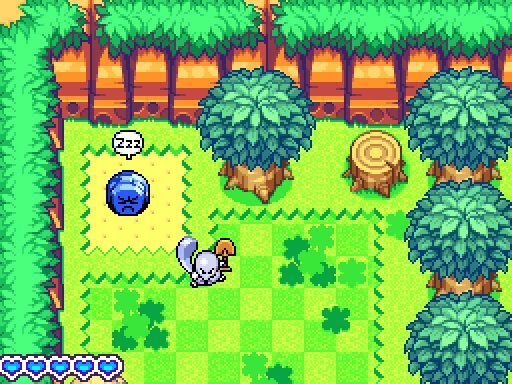
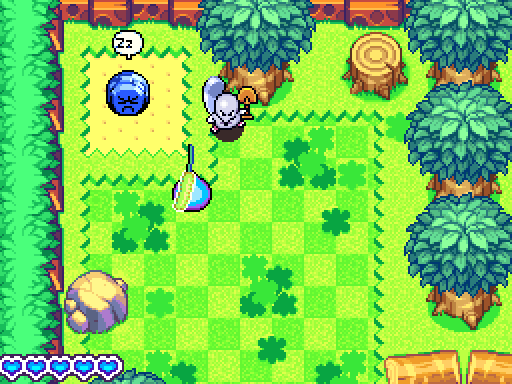
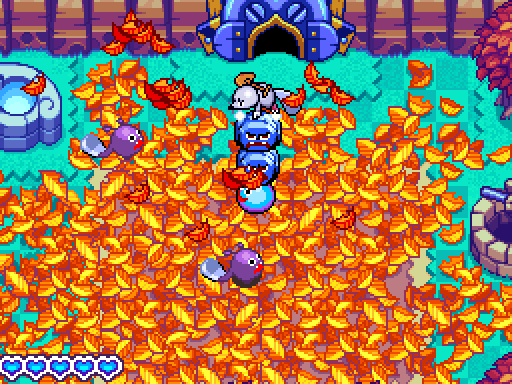
One of the two moles on the next screen is always asleep, though which one it is changes. Oh, and the leaves will be shifted by an Elasto Blast just like in our game of Sweepstakes, occasionally revealing a few coins.
Of course, the road to progress isn’t terribly well hidden.
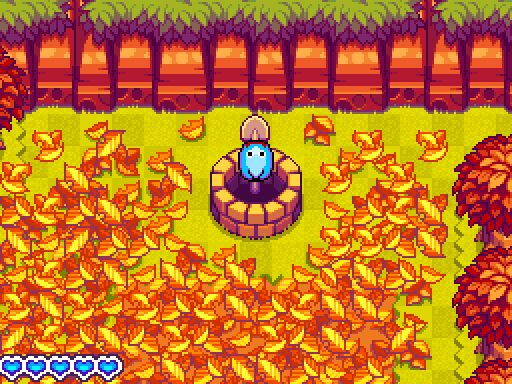
As the evening begins to settle in, let’s head underground and check out what lies beneath the well.

Whee~!


The gimmick of this particular area is that it’s full of moles. And seeing as we’re somewhere they can burrow about more easily, they’re a bit more sneaky about attacking Rocket.
They’re still a bit slow about it, even if the idea is sound.

After one of their sneak attacks manages to hit a rockbomb and launch it at Rocket’s face, I decide to exact a bit of retribution. Here we see a larger healing item, and probably the only lucky bag I’ll be getting for a long time. I suppose the former would be a strong medicine, given how DQ’s naming conventions tend to work.
While taking the bag back, nighttime sets in and a whole hoard of Dracky come out to play. With only 2 HP (and 8 Gold), you have to make sure to catch one the first time you blast them. They’re tied with one other monster for having the lowest health, and only appear here in Forewood Forest.

After yet more mucking about, let’s leave this cave and head above ground again.
There are actually three things of import on this screen, but let’s start with the Platypunk door above us. As you might guess, the small opening is to prevent us from carrying any items through it.
There’s also a pile of leaves covering up another well…
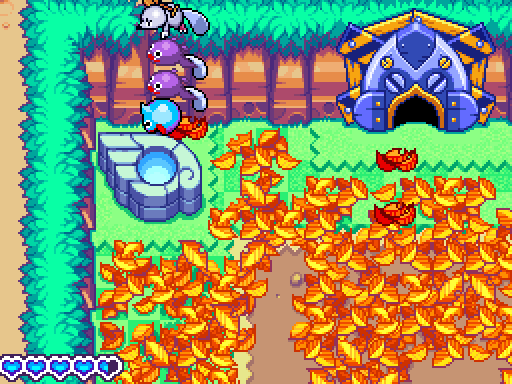
...and this wing-shaped thing. In the Dragon Quest series, Chimera Wings are the traditional warp item, so…
We’ve managed to open a shortcut back to the beginning of Forewood Forest.
Oh, and there’s this set-up in the corner of the first screen too. I trust all you smart folks out there can make an educated guess about how this works.
Now that night has ended, Platypunks roam near their signature door. These two and the one in the first room make up most of the punks in the area we can access, so just nab these ones over and over if you want to work on monster collection early.

Down the other well, we can find the only daytime source of Drackies. The little bloodsuckers are still out for a bite, so watch yourself.

 Hey! Pressing the R button changes the order of what you’re carrying.
There’s also two more slime to rescue around here; this young drake slime offers us a handy little hint. After all, it’s much better to press R to switch between carried items rather than have to throw and recollect some of them.
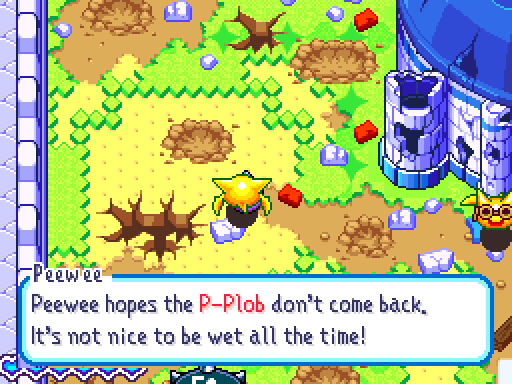
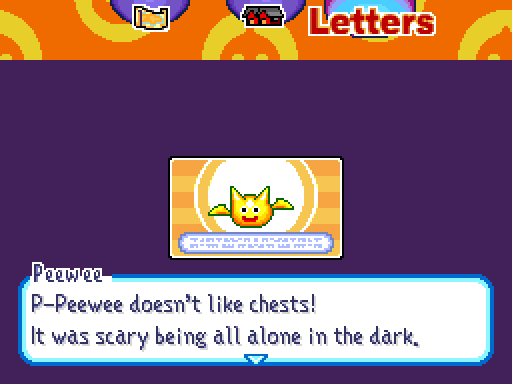 Peewee went wee wee and it was all wet. But don’t tell anyone. It’s a secretion.
 I like this pun mainly because it’s gross. I remember my reaction the first time I saw it being equal parts laughter and “ewwww”. (We also get another rockbomb here.)
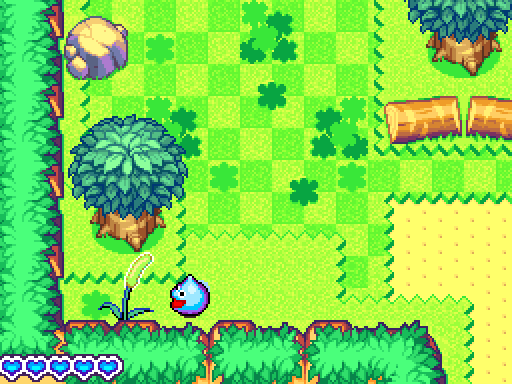
 Go carefububbly around these parts at night. That’s when them drackies come up to the surface to feed.
I’m sure that if you weren’t mucking around like I was, you could get to Bubbilly before night begins. Our new slime friend is a Bubble Slime, who happens to be poisonous in case the colour didn’t tip you off. Bubbilly here would be a significant annoyance in the early-game of a main series entry (particularly II).
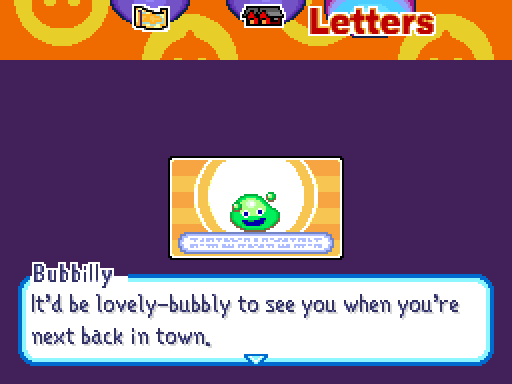 You can use this letter to find out where I am. Yours faithfububbly, Bubbily.
Note, that is not a typo on my part. Bubbilly misspelt his own name. (Another rockbomb joins our collection.)
And on the west side of the Dracky cave, we find another shortcut back to where Babbo set up his barrier. Now that we only have the Platypunk door left to pass through…
Much grinding ensues. Also, a demonstration that carts can hold four things.

...Eh, close enough. I’m sure I’ll find a couple of Platypunks later. All in all, this takes about 15-20 minutes.
As shown, the middle tab on our pause menu is for both items and monsters, collectively titled… ‘Swag’.
 That word has been forever tainted by idiots.
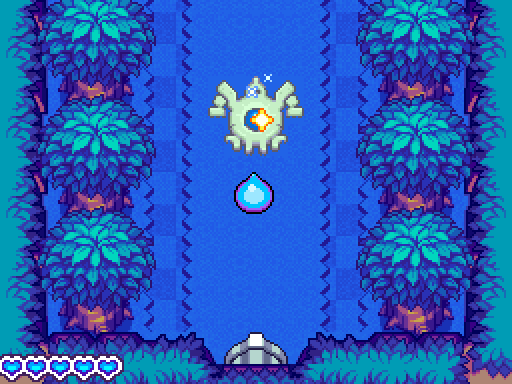
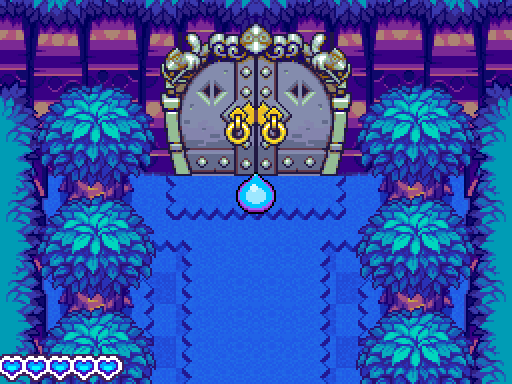
Anyway, heading through the small doorway leads us to a healing panel and a door that just screams ‘upcoming boss fight’. So here, have a video.
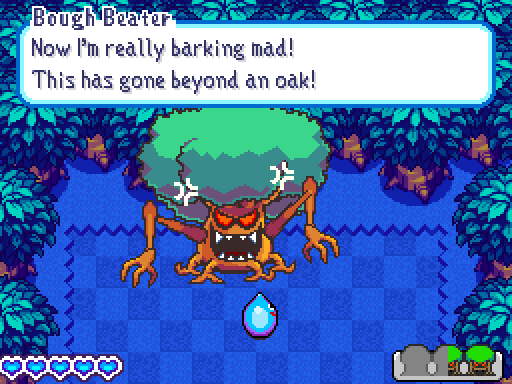
Boss #1: Bough Beater
Are you out of your tree, disturbing me from my sweet dreams like that!? Who dares to rustle the leaves of the great Bough Beater? You won’t get away with this. I’ll soon chop you down to size!

Bough Beater’s fight actually starts off with a free hit, because he won’t attack until you do. Once he starts sweeping his arms, you can see that the bottom portion of the screen is a completely safe zone.
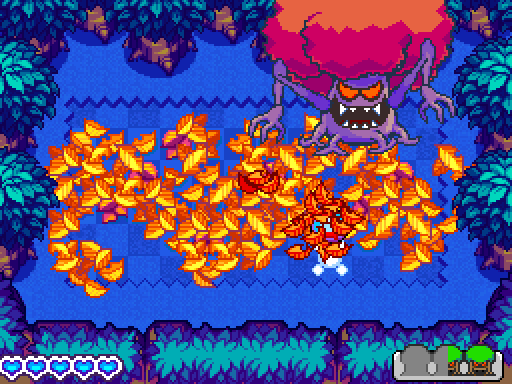
After five hits, this Treeface (yes, that’s what this kind of monster is called) loses his cool and changes colours. Naturally, this second phase comes with a little bit of a switch-up…
Bough Beater will now lunge forward when he attacks, so you no longer have that safe zone to work with. Oh, and he loses his leaves as you hit him, with a change of expression when he’s one hit away from defeat.


And like all good boss fights, this one ends with explosions and a whole bunch of money. Bough Beater coughs up 110G, bringing Rocket’s total up to 454.

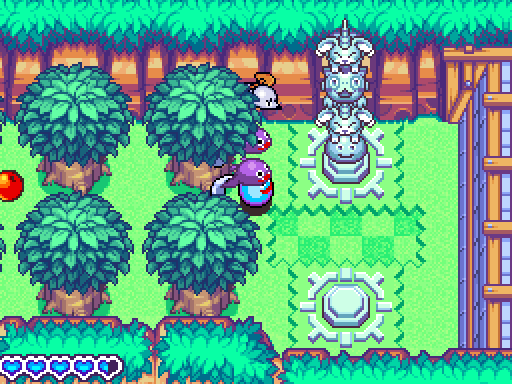
Just beyond the boss arena is a warp point that can send Rocket home, as well as another slime to save. You can actually come back and refight bosses if you desire, with a new set of dialogue for their rematch.

Of course, we have other matters to attend to right now. One quick Elasto Blast, and we’ll have another freed slime.

Ah, it’s our immense and jiggly king himself!

...Rude.
 Well thank you, young man. I’m most grateful. Now, it’s time we went back to the palace.
RUMBLE, SHAKE, BANG

You get three guesses, readers.


 Heh heh! This tank’s the pride o’ the Plob! We like ta call it the Platypanzer.
“Wingertips”. I love this game.
Also, look at Rocket’s expression. We can’t stand up to that monstrosity. Let’s run away, Rocket! Heh heh heh! Ya can’t run away from the Platypanzer, ya goofballs! There’s nowhere to run an’ nowhere to hide! I’m right on your no-tails! Haah… Haah… I’m afraid I’m rather puffed. I just need a little rest.
HRW has done pretty well for a big guy. However, as the Platypanzer rolls up…
 We have to keep running, Rocket! Do you think you could carry me? You just have to follow this road straight and we’ll be back in Boingburg.
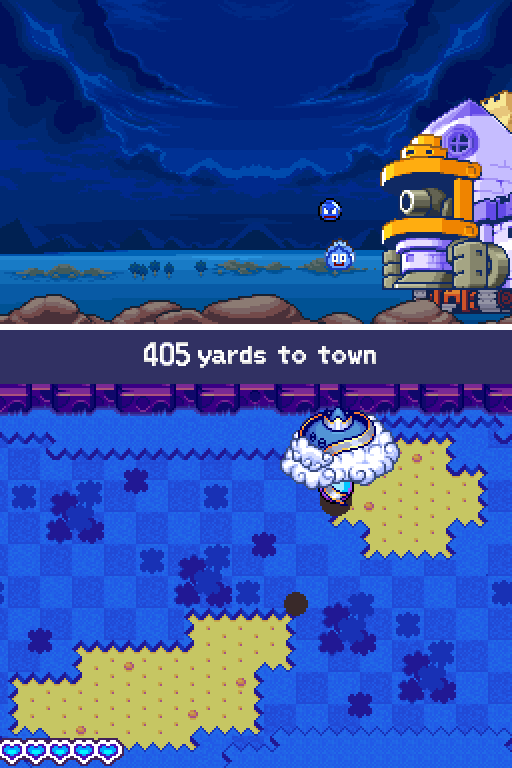
And thus a simple minigame begins. Keep moving left while avoiding the shadows of the falling rockbombs and everything will be hunky-dorey.
There's a video of the chase here if you want to see it in action.
Maybe you should have gotten that tank up above walking speed, bud.
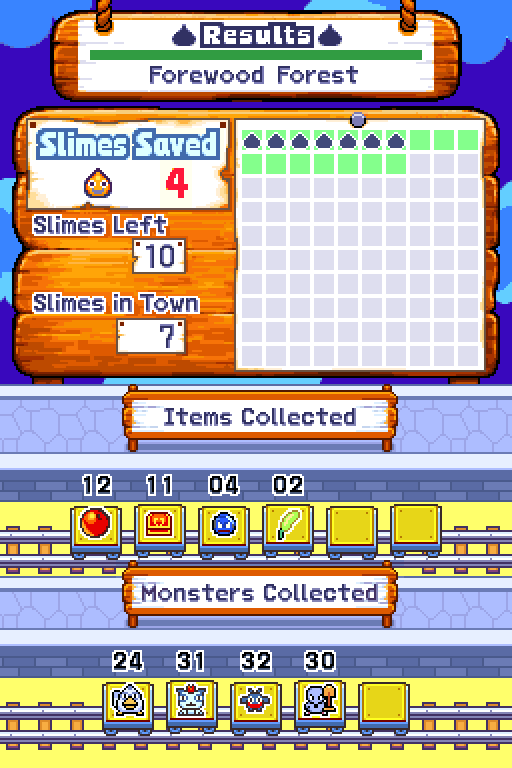

Not a bad haul for our first real outing, I must say. Notice that the lucky bag grid only has sixteen spaces, which does mean that you can only collect that many in one trip.

After another hard day’s slurp and a bit of rest…


 I’d be jolly nervous if I were you! Come along. Let’s go together.
Good morning to you too.
 Also, I see that Platypunk is hard at work…
 We were just discussing the issue of the Plob’s firepower. Their tanks, hmph. Fighting their tanks unarmed would mean certain death. I can only suggest that we all pray to the Goddess for a way out of this predicament.
With all due respect, the Goddess helps those who help themselves, Mother Glooperior.
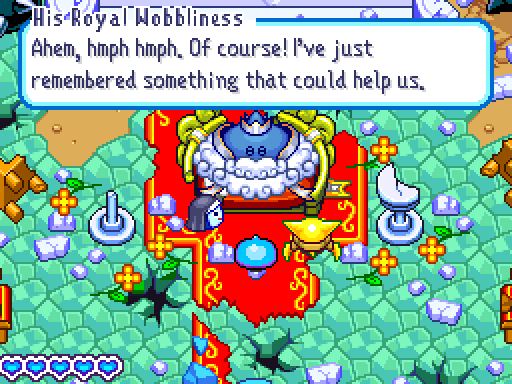 What is it, Your Wobbliness? An old legend that’s been part of Slimenian history for centuries. The legend of the Flute Warrior! Hmph.
Oh, um… About that flute of yours…
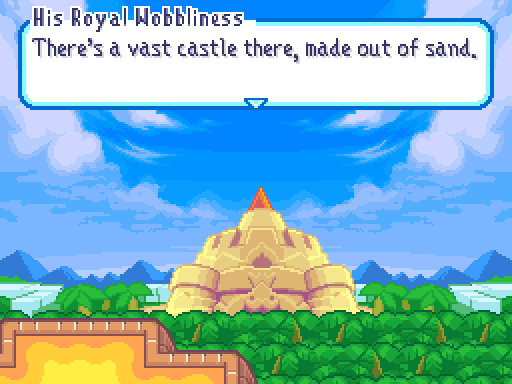 It’s long been revered as the resting place of a great hero.
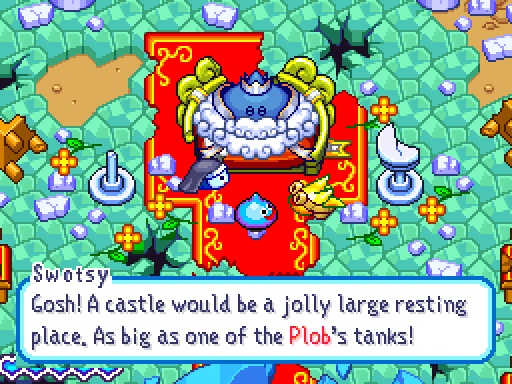 I want you to go and investigate, Rocket. There may be something there that will help us stand up to the Plob. Good luck! Hmph. Better go to the church and save your adventure log before you go anywhere.
Swotsy, quit being such a wuss.
See, His Royal Wobbliness knows how to really be supportive. After this, we’re allowed to head off and talk to some of the folks we rescued.
 The future of Slimenia lies in your hands, Rocket.
Actually, that reminds me…
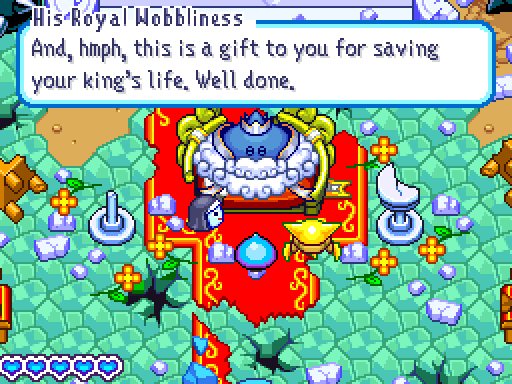
 I’m sending you a small reward. Now, make sure you rescue the others!
The king only gives us another chest, but the seed of life we got a moment ago makes up for that. Now, let’s do a quick round-up of the new faces in town.

The other monsters in town won’t appear just yet. I believe they’re in the other half of town, behind the 20St iron balls.

True enough. Oh, and while we’re here…


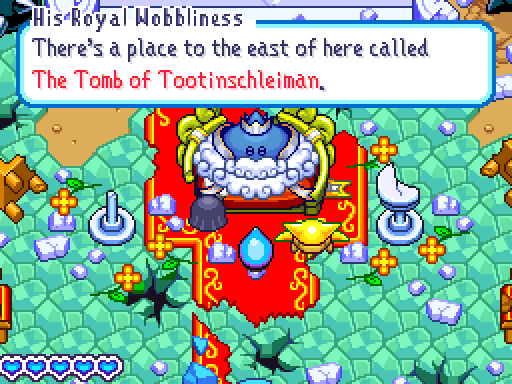
Alright, I’ll see you all next time as we go to raid Tootinschleiman’s Tomb!