Part 6: A new challenger appears!
Update 05: A new challenger appears!
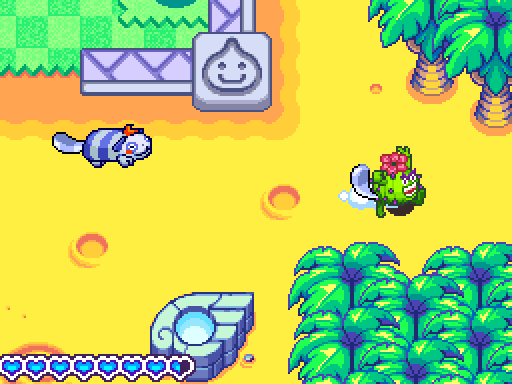
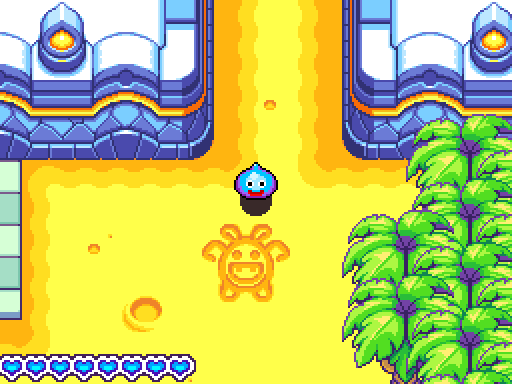
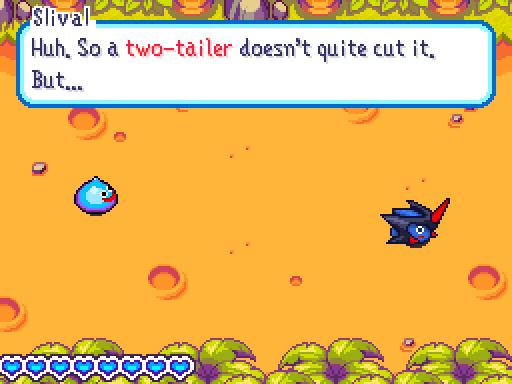
Welcome back! After being sent back to town to upgrade the Schleiman a bit, we’re ready to pursue that prickly pest, Spine Les.

When your name is a play on words, I don’t think you should be using said words to insult people.


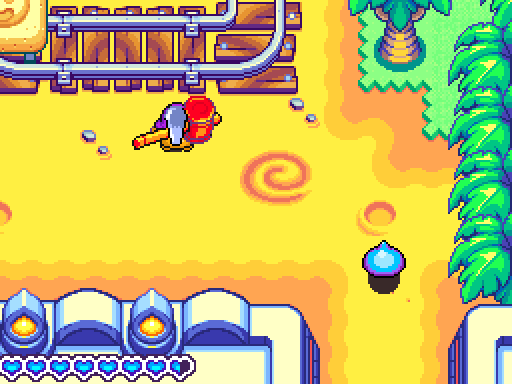
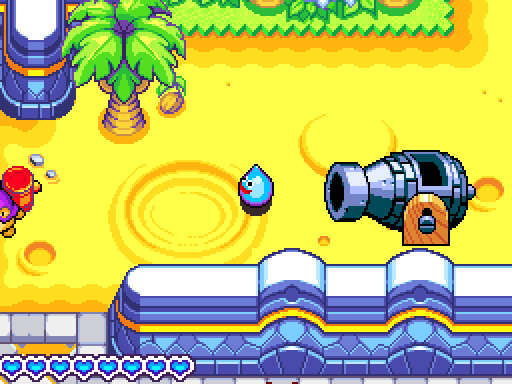
This next screen combines the cannon transport trick we learned last update with the tip Goodith gave us about hopping into them.
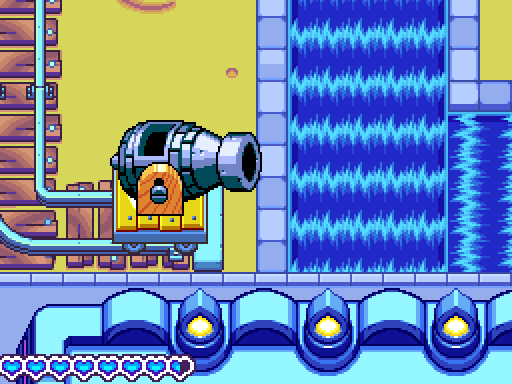
That way, Rocket can cross over this huge stretch of rapids that can’t just be circumvented with an Elasto Blast.

And then this cannon clears away a dune we need removed…
...though sadly my attempt to follow the bombshell and do this with style was foiled.

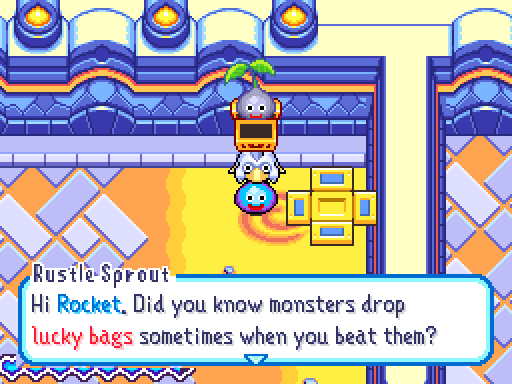
 You can often find some really unusual things inside. So don’t forget to send any you find back to town!
Sadly, nothing in this area drops anything worth trying for. The Hammerhood has a tiny chance of dropping Oaken Clubs, but we can get those much more easily soon enough.
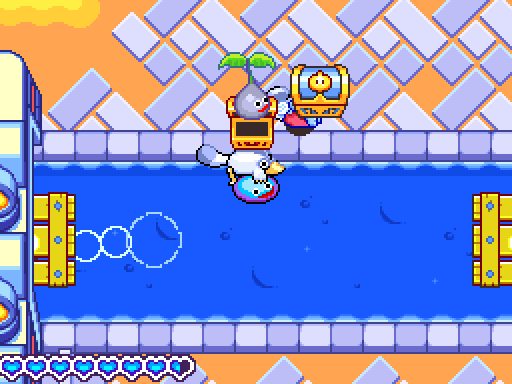
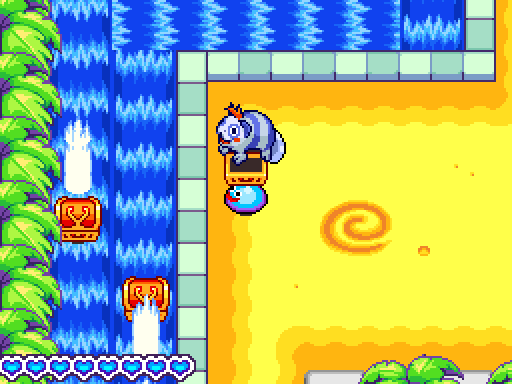
The next screen is a good demonstration that Picksys will pick up anything, including slime chests! How rude.
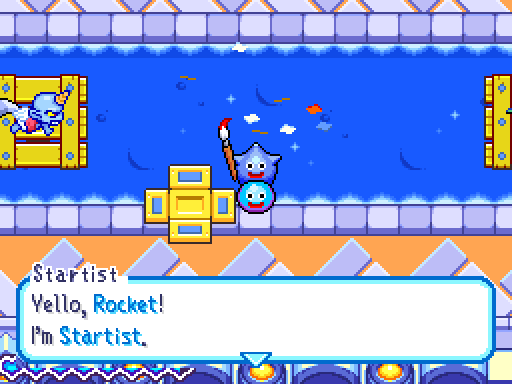
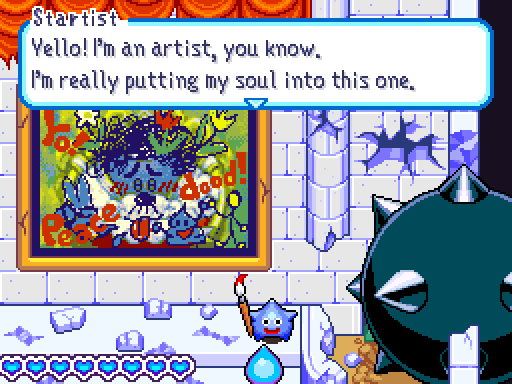
 I’m a painter at the picture. Come and see me next time you’re in town. I can show you how to do a wall painting. The others’ll be green with envy!
I wonder how many DS games took advantage of the touch screen to let you draw/paint things. I imagine it was quite a few. Anyway, letters!
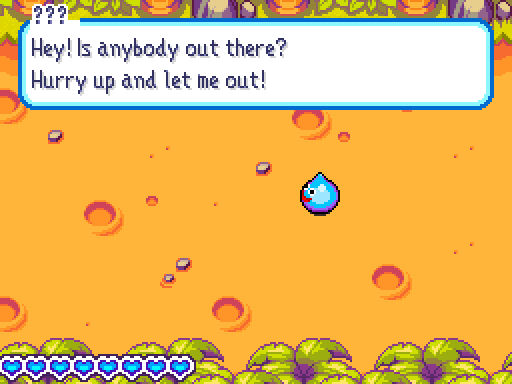
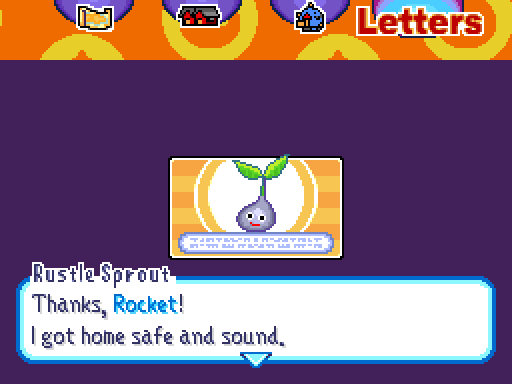 I was feeling a bit drained inside that chest. It’s so nice to be out in the fresh air again!
Despite Flantenna’s abilities, most Tree Slimes appear to be more naturally inclined. (Yet another arrow busies our bowstring.)
 The mural here in the palace is black with graffiti and needs a makeover. Why don’t you come and give me a hand the next time you’re around? I can’t wait to see your painting skills in action, so you’ve got the green light from me!
There’s really not much reason to go far enough into the palace to see the mural unless you want to take Startist up on his offer. And since he’s a painter, he gives us the closest item we have to a paintbrush… Catnip.
Now, there are two exits from this room. Let’s see…
Ah, Spine Les is off of the southern path.
So clearly we’re going north first. The side paths are always where the best loot is, after all.

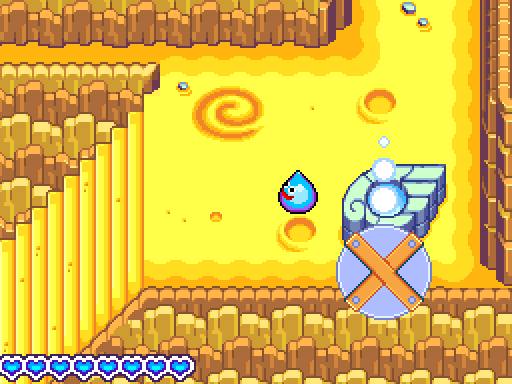
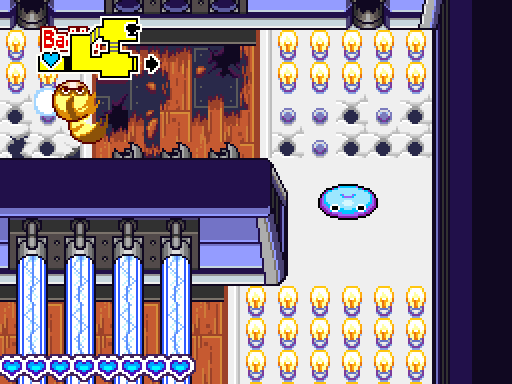
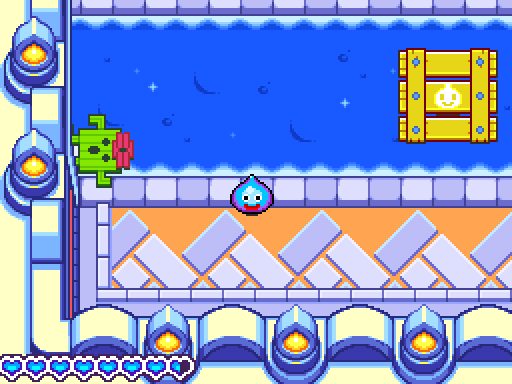
This room has the potential to be quite hazardous to Rocket’s health, given that it has Picksys, Rockbombs, Hammerhoods and a Mimic.
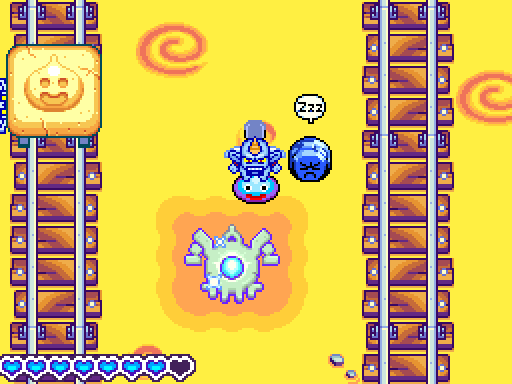
Still, I don’t think it’s quite dangerous enough to warrant having a full-heal panel in the middle of it.

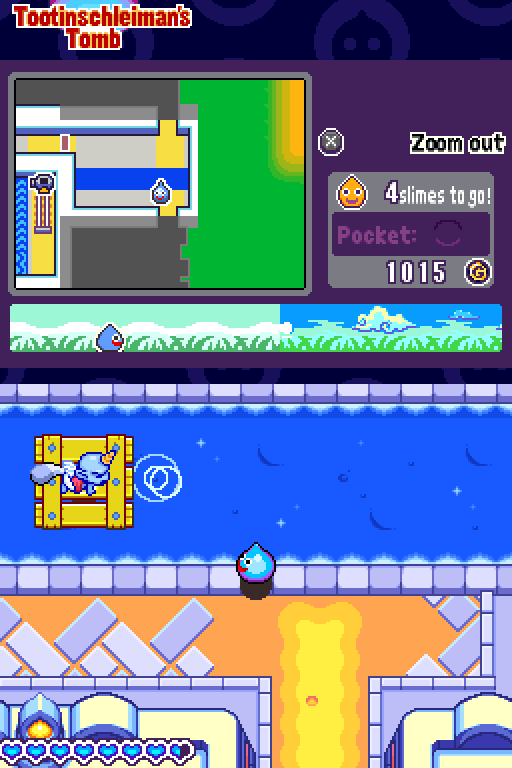
You know how we only had six slimes left in this area at the end of the last update? Well, here’s three out of the remaining four.
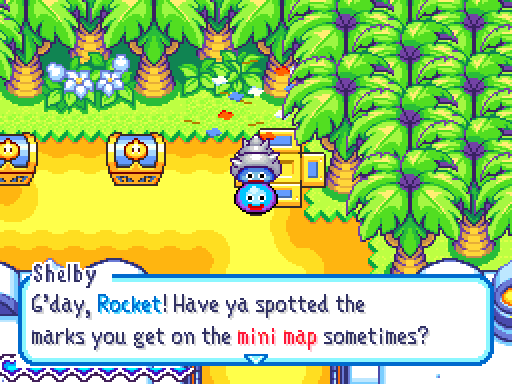
 D’ya know what they are yet? They show where you’ve fought and won a tank battle!
The minimap hasn’t been shown off a whole lot, but suffice it to say that the markers are incredibly obvious red and white targets. (You can also generally identify a tank battle room by its shape.)
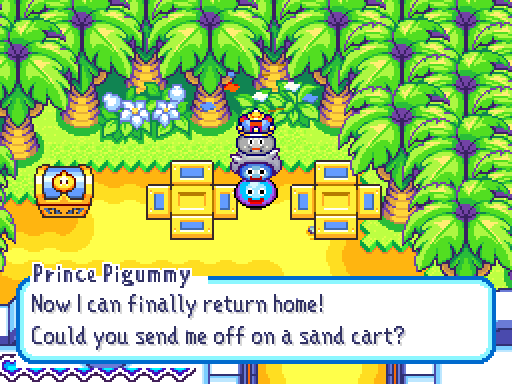
Ooh, a tiny Metal King Slime! Better not let OFS see that you have a Slime Crown, kid.
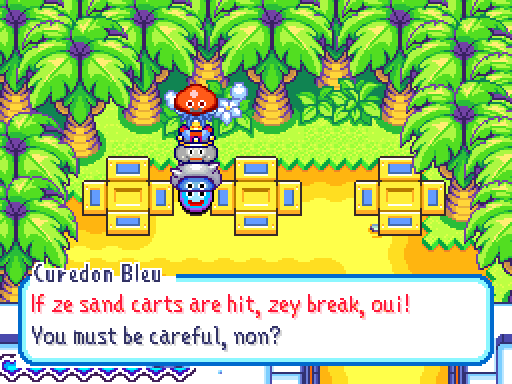
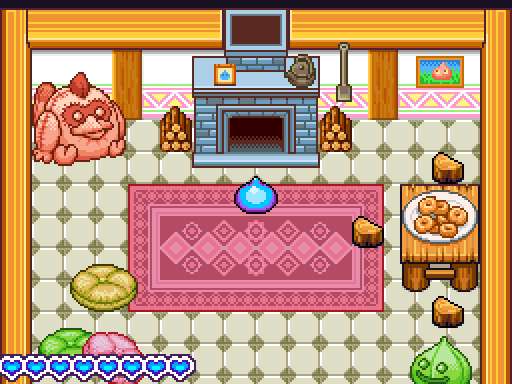
...Would it be incredibly obvious to point out that this is the palace’s head chef? Because I feel like the outrageous French accent might already give that away.
All aboard the party cart!

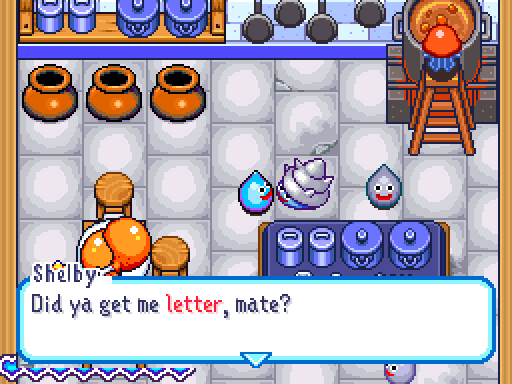
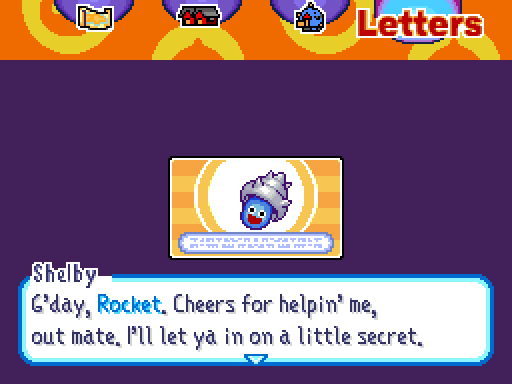 I always keep the Three S’s in mind when I’m cookin’ up some tucker. Know what they are? See, sniff and sip! Keep ‘em in mind an’ ya can’t go wrong, mate.
Sensible advice, really. Shelby is even kind enough to supply us with another girder.
 And ‘bluff’ is another word for ‘cliff’. And ‘bottom’ means… I’ll tell you another day.
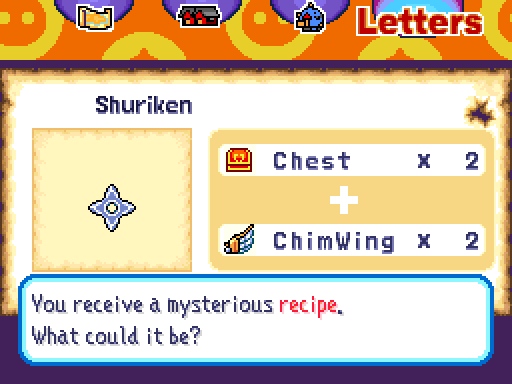
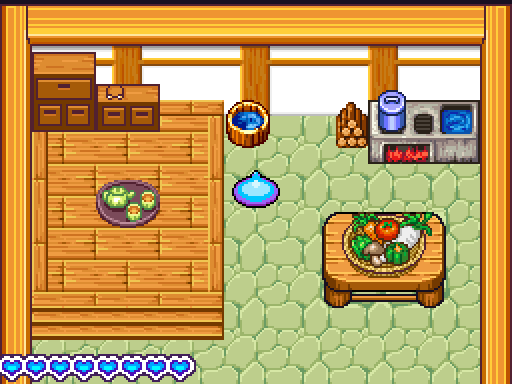
Huh, why would a recipe for shurikens require Chimaera wings? Do they kill a dude, then warp the body half way across the continent? ...That sounds pretty handy, actually. It would save so much on clean-up.
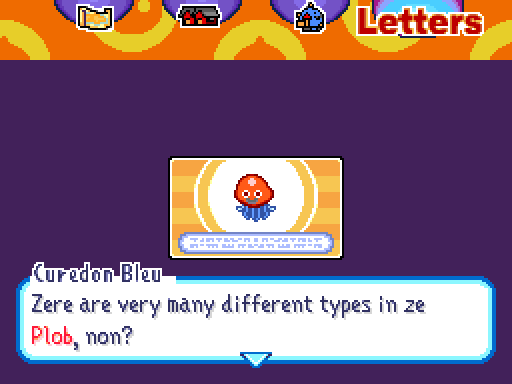
 But zey are all - ‘ow do you say? - block’eads! Ah, oui! Zis is somesing one of zem dropped. You can ‘ave it, Rocket.
Oh joy, another piece of catnip. Callooh callay.
Alright, back to pursuing Spine Les.
These two chests contain a fair bit of Gold if you can time things right.
The south end of the screen takes back to where we saw our first Hammerhood, opening up another shortcut…
...and here’s another that goes back even further, to the first screen of this area. This one will be handy in a little while, actually.
Oh, and there’s more tempting trickery here with two mimics flanking a real treasure chest. Between these two and the one two rooms north, this is where I’ll get my 30 mimics later on.
There’s only one more room left in the Tomb of Tootinschleiman, and one slime to save. Let’s bounce.
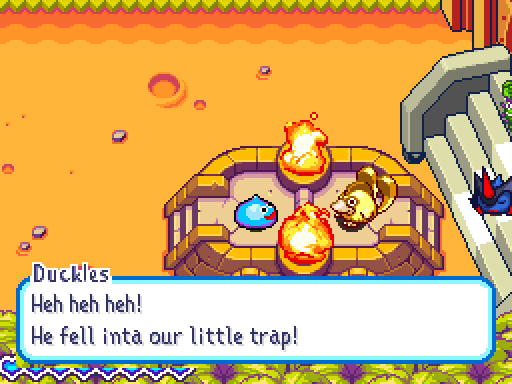
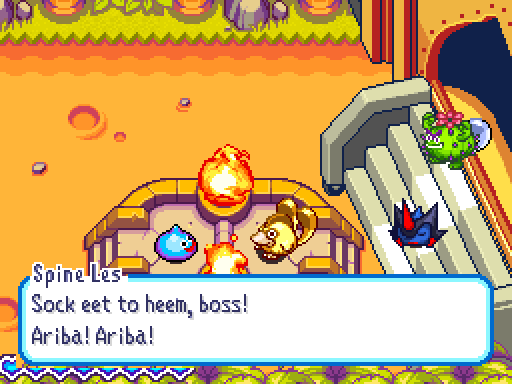

Of course, being a one-tailer means that Spine Les isn’t the boss of this operation, merely the bait. And who is that resting on the stairs there?
...And what is up with the music?
Anyone else getting Meta Knight vibes right about now? Good, then it’s not just me.
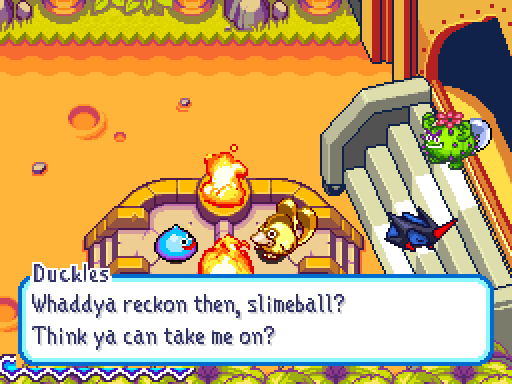
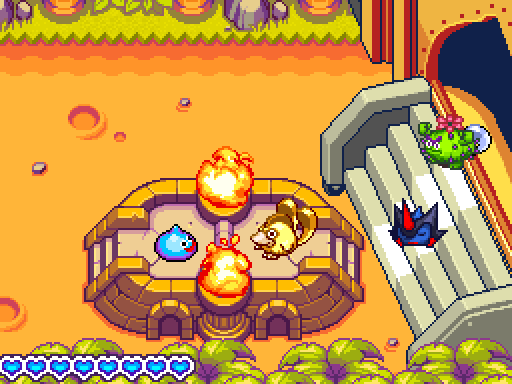
Bring it on… Duckles? Man, your parents must have hated you. Still, not as bad as Tungsteena.
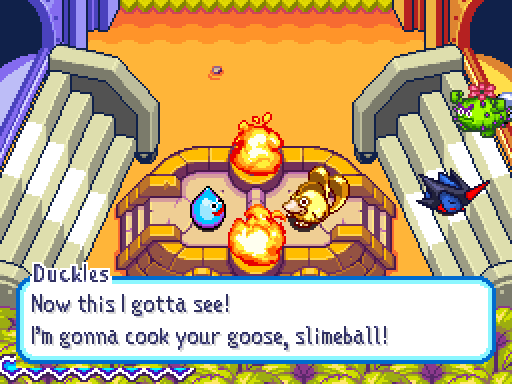
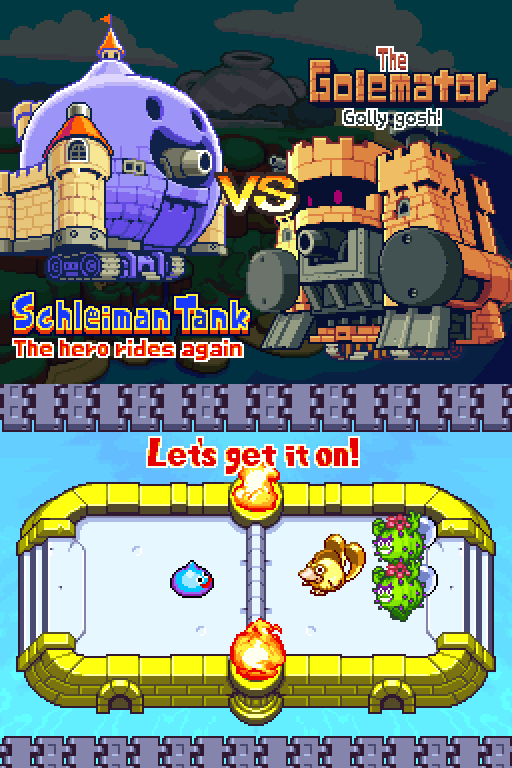

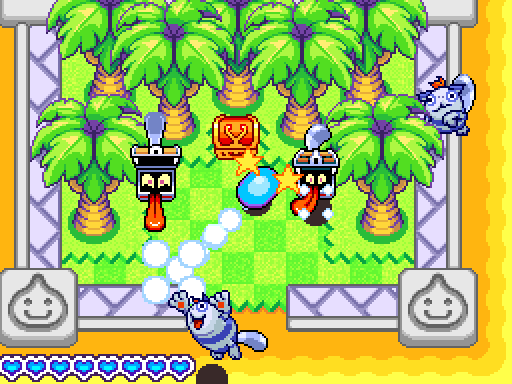
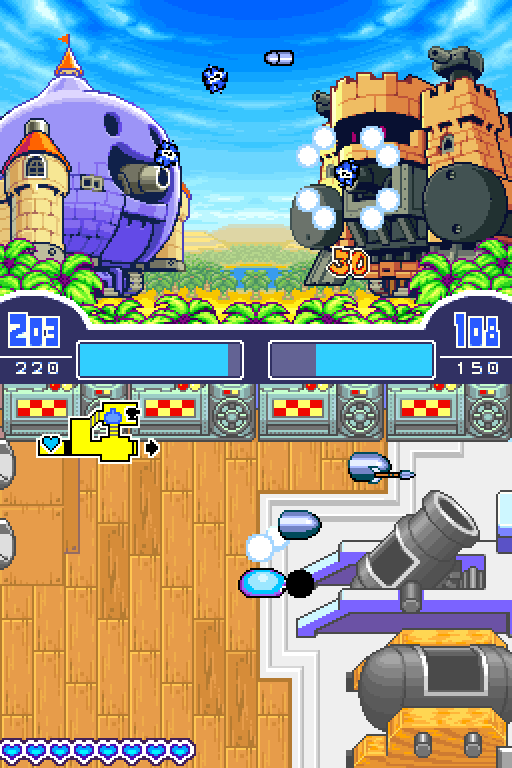
Alright, the Golemator! This is a toughie, and hopefully defeating it will get Slival to take us a touch more seriously. Oh, and Hooly’s probably in there somewhere too, I guess.
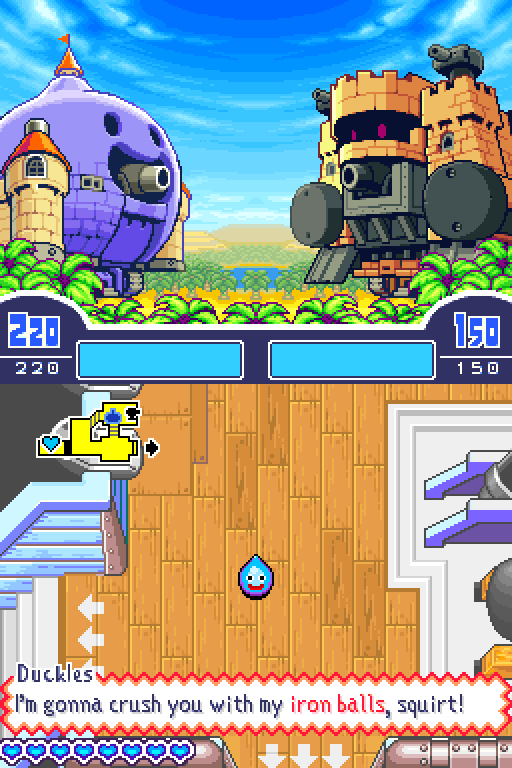

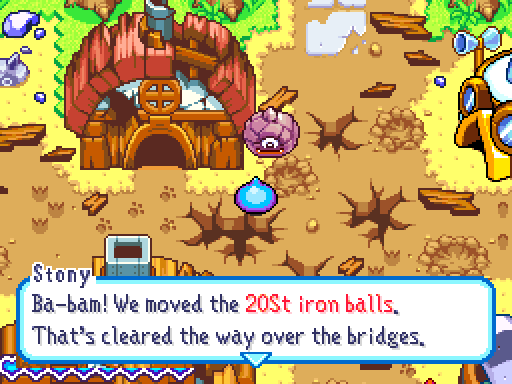
The Golemator’s crew loves their iron balls, and while they may be slow-travelling, the fact that each one deals 26 damage means that the Schleiman will take a fair beating if you’re not paying attention.
One thing I’ve neglected to mention up until now: If ammo has only been launched, it is close enough to the tank to intercept enemy shots regardless of which cannon they came from. That iron ball that deflects the first oaken club was fired from the upper cannon, but blocked a lower cannon shot.
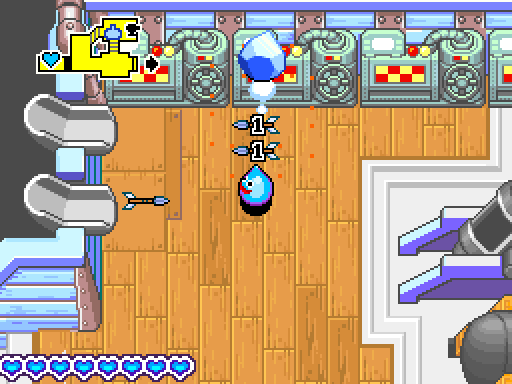
Remember that merging trick we kept hearing about? Here it is in action! Stack three wooden arrows, and they upgrade into an iron arrow, capable of dealing 12 damage. (That’s a 33% damage increase over the three wooden arrows.) There are three different kinds of stackable items like this, and a fourth stackable that does something a bit different.
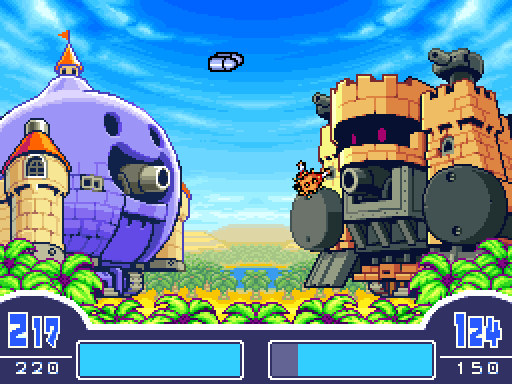
This is really quite a drawn-out fight for so early on (clocking in at over seven minutes this time). Having three enemy crew members feeding their cannons allows the Golemator to keep pace with the Schleiman, making it hard to get successful shots through. Fortunately, I manage to get a couple of good hits in here and there to speed the process along.
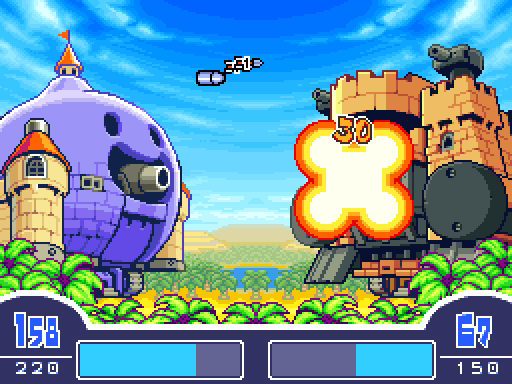
Including two huge smacks with the Orichalcum, which is

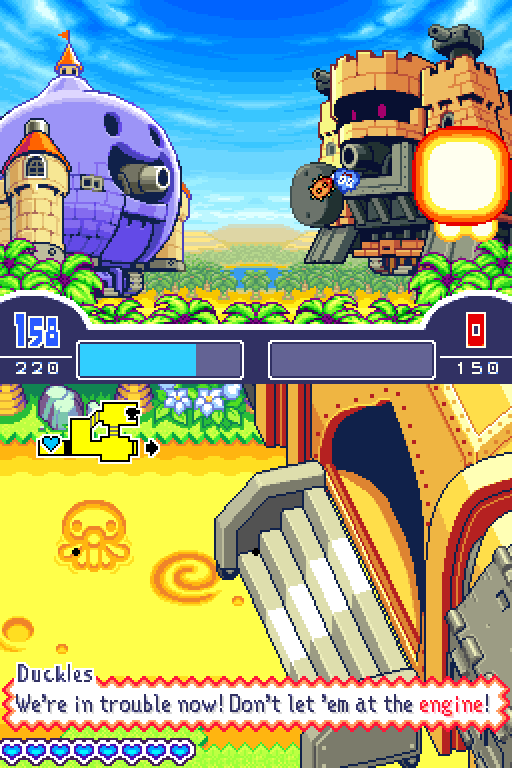
Eventually the Golemator runs out of HP, and Rocket slips into the tank amongst their cannonfire.
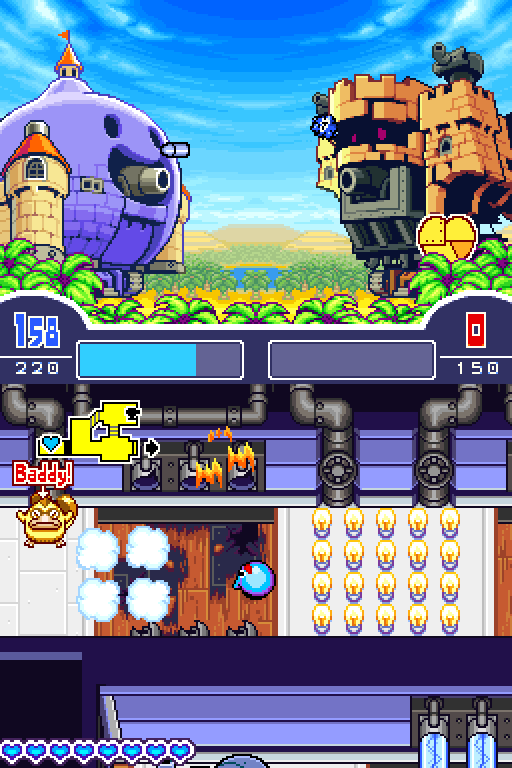
This engine room is certainly a step up as well, and the two-tailer made a solid attempt at pursuit.
Speaking of, it seems that this Platypunk is actually upgraded. Its attack comes out quicker, travels faster and has less recovery time than usual. We’ll never see them outside of tank battles, so it’s a nifty little touch I hadn’t noticed before.

Oooh, hello there beautiful.
 This is going straight into the ammo racks when we get back to town.
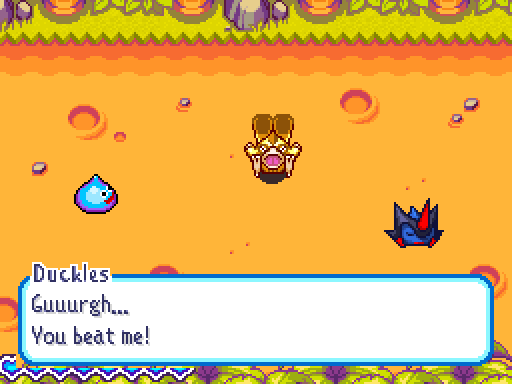
Oh, you wanna go too?

...How enigmatic.
Oh, right. Almost forgot about you.

 I always knew you had it in you. Come on! I’ve had enough of this place.
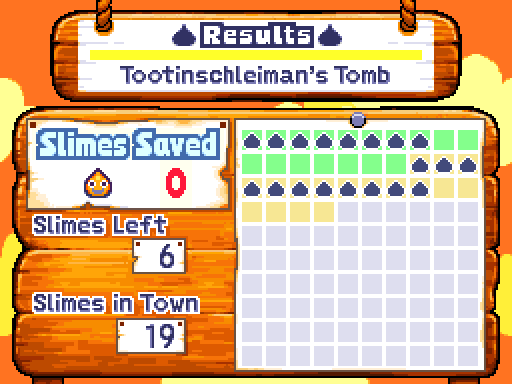
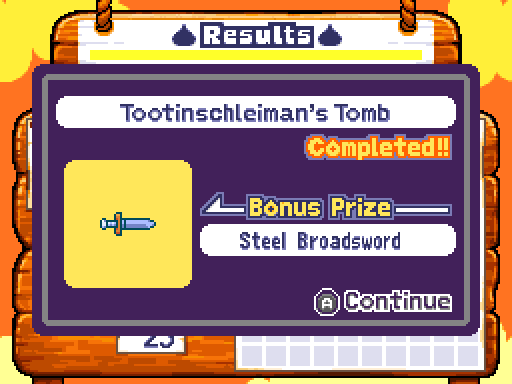
 Completing an area and earning its bonus prize is generally pretty awesome.
-------
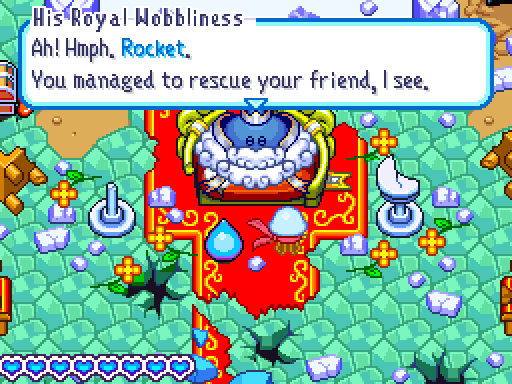

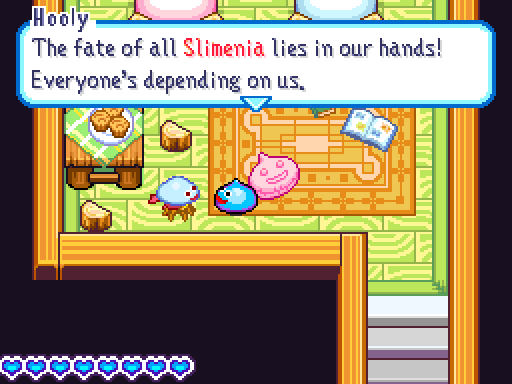
 That’s the way. Never forget to love your fellow slime. He’s right. We should work together to help everyone, Rocket. Hmph. Well, Rocket, I have another mission for you now. Have you heard of Mt Krakatroda, lad?
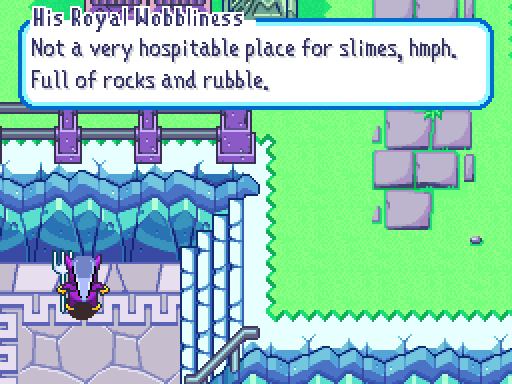
Hey, I recognise those purple pyjamas.
And all of this. By the way, I’d like to take a moment to mention that DQVIII LP again, because we’re kind of staring at a big fat reference to that game. I’ll elaborate more on that when we actually get to the area.
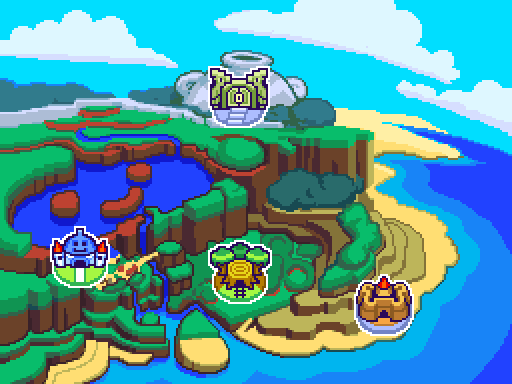
Which may or may not be next update. I’m actually going to let you folks vote on that, because we have an alternative. More on that at the end.
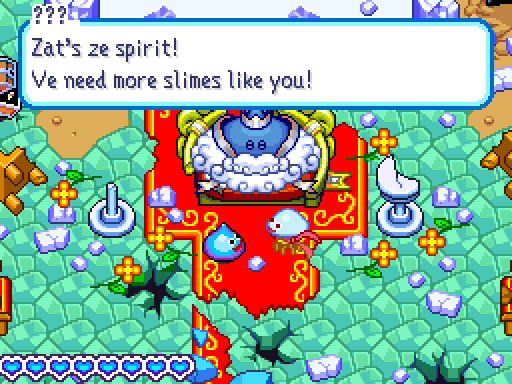
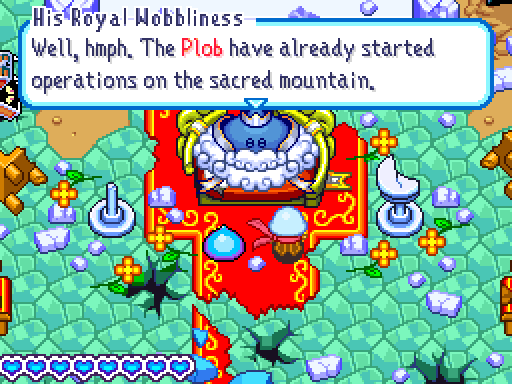 We must keep the Great Krak Pot from their evil clutches! Don’t worry. There won’t be a single Platioso left there by the time we’re done!
Hmm… Come to think of it, Slival wasn’t a Platiosi…

 I have an important announcement. Come to my garage at vunce!
Goddamn finally. I’ve been waiting for this!
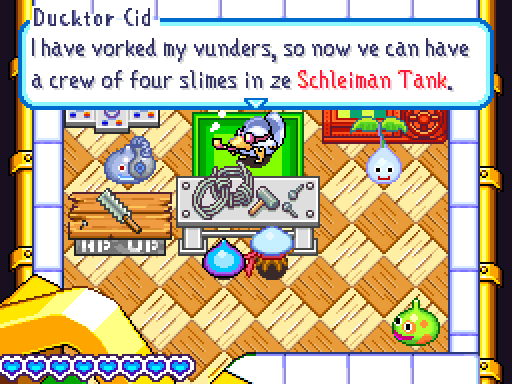
 Ven you vant to change who is in ze crew, you vill talk to me, ja? Count me in! I’ll help you with the tank battles, Rocket. I can’t wait to show the Plob a bit of Hooly action!
The tactics you can use will change depending on who’s in your crew. Try lots of different crew members and come up with your own unique combination.
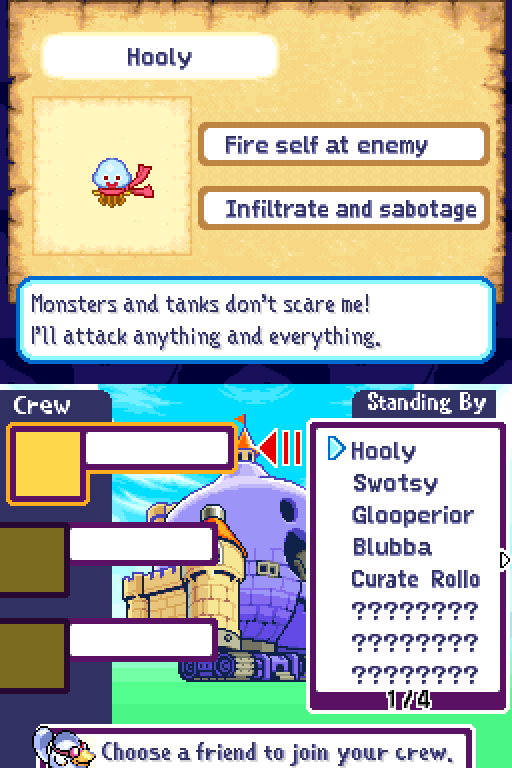
Yes, the time has finally come for us to field a full crew in the Schleiman tank! Most crew members have two tactics that they can use in battle, and choosing the right ones can make a world of difference. So, let’s take a rundown of the five slimes we have available right now. (We’ve rescued twenty-five, so the odds of new slimes being crew members is really rather low.)
Hooly is willing to launch himself at the opposing tank for 15 damage, no small feat given that Rocket only did 1 to that rock wall. However, his real skill lies in infiltration. With a hearty 5 HP, Hooly can wreck havoc among our enemies for a long time before having to wait for resurrection. (Downed crew members revive at the Schleiman’s chapel after a short wait.)
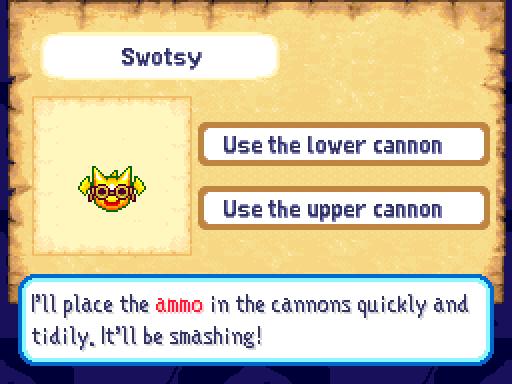
Swotsy… Well, Swotsy is bad. He’s slow, has only average HP (3), and isn’t able to attack or defend himself if enemies get near him. He’ll be serviceable early on, but he’s really got nothing going for him.

Mother Glooperior isn’t just in charge of our adventure logs; she’s also willing to come kick some butt! Her Miniheal spell will restore 2 HP to whoever she’s targeting, and she can cast it pretty regularly. If there’s no enemies making trouble inside the Schleiman, she can do a decent job of keeping the lower cannon firing.
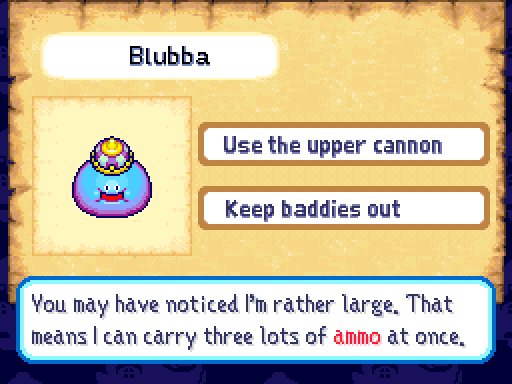
So, you know how Rocket can carry three items at once? The same is not true of our crew members. In fact, almost all crew members can only carry one item at a time. Baron Blubba is a rare exception, and it makes him a fantastic crew member. This guy could do the job until the endgame, and he’d be great at it. He also has 5 HP and a strong attack, so he can fend off invaders remarkably well too. Definitely a top tier choice.
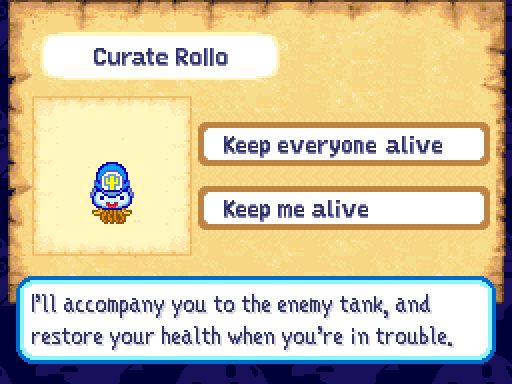
Curate Rollo is all about the healing. His spells restore all HP, and he can be told to follow Rocket into battle and keep the hero healthy at all times. This amount of healing is honestly pretty excessive in most cases, so Mother Glooperior’s ability to fire cannons makes her a more useful choice in general.
So, I may as well allow the thread to vote on this. Who do you want to join the Schleiman’s crew? This vote will be revisited whenever we get new crew members, of course.
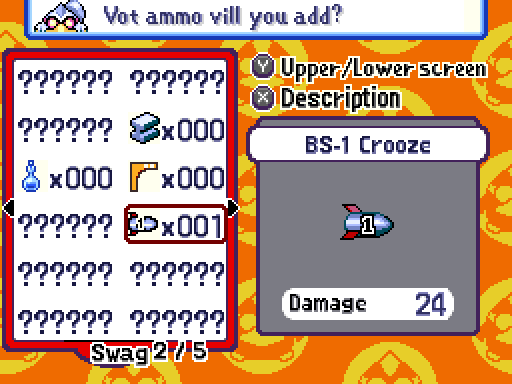
Improved version of a bombshell. Is there some special secret about all these items with numbers on them?
Along with the arrows and iron balls, missiles are the third stackable item type. These ones are the middle ground, offering decent speed and some pretty solid damage.
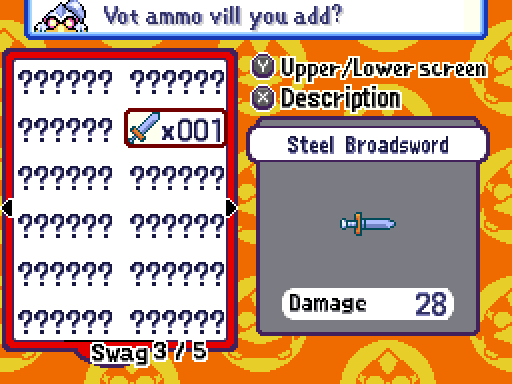
An extremely sharp sword made of steel that does a fair bit of damage.
It’s a sword. It’s the second strongest bit of ammo we have. Not a lot to say about it, but I’m certainly thankful for it.
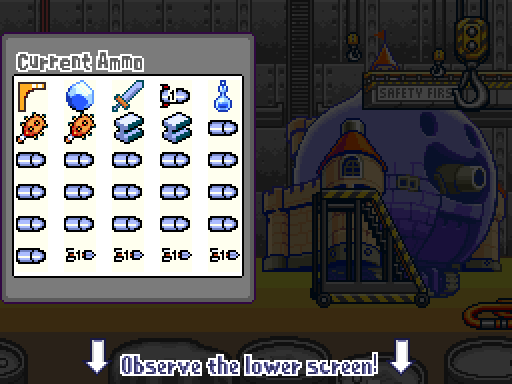
This ought to do the trick for now. 20% of the racks are filled with pretty strong stuff for this stage, and the rest is decent enough.
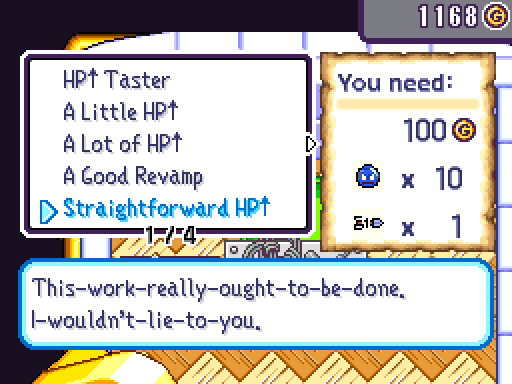
Slimechanic has another 30 HP upgrade for us, but he also has our first 40 HP boost. The Schleiman is now at a beefy 290 HP.
 You can get over to the west of town now. Go on! A rolling stone gathers no moss!
The other side of town has been unlocked, but there’s actually no one over there yet.
We can go looking around in some homes though, and check out the museum. Still, we’ll take another look when there’s more to see.

 So, uh… I ran into a few of these guys between recording sessions. These are Goodybags. They have 5 HP, run away when you get close and warp out (despawn) if they’re left alone too long. They also drop gold when hit, drop an additional 200 Gold when killed and always cough up a lucky bag. Any Goodybags after the Tomb of Tootinschleiman will actually drop really nice stuff, so they’re great if you can beat them up. And of course, I want 30 of them alive… for reasons.
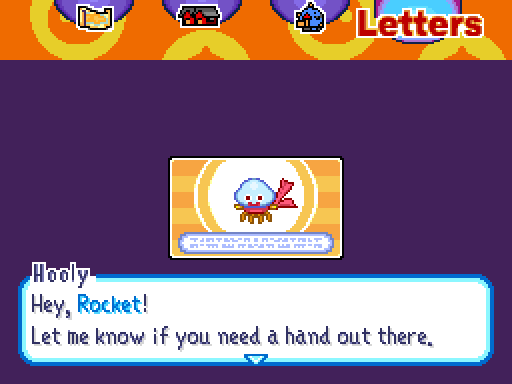 You can pick out your crew members for the Schleimen at the garage in town.
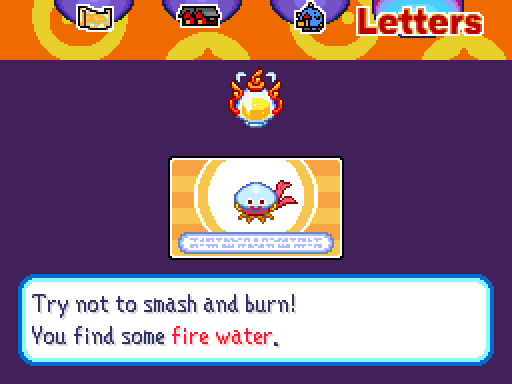
Oh yeah, Hooly sent us a letter. And an item I’m not terribly fond of.

Throw this to fry the surrounding area. Or load it into a cannon to frazzle the enemy’s tank.
See, the fire water doesn’t damage tanks at all. It just creates a patch of fire to hurt enemy crew members… or far more likely, your own after it gets bumped and shatters like obelisks/rockbombs do. I wouldn’t recommend using this one.
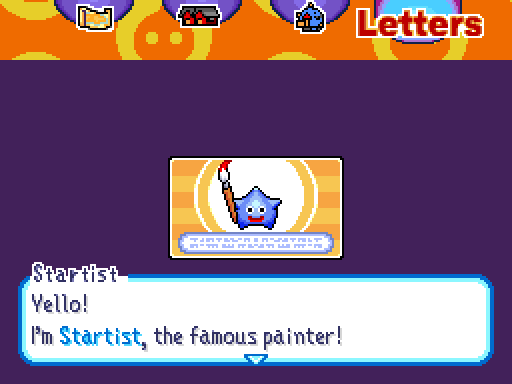
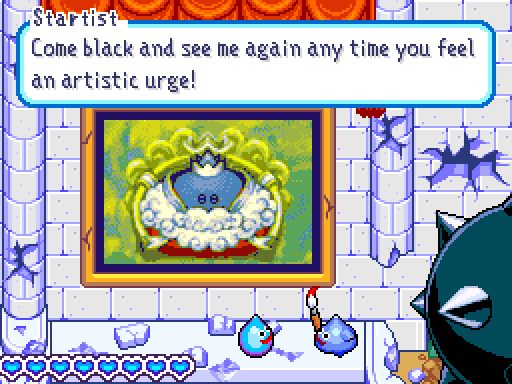
 But don’t feel green. You’ve got a kind of artistic flair about you, too. I can feel it! I’d be tickled pink if you put it to the test. What do you say?
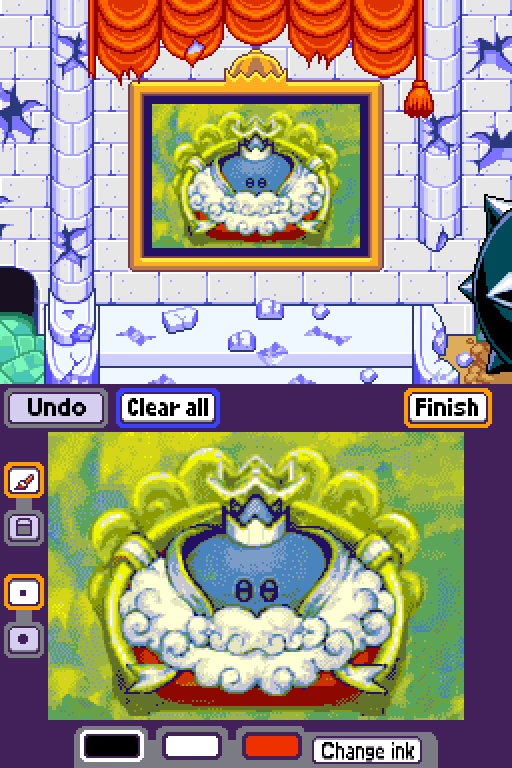
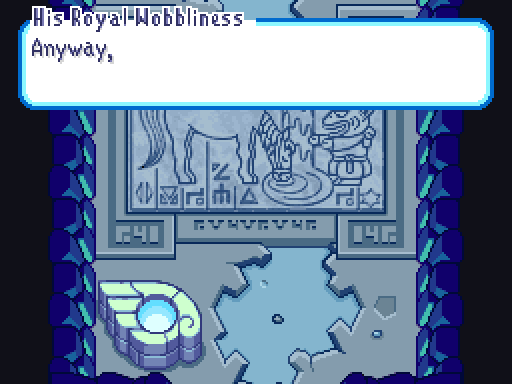
Startist does slowly gain other canvas for us to work on, but the only one available to begin with is the picture of His Royal Wobbliness. I’ll just clear the graffiti off and leave it at that for now.
Okay, now you’re really reaching.
 The food isn’t bad either.
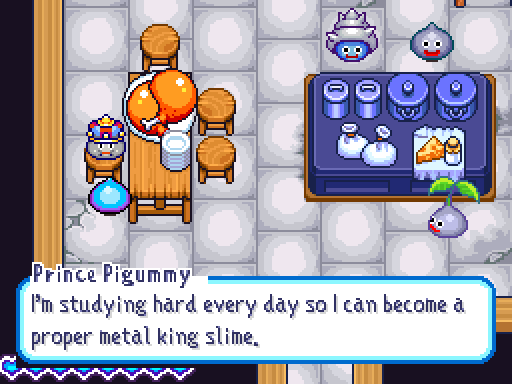
 All of us guys back here have been sendin’ thank you notes. I hope you’re readin’ ‘em!
I wouldn’t be nearly as well armed if I wasn’t!

Hmm, that’s almost everybody we saved today. But where’s Hooly?
 Hey! How cool does that sound? Now we’re real heroes!
Alright, now there’s just a few small bits of housekeeping to take care of.
Now that Spine Les has been dealt with, Cactiballs have started appearing in the Tomb of Tootinschleiman. They have 3 HP and drop 14 Gold just like most of the other enemies here, but they’re actually rather dangerous if a Picksy is about. They attack by extending their spines, but they’ll have them extended constantly if a Picksy is holding the Cactiball. This also means you can’t Elasto Blast the Picksy until after they throw their ally away.
 Oh, Square Enix. Anyway, I took some time to farm up 30 of these guys, the Mimics and Hammerhoods.
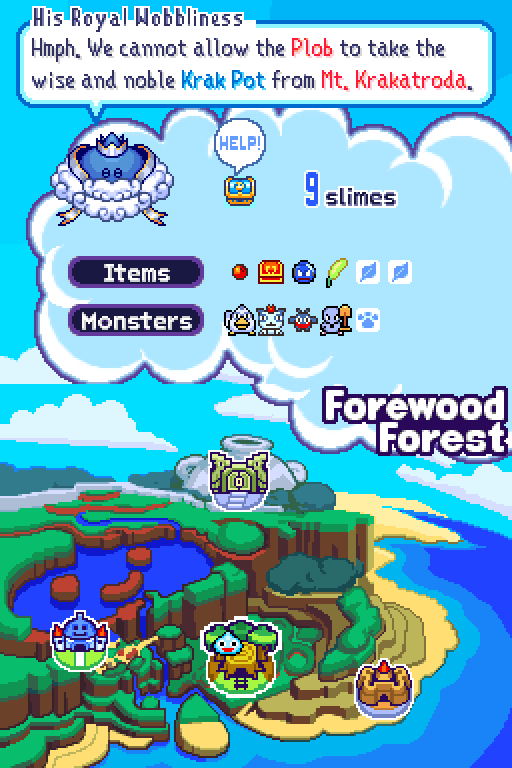
And now we have our other matter to vote on. Aside from choosing a crew for the Schleiman, we also need to decide whether to progress with the plot at Mt. Krakatroda or explore the rest of Forewood Forest. We’ve had the ability to do the latter ever since we got the Schleiman, but I’ve always done it at this point so that I have a tank crew to help me out. If it helps your decision-making, there will be three tank battles either way.
So, vote on our three crew members and where we’re going next update!