Part 14: Sadly, no flamenco music.
Update 12: Sadly, no flamenco music.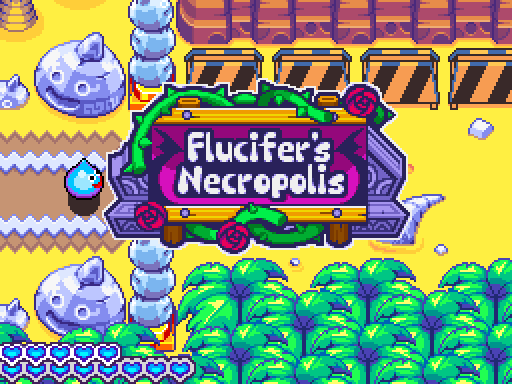

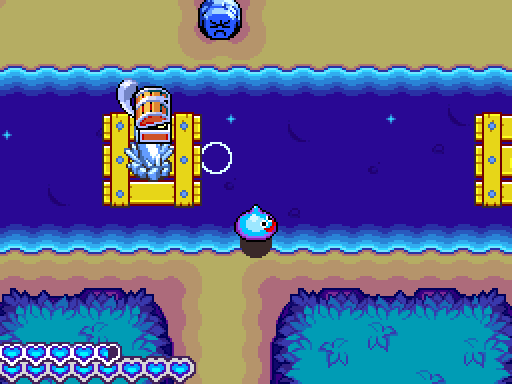
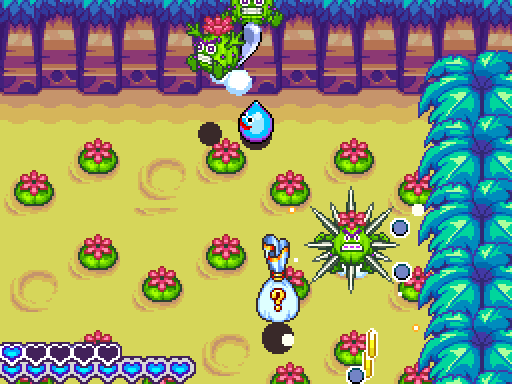
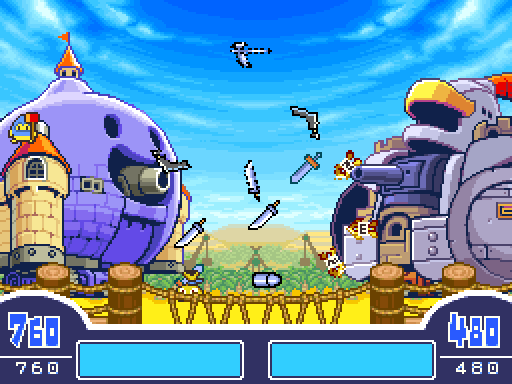
Welcome to the Plob’s dig site, Flucifer’s Necropolis! It seems that we’re beginning to close in on the Plob and their dastardly scheme to revive fantasy Satan.
Our initial screen just has a bit of money and some enemies, but this is officially the point where some lucky bags start being worth your time. The Platypunk’s stuff is mostly lackluster, but it does have a 25% chance the bag will contain a BS-2 Blue Streak, which I don’t even have any of yet. The Picksy’s drops are easily the worst in the area, but even they can drop Irritaballs.

Arriving on the next screen immediately thrusts us into a cutscene.
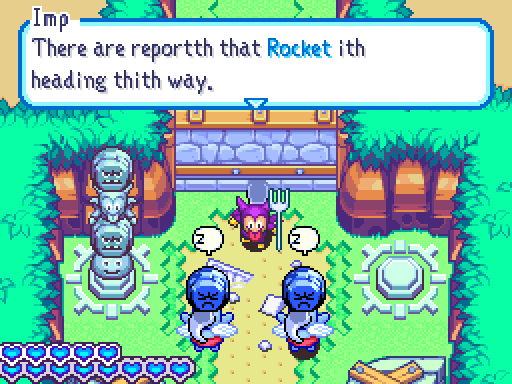

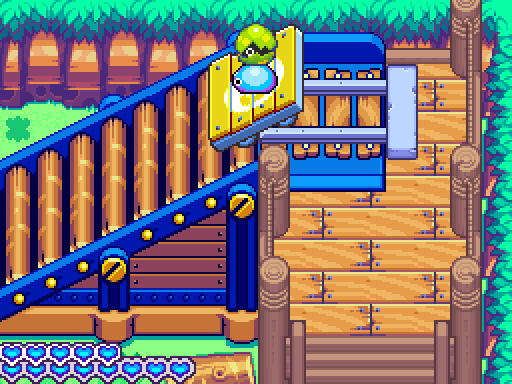
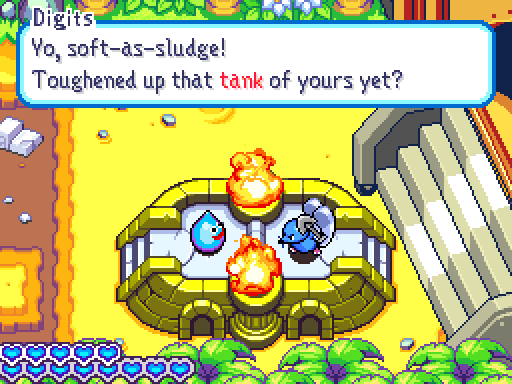
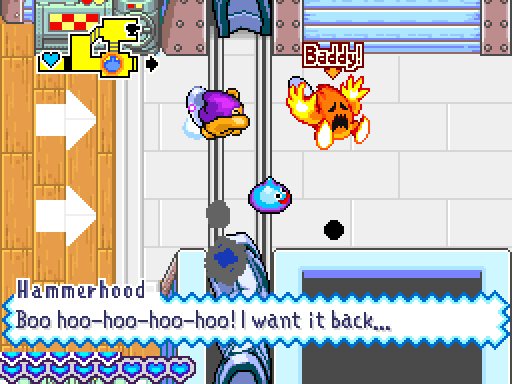
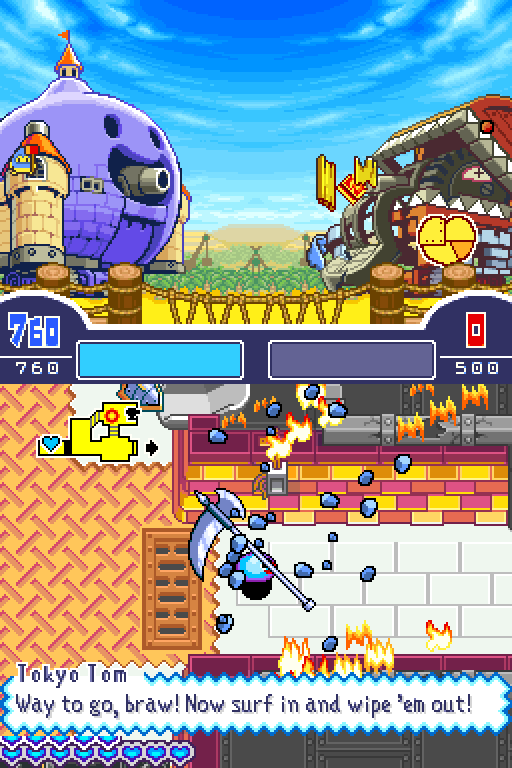
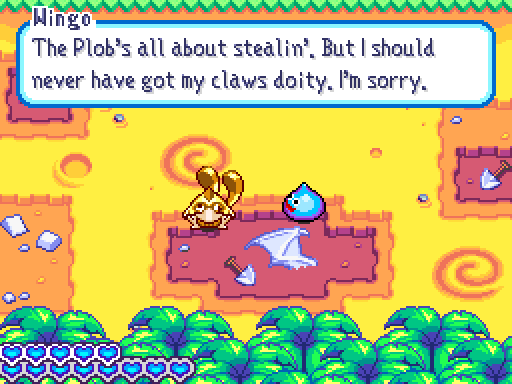
 We’ll use thith door to thtop him getting any further. You two make thure he doethn’t get hold of those rockbombs.
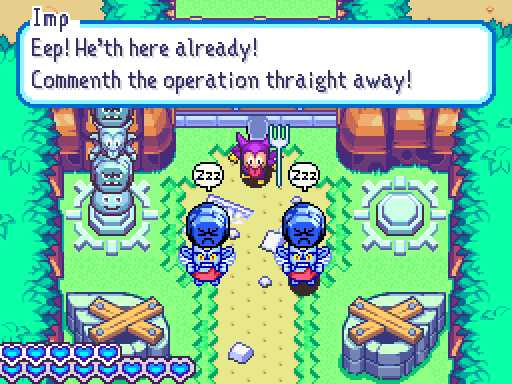

...How rude!
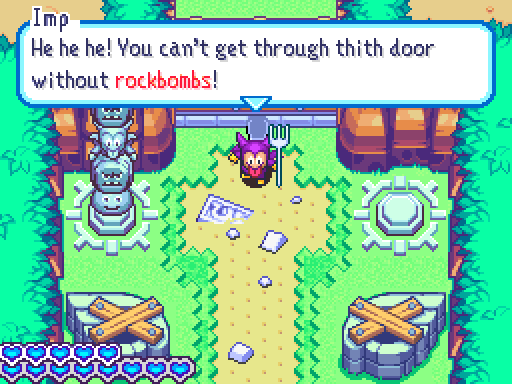 You’re gonna have to catch my two men if you wanna get through!
I’ve got to admit, as far as plans to delay the hero go, this is a pretty solid one.
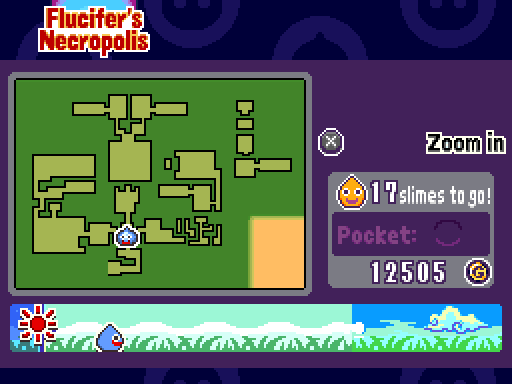
Our map doesn’t show the underground portions, but basically both paths will eventually lead to different parts of that northern area, where the rockbombs have been taken. We will have to explore both paths, and it doesn’t matter which one we go for first.
We’ll start off with the western route.
A new enemy appears for the first time on this screen, but its back is to the camera.
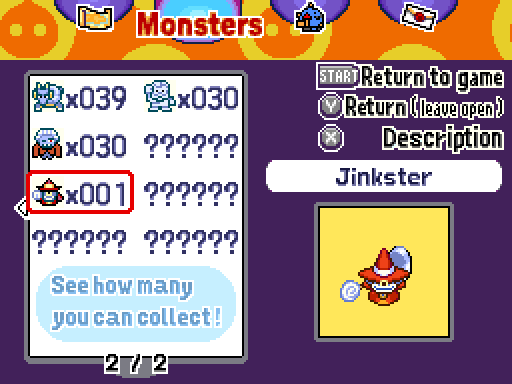
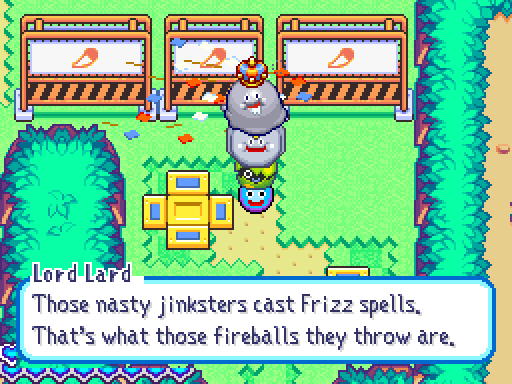
There we go! The Jinkster is an odd choice of enemy, given that it had only ever appeared in Dragon Quest IV and the two Monsters games prior to this. Offering 3 HP and 14 Gold, these wizardly foes teleport in and charge up before casting Frizz (a fireball spell) in a straight line. Think ‘Wizzrobe’, and you’re not far off. They can drop holy crystals, among other things.
Our dear friend the Imp pops up on the next screen, and his item drops are pretty great. Spooklear bombs are the only real dud, with Edged Boomerangs and a pair of brand new items available. All four items are a 25% chance from their lucky bags; I’ll go into more detail about the new ones when we come across them.
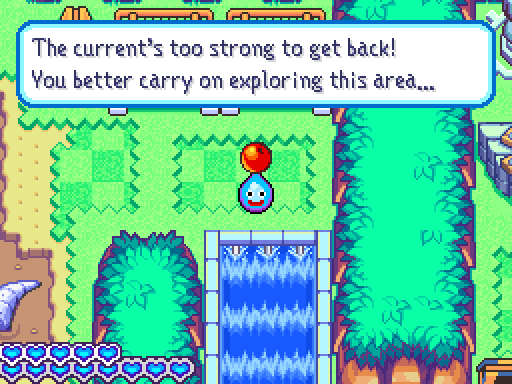
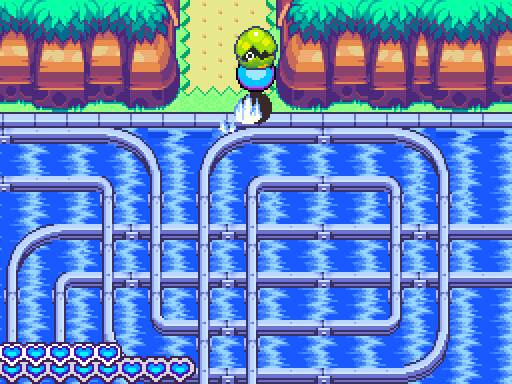
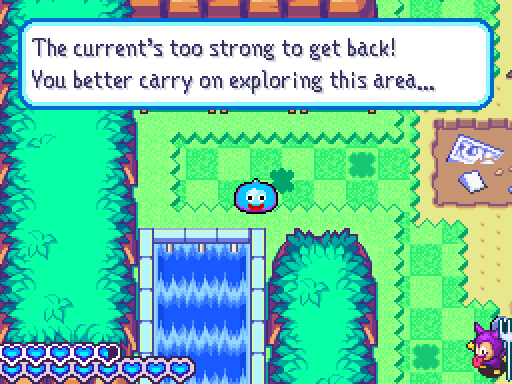
 But I wonder what would happen if I fell off…
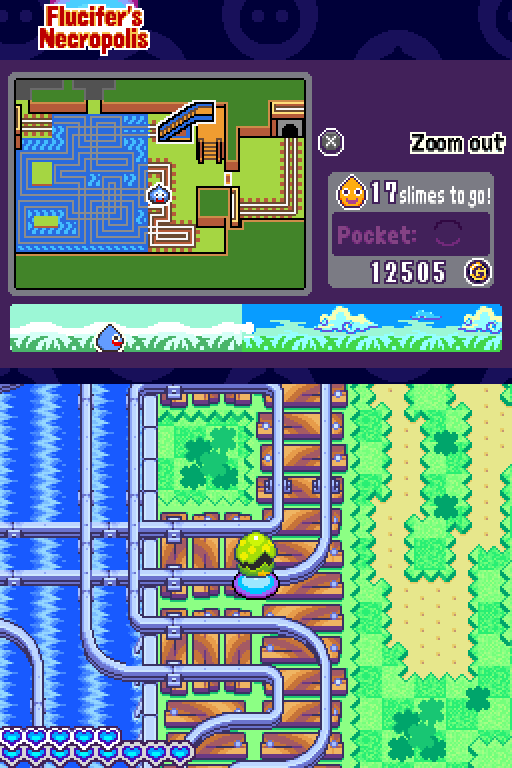
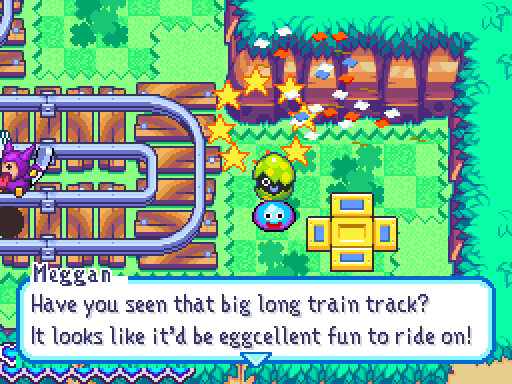
That certainly is one hell of a train track. Looks like you could hop off right near the beginning and skip to both those openings, but where’s the fun in that?
The full .gif of this twisting track is 17 MB, by the way.
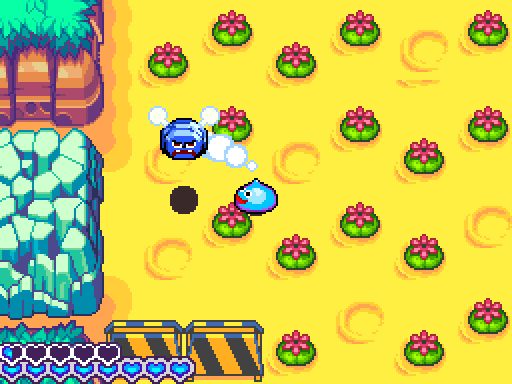
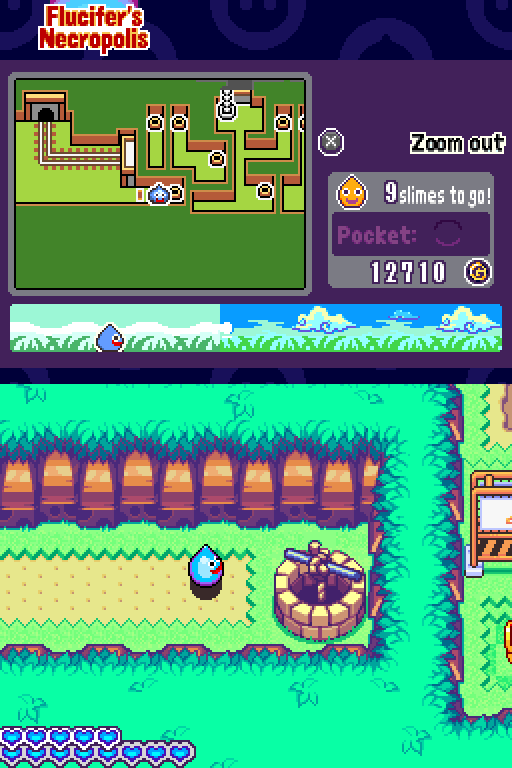
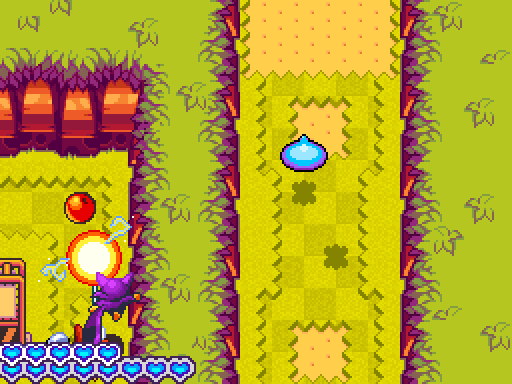
There are 17 slimes in the necropolis, so we’re doing pretty well so far.
 If you see one o’ those bad boys, you’d better steer clear!
We saw plenty of those when the Goonins were giving their report. Must be part of the Plob’s defensive measures.
Indeed they are, your flabbiness.
Continuing on allows us to send our friends back to town. And it looks like the Plob have been digging all over in search of that Dark One.
 Those evil Platiosi cracked me up. And I’m not laughing!
Meggan is annoyed enough about her damaged shell that she sends us a BS-1 Crooze to fire at the Plob. It might go into creating a BS-2 later, but maybe not.
 You can sell those babies in the shop for quite a price!
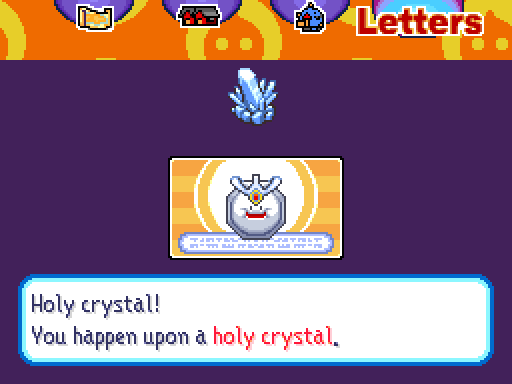
Ah, the humble Holy Crystal. This item is used in only one recipe…
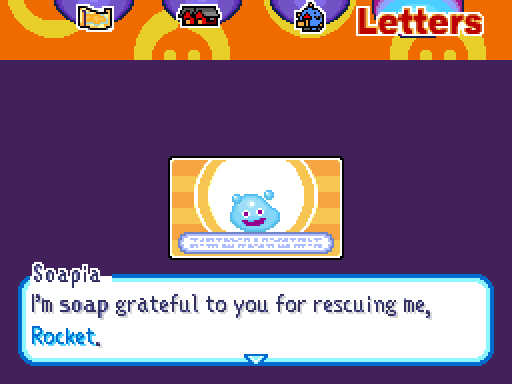
 I’ve been having a whale of a time since you rescued me. Time for another feast…
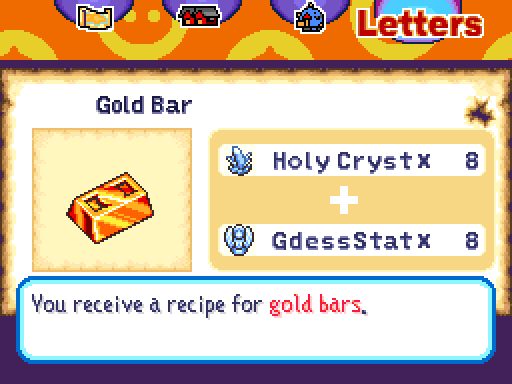
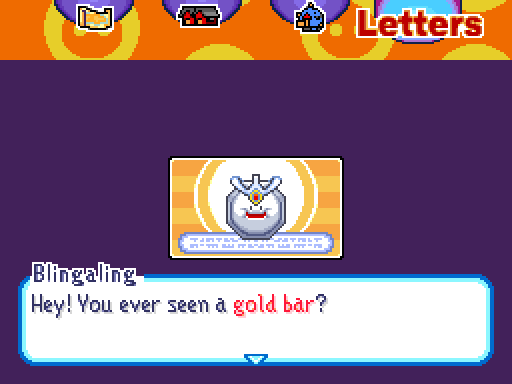
Namely this one! The Gold Bar is indeed quite a valuable item, going for a whopping 10,000 Gold if you sell it to Splodgy Dave. It’s also used in the golden arrow recipe… and another recipe which is really pretty important.
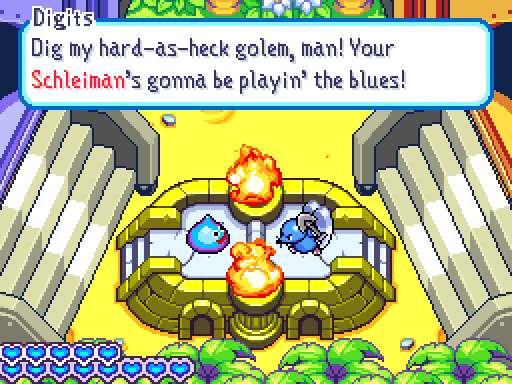
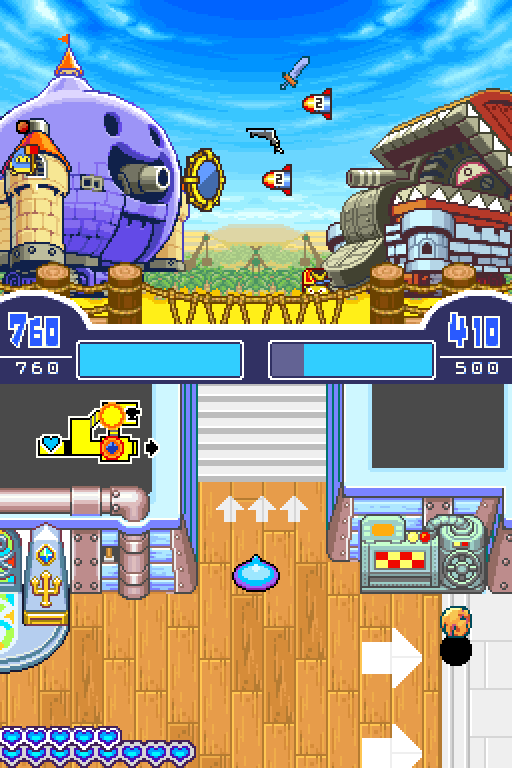
Both of these rockbomb-related paths have two tank battles a piece, so the Schleiman’s going to get another good workout.
Slimechanic’s been keeping it in good shape, so no worries there.
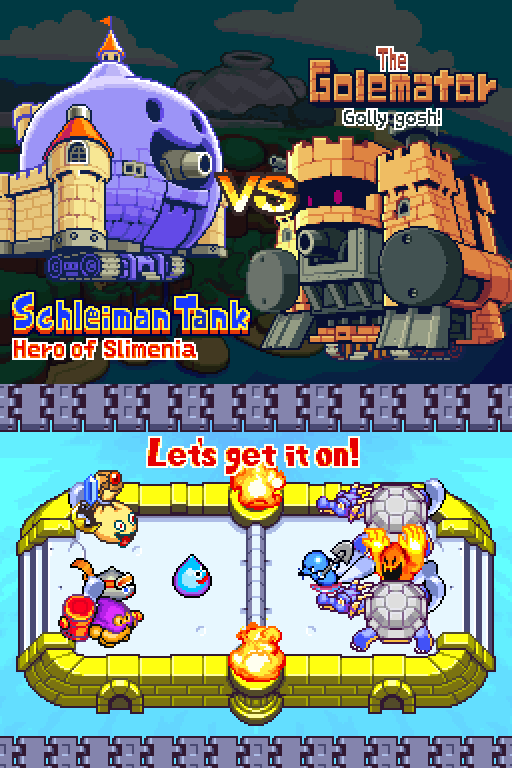

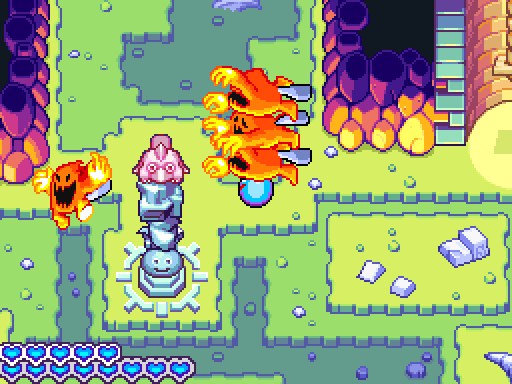
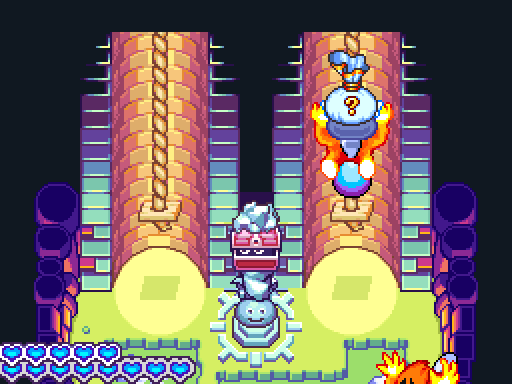
Hey, it’s our old buddy the Golemator! We haven’t seen this thing since Slival made his first appearance. Let’s see how it holds up.

Remember how the Wyrtle takes three hits to knock down and does 30 damage? Yeah, this fight is here to remind you about that.

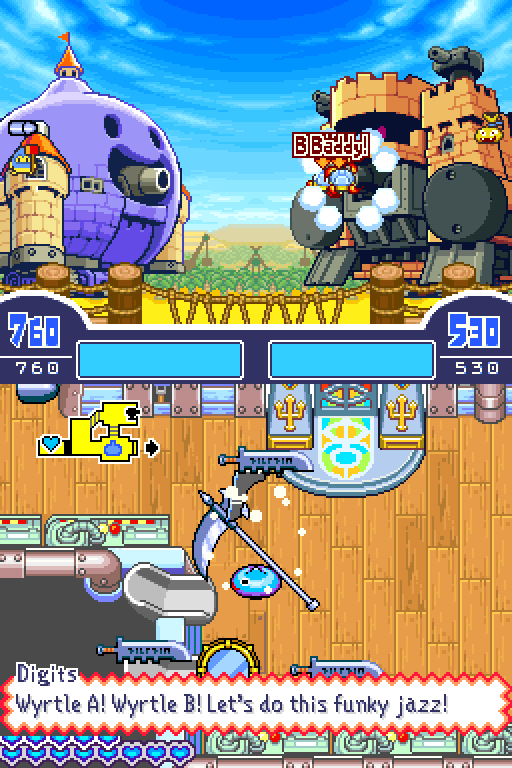
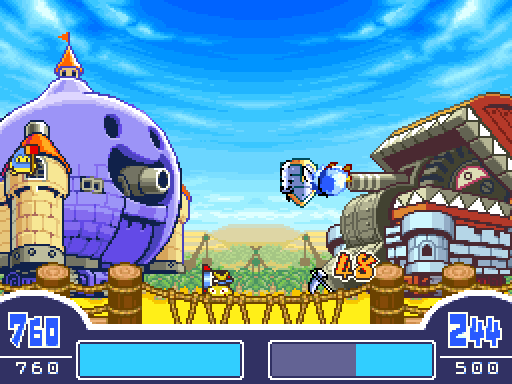
Some mistakes were made. Oh, and notice anything odd on the top screen?
No? Look up above the Golemator. Yeah, hell scythes have a unique flight path if you load them into the upper cannon that makes them much more likely to connect (barring edge cases like boomerangs being in play).
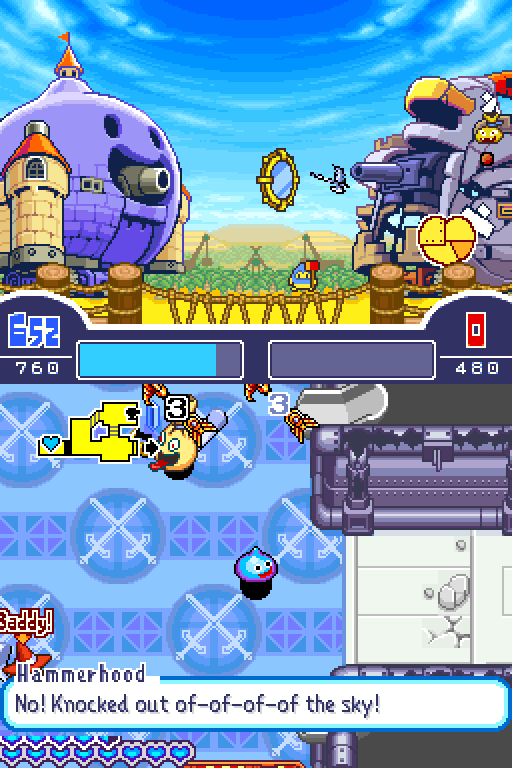
There’s another monster in here we haven’t seen yet, but it won’t be long until we get a proper look at them. Suffice to say that it wants to break all my stuff.
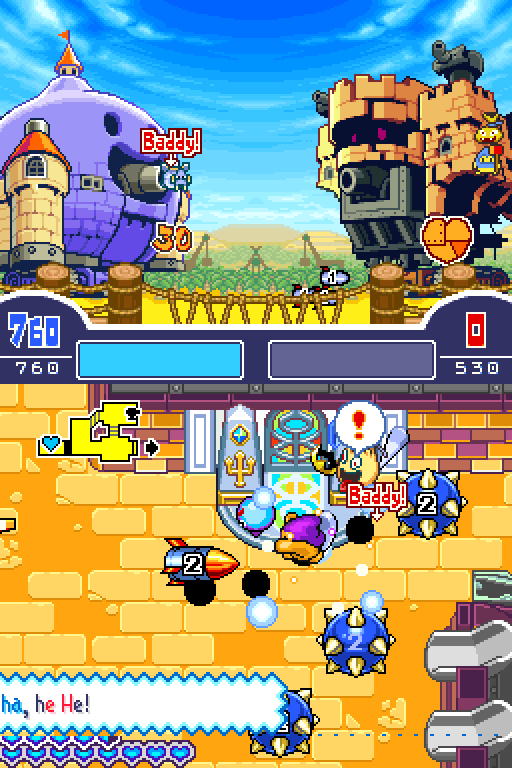
The Wyrtles deal so little damage though, and the enemy crew’s ability to load the cannons is severely hampered. It’s not a hard fight… aside from when I had to try and get around my upset Hammerhood in a tight space.
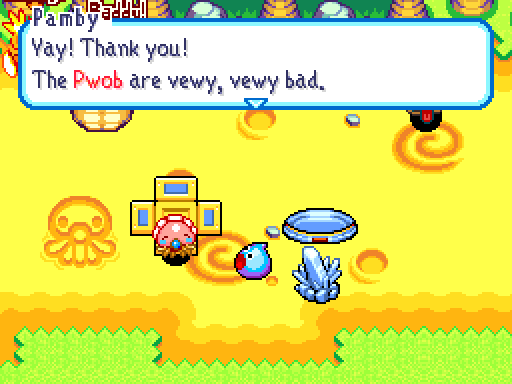

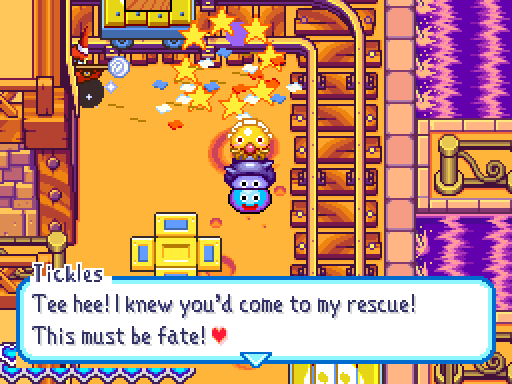
 Pamby want to beat them all up! But Pamby a bit fwightened.
 I’m going to grow up all big and strong. Just like you.
 Pamby kindly gives us another holy crystal.
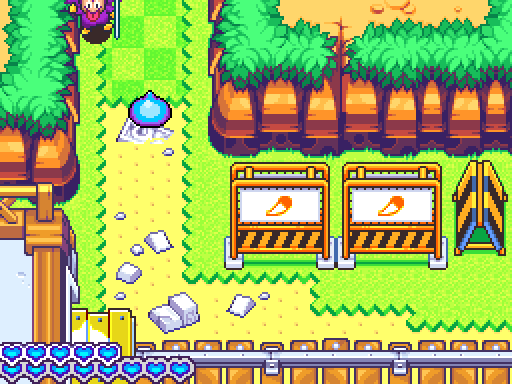
Alright, let’s continue on. Oh, and notice how the Plob’s signs have their signature tails on them? I don’t believe I’ve mentioned it, but in the other (untranslated) games, supposedly our foes are simply called the Tails Brigade.
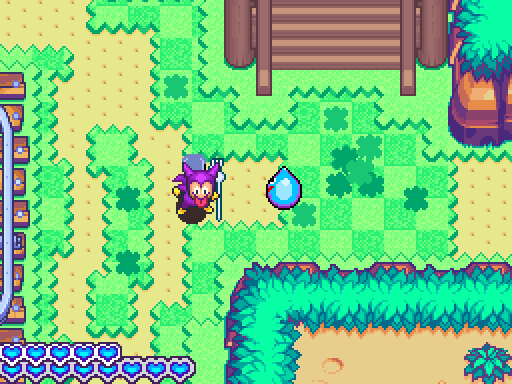
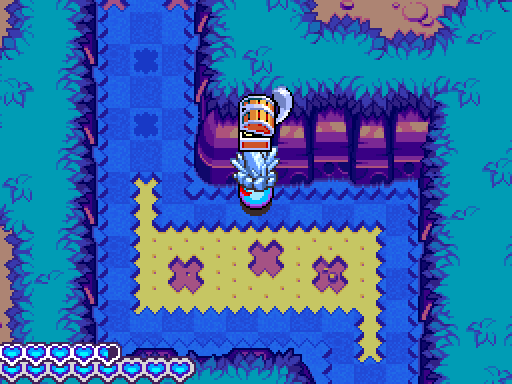
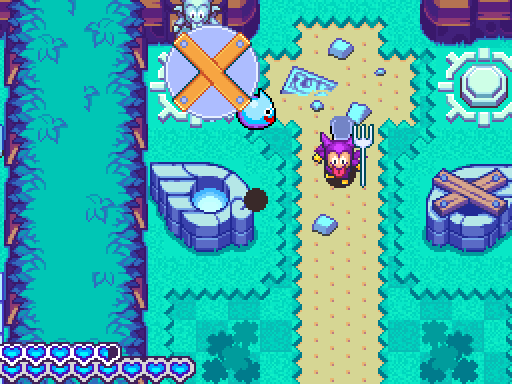
Ah, we have a little bit of platforming to do here.

You can just jump over these gaps though, so the only possibly threatening part is the fact there’s Jinksters about.
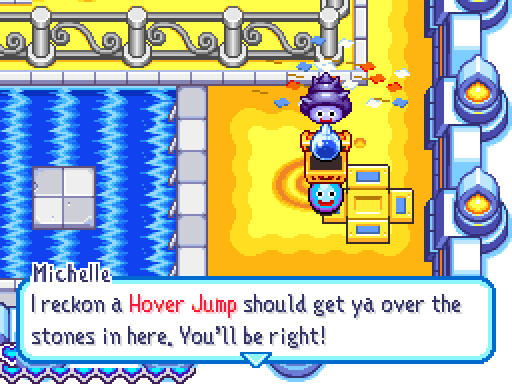
 Just press the A button while you’re jumpin’ an’ you’ll start to hover. Bonza!
Indeed, the gaps on this side are a little wider. However, you can also charge up an Elasto Blast and then get pushed back to each platform if you’re really opposed to hovering.
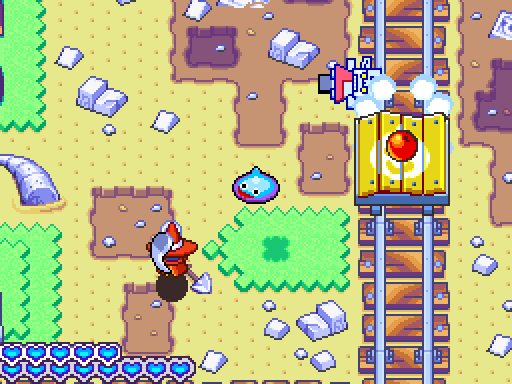
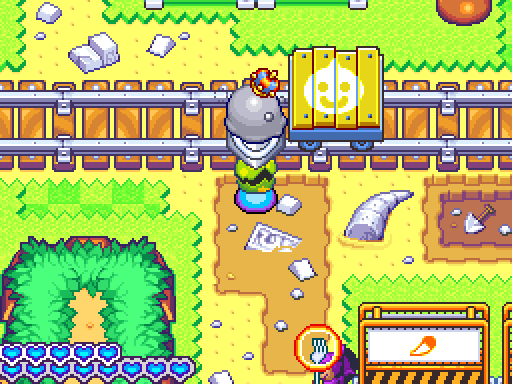
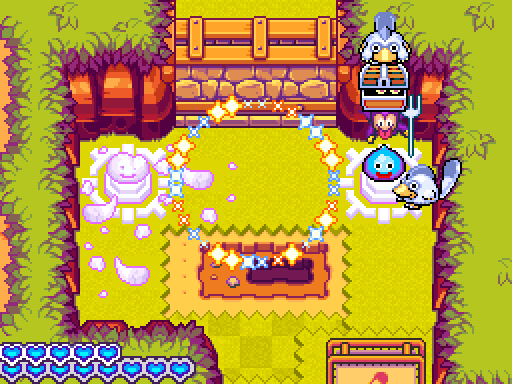
 I wonder why there are cannons on top of those carts. It’s a real mystery!
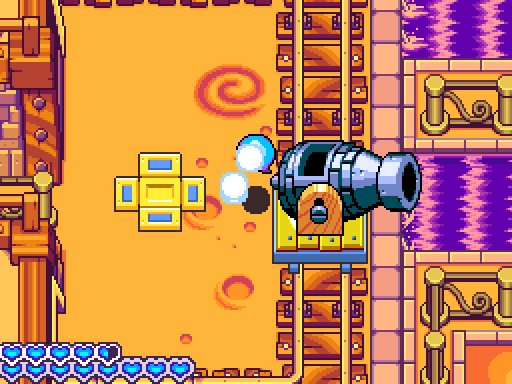
No idea what they’re there for originally, but they’re handy for crossing this last rapid.
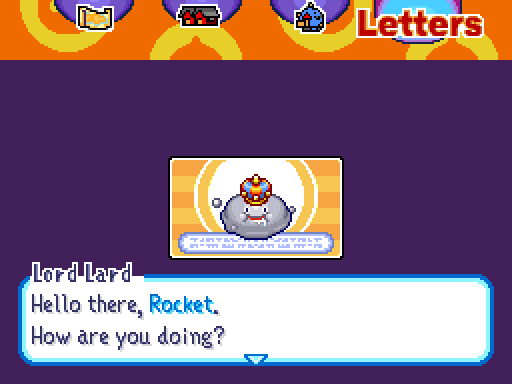
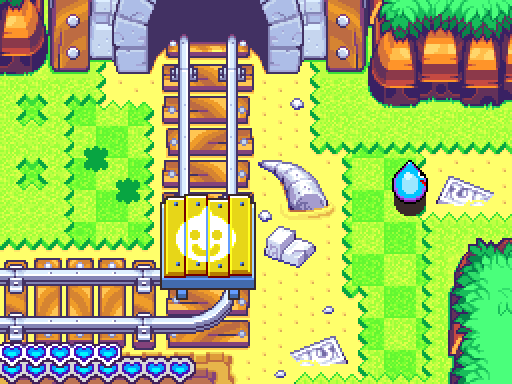
And now we get to go underground! But first, letters.
Well, we can make it breathe fire… and there’s plenty of room. Perhaps after the adventure we can have a 101-strong slimehabitant party.
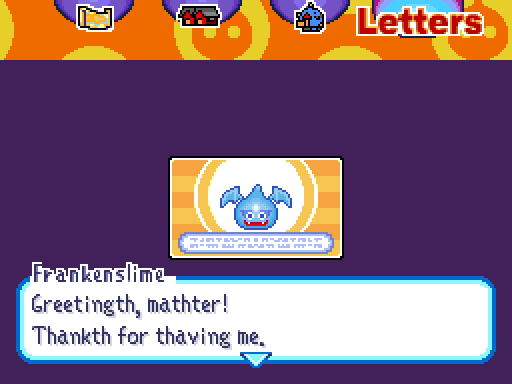
 Oh, and we get some holy water out of this letter.
 I’m going to marry you when I grow up. Oh no! That was supposed to be a secret!
Heh, turns out that saving everyone in town tends to make you pretty popular. Our little admirer adds another holy crystal to the collection.
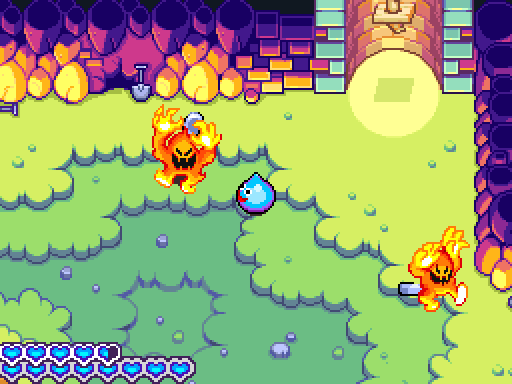
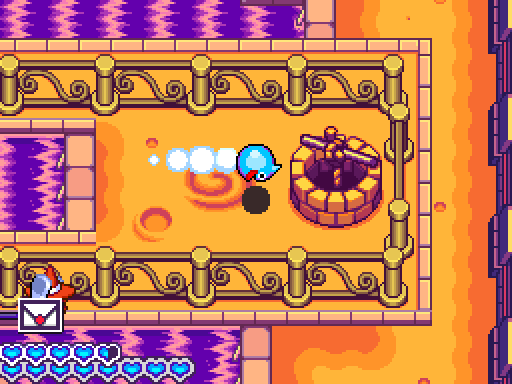
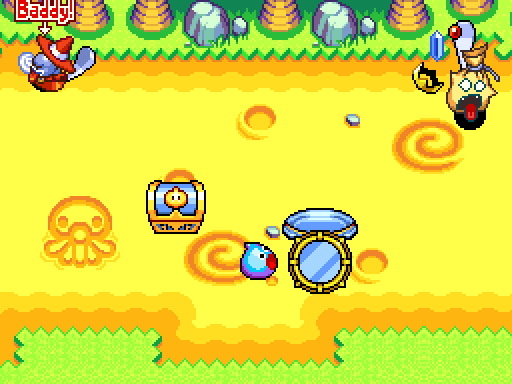
Down the hole lies our first proper encounter with the Dancing Flame, a monster with 3 HP, 20 Gold and a flaming breath attack.
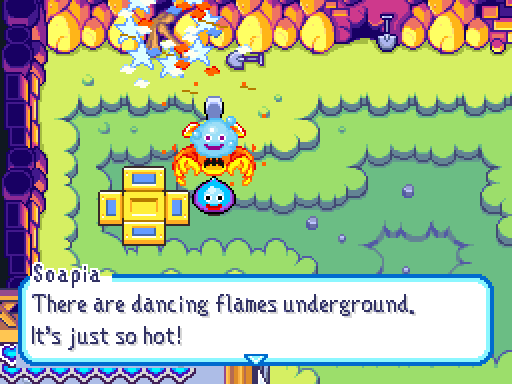
 If only there was some way to get the better of them.
However, they have a special quality that Soapia hints at… Let’s take a brief glimpse into the future to see what.
As you may expect from a creature that is almost entirely made of fire, they don’t like water very much. And in fact, killing them in this manner bypasses the usual 18.75% chance and forces a Dancing Flame to drop a lucky bag! They contain chilli peppers and fire water in a 50/50 spread, so this is a very easy way to stock up on the latter. Jinksters drop these same two items along with their holy crystals, but this is clearly the better option.
Anyway, we now return you to our regularly scheduled programming. And here’s where the two paths are about to break into the northern portion of the area.
 I got you a little present to say thanks. Here you go!
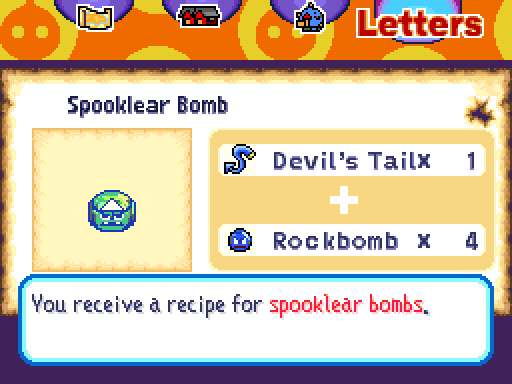
Wow, that’s a bad conversion rate on rockbombs. And while the cloaking devices you could make with spooklear bombs are cool, there are better uses for devil’s tails.

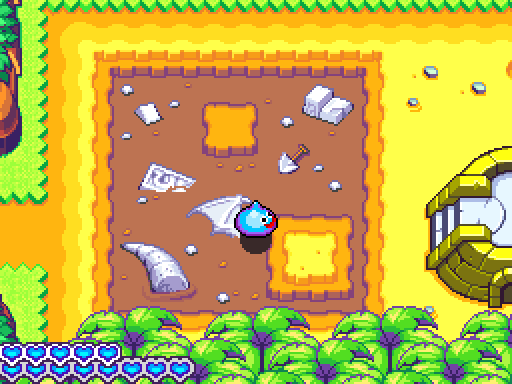
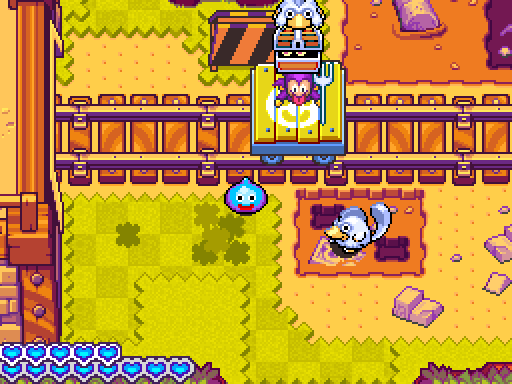
Oh, this screen.
 It’s a tiny bit mazy, but there’s nothing but Picksys and a single Mimic around to bother you. There’s also two Holy Crystals down in the bottom right corner, but only one can be reached from each path.
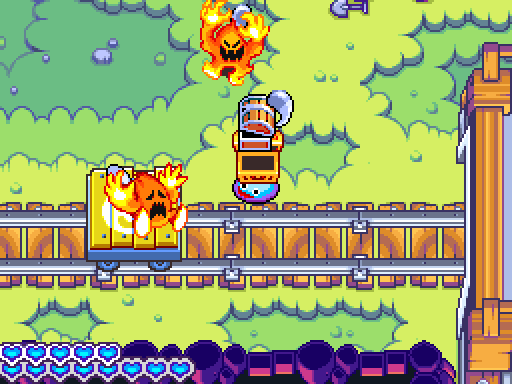
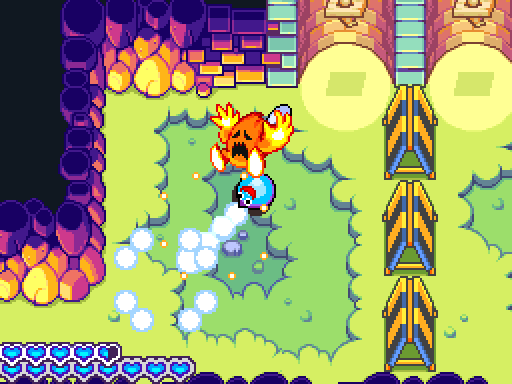
While backtracking to load up some spoils, one of the flames gets to show off their attack. As you can imagine, this can do some serious damage in a tank battle.
Navigating the miniature maze leads us to the first of the rockbombs we’ll be needing.
There’s also a handy warp back to the door itself. But we’re not quite done with the western path yet.

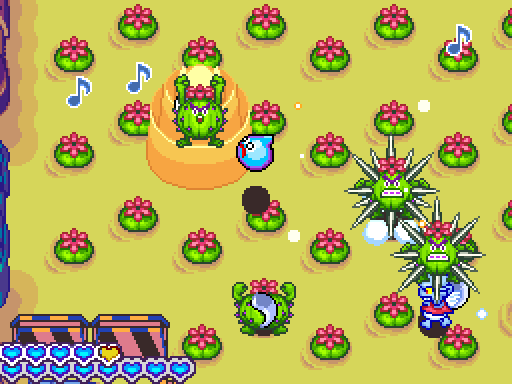
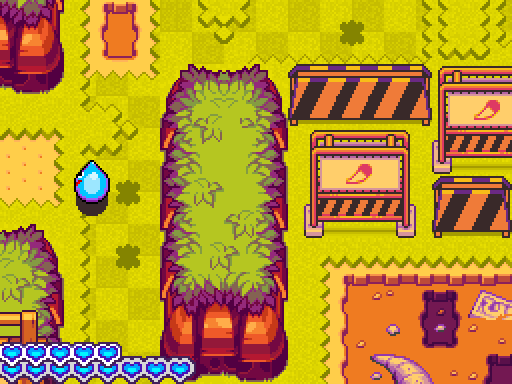
Yeah, uh… Be careful with the spinefield here.
The Cactiballs are significantly less dangerous after their initial surprise attack, and even more so once the Picksy among them is gone. Their lucky bags have a 50% chance of holding a golden arrow, 25% of an irritaball and 25% of just a old oaken club.
Once they’re cleared out, we can open the way to the obvious tank battle room.
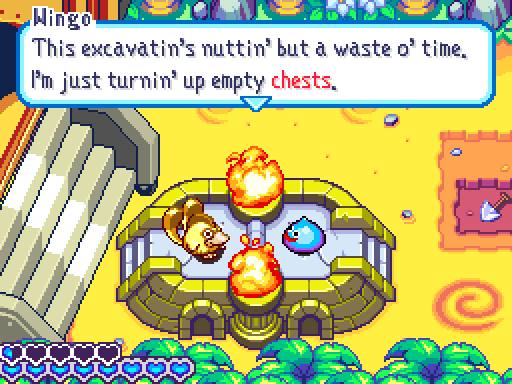
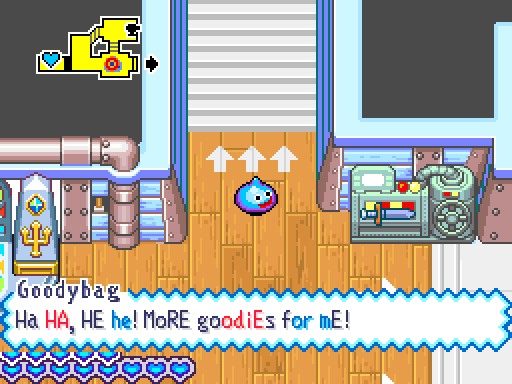
 Hm? Yowzer! A slime!
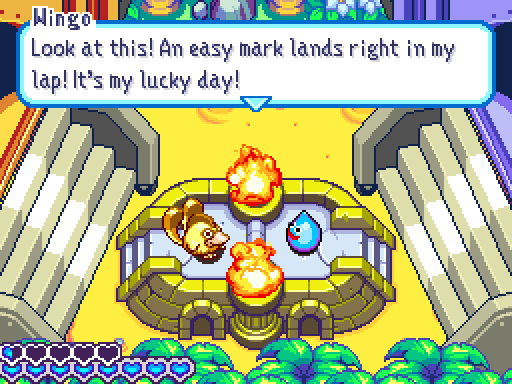 I’ll be in your tank cleanin’ out your supplies so quick, you won’t have time to spit!
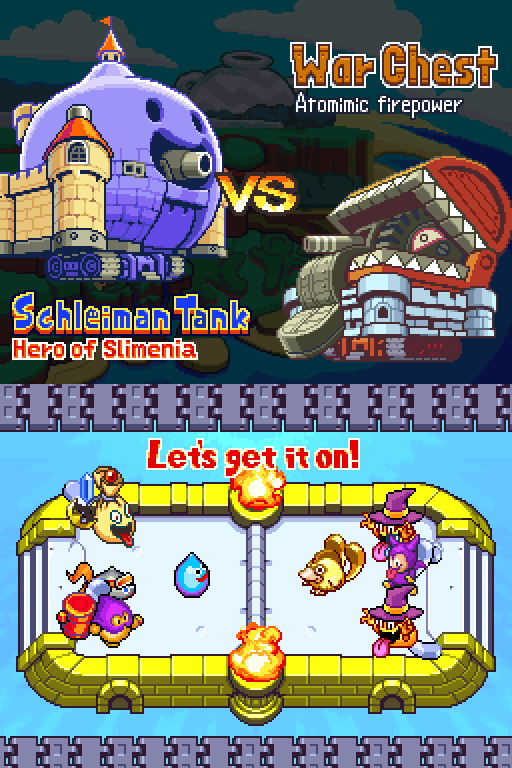
This hardluck platypunk has been kind enough to spell out his gimmick already, and that pair of ghosts on his team are entirely about snatching ammo, as you might recall. Let’s slam the lid on this one.
The War Chest does have a few good pieces of ammo in its collection, namely edged boomerangs, BS-2 missiles and iron shields. The lion’s share of it is just 5-damage chests though.
The ghosts are an annoyance at best though; even if they do make off with some of our ammo, we can handle ourselves well enough with it. And yes, they are 100% invisible. I have no idea where they are aside from the minimap telling me which third of the tank they’re in.
Except in the very rare cases that I manage to spot them while they’re carrying my stuff. This is the only time in this fight that happens.
The clash with the War Chest is a breather battle, really. There’s nothing especially threatening about it, thanks to how slow the ghosts are to steal stuff. (The engine room’s forked again, so go south.)
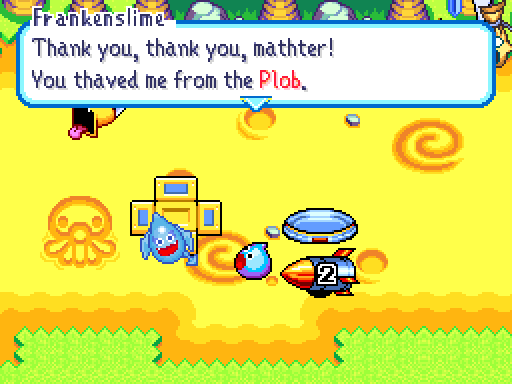
 If I thee any of thothe criminalth around, I’ll pull off their preciouth tailth!
Good luck with that, Frankenslime. We couldn’t even get ours to take theirs off!
...Apology accepted, I guess? That’s more remorse than most of the two-tailers have had.
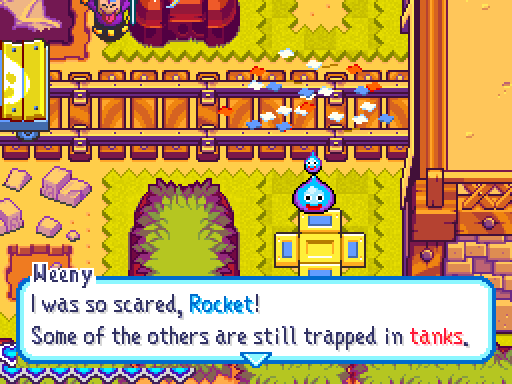
 How dare the nathty Plob meth up our town like thith! You can’t let them get away with thith, Rocket!
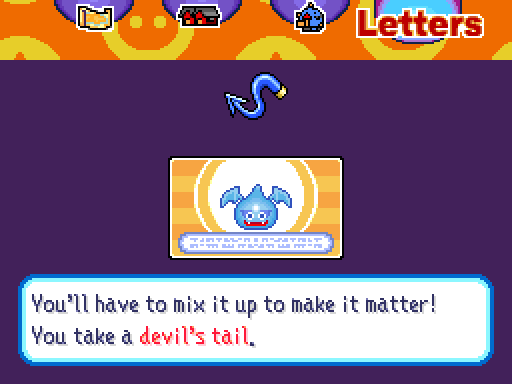
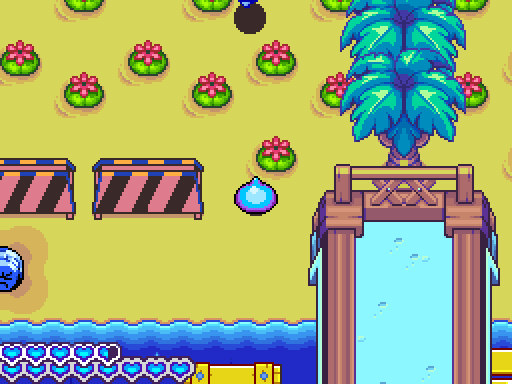
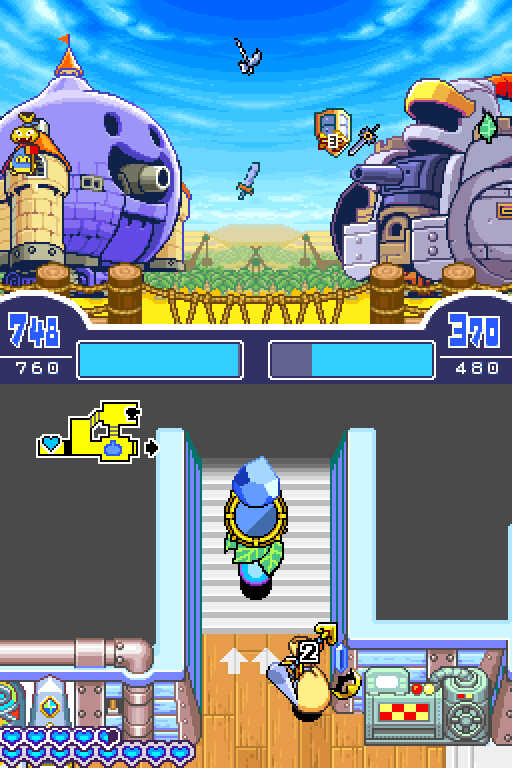
Ah, wonderful. Hopefully I can get enough of these to be useful; I think others are only available from the local Imps and one treasure chest, so I’d have to farm some up (probably from the latter).
With the western path cleared out, it’s time to start working on the other.

There’s not much to see in the first part, but then we’ve got another little semi-mazy portion.
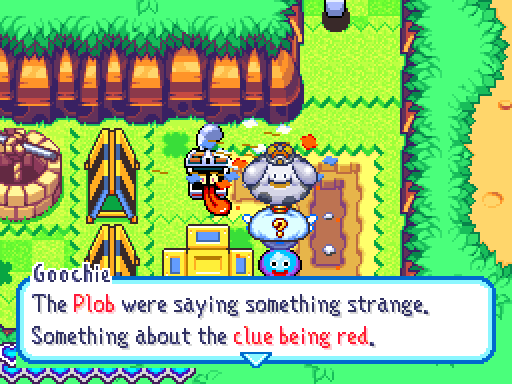
And would you look at that, something that actually qualifies as a small puzzle. Or rather, the first hint to one.

 ...Collect the monsters that reflect the truth. Then your path ahead will open.
The extra advice is appreciated, but really not necessary. The components are scattered across different parts of this little section, though.
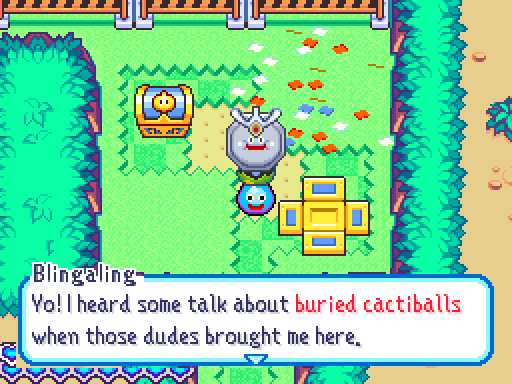
 I don’t know what they were barking on about.
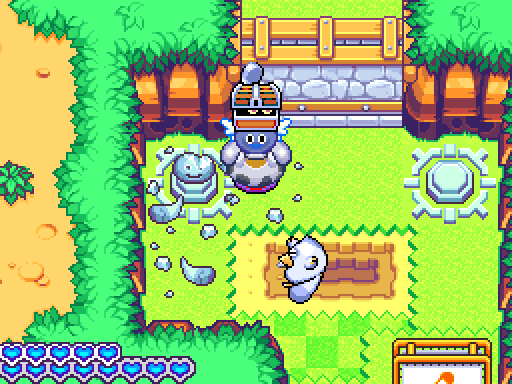
So yes, we need to assemble the combination for this door from the other statues due to the broken one here, and then gather up the components. It’s straightforward, but still serves its purpose.
 I’m sending you something. A top dog like you should know what to do with it.
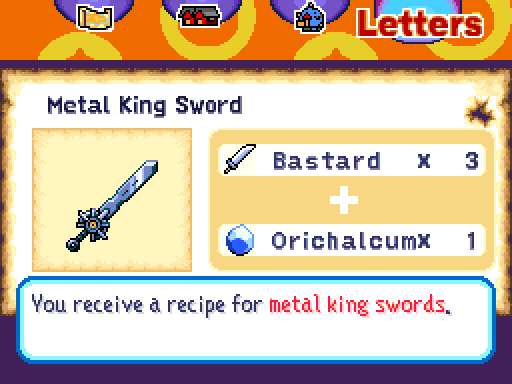
Behold, alchemy’s best sword at 80 damage. It’s not the best item to stock your tank with, but it works. Orichalcum is actually quite difficult to come by though, so I’d recommend passing over making any yourself.
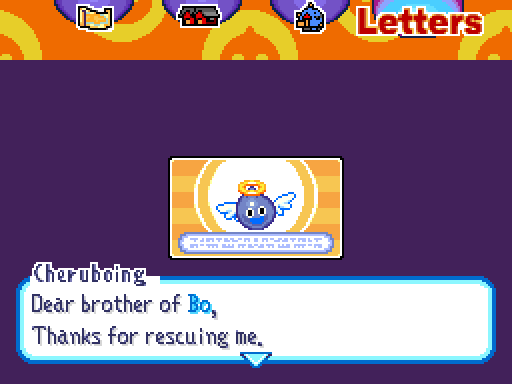 Bo’s so lucky to have a kind, brave brother like you. I hope you’re doing okay out there. I’ll be thinking of you!
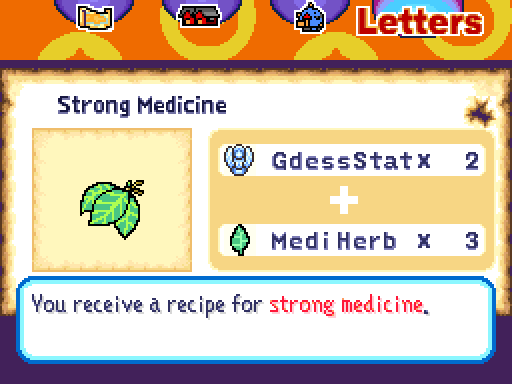
I’m not quite sure what to make of Cheruboing’s letter, but this could be handy. It’s slightly doubtful though.
Alright, let’s open up this lock now.
I neglected to mention it earlier, but the Mimic also has a pretty good spread of items for their lucky bags. There are equal chances of getting steel broadswords, special medicines, miracle swords and gold bars. I’ll be needing some of the old broadswords later, so that’s a solid selection.
 Oh, please rescue everybody!
Must… not… make Austin Powers reference…
 I feel a bit shy writing a letter. But it’s nice and romantic, isn’t it? I had to get one of the big slimes to write it for me because the pencil was too big…
 And yet the small slimes still count as lifting one slime ton. Oh, and our little friend sends us a shuriken.
To show off the entirety of this area would make this update a bit on the long side, so let’s close things out for now with one more tank battle.
Everybody wants Rocket today, it seems.

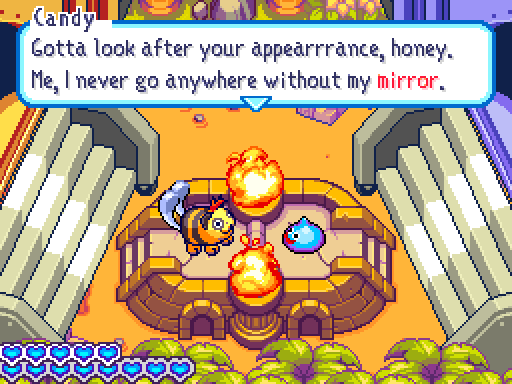
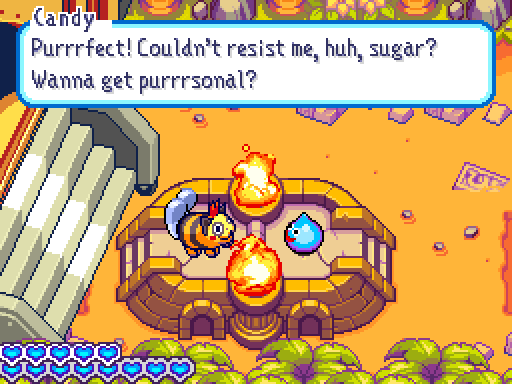
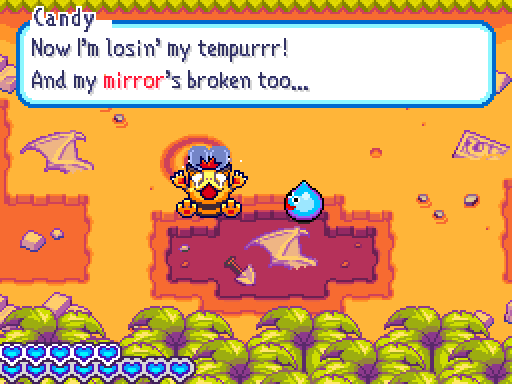
 Whatever doity stuff people throw at me, my mirror shield reflects it straight back!
Fort Knight and its punny motto return with another defensive gimmick, one straight out of our own playbook. Let’s see who has the shinier shields.
Candy also has some edged boomerangs in stock, so not even my hell scythes are safe. How bothersome.
There’s also some metal king swords in their ammo bins, but those are less of an issue.
You want to know the funny part? Despite talking about it several times, Candy never gets to fire a mirror shield at us. I suspect that she may only start doing so at low health, and simply never had the opportunity.
Another one for the pile.
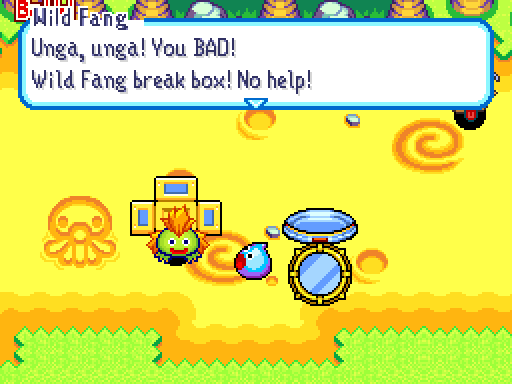
 ...But box strong. Too strong for Wild Fang. Wild Fang say...unga.
Don’t mention it, bud.
")
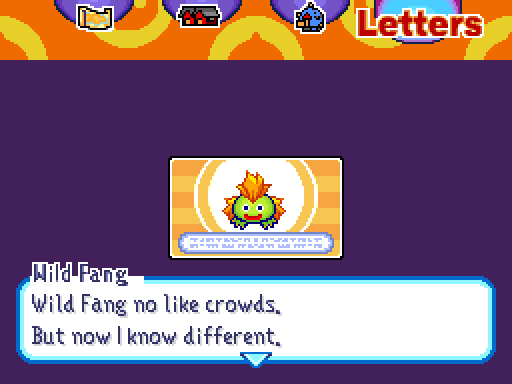 Friends are important. Unga! What I say!? Huh. Wild Fang thank you.
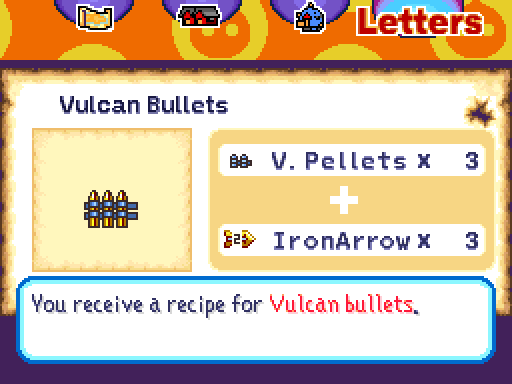
These bullets are the middle tier ammo for the vulcan gun, rattling out 40 damage in total. These are actually quite easy to get a little later though, so don’t bother making any.
Alright, that should do it for today. Last update was a bit oversized, but this should make the next one about right. I’ll see you all next time, when we explore the rest of the necropolis and see if we can find out more about this sinister plot.