Part 19: Tying up loose ends.
Update 17: Tying up loose ends.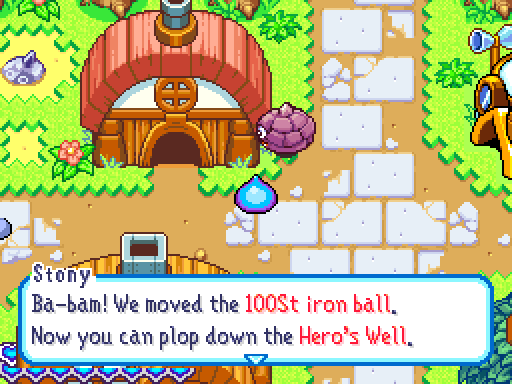

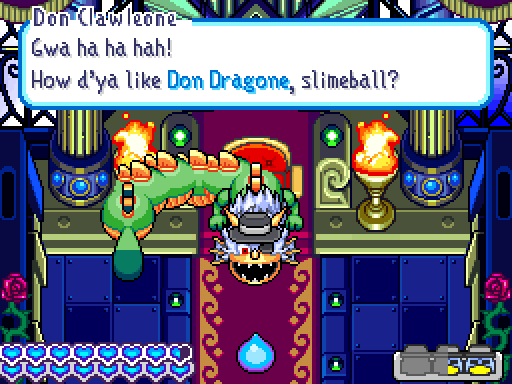
 They were talking about throwing a stone down to see how deep it is. Ga ha ha!
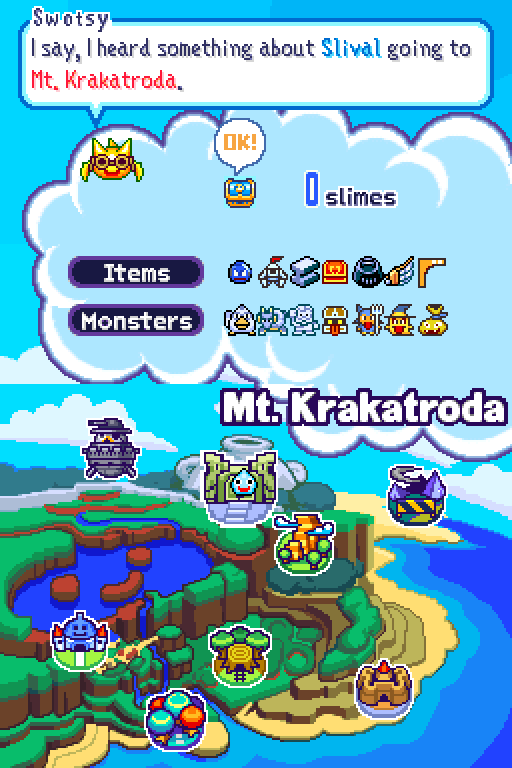
Welcome to the post-game round-up and Tank Masters preparation session, everyone! We have a small checklist of things to take of right now, which includes:
-Talking to Big Daddy
-Investigating the Hero’s Well
-Talking to Slimechanic
-Revisiting the Flying Clawtress
-Seeing if Slival’s still around
-Getting new ammo
Hmm… Yep, I think that’s about it. So since we’re right here, let’s get those first three out of the way.
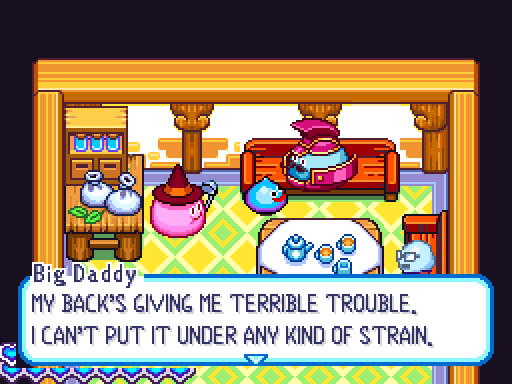
 I’VE HEARD TELL THAT SPECIAL MEDICINE CAN WORK A TREAT ON BACK PROBLEMS. IF I COULD JUST FIX THIS WRETCHED BACK OF MINE, I COULD HELP YOU OUT IN YOUR TANK.
Before going to fight Don Clawleone, I actually went and nabbed a special medicine off the Clawtress’ Jinksters. I’ll want a few more later on, but for now let’s help dear old pops with his back problems.
AH! THAT’S SPECIAL MEDICINE, ISN’T IT? DID YOU BRING THAT FOR ME, BOY? YOU DID? HOW WONDERFUL! WHAT A GOOD SOUL YOU ARE. QUITE HONESTLY, I’M OVER THE MOON! HOPEFULLY THIS SHOULD DO THE TRICK.Big Daddy uses the special medicine. His back is cured in an instant!
GOONESS ME! THE PAIN HAS COMPLETELY VANISHED! NOW IT’S MY TURN TO HELP YOU, BOY. I KNOW! MAMA MIA AND I WILL JOIN YOU IN THE SCHLEIMAN TANK!

 IF YOU ADD US TO YOUR CREW, WE’LL BE ABLE TO HELP YOU FIGHT!
Let’s go take a quick peek at how Rocket’s parents perform.


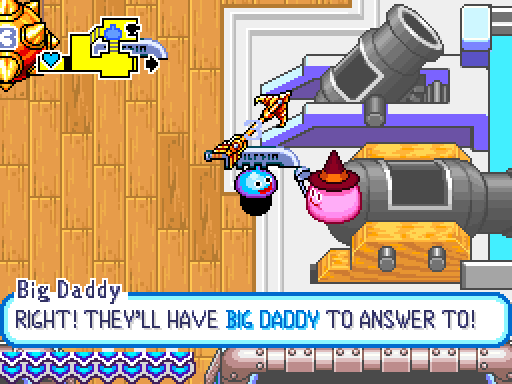
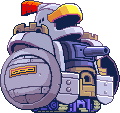
With 5 HP and a complete focus on combat, Big Daddy will wreck opponents with ease. The only question is whether you want him guarding your stuff, or wailing on the enemies in their own tank.
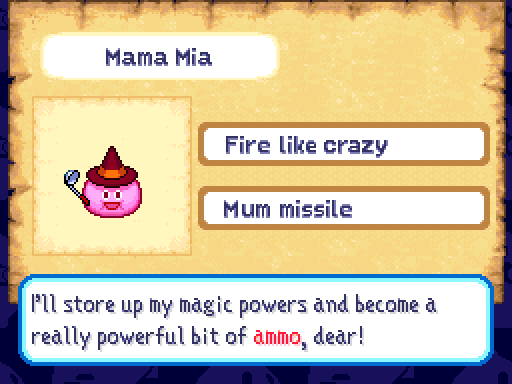
Mama Mia is pretty decent at loading cannons, and she can defend herself if needed with 4 HP and the Frizz spell. But her real value lies in her special Mum Missile command, which we’ll see in action a little later.
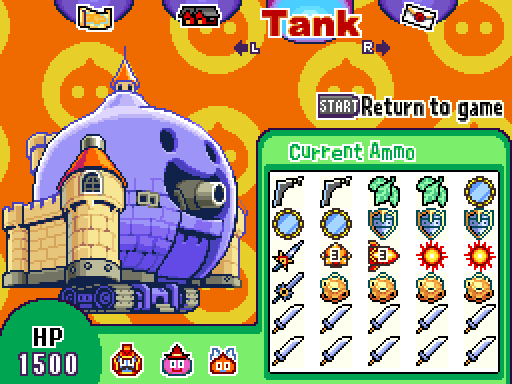
Since we’re in the garage, let’s also have a peek at Slimechanic’s last two upgrades.
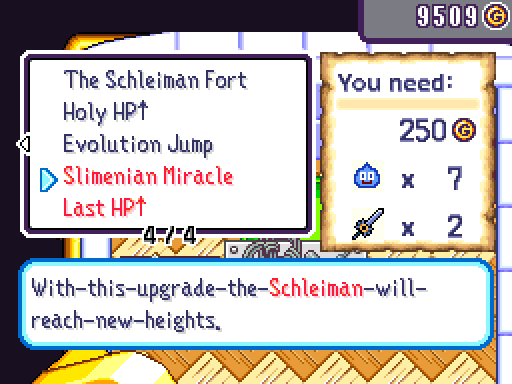
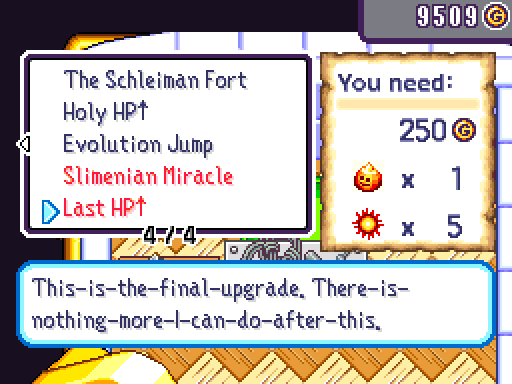
 Two Metal King Swords? Five Kafrizzles!? Dear Goddess, that’s steep. Both of these upgrades are extra potent though, a pair of 250 HP boosts that would bring the Schleiman up to 1500.
 Just so you know, all material past this point is entirely new to me. I’ve never played the postgame before!
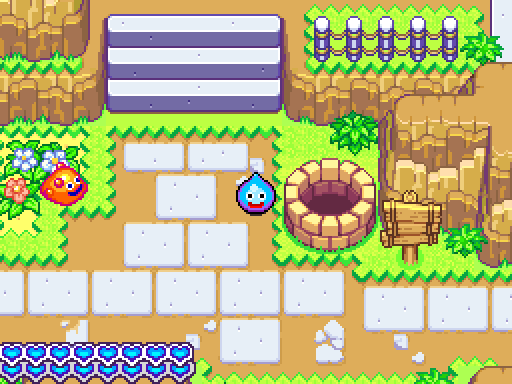
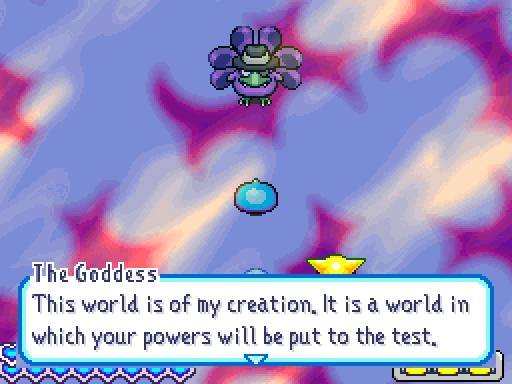
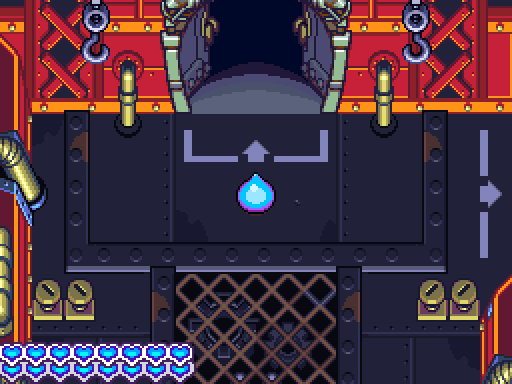
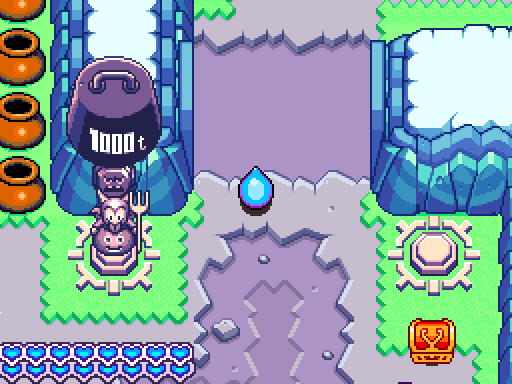
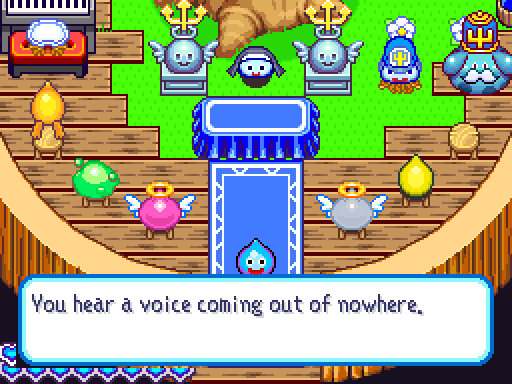
But before we go out and start gathering up the materials for that, there’s the small matter of this well to take care of.
Well, well, well. This is an obvious joke.
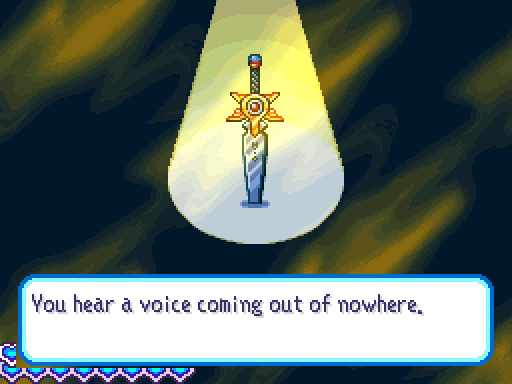

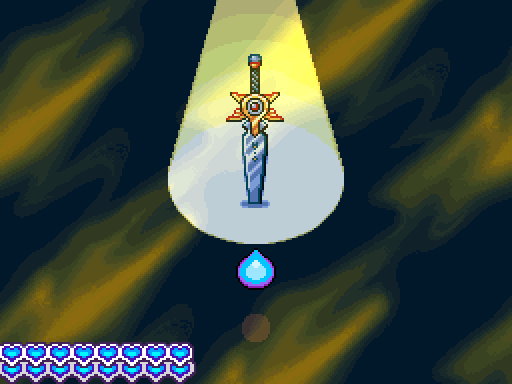
 If you succeed in completing my trial, I will present you with the Hero Sword. Will you attempt my trial?
For the best piece of ammo in the game? Hell yes we will!
 But strength alone will not suffice. I wish to also see you protect your friends.
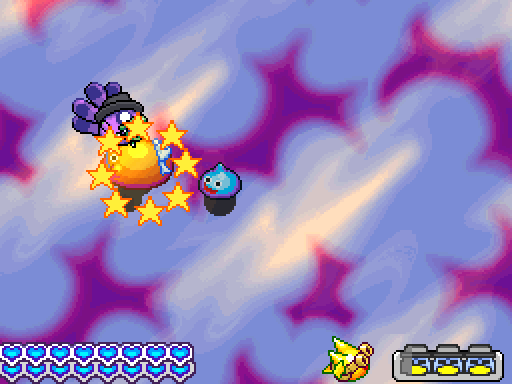

The Goddess’ trial is very simple, since the possessed Clawleone acts exactly the same way he does during the tank battle with Flucifer, and both Hooly and Bo will attack him if he appears close enough to them.
You could actually lose this one if you tried to just leave it to them, but it’s honestly not a hard task.
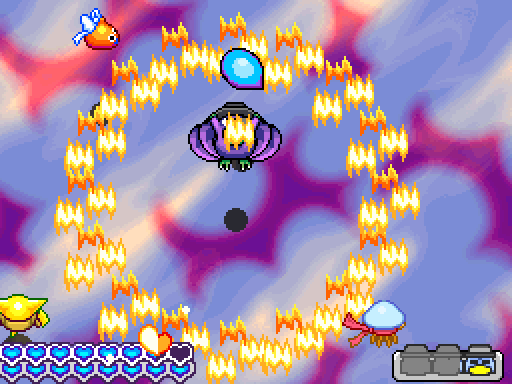
Hell, Rocket’s friends will even jump over the ring of fire attack most of the time. You basically have your work cut out for you.

 That Hero Sword is the mark of a true hero. Use it wisely to continue to defend Slimenia. If you ever wish to attempt my trial again, you are welcome to return here.
And with that, we get booted out of the well with a new sword to shoot at our foes.
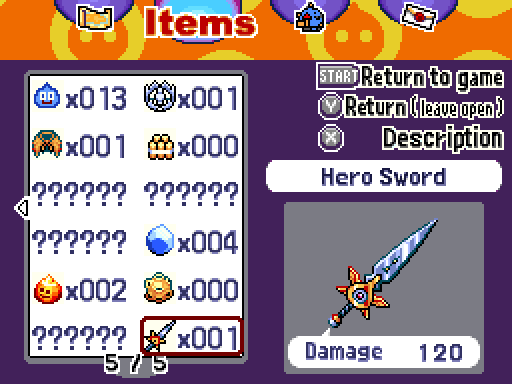
A mighty attacking weapon, truly worthy of the name ‘hero’, that does a massive amount of damage.
Combining the protective qualities of an iron shield with huge attack power means that this immediately goes into the Schleiman’s ammo racks.

A brief bit of alchemy later, it’s time to head out and take care of business elsewhere.

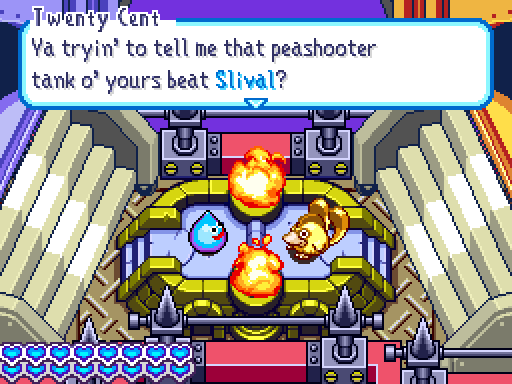
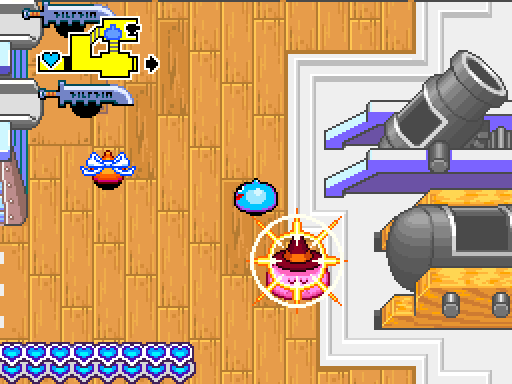
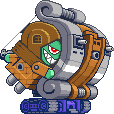
Our first port of call is the Flying Clawtress, where there are two important matters to take care of. For starters, let’s investigate Slival’s battle podium.
 If it’s true, then I’m gonna be a pushover for ya, right? Well, let’s see whatcha got! Call your Schleiman Tank, pal! I ain’t gonna lose to no slimeball!
Oops, it seems to be infested with some two-bit rapper. Better fix that.
 A liar’s worse than a crook, pal! It’s time I showed ya the Big Sleep!
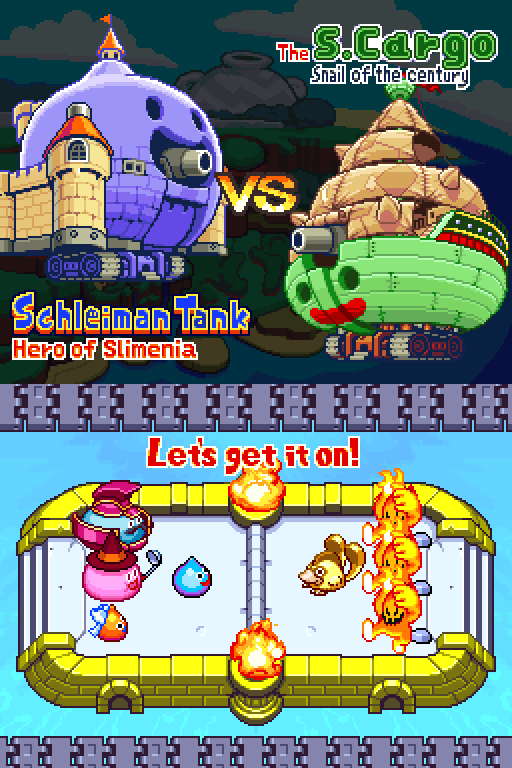

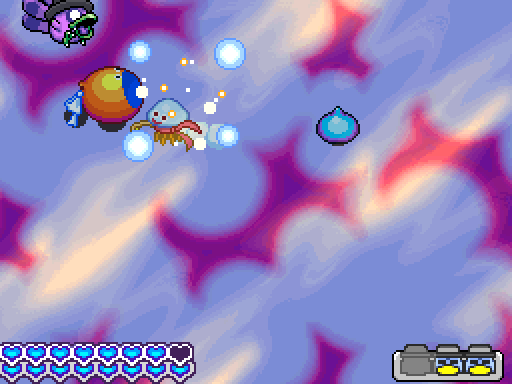
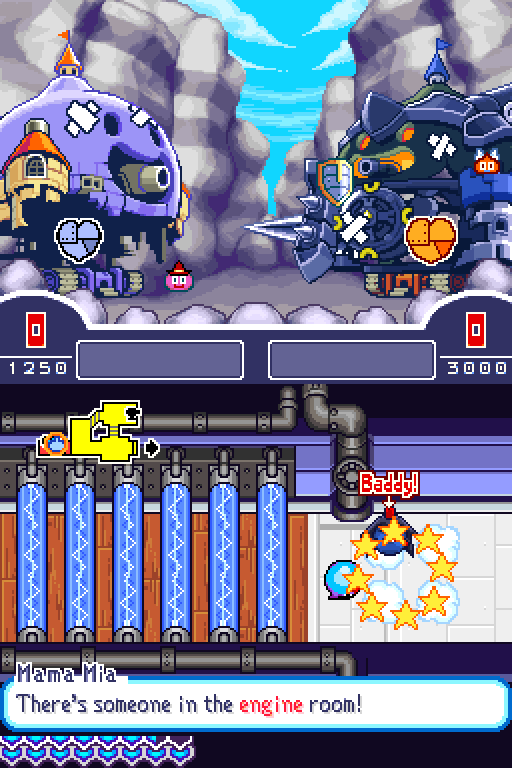
And you know what they say… The family that slays together stays together! With all those Dancing Flames to contend with, Big Daddy will have plenty to do. And of course, I need to show off Mum Missile. So sit back and watch the magic unfold.
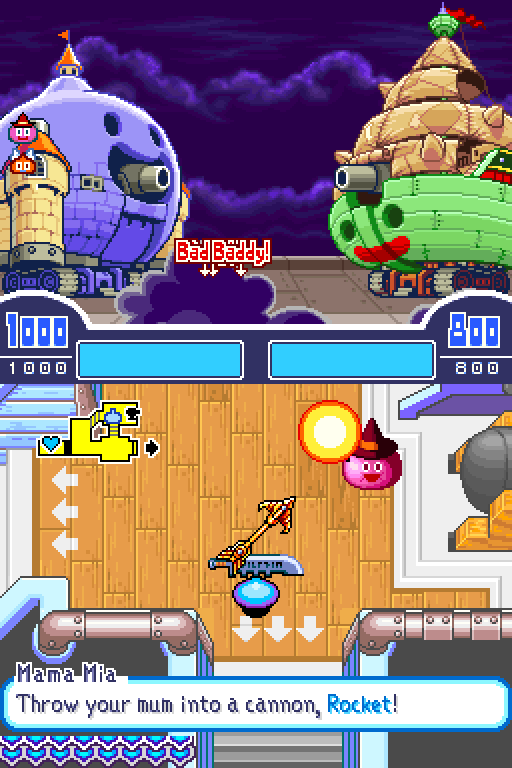

The enemies get straight into trying to invade us, leaving the S. Cargo criminally understaffed. And after about a ten-second charge time, Mama Mia has her spell ready to go.
I manage to mess up the first time though; it seems that you have to catch Mama Mia before she touches the ground, or she loses the magic she’s stored up.
When she gets a proper shot off, though…
Her attack will do either 100 or 200 damage to the S. Cargo, though I can’t figure out what causes the variance.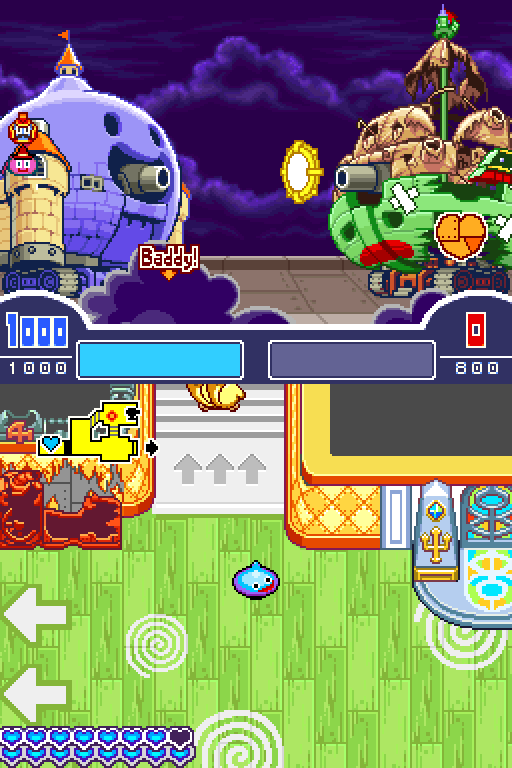
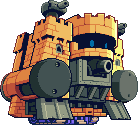
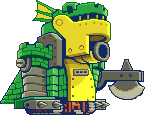
The enemy has a pretty nice selection of ammo, but it can’t hold up against the punishment the Schleiman puts out for very long.

The S. Cargo is an easy and very rewarding fight, because it will cough up Orichalcum, Meteorites and the occasional Kafrizzle on rematches.
The first time will yield our one and only BS-3 Slimahawk.
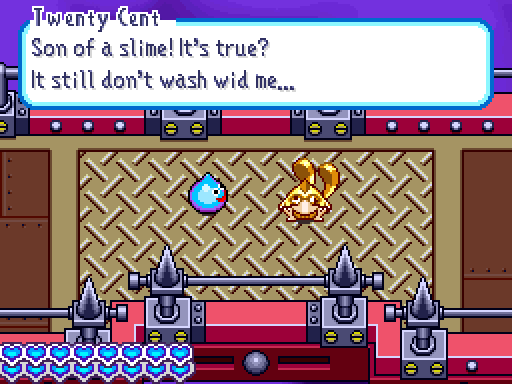
It’s needless to say that I will be kicking this Platypunk’s butt up and down the Clawtress.
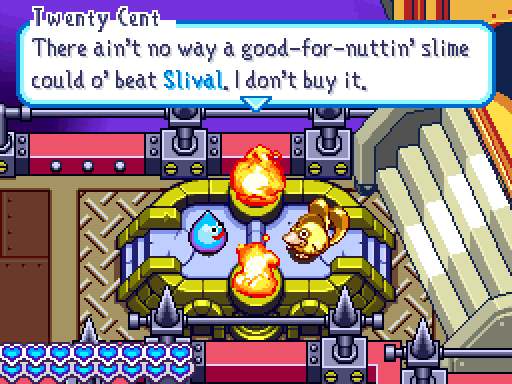
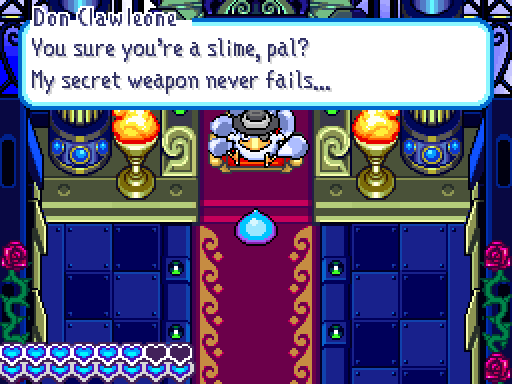
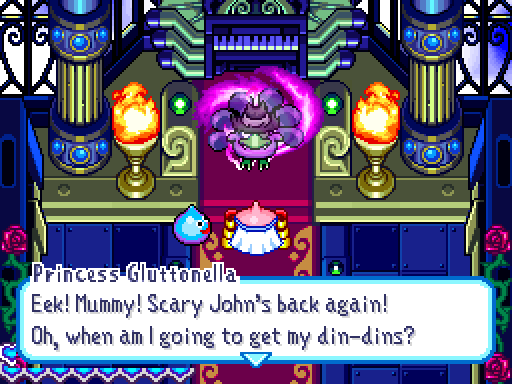
The other matter we need to take care of up here is to fight the final boss again. The dialogue here is actually pretty fantastic, so you’re getting it all.

 Are you on repeat play or somethin’, lady? I told ya, there ain’t a bean left to eat.
 You’re just being mean now. I’m not afraid to blow it again, you know.
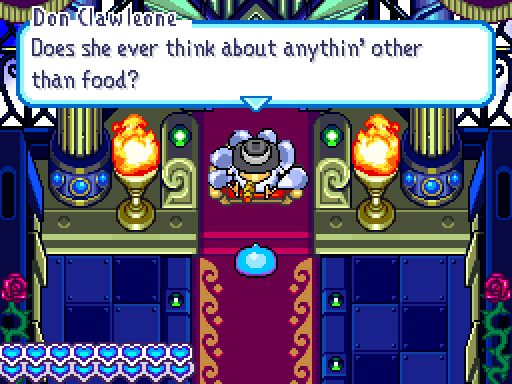 Just what kind o’ example does the king o’ Slimenia set for his kids, huh?
Clearly not a very good one, given that she’s willing to doom the world for food.
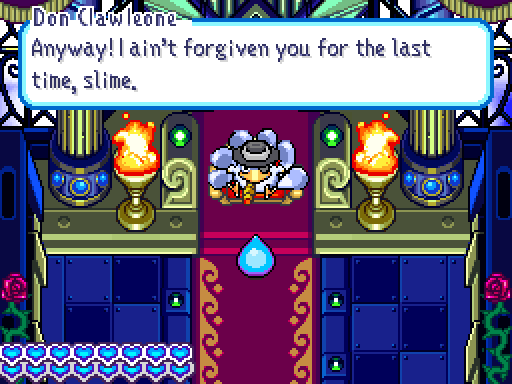 I’m really gonna let you have it this time. I ain’t gonna hold back!
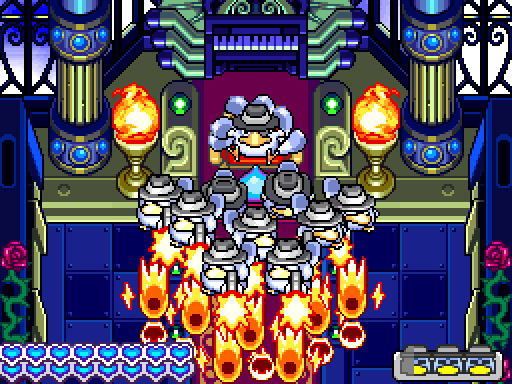

See, I totally learnt my lesson from last time!
 I’ll spare you the details though.
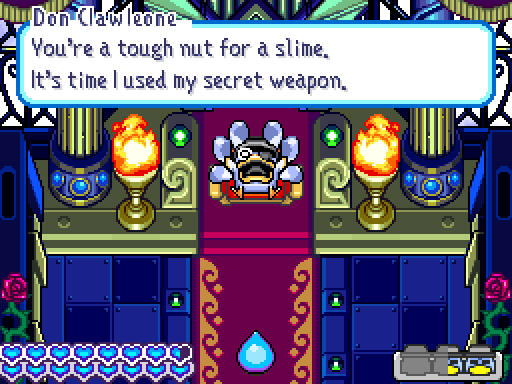
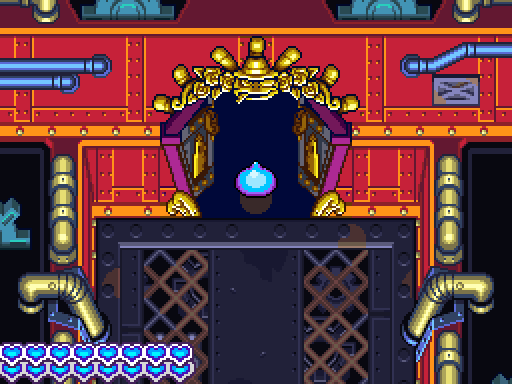
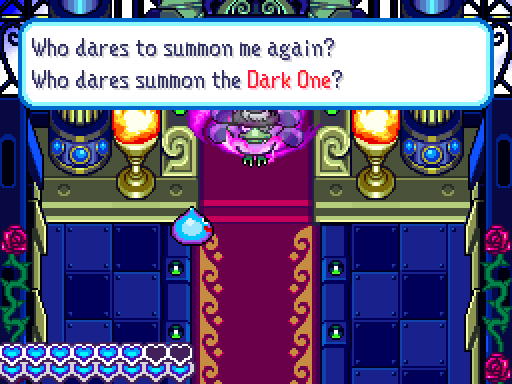
The specter comes out, and…
Hey, his second form has a proper name. How about that.
Some buttkicking later…
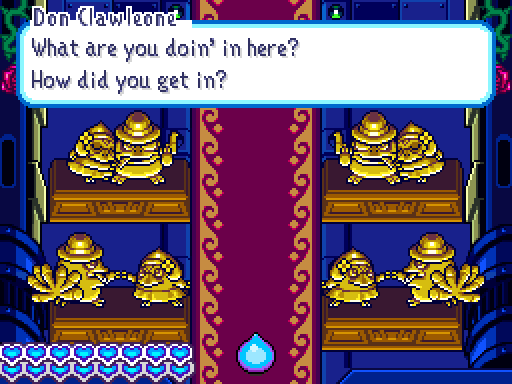
 It’s Don C-l-a-w-l-e-o-n-e, you crazy dame! You better remember that now! An’ I told ya to keep your mitts off that flute! Put it down! If you want me to put it down, then tell me what that mouth-watering smell is. Otherwise I shall summon that hideous monster again!
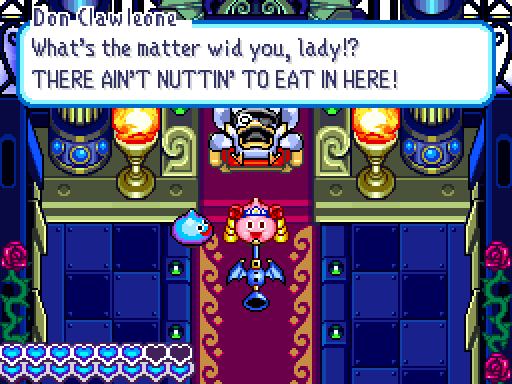
And of course…

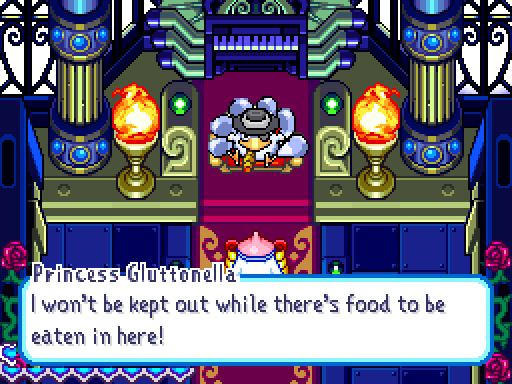
 It doesn’t matter. I know Rocket will defeat it for me again. So let me have my food! I ain’t never gonna get through to you, am I, lady?
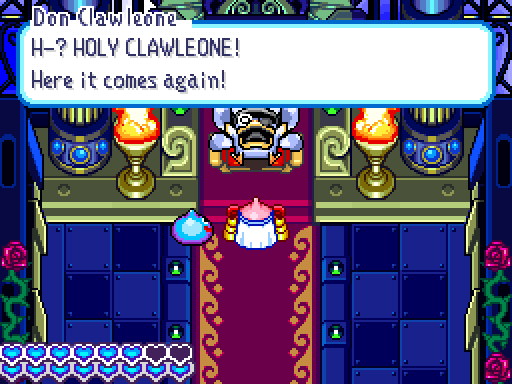
 Excuse me, Rocket. I’ll leave you to it…
 Wow, what an entitled little… Well actually, she’s certainly not little.

You’d think he’d be more grateful for being awakened again.
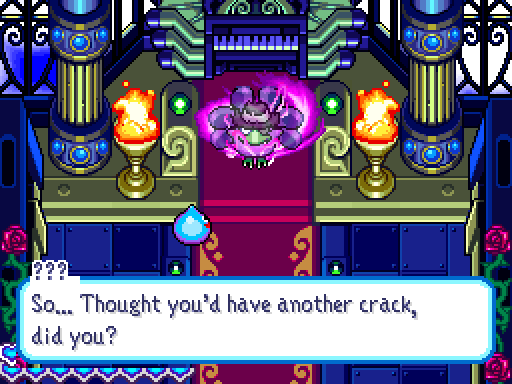

 And anyway. I’m not going to let him defeat you. That pleasure’s reserved for me! So just remember: I’m only helping you out so I get the chance to beat you later, okay?
TooMuchAbstraction posted:
I'm glad that they actually let you fight all the killbots instead of having Slival show up to do an "only I am allowed to defeat you" thing. Which is what I fully expected to have happen when you got surrounded.
You were just a tiny bit too early on that one, TMA.
And so we did.
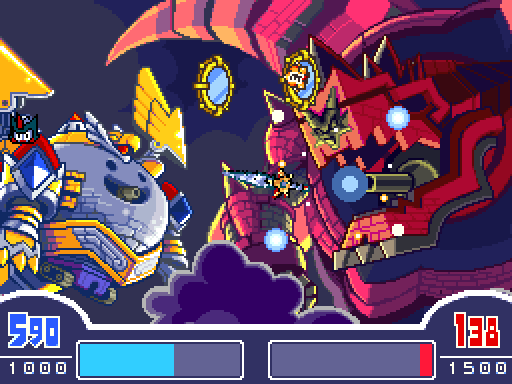
This time didn’t go quite as smoothly, since the boss got in two attempts to charge up his superweapon. I neglected to say so explicitly, but shooting stuff to stop this attack doesn’t damage Flucifer’s tank at all.
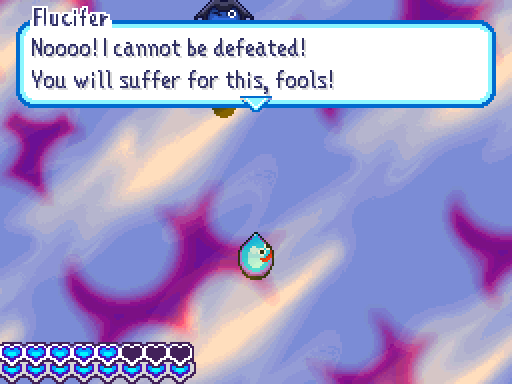
Gwa- Gwaaaaaargh!

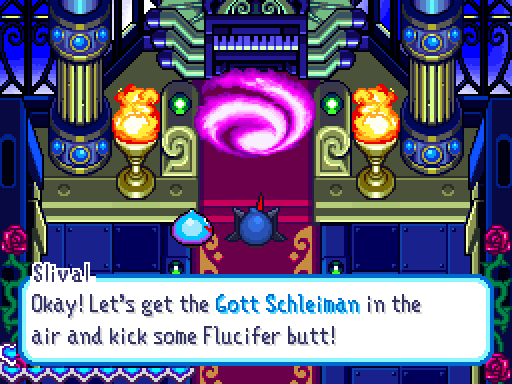
 There, that’s the reason I wanted to fight the final boss again.
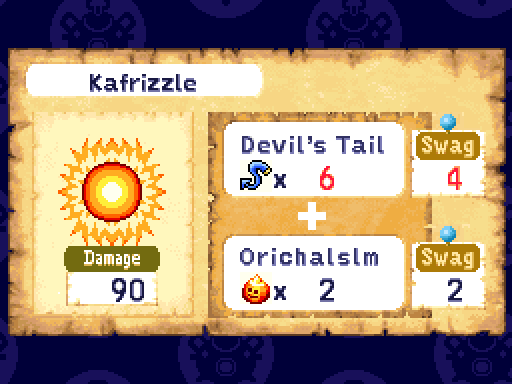
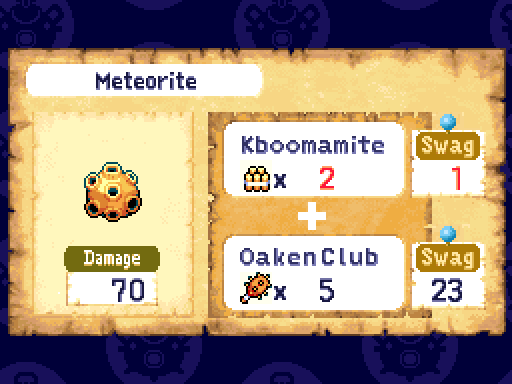
The Meteorites are way easier to get by fighting Twenty Cent again, but I will actually bother getting a few Devil’s Tails for the Kafrizzle recipe because of what we’re doing next.
D’you remember that whole business with the key Slival was going on about?

Well, he’s way back over here again. Just take the second-screen teleporter, head out the door and go east if you want to find this place.
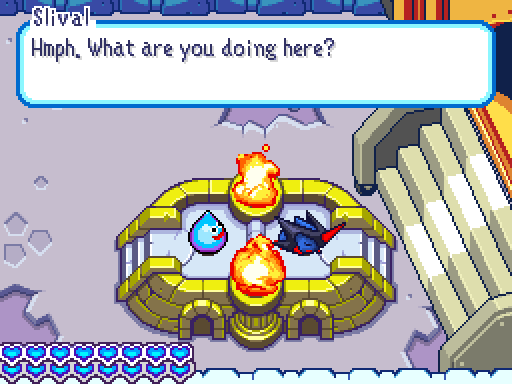
 You wanna settle this once and for all, huh?
Sure, I think this whole business needs a bit of resolution.
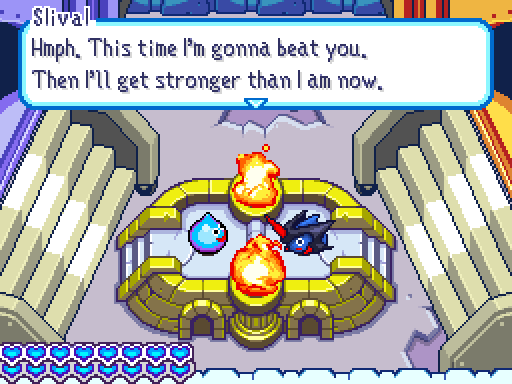 And I’ll find stronger and stronger opponents to beat, and keep fighting forever. I’m gonna crush you, Rocket! Let’s do this.
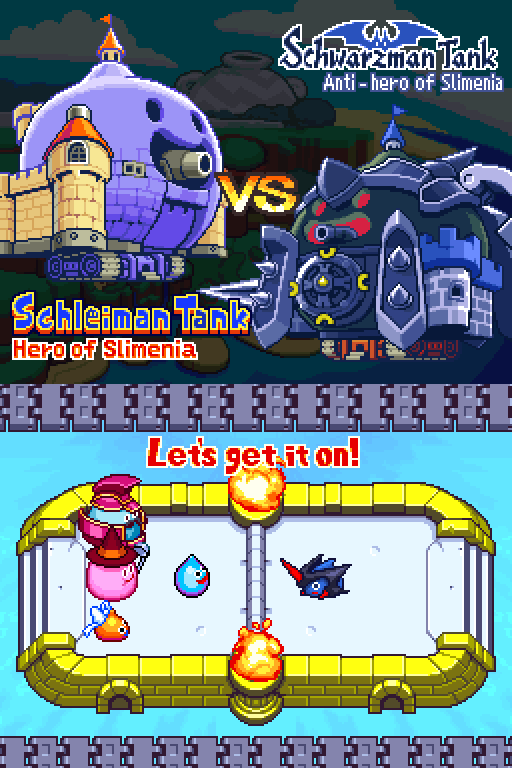
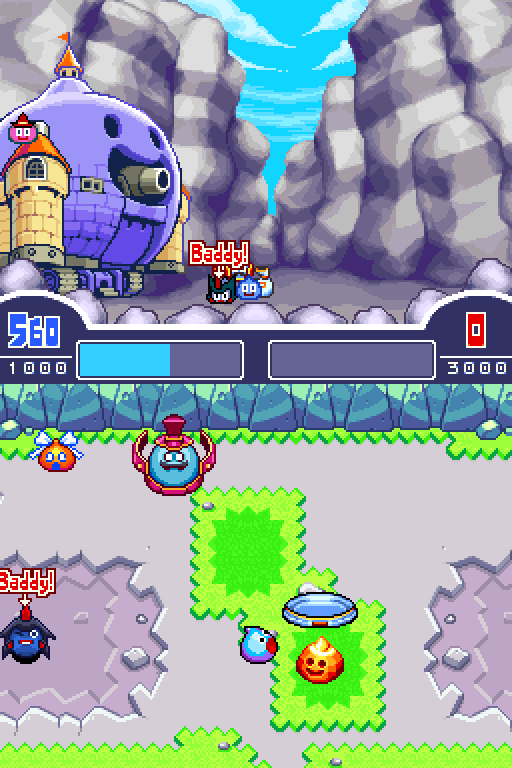
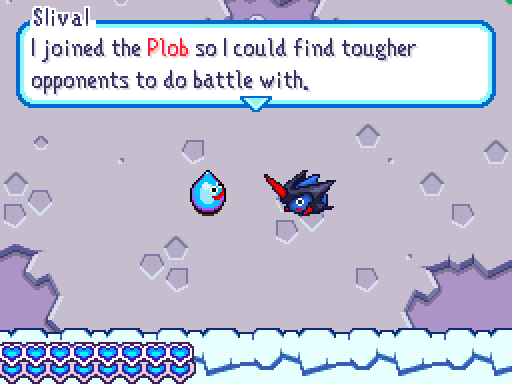
So there you have it, Slival’s entire motivation. He just wants to fight and grow stronger, so let’s help him test his strength.
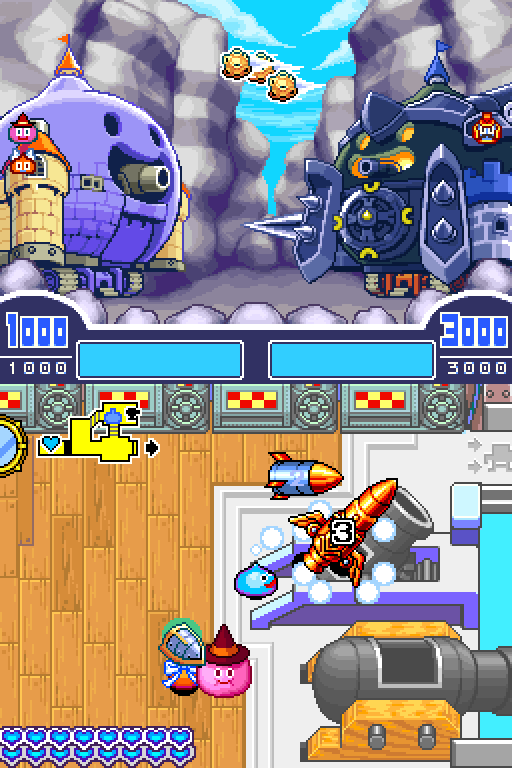
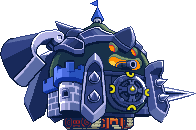
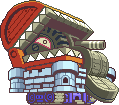
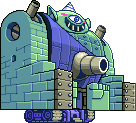
So, uh… Slival’s definitely been putting the Schwarzman through its paces. Yes, that does say 3000 HP. Yes, that is double what the Schleiman can possibly have.
And yes, those are three Meteorites headed at us. In fact, the Schwarzman’s entire ammo supply consists of Meteorites and a couple of Kafrizzles. This is actually a pretty nasty fight if you don’t go over there and wail on Slival yourself… which I can’t do if I want Mama Mia to use her Mum Missile.
Speaking of, you know how I said it did 200 damage to the S. Cargo?

Mum Missile is actually a percentile-based attack. Mama Mia will deal 25% or 12.5% of the enemy tank’s maximum HP. That’s right, maximum. Not current.

Just y’know, make sure Mama Mia actually makes it there.
The only real downside to using this attack is the charge-up sound effect. When played on top of one another, it almost sounds normal. But on its own?

Moving swiftly along!
 But it looks like that’s over now. I’ve found my nemesis.
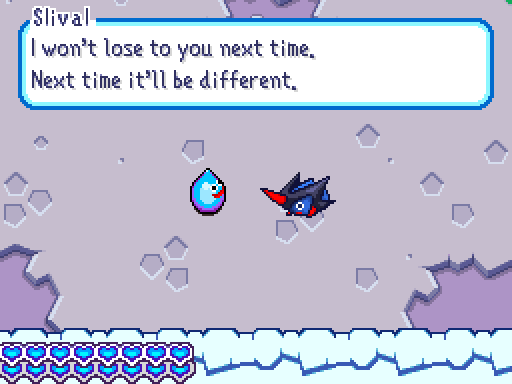
And indeed, you can come back here whenever you like now to fight Slival in his 3000 HP Schwarzman. You can get Orichalslimes, Metal King Swords and possibly Kafrizzles out of this fight. The first one’s the reason why I actually farmed up some Devil’s Tails to make Kafrizzles with, because Orichalslimes are only used in two recipes. (The other’s the Overdrive Tablet, remember?)
Dr. Fetus posted:
Incidentally, that final Slival fight was actually something nice the localization did for us. In the Japanese version, you needed the GBA Rocket Slime game in the DS to fight Slival, otherwise you just had a rematch against whoever was there before. Localization took that out for obvious reasons.
Dr. Fetus kindly brings us more handy videogame facts.
Beating Slival once also unlocks the Schwarzman for Tank Masters, which is cool. So, what follows this is just a whole bunch of fighting Slival, Twenty Cent and occasionally some of the Killing Machines for their lucky bags.
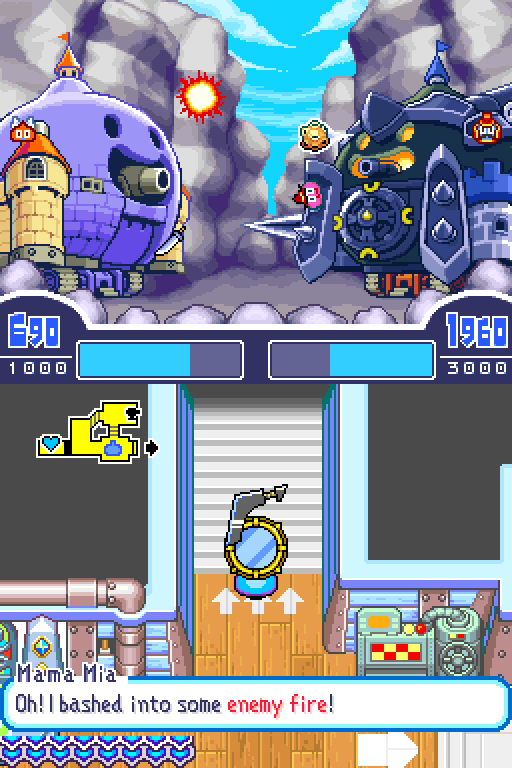
...The less said about this particular refight, the better.
All of the others go much, much better than this. But still, I figured I should acknowledge the first time this game has actually brought the Schleiman to zero HP.


Okay, that’s almost all we’ve got to do today. Let’s just head back to the church…
 Your prayers have reached me, brave hero. I would like to bestow upon you a new tank. I’ll be watching over you, as always.
...and use a few cheat codes! There are two tanks that we can unlock through pressing buttons while inside the church; Knightro (Y, L, L, Y, R, R, Y, up, down, select) and Nemesis (Y, R, R, up, L, L, Y, down, down, down, Y, select).
Once that’s done, there’s only one more thing before we get into the Tank Masters voting.

Ladies and gents, Rocket’s Rampage. (Dr. Fetus told me everyone in town has a line for being Elasto Blasted, so enjoy this bonus video! I don’t expect anyone to watch it.)
While I go and farm up some more ammo to replace what I had to give to Slimechanic, I’ll let you all get to voting.
-------
Alright, so we need to talk about Tank Masters! We have four ranks to go through with three battles each, and then a championship battle to cap things off.
Every single battle allows us to choose a tank to use out of all the ones we've beaten, plus a few special ones we've unlocked. (Giggles, the Schwarzman, Knightro and Nemesis.) We also need to decide on some crew members for each rank.
So what I need from each of you is something like this: "Rank C: Tank1, Tank2, Tank3. Crew1/Crew2/Crew3." And let's go ahead and keep things fresh by saying that we'll have no repeats, so if you want a particular crew member for one of the later ranks, they can’t have starred in Rank C.
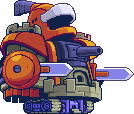
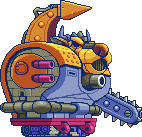
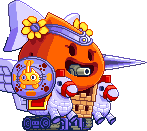
Please vote for Rank C now. For those of you who would like a reminder, here’s a look at our currently available tanks.


And our crew members:
Hooly
Swotsy
Mother Glooperior
Baron Blubba
Curate Rollo
Bo
Goosashi
Gooshido
Tokyo Tom
Flabbot Flancisco
Big Daddy
Mama Mia
Platypunk
Jailcat
Dracky
Mischievous Mole
Bunicorn
Picksy
Hammerhood
Goodybag
Mimic
Cactiball
Ghost
Imp
Wyrtle
Living Statue
Walking Corpse
Dancing Flame
Jinkster
Restless Armour
Killing Machine
Golem