Part 8: Post 07: The Stones of Sunlight
Post 07: The Stones of Sunlight
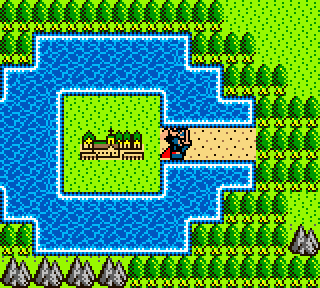
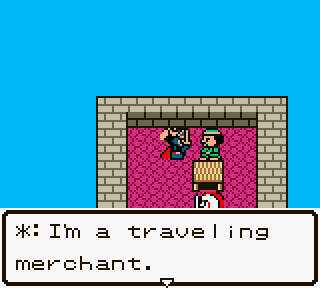
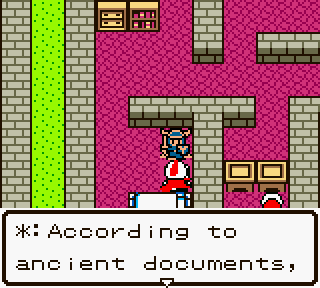
With Keys in hand, the world is ours. Heading out of Rimuldar, we'll head south to the Sacred Shrine!
But first, encounters with the wildlife.
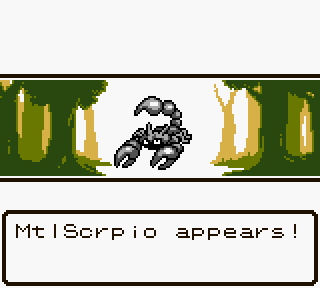
MtlScrpio (which is MetalScorpion ran through the very small name limit) is like the Scorpion, only with a lot more defense. It can also defend itself, which makes it even more resistant to attacks.
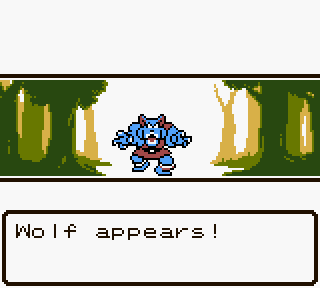
The Wolf is quite powerful, and can tear you to pieces relatively quick.
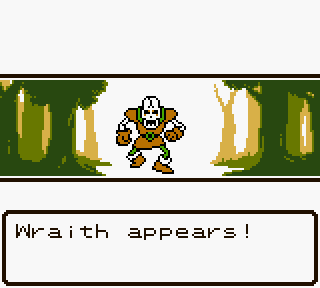
The Wraith is an upgraded Skeleton that can beat the crap out of you a lot easier. It also knows Heal, which is all around bad for us.
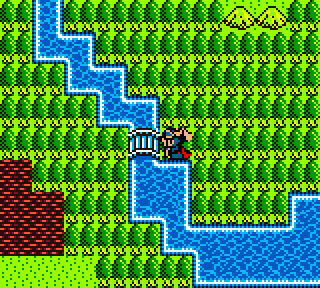
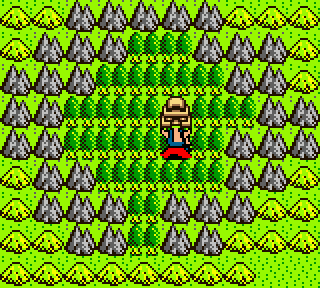
Crossing this bridge here causes the encounters to jump in difficulty, if they weren't already kicking your butt all over this region.
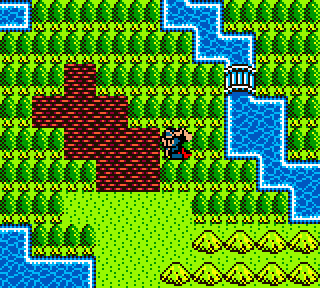
I'm not sure why this marsh is here, but stepping through it still hurts.

Enter Goldman, the cash cow of Dragon Warrior 1. Bringing down this brick wall yields 650 gold. Unfortunately, he also hits like a brick wall and can mess you up pretty fast.
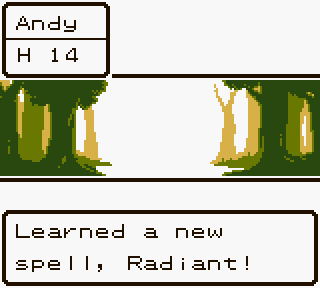
At level nine we learn Radiant, which eliminates the need for Torches.
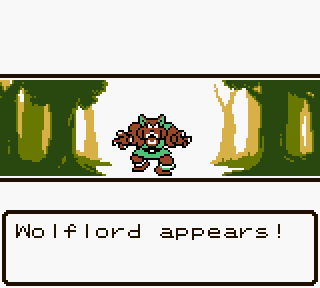
A beefed up Wolf, the Wolflord knows StopSpell, which can prevent you from using your magic. Other than that, he's just a stronger Wolf.
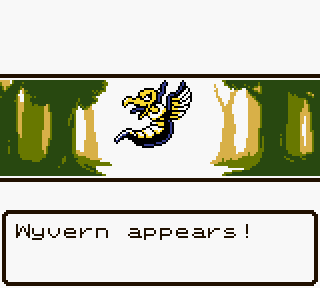
Wyverns have the highest attack power in this region, and will mess you up something fierce pretty quickly.
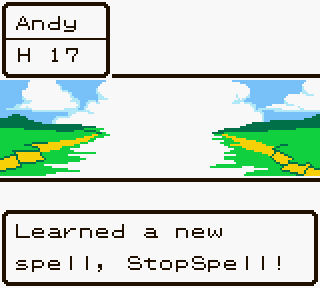
But atleast we can do something about magic wielding enemies! At level ten we learn StopSpell, which will silence enemies from using magic!
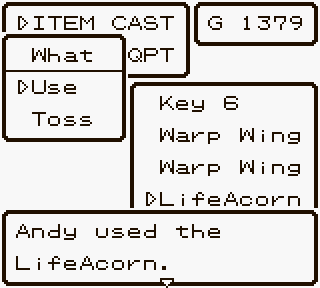
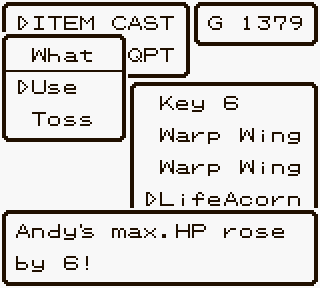
We might as well use this while we're at it. LifeAcorns raise, what else, health!
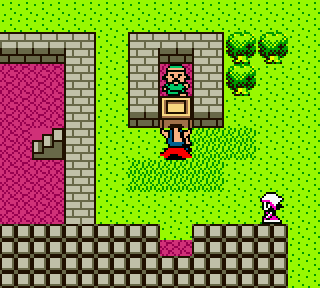
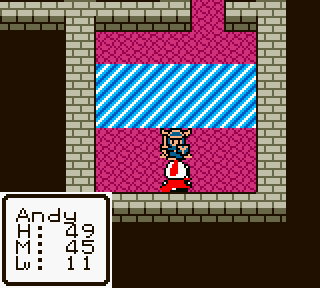
Eventually we reach the Sacred Shrine...
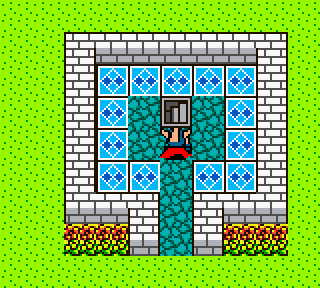
...and pass its decorative white walls...
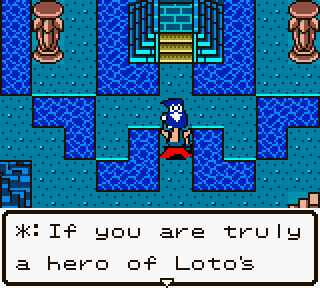
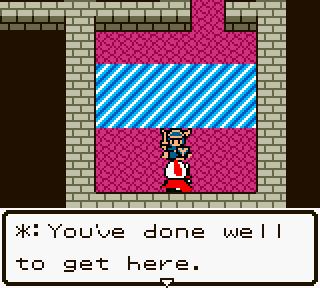
...and find yet another old man.
-
*: blood, prove it with Loto's Seal! Begone, you fool!
...and are promptly kicked out the door. Well, that was a waste of time, for now anyways. Heading back north will help. Around this point, we picked up the Steel Sword and pawned off our Copper Sword.
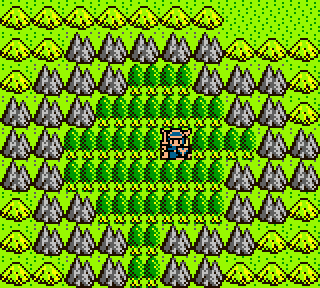
Ah, darkness, my good friend. I seem to have forgot my torches.

But instead, I have the knowledge of the torch, and here it is!
Looping back through the cave, we come to this door again, and this time, we can open it!
Somewhere in this cave... is the Princess. And this is the only place left in this cave so, heading down the hall...
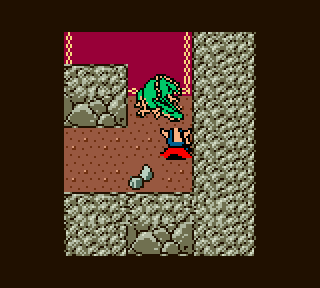
...brings us to a sleeping green dragon. There appears to be an elegant room behind it, but first, we must fight!
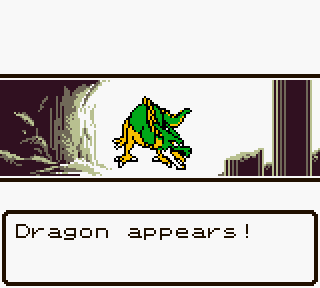
Dragon here is of the green variety, but for some reason the GBC version fails to mention that, unlike the NES version. He can breath fire though, and that's bad news for everyone.
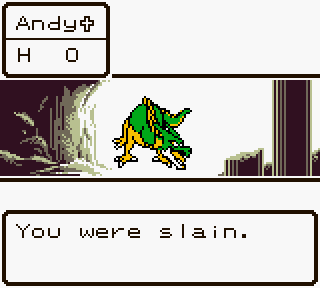
...ESPECIALLY when he toasts us and leaves us smoldering and dead. Is this... the end of our adventure? The bitter, bitter end...
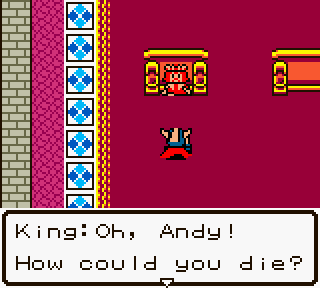
...well, not really. I like to think some random adventurer happened to find our corpse and dragged us back here. Or something. The king has also revived us!
 : This is rather disappointing. But I will give you another chance. If you are injured in battle... Go to a town and stay at an inn. That will heal your wounds. I pray this does not happen again!
 : BEING BARBEQUED HURTS, I'M PRETTY SURE I DON'T WANT IT TO HAPPEN AGAIN.
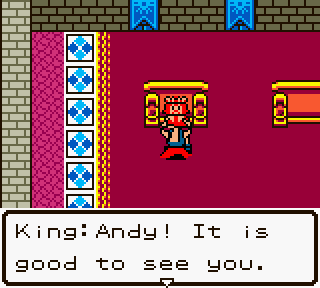 : It what- we just talked!: To reach the next level... 973 EX points are needed.
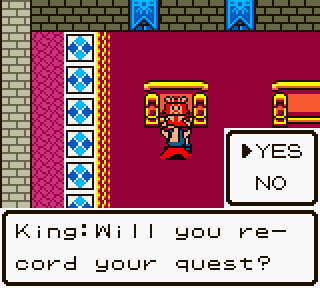
To save your game to the adventure logs you must converse with the king here.
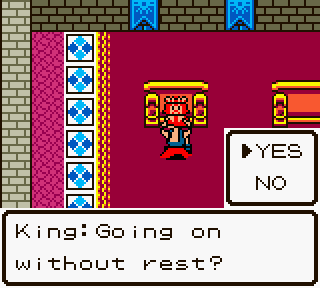
After saving in the slot of your choice, you have the option to continue playing or taking a break. We'll be continuing, of course!
And now it's time to loot this place for all its worth!
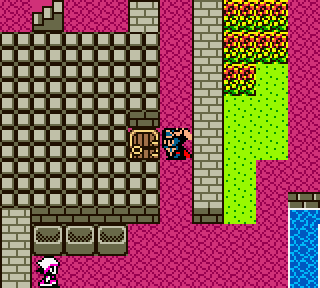
We come to door number one, and break a Key off in it.
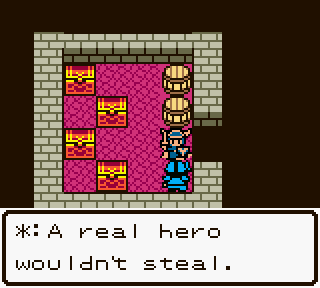 : I lost that title when I first robbed this place last week then.
 contains a AGLseed! contains a MysticNut! contains a Key! contains 350 gold!
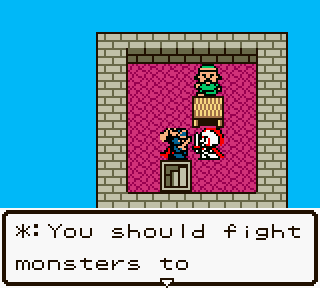
-
*: gain experience. You should soon become a more powerful warrior.
-
*: Many of my friends have been killed by monsters. When I think about that it fills me with rage and sadness...
-
*: Have they already taken her life? Oh, no! What a horrible thought! Please forget what I said!
-
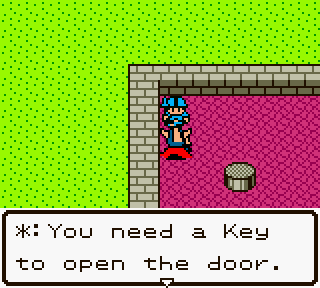
*: A Key breaks once you use it.
-
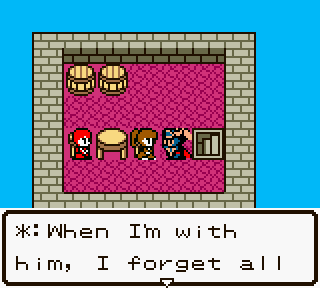
*: the terrible things like the darkness creeping over the world. But that's an illusion... If the world comes to an end, so too will our love. He says so...
-
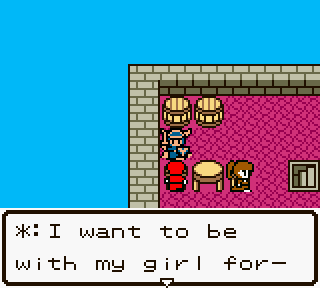
*: ever like this. Are monsters going to trample my feelings for her?
And, door number two holds...
-
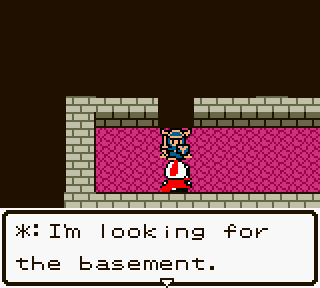
*: It's somewhere in this castle...
Here, you may purchase more Keys. Unfortunately, you must USE one to get here, and they are 24 gold here.
-
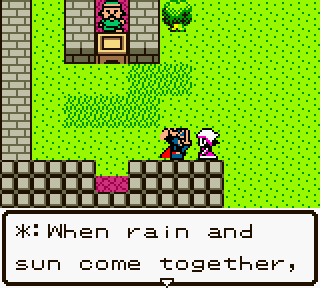
*: a rainbow will form a bridge. It's a saying from long ago.
: Where have I heard that before?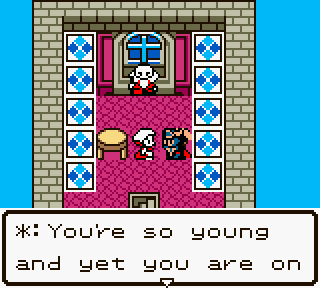
-
*: a dangerous and demanding adventure. I'll pray for your safety.
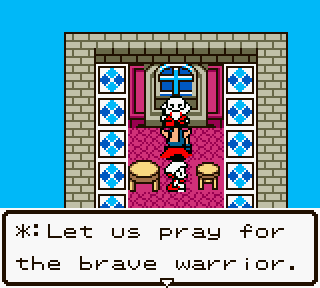
Talking to this priest...
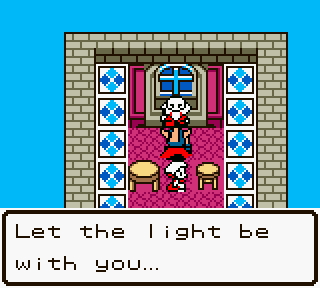
...yields a familiar tune...
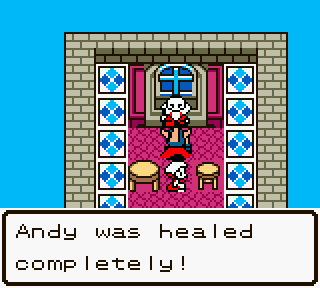
...and completely heals you! Unfortunately again, this requires the use of one Key, making it much more efficient just to use the inn in Tantegel.
-
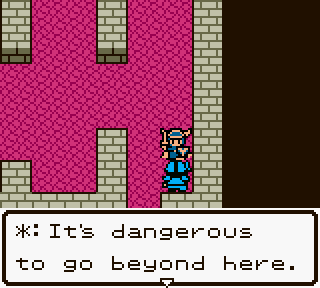
*: Don't go unless you're sure of your strength.
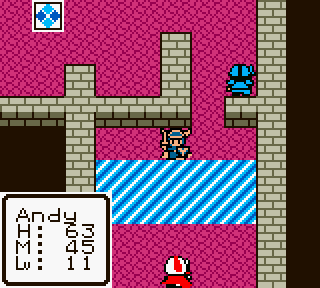
These are barriers. They are the older brother of the marsh. Like the marsh, they damage you when stepping on them...
...but as where the marsh does one damage per step, the barrier tears chunks out of you, with seven damage per step.
-
*: You... You may be able to defeat the monsters in the tomb of Garin. Go to the town of Garinham and push against the wall of darkness. Your path will reveal itself.
: I AM IN SO MUCH PAIN RIGHT NOW.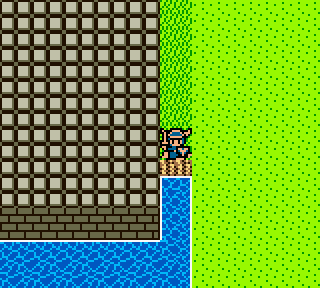
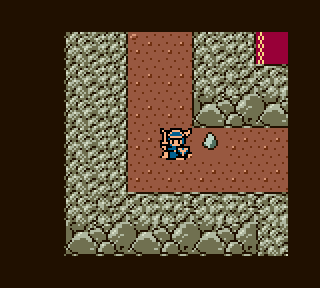
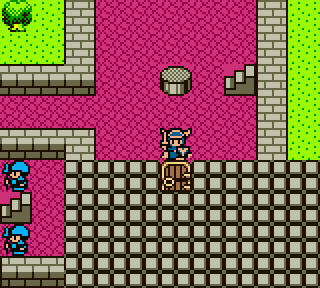
We head out back near the Key shop, and head south.
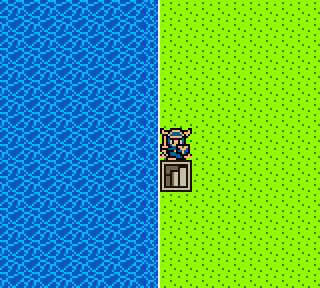
...and discover a staircase! Descending, we arrive in...
...yet another old guy's cave.
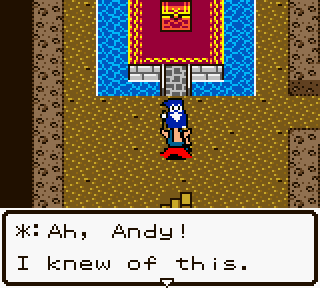
-
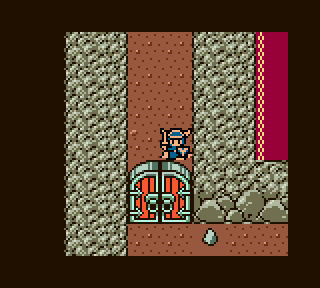
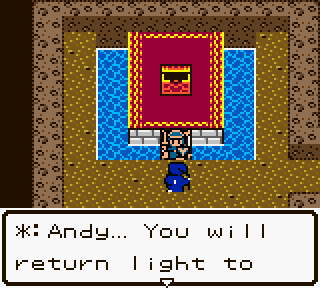
*: I knew that a descendant of Loto would arrive one day. Inside this chest is the Sun Stone which Loto left in my care years ago. It is vital for your quest to defeat DracoLord! Go on, open the chest!
: ...just like that? Really? You're just going to give it to me? The last few old guys have been plain jerks about it.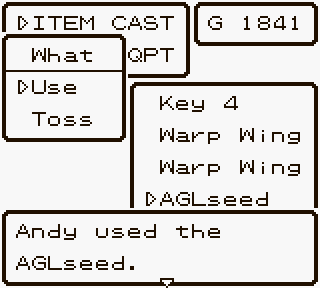
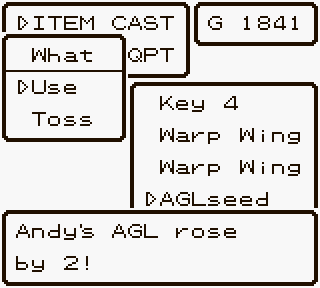
...but our inventory is full, so we pop a quick AGLseed.
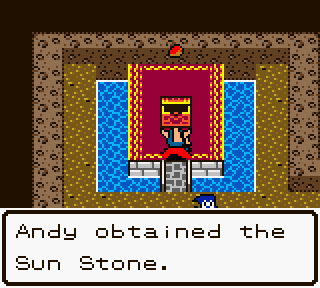
And THEN take it for real! The Sun Stone is one of the key items required to complete the main quest. Of course, it's useless right now, so the best thing to do with it is stash it in the storange bank so it doesn't waste precious inventory space.
-
*: this land. I have faith in you. I have kept watch over the Sun Stone for so long now. I must say I am somewhat tired. I believe I've earned some rest...
: Wait a minute are you about to go over there and die-...and takes a nap. But we're not done pinching information out of him, I mean, the man met Loto himself!
-
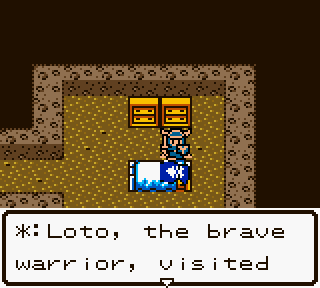
*: to entrust me with the Sun Stone. I can still see him clearly now. I see a likeness in you, Andy. Go, and restore peace to the land...
After learning all that we can, we rob this old man for the greater good.
 contains a LifeAcorn! contains a Herb!
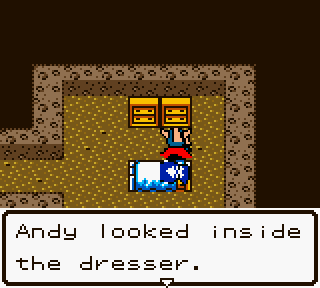
In the inn, is a door we haven't opened yet. The dresser inside is empty, but...
-
*: fairies put Golem to sleep. There must be powers that are beyond our abilities to understand.
At this point, we have one of the key items, and a very good idea of where the Princess is, now we just have to go get the rest!