Part 9: Episode IX: And a Bottle Of Mummified Rum
Episode IX: And a Bottle Of Mummified Rum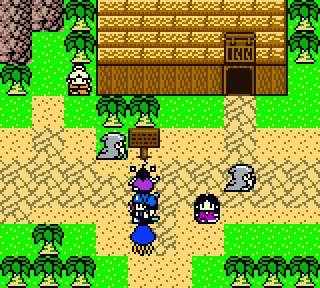
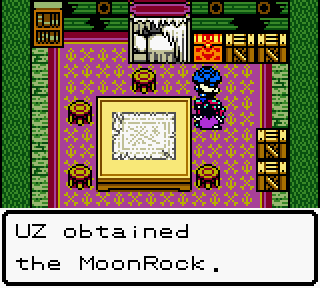
Welcome back to Polona, where we're looking to talk to some more of those mermaids and find the "MoonRock" that old drunk dude was talking about.
Back here in the bay, we'll talk to the bard again and summon another mermaid. This time, however...
Mermaid: Well, all right. Your monsters say that you're a good human. I'll take you to our queen. Close your eyes a little while.
When we open our eyes again, we're breathing underwater somehow and wandering around the ocean floor where the mermaids live. Let's go find the queen.
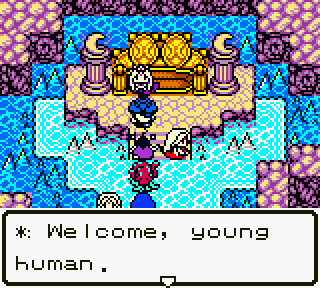
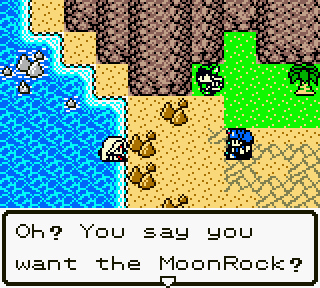
Queen of the Mermaids: I heard that you seek the MoonRock to land on the volcanic island. The MoonRock is no longer here. But I can tell you where it is. It remains on the ghost ship. It is a spectral ship manned by the spirits of pirates who died at sea. Driven by greed for treasures, the ship still wanders upon the waves. Look north of Yold for her.
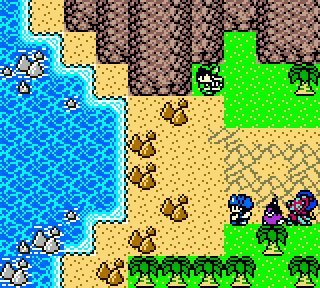
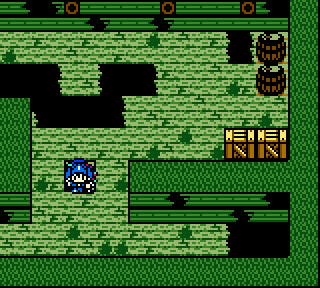
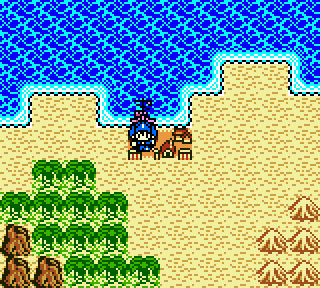
All right, we found the location of the ship, there's nothing else to do at the Mermaid kingdom so head back to Yold and we'll find the Pirate Ship.
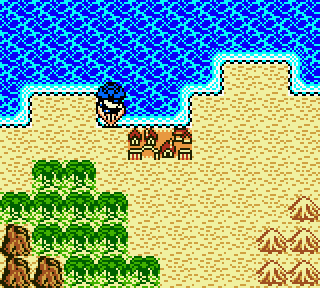
This is easy. When the mermaid queen said "North of Yold" she only meant one square.
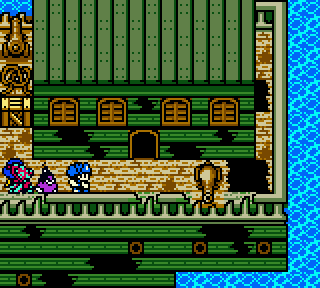
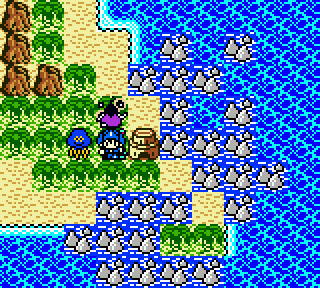
Here it is. Just press A to get inside.
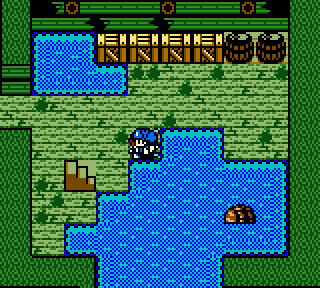
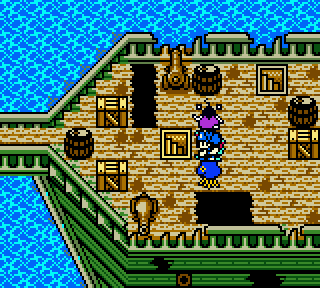
Well, this is nice.
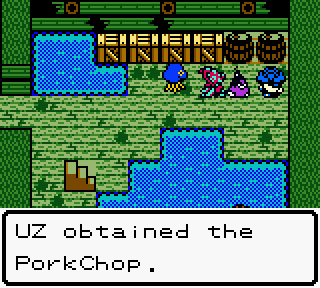
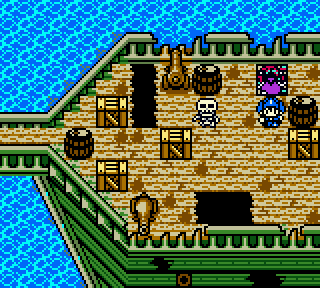
Porkchop in the barrel up here. Most barrels in this ship have dead fish or shriveled up fruit in them. There's nothing in the barrel floating next to the entrance.
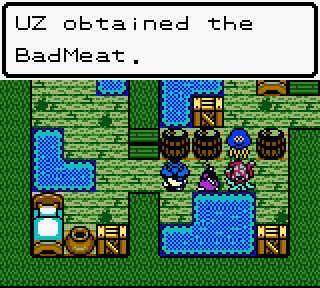
You can get some BadMeat in this barrel. BadMeat poisons a monster but removes a tinge of wildness.
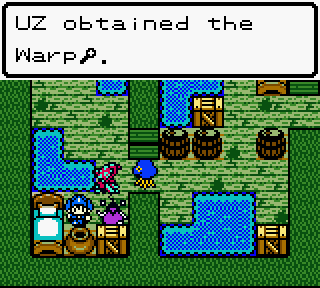
Warpstaff in the pot down here.
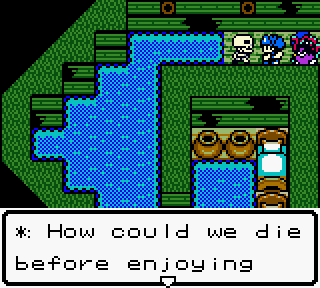
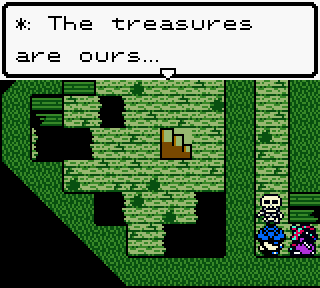
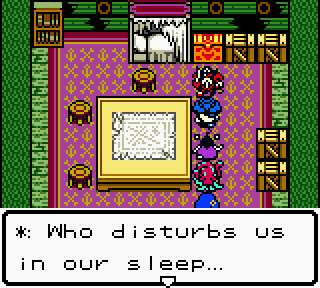
Skeletons!
Boneslave: ...all the loot we amassed...
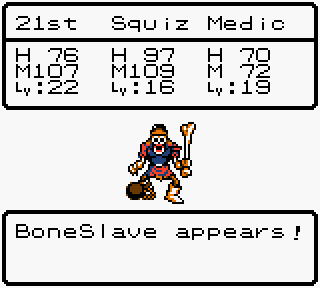
Boneslaves in this ship fight you when you speak to them. They don't join you so there's no use wasting meat on them. After you've defeated Boneslave, the pots in the room give you a Lovewater and Antidote.
Speaking of monsters...
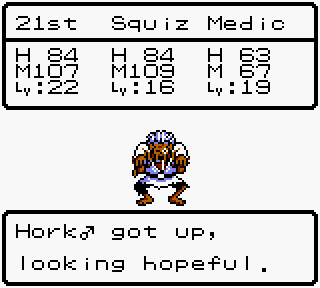
HORK
Type: Zombie
Learns: PoisonGas EerieLite LushLicks
Crap here is one of only two monsters unique to the Pirate Ship. Everything else is a water type you can find elsewhere. I picked him up because the ship disappears after you finish it. Our friend Ugly from last time was sent into the wild in his stead.

JEWELBAG
Type: Material
Learns: Firebal StopSpell PanicAll
Jewelbag is the other ship specific monster. He pretty much Sucks. That faggot FUCKU is going to pasture.

FFFFFFFFFFFFFUUUUU
That staircase in the front room of the ship goes upstairs. Shocking, eh?
Take the top path for a treasure chest with an AGLseed in it. Seeds are like the LifeAcorn from before, permanently raising any Statistic by 3. The bottom path actually goes somewhere.
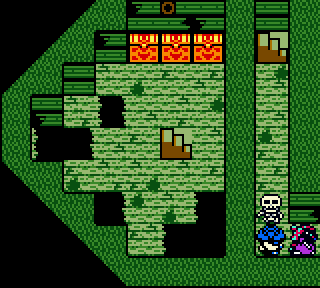
Oh hey look, another Boneslave.
Boneslave: No one will take them from us...
Easily defeated! Now to the top of the ship.
Another Boneslave there tells us that the crate there leads to a staircase.
Hey look, he was right.
In here there's a Repellant, a Worldleaf and an OrcaCape. Repellants keep monsters from attacking on the overworld, Worldleafs are a revival for a dead monster and OrcaCape is an accessory that protects your monster from water skills, quite useful here. We gave it to 21st, the only one without an accessory now.
There's nothing around the top of the ship, so go to the Capn's cabin.
CaptDead: Oh? There are still fools chasing our treasures after all this time?
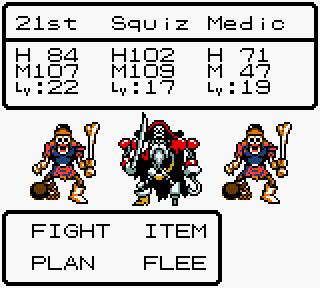
BOSS BATTLE: CAPTDEAD
Our first boss battle featuring more than one monster! This one is deceptively easy as the monsters you're fighting are all affected by Luredance if you kept Hoodsquid. I also used Increase from Medic to boost my defense and just wailed on them after that. Watch out for Bang and Boltslash, both can do some damage and Bang isn't affected by defense so it will do full damage. CaptDead has 500 HP so you just have to have enough magic and items to wait out the fight.
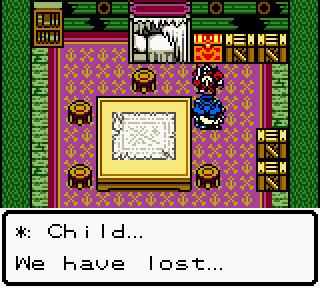
CaptDead: Finally, we can sleep...
Success!
The ship runs toward Yold and lets you off before disappearing forever. All the items from the ship along with a Hork and Jewelbag are in our possession so we're good.
Next time, we tackle the Lighthouse and try to finally find the HarMirror.