Part 6: Tars Ruins
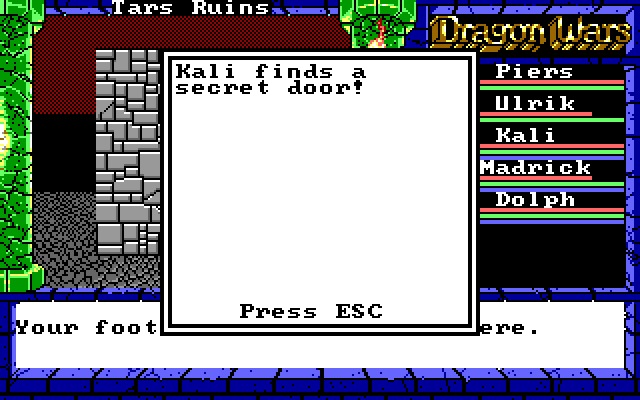
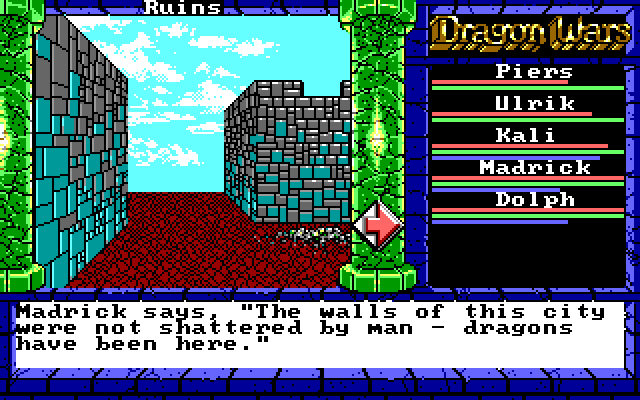
Update 6: Tars RuinsTwo things to point out right away. One is that we don't have a compass. The compass goes missing in most dungeons (though not in the Underworld). To get a compass in these areas, we'll need a magic spell or item, neither of which we currently have. The other thing is the "footsteps sound hollow" note. There's another way into these Ruins, and if we had gone that way, this note would have alerted us to look for a secret door. That's right, we're basically going through this dungeon backwards. However, the hollow footsteps actually indicate two secret doors in this area.


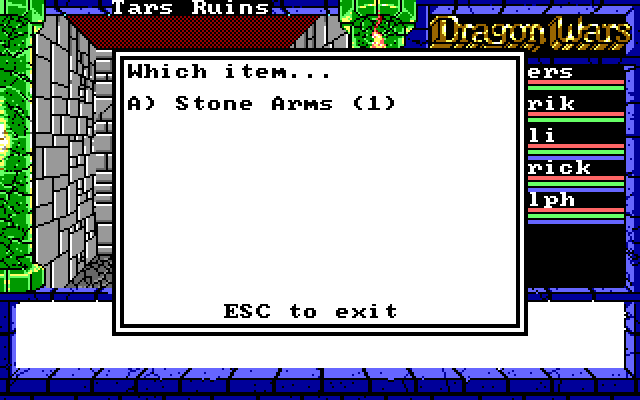
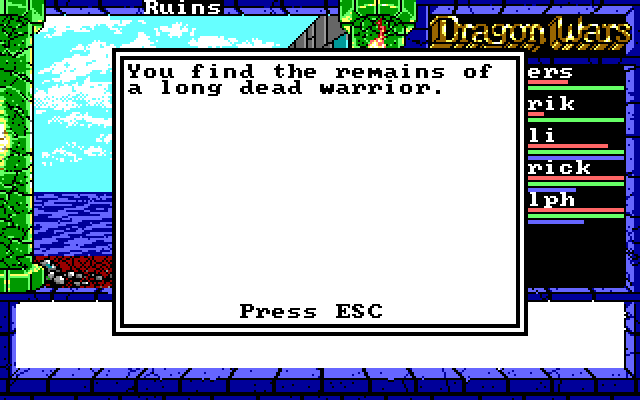
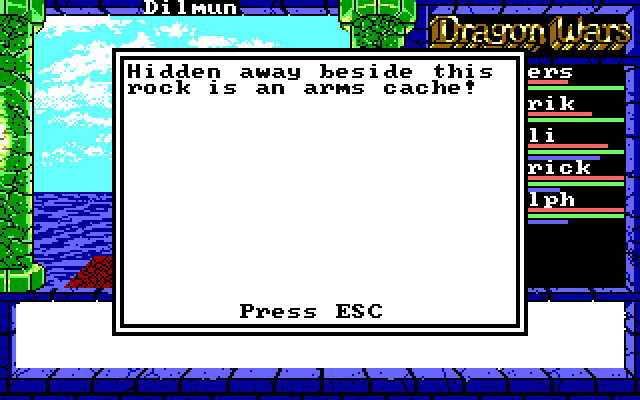
The Stone Arms don't do anything right now, but we found them in a secret area, so they must be important.
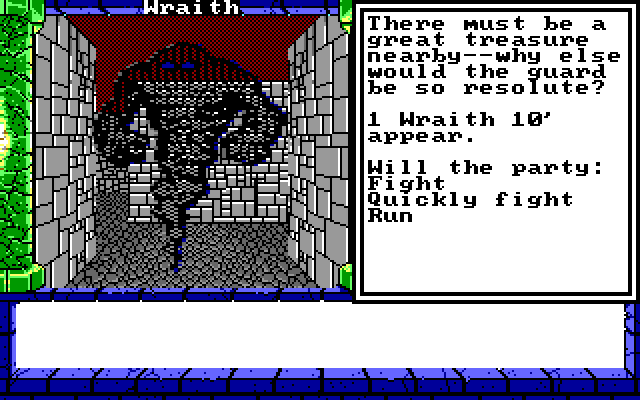
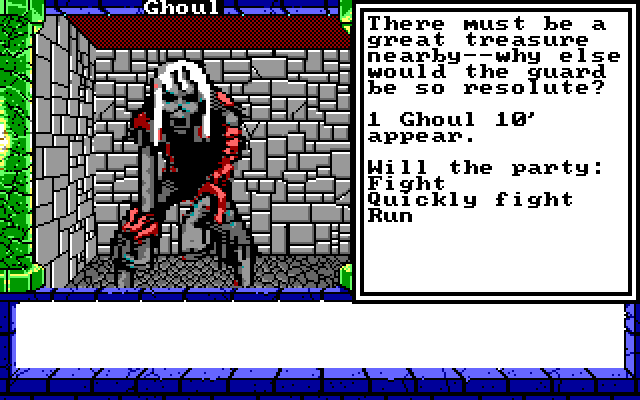
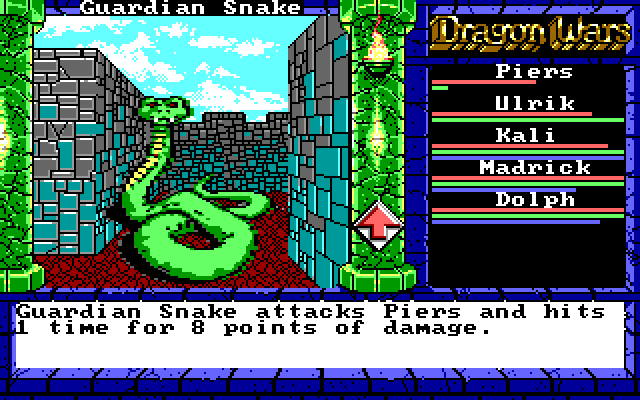
One Wraith? We can probably take that.
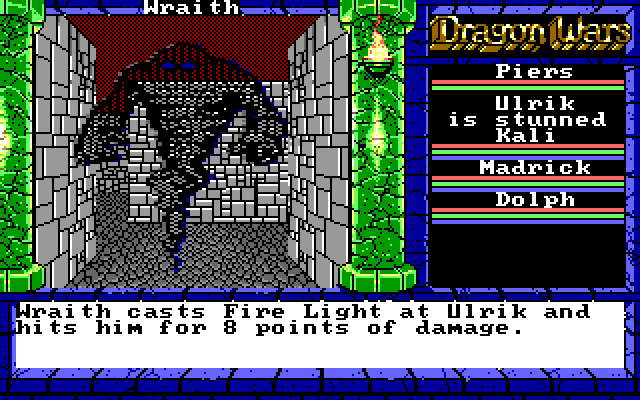
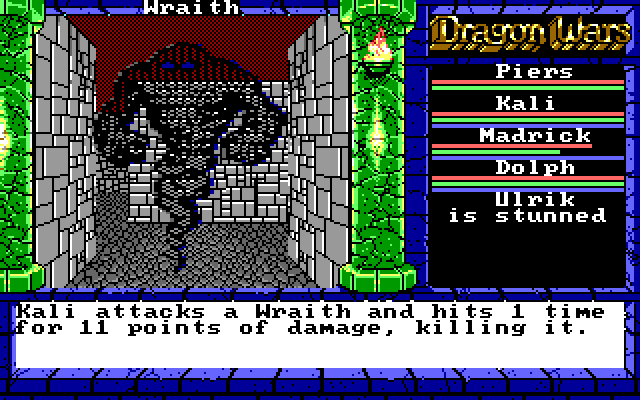
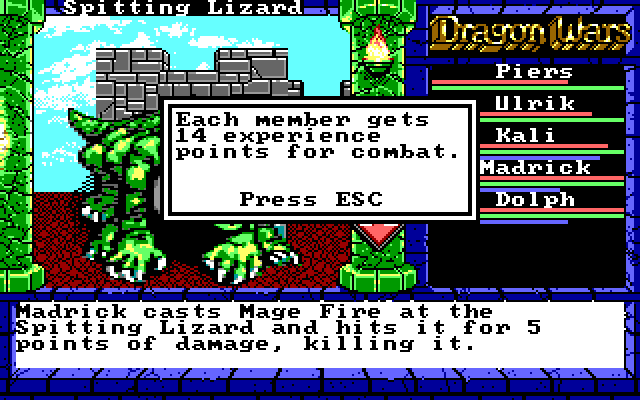
Oh. This guy isn't fucking around. Fire Light is the first higher-level magic spell we've seen, and being on the receiving end of it is not a fun experience for Ulrik. Fortunately, after a few swings from our heroes:
Dolph: Damn, he got Ulrik!
Kali: Don't worry, I'll bandage him!
Ulrik: Ooh...
Piers: You with us, man?
Ulrik: Hmm? I'm alive!
Kali: Yay! He's as good as new!
Ulrik: "Good as new?" I just got SET ON FIRE!
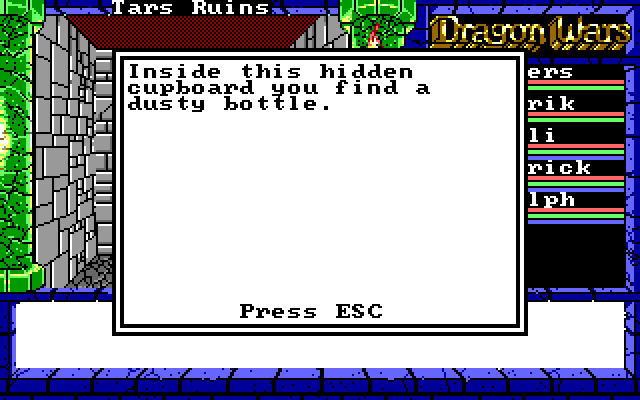
Around the corner, we hear more hollow footsteps, and investigate:
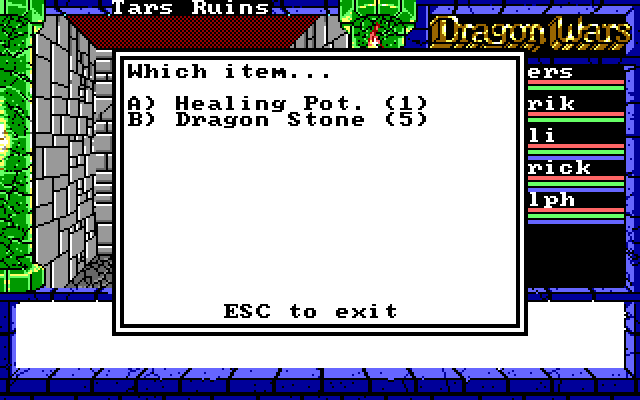
 HEALING POT
 The Healing Pot casts "Heal" on one ally which is like Lesser Healing, but slightly stronger. Dragon Stones restore 10 MP to the user. They're important, but we'll find lots of them along the way. We divide them among our magic users, and Piers gets the Healing Pot.
Anyway, there's not too much else going on here.
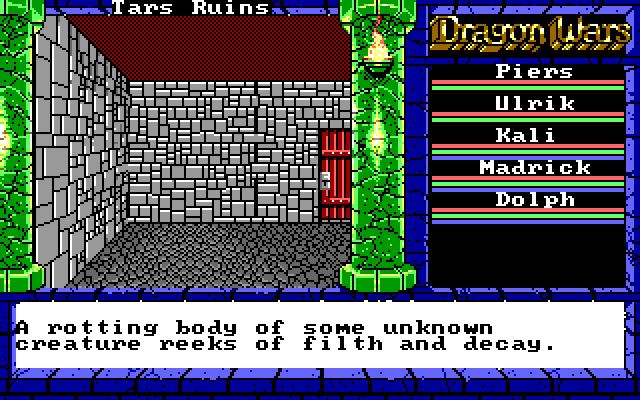
I don't know what any of these mean, other than just atmosphere.
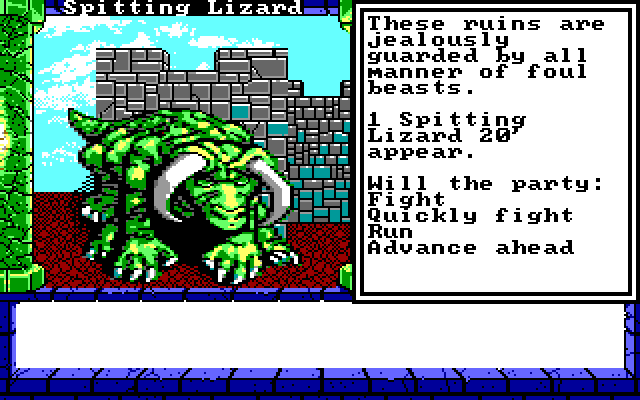
This is just an easy random battle, but an interesting bit:

Female enemies are rare in this game. That's a step up from The Bard's Tale I and II, where female characters and enemies were completely non-existent.
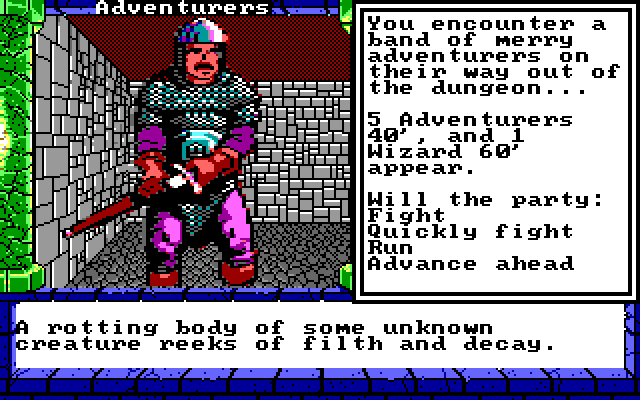
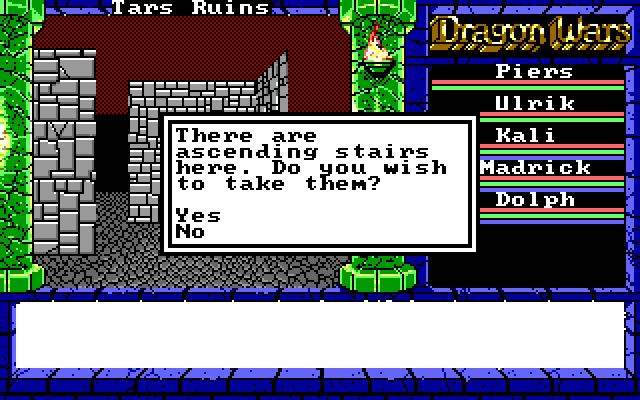
This is a scripted fight, and we're not it yet. They'll kick our teeth in. Fortunately, they're not guarding anything important, we don't have to worry about them. This is a small dungeon and there's an easily accessible staircase leading out, so let's go that way...
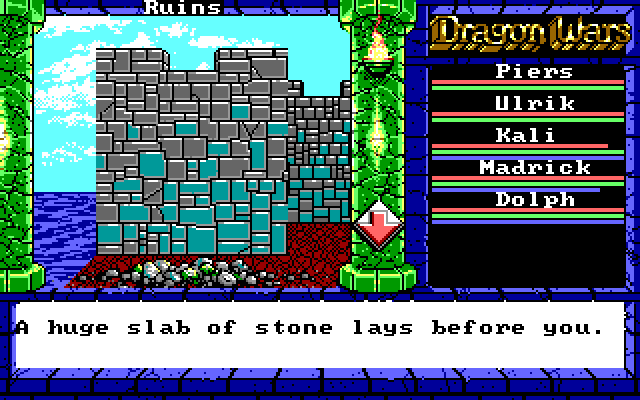
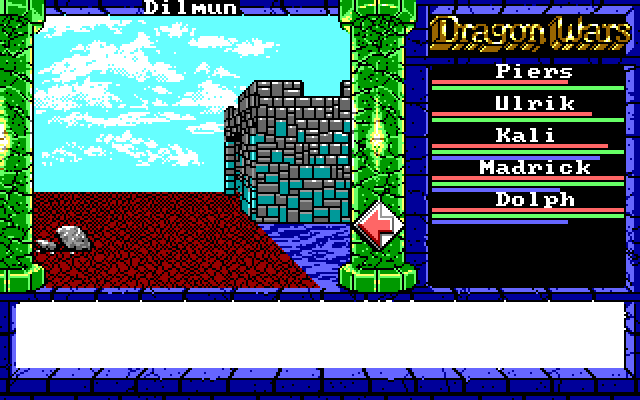
Back on the surface, we've reached the ruins of the city of Tars. Note that we can use the Strength attribute to move the stone slab out of the way and get back to the dungeon. The character has to have a high enough Strength value, and even if he or she does, sometimes this happens:
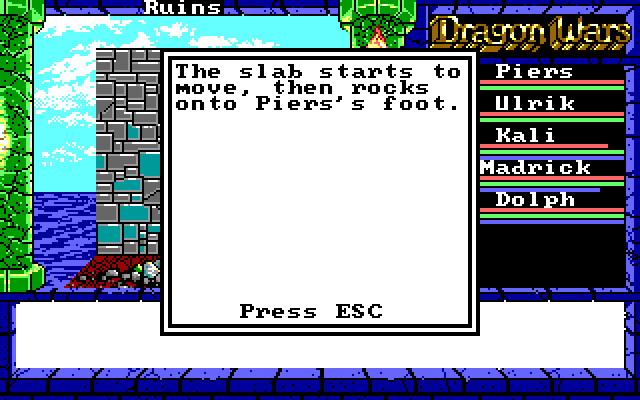
It doesn't do any damage though, and if we try again, Piers is able to move the slab. But why is there a slab there anyway? We just came out of the dungeon, why didn't we have to move the slab to get out? The issue, if you haven't figured it out yet, is that we're going through this area backwards. It makes more sense when you enter this map from the surface, explore, find the slab, move it, explore the dungeon, and eventually find a path to the Magan from there. See my previous comments on why Magan makes things awkward in the early part of the game.
Wandering to the south a bit, we avoid a few enemy encounters, but there is another scripted one here:
We can take this guy, but he's dangerous:
If he hits Madrick with that attack, he'll stun him in one shot. Even worse, if he hits Piers a second time, he could kill him. Fortunately, this doesn't happen, and after a few rounds, we're able to take him down:
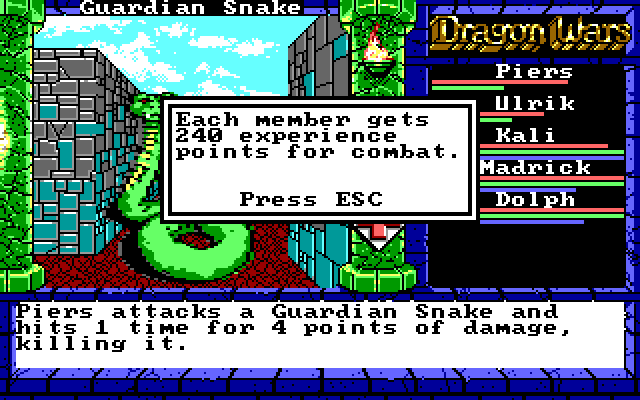
That's a nice experience haul, but not enough to gain a level. Even though we're just Level 4, there won't be many level gains to come. This is the sort of game where you're likely to finish the game at Level 12 or so. That's why finding weapons and scrolls is so important.
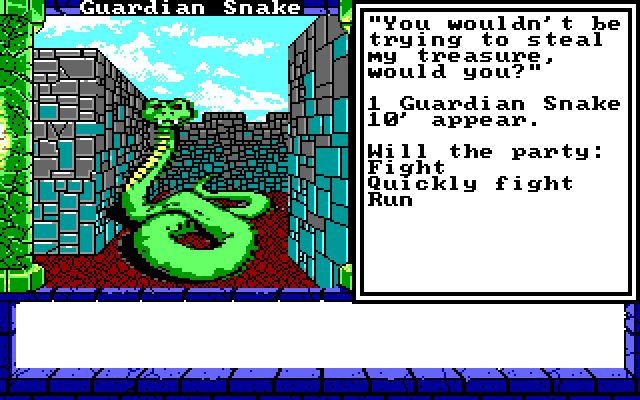
Speaking of which, wasn't that snake guarding a treasure of some sort?
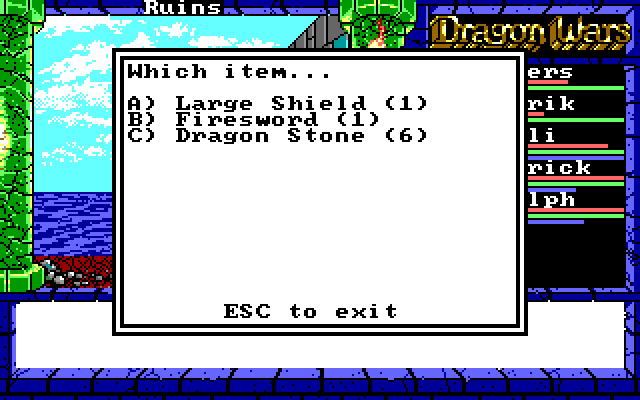
Kali: Really? All he had was a sword and a shield?
Piers: What more could anyone need? This is like Christmas and my birthday rolled into one!
Madrick: Boring. Now if you'll excuse me, I'm going to pick up these completely useless rocks sitting over here...
The Firesword is one of the first "Level 2" weapons we'll find in our quest. It does more damage than Piers's Broadsword, adds +1 to his AV, and even boosts his AC by 1. The Large Shield is also great. It does lower AV by 2, but raises AC by 3. We're going to give that to Piers as well, because he has enough Strength to wield it, and he'll still have a high AV with his Swords skill. As I said before, Dragon Stones are fairly plentiful, but having a good stock of them definitely helps.
There's one other thing we want to find, and we'll have to head to the southwest of Tars.
On the way, we encounter this. We haven't seen one of these guys before, but he's not too tough.
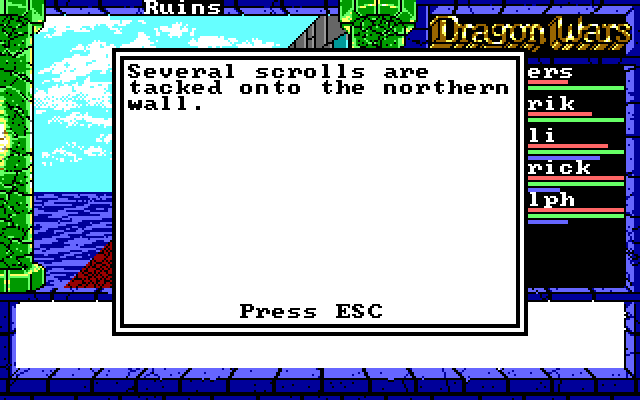
There's also this message. No idea what the significance of it is:
Another odd random encounter:
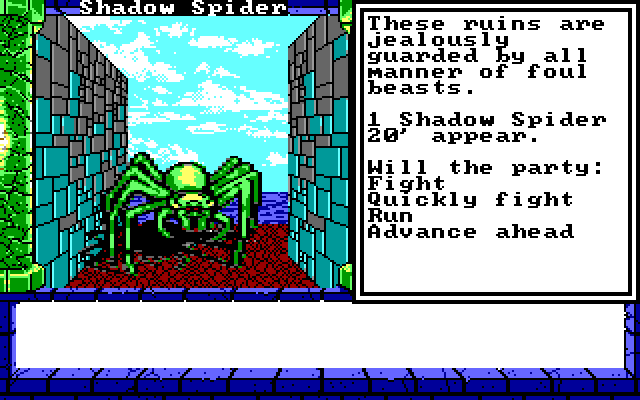
This is a rare encounter, I didn't even remember Shadow Spiders being in the game. I'm not sure what, if anything is special about them. This one goes down easily.
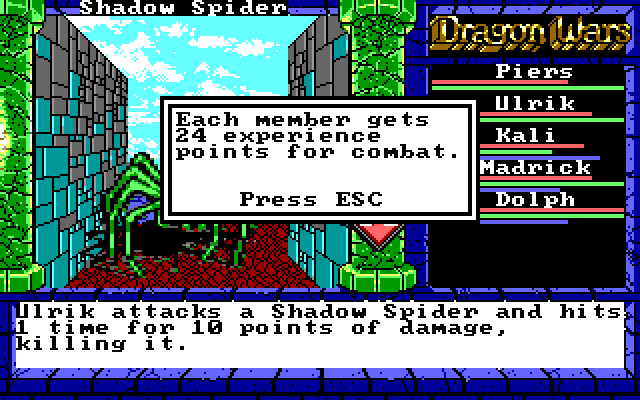
We don't even get anything special for beating it! Moving just a bit further though:
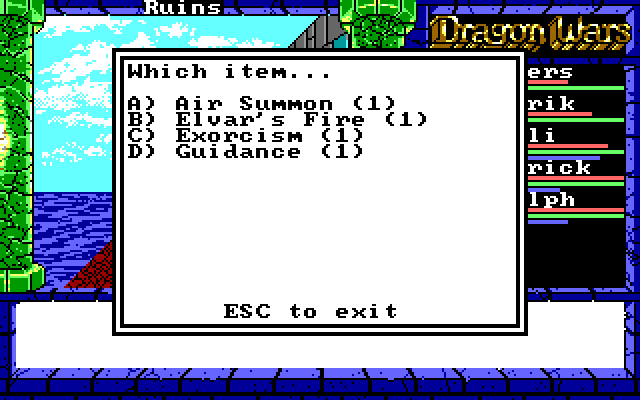
Madrick: Scrolls! SCROLLS!
Dolph: Hey, you're not the only one who uses magic here.
Madrick: Fine, you can have the lame ones. But Elvar's Fire is MINE! I will set everything on FIRE!
Ulrik: You had better not. I've been set on fire enough times for one day...
Now this is a haul. Air Summon and Elvar's Fire are High Magic for Madrick. Exorcism and Guidance are Sun Magic for Dolph. Quick synopsis:
Air Summon - Temporarily gives us an extra party member. Obviously, if we have fewer than seven members, this is fairly useful.
Elvar's Fire - Hits a group for some damage. As you can imagine, any spell that hits a group is important to have. We become much more formidable just by learning this spell.
Exorcism - Hits a group of undead for a lot of damage. Most enemies aren't undead, so this is more of a role player, but it's great when it works.
Guidance - When you're in a dungeon, this gives you a compass. It's the complement to Mage Light.
Going forward a couple of steps...

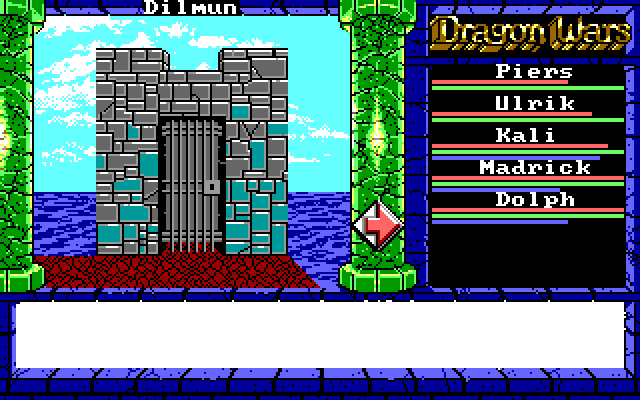
Dilmun. The "overworld" of Dragon Wars. Six updates in and we've finally made it outside. Before we explore the Isles of Dilmun, let's turn around and go back in.

So, here's the actual entrance to the map, and this is how we're meant to be introduced to the ruins of Tars. If you read this update backwards, it might make a bit more sense. Also, we get this message as long as we have a party member with Arcane Lore:
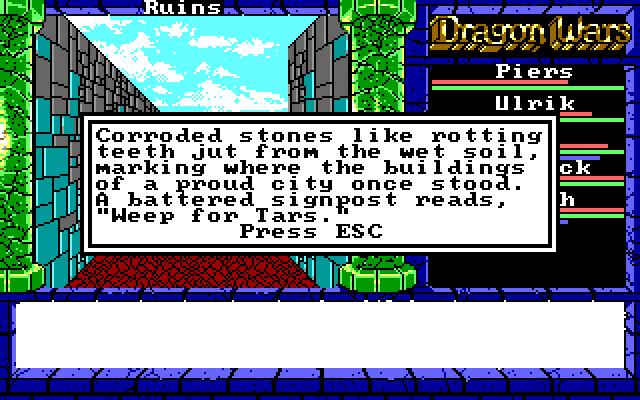
Tars was a city, and it wasn't just abandoned -- dragons came and wrecked it. As interesting as that sounds, Tars doesn't hold much importance for the game. We won't hear much about it after this, and we already got the good loot, so let's head out and explore the island we're on. Maybe we can get a sense of where we are.
There's a building over there. Could be a city, a castle, more ruins, anything! Let's take a look...
Hmm, interesting. We saw the slave market in Purgatory before. This might be a place to check out. Speaking of which...
Well, now we know where we are! Anything else around here?
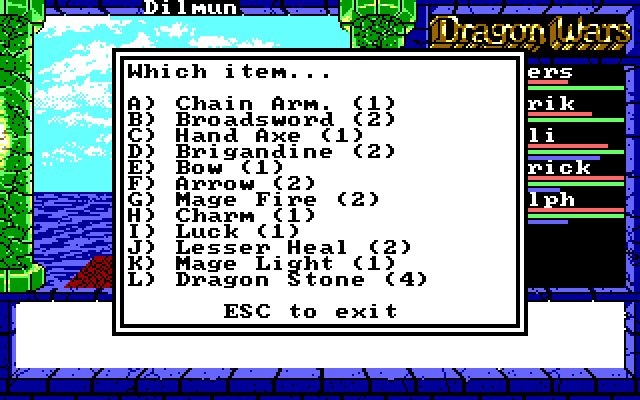
Sweet, more loot!
The big things here are the Chain Armor and the two Brigandines. The Chain Armor provides a whopping 7 AC but a penalty of -3 to AV, compared to -1 for the Leather Armor. We'll throw it on Madrick for now, since he's exposed on the front line, and with Elvar's Fire he won't need to attack often anyway. The Brigandines are +4 AC, -1 AV, making them strict upgrades over the Leather. We'll give them to Ulrik and Kali. This means our party's AC's are up to:
Piers: 7
Ulrik: 4
Kali: 4
Madrick: 7
Dolph (back row): 3
This is a nice upgrade. Dolph gets the extra arrows. We pick up a few more Dragon Stones (we actually have more than enough of these, and they take up lots of inventory space because they don't stack), and we leave the other stuff alone. We have no need for the first-level weapons or Low Magic, since we got a full supply for free in Purgatory.
So anyway, this is the Isle of Forlorn. Thanks to the game's automap feature, I was able to cobble this together:
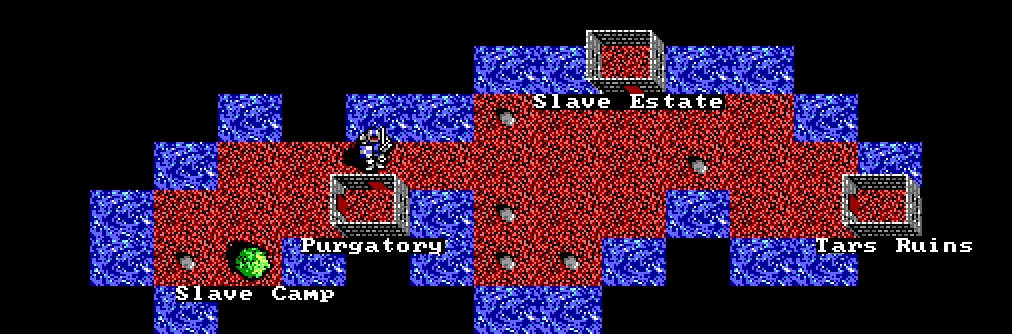
That unexplored spot just NW of the party is actually a guarded bridge to the next island. Now that we have Elvar's Fire, we should be able to take care of the guards, but it might make sense to check out the rest of Forlorn first. That can only mean one thing...
Audience Participation Time!
Please vote on where you'd like the party to visit next!
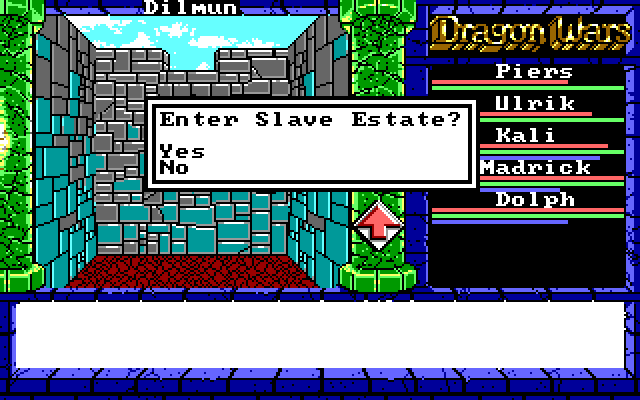
1. Slave Estate
2. Slave Camp
3. Cross the Bridge
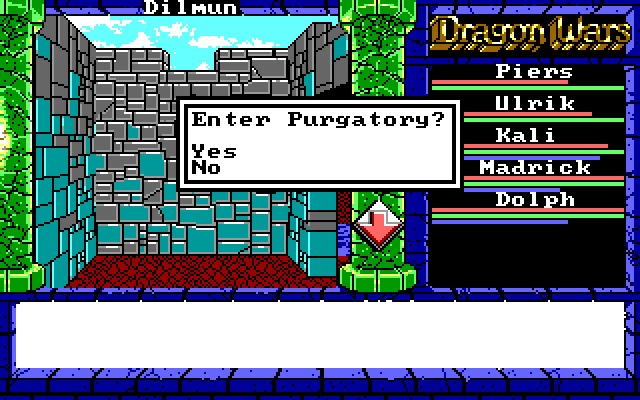
4. Revisit Purgatory
Choose exactly one (1) option. Voting is open until probably some time on Saturday.
Until next time, here's one from the blooper reel:
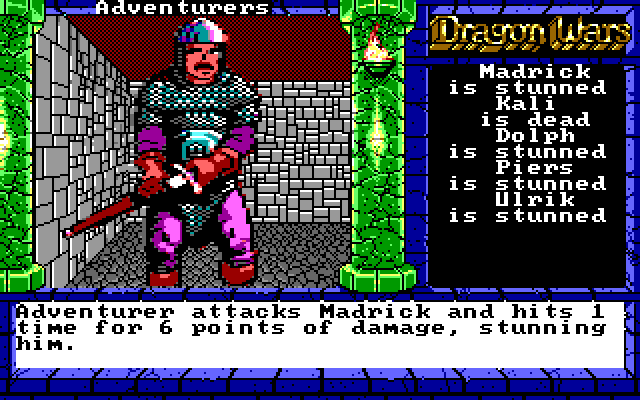
Like I said, too early to tango with the Adventurers. Getting better armor and spells like Elvar's Fire will help though, so we can come back for them soon. Kali getting killed in the fight meant I had to reload.
See you next time, and please vote!