Part 24: Dwarven Ruins
Update 24: Dwarven RuinsWe're done with the pirate ship for now. We'll visit Rustic later on.
Let's warp back to the Mystic Wood and climb down into the Underworld for a moment. We're low on MP, and using a recharge pool is obviously preferable to using up Dragon Stones.

Now that we're at the pool, let's talk about the Charger spell. Using it is simple. Cast Charger, and you'll be presented with the list of items the caster is carrying. Select an item from the list. If that item is a rechargeable magic item, it will be recharged. Otherwise, you'll get a message saying, "You can't recharge that," and you'll be allowed to pick another item. If you decide not to recharge something, you can press Esc to cancel the spell. This means you can quickly go through the items the caster is carrying to see if they can be recharged, and it doesn't cost MP until an item is actually charged. You won't "waste" the spell using it on an ineligible item. Of course, we're on a recharge pool, so that doesn't matter right now.
One minor inconvenience is that you can only charge items in the caster's inventory, so other party members will have to trade their magic items to Dolph for recharging. This isn't a major problem.
So, for example, the Wand can be used to cast Major Healing. It comes with 20 charges. Cast Charger on it, and...

Now it has 21 charges. That's the other inconvenience -- each time you cast the spell, it adds only one charge to the item.
A few other notes. The Healing Potion can be recharged, even though it's a potion. One of the Magic Chains (both of which come with no charges) can be recharged to cast Zak's Speed, the other cannot be charged and does not cast a spell. I'm not sure if this was intentional. Also, Dragon Stones cannot be recharged, they're one shot only, and ammunition generally cannot be recharged, but there's an exception. The Dead Bolt is rechargeable. This means that, if you have the patience to charge it up, the Dead Bolt can be used for infinite (decent) crossbow ammo, and you can use it with the "burst" mode of the Tri-Cross to get some decent damage with it. It's not usually worth the effort, there are better things to exploit, but it's there.
With that out of the way, we will return to King's Isle, fight some Goblins (not pictured), and wander around the eastern side of the isle...

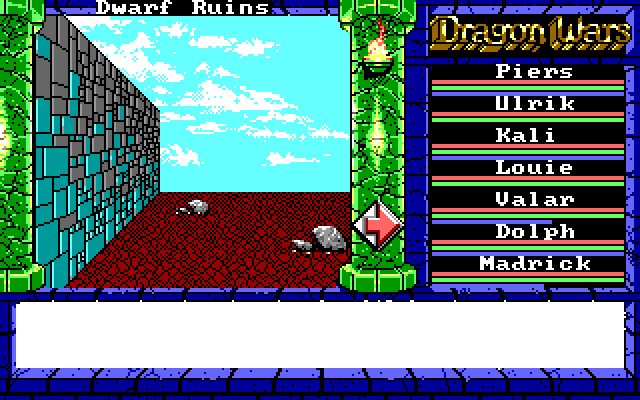
There's not much going on in this map. Small map, no random battles, almost no walls. There are a few random messages as we walk around, however.
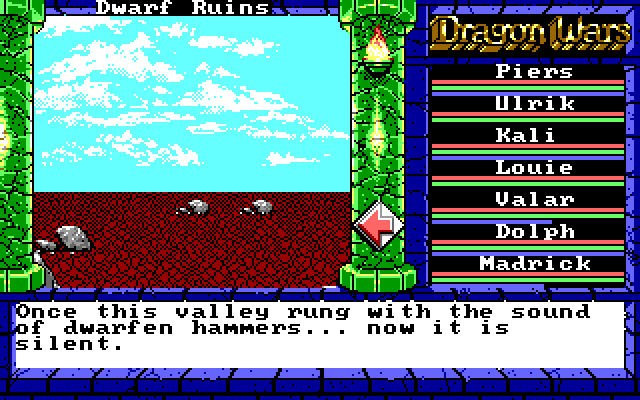
I'm not entirely sure how we know the previous occupants of this area were dwarves, but apparently they were.

I don't know what this one means. It doesn't seem like a hint for anything.
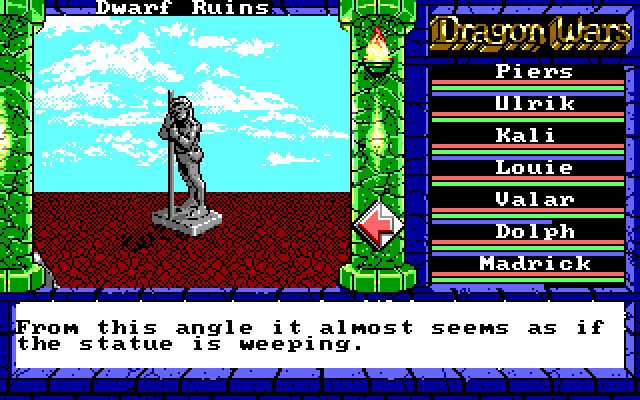
This statue is the important thing. Let's approach it.
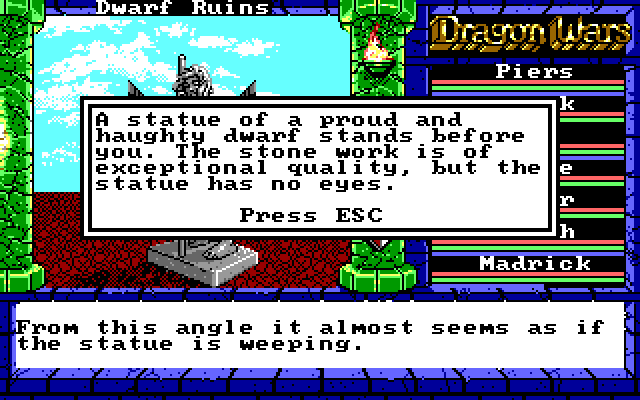
How does it look like it's weeping if it doesn't have eyes? If we walk forward, we'll run into a dead end.
A quick look through our inventory tells us how to solve this puzzle. The statue doesn't have eyes. We have the Jade Eyes. So naturally, we try walking up to the statue and using them.
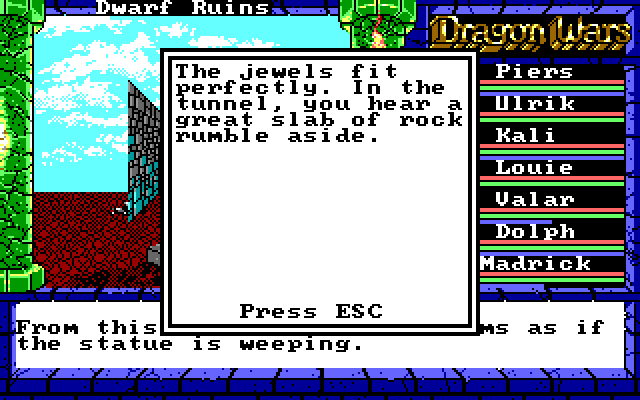
Now that the dwarf has his jewels back, we can continue.

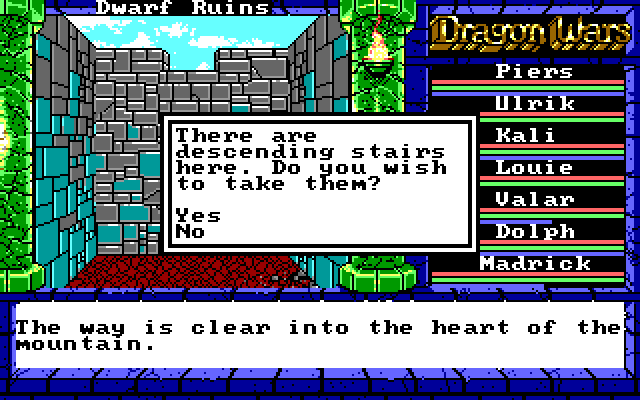
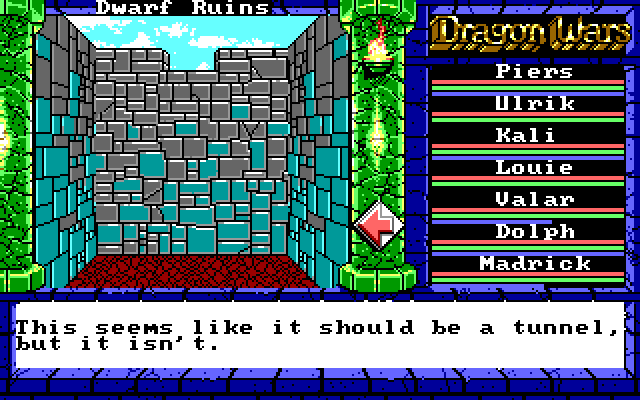
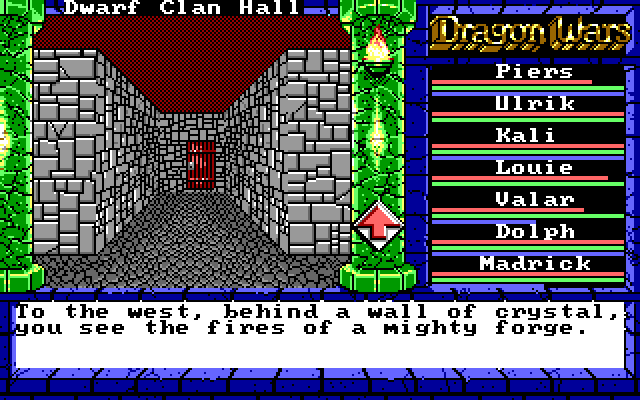
We climb down the stairs and find ourselves in a small room. Walking forward, we come to a fork.

We're facing west. This looks like an open hallway, but it's actually a transparent crystal wall, hence the message. Behind us is the room where we came from.
To our north is a doorway.
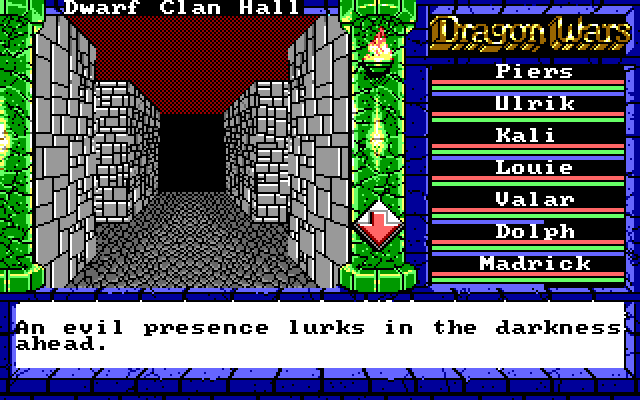
And to our south is something we do not want to mess with just yet.
Let's start with the west. That forge is important for reasons that should be obvious by now, but there's a wall in the way. Let's cast Soften Stone to get past the wall.
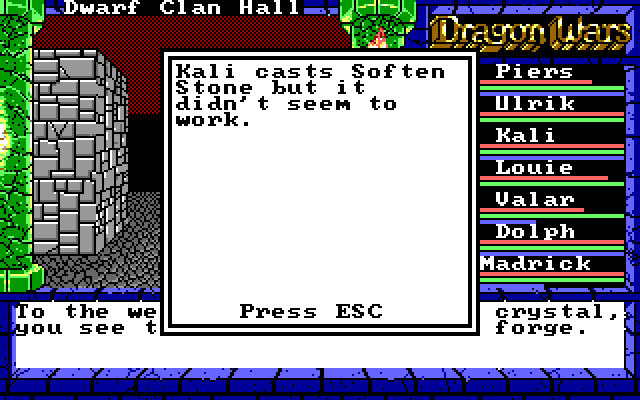
So, this wall is special and cannot be removed with Soften Stone. You might think this is the game's way of keeping us out of an area that's supposed to be hard to get to, but actually, we can get around this by just casting it on one of the regular walls right next to it.
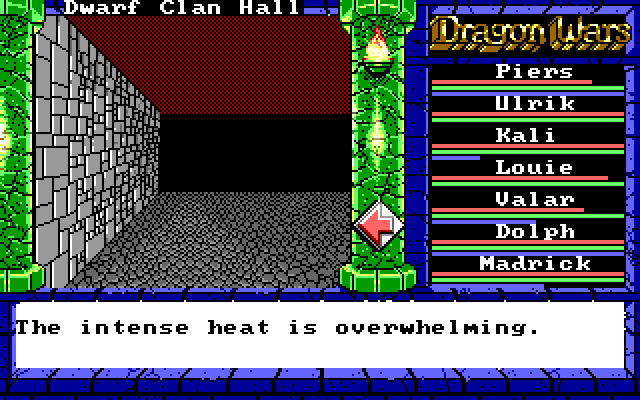
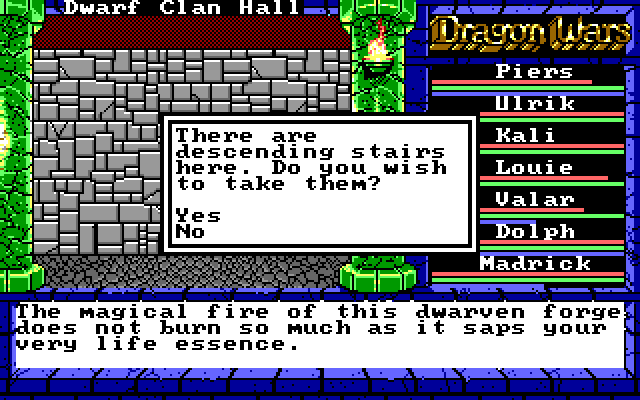
The fact that there's intense heat isn't an important hint or anything. It's just hot because there's a forge nearby.
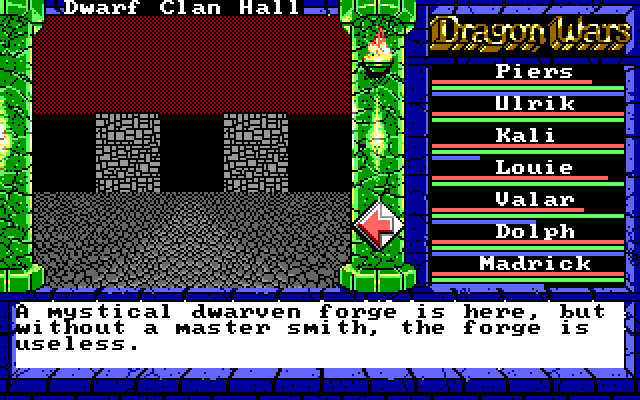
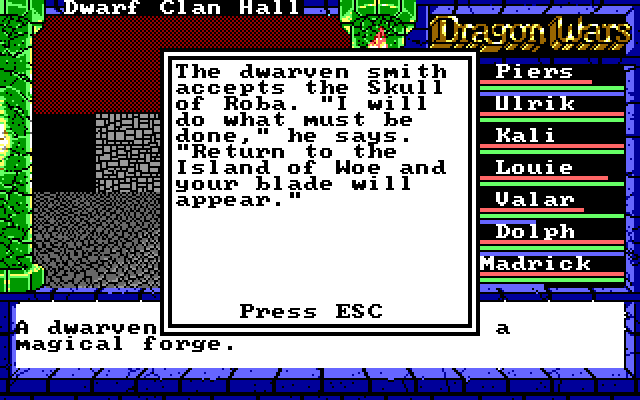
Well, that could be a problem. We can't use the forge without a dwarf smith, but it seems the dwarves are ancient history. Oh well, I guess seeking out Roba's skull was in vain, so we should go ahead and discard the skull.
I suppose we might as well explore the rest of the area first. Let's go through the door to the north. It leads to a hallway with a couple of doors. We check the left door first.
Paragraph 118 posted:
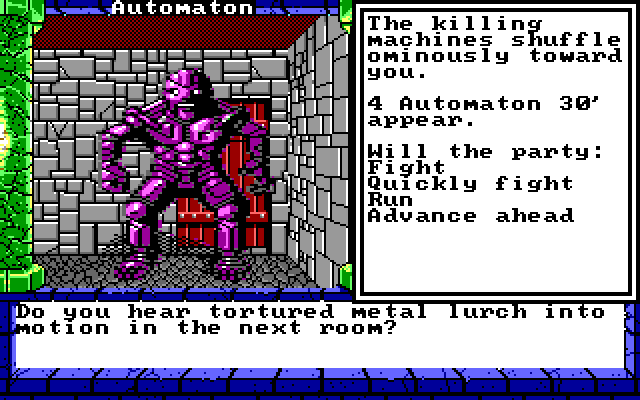
A massive mechanical brass automaton stands at silent attention in this chamber. It is a flawless piece of engineering, massive yet agile, and heavily armed and armored from head to toe. It would not do to run into this thing in a dark hallway.
That sounds intimidating. Turning around and walking away would be a good idea here, but who needs good ideas? Walking through the chamber to the next room...
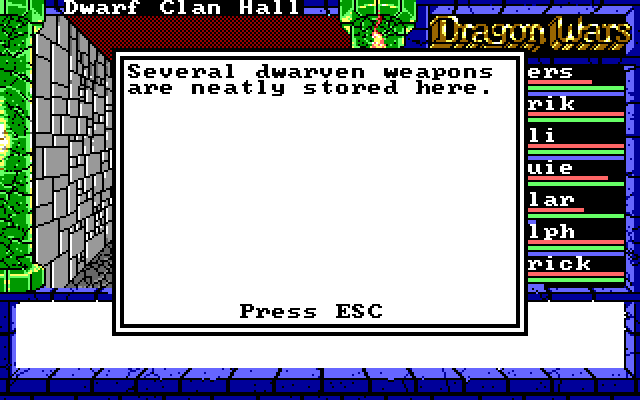
Piers: Weapons and armor! Excellent!
Everyone Else: IT'S A TRAP YOU MORON!

Oh, I'm sure that's nothing! Let's head back...
Oops.
Taking any of the loot from the room will cause the trap to trigger. Trying to go back to the hallway causes us to encounter 1-4 Automaton (the correct pluralization would be Automata, but I'm guessing Dragon Wars is not designed to perform any pluralization beyond adding an "s" to things. In any case, even just one Automaton is pretty miserable to fight against. They melee from 30' away, almost never miss, can sometimes kill in one hit and will stun in one hit otherwise, and have enough HP to last several rounds. They are possible to beat, but it's not worth it. A better option is to once use Soften Stone to take a shortcut, avoiding the encounter tile for the Automaton.
I know what you're probably thinking, and the answer is yes. Soften Stone is borderline game-breaking. I'll try to avoid using it more than necessary, at least until later. Besides, there's a better way. Let's go back in time to before we took an item from the vault...
Now, this time we'll check out the other door.
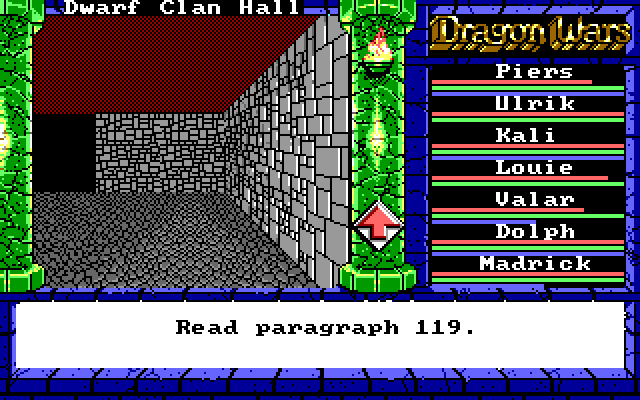
Paragraph 119 posted:
This vault is filled with slumbering dwarves... but if they sleep, it is the sleep of the dead, for the dwarves have been turned to stone. The dwarves are frozen in all variety of poses - sleeping, eating, working, and just a few while fighting. It seems the dwarves were surprised by something terrible that turned them to stone.
Man, that's a shame. All the dwarves have been turned to stone. Nothing can be done to save them now. Unless... wouldn't it be funny if you could use Soften Stone for something other than destroying walls?
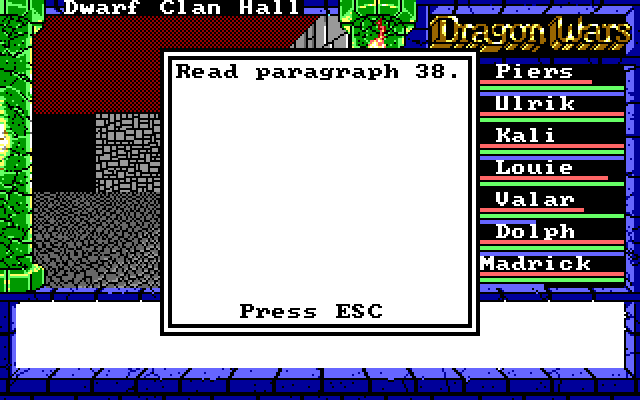
Paragraph 38 posted:
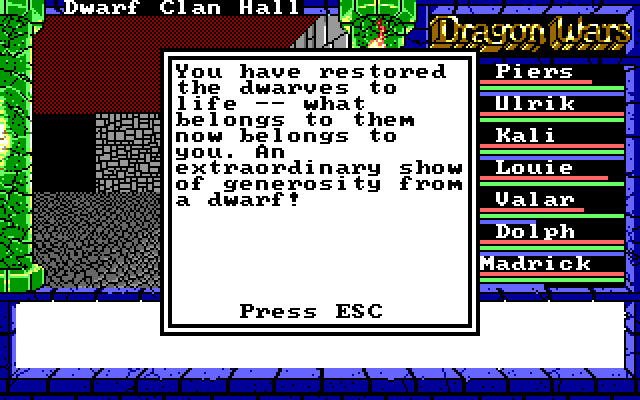
Using your magic spell, you watch in wonder as color flows back into the frozen dwarves. The chamber is filled witha noise uncomfortably like the popping of popcorn as the dwarves return to life, their joints made stiff from ages of disuse. Before long, the entire clan is restored to life. The dwarves give you the once-over.
Whoa. We just revived an entire fucking race.
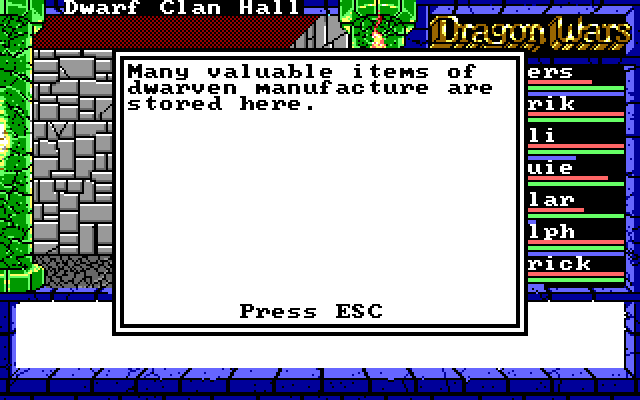
The best part? After bringing the entire dwarven race back to life, they immediately judge us based on our actions. If we left their vault alone, they graciously let us have all of their treasures...
But if we took anything from the vault...
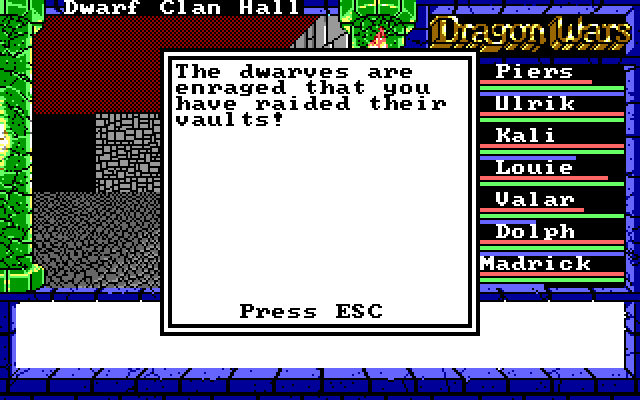
Pissing off the dwarves isn't a huge problem, but it's better to avoid it.
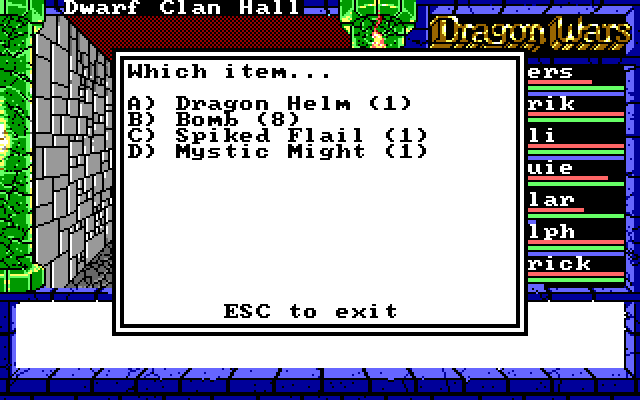
In any case, the Dragon Helm is +4 to AC. The second Spiked Flail makes a great replacement for Louie's Barbed Flail. The Bombs are thrown weapons and therefore useless. Mystic Might is a High Magic spell which gives one character +15 Strength during combat. I doubt I'll ever use it, though 15 is a lot.
If we go all the way down the hallway, we find what looks like a dead end:
Of course, it's a secret door. Walk through it, and we find more loot.
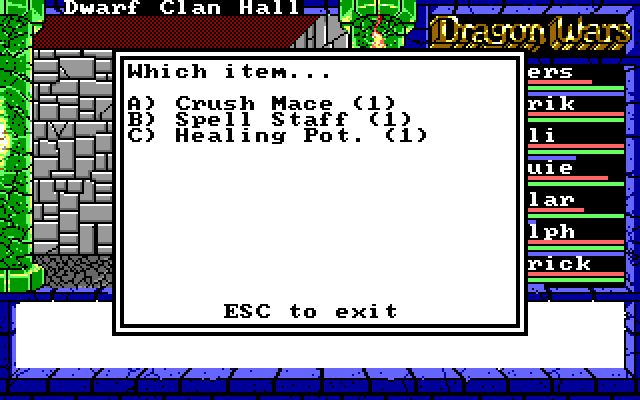
Nothing important. The Crush Mace is a decent weapon, but nowhere near as good as the Spiked Flails or Dragon Sword. We already have a Spell Staff and don't need another. The Healing Potion is actually the best thing here. Unlike the other Healing Potion, this one casts Major Healing.
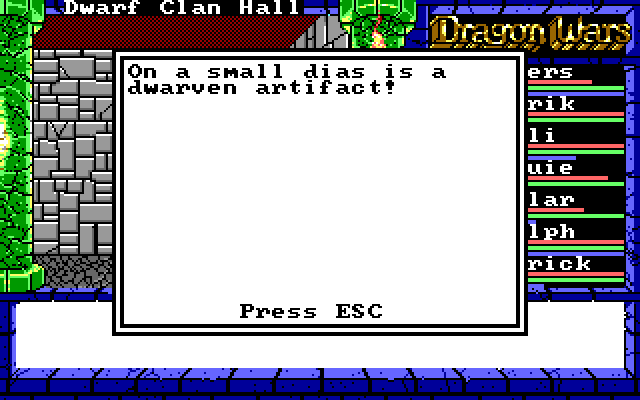
That's not all though. There's a secret door along this wall as well, and another one behind that, leading us to one other piece of loot:
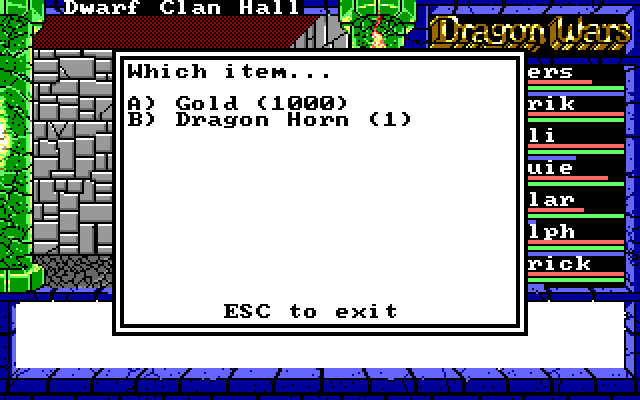
The Dragon Horn casts Rage of Mithras, so it's nice for taking out an enemy at long distance. I don't know what the exact damage range is for the Horn, but it packs a punch. I probably won't use it much, but it's nice to have.
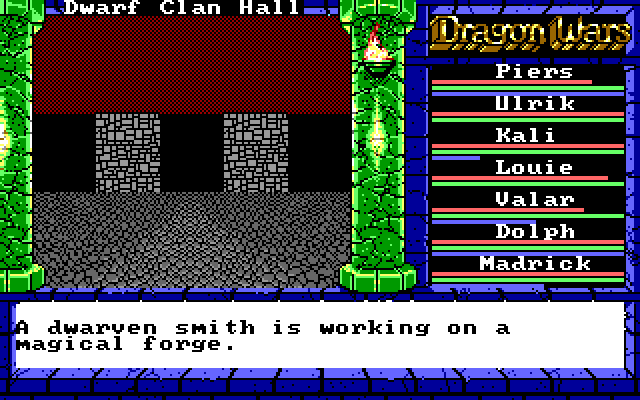
Let's go do what we really came here for. Since we saved the dwarves, one of them is now operating the forge. Let's give him the skull.
The Isle of Woe is where we met Irkalla, and I have no idea why the game makes us go back there. Anyway, if we walk to the west, there's a staircase to the Underworld.
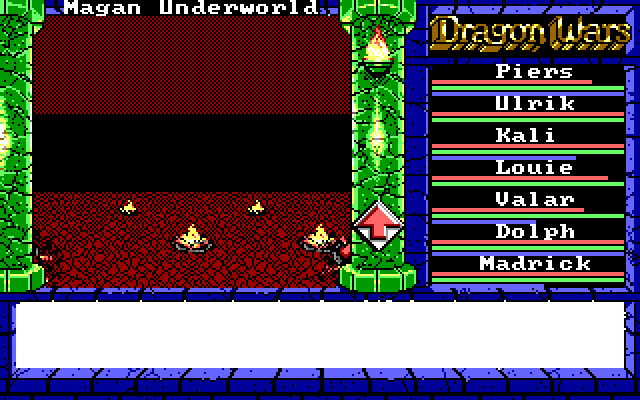
Those things that look like campfires drain our entire party's HP.
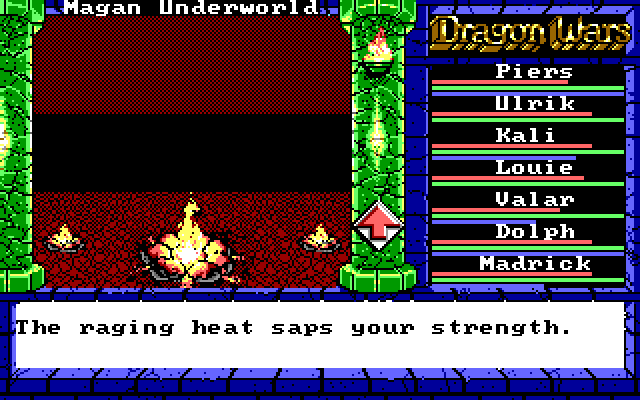
Fortunately, they don't do much damage. We can just walk past them to the north, and make our way to the re-energize pool.
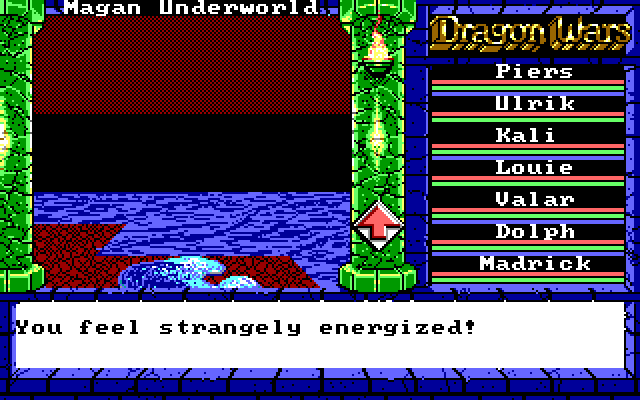
Then to the northern shore of the Isle of Woe.
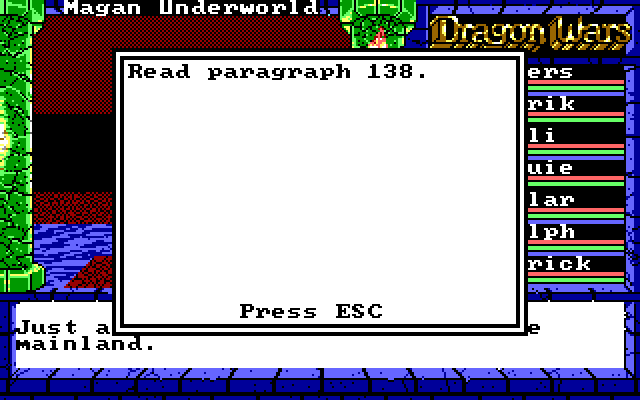
Paragraph 138 posted:
You stand at the edge of the Isle of Woe looking out across the dark waters, and are convinced nothing is going to happen when a sudden flight of bats overhead heralds the arrival of momentous events. An ominous ringing fills the air. A few yards offshore the dark waters part, and offered up from the depths you see the legendary Sword of Freedom. Forged from dwarven steel in the fires of hell, powered by the essence of the legendary hero Roba, and tempered in the Apsu waters that underlie creation, the most powerful artifact Oceana has ever known has been reborn!
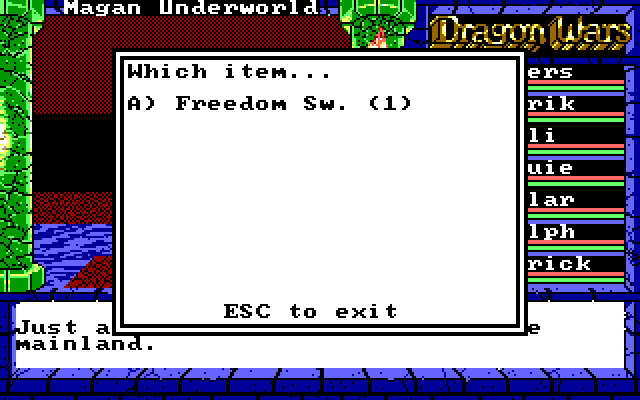
No trap this time. This is the real deal.
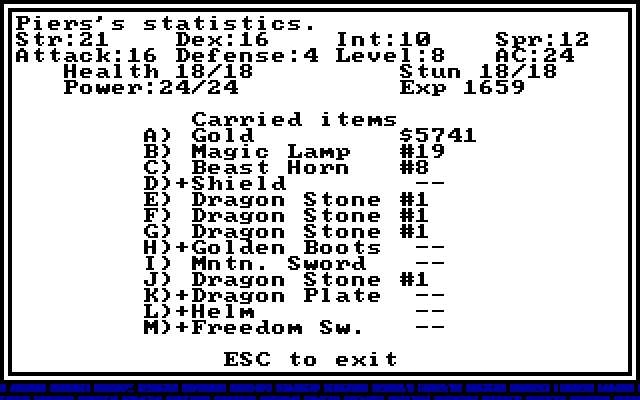
Look at that Attack stat. The Sword of Freedom gives +15 AV and +5 AC. And remember, Piers also has an extra +3 to AV when he uses a sword, so he will almost never miss. And that's not even the best part.
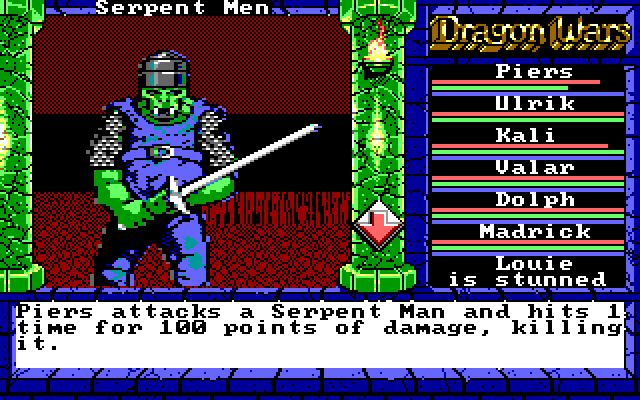
It is the only weapon in the game capable of doing 100 damage.
The downside is that it's actually 1d100, so it can also hit for as low as 1 damage. But that's okay. The Sword will one-shot an enemy more often than it won't. And later in the game, it will do something even better. For now, we'll settle for our four front-liners all having the best possible melee weapons. Nothing will do more damage than the combination of the Freedom Sword, Dragon Sword, and two Spiked Flails.