Part 10: November 29 Broadcast

You are listening to BBC radio 4. In an hour, we have a discussion on holiday stress, and how to reduce it with Dr. James Mark. For the next hour, Professor David Stephenson will be presenting a documentary on the second 80 years war of the eighteenth century. This series will be running every third day, up to 50 episodes. If you want news of the current war in the Middle East please channel in to BBC radio 1.
 Good evening, and welcome to BBC radio 4. I’m Professor David Stephenson, professor of Dutch historical studies at Cambridge. This is the tenth part of our 50 episode special on the second 80 years war over Europe. Joining me for these broadcasts are fellow researchers and scholars Doctor Albert Andrews, specialist in German studies from the Berlin academy, Professor Robert Lowe, specialist in French studies at Cambridge, and a graduate student and technical assistant, Anton Thatcher. Last week, we discussed the commencement of hostilities in India in what was later to be known as the 80 years war.And this war did not take long to break free from India. After the famous battle of Nicolaes Ridge, the armies of India avoided Goa for some time, and were repulsed in minor pushes at both Mysore and Arcot, but neither battle included any serious numbers on either side. It was simply a half hearted push to regain their lands, and perhaps to test the Dutch defenses. Both sides settled in, but while India had but one theater to monitor, the Dutch had two others.
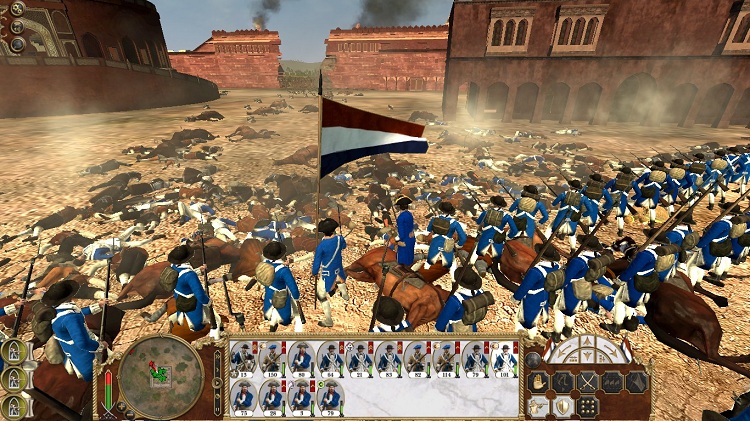
Dutch V.O.C. defend a breach in their fortifications around Arcot.
In Europe, de Vadder’s ministers, less subtle, diplomatic and tactful than their elderly predecessors pushed aggressively to expand their influence in Europe. Unable to secure an alliance with Wurttemberg, they moved on to more dramatic measures.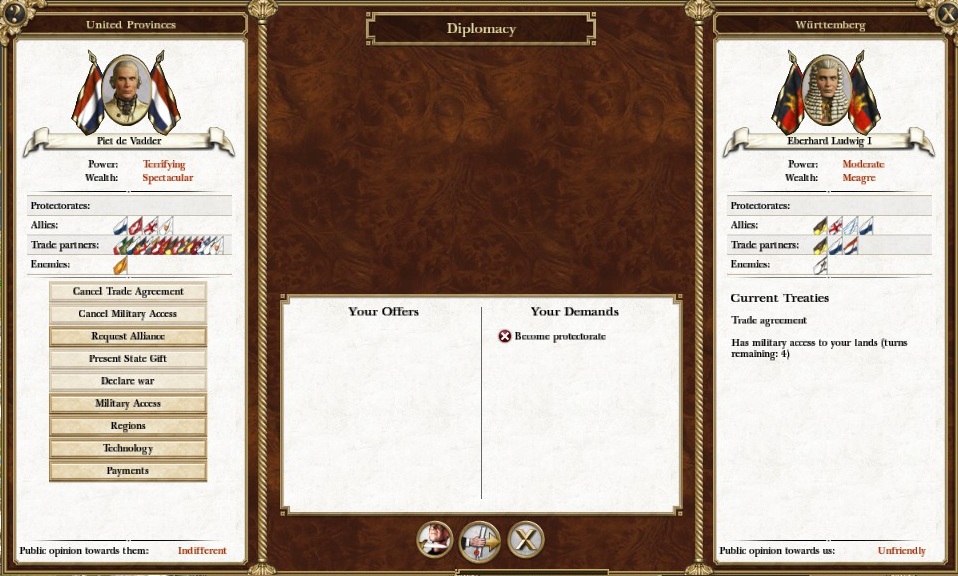
The Dutch ministers tried to apply pressure on Wurttemberg to try to get them to join the federation. de Vadder lacked the tact of previous Statholders, as did much of his cabinet.
Demanding Württemberg become a protectorate of the Western Atlantic Federation, or face the Dutch in all out war, the Dutch had possibly overplayed their hand, or Wurttemberg underestimated the power the Dutch held. Wurttemberg declined.A protectorate was a small and often weak state that relied upon another for its own safety and protection, hence the name. A protectorate could not declare war of its own accord, and had to pay remunerations to their protecting state. Württemberg, threatened only by the Dutch had no need for their protection, making the demand little more than a protection racket. Amsterdam declared war in June 3rd of 1721. This maneuver had immediate and disastrous consequence. In Britain, the past few years had seen parliament and her ministers debating the situation in Europe. The Dutch were rapidly becoming what they had feared, that being a united European power. Great Britain had always supported a Europe divided, where her resources could not be brought to bear in overwhelming force against the small island nation. With the Dutch expanding into Germany, the possibility of a united Europe under the Dutch was a distinct possibility.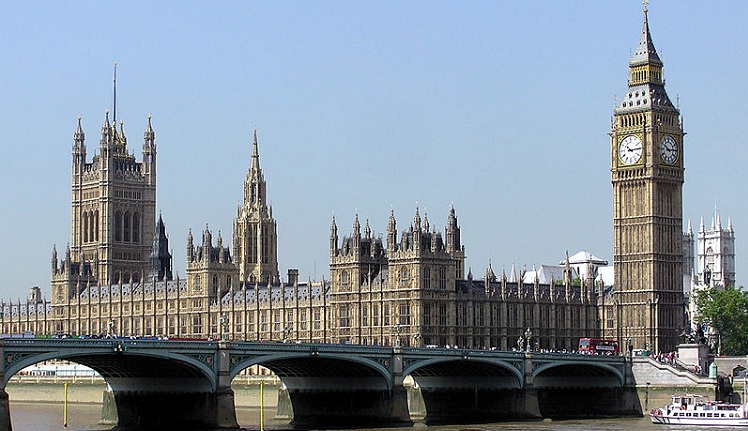
The threat of the Dutch were of considerable concern in the British Parliament.
By this time, William the third had died comfortably in London and was replaced by Queen Anne, who had been the daughter of the deposed King James the second. The Queen and Parliament were troubled by the events taking place in Europe as every year Dutch hegemony grew stronger. On one hand, it would potentially be disastrous for Queen Anne to act, as the populace may have suspected Catholic motivation, possibly leading to another Glorious Revolution. On the other hand, popular public opinion or not, the British could not stand against all of Europe alone.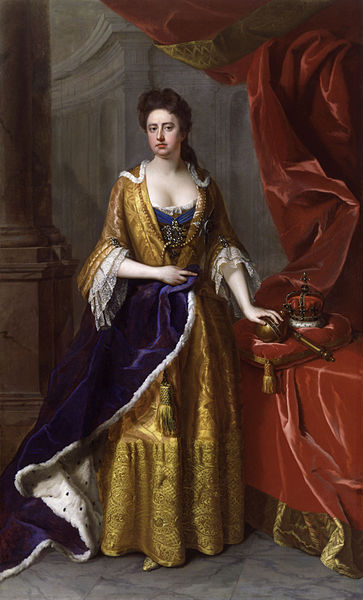
Queen Anne of Britain was the daughter of a deposed Catholic King.
After much debate, parliament surprised the Dutch greatly by declaring that they would support Wurttemberg during the upcoming war, signing their declaration of war by November of 1721.The Dutch were caught completely off guard. Armies and shipwrights were immediately mobilized to try to form together an assault on great Britain. Hundreds of men were pulled into the army and navy, and the generals had favoured a risky move, trying to hide their fleet and armies, distract the British fleets with a false navy, then take London by surprise. This was not to be.In January 1722, Westphalia, an ally of the British, Württemberg and Austrians had declared war, siding with Württemberg after receiving promise that Austria would also support them in the war against the Dutch. The Dutch had, in one fell swoop, managed to entrench themselves in a war against 4 other nations in addition to the Marathas.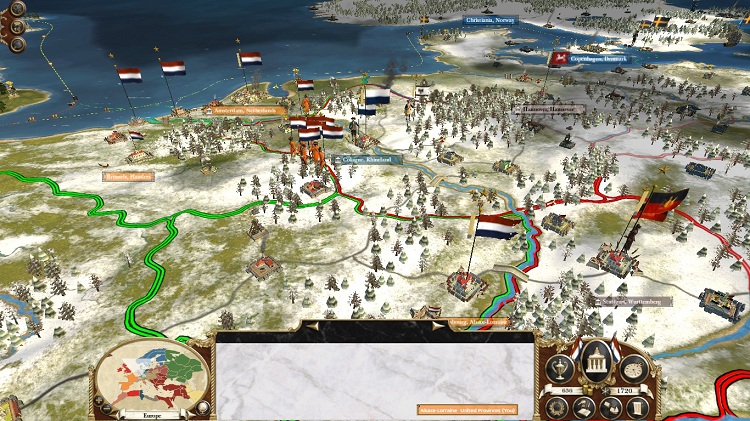
The position of the Dutch armies at the onset of the war. Many Dutch armies were actually single battalion patrols.
No longer capable of slipping through the channel with a massive army, every troop was pulled to the front of the Dutch territories or to besiege their enemies in Cologne while the Dutch navy tried to block every port from the Channel fleet.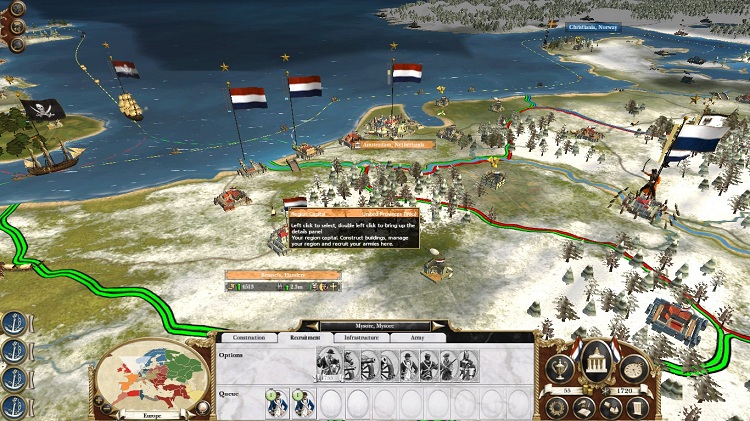
Dutch ships split up to defend every harbour or other rapid disembarkation ground along the coast of western Europe.
The channel fleet of Great Britain was what most worried the Dutch, for as the saying goes, rule Britannia, Britannia rule the waves. A full fleet with many ships of the line backed by a dozen smaller supporting ships, the channel fleet currently outgunned the smaller Dutch fleet, even if the Dutch had superior ships. The small fleet of galleons and fluyts trading ivory in Madagascar was quickly pulled back to Europe, and the Mediterranean fleets other than a single sloop, as well as the 5th rate ship the Ter Goes were pulled away to get to Le Havre.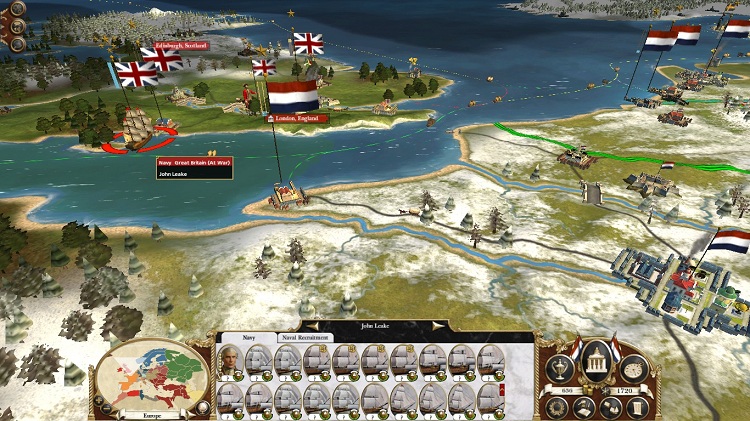
The large British channel fleet was the greatest threat to the Dutch invasion.
And the Ter Goes was the center of one of the more dramatic, if inconsequential battles of the 1700s, starting the European portion of the 80 years war. Finding herself alone combating piracy in the Mediterranean, a full Austrian flotilla of brigs, sloops and trade ships attacked the solitary frigate.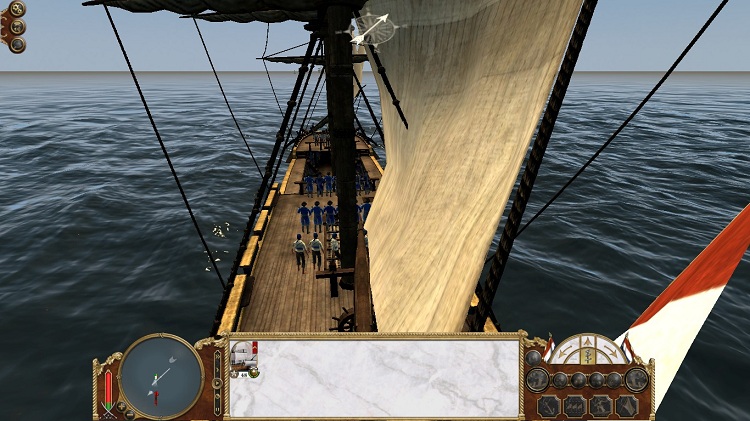
The Ter Goes patrolling the Mediterranean. It's captain and her crew were veterans of the invasion of France.
Policing the Barbary corsairs along the coast of North Africa near Surt, the Ter Goes was ambushed by a large Austrian trade fleet, which had been dispatched while the European powers were still formalizing the war. Austria had declared war, but this had still come as somewhat of a surprise to the captain of the Ter Goes, who was much further from Amsterdam than the Austrians from Vienna.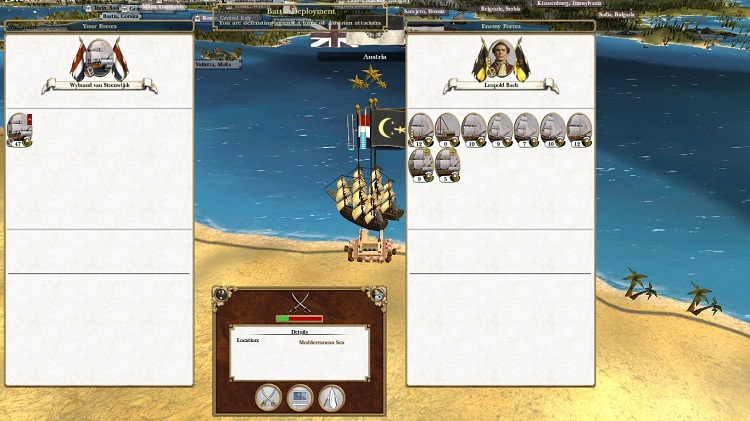
The Ter Goes blockading small galleons of the Barbary corsairs.
The Ter Goes, wind behind it was cleared for action by the time the Austrians had come just beyond cannon shot. The wind pushing into the Austrian sails meant the element of surprise couldn’t be fully capitalized upon, and more so, the Ter Goes had prepared her broadsides on the leeward side, giving her the first shot of the battle as the Austrians struggled into the wind.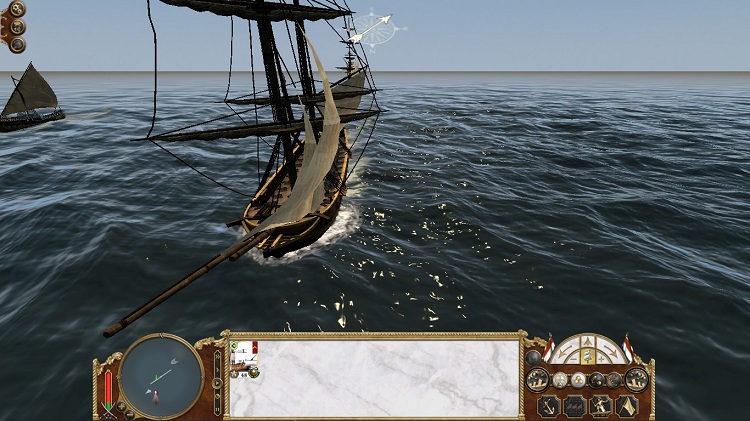
The Austrians had much smaller ships, but still had an advantage in guns.
After initial volleys, what ensued was a chaotic melee of a battle. Chain shot was fired on high into the rigging of the Ter Goes, while the lead brig of the Austrian fleet had its powder stores ignite. The entire ship was immediately destroyed, all hands lost in a flash.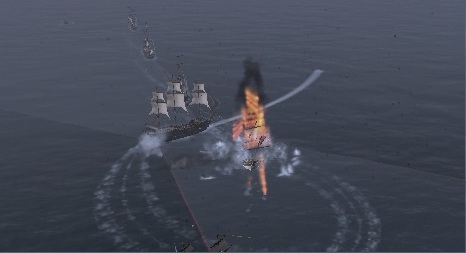
A brig's powder is lit causing a massive explosion a few dozen yards from the Ter Goes.
The Austrian ships were individually too frightened of the larger frigate to engage her directly, each one moving into range to get a salvo off, then trying to retreat back behind other ships for security. Instead of keeping to the fore and aft of the ship, the Austrians managed to take devastating volleys from the heavier Dutch guns on their much weaker hulls, while the Dutch ships managed to absorb much of the ineffectual long range shots fired by the smaller trade ship cannons.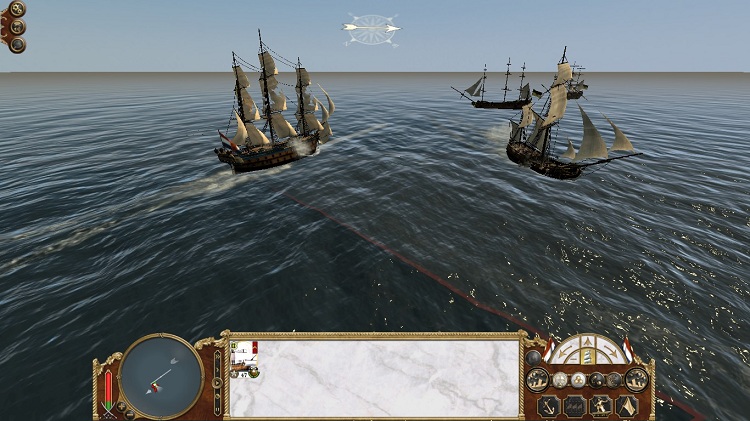
The smaller ships were too worried about staying out of range of the fifth rate's guns to properly keep on her for or aft giving the Ter Goes good shots to their aft.
Still, the battle had been fought for near half an hour, and the wear was starting to show on the hull of the sturdy Dutch Frigate. Massive panels from her sides were torn apart under the constant fire from the hundred Austrian cannons, while the Ter Goes had managed to fire below waterline shots on several of the trade ships. Their thin hulls easily coming apart under fire, many of the trade ships sank.
The Ter Goes battered, but not beaten. Gun crews fired through ruined lumber into the enemy trade fleet.
One of her masts missing, the Ter Goes was unable to run down the last few ships. While they had panicked and several had begun to rout, the Ter Goes could only watch as they fled. Still, she had destroyed a significant portion of the Austrian trade fleet, and had just survived an engagement of 9-1.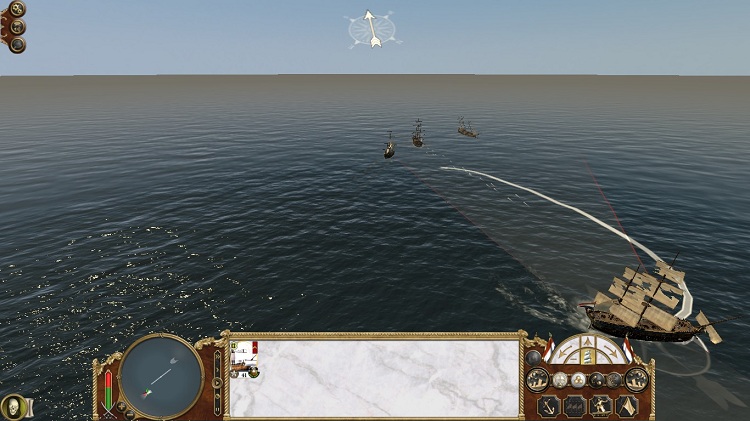
The last few Austrian ships flee the victorious Dutch frigate.
Though victorious, the Ter Goes immediately set for Spain, the damage to her hull and rigging far to severe to carry on. News of her victory gave the Dutch government some confidence in holding the Mediterranean, which they had previously thought untenable. The Ter Goes would be the center of a small Mediterranean fleet designed to keep their control over the lucrative trade route to Russia and the Ottoman Empire.At approximately the same time, The Dutch in Spain had fought a minor skirmish, pushing the British out of Gibraltar. The minor garrison, split between Gibraltar and Africa could withstand the Dutch. With the victory of the Ter Goes, and the capture of Gibraltar, the Dutch had acquired a modicum of control over the Mediterranean rather than losing it entirely, as troops were shuffled north to handle wars between the German states and Britain.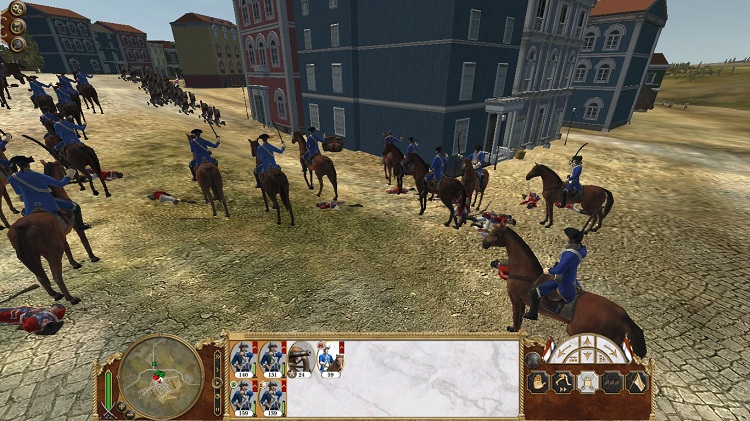
The Dutch chasing down the English militia through Gibraltar.
Further North, Dutch forces had immediately dispatched the weight of their forces on the traitorous Westphalians and Württemberg. Westphalia, essentially already under siege by the Dutch, were quickly invested by the burgeoning Dutch Republican guard army, consisting of professional infantry, Swiss guard mercenaries, Scotts guard mercenaries and grenadiers. An expensive, but deadly army, the overabundance of quality troops that had originally been bound for London left Ouwerkerk’s precious militia force to attack Württemberg.Both cities were fortified, so both were to be starved out by the Dutch armies. However, neither of the German states intended to remain in their forts and sallied forth. The Westphalians were in for a rough battle, but the Württembergers were on near even numbers, and were of a more professional standard than Ouwerkerk’s army.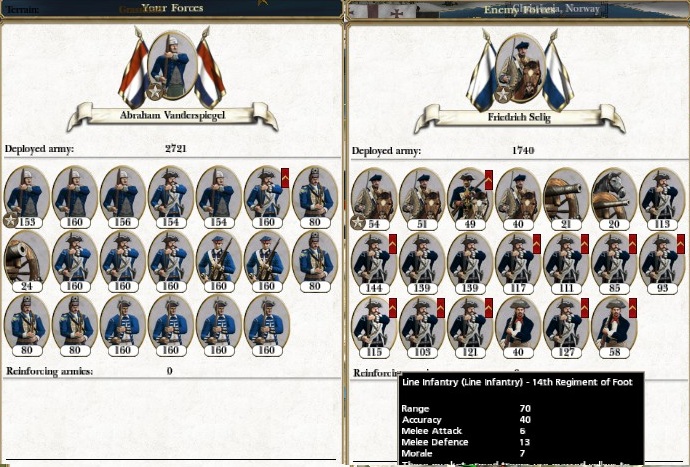
The Westphalian army was hopelessly outmatched.
Around Cologne, the Westphalian army sallied forth into the new, highly professional guard and were rapidly repulsed. The forces of Westphalia were dramatically outmatched. They hunkered back down and hoped the Austrians would assist them, or that the Württembergers would break through and aid them.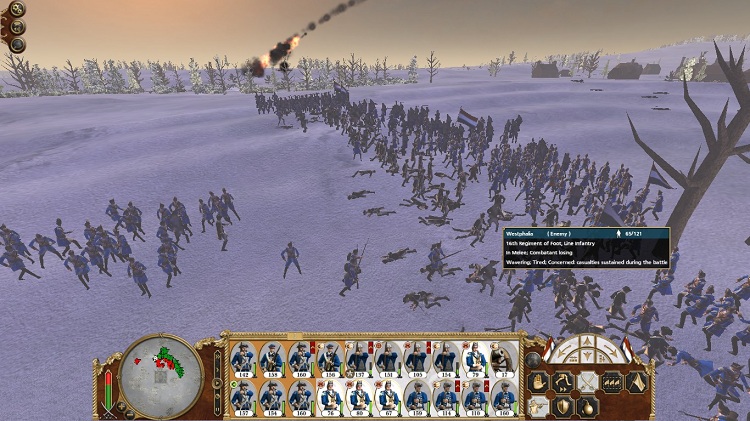
The Dutch simply fought the Westphalian army toe to toe. The excellent quality of the grenadiers, Scotts and the Swiss simply directly overwhelmed the Westphalians.
In Stuttgart, the Dutch had a much tougher fight ahead of them, but perhaps by then the reputation of the Dutch militia had preceded them. Fighting in their traditionally thick lines, the ancient company of pike men held their left flank. The militia were deployed in columns, but would move into slightly thinner lines to stop the Germans from gaining their flank. The cannon were deployed in a central battery, and their cavalry were held back in reserve.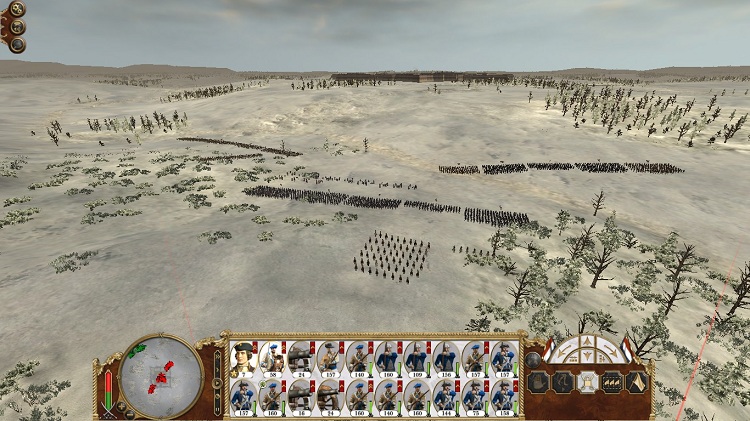
The Dutch deployed around Stuttgart.
The lines moving out from Cologne managed to maintain a good formation as they advanced on the Dutch, with the cavalry moving to overwhelm their flank. The Dutch on the right diverted their cannon fire, forcing away the cavalry, but on the left, the old pike militia managed to intercept the cavalry charge, and form a schiltron to protect their flanks.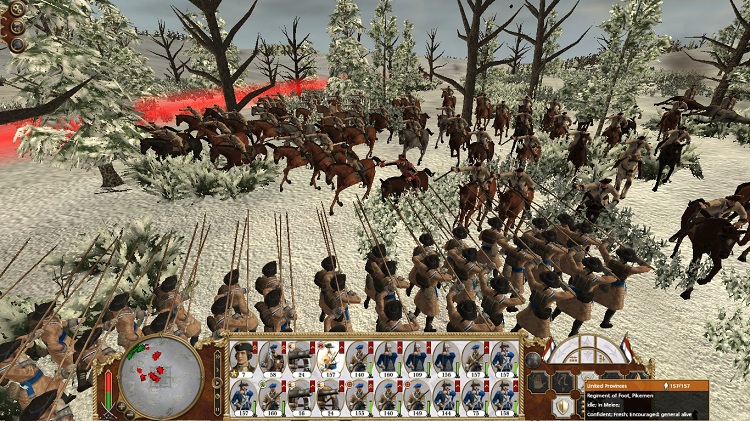
The Dutch pikemen intercept the Westphalian cavalry.
Down the center, the Dutch cannon fire kept the German army in check, The Dutch formed a cone around their artillery, giving it a clear avenue of attack, but keeping the Germans under too intense fire to stop spike the artillery. Manoeuvring the left and right wings to keep the German force in the avenue of cannon fire, the Dutch managed to keep the German forces under intense enfilade and cannon fire. Where the German forces had tried to get around the wing’s flanks, the flank retreated back into line, but kept up a long term bombardment on the forces causing horrendous casualties. Those that got close enough to try to silence the cannon were torn apart with grape shot. 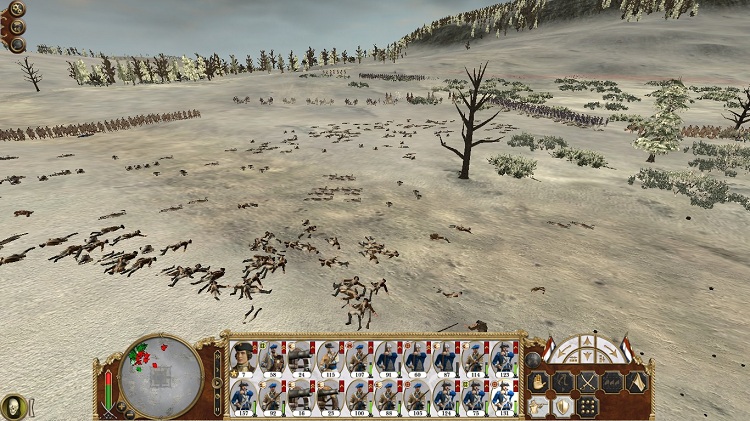
The Dutch formed their army into a shallow "V" formation to protect their cannons, which kept up a constant and deadly barrage.
The militia, far worse shots than the regulars were less capable of gunning their enemies down as they retreated back into their fortifications, and they had suffered considerably more casualties when compared to the force around Cologne. They kept up the siege of Stuttgart while their northern army swept over the Westphalian resistance, denouncing their government for the treachery. Ouwerkerk had observed of the battle, “Cannon fire, high spirits and patriotism will shatter discipline any day.” Even at even numbers, the Dutch had destroyed a vastly superior force with their militia, and Ouwerkerk couldn’t have been more delighted about it. Even the ancient pike militia regiment had acquitted itself incredibly well, killing over a hundred light cavalry.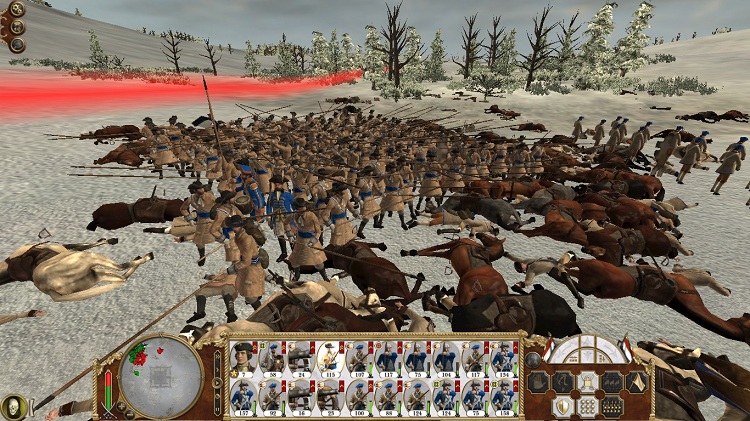
The Dutch pike militia were considered pivotal in the battle, having held their flank killing many cavalry.
With resistance in Europe largely destroyed, the Dutch could now turn their attention towards dealing with Great Britain. With the British channel fleet, the Dutch were at a standstill. But the British isles were not the only lands the Dutch could attack to cause harm to the British Empire.In our next broadcast, we present the battles between Britain and the United Provinces across the Empire. Next we have a special on holiday season stress. In half an hour, we will be presenting world news. If you want news of the current war in the Middle East please channel in to BBC radio 1. David Stephenson will be presenting more on the 80 years war in 3 days.