Part 17: Too bad, we're gonna finish this game
Last time we learned Alison might've been moved from Satan's Fortress to a certain cave in the northeast of Dismal Land. Naturally, Richard cannot but investigate.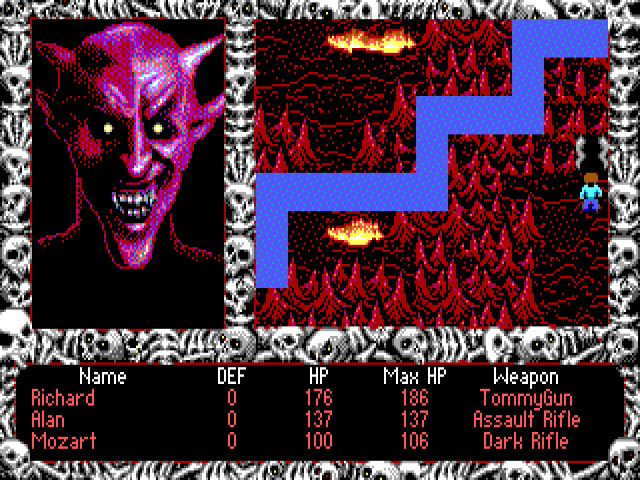
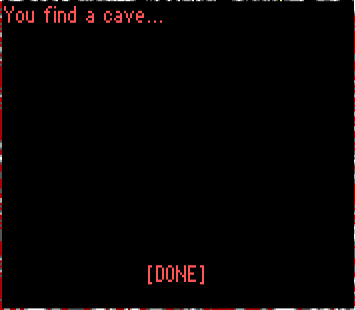
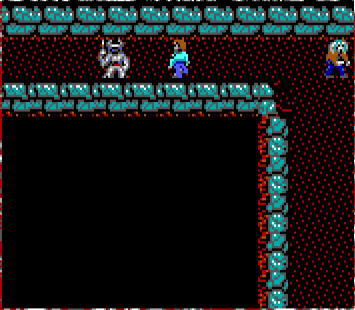
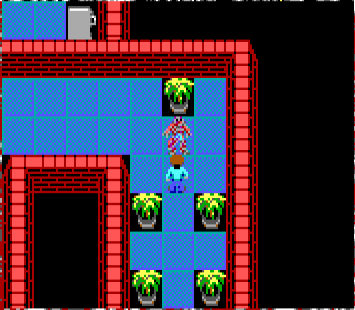
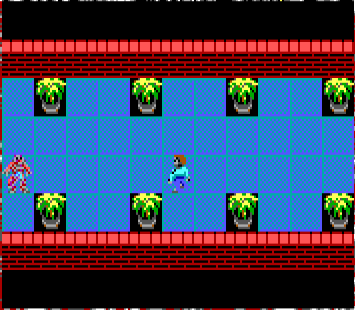
We find the cave easily.
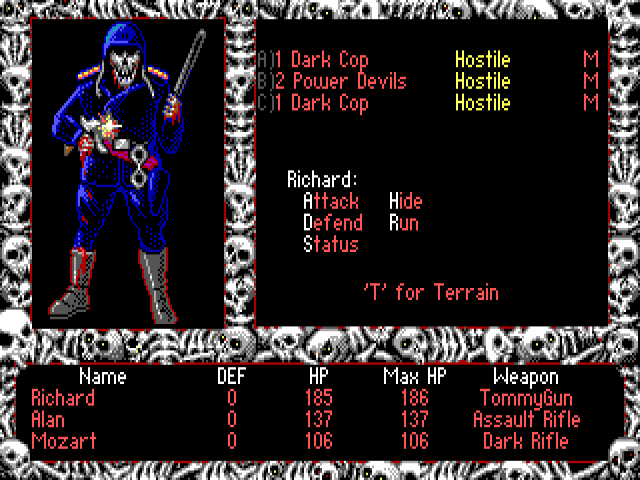
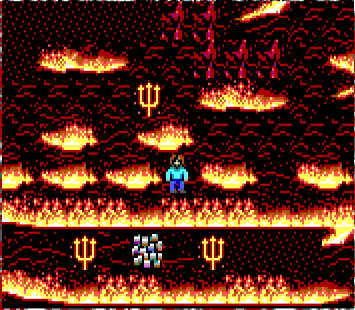
Interaction with 4 Gnarly Demons
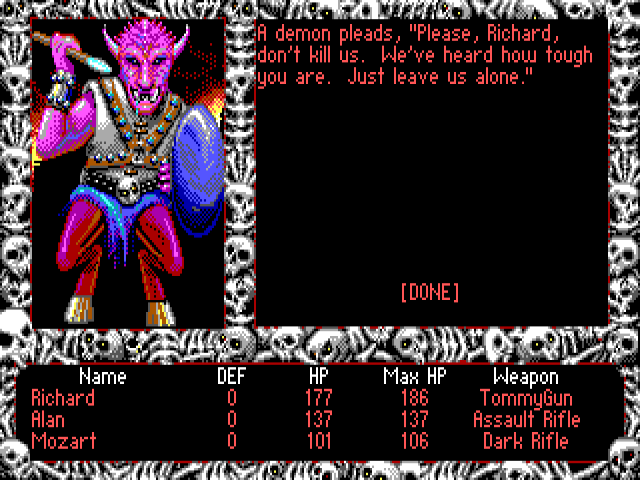
Hey, we've grown so notorious demons are now afraid of us!

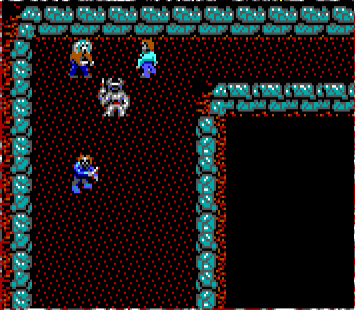
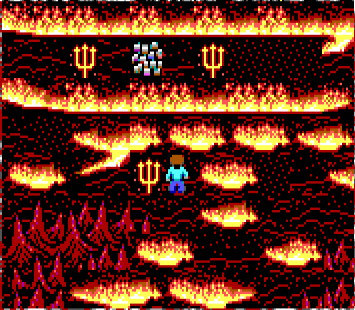
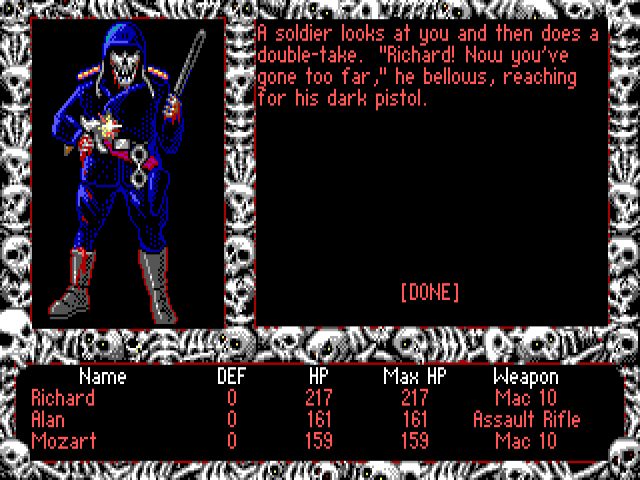
Interaction with 4 Hell Soldiers
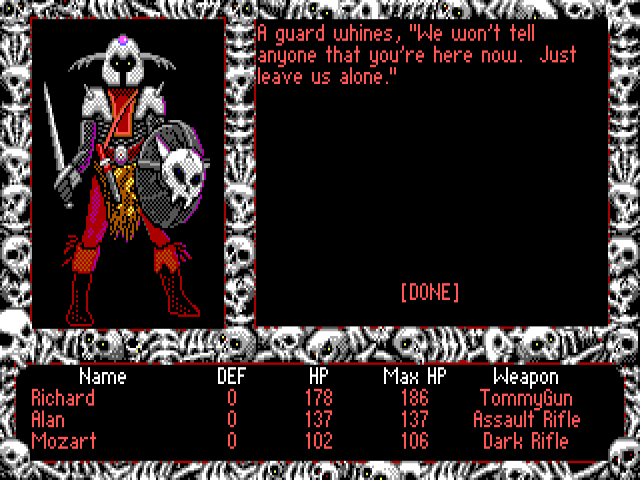
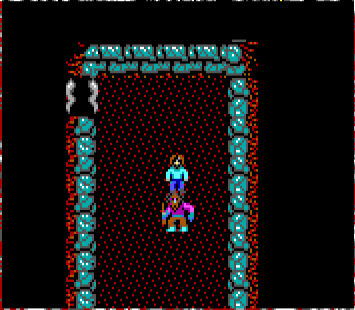
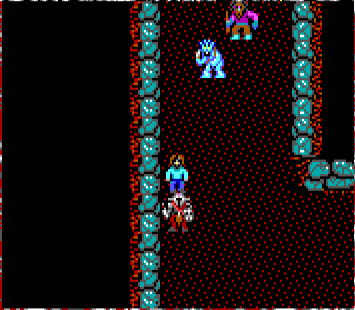
Is Alison really in here? Will we be able to reach her safely?
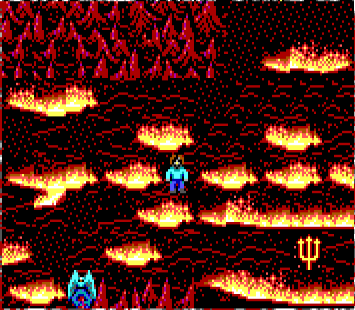
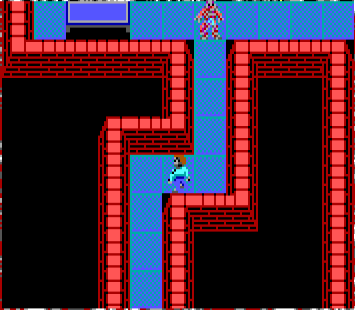
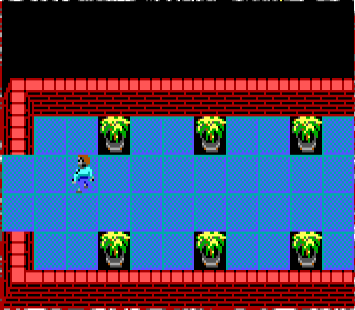
We turn around the corner and crawl up the narrow corridor...
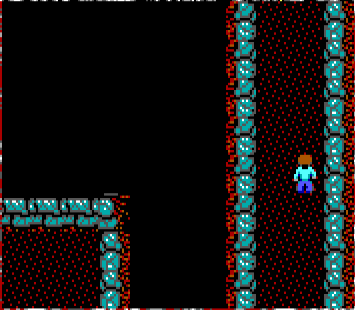
The corridor curves to the west. We follow it.
As Richard L. Seaborne wrote in another game he designed, Tower of Myraglen,
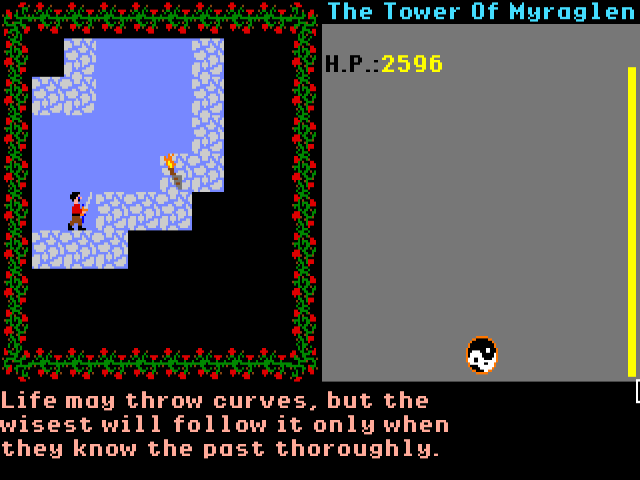
Does the above screenshot have anything to do with the situation we're in, I wonder?

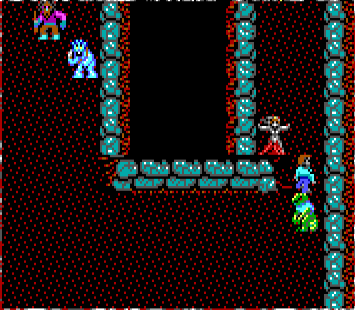
Suddenly, a few steps to the south...
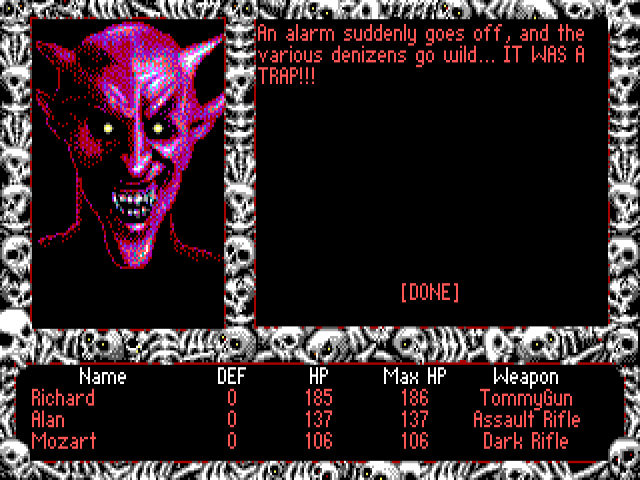
I bet you didn't see that coming.
The enemies that previously looked so scared, are now fearlessly lining up to attack us.
We deal with the first wave, and look around...
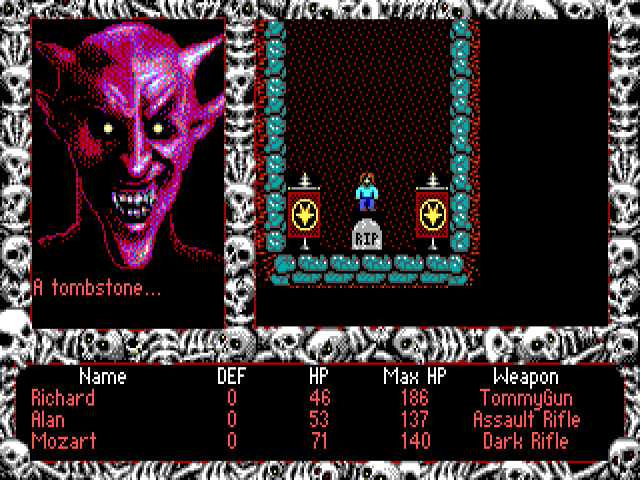
A tombstone is already prepared for us here.

And then the second wave arrives!
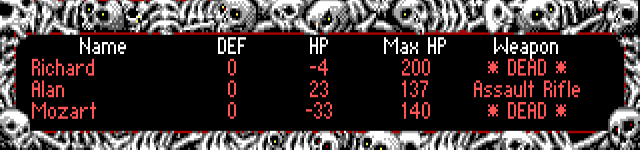
We barely make it, and hurry out of the cave.
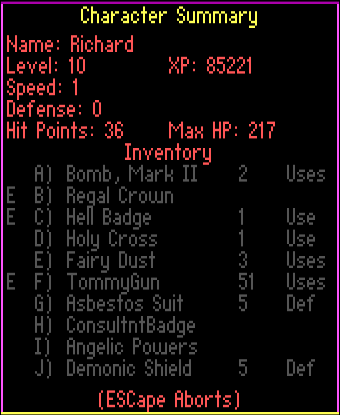
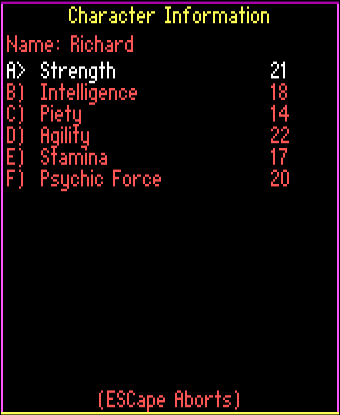
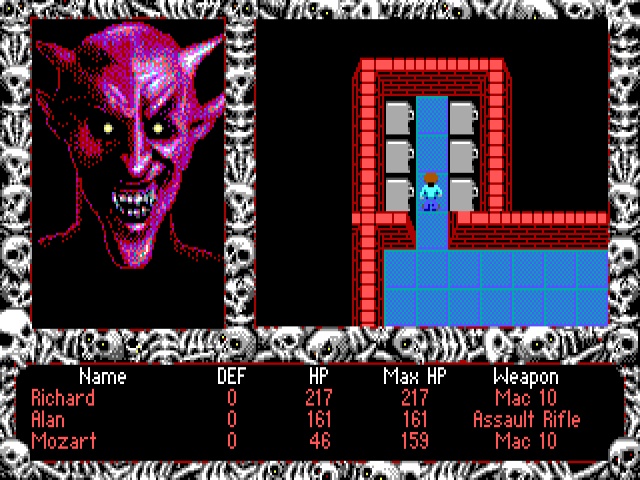
Naturally, no Alison in sight. On the plus side, Richard is now level ten:
While Mozart and Alan are both level 8:
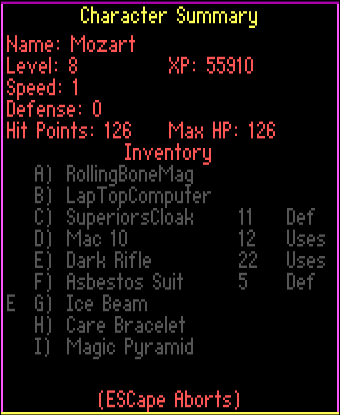
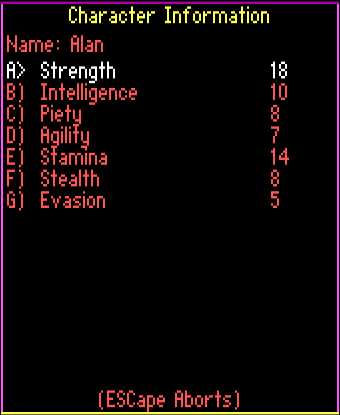
The stat increase isn't that high, but each and every hit point is essential at this stage.
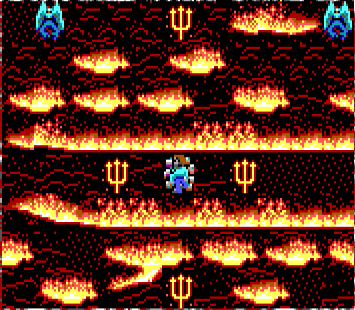
We head northwest until we reach a place from which we can observe Satan's Fortress in all its fiery glory:

Unfortunately, I don't know of a way to reach the fortress from here. One of the walkthroughs suggests using Asbestos Suits, but nope, that doesn't work. In the bonus update, I'll try bringing Guderian here; maybe his Flying skill could help us cross the river of lava.
Approaching the place from the south doesn't help much.
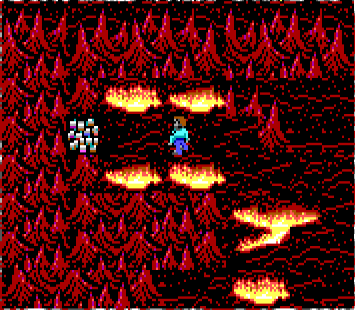
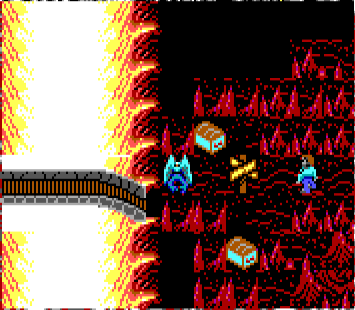
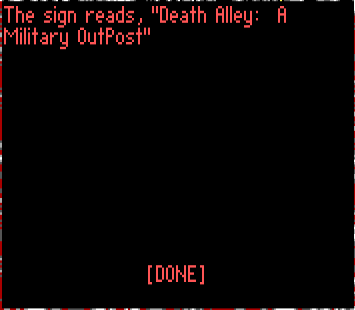
The only sure way inside the fortress goes through Death Alley.
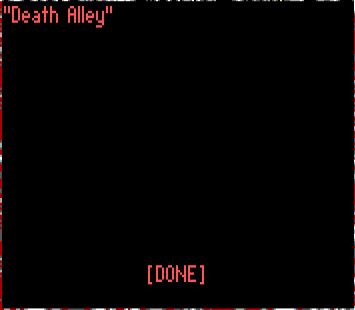
Death Alley greets us with...
Death! So appropriate.
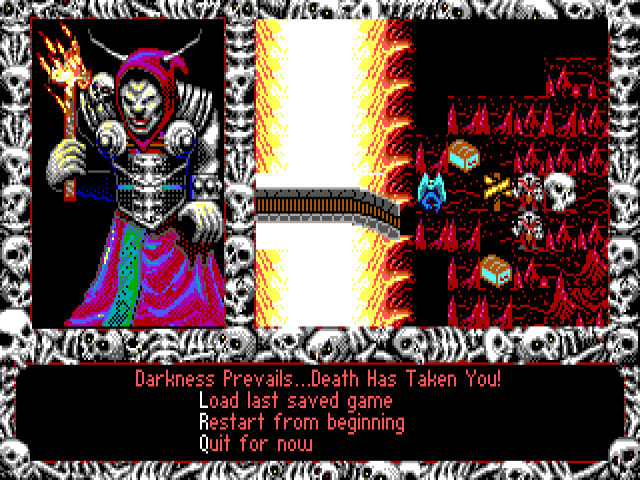
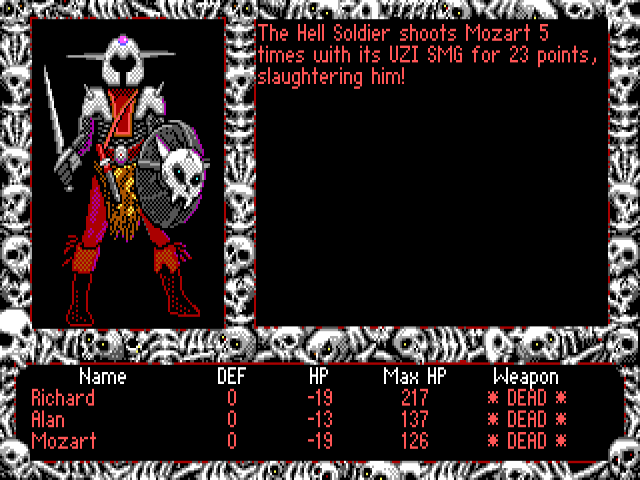
I have to retry a few times until our party finally takes those Hell Soldiers out.
The bottom chest provides an alternative way of getting the Lucifer's Joke:
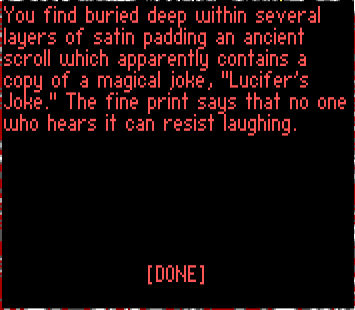
It can only be used to recruit Frank the comedian, though, and is otherwise useless.
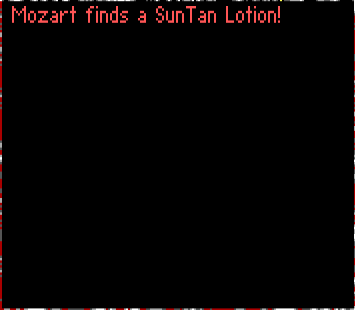
The second chest contains a SunTan Lotion, yet another fluff item.
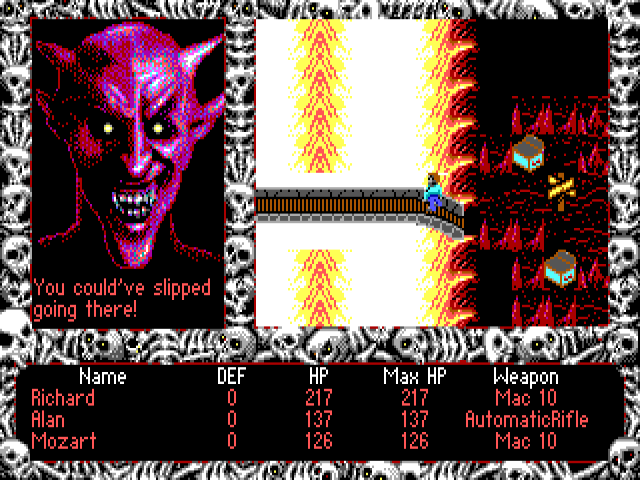
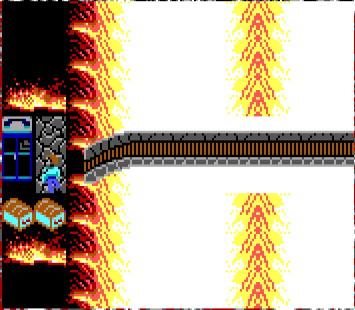
To reach Satan's Fortress, we must cross the Death Alley all the way to the west; this is a relatively lengthy crawl. At least the game is kind enough to not let us fall off the bridge!
There are hordes of enemies to slay until we get to the other side.
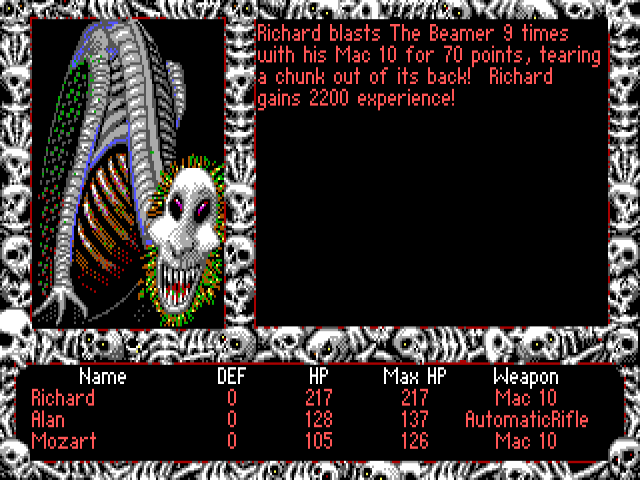
Beamers are the ones that land most experience.
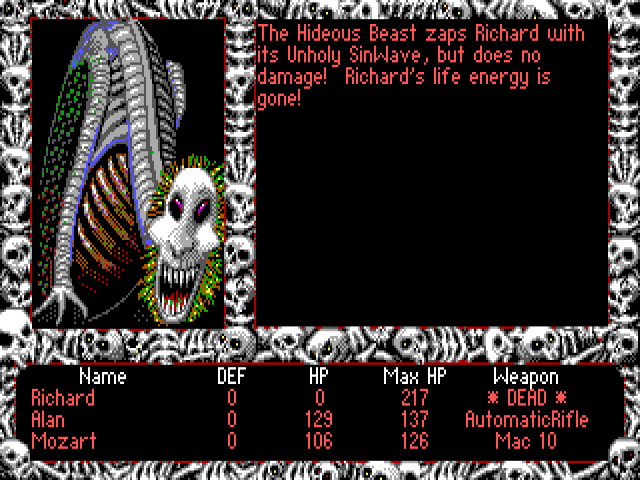
But the most dangerous monster in Death Alley is the Hideous Beast. Its Unholy SinWave may deal no damage, but it has a chance of instantly killing the character it is aimed at.

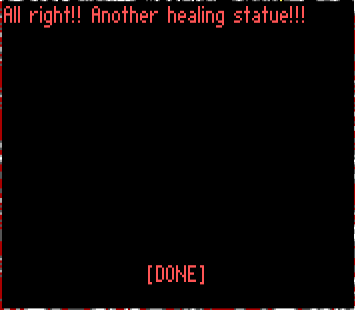
The statue in the centre of Death Alley gives free healing as long as Richard has the Hell badge equipped.
We rest here a bit and continue our westward march.
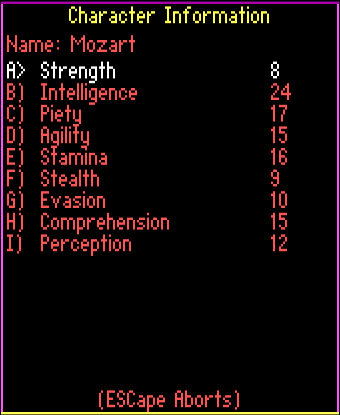
Mozart gains enough exp to level up again:
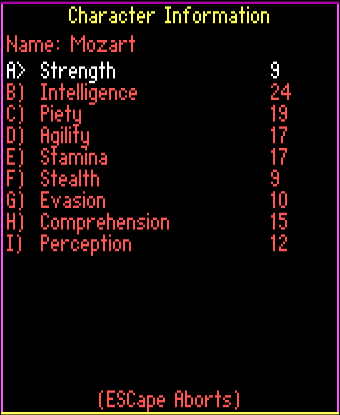
He's quite intelligent, I must say.
We finally reach the end of Death Alley. Nothing but a phone booth and two chests here.
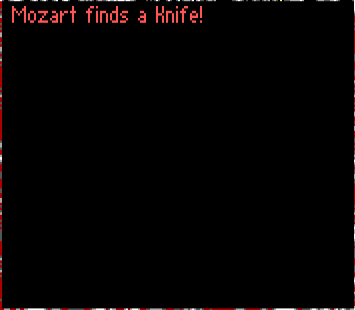
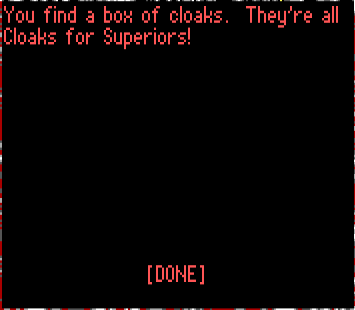
The knife is useless, but the cloak should come in handy inside Devil's Fortress.
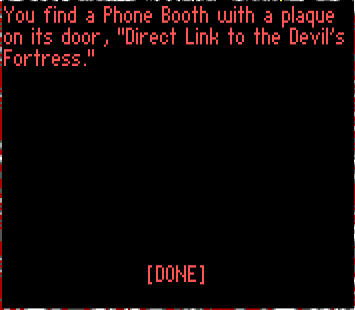
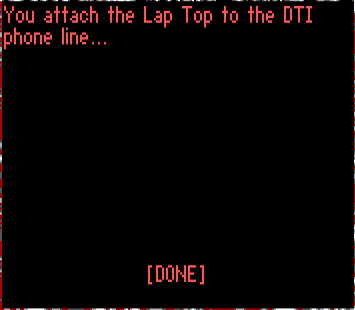
The booth, if properly hacked, should transport us directly to the Fortress.
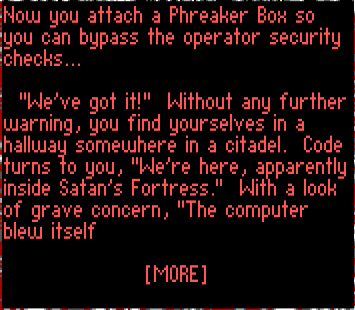
Here's another glitch for you: the game assumes we have Code-Warrior in our party. Which means the "canon" party at this point would consist of Richard, Alan, and Code.
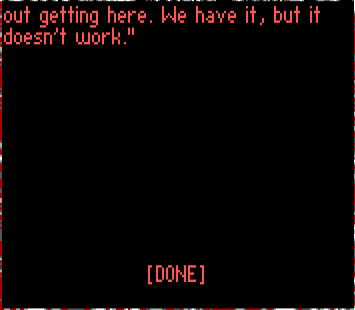
The laptop is broken; there's no turning back!
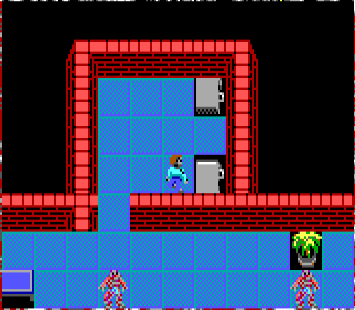
We go down the northern corridor first.
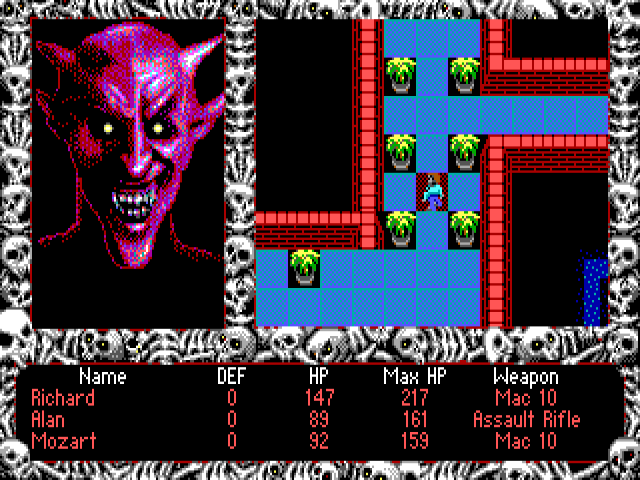
Interaction with 9 Dark Cops
Most guards inside Satan's Fortress won't attack us until Richard talks to them. So we better not interact with them at all.
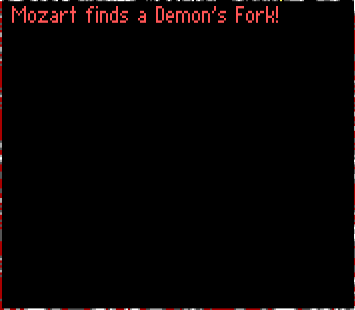
Inside the two containers to the north, there's a Demon's Fork and an Anti-Tank Rifle.

The rifle is a nice thing to have, as we'll see shortly.
We make our way around the clueless guard and go down south.
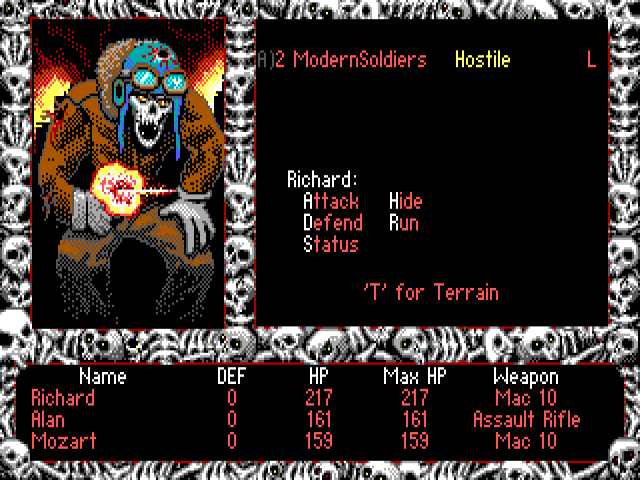
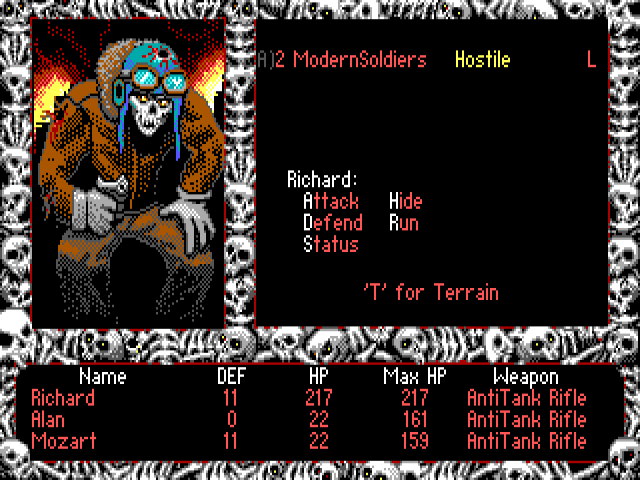
The two Modern Soldiers are immediately hostile, but thankfully they aren't much of a threat.
More loot!
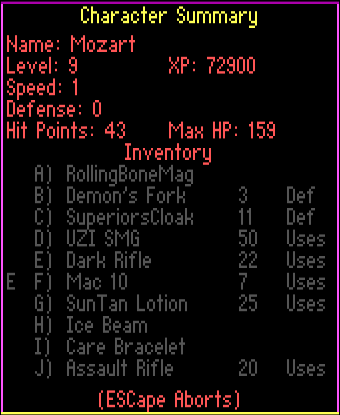
Mozart finds a Demonic Shield!
Mozart finds a Mac 10!
Mozart finds a Unholy Sword!
Mozart finds a Curing Potion!
Mozart finds a UZI SMG!
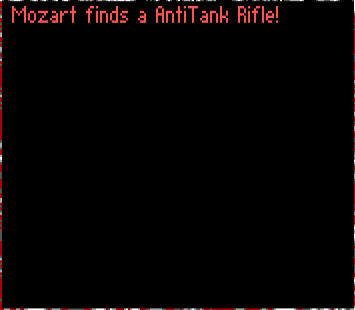
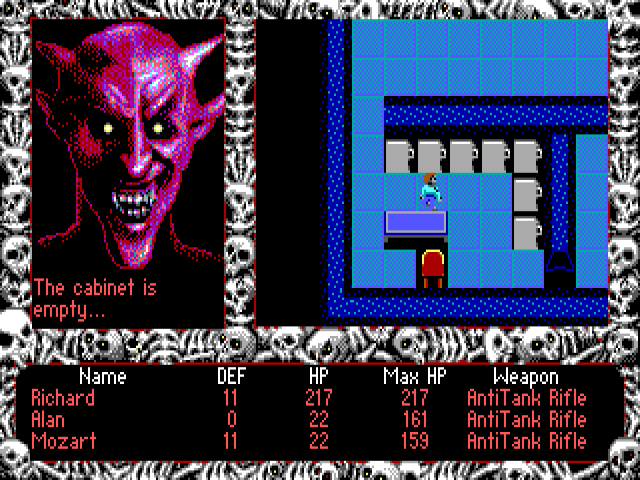
In a stroke of luck, we discover another Anti-Tank Rifle inside the final cabinet!
We backtrack to where we started from and go down the corridor to the east, slaying a couple more Modern Soldiers along the way.
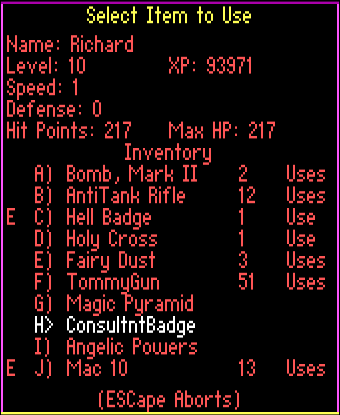
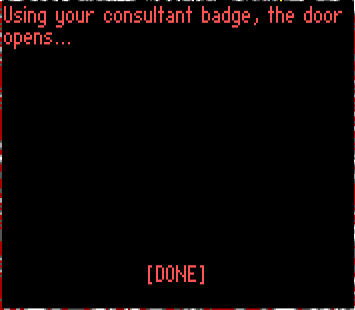
Richard uses the Consultant Badge we received back in the City on the Edge of Eternity...
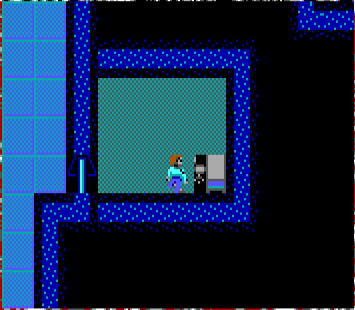
...and we gain access to the Consultant's Room:
As we approach the table, a scripted event kicks in:
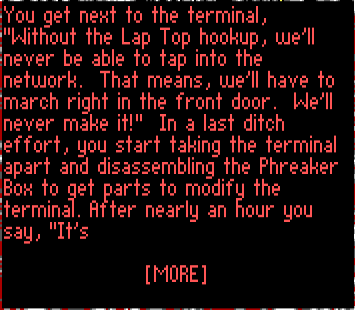
I'm not sure if that has any significance, really. It doesn't even make much sense: we're already inside Satan's Fortress, so what could the bit about "marching right in the front door" mean? Why would we need to tap into the network again? I'll try experimenting with the Consultant's Room for the bonus update, but I can't promise anything. The game does feel a bit unfinished in some places.
Anyway. Heading north from here only brings us to a dead end:
We won't be going south from here just yet; let's rather return to the starting point and explore the southern passage:
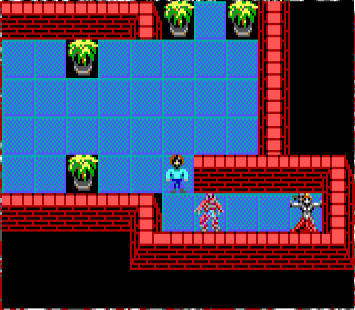
Nothing but more enemies here, some immediately hostile and some not.
As well as the Fortress' front entrance.
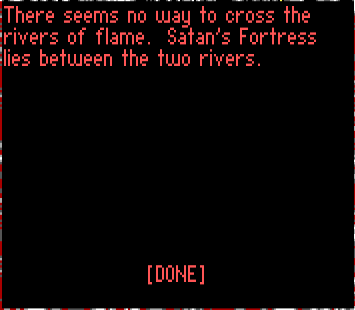
The tridents don't really do or influence anything; touching them only produces the above message.
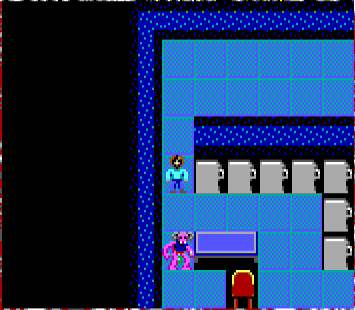
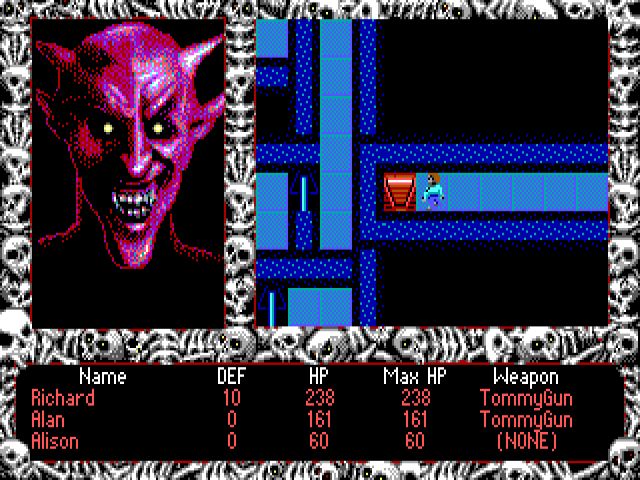
Time to rescue Alison!
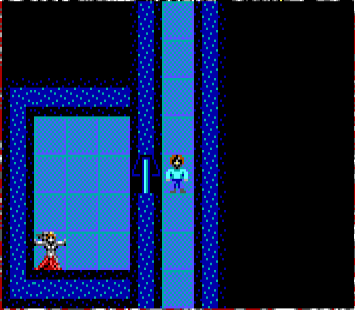
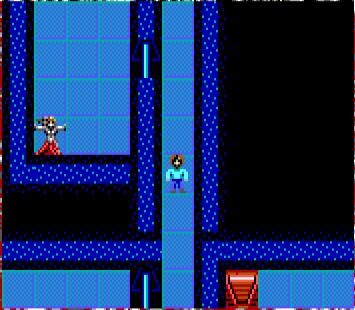
Or not. First we'll try doing the end sequence without her in the party, so we leisurely stroll past the holding cell.
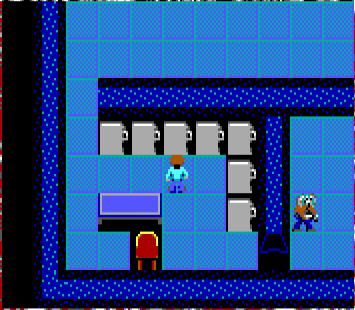
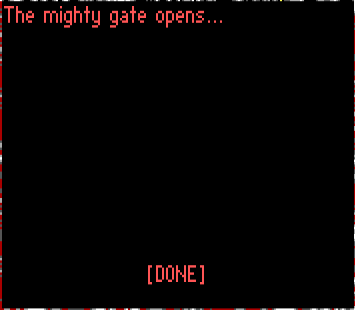
The red thing you see at the bottom of the second screenshot is the gate out of Hell, by the way.

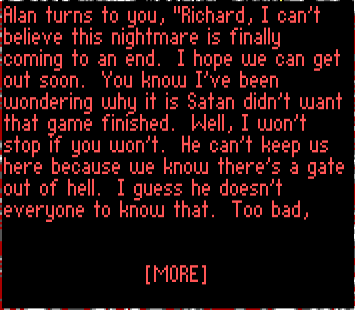
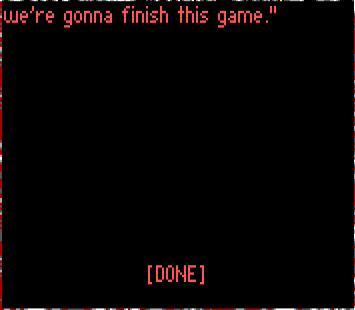
Satan didn't want the game finished? Too bad for him.

Now there are several ways to defeat Satan. The Holy Cross we got at the very beginning of the game is supposed to be critical, but in fact it's not.
The first way is simple: just equip everyone with Anti-Tank Rifles! Luckily, we have precisely three of them. So let's confront the Big D. now.
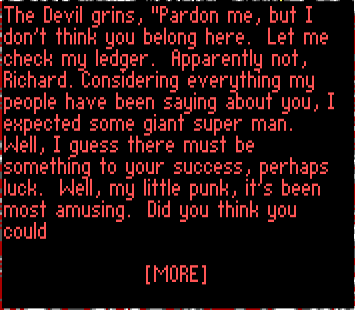

Ah, the villain's final speech. It will be enjoyable indeed.
There you are.
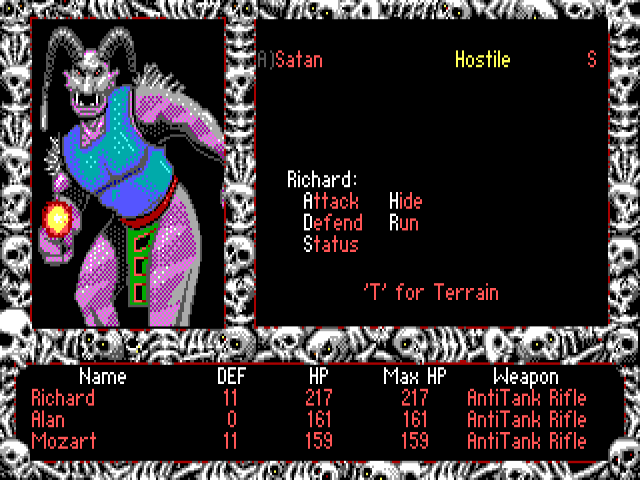
No unique character portrait.
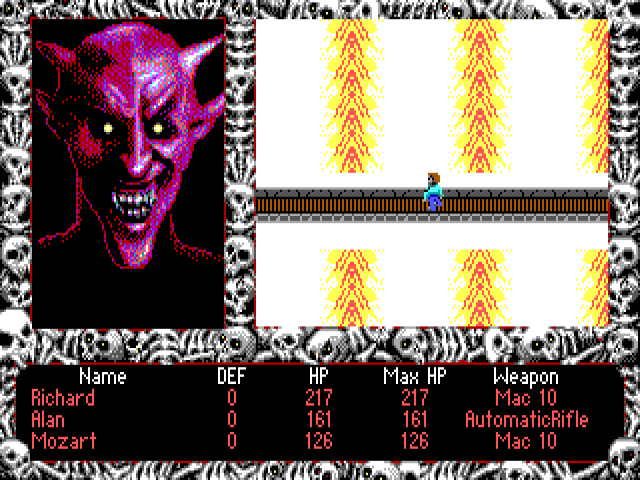
 Talk about a final boss fight.
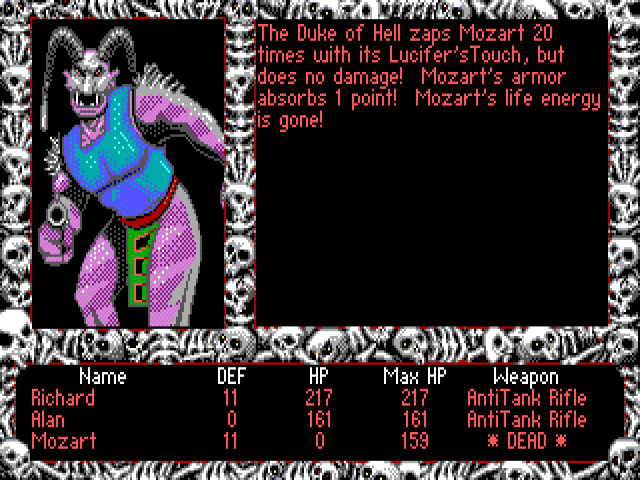
Lucifer's Touch is his very special attack, instantly draining all your life energy. Luckily for us and unfortunately for Satan, it can only take out one character at a time.
This isn't a JRPG, and Satan doesn't have 9999 HP or other insane amount thereof. And that's why we can bring him down with the rifles. Witness the anti-tank power in action!
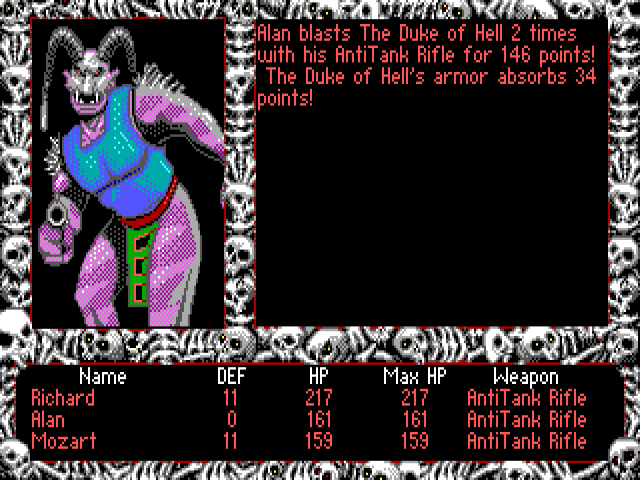
Even the Duke of Hell's powerful armour doesn't help him here.
Now, another way to get rid of Lucifer would be to use the Book of Death we found earlier.
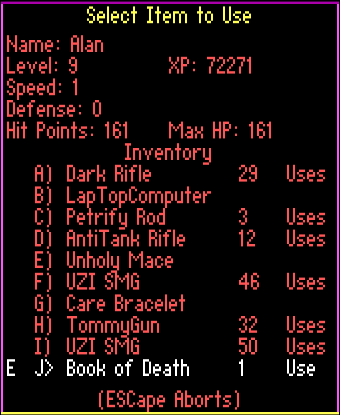
Surprisingly enough, it works not only on regular mobs, but on the final boss as well:
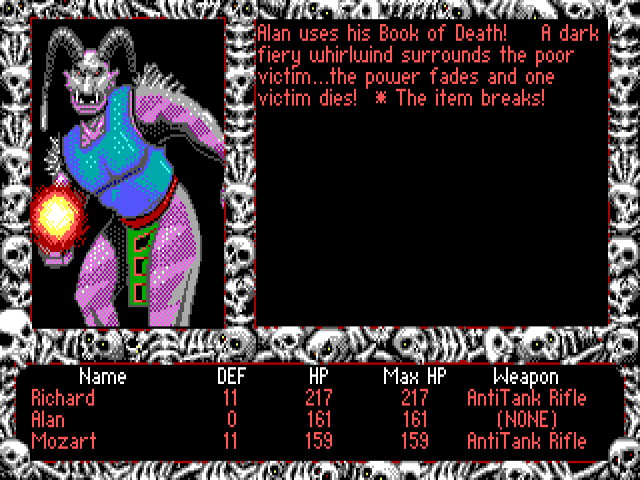
Yup, easy as that.
Finally, the Holy Cross is an option too:
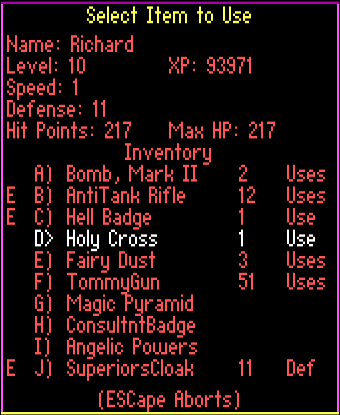
It's the default option that the walkthroughs recommend. They fail to mention it's only one of the options, however. I'm pretty sure there are even more alternative ways to kill Satan than the two I have discovered.
In any case, the path out of Hell is now clear.
All the cabinets are empty, by the way. No need for loot at this point.
Technically, Satan isn't even our final encounter.
The two Modern Soldiers are.

And here we are, the final frontier.
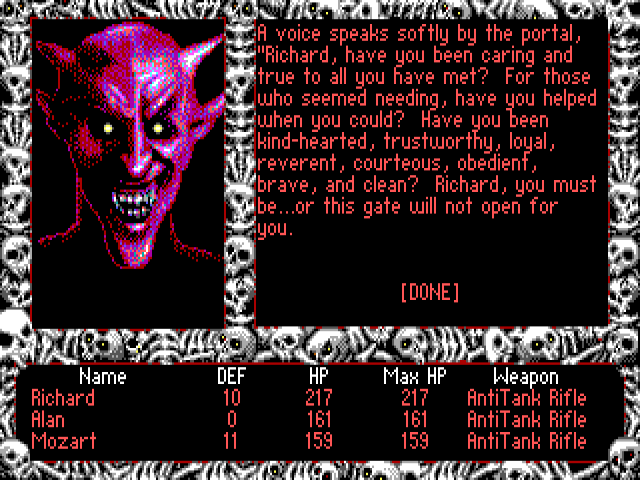
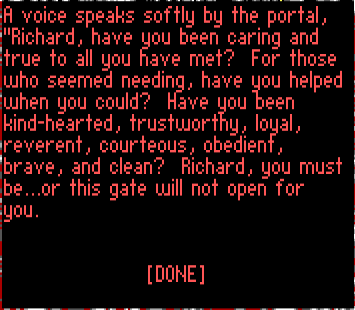
Have we been good? I believe we have.
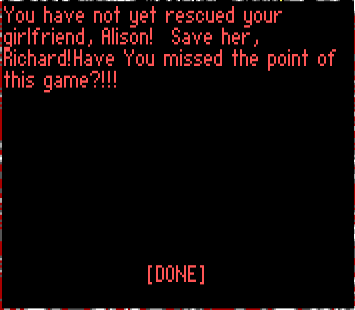
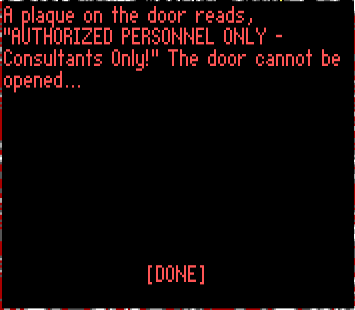
Oops. One minor detail missing.
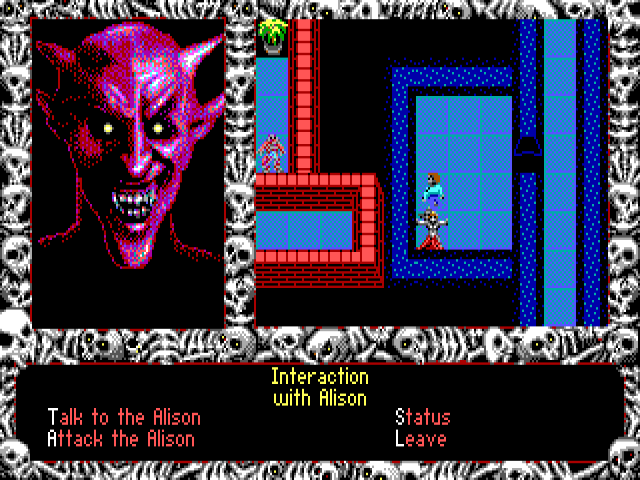
Let's go team up with Alison.

I can't tell if that's supposed to be touching or what.
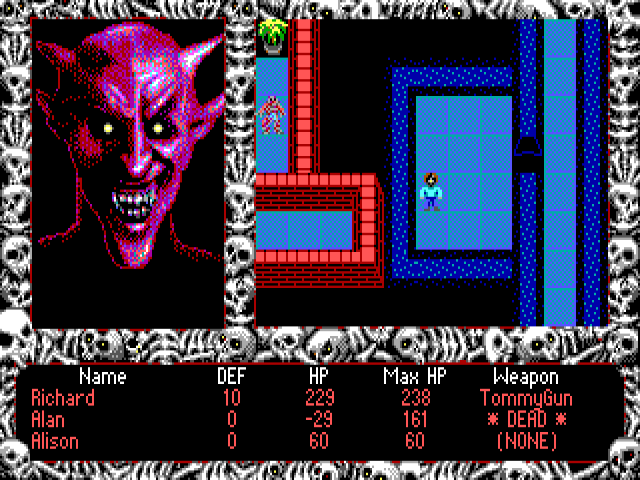
Goodbye, Mozart. Alas, we can't take you out of here.
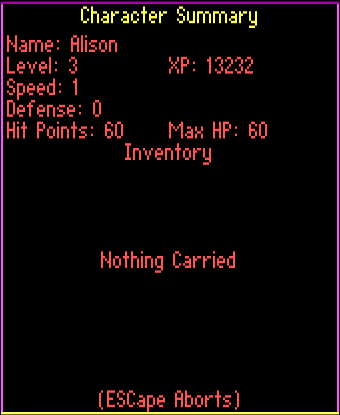
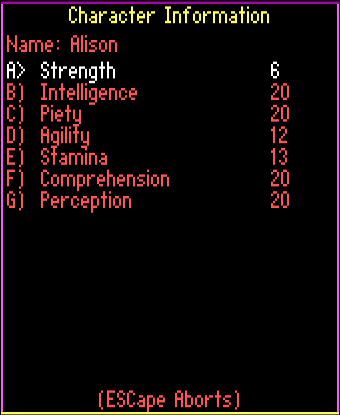
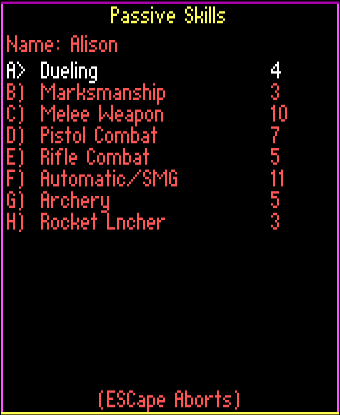
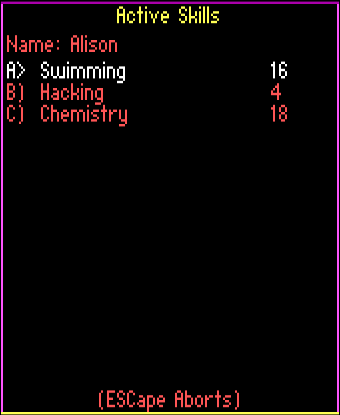
Not that it matters, but Alison has quite a variety of passive skills. She even knows her way around a Rocket Launcher. Some girlfriend you've got there, Richard!
All right, let's try this again.
I wonder how many friendlies we should've killed for the gate to slay closed... Provided that's even possible. In theory, it should be, but who knows.
No sound, so no point recording the ending as a video. Have an animated GIF instead:
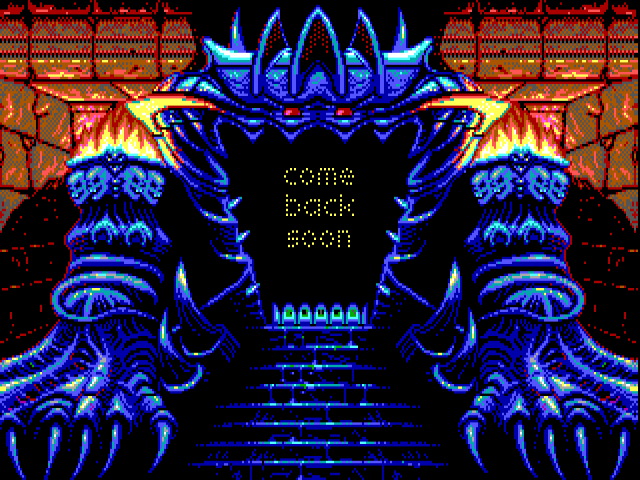
Richard and Alan (and Alison) are back to their normal lives. Sun is shining, birds are flying, and all's right with the world. (But really, "come back soon"?
 )
) The game ends here, and the LP ends with it. I hope you've enjoyed it!