Part 64: The Great Great Map Update and Things Missed
Update 059A - The Great Map Update (Final) and Things Missed Hello, and welcome to the Penultimate Great Map Update for this LP! Today, we will be covering the little bits that we've had to go back over in the past 16 updates, as well as new locations. During the prepwork for this update, I went back and recaptured images for every map, every town and dungeon that I could (unmappable ones excluded) in order to locate new things - and I did! I found something new all the way back in FORT GANRICK, if you can believe that. However, during processing, I realized that it was going to be 2/3 old material, so I chopped a lot of it out. I went from 340 raw images for this update, to ~200 processed compilation images (mostly by building large scale overworld maps, and putting together the four images that the large towns and dungeons required into a single one). That's still a full update, and very image heavy. Despite this, there is still two more map sections to be had - the final overworld map, and the final dungeon. They are not formally in this update, but will be included next time, for completions sake. Now, on with the show!
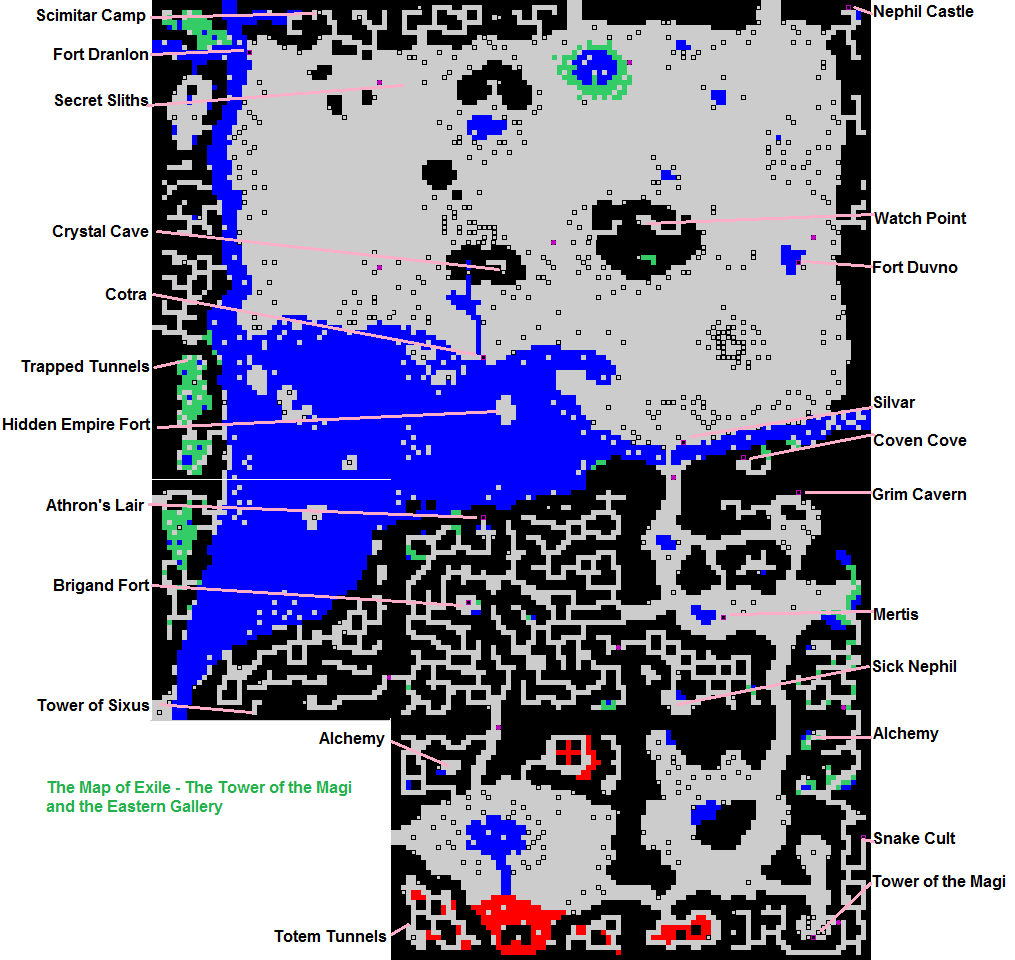
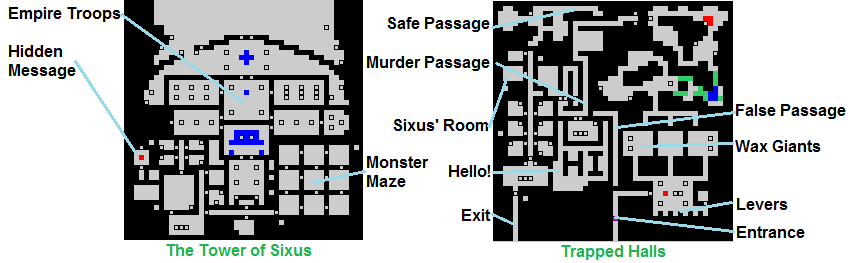 The Tower of Sixus (left) and the Trapped Halls (right) are the two dungeons associated with the Almaria City-Quest. Both locations are hidden on the overworld map. The Tower itself is behind a couple secret passages in the caverns north-east of Almaria, west of the Lair of Athron. The only real point of contention in the Tower should be the Monster Maze. Once you flip the lever in the upper-right, it's a long fight back to the start. The Trapped Halls is a nice dungeon, especially with the alternate endings depending if you go hostile or not. You could brute-force the Levers, but that's 2^6 combinations. Alright, 64 isn't that bad, but still, it's the thought that counts! Interesting to note though is that Sixus' Library also contains a mention that certain barriers can be brought down via Quickfire, something that the party (and I) forgot about until much later.
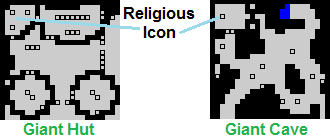 These two small locations at the north end of the river leading past Fort Dranlon, and on the eastern edge of the Giant Lands serve only to hold on to two of the three religious icons for the Dranlon Quest. The third is located in the Giant's Castle, near where the Gremlin Wives are held.
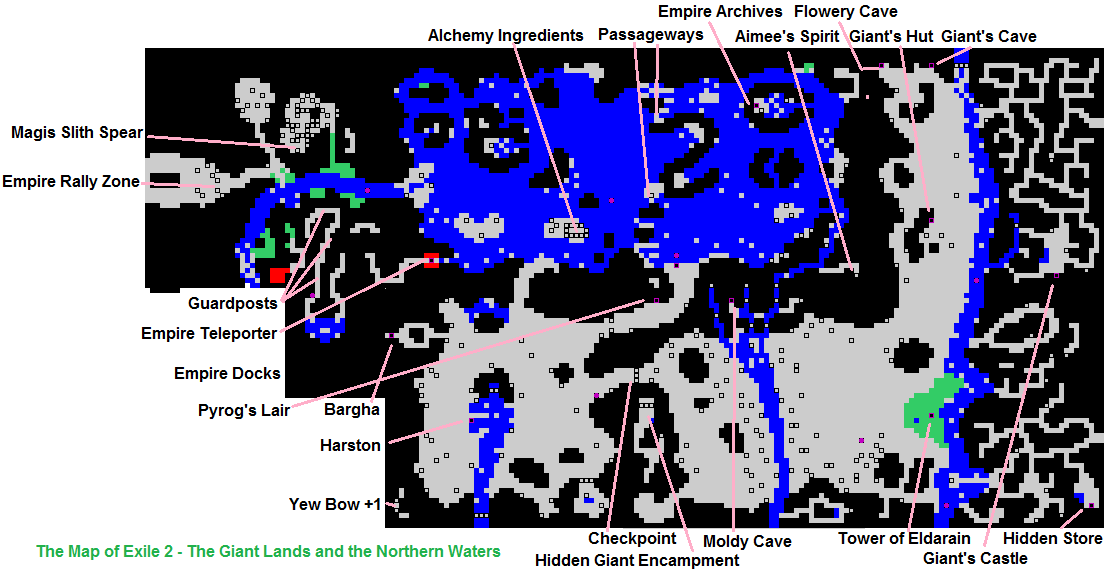
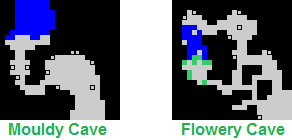 The Flowery Cave holds Ember Flowers, while the Mouldy Cave has Greymold. Both are for alchemical purposes, but only the Greymold has plot use at Patrick's Tower, and for the Sick Nephilim.
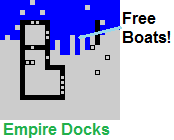 Not much to say here. You have 3 boats given to you, but you really only need one to do everything needed in the Northern Waters.
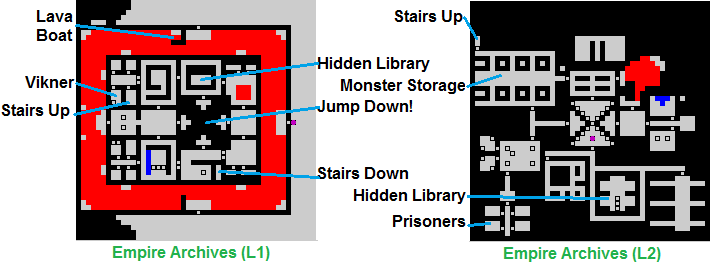 Remember, you need the Red Pass and the information from the Tower of Eldarain to get everything out of here. On the first floor, enter via the north entrance, and remember that there are Imps around the outside edge who love to pelt you with spells. Once you're ready, you'll have to find references to the location of materials on the first floor, then go actually find them. The easiest point is to use the secret passage on the south wall first, get that information, then return to the main segment of the dungeon to jump down and get the rest.
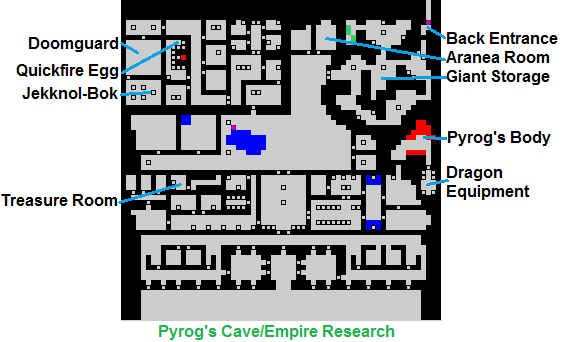 The fort built into what used to be Pyrog's Cavern is the home to the easiest end-game quest, the Rescue of Jekknol-Bok. Using information from Fort Dolthar, once you get here, you can sneak in the back door and get the Crystal Soul without fighting too many enemies. It is also your first encounter with a Doom Guard, and provides you with an item that casts Quickfire should you never get the spell from Rentar-Ihrno. Oh, and there's also a Knife and Shield made from the body of Pyrog, but those are kinda weak for where I was in the game. Oh well, can't win them all.
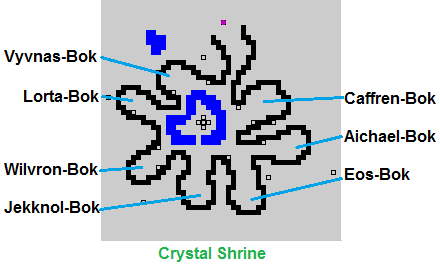 Here is where the crime was committed that drives the entire plot. I also find it hilarious that the Empire raiders grabbed the two Bok's closest to the Entrance, and the one furthest away.
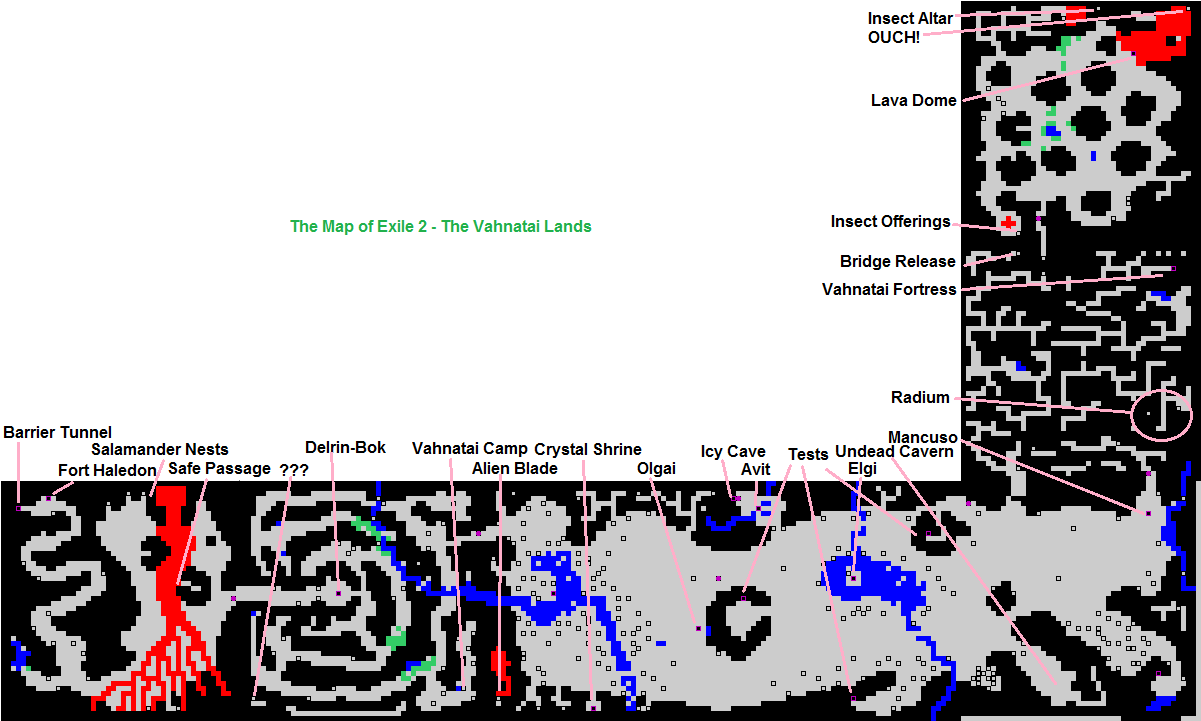
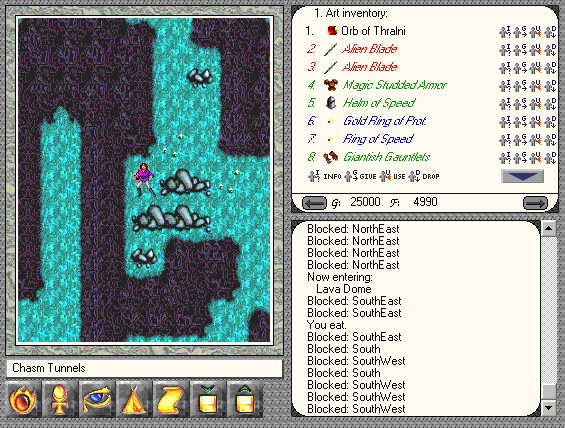
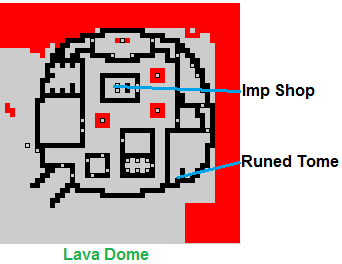 The Lava Dome has the highest amount of unique weapons thanks to the Imp Shopkeeper. It also has the Runed Tome for Rentar-Ihrno, which we can return to her for Quickfire.
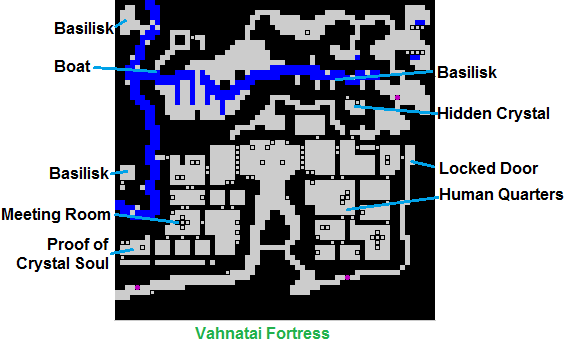 With further proof of the location of Caffren-Bok, the Vanhatai Fortress is also the equivalent to Fort Dranlon in the Empire Lands - just with the roles reversed. Curious, that. Anyways, there's a lot of Random Basilisks here, so keep your fingers on the save and load buttons!
 Completely optional, you have two ways to deal with the mad Crystal Soul. The first is to flip the two indicated levers, and work your way through the central maze to get to him, or you can stand in the indicated corner, and cast Shockwave a few (dozen) times.
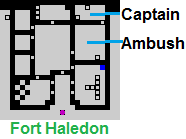 Not much to say here. Show up with the Orders from the Olgai Council, fight a couple fights, then get them to help you through the tunnels and into attacking the Ziggurat.
 Slightly revamped from its Exile 1 incarnation to allow for the smaller map, it is just a transition back into Exile, and the attack to come.
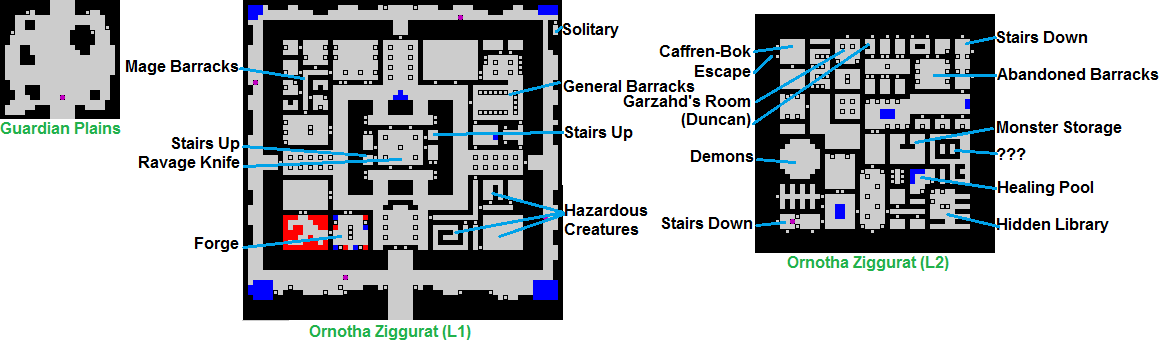 Technically four floors, the fourth is the 'roof' of the first level, which is little more than a small map with walls on three sides, and an open escape to the south - I did not screen cap it. The FAQ from Vogel reccomends just running for either stairs up to the second floor, and getting Caffren-Bok. When I came back for the Maps, my All-20's Party was still having issues with attrition, so it's not a warning made lightly. And I have no idea how to get into the hidden event tiles at the '???'.
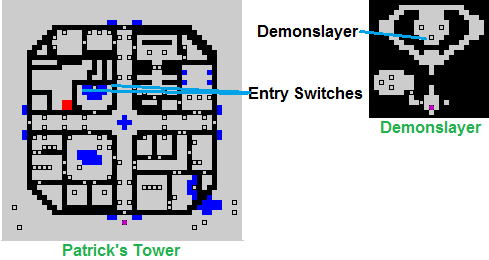 I include Patrick's Tower for completion sake, and remind people that the recipe for Greymold is here in the North West segment of the tower. Demonslayer is easy to get to, but very hard to get out. I pulled it off by having an angry Art cast Avatar a few times.
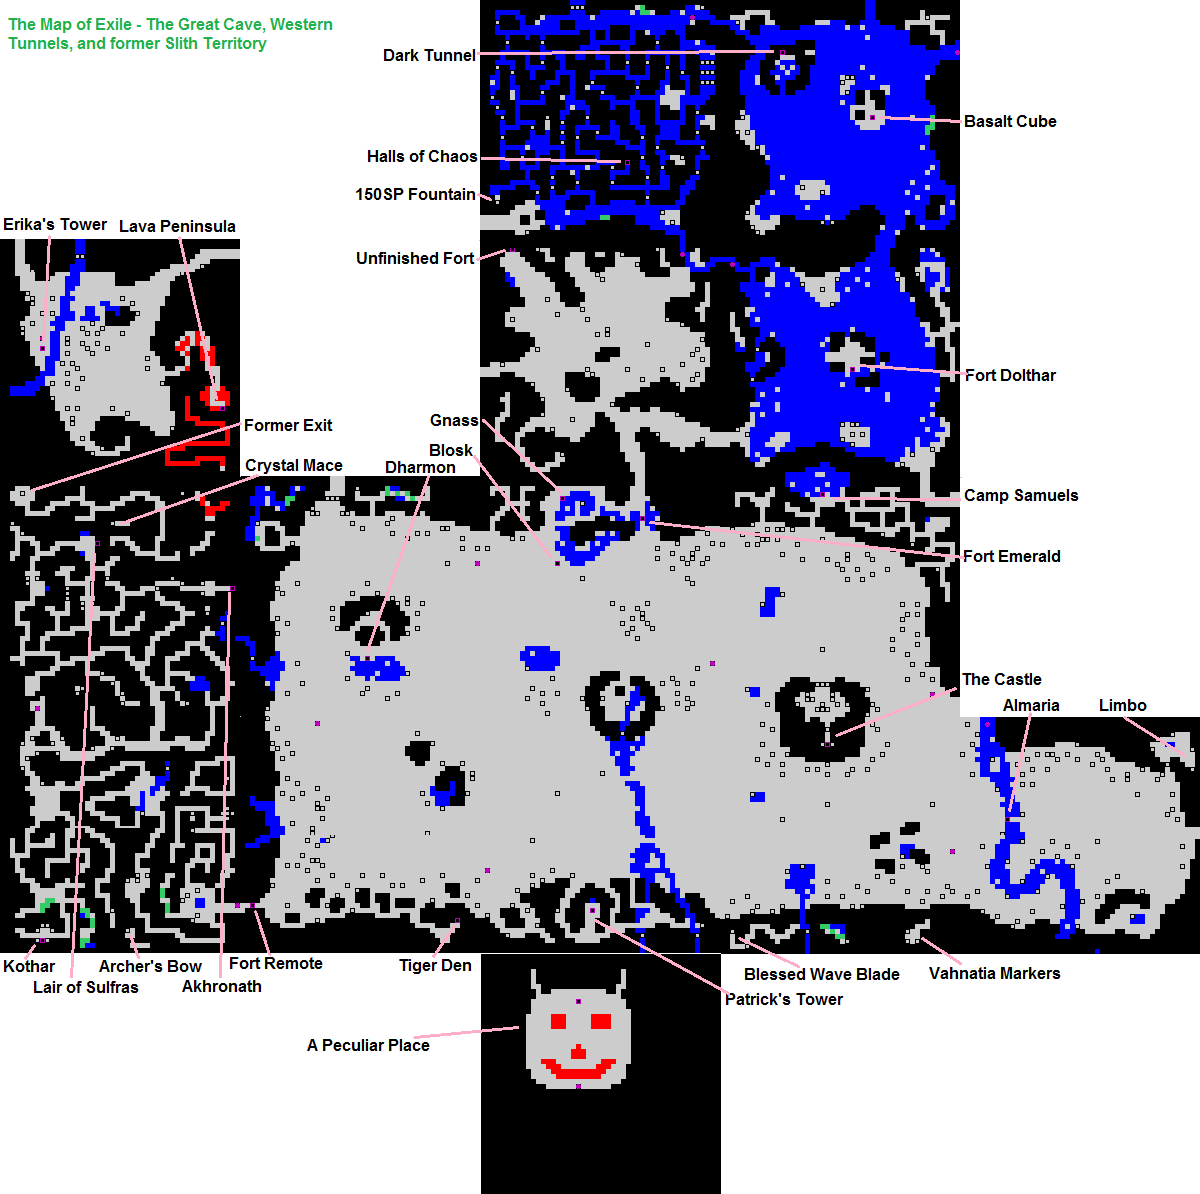
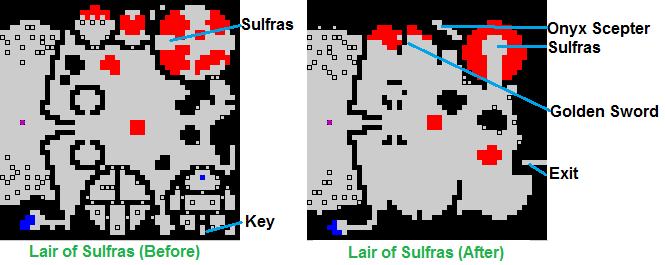 Here is both before and after the Dragon does the remodling. Nothing to seriously note here, except some unique items show up after his little tantrum. Don't worry about the Golden Sword - that's in "Things Missed".
 East of Erika's tower is the second-to-last Augmentation location - this one for 'Flaming'.
 Located back in Chapter 1, you can only get here in Chapter 4, once you have something that allows you to fly. Not much here, except for one person to talk to regarding Thompson's location. Which is useless because when you're told to find him, you're told to start in Blosk, not hunt down this random location!
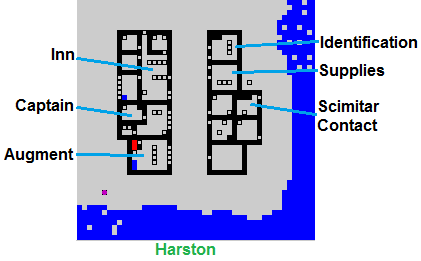 Another optional location, this friendly town in Empire Lands lets you get some basic things out of the way - identification of items, selling spare things, buying food and the final Augmentation - Flame, which allows you to cast the spell of the same name. There is also the Scimitar Contact, though she is sadly under used.
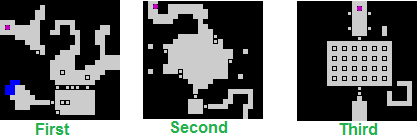 These three posts guard access to the Empire Teleporter. Password, Doom Guards (with no notion on which switches to flip in which order, so you'll probably kill the Guards first, then trial and error), then Teleporter maze. Although my annoyance at them probably has more to do with when I was doing them than anything else.
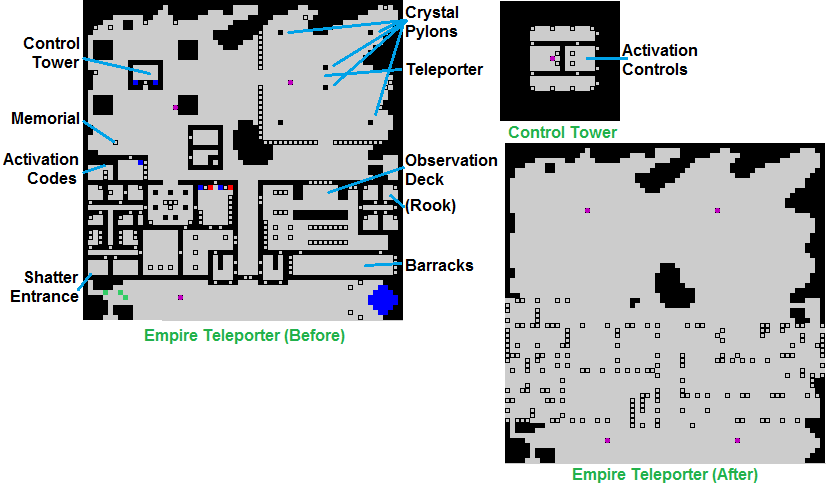 You know, I don't think they ever explain how they got so many people down here beforehand. I mean, they took the Abyss and everything north and west of it, made huge inroads elsewhere, and yet they need this long passage to funnel in more reinforcements? Something seems off... Anyway, Activation keywords in the south-west, Key to the control Tower in the south-east, control tower North-west, Teleporter North east. Also, being able to visit this place after it gets blown away is kinda neat. The map will still spawn Empire Troops though, and there's nothing to find.
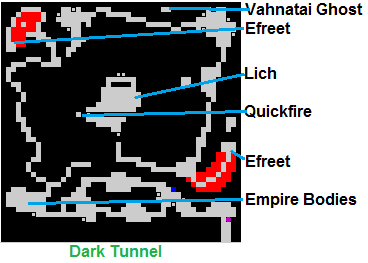 I swear, I'll kill the Lich this time! Also, yet another location that's been renovated since Exile 1.
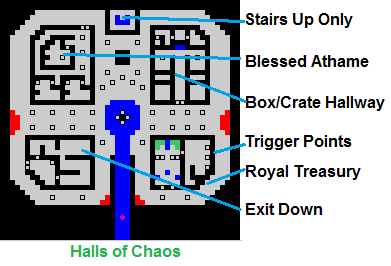 No map for the second floor. I could have brute forced it, but I'm not that dedicated to my suffering.
 ")
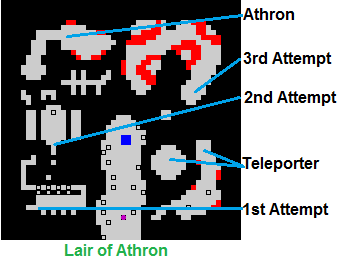 Not much to say here. Use the teleporter a few times, and trying to go see the eggs results in Athron (trying to) kill you.
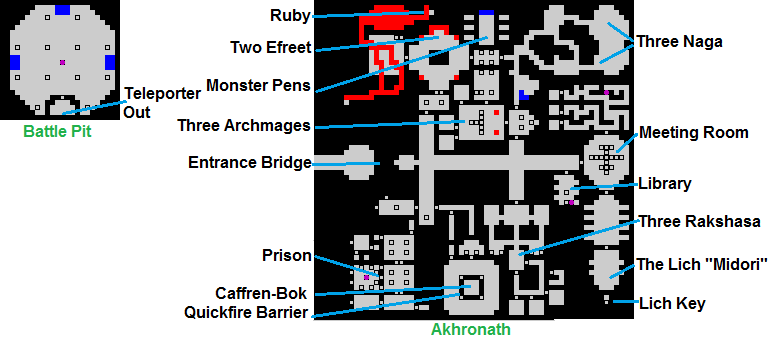 Entering into Akhronath, you are dropping into the Battle Pit for the enjoyment of the Lich and the other memebers of the Twelve. Upon success, they teleport you into the prison in the south-west corner. Then you escape, kill them all, rescue Caffren-Bok, and burn the place down behind you thanks to Quickfire!
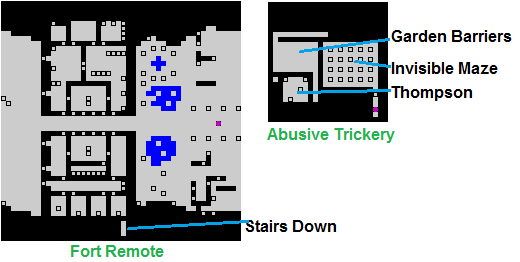 Abusive Trickery is the name of the mini-dungeon, and it's not as bad as it could be. Just restore yourself while going through the Garden, and you'll be fine when you trigger the ambush.
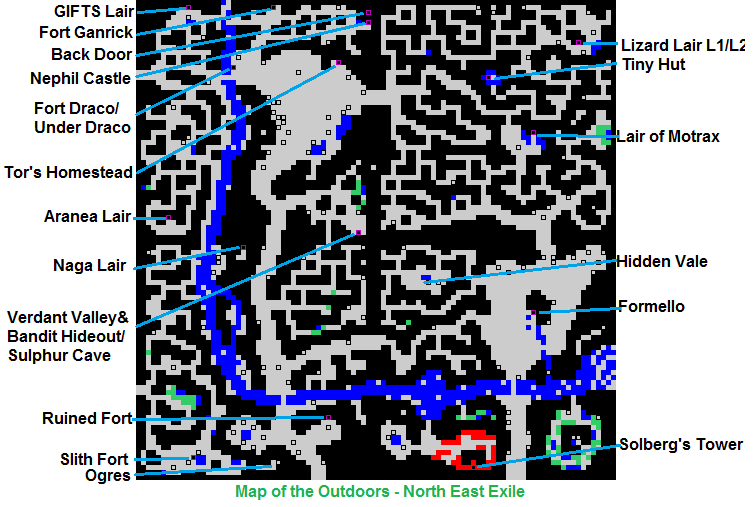
 And now, to the non-map portion of the update.
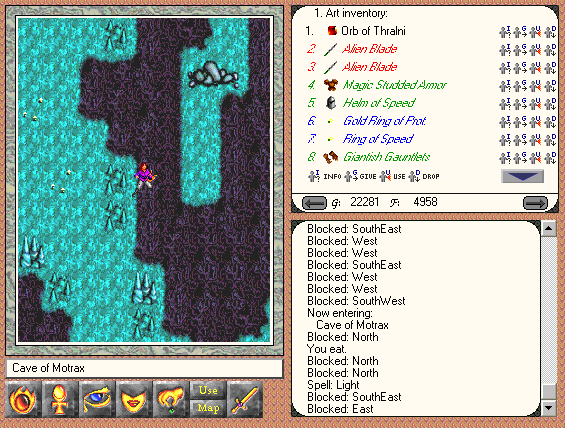 Let's raid Motrax's Horde!
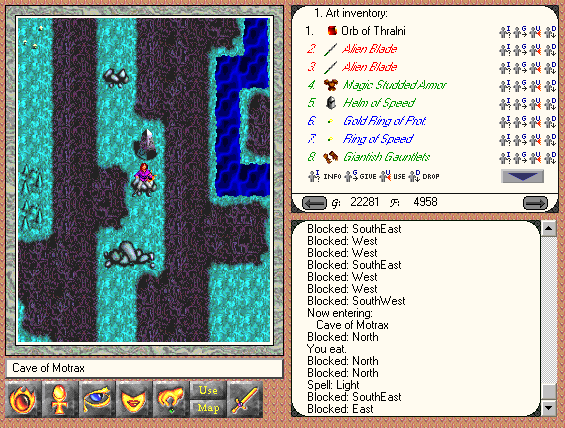
 Warnings for lesser creatures, who do not have max stats!
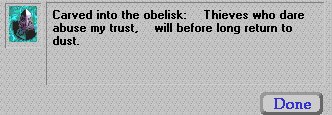
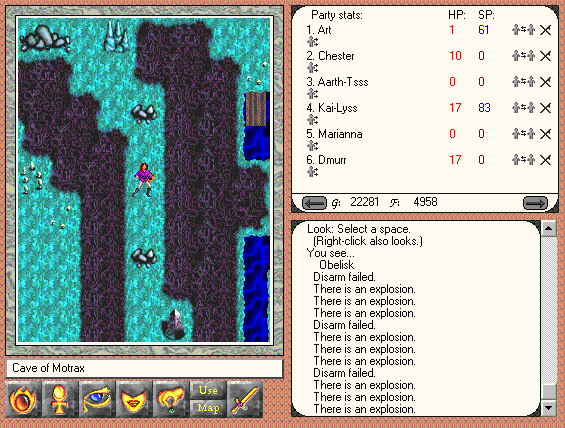 Hrm, even with optimization, those traps were too good for Marianna to disarm. Let's heal up a bit first!
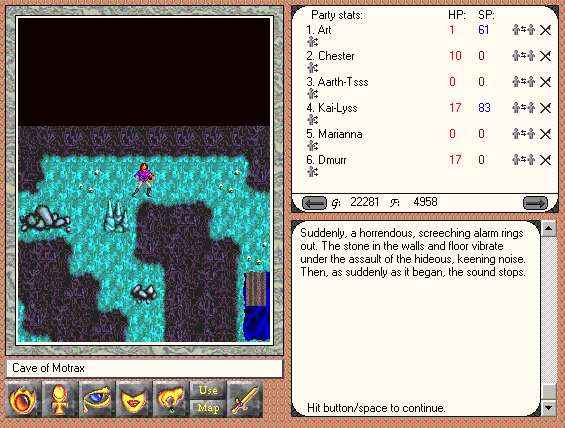 An Alarm. Oh. Whatever shall I do?
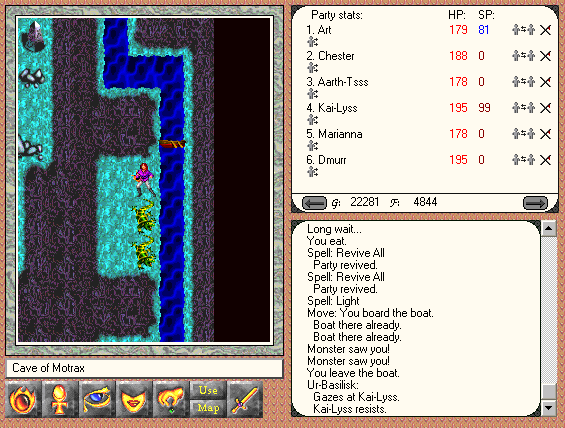 Ur-Basilisks. And they're not being added to the Random Basilisk Count because it's a Dragon Horde I'm raiding!
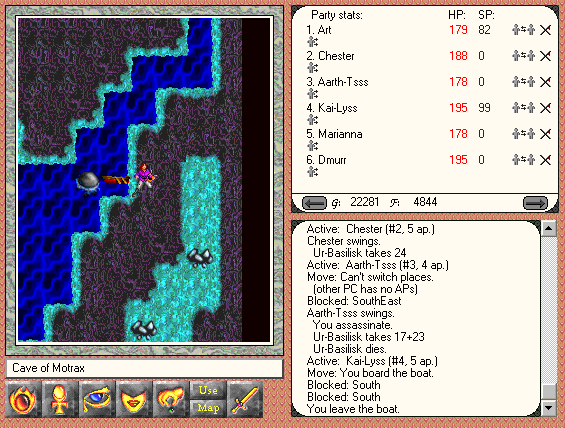 Can't go further on the boat, so let's take this secret passage around.
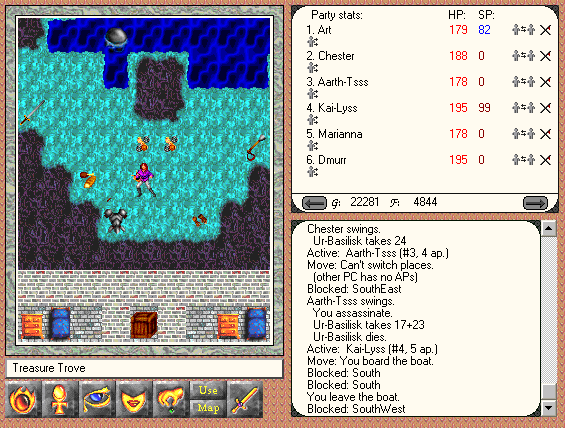 I'm RICH!
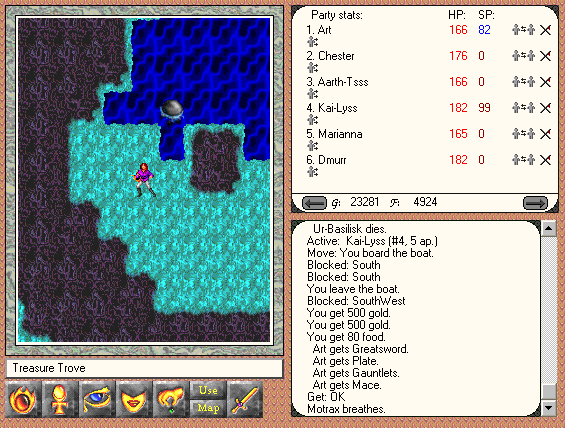 Huh. Seems like Motrax isn't as down as we were led to believe. He despawned from his starting point, and is not camping the exit from his horde.
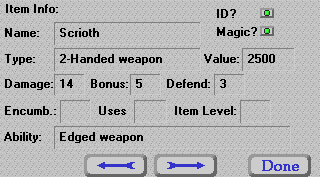 Scrioth seems to have lost 'Flaming' as a quality, and gained 3+5 points of defence instead. Sad. It should have both!
* * *
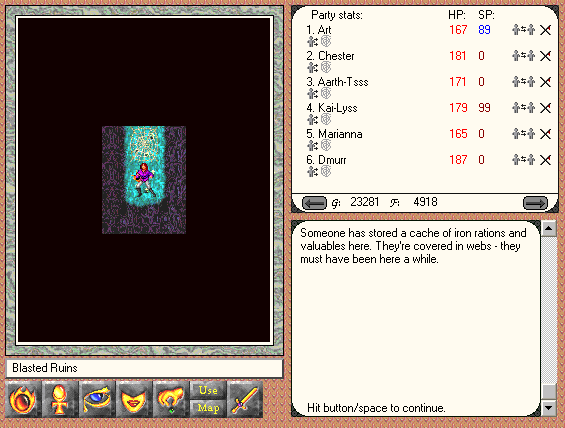 Back in the Ruined Fort, in the north-west corner after killing all the spiders, there's this little cache here of 100 food and 250 gold, a nice boon for new PC parties.
 * * *
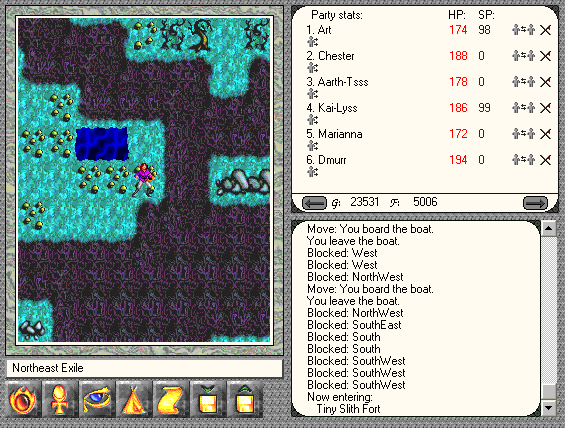 East of the tiny Slith Fort, there's this secret passage. Guess what I found?
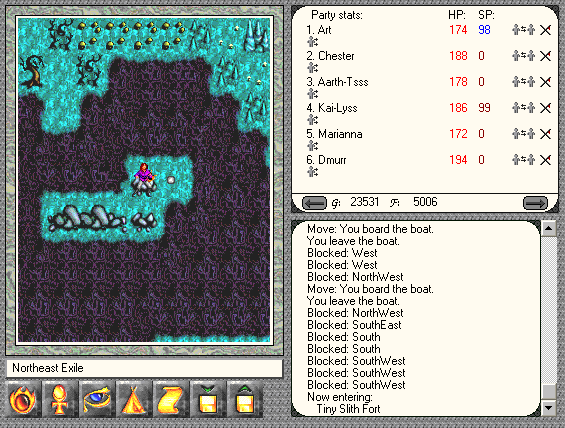
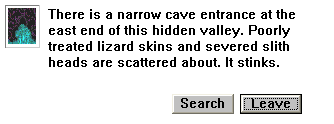

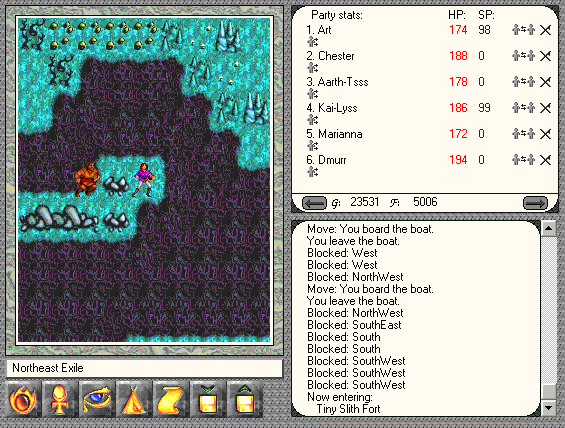

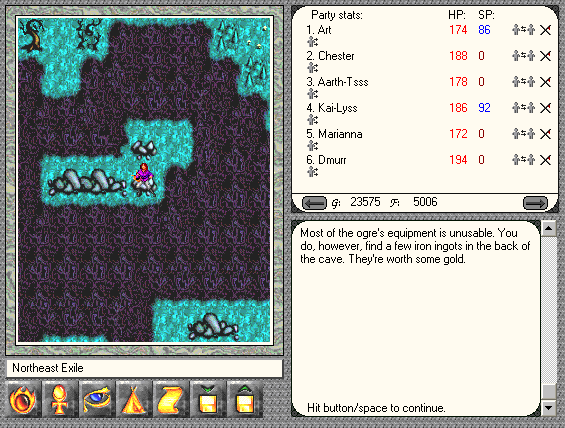 Those Ogres that the dead guy further north wanted me to kill! Let's go see what he has to say about that now.
 ...
...* * *
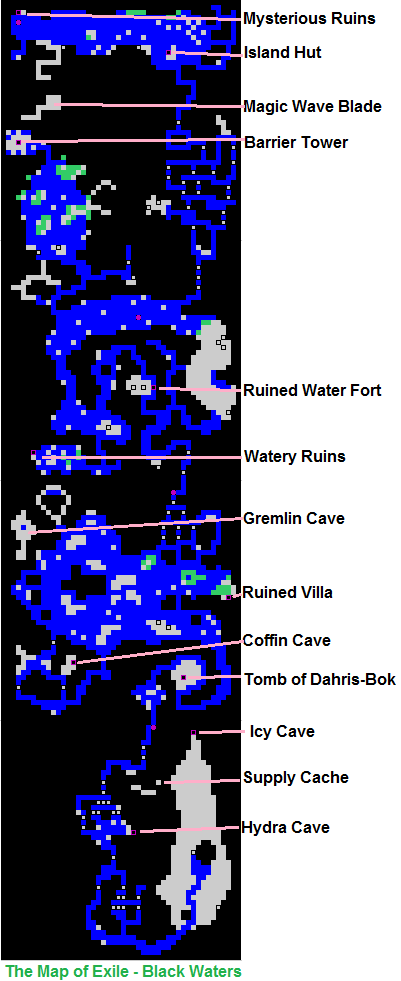
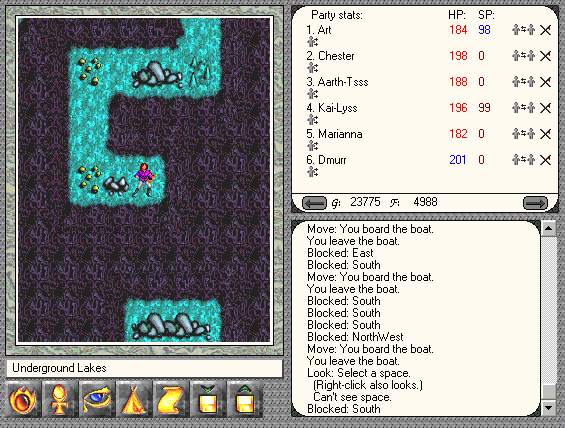 Re-doing my Chapter 2 Maps, I see this empty spot on the map, and try to get in. Can't do it from the north, sad to say.
 So I circle around to the Barrier Tower, and see what there is to see. Possible secret passage to the north? But how to access it? There's no way to get the boat to the north side of the island, so...
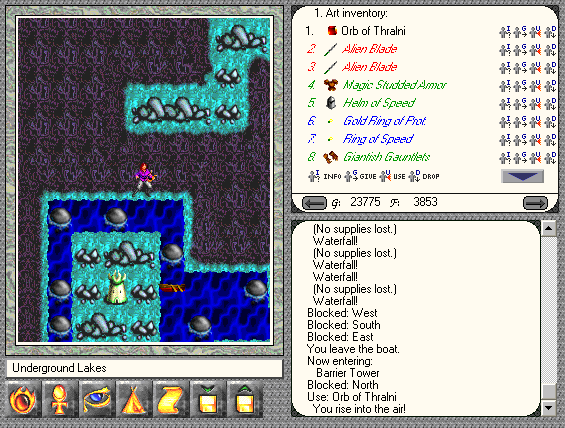 I fly! Wait. How is this supposed to be found? You can't leave the Barrier Tower except via teleporter back to the Tower, and there is no way to have the Flight spell or the Orb at this point in chapter 2.... Maybe this was just a location that had something planned for it, but Vogel decided to abort at some point? Eh, let's just have a look around anyways.
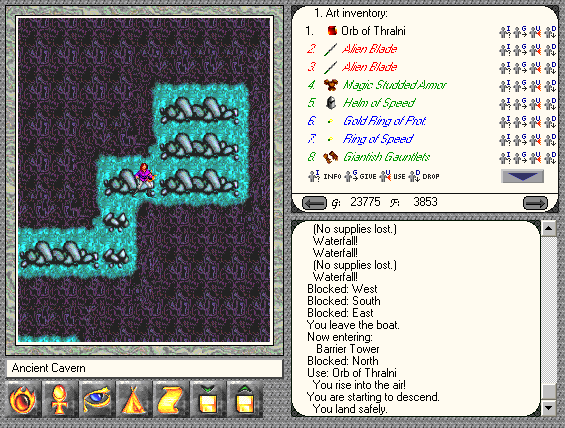
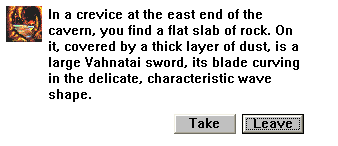 It's a damned MAGIC WAVE BLADE. What the hell? The only way to get this is to cheat! Bad form, Vogel. Bad Form.
* * *
Back in the Vahnatai Lands, at the far eastern end, south of Mancuo....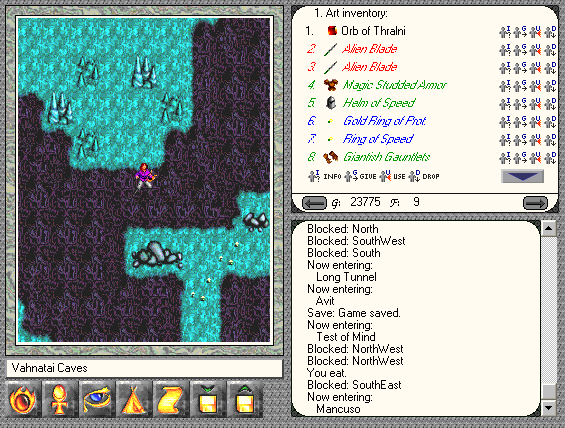
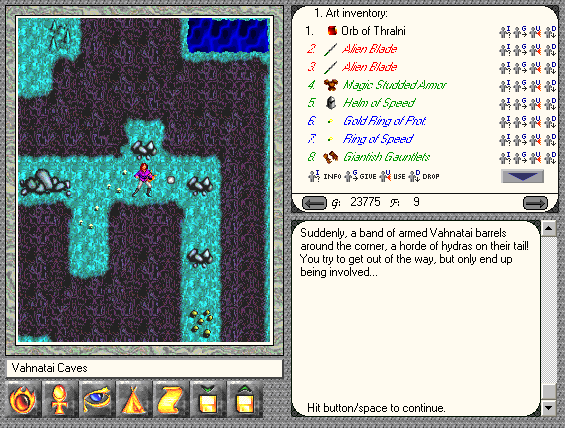
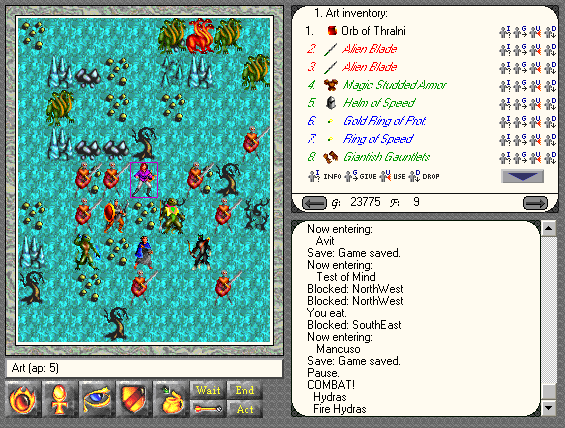 Fixed encounter (with a dot even!) with a bunch of Hydras and allied Vahnatai. Naturally, I win.
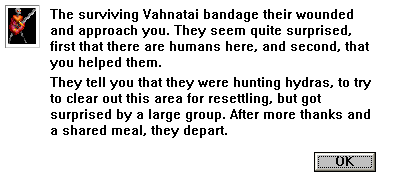 That's nice. And a lot more reasonable back in Chapter 3.
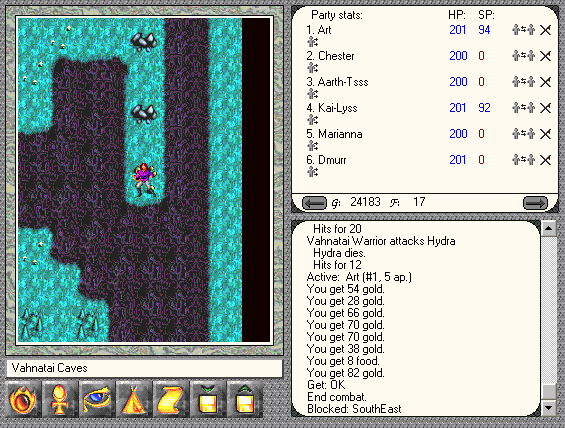 Guess what that is to the right? The Void at the end of the World! I'm near the edge of the map, and can look out over the endless expanse that is not-Exile!
* * *
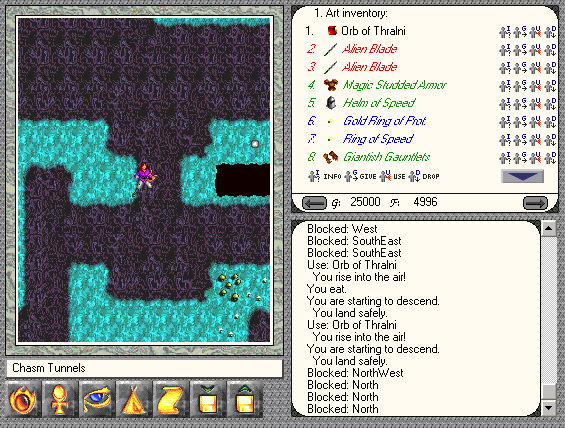
Remember how I said that you couldn't get to the Lava Dome and complete Rentar-Ihrno's quest to get Quickfire without flight? Well.... I was wrong. There are plenty of secret passages in the southern section to get to here, where you cross over into the northern part. It's just a lot easier to fly.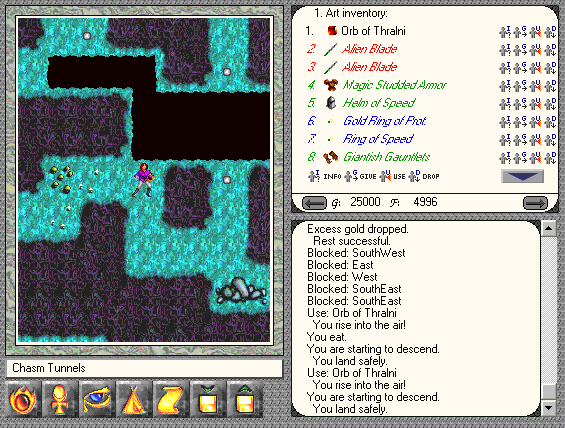 But to cross over without Flight, we need to get to that encounter in the upper-left of the screen there.
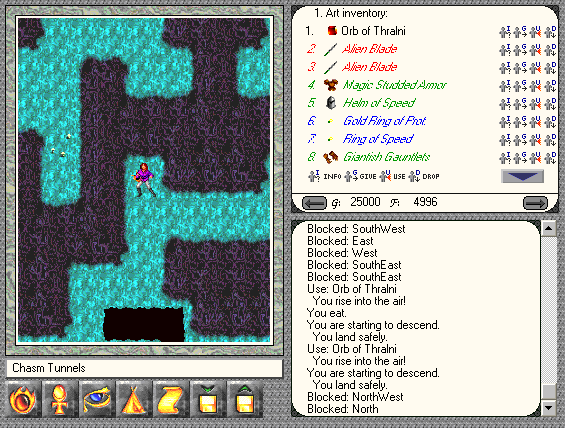
 Like so! So, let's see what happens, shall we?
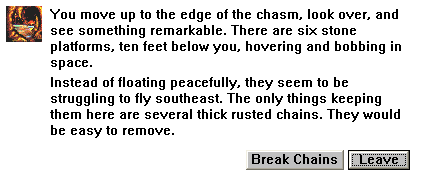
 And now, when you want to cross, you will get this encounter instead:
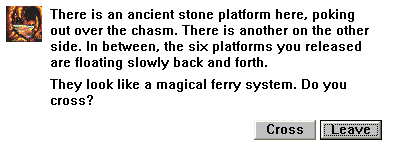
 Tah-dah!
* * *
 Another point where two maps are adjacent, the dungeon to the left is the Snake Cult to the north-east of the Tower of Magi. I'm still standing in the Vahnatai Lands.
* * *
 I know I skipped the fight against the Vahnatai detachment from Fort Haledon in the original playthough, but coming through for the Maps, I wiped the floor with the fools, leaving me this message. Pretty much confirms that the Empire
 * * *
 South of Delrin-Bok, I saw this encounter hidden in a corner, so I started to backtrack to find out how to get to it.
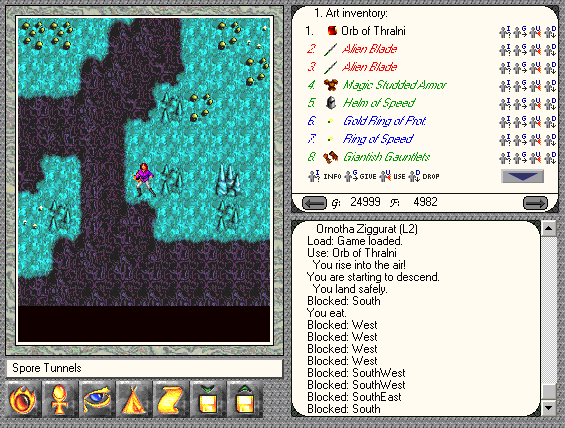 Here we are, at the SE corner of the map. Let's go!
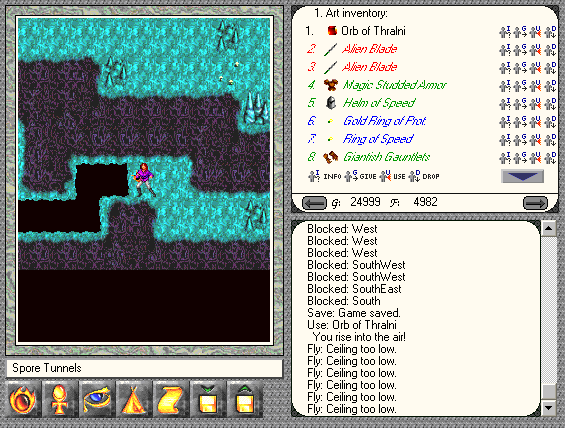 Well, I was expecting this, a nice gap to cross as the last barrier. What I was not expecting was finding out the the ceiling was too low, so I can't fly across! I can't find a way over there!
* * *
And while I'm sweeping around from the Tower for my mapping, let's go kill Athron.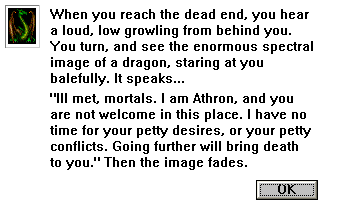 This is what he says when you go past him. Pst. He's just a dragon. What harm could he do?”
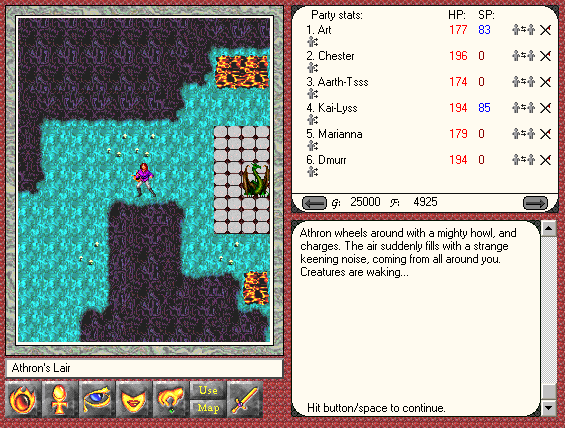
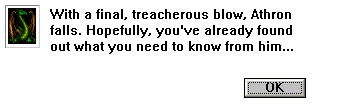 Not a whole lot.
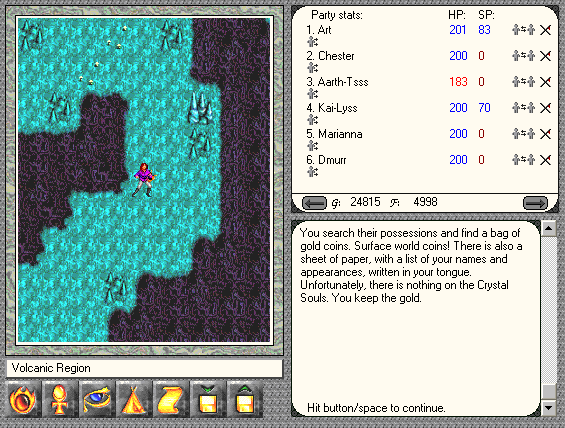
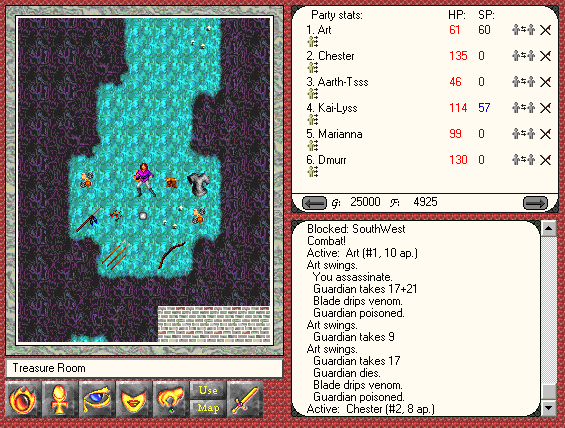 Eggs were mentioned, were they not? I wonder what price I can fetch for them...?
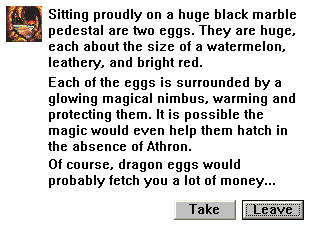
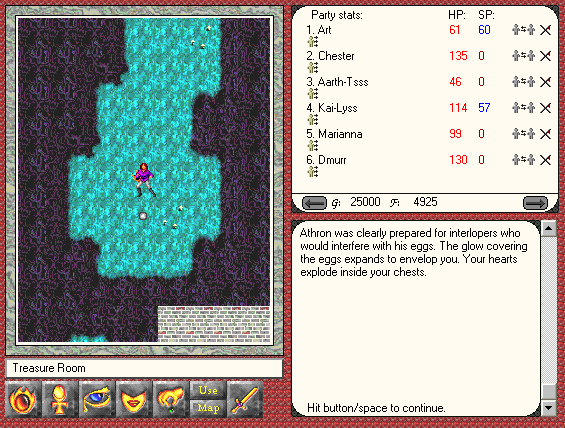 Eh, just a case of heartburn.
* * *
So, um, I may have found something new back in Fort Ganrick....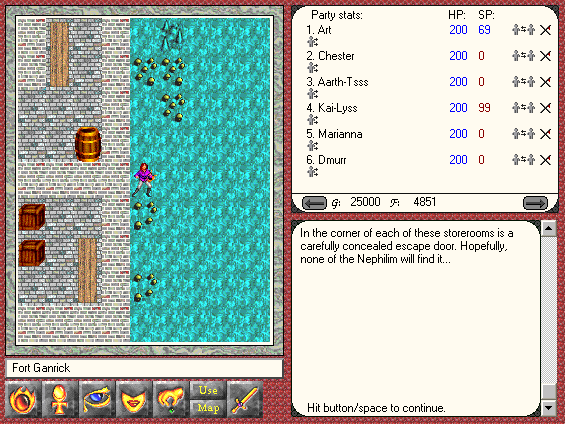 Ever wondered how the Nephil got in? Through the secret Exit!
* * *
 Thanks to MagusofStars for pointing out how to get into this completely optional dungeon – the Basalt Cube.
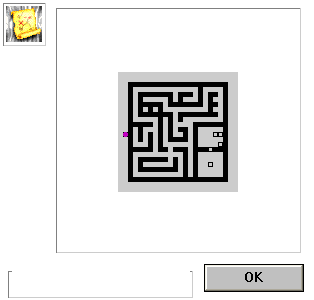 I'm also not going to treat this as a 'real' dungeon, so please assume that this is, like the other things I've pointed out here, something that the actual Party missed.
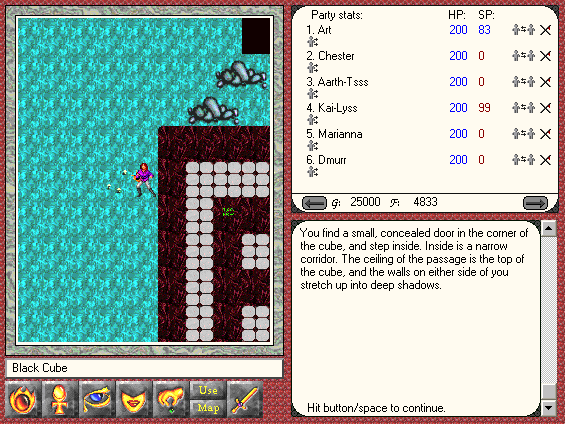 Entrance is here, in the upper-left corner.
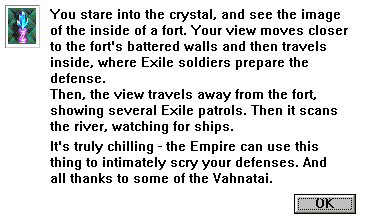
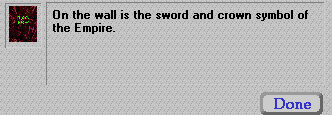 In case you couldn't figure out who owns this place.
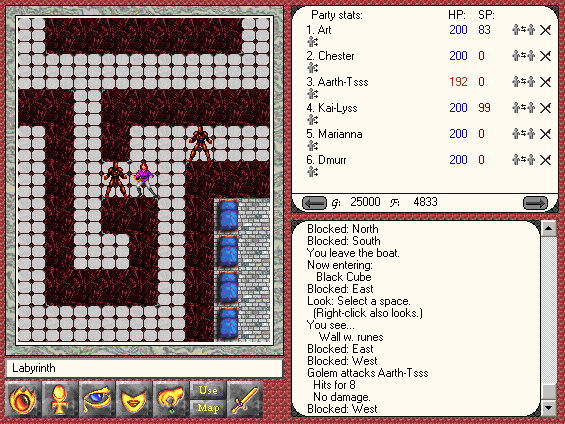 The enemies.
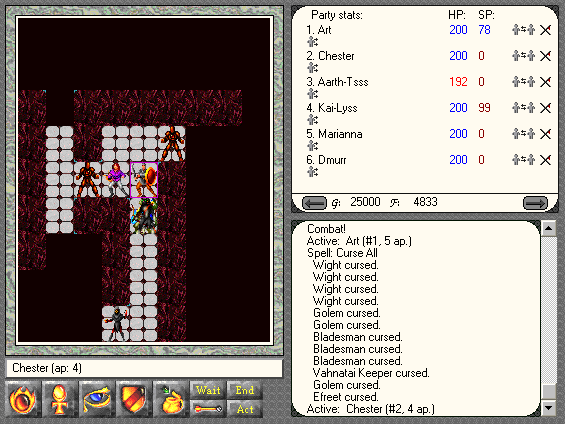 Yet more proof of Empire-Vahnatai collusion.
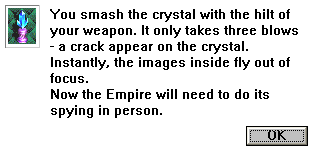
 Pull Lever...
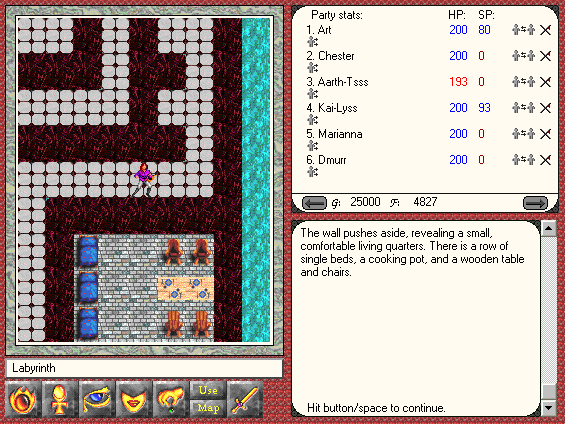 Go through now-open secret passage.
 Kill everyone.
 Find McGuffin...
* * *
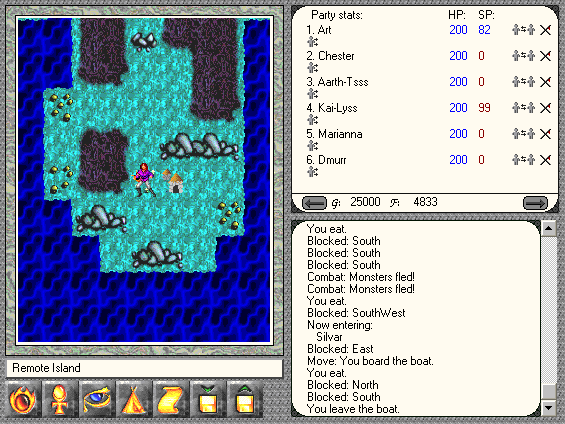
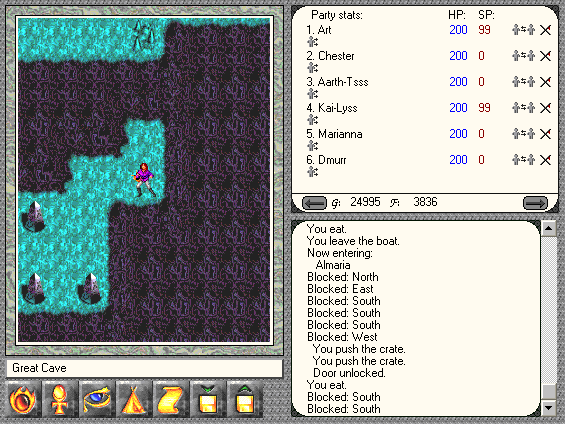 On the south side of the Great Cave, I find this...
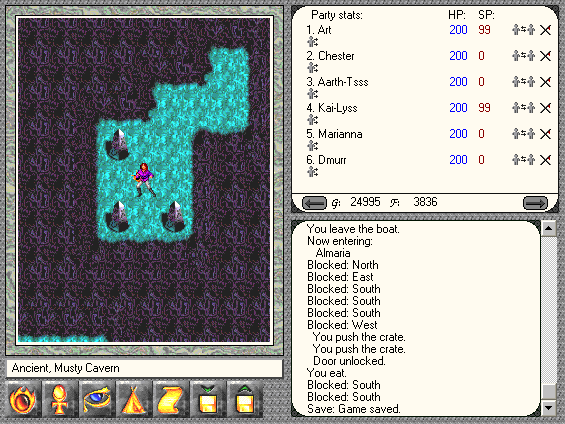
 Well, that's just... I don't know... arbitrary?
* * *
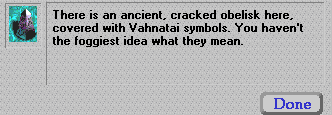
 Now, south east of Fort Kothar, there's this small secret passage. Also, edge-of-the-world to the south.
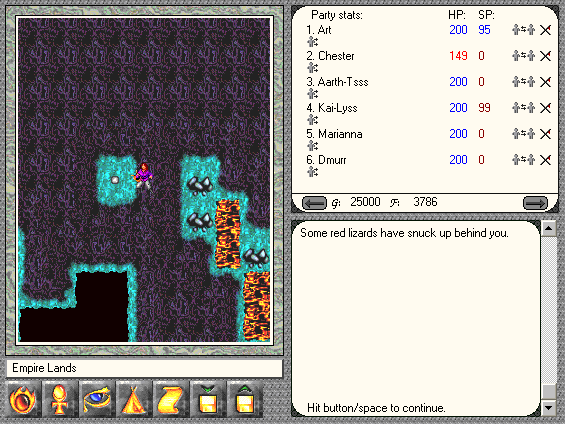
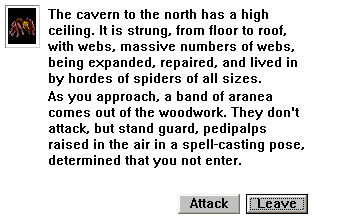 Naturally, picking a fight.
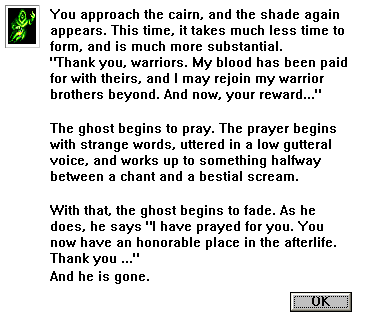
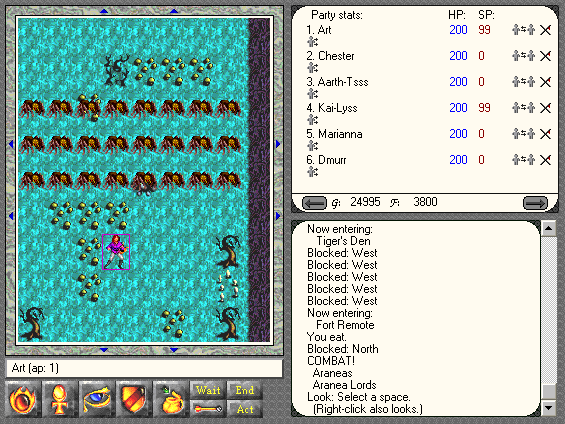 ... That's... a lot of Aranea. It's short work to wipe them all out. And once that's done, what is my reward?
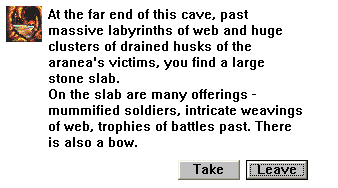
 Oh my. I'm sorry Dmurr doesn't have this. I really am.
 * * *
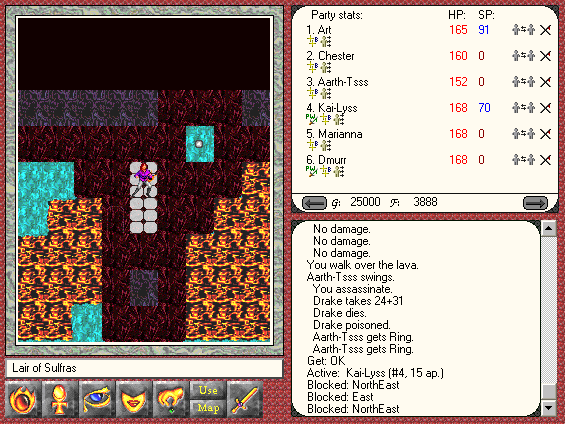 Sulfras' Lair, pre-angry Dragon, has this little encounter behind where Sulfras is held. And I've tried to get to it from the other side as well, but couldn't.
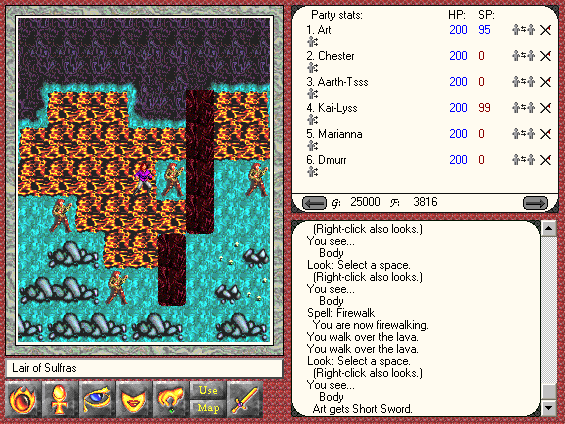
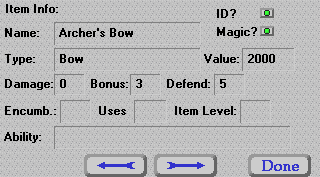
 There's also this neat piece of equipment to be found on that body.
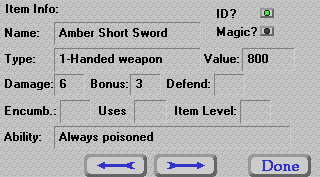 And before you get the idea that killing Sulfras will net you some neat loot, just remember that most of the horde has already been taken by the Empire, and everything left isn't all that good.
* * *
 Drakes et al, hiding behind here.
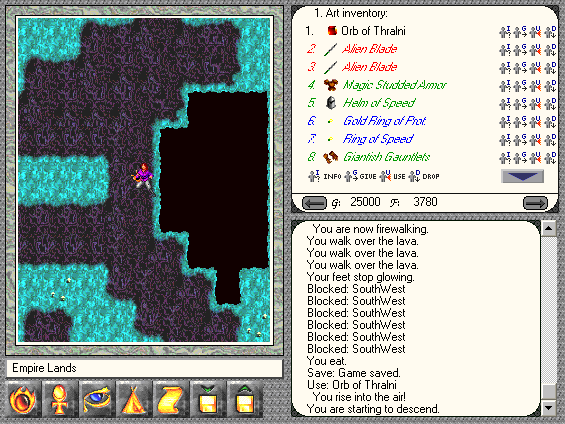
 And this is accessible by flying west off the bridge behind Sulfras' lair.
* * *
 I mentioned a while ago, that there is a point on the overworld map where you can find the “Eas Ter Egg” command for the Tower Teleporter. Well, here it is. Start from here, east of Erica's Tower, and go West. Keep flying or Firewalk handy the whole way down.
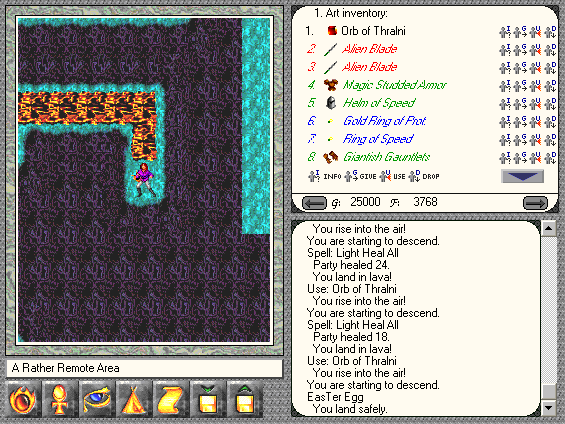 And there it is!
* * *
Now, while I was going around, looking for info about things in this game, I came across a list of unique equipment around the world map. It looks pretty comprehensive, and while I can't seem to find where its sourced from, I'll present it here for you to look over. Items that I'm sure I've found are marked with an asterix.- *Alien Blade - West of the Shrine of Crystals there is a secret wall. Go through it and then go south over the lava, fight the monsters, and take the wave blade.
- *Shocking Wave Blade - Reward from the Vahnatai Council for returning a crystal soul.
- *Scroith - This is in Motrax's Treasury.
- *Staff of the Magi - Reward from Mahdavi in Tower of Magi for destroying the Empire Teleporter.
- *Krysknife - In Zigguart, Level 1. You get it from an altar special at x31 y31.
- *Nether Greatsword - In Fort Kothar, Hall of Swords. To get there, when in the Room of Transformations, search for a secret wall and go up to Level 3. Then dispel the barriers and take the sword.
- *Bronze Broadsword +1 - In Nephilim Chief's room in the Nephilim Fort.
- Shield Knife - In the Brigand Madhouse, at x27 y33.
- *Blessed Slith spear - In the Serpent Cult caverns, in the storeroom at x16 y15.
- Flaming Flail - In the Nepharim Cave, go into the room the prisoners are in, go through the illusionary south wall. The flail is on the ground.
- Gold Tipped Spear and Shielding Bow - In Athron's Treasury.
- Mithral Short Sword - In Fort Kothar. Go down the stairs at x35 y22 on Level 2. Kill the Efreets. The sword is on the lava at x22 y1.
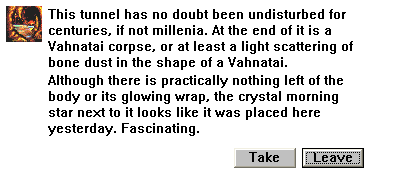
- *Blessed Wave Blade - Downstream of a river near Patrick's Tower. Need the Orb of Thranli.
- *Amber Short Sword - In New Lair of Sulfras, on the body at x18 y7.
- Blessed Broadsword - In Fort Emerald, at x14 y28, on the counter.
- *Crystal Green Mace - In the New Lair of Sulfras, at x40 y32, go 3 paces east, through the secret wall. Keep going up the passage and you will be outdoors. Go 2 east (E), 1 north (N), 3 E, 3 SE, 3 E, 3 N, 1 E, and 3 N. Then fly 4 W over the chasm. Go left again through the secret wall. Up the passage is a special encounter where you will find the Crystal Green Mace.
- Flaming Great Mace - East of the Unfinished Empire Fort, nerar a river is a special encounter. Use it, then fight the vampire. Step back on the special encounter and you will find the Flaming Great Mace.
- *Giant Club - In the Giant Fort, at x20 y42, go 3 paces south, through a secret wall. Club is on the ground. Hits for 15 damage, with a -5 bonus.
- Blade of the Thieves - In the Giant Fort, at x6 y39, go right three times, through a secret wall. Blade is on the ground.
- Black Broadsword - In the Giant Fort, on the special at x32 y46. Does 9 damage, -5 bonus.
- Hell Halberd (Cursed) - In Garzhad's Fortress, on the counter in the storeroom at x8 y4
- *Serpent Slith Spear - In Secret Slith, Level 1, at x20 y22, go 3 paces east. The spear is on the ground.
- Loki's Broadsword - In the Lava Dome, at x24 y17, steal the broadsword on the counter to your right.
- Bent Greatsword - In Fort Duvno, at x7 y32, go 1 northeast, through a secret wall. The sword is on the ground.
- *Magic Battle Axe - In the Dark Tunnel, behind the lich's throne at x27 y19.
- *Dragon Tooth Knife, Dragonscale Shield - In Pyrog's Lair, at x61 y37.
- *Yew Bow +1 - Southwest of Harston is a chasm. Fly over it, and fight the demons on the special encounter. Take the bow.
- *Knife of Warmth - In Silvar, talk to Elspeth about Nance. Go to Fort Dranlon, and say Labris to Nance. Then go back and say Labris to Elspeth. She will give you the Knife of Warmth.
- Boom Knife - In Tower of Magic, approach the portal. If this is the first time you’ve been near the portal, imps, hordlings and demons will appear. Kill the hordlings and imps first,
and the demon last. The demon will drop the Boom Knife.
- Darts +1 - In Patrick's Tower at x40 y36.
- Quality Darts - In Silvar at x55 y22.
- Steel Flail +1 - In Akhronath, at x45 y56, go 2 paces east, through a secret wall. The flail is on the counter.
- Rusty Slith Spear - In Fort Dolthar. Enter the fort from the east, and go along the wall south. The spear is on the ground.
- *Archer's Bow - Through a secret wall east of Fort Kothar.
- Blessed Kris - In Ruined River Fort, at x18 y5, cast move mountains on the south wall. The Kris is in the crystal box.
- *Magic Slith Spear - In Cave Full of Lizards, Deep in the Empire Lands, southeast of Khoth’s Lair.
And that should be that. See you all next time, for the last update!
 “Soon, I will put an end to you, and all your services.”