Part 50: The Final Five
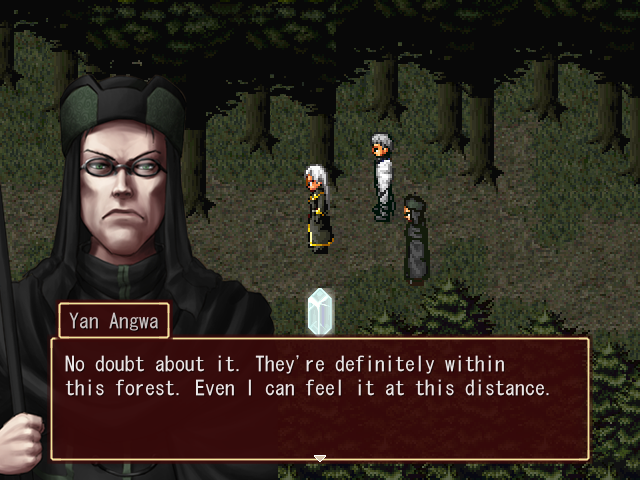
Welcome back. Last time on Exit Fate, we visited the Hall of Memories and learned about the Demon War that destroyed the ancient nation of Asgard. With the information we've uncovered in there, Yan Angwa has come up with a plan to help us defeat Trevor and Sick once and for all, though in his usual manner he has neglected to tell us what the plan is yet. Before we face the commandos, however, there are still a few things in this area that we can do which will help us prepare. So let's get to it.
Music: Almenga - Final Fantasy Tactics, "Unavoidable Battle"
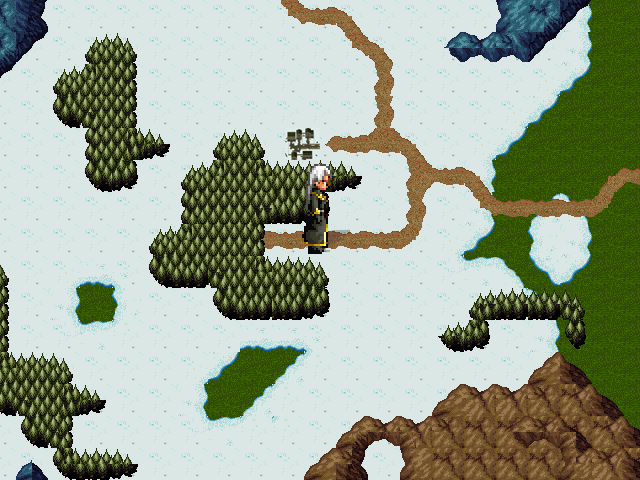
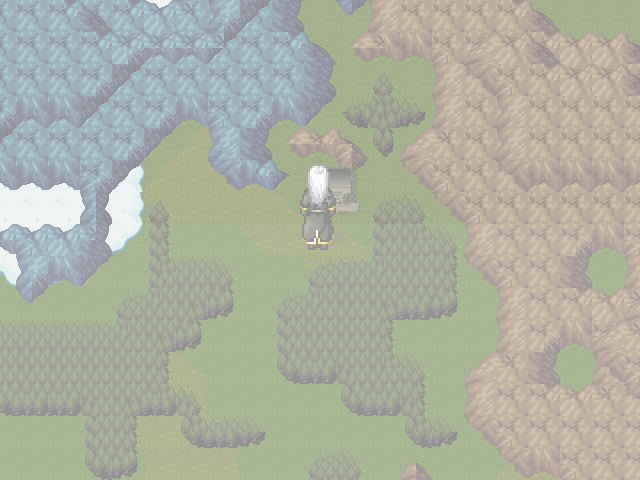
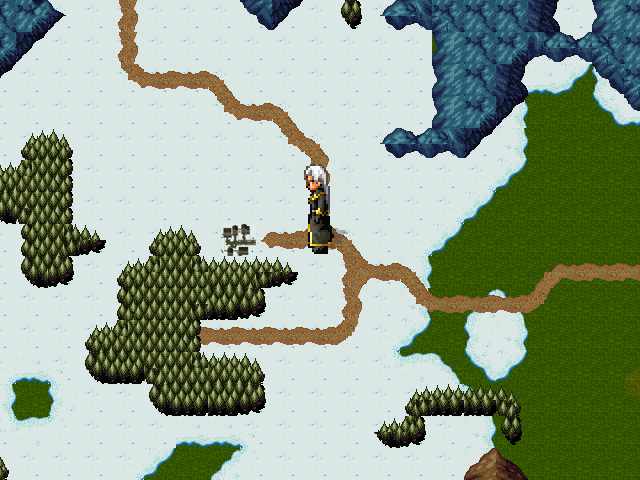
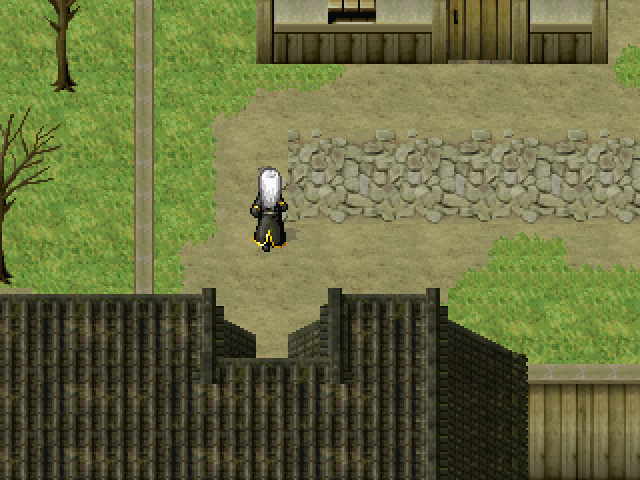
Leaving the woods where Trevor and Sick are biding their time spits us out on the world map, with some new music now that we're in Almenga. There's a town just to the north, but before we head there, we're going to head back to the area near the Hall of Memories and see what there is to do.
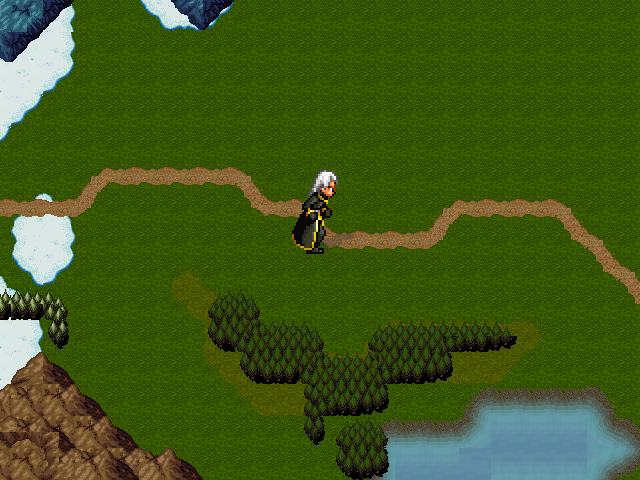
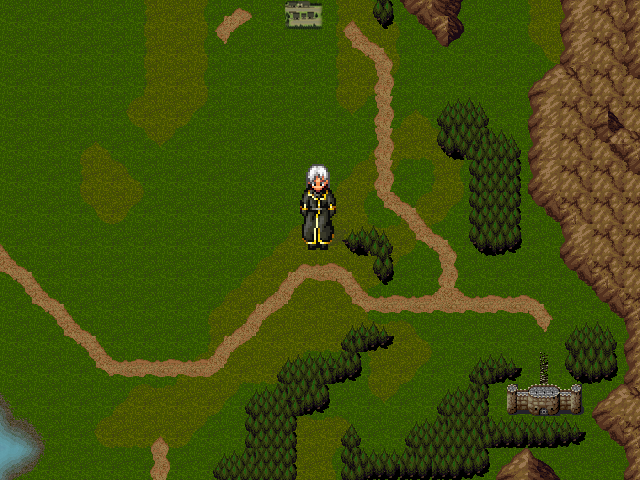
To the east of the woods we were in is the border with Kirgard. The fort to the southeast is the Almenga side of Jormundgand, while the town to the north is the town we hid in following our encounter with Brunhild and Clint.
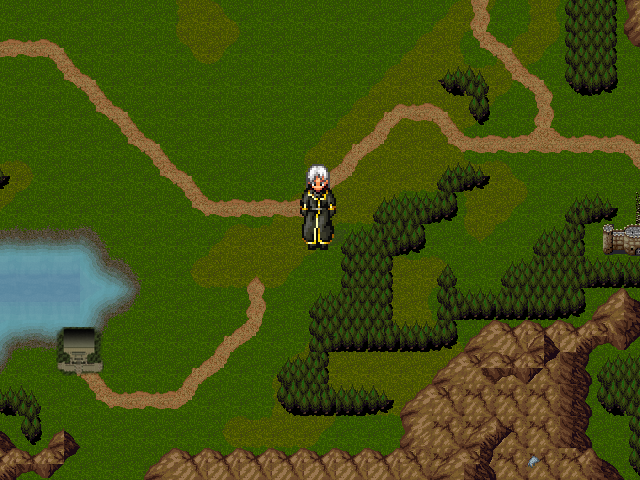
The Hall of Memories can also be found to the south.
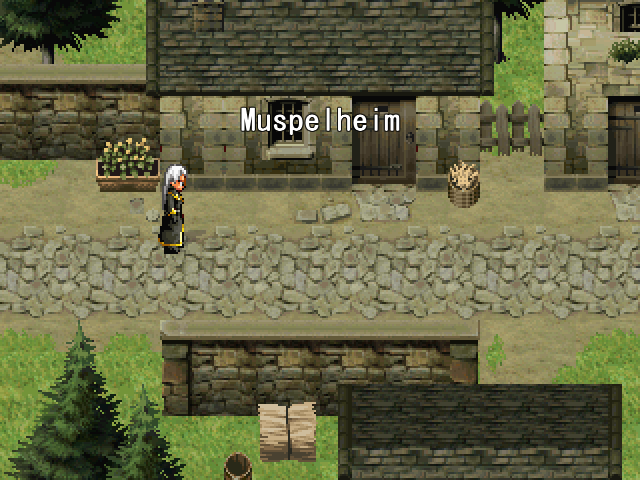
Music: Muspelheim - Wild Arms 2, "Two Lovers Split Apart"
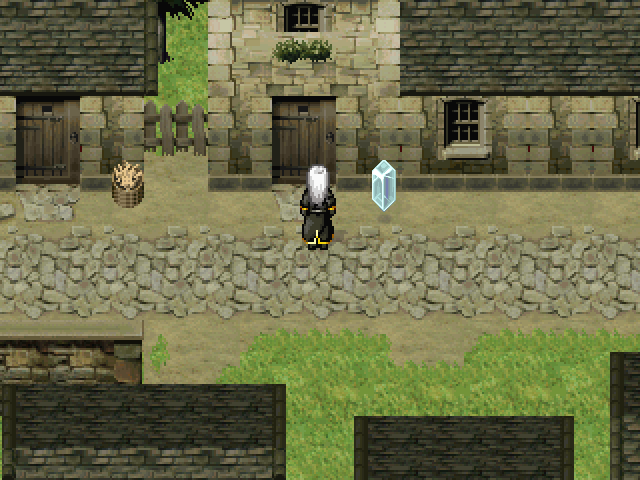
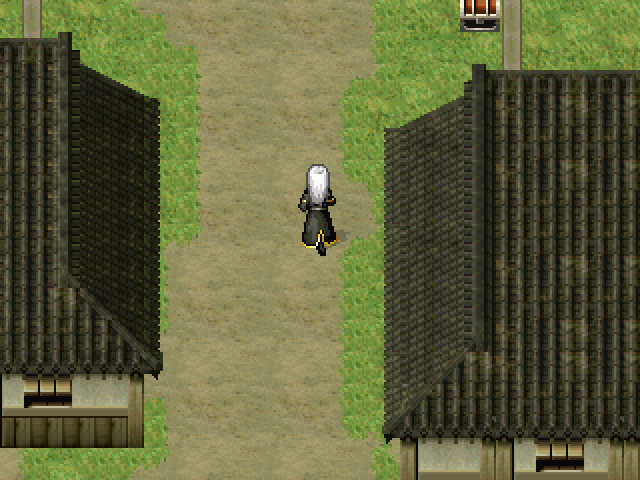
The town, Muspelheim, is pretty small, but there are a few things to check out here.
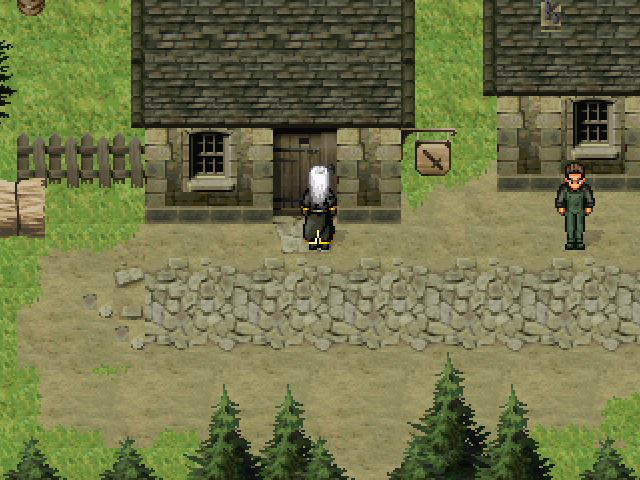
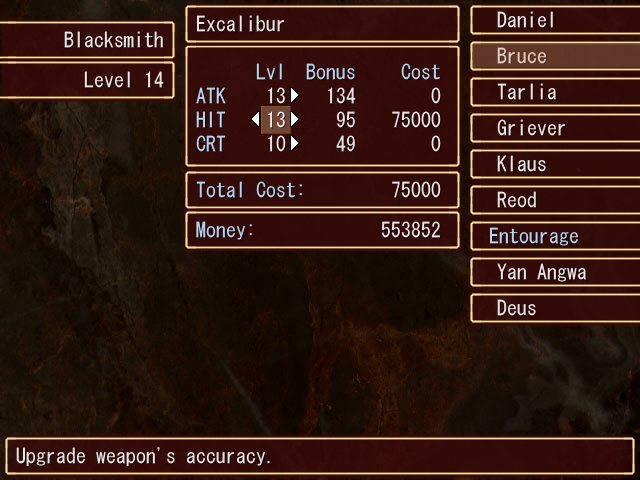
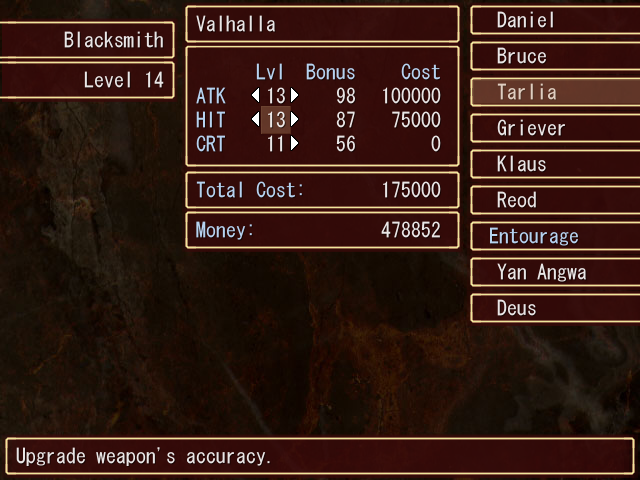
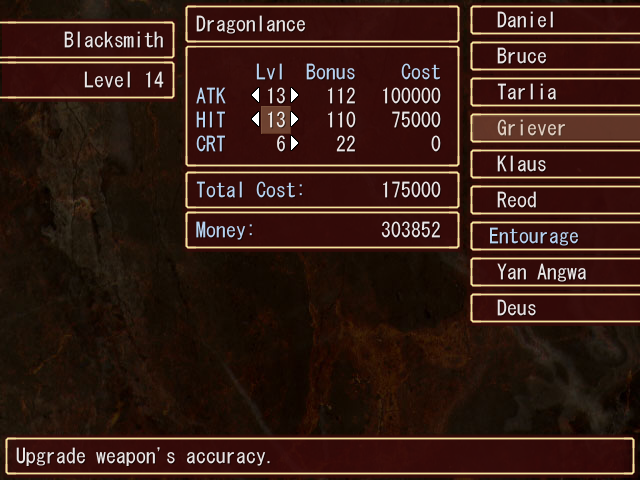
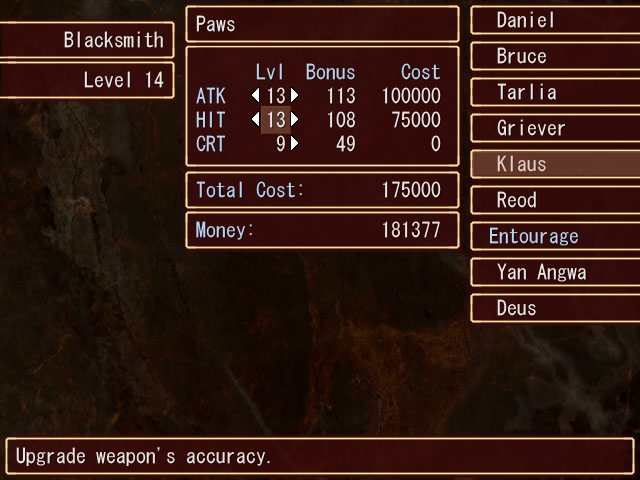
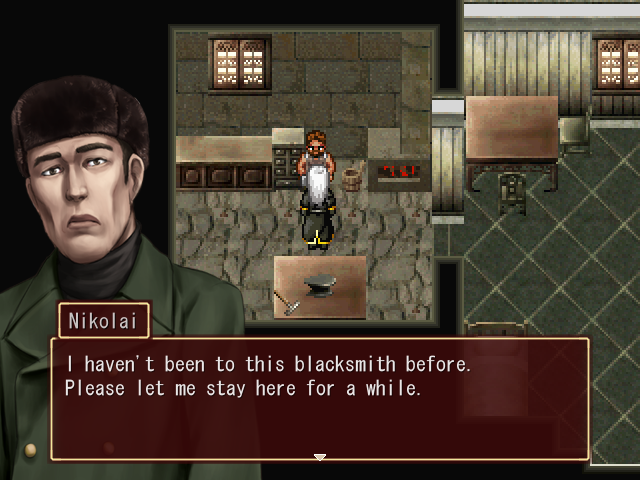
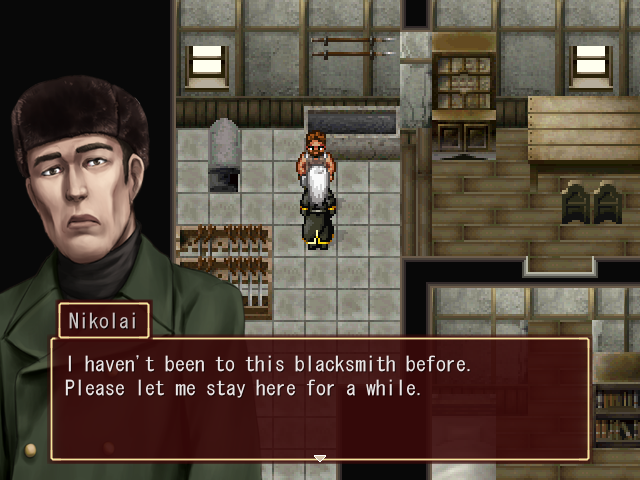
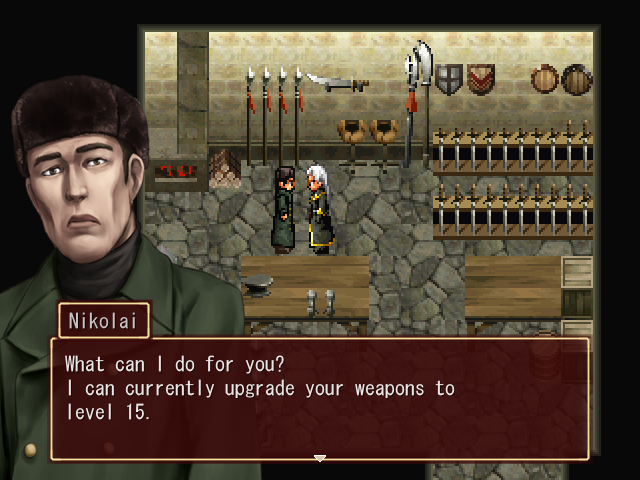
First up is the final blacksmith of the game, at level 14. We don't have the money to get everyone to level 14 right now, but I do what I can and raise Bruce, Tarlia, Griever, and Klaus's weapons to level 13. I also clean out our inventory again during the process, which explains the jump in money between Griever and Klaus's upgrades.
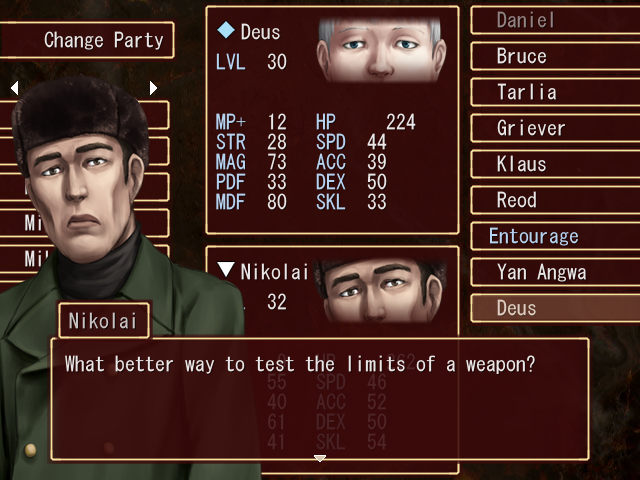
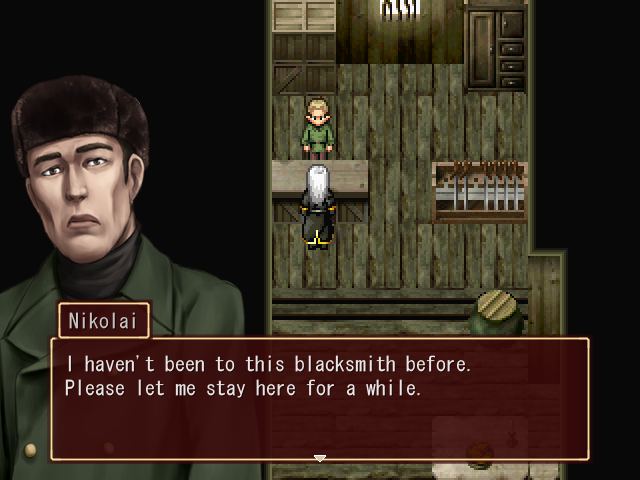
More importantly, though, we've now found every blacksmith, which means it's time for us to take Nikolai to visit them all. In addition to the blacksmith in Harlinton that I took Nikolai to when we first got him, we need to visit the blacksmiths in:
Alfheim,
Mayfall City,

Matrech,
Bergstadt,
Faraday,
Jargo,

Trarcia,
Levier,
Tal Gren,
St. Reinard,
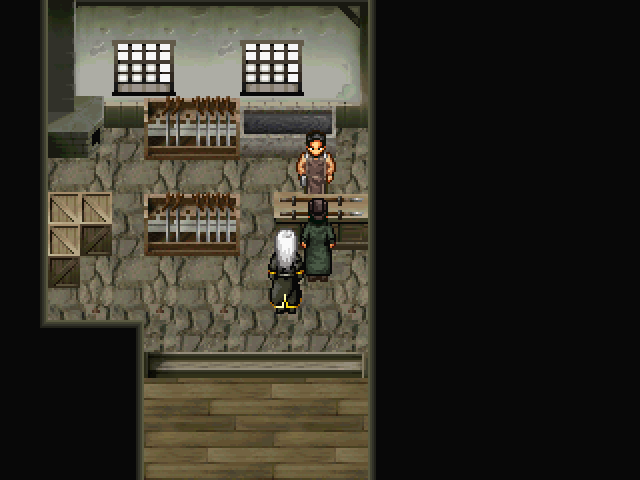
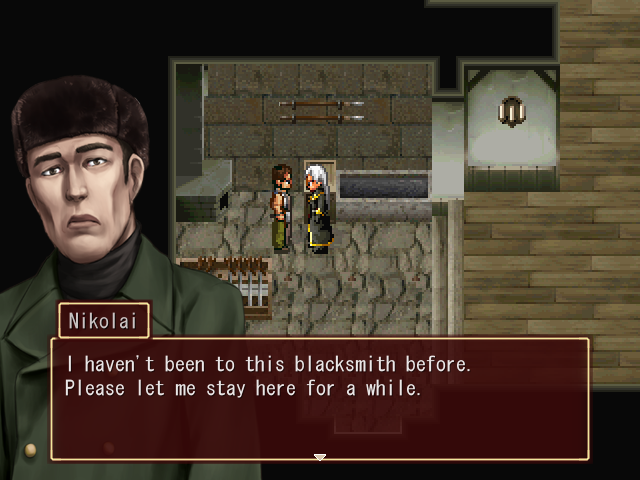
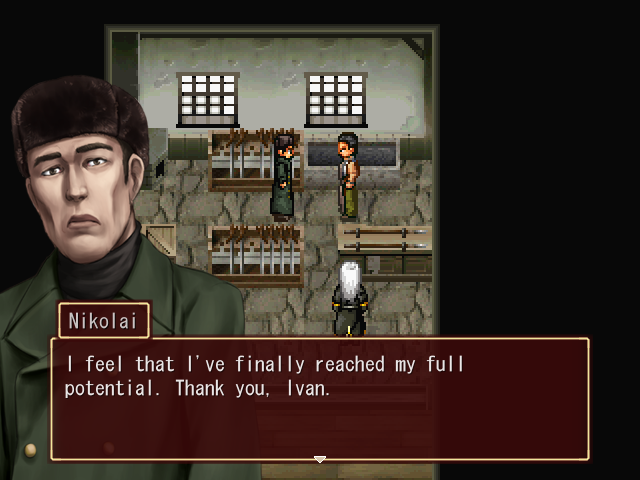
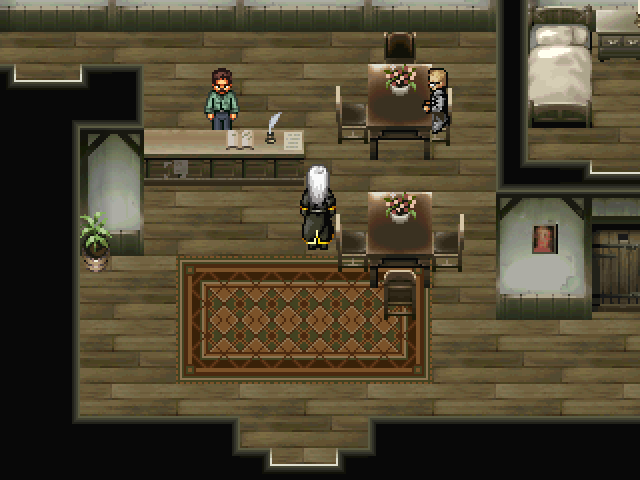
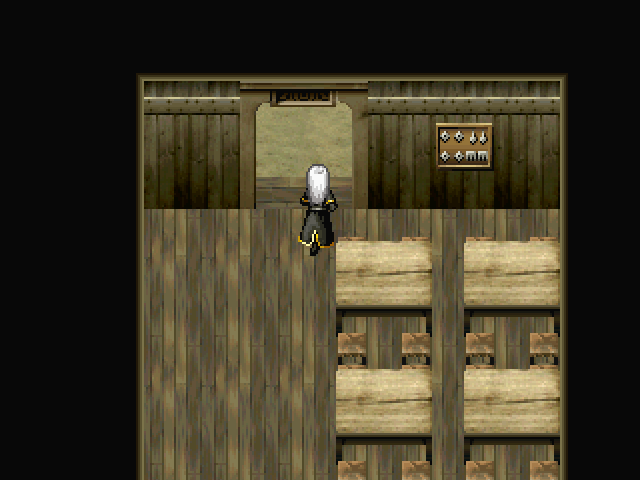
and finally, when we visit the blacksmith in Muspelheim, a scene will start.
 ... I'm sorry, do we know each other?
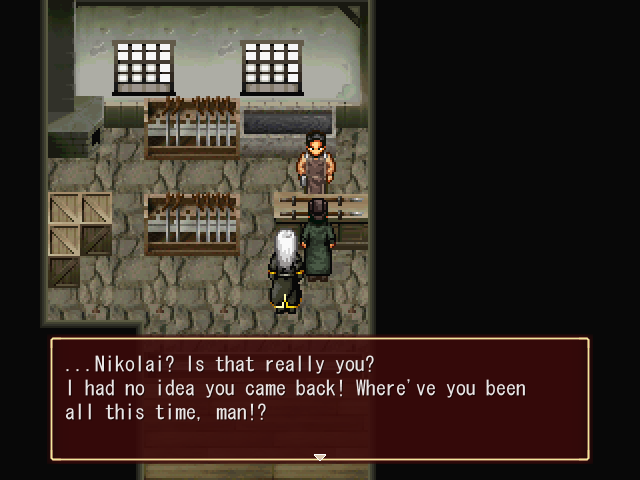
 Huh? Are you trying to play a trick on me? It's me! Ivan!
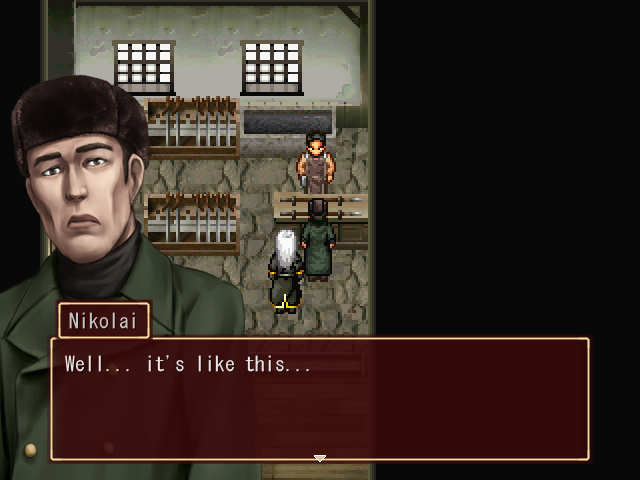
Fade to black...
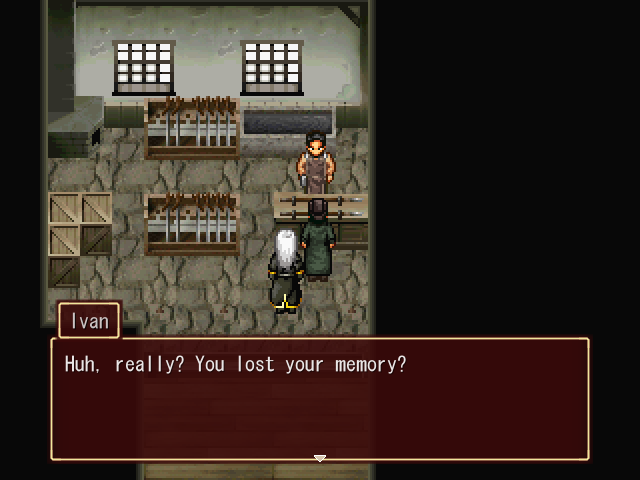 It must be serious. I can't believe you don't even remember me! And this town, it's where you were born!Really...? Oh, Ivan! Of course! We've worked together for so many years. How did I forget that? How long has it been since I left to... uh... err...
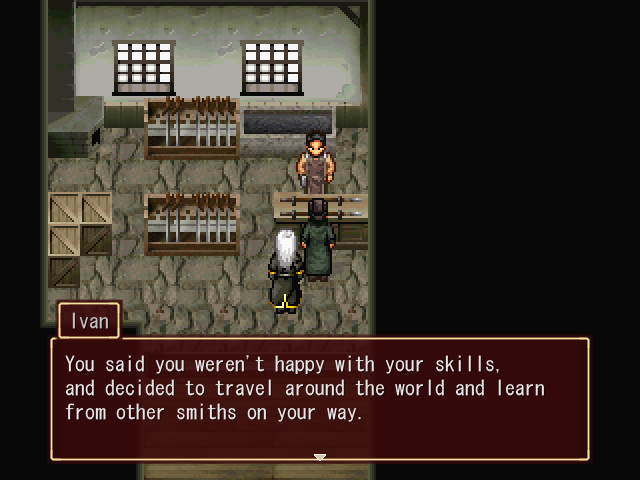 You said you were going to be the world's greatest blacksmith! Hah... I guess you don't remember that anymore either. But uh... you're forging weapons for the Elysium army now, huh?Yes, but I haven't stopped my journey yet. I still try to improve my skills when possible.
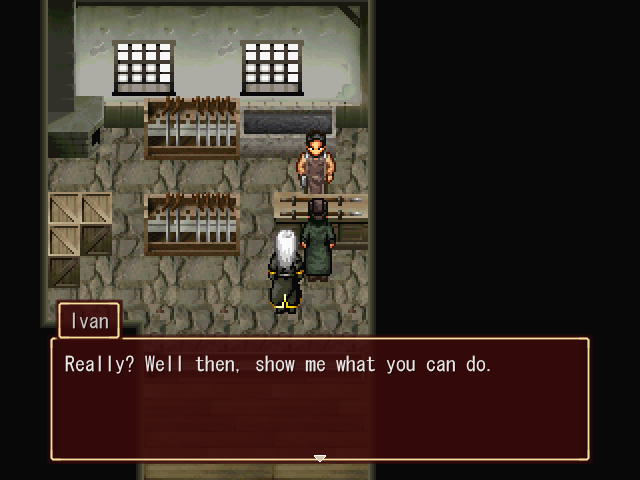
Another fade to black...
I believe you'll only get this response out of Ivan if Nikolai has visited all of the other blacksmiths. Otherwise Ivan will say he still needs some work.
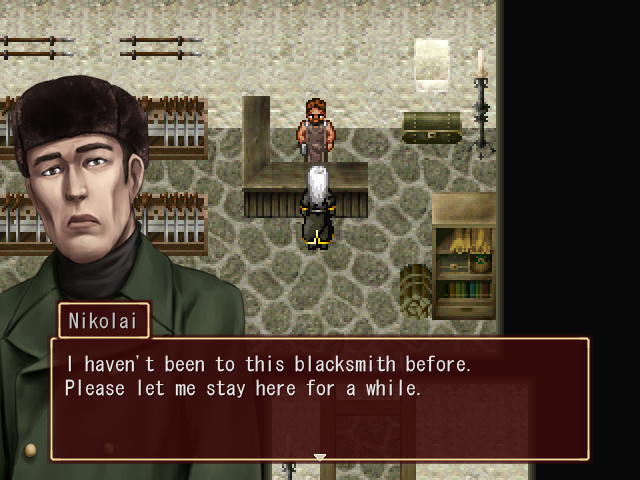
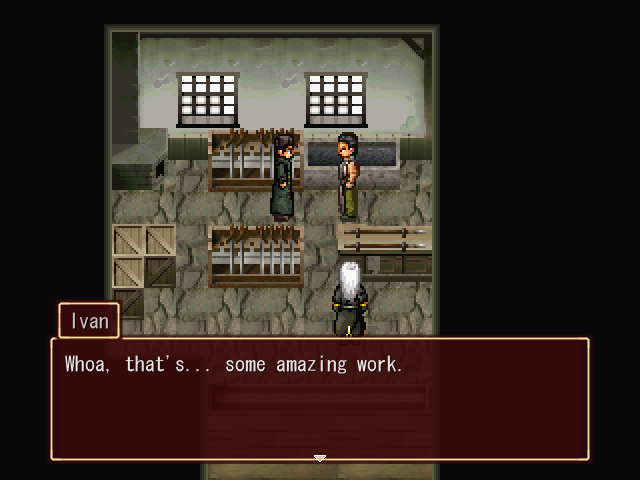
Nikolai, I honestly never thought you'd make it this far. You've far surpassed me. However, there's still a blacksmith you haven't learned everything from.Who is that?Me, of course! Well, uhh... I mean, I taught you most of what I know, but I have a few secrets of my own too. But seeing how far you've come, it wouldn't be fair if I kept them to myself. You deserve to know.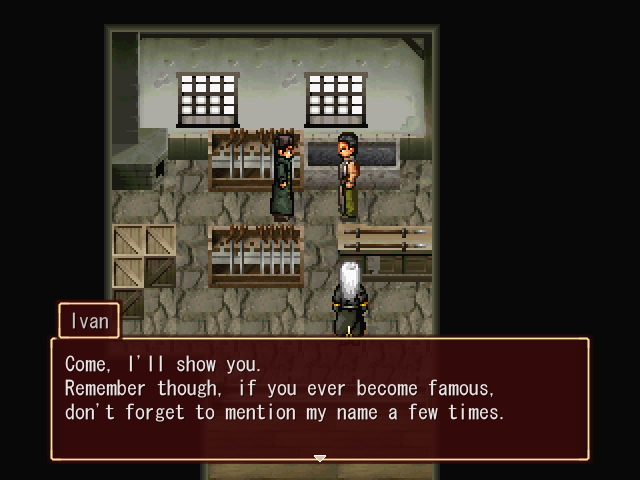
Yet another fade to black...
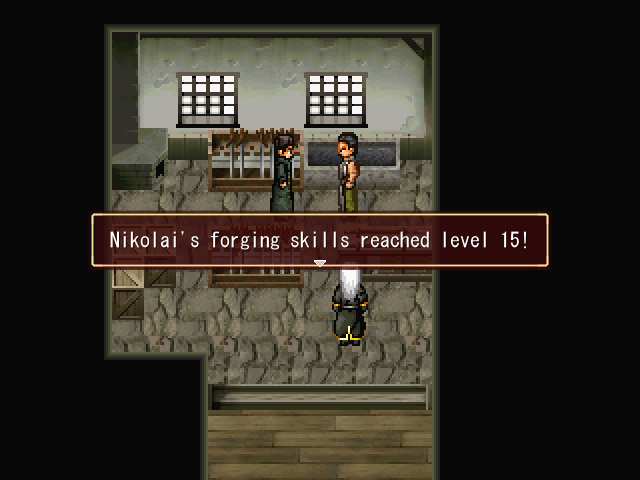
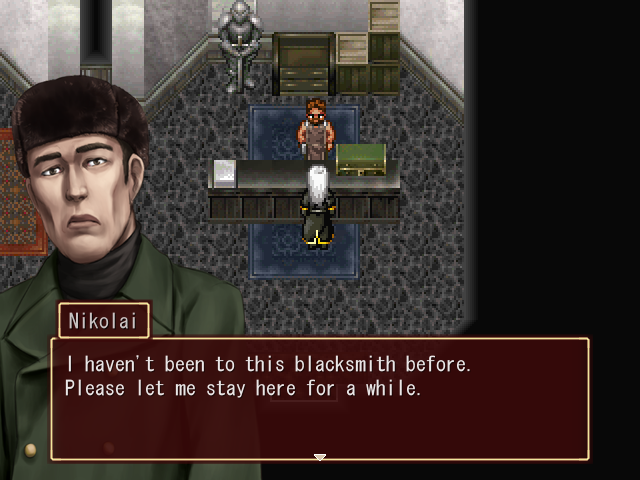
And that's how you gain access to the highest blacksmith level.
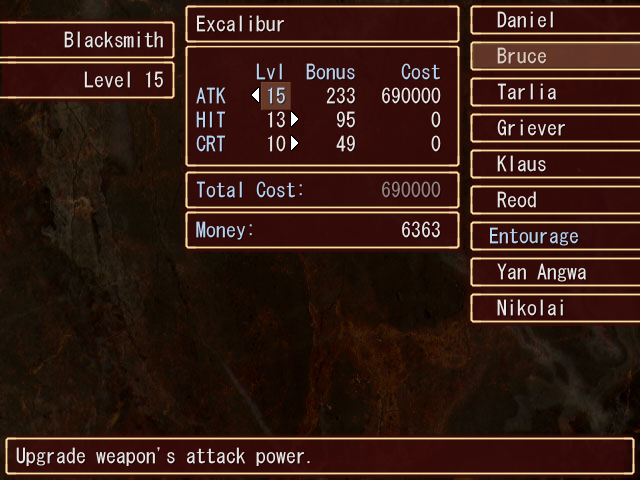
Of course, level 15 upgrades are crazy expensive. This shot is for 14+15 combined, but the level 15 upgrade costs 480,000 Arn just for attack. Upgrading hit chance and critical will cost an extra 360,000 and 240,000, respectively. So it'll be awhile before we can make use of this.
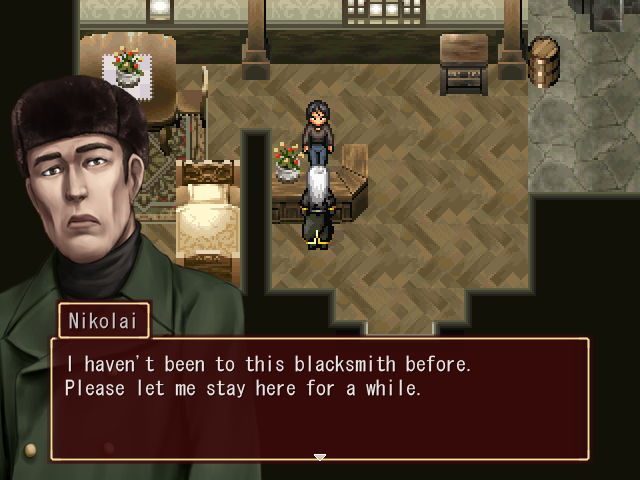
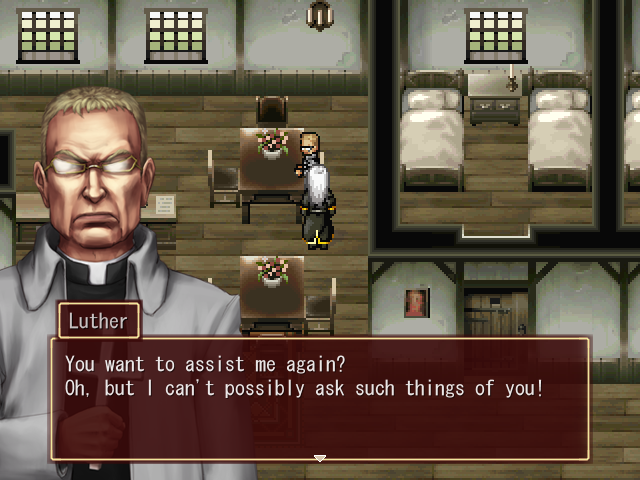
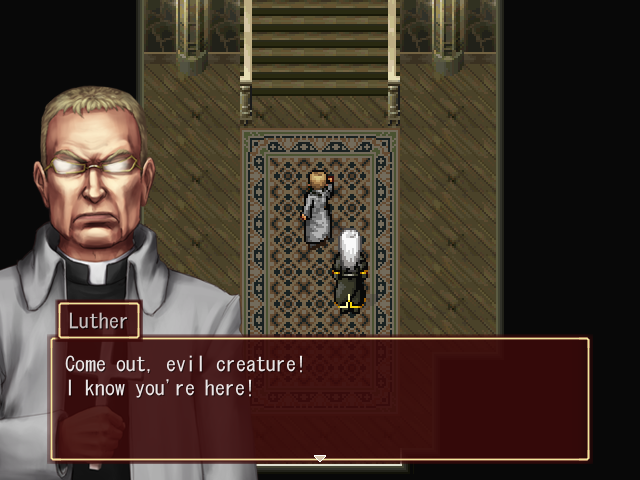
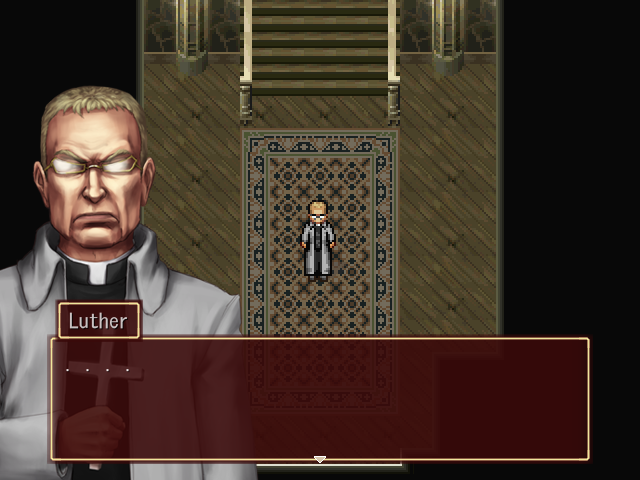
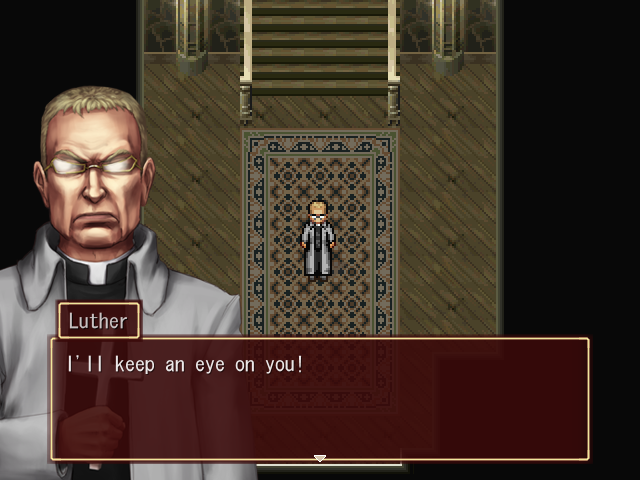
The other thing we can do in town is check out the inn, where we find someone we haven't seen for a very, very long time.
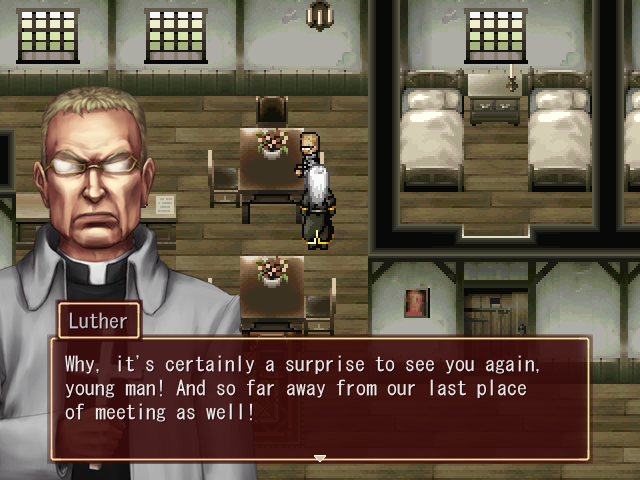
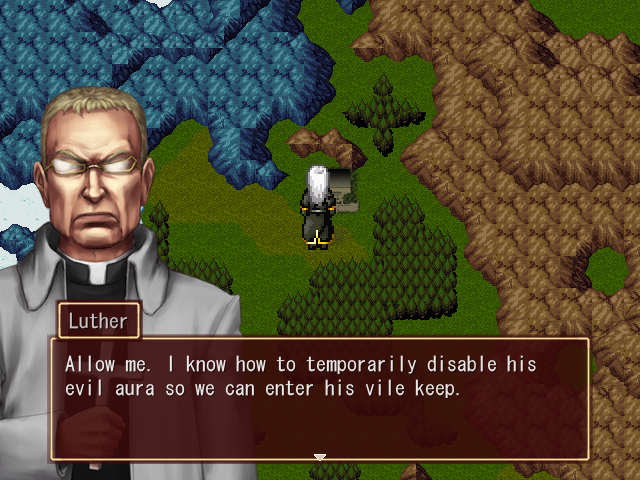
 It's quite a surprise indeed, Father Luther. What brought you all the way out here?
 What do you think!? I am still on the same holy mission! I've tracked down that accursed vampire all the way to this land, and even located his hideout!Well, that's good news, isn't it?It should be! ... But unfortunately, I encountered far more resistance than I anticipated. I was hoping my strength of faith would carry me through, but so far, I've been unable to break through his defenses.
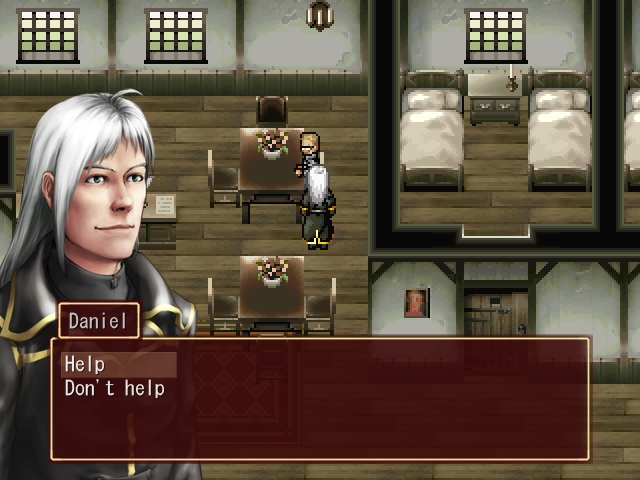
That sounds like a solid sidequest to me. Let's do it.
 But... if you insist, it would be impolite of me to refuse your help. Very well, I accept your offer. The vampire's hiding place is an old keep north of this city. He has taken this place for himself and transformed it into a den of evil. Be careful. It's infested with the undead. ... Well, you seem not to need such warnings, so let us be on our way.
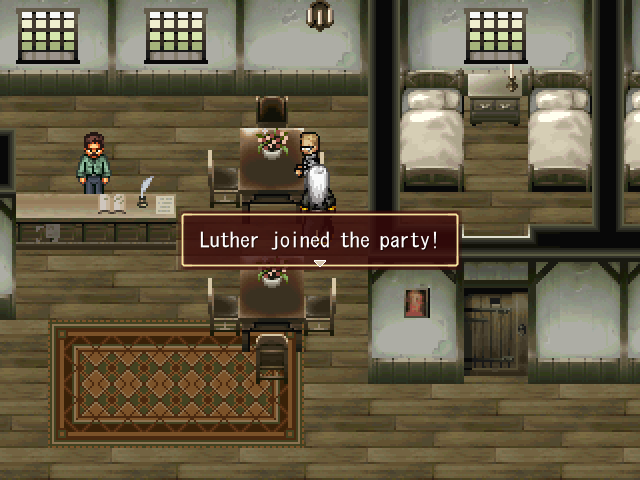
And Luther joins us temporarily once again.
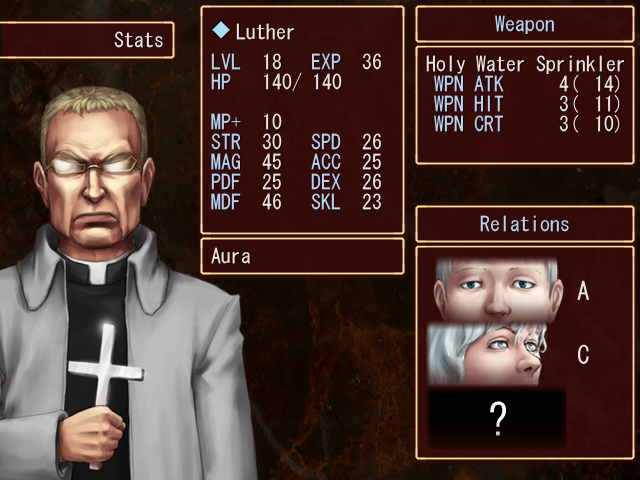
Since it's been awhile since we last saw him, here's a peek at his stats. He's an all right mage with decent MAG and fantastic MP+, but that's about all he's got going for him.
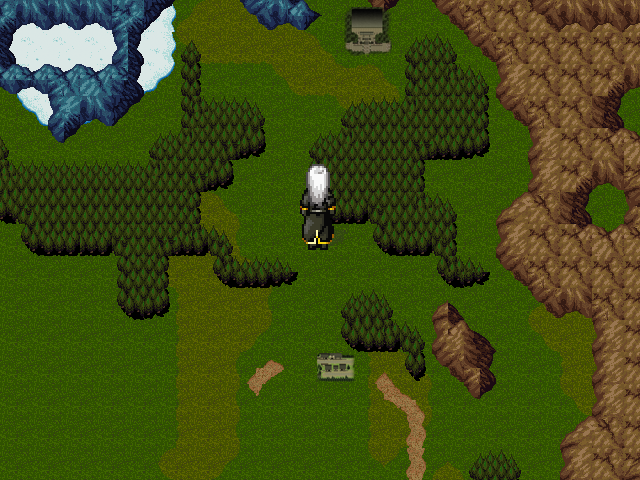
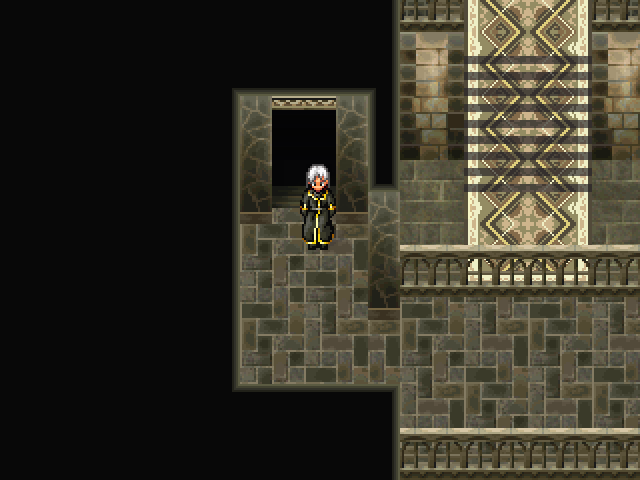
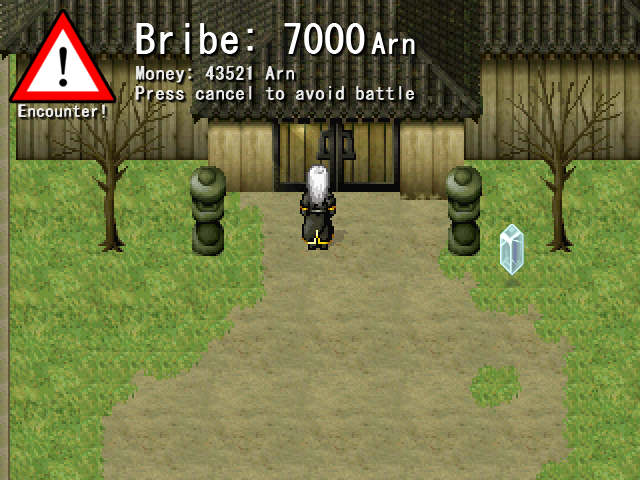
Anyway, as Luther said, the vampire's castle is just to the north of Muspelheim. We could have tried to enter it before, but...
... there would just be a flash when we get near it and we'd be teleported back.
Luther, however, can get us in.
Fade to black...
Music: Nocturn Keep - Chrono Cross, "Burning Orphanage"
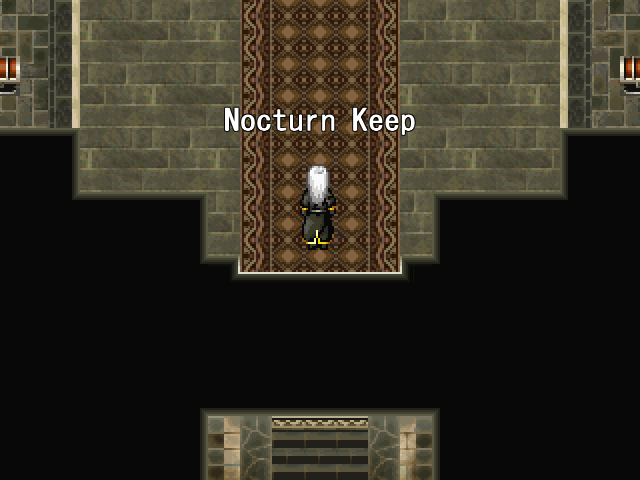
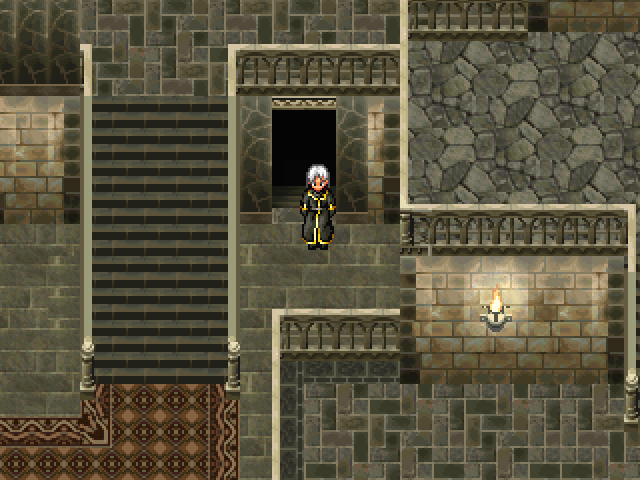
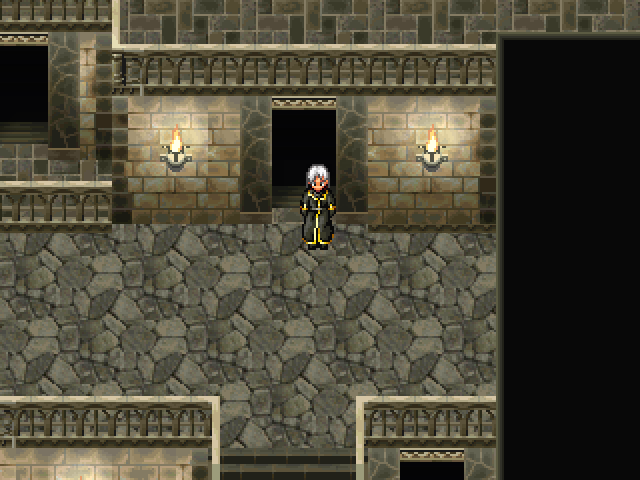
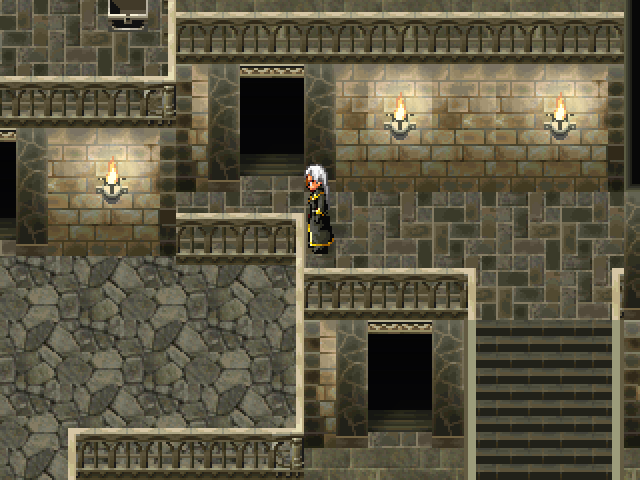
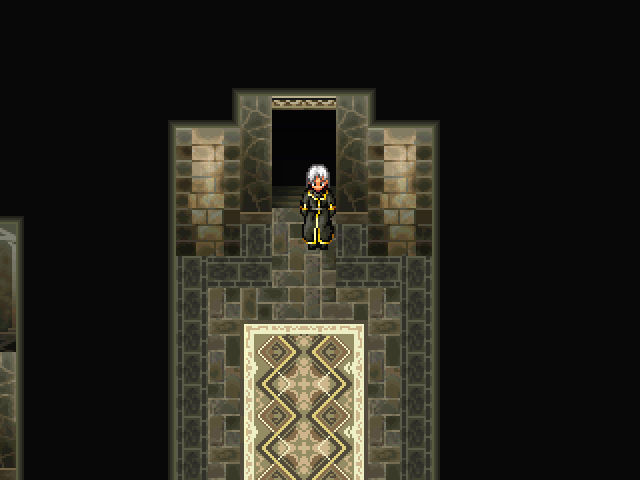
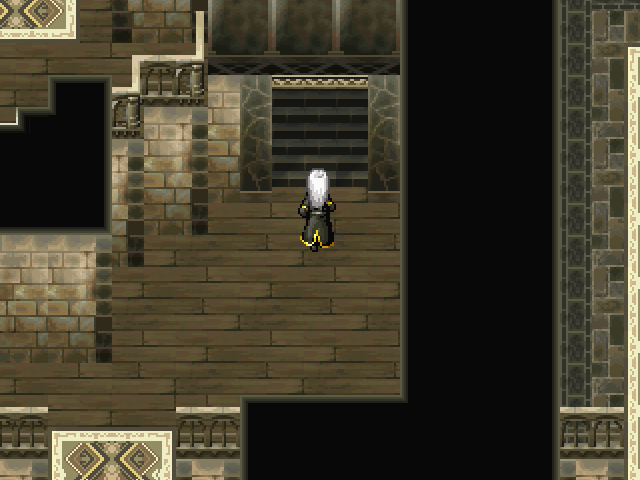
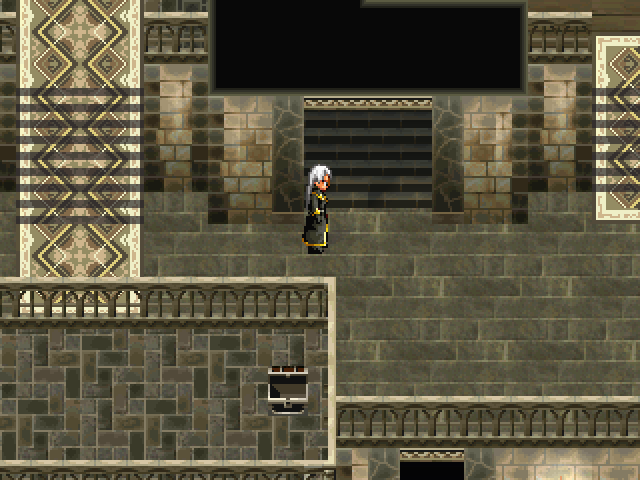
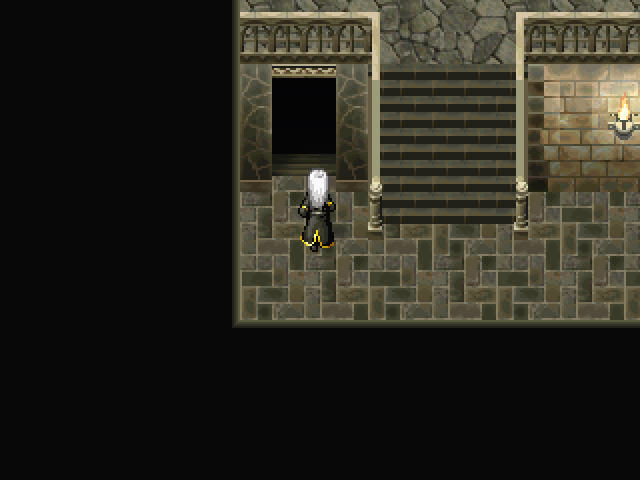
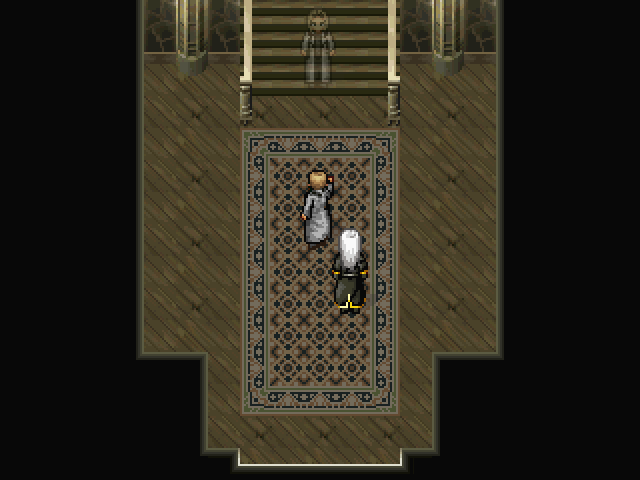
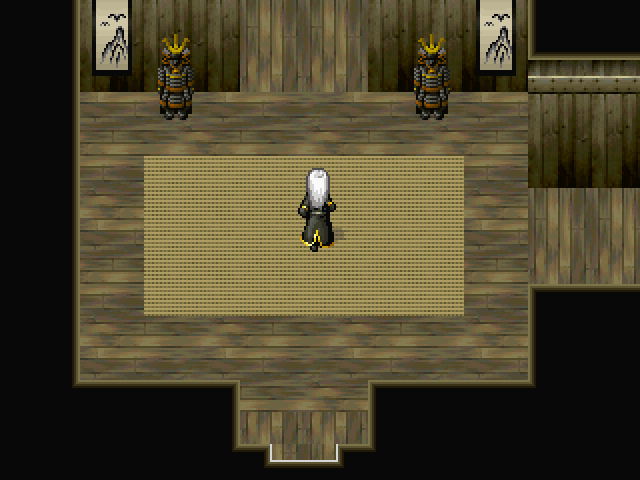
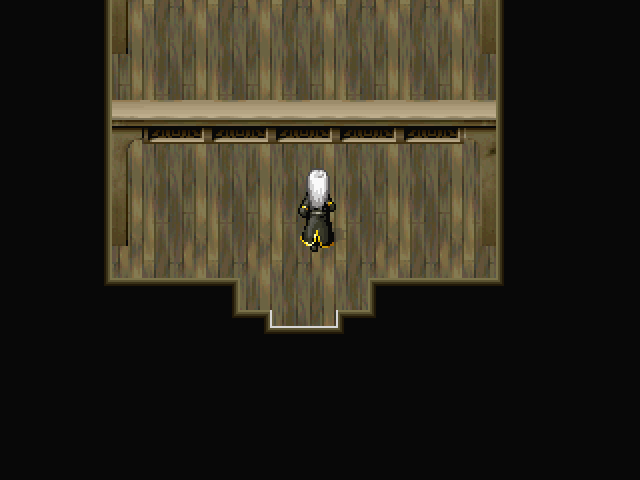
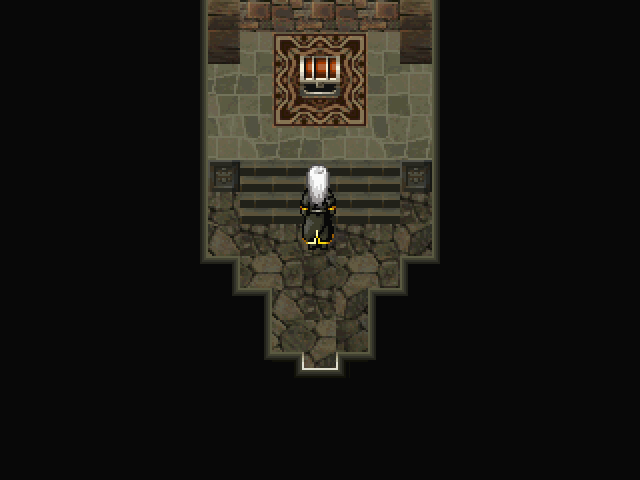
And in we go. Nocturn Keep is a bit of an odd dungeon, in that it consists only of a single "room." But it's a bit difficult to get around because... well, why don't I just show you.
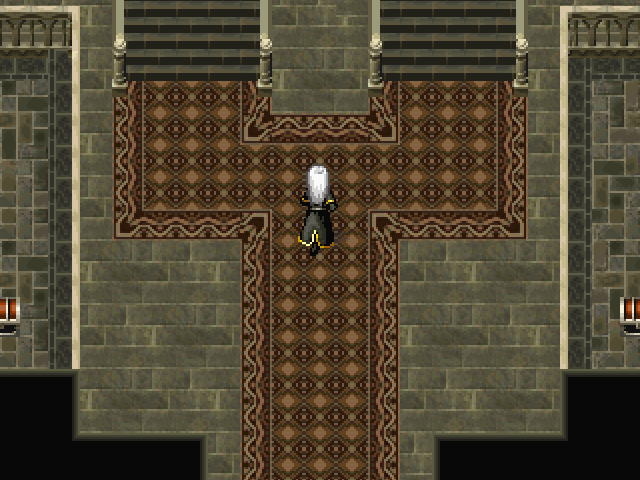
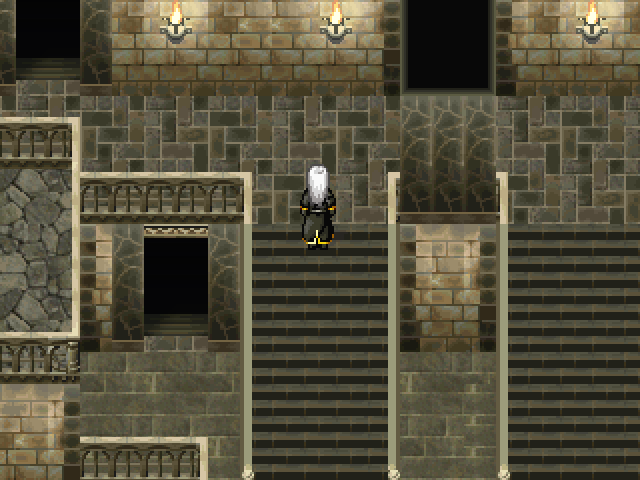
The entrance area of Nocturn Keep contains two staircases, with a door at the top and bottom of each.
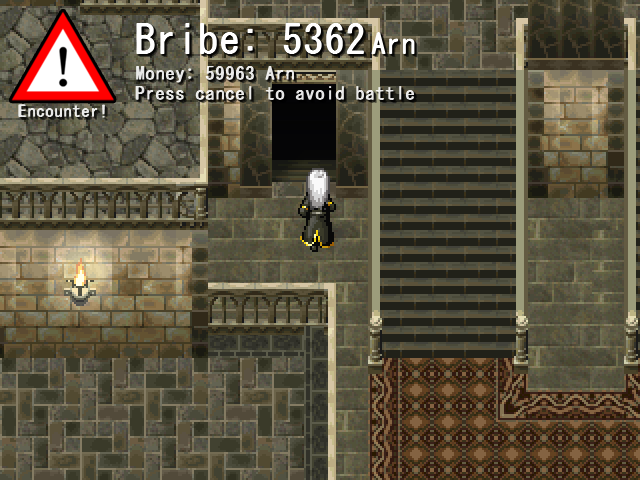
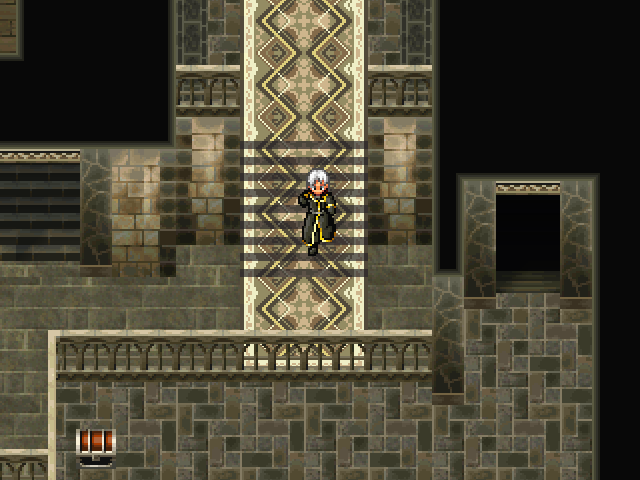
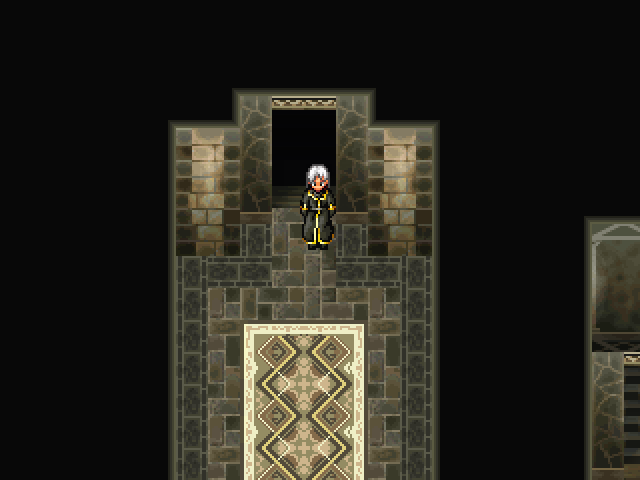
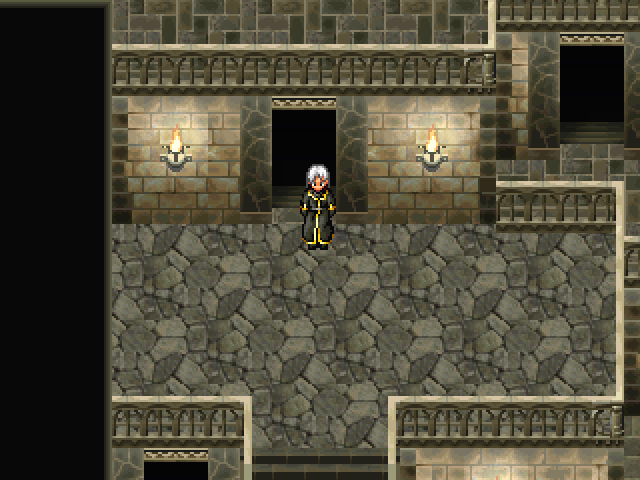
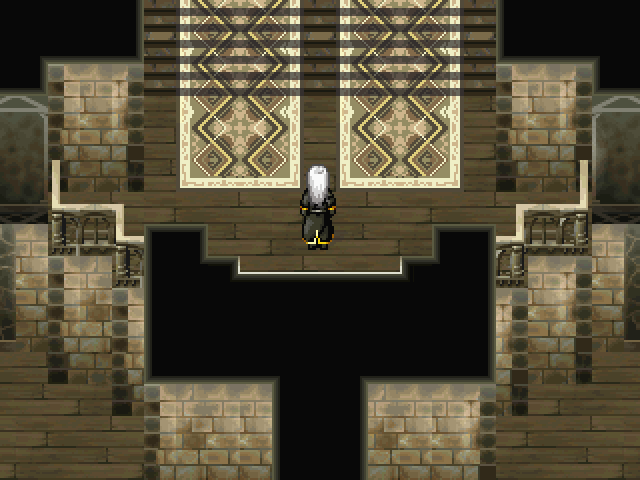
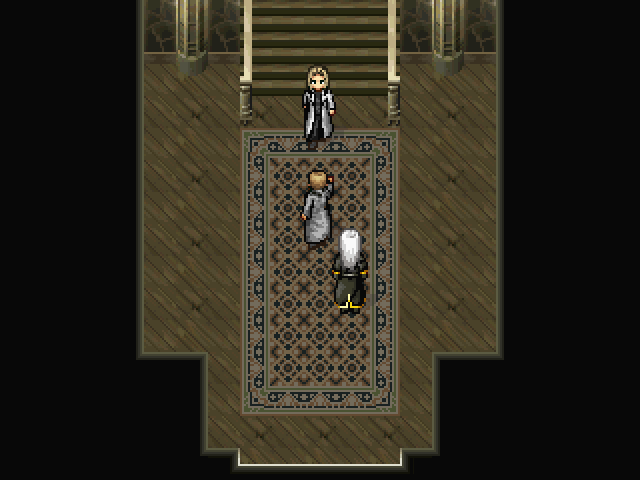
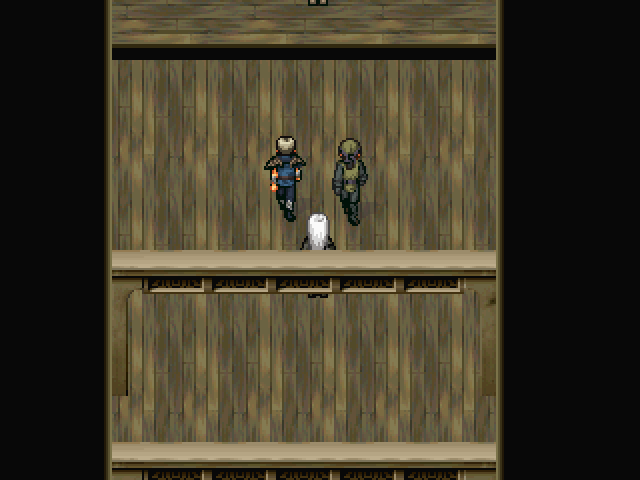
If we head in the bottom door on one side, however...
... we end up at the top of the staircase on the opposite side. And thus we see this dungeon's gimmick: instead of bringing you to another area, each doorway transports you to another doorway in the same room, essentially making the area a teleporter maze. Fortunately, the destination of each doorway is fixed and going back through a doorway you just came through will always bring you back to your original location.
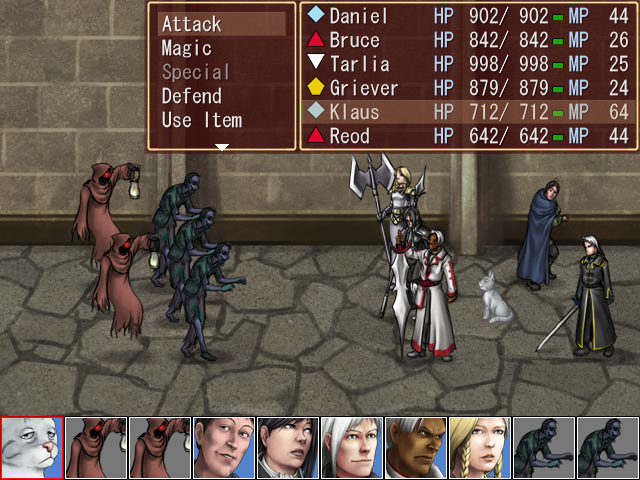
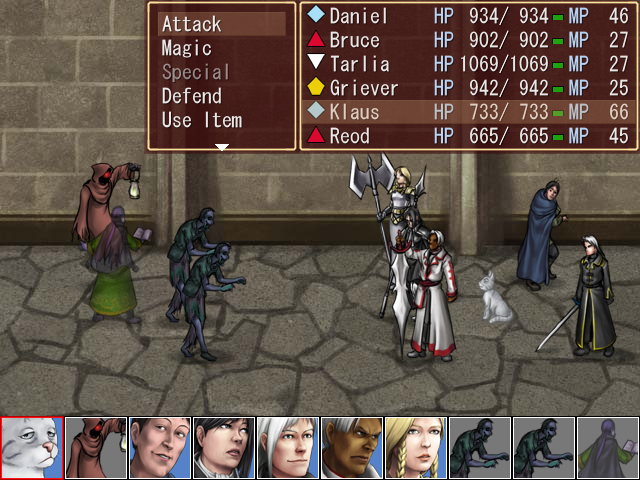
Before we can explore further, we run into some undead.
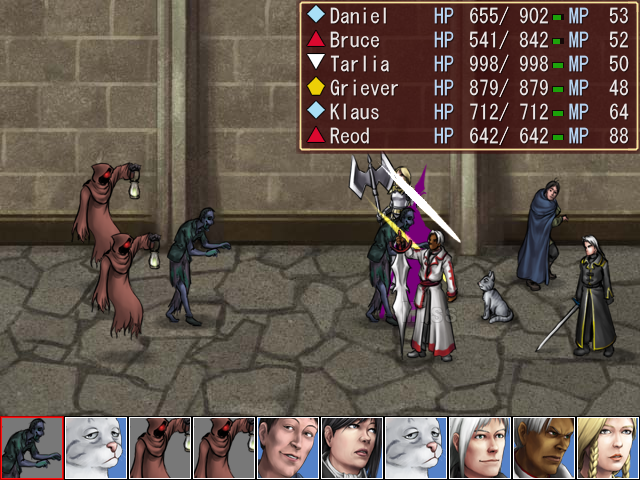
The Ghouls up front are straight physical attackers and don't have that much HP. They're not really a threat.

The Harbingers in the back, however, are assholes. In addition to causing Chaos...
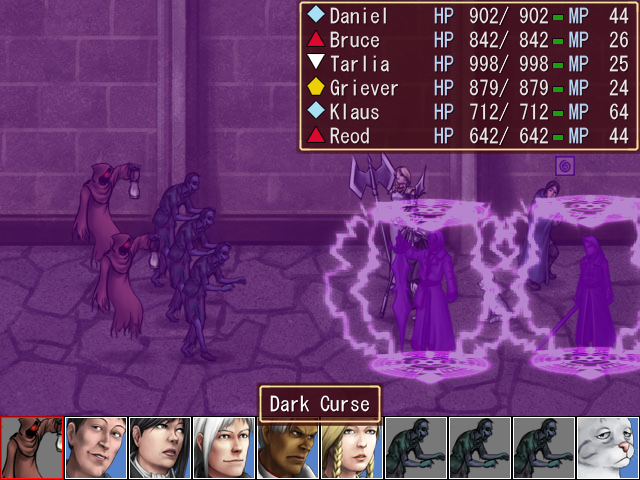

... they have the Dark Curse spell that the Imps in the Magma Caverns had, which deals good damage and can inflict Poison.
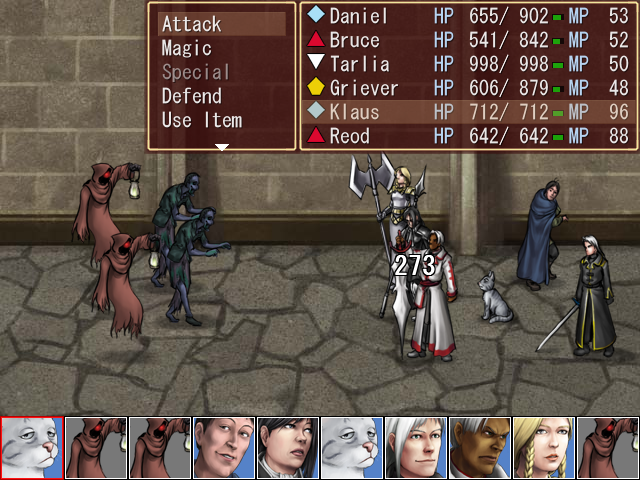
They also have a physical attack that deals a fair bit of damage.
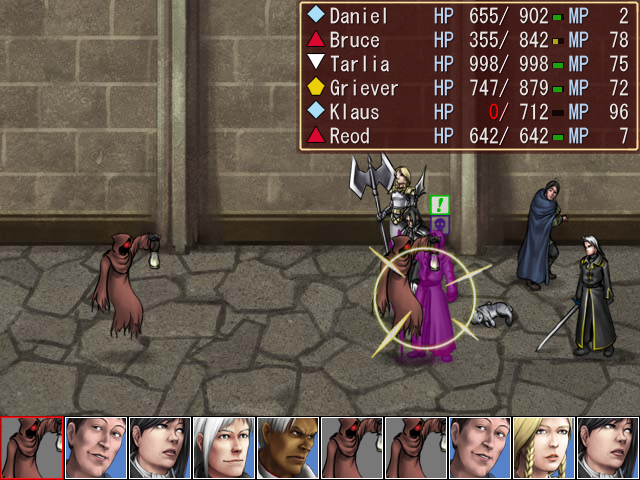
And to top it off, they're quite evasive and difficult to hit. They have very little HP though.
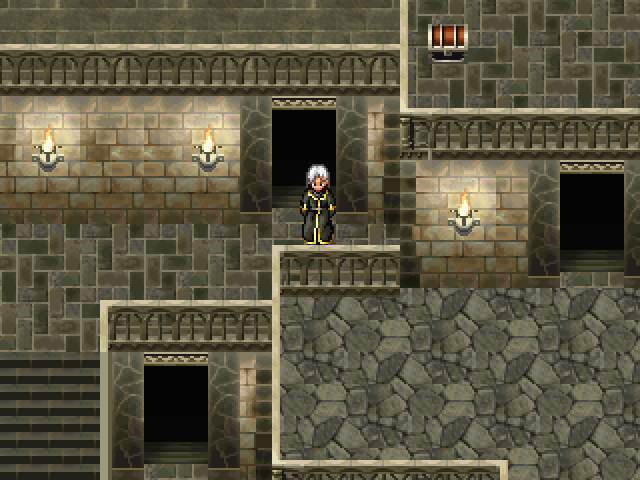
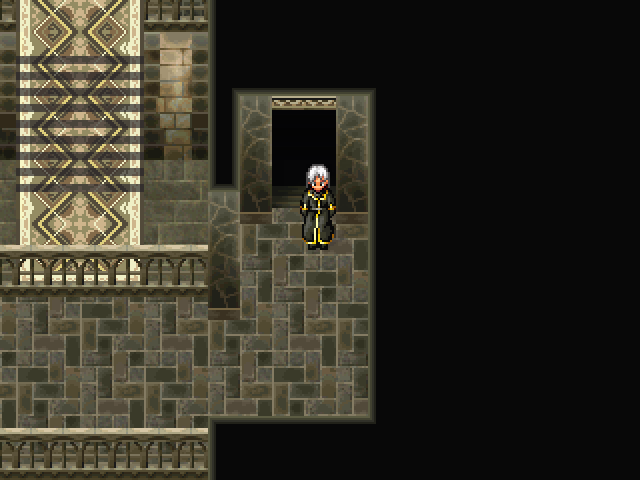
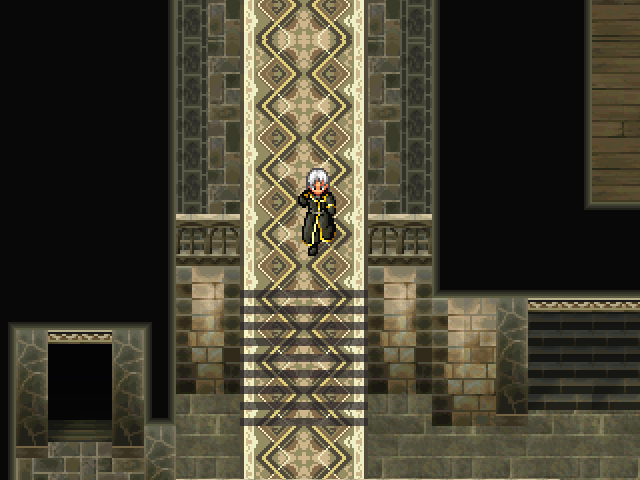
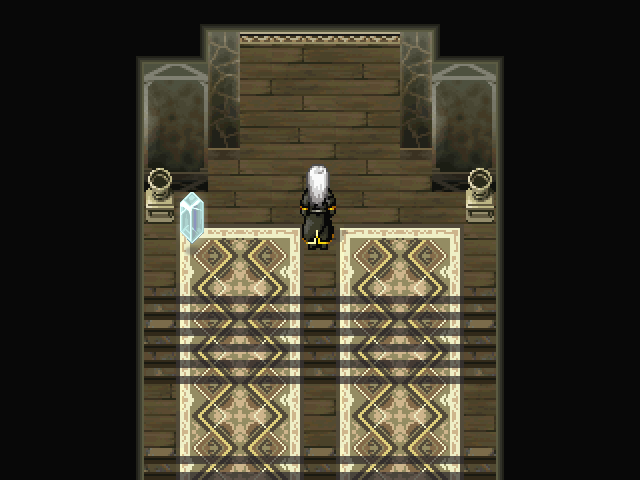
Anyway, this may get a little confusing, but I'll try to make it as clear as I can. First, we head through the doorway below the right-hand staircase in the entrance.
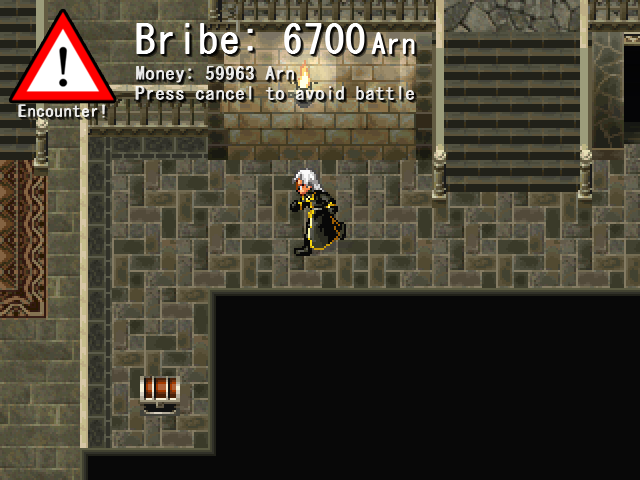
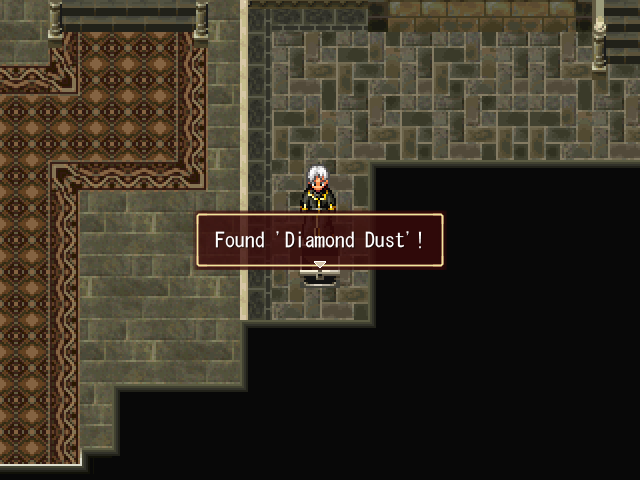
This brings us to a raised area on the right side, which has a chest containing a Diamond Dust.
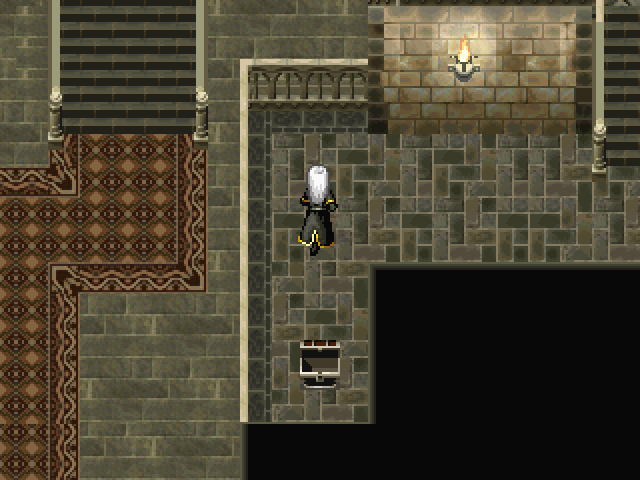

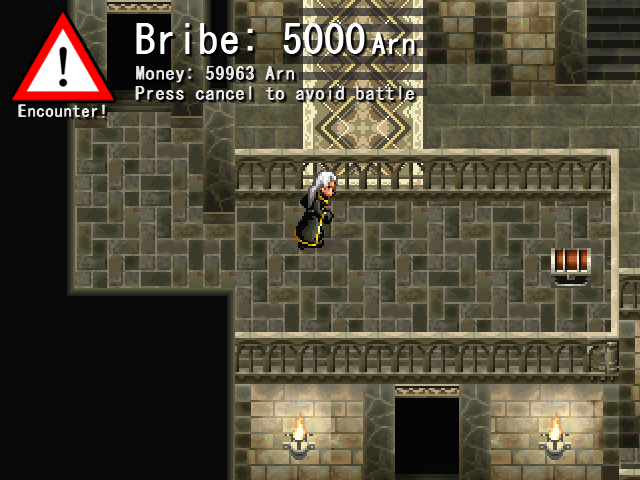
To the right of the staircase in this area is another doorway which leads to a balcony on the left of the keep.
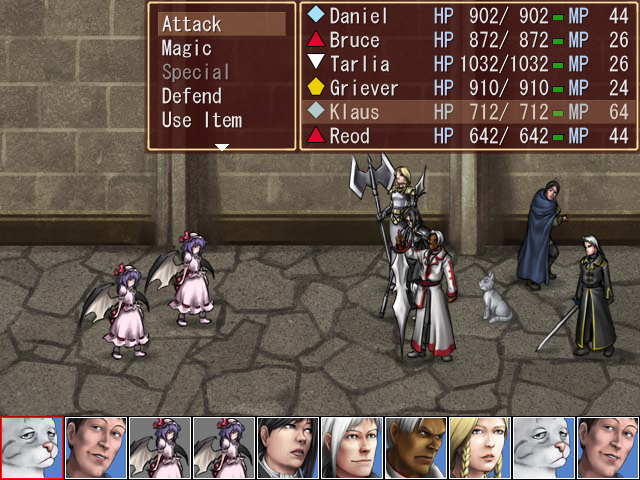
But we run into some strangely familiar Little Scarlets before we reach the chest.
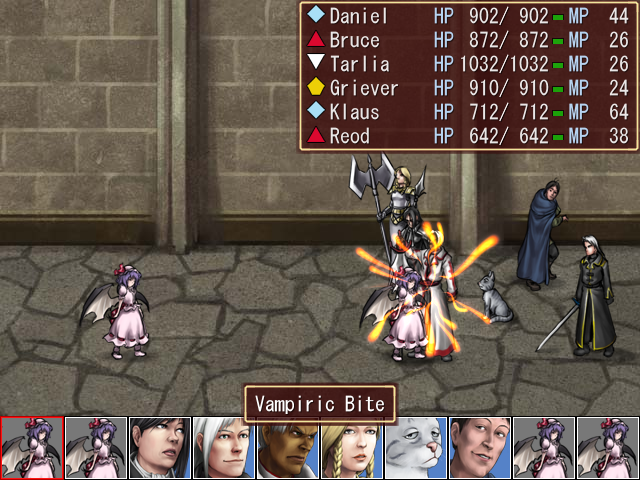
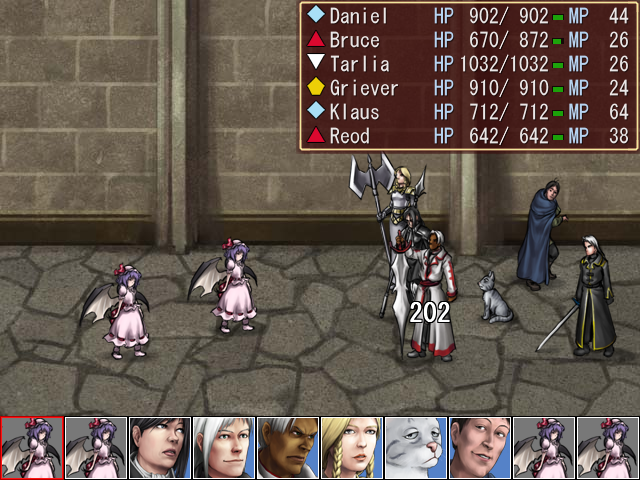
Little Scarlets can use Vampiric Bite to deal a bit of damage...
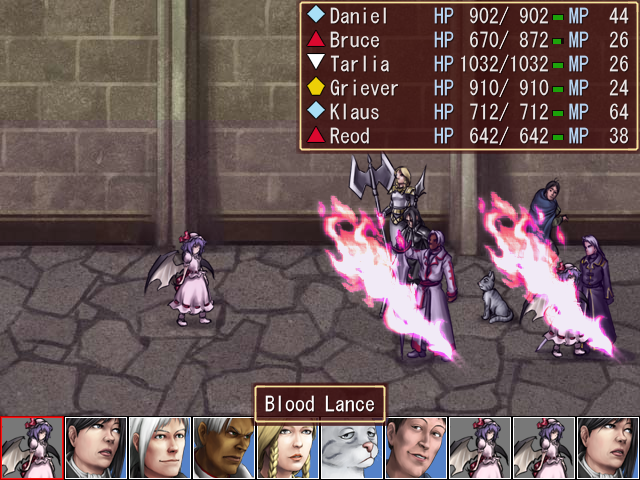
... and also have Blood Lance, which hits a column.
They're not too bad though.
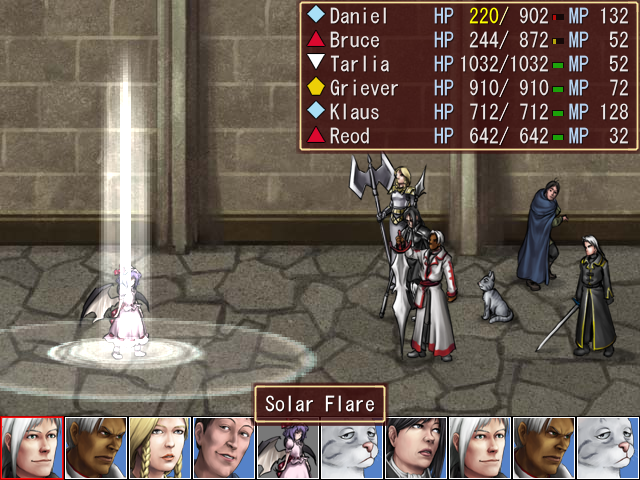
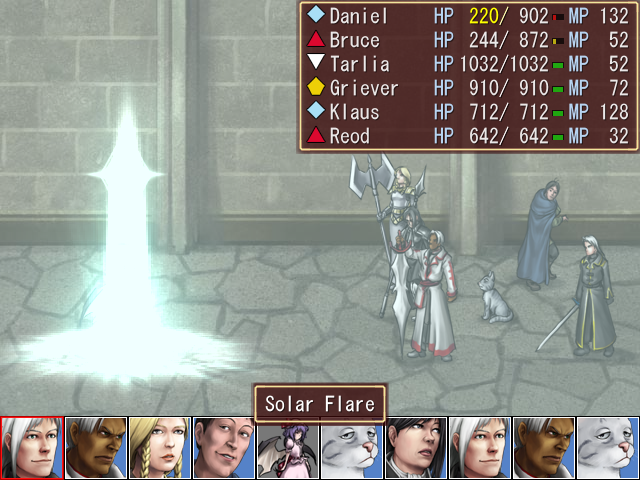
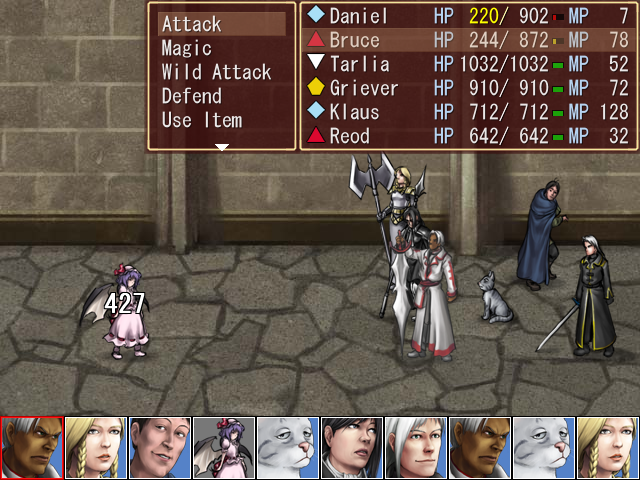
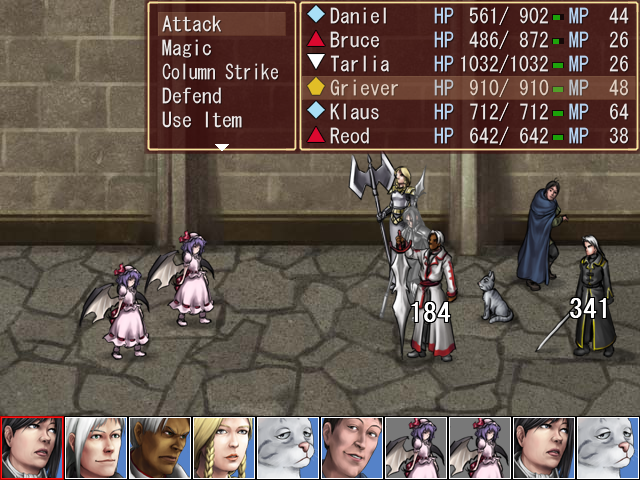
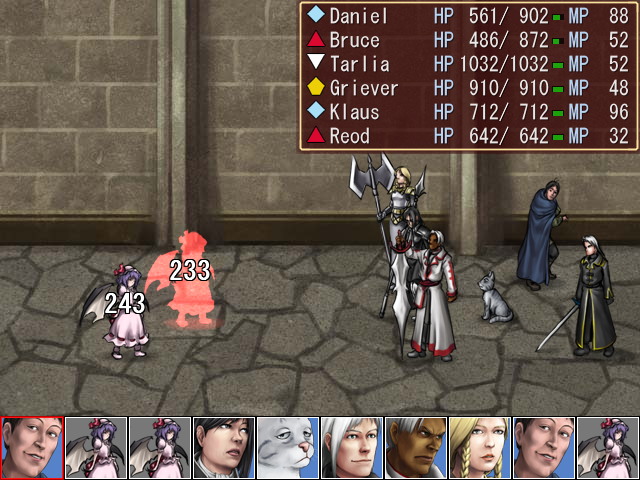
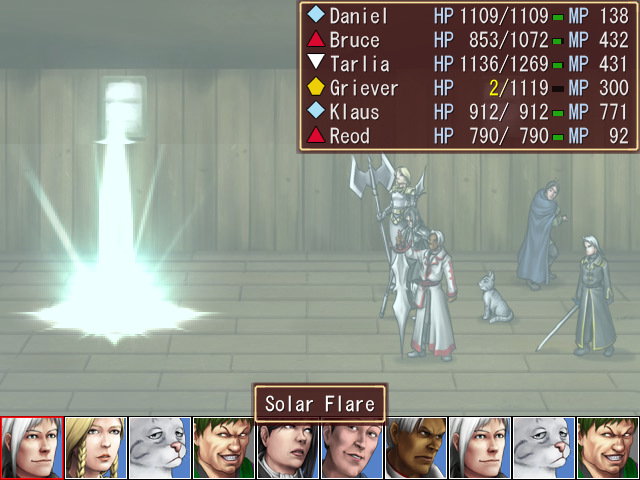
I also have Daniel test out the Solar Flare spell that we got our hands on last update. Like Inferno, its damage is quite high.

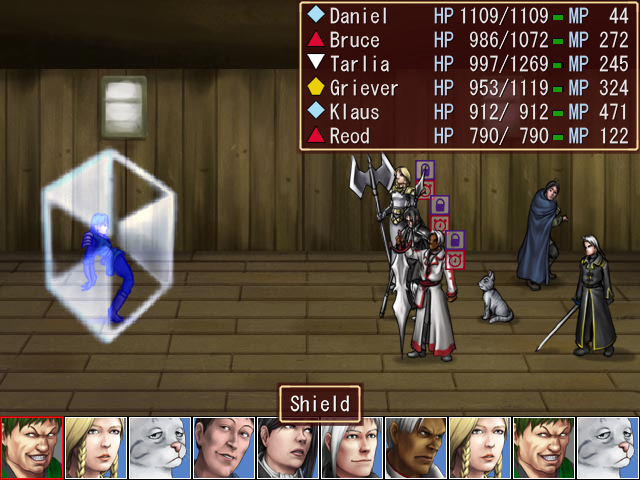
Once we've defeated them, we can open the chest nearby for a copy of Shield. This is all we can get to from the original door we entered, so let's head back to the entrance.
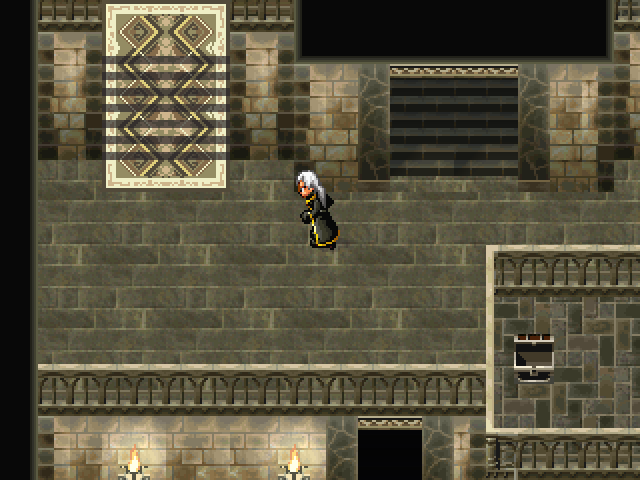
The next door we can enter is the one at the top of the left-hand entrance staircase, which brings us to the northeast of the keep.


If we follow the path we come across a staircase, which takes us to the right-side balcony and a Nirvana Hat, which grants +7 PDF and +7 MAG for 3 weight.
As we head back down the staircase, we run into the dungeon's final enemy type, Wraiths.
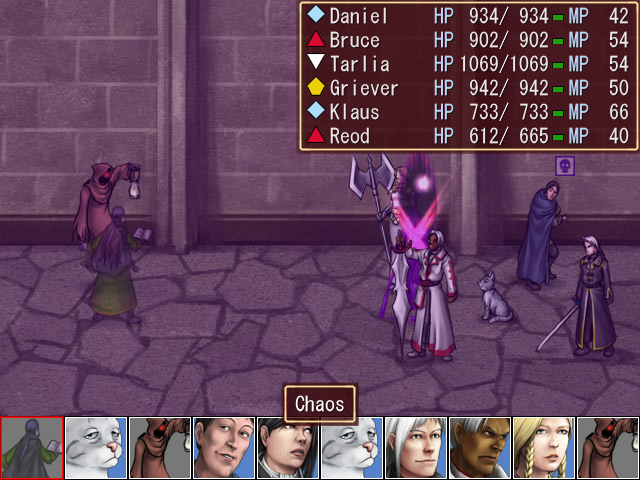
Like Harbingers, Wraiths love to inflict Chaos.
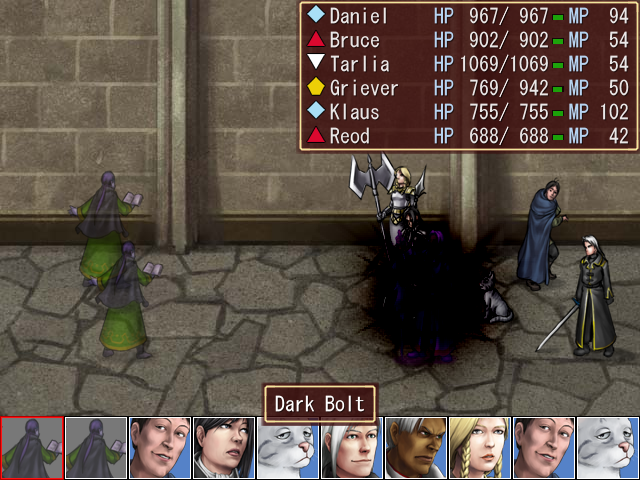
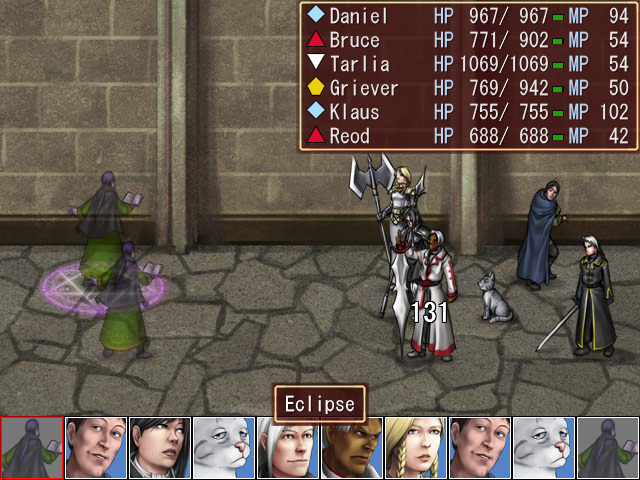
They also have Dark Bolt, which isn't too bad...

... and Eclipse, which is a joke even to Klaus at this point.
If we continue past the first staircase we come to a second one, which brings us to the northwest of the keep this time.
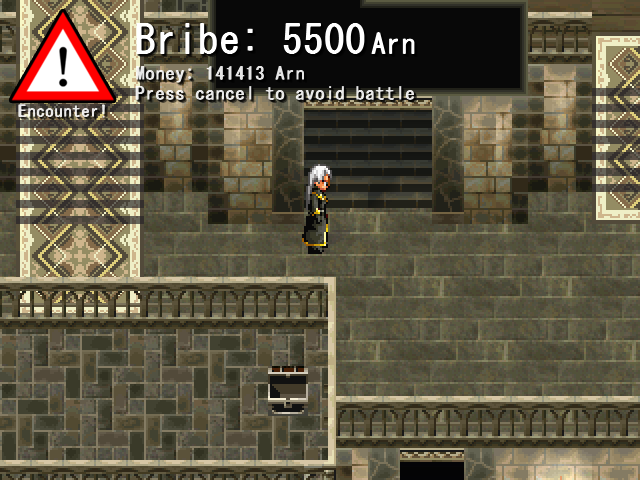
Like the northeast section, the path here also leads us to a staircase, but we're going to skip this one for just a second.
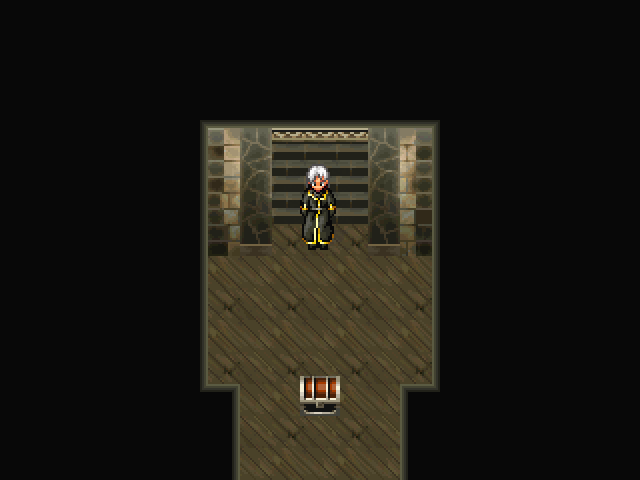
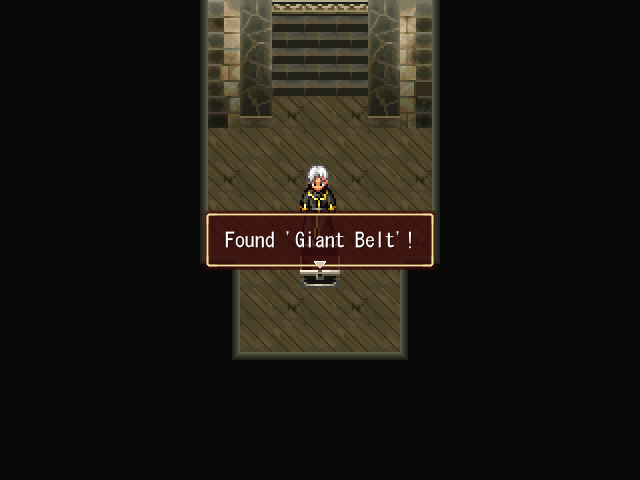
Instead we go to the other staircase in the area, which brings us to a small alcove containing a Giant Belt, an accessory granting +80 max HP that goes straight to Klaus.
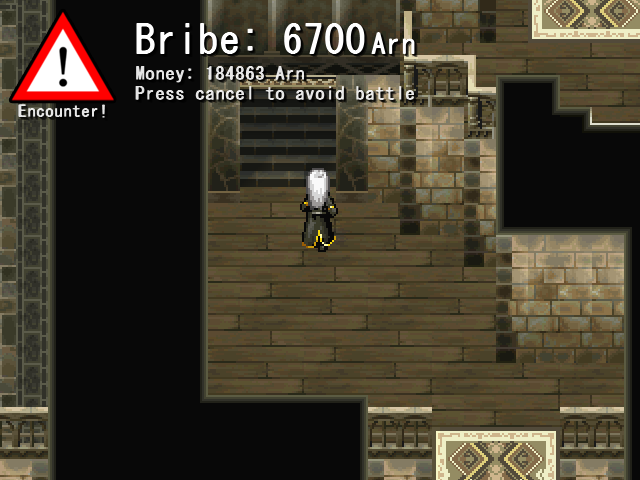
Next, we head back to the first staircase in the northwest area and head up, taking us to a raised area on the left side of the keep.
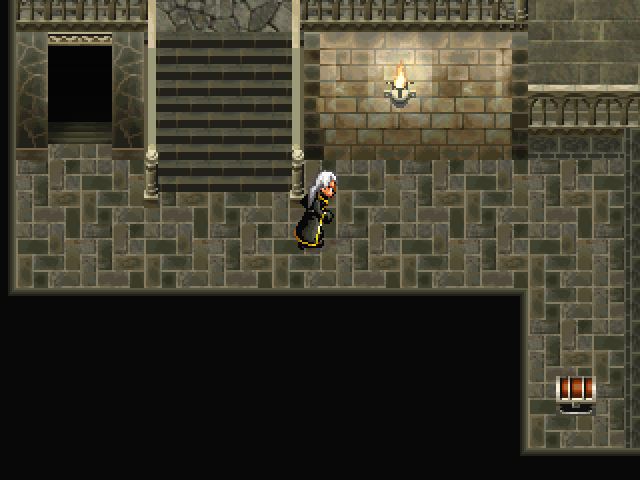
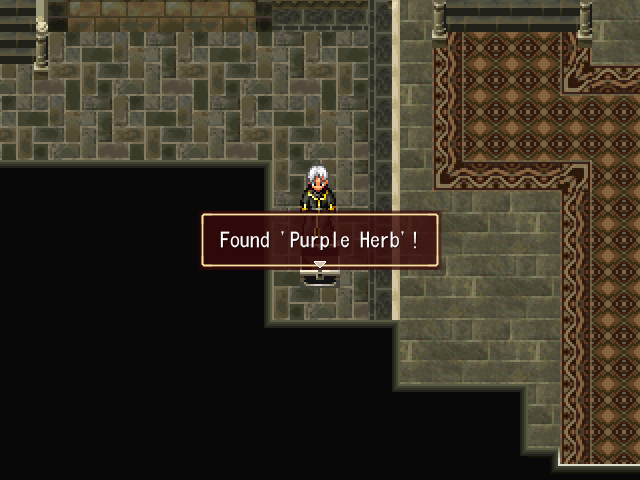
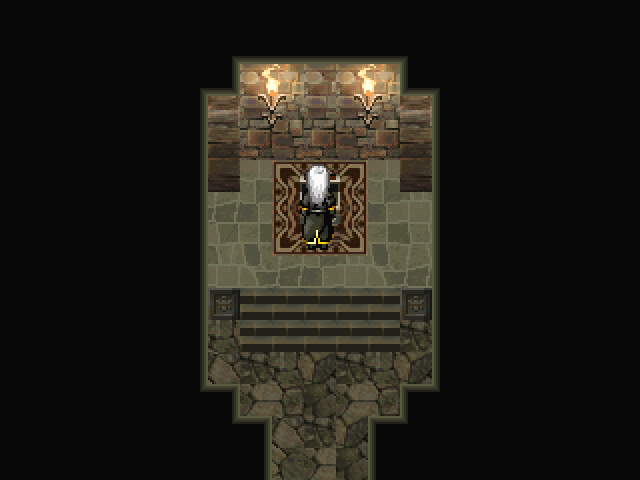
There's a Purple Herb here, and...
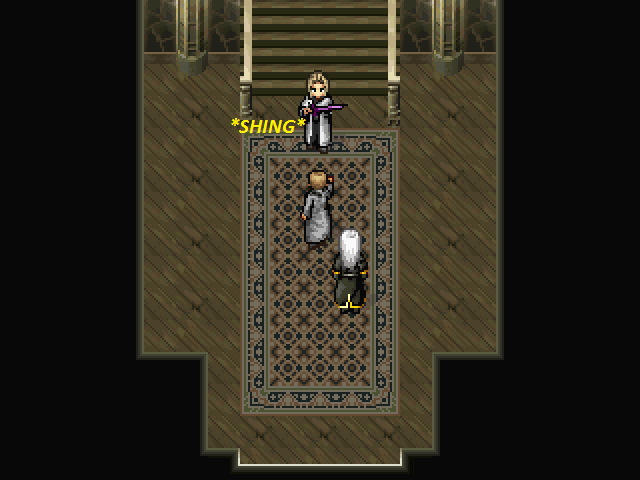
... the door to the left brings us to the top of the keep and a save point. I think we know where this is heading.
Music: None

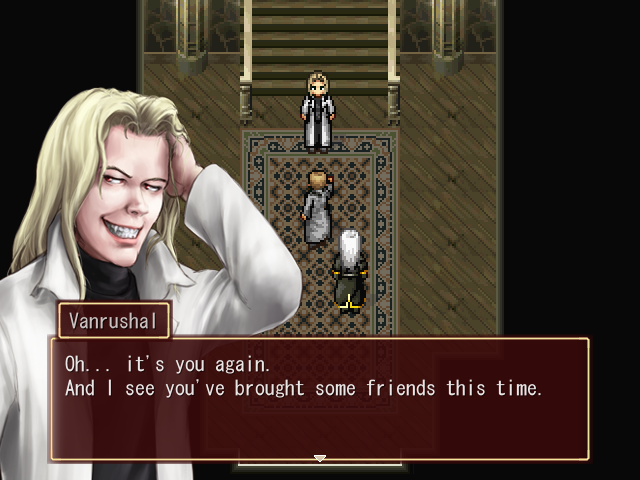
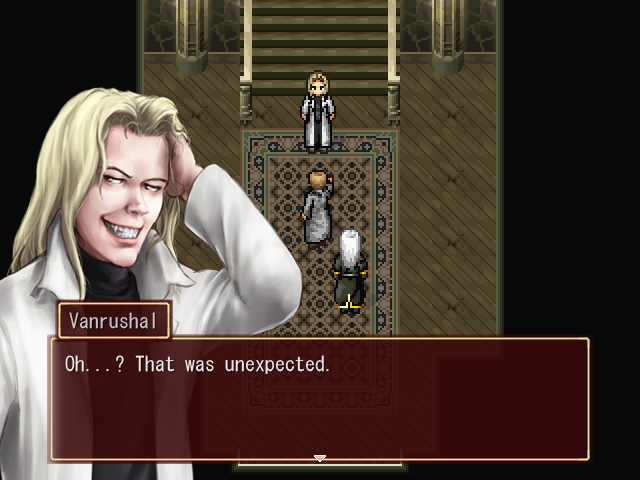
Hey Vanrushal (the forums user), where you at? Your namesake has finally arrived.
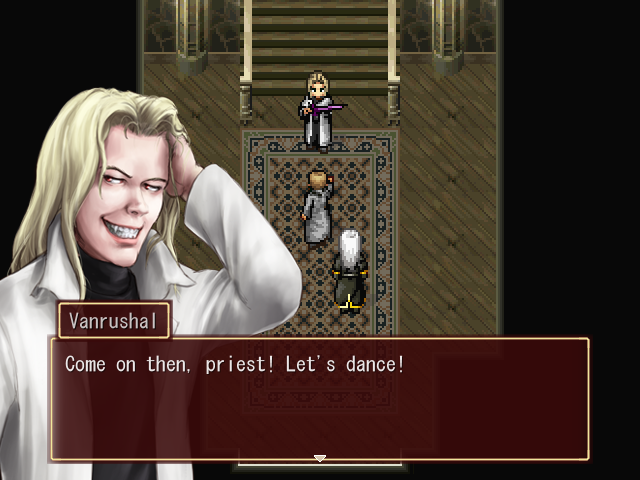
Finally! After all these years, I've found you! Your time has come, vampire! Prepare to die! You're so persistent... You were entertaining for a while, but I guess I should get rid of you before you become even more of a bother.
Music: Vampire - Suikoden II, "Gothic Neclord"
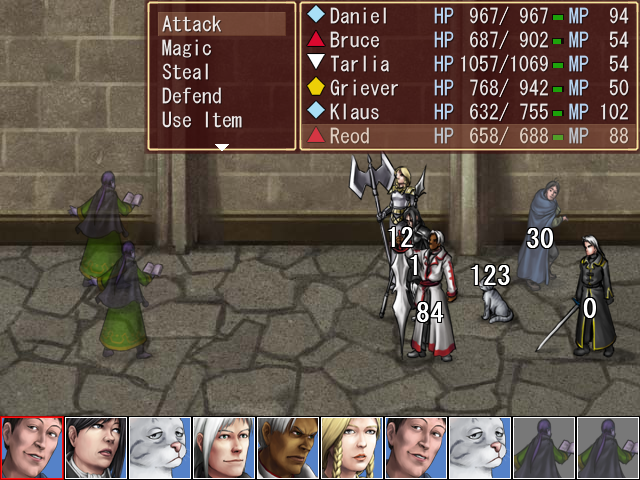
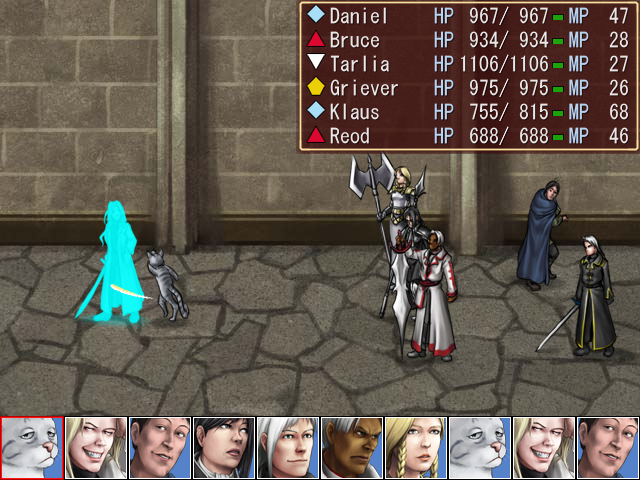
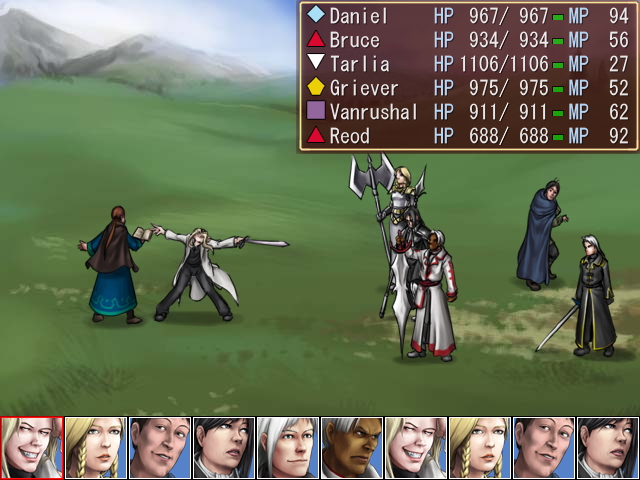
OPTIONAL BOSS: Vanrushal
(no music change; Vampire continues playing)
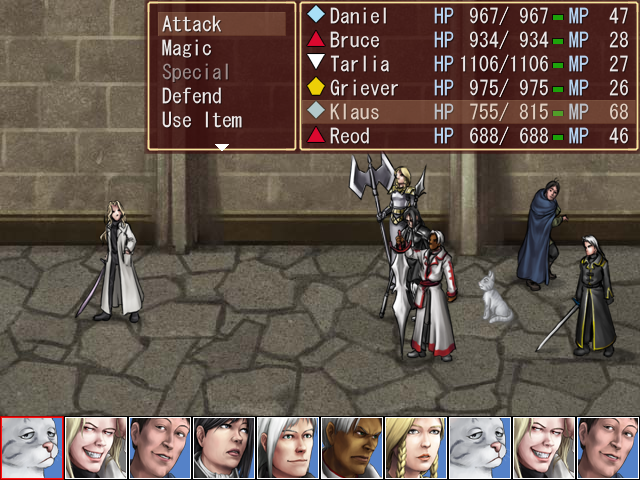
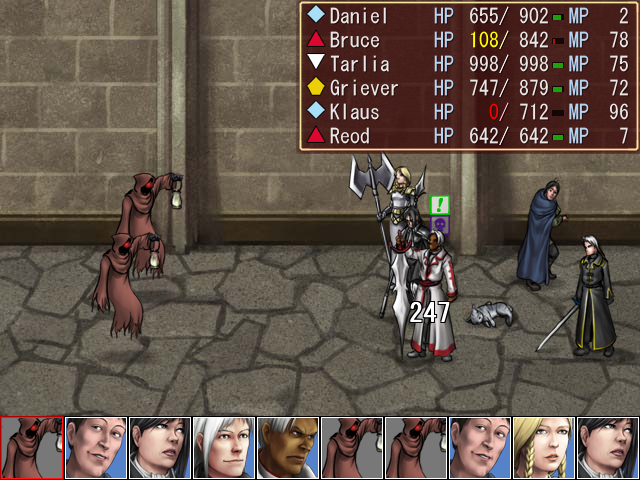
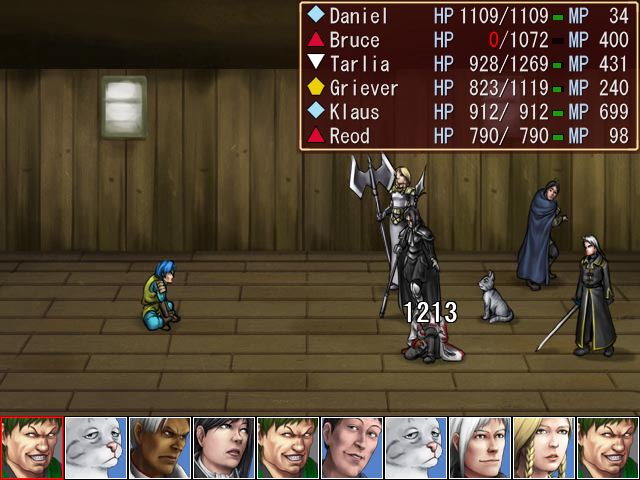
Well, this is new. I thought vampires were supposed to be immortal? Let's see what we can do here.
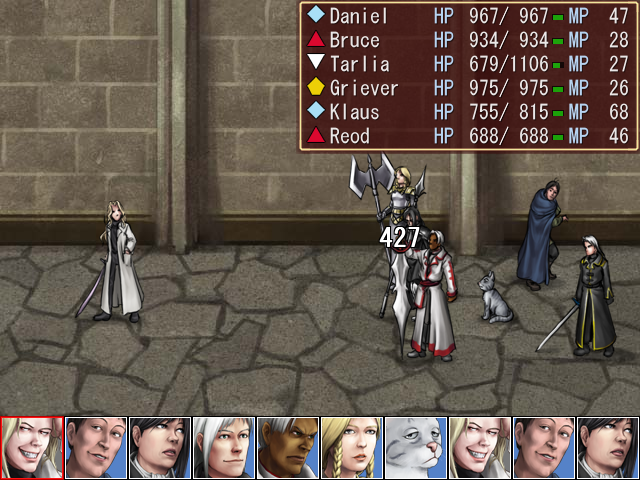
Vanrushal has a fairly powerful physical attack, but it's nothing we can't handle.
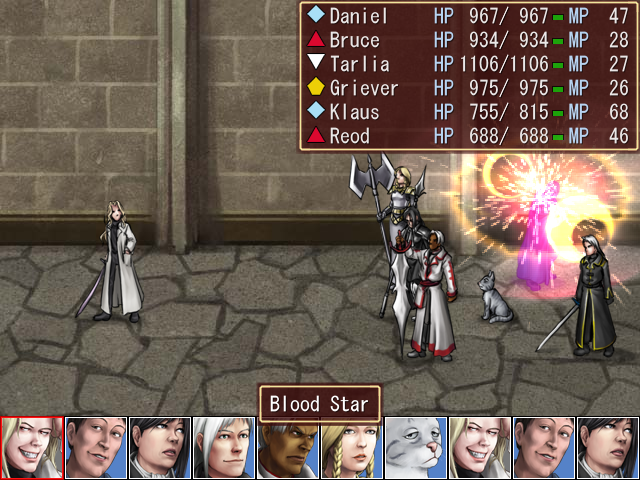
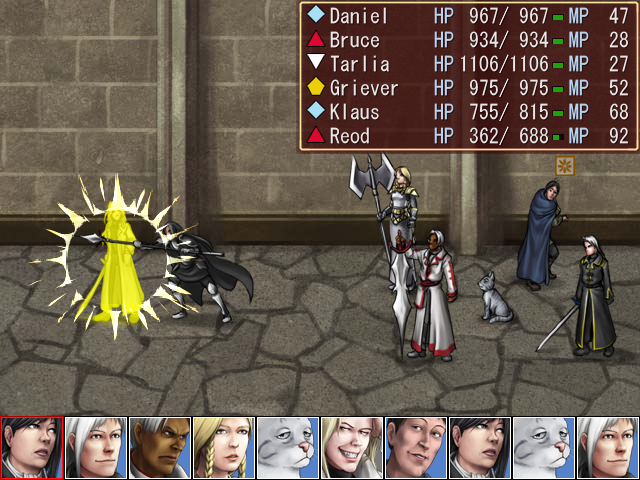
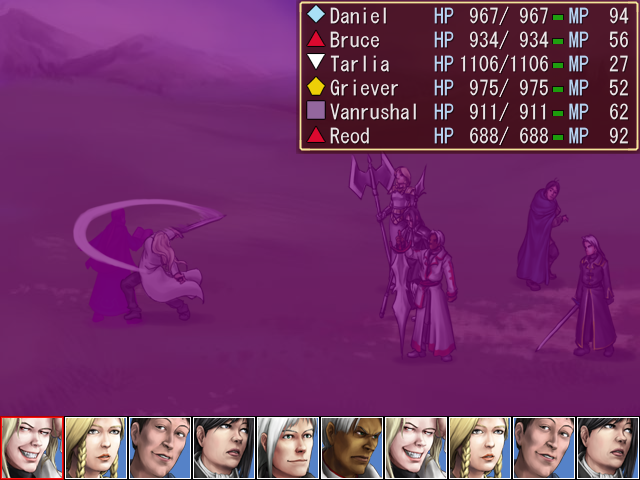
Much more annoying is his unique ability Blood Star, which deals a fair amount of damage and stuns the target. He spends most of his turns casting this, and has a tendency to target our mages with it.
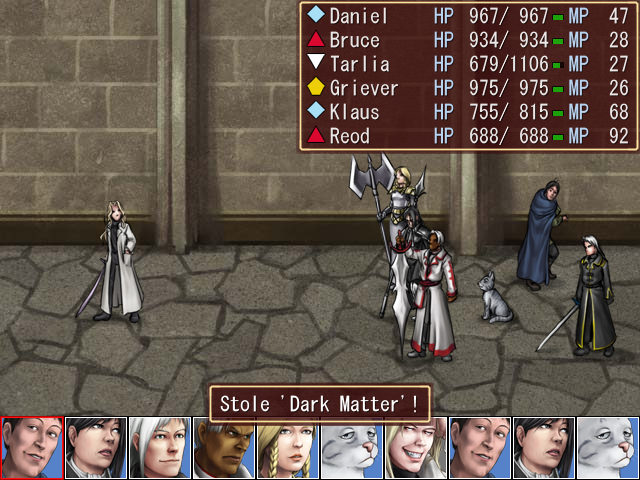
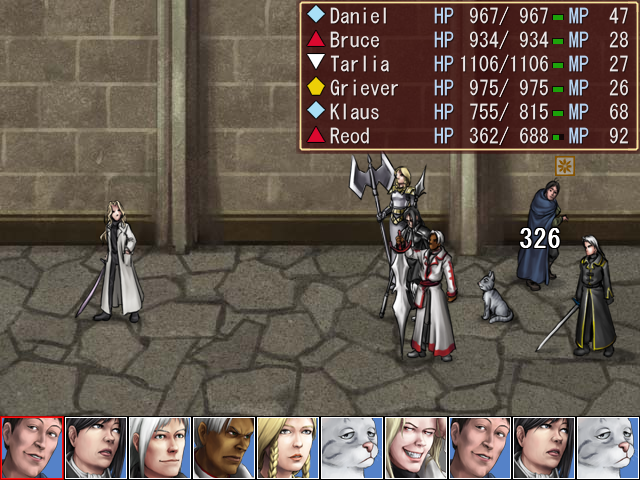
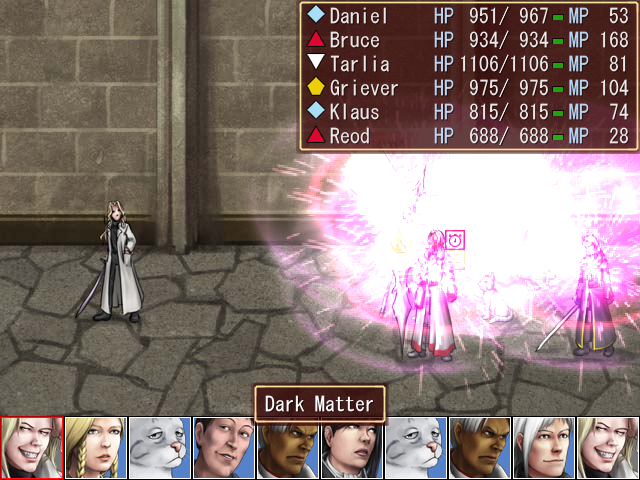
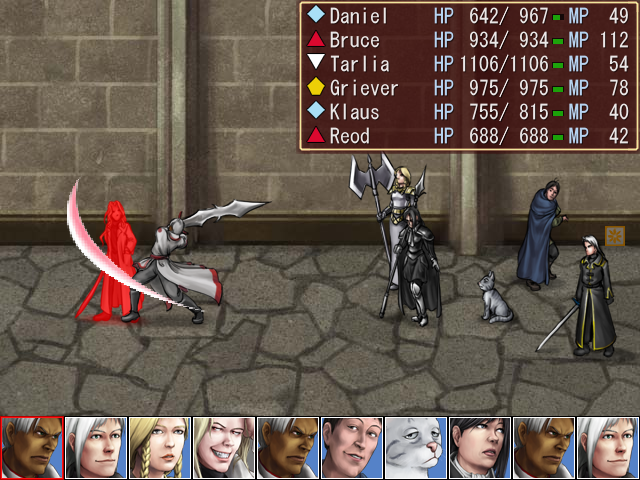
When he gets the chance, Reod swipes a copy of Dark Matter, the third-tier dark attack spell.
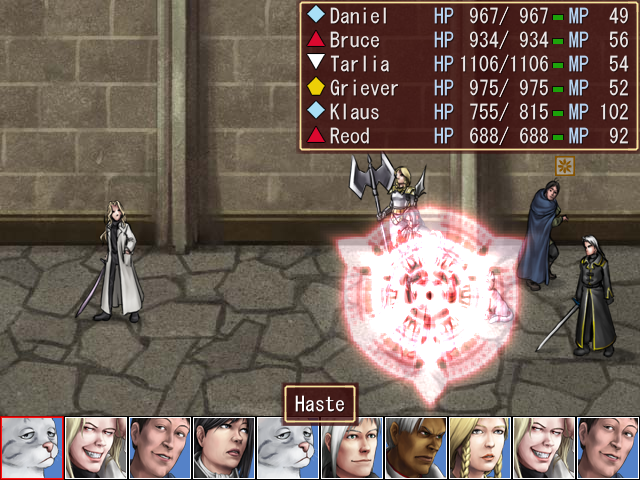
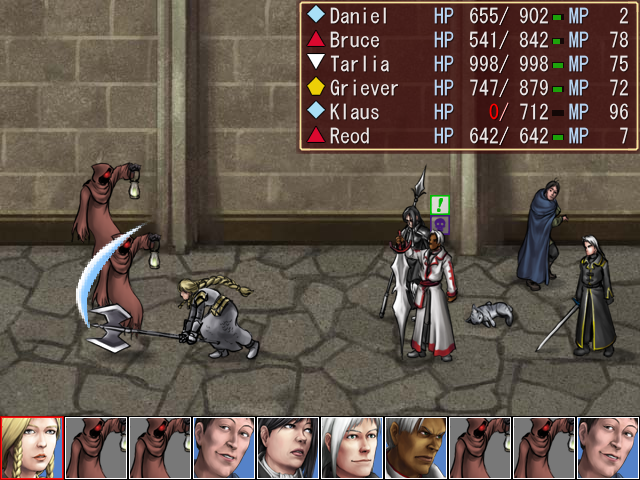
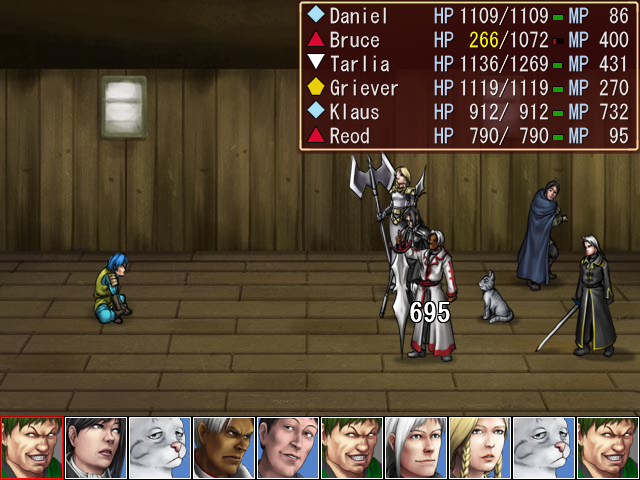
After that, it's buff time. Klaus gets things started by hasting Bruce, something that is going to become quite commonplace in boss battles to come. Despite his garbage MAG, Klaus is perfect for casting buff spells, since their effectiveness isn't determined by the caster and Klaus gains lots of MP quickly due to his good MP+ and frequent turns.
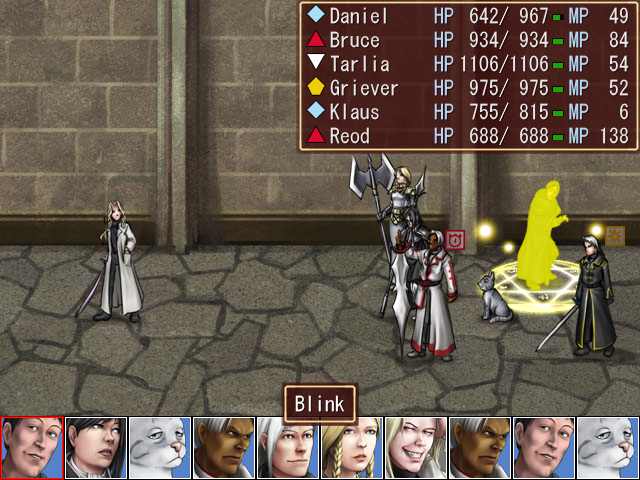
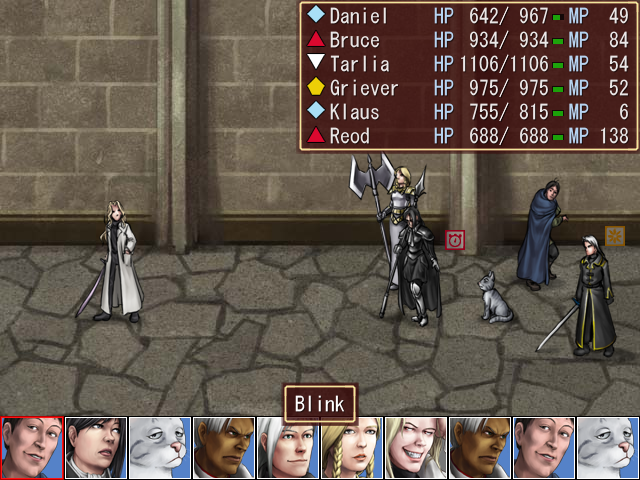
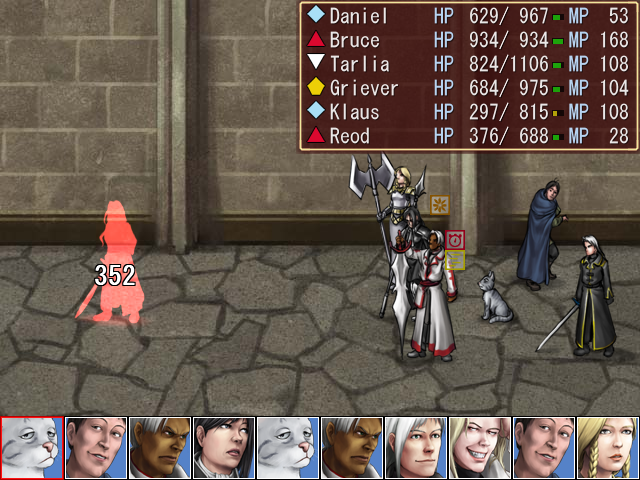
I also have Reod try out Blink. You'll notice in the second shot that Bruce has vanished. Blink doesn't have an animation, so to speak--the target just flashes in and out of existence for a few seconds.

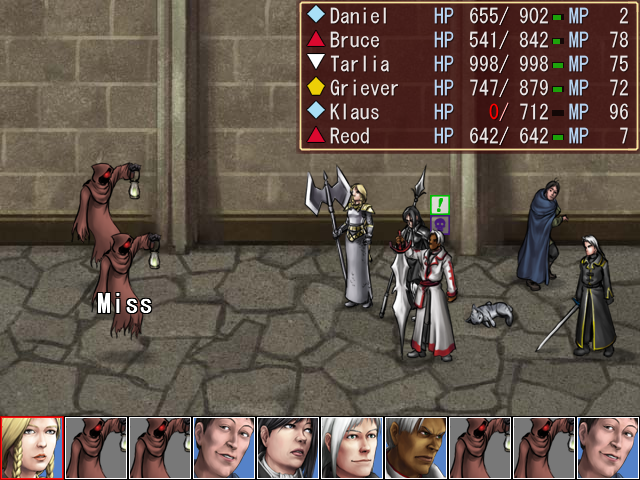
And it turns out to be just in the nick of time, because Vanrushal tries casting Dark Matter next, and Bruce manages to land the 1-in-3 chance of Blink activating. A Blink activation is considered a dodge, which means Bruce simply takes no damage from the spell.
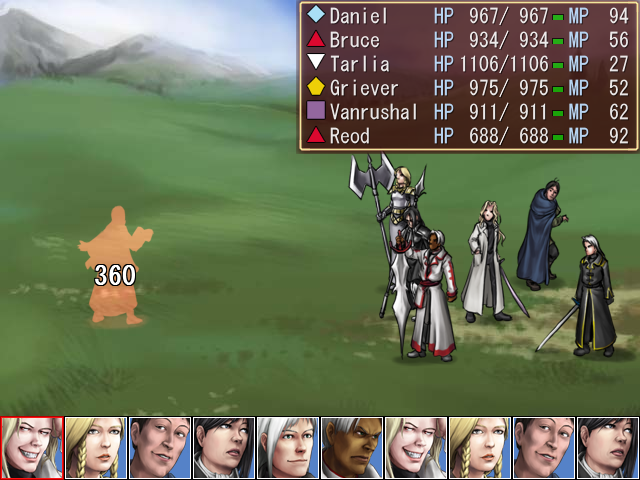
In any case, Vanrushal may have a few annoying spells, but he's not really all that dangerous. Pretty much all he's got going for him is his high HP, which we chew through rather quickly.
Music: Boss Battle Won - Chrono Cross, "Victory (A Cry In Summer)"

His loot is also fairly underwhelming. A Darkshield? We can buy six of those with the money we just won.
Music: None
 Your demonic powers are useless against me! Your end is near, vampire!That was pretty interesting, even if the numbers were a bit unfair.
 Uh, the Elysium army, yes.A big shot, huh? And you came here in person? I like your style.Enough talking!
 How dare you!You're one to talk. You've been stalking and harassing me for years now.These things cannot be compared! It is my holy duty to exterminate the children of darkness!Religious people are so irritating... What have I done to warrant this treatment?You need an explanation!? Draining people's blood to maintain your existence... It's a disgusting sin!
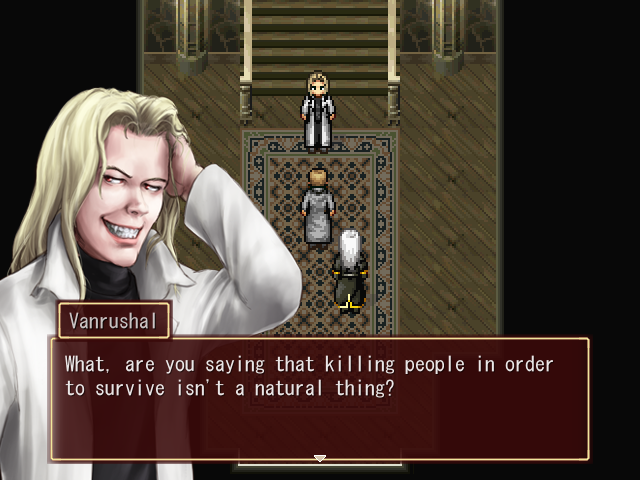
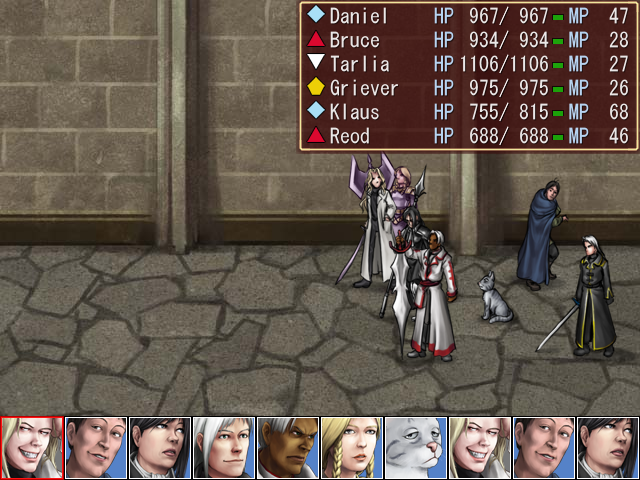
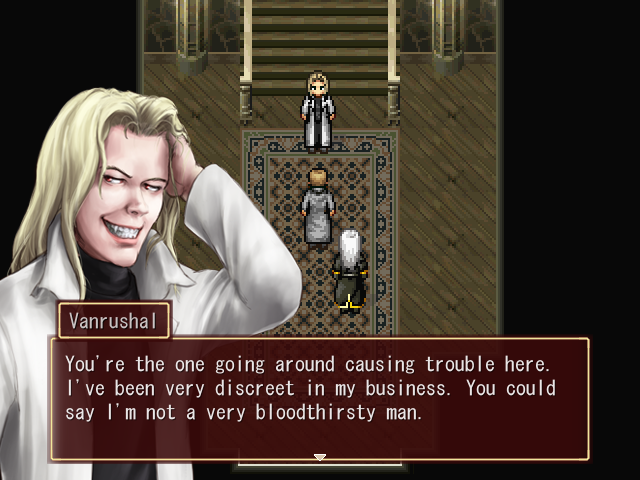 Now, General... I'm in a bit of a situation here. Thanks to the battle with you and ol' grumpy, my powers have been reduced to the level of a regular human. In a state like this, it could be troublesome staying here on my own...
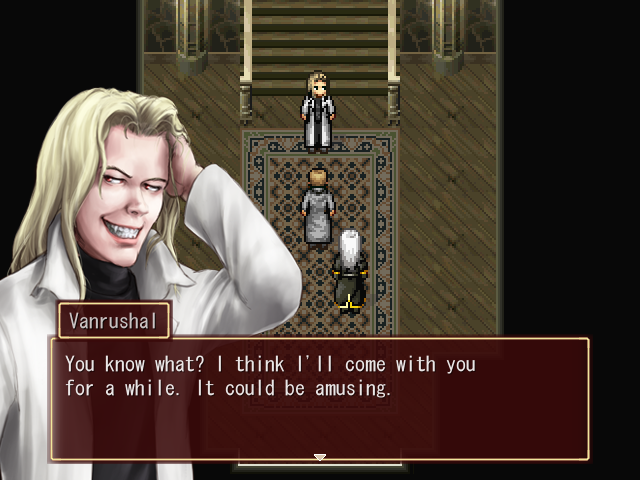 W-WHAT!? General! You can't possibly be thinking of working with a monster like him!What, you don't trust me? What have I ever done to you?
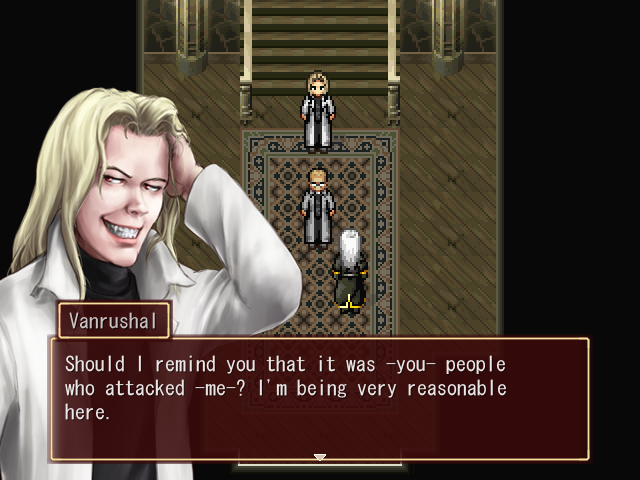 Well, what do you say? At least I can assure you I won't be drinking the blood of anyone on -our- side.Uh...Very good! Let's go!
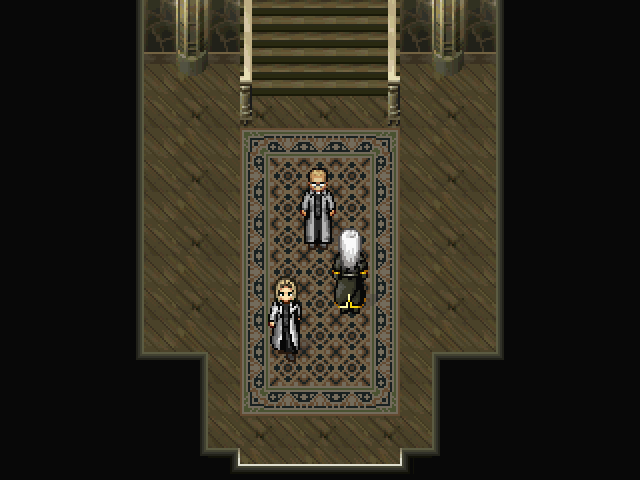


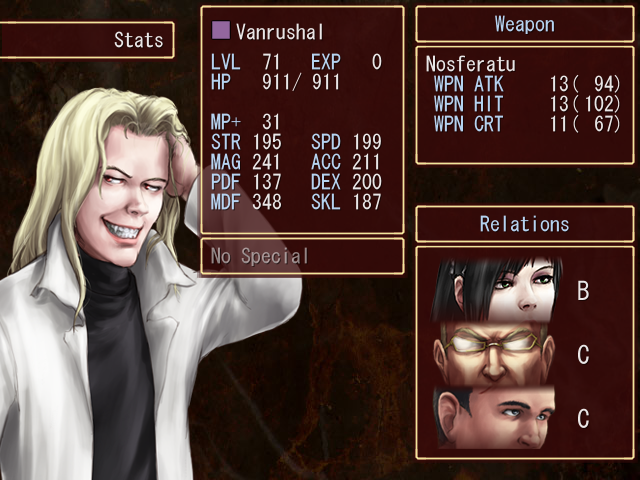
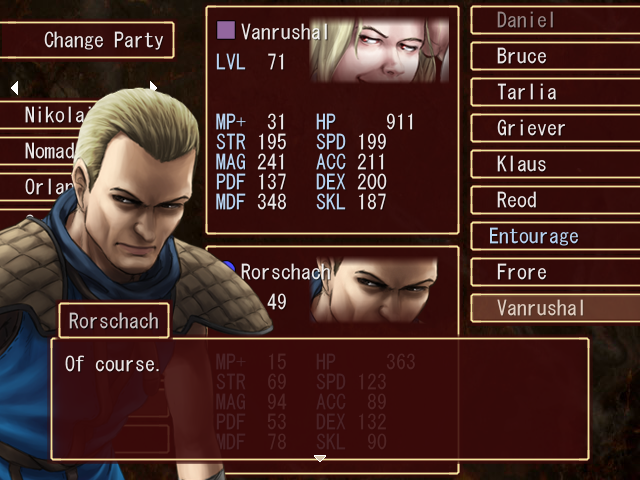
Vanrushal is another Daniel-esque hybrid, with low STR, decent MAG and SPD, and high MDF. But like most Daniel-esque characters, none of his stats are particularly standout except maybe MDF. His C-rank relation with Luther, while hilarious, is completely useless because--you guessed it--Luther has an F-rank relation with him in return.
I'm not even going to pretend to understand the reasoning behind his method of attack.
Now then, our next destination for this update is the town near the woods where Trevor and Sick are hanging out.
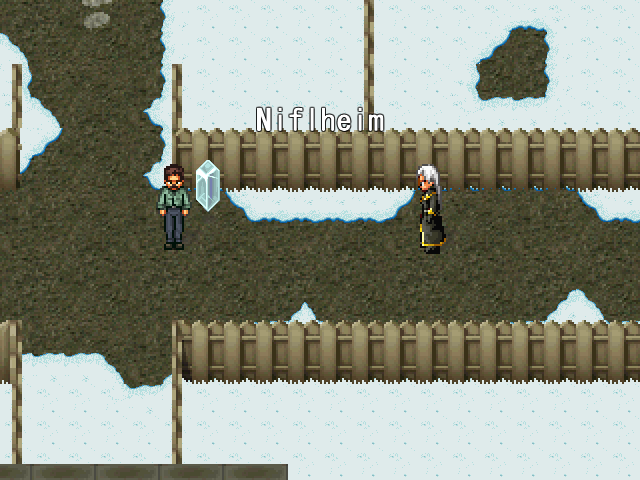
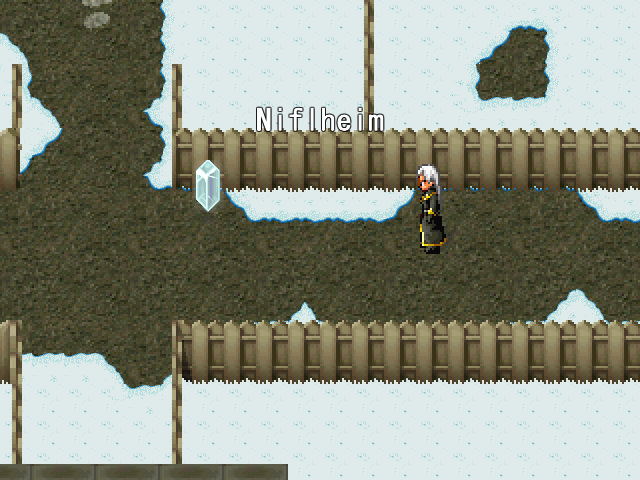
Music: Niflheim - Suikoden II, "A Peaceful Mountain Village"
Like Muspelheim, Niflheim is pretty small and doesn't have that much in it, but there are a few things to check out.
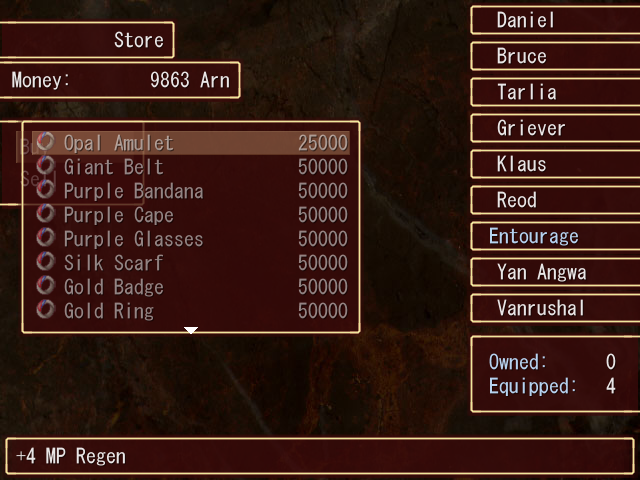
The first stop is the item shop, the only shop in town. Here we can buy almost all of the top-tier accessories, except for the Opal Amulet, which has another tier above it. Each of these accessories grants +16 in its given stat, or +80 in the case of the Giant Belt.

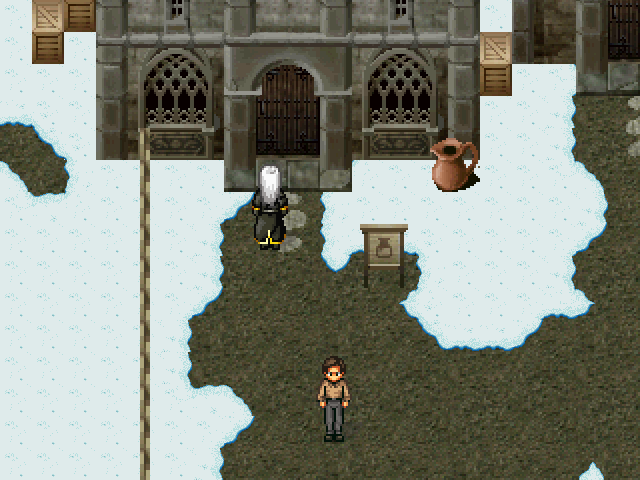
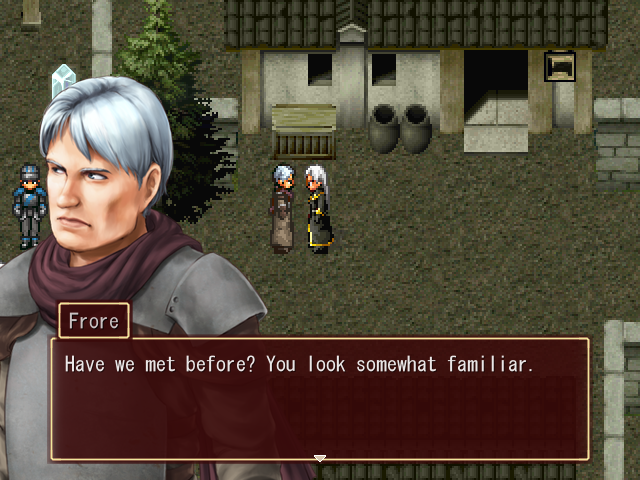
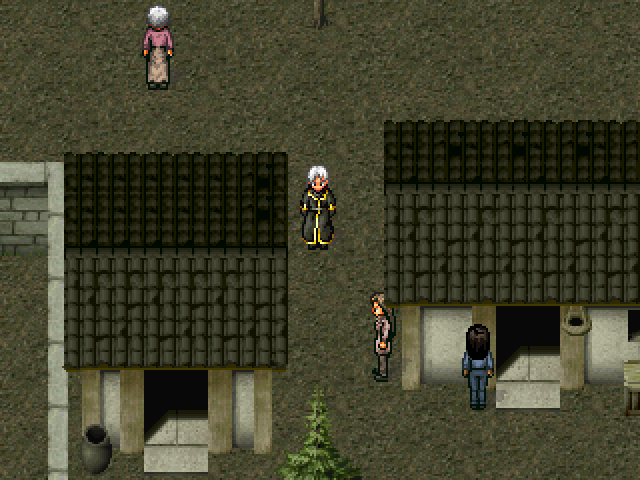
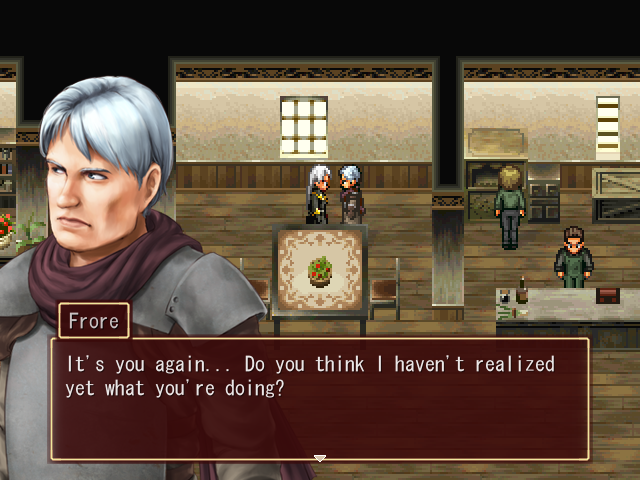
There's also this lady.

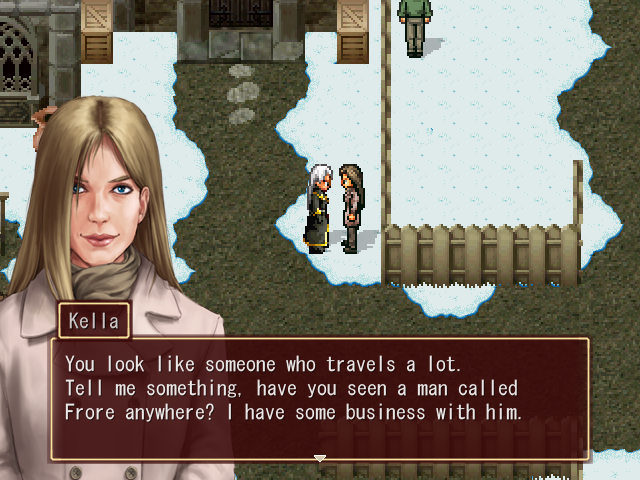
As a matter of fact, we have.
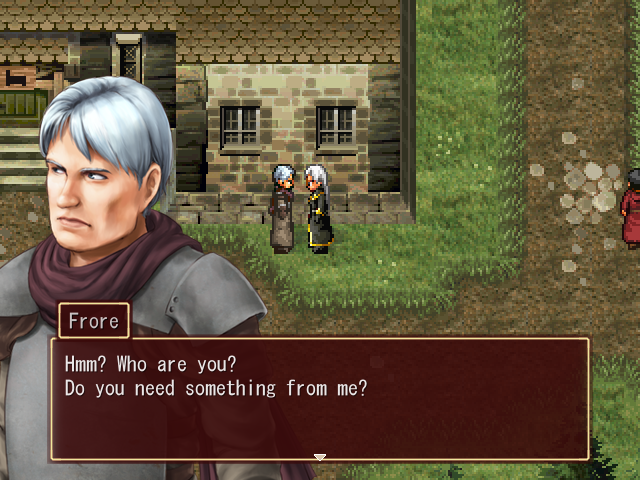
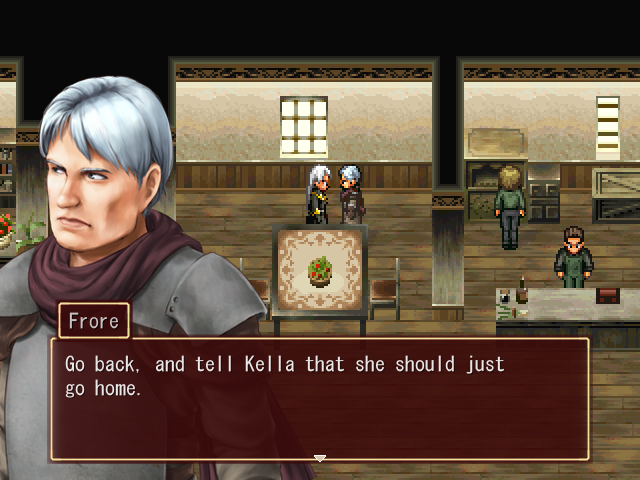
You may not remember him, but back when we first began retaking Kirgard, we ran into Frore in Trarcia. We weren't able to do anything with him at the time, though.
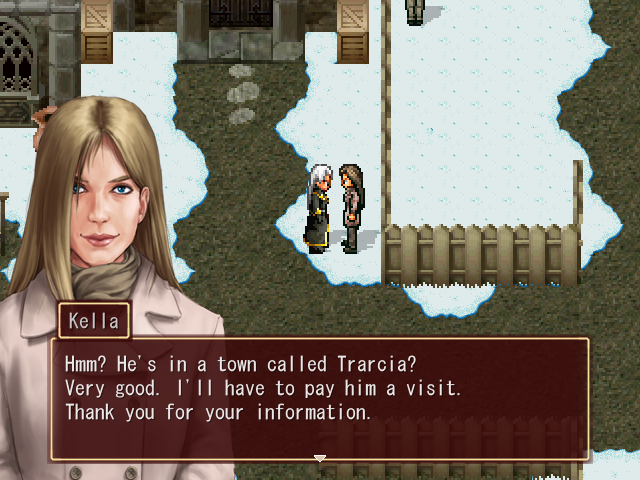
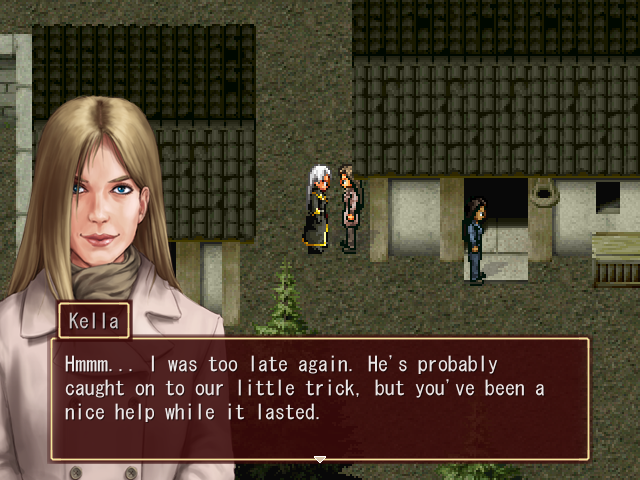
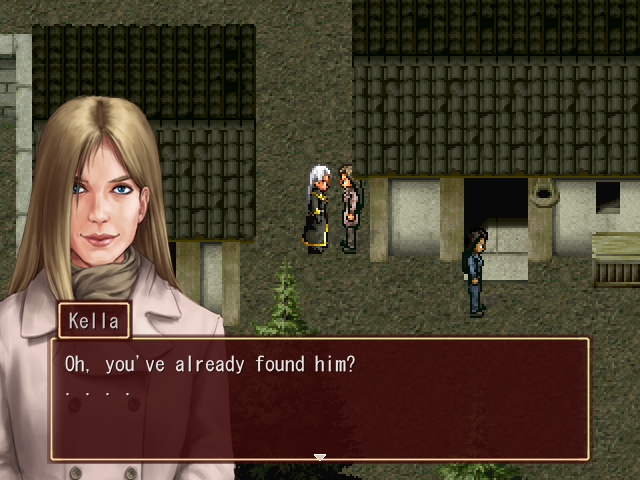
In any case, even if the player doesn't remember him, the game doesn't give you a choice. Kella will take the information and, with a quick fade to black, disappear from the area.
So obviously, we need to follow her.
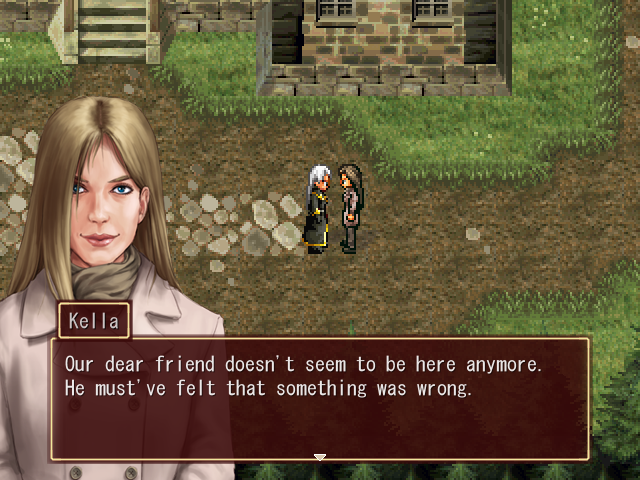
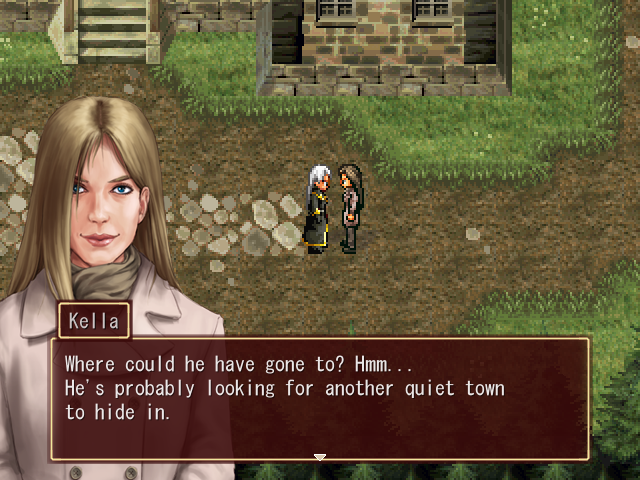
Unfortunately, it seems we're too late. But Kella gives us a clue to where we should head next by suggesting that Frore has gone to a quiet town. There are quite a few places that would qualify for such a description, but our destination is...
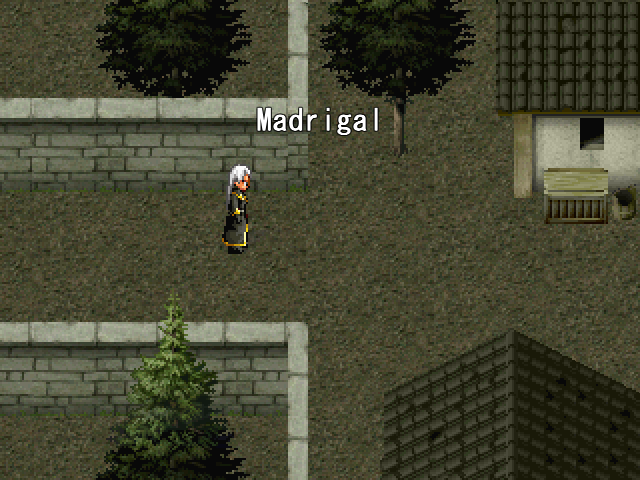
... Madrigal, the town on the west side of the Mayfall Forest.
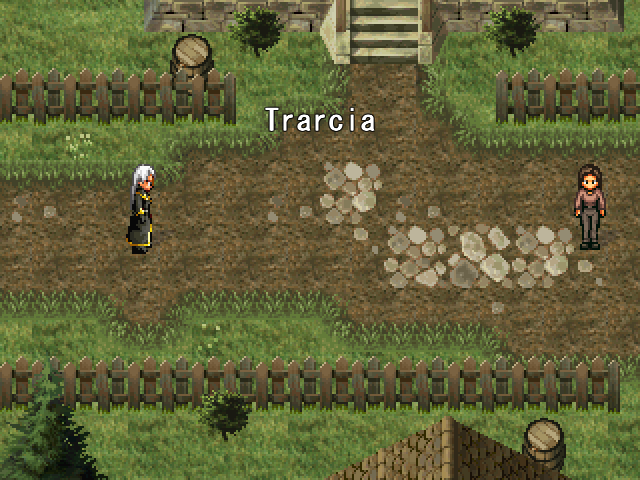
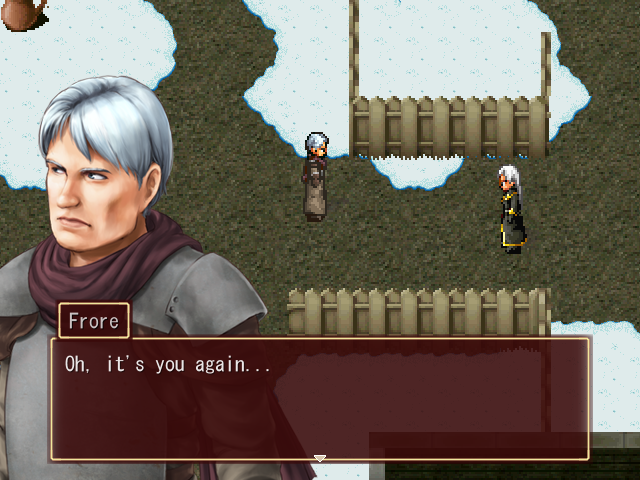
Sure enough, Frore is here.

We can try to recruit him again, but...
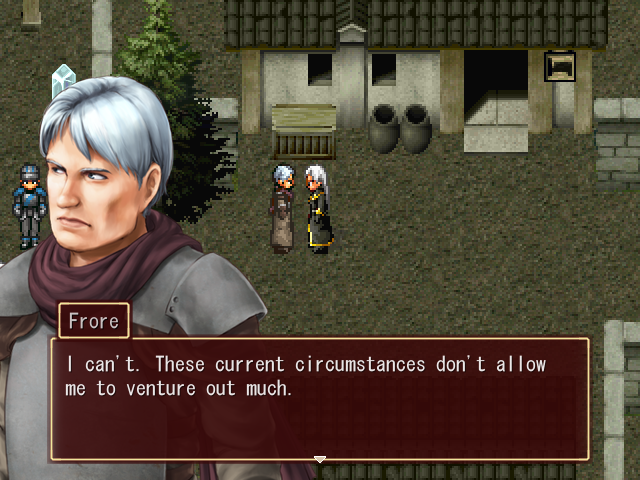
... he gives us the same excuse as last time.

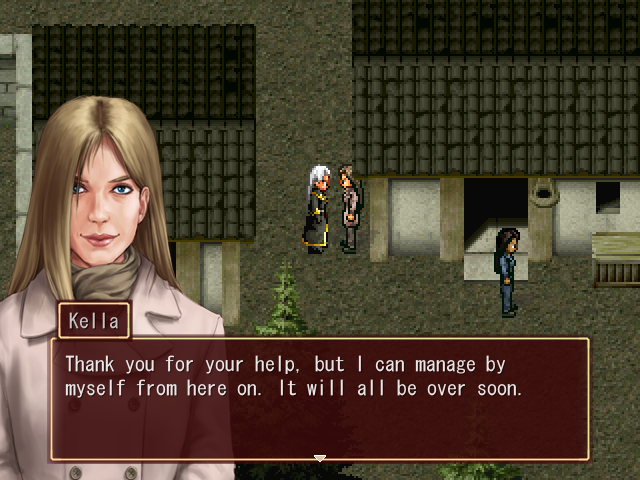
So we head back to Trarcia and give Kella the new location...
... but when we catch up with her in Madrigal, she's once again the only one there.
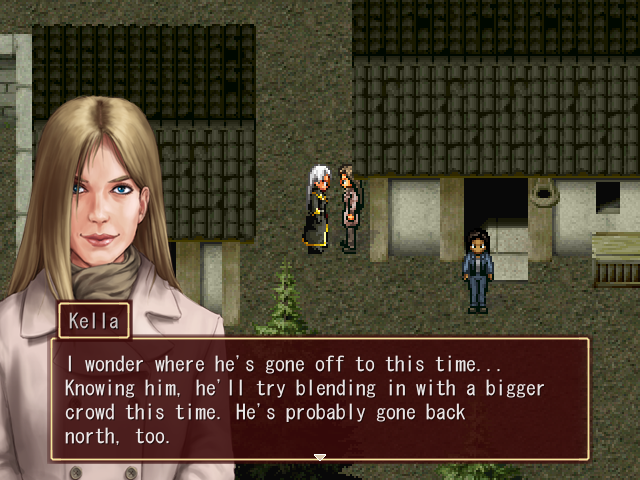
Her hint this time is a little more confusing, because the city I'd associate with "big crowd" and "north" would be St. Reinard (or possibly Vanaheim, the Almengan capital, but we haven't been there yet). But this time we need to head to...
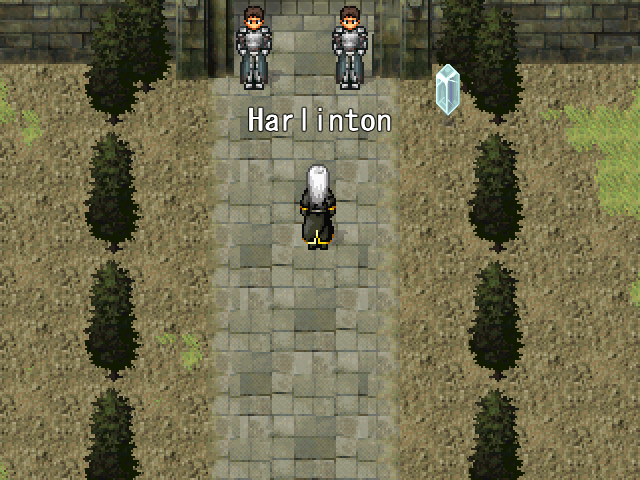
... Harlinton.
Frore can be found in the inn, but it seems he's caught on to us this time.

We go back and talk to Kella anyway. This time, however, following her to Harlinton is the wrong move, because she won't be there. Instead, we need to return to where this all started.

As soon as we take a few steps into the town, the camera pans over and a scene begins.
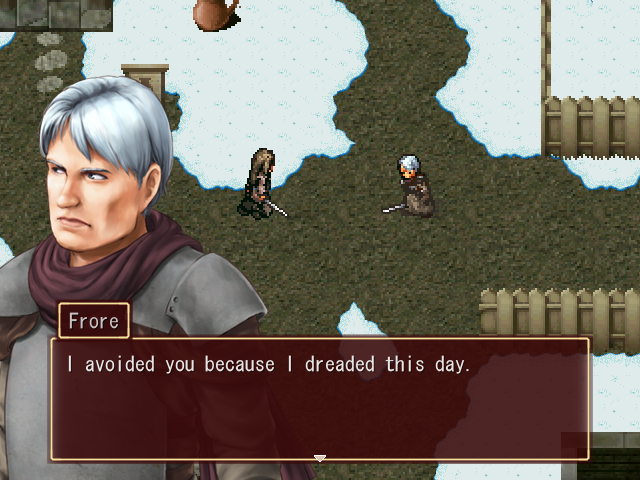
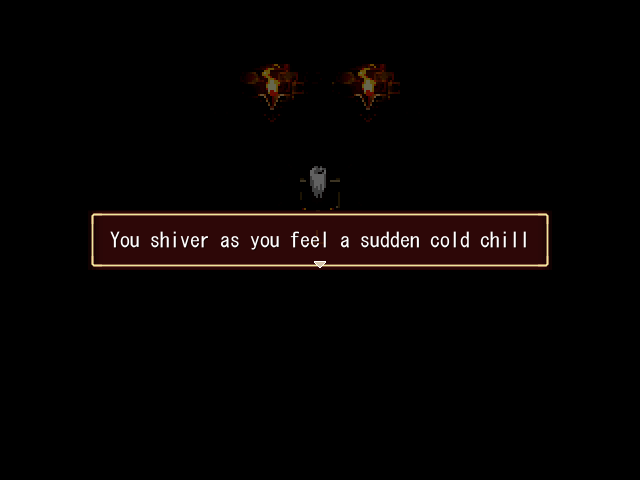
Music: Reflection - Chrono Trigger, "At the Bottom of the Night"
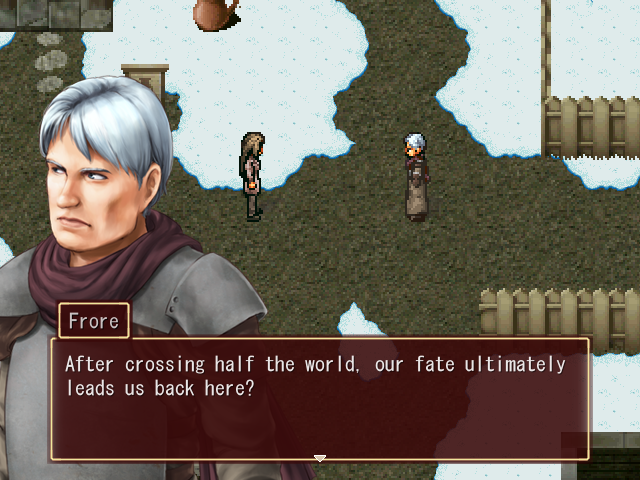
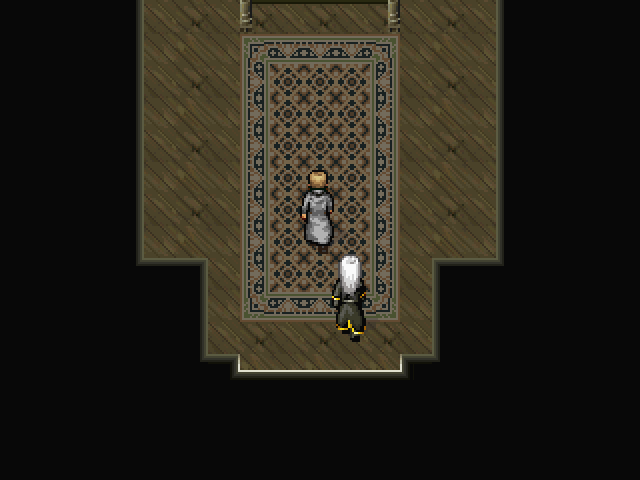
 ... This is where we were born and raised, isn't it?
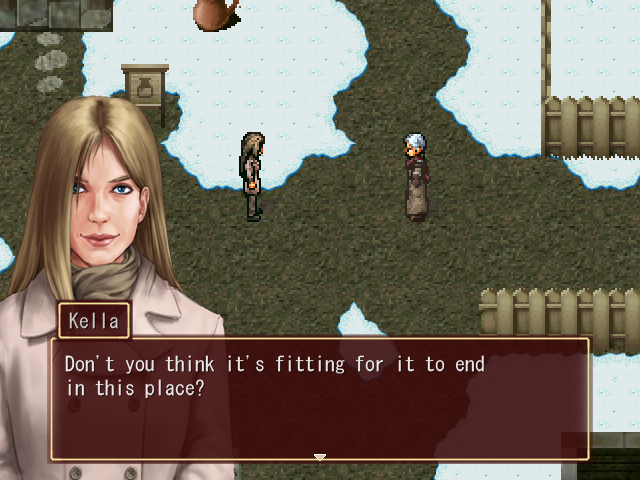
 Where we grew up... as friends?Or perhaps we were siblings?Or have we only just met?Who can tell anymore? A lot has been taken from us.
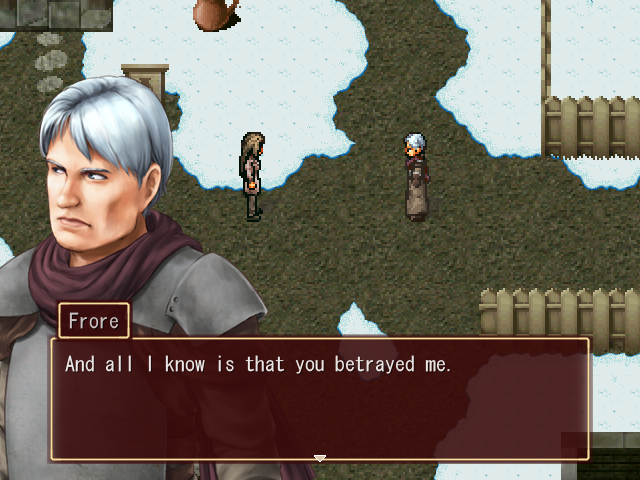 ... Betrayed you? Oh no, my dear. It was you who betrayed me. I am merely doing my duty.
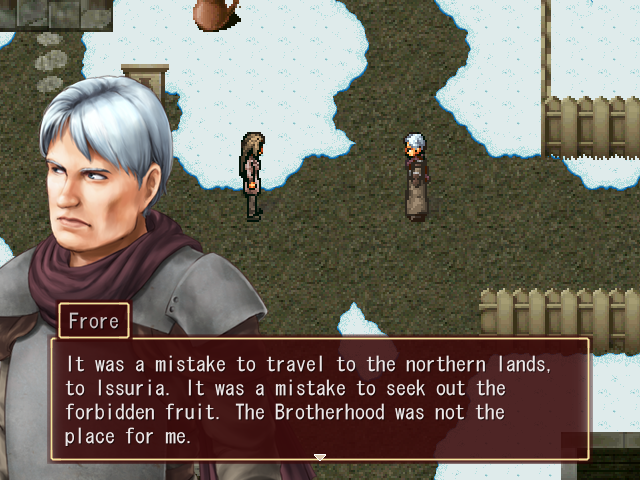
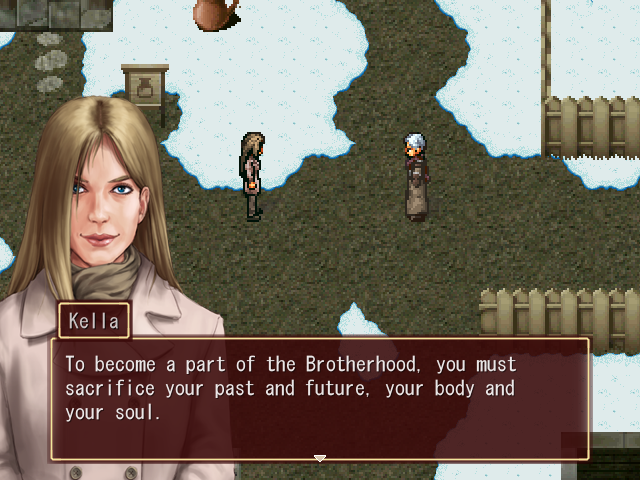 You cannot simply leave whenever you desire. Your life no longer belongs to you.... And now they sent you to hunt me down? They have a cruel sense of humor.It doesn't matter. We are only assassins. We have no ties to anyone but the Brotherhood. I was hoping I could change your mind and bring you back, but it seems your mind has already drifted off too far. It's too late.It seems I was wrong as well. The old Kella is gone, just like the old me.Then... let's settle this right here.
Music: None
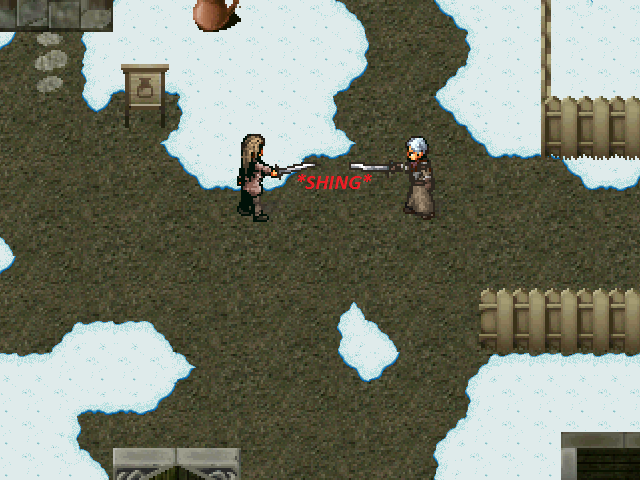 If we're not allowed to find peace together, then at least let one of us live the life they want.
Music: Tears - Xenogears, "Tears of the Stars, Hearts of the People"

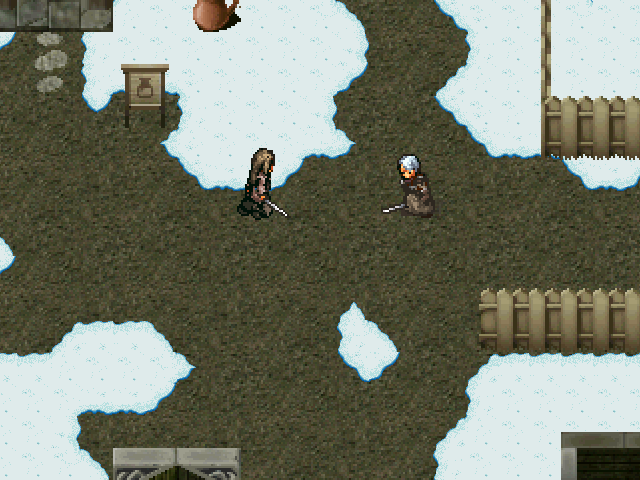
 I thought I could simply forget you.Even after everything, I still can't do it.I thought I'd finally be able to do it, but I was wrong.
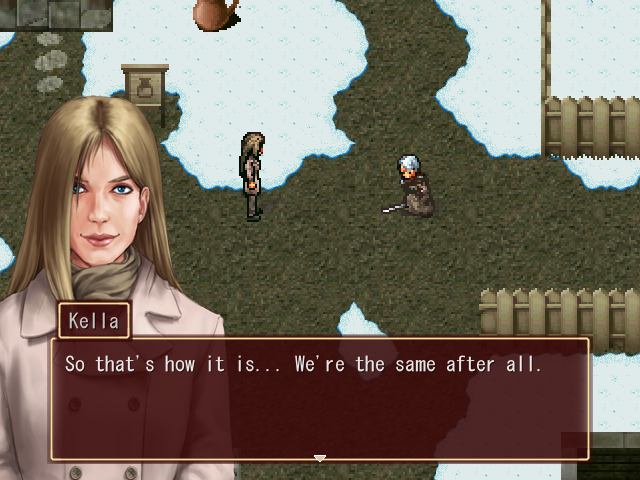 The Brotherhood has not stolen everything from us. A piece of my past is still more dear to me than all of them together.Then, will you...?
 You're... leaving by yourself?I have a lot to figure out for myself, just like you did when you left. I need to figure out my path on my own. And two fugitives traveling together... That can only spell trouble, right?
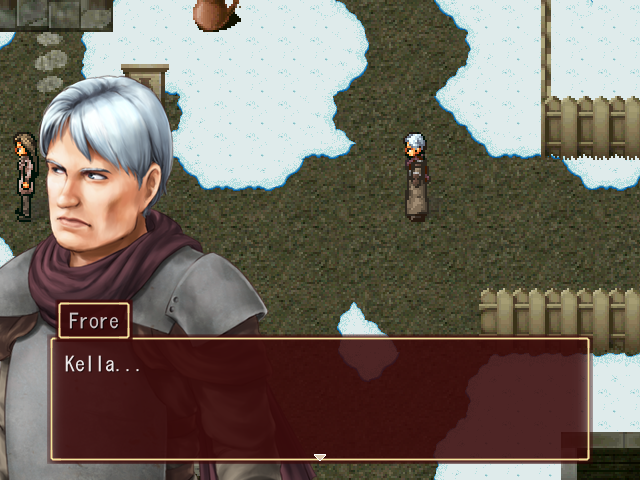
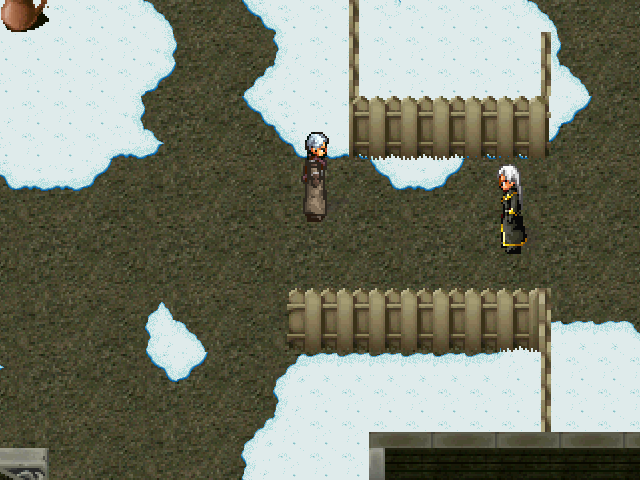
 This is a difficult moment... I want to go after her, but I don't want to put her in even more danger. I know she's capable of taking care of herself. I feel like I'm left without purpose until the day arrives I can meet her again.
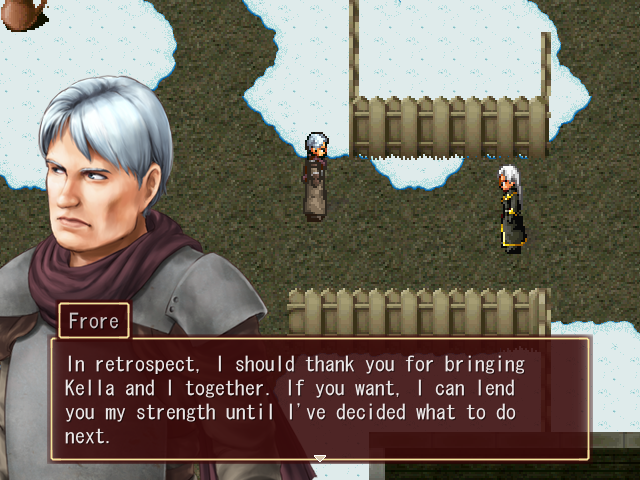
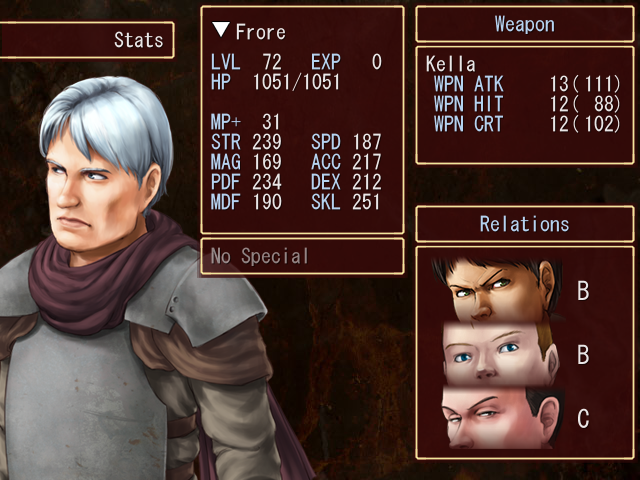
Frore is, essentially, Griever. He's a defensive warrior like she is, though not to Tarlia's extreme. In fact, he and Griever have nearly identical stats, the only difference being that Griever's MDF is much higher, while Frore's SKL is off the charts at the third-highest in the game. He can definitely do well in the front row.
Though I do have to raise my eyebrow just a bit at the fact that his sword is named "Kella." In any case, he can do quite a bit of damage with it, especially considering that his weapon's critical rating is already level 12 and that plus his high SKL means lots of extra damage.
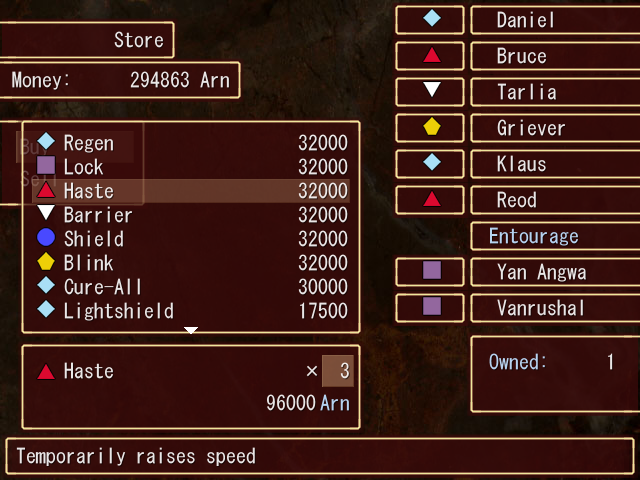
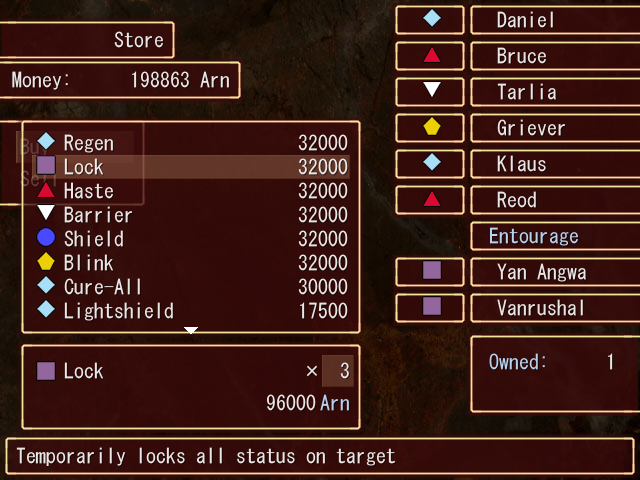
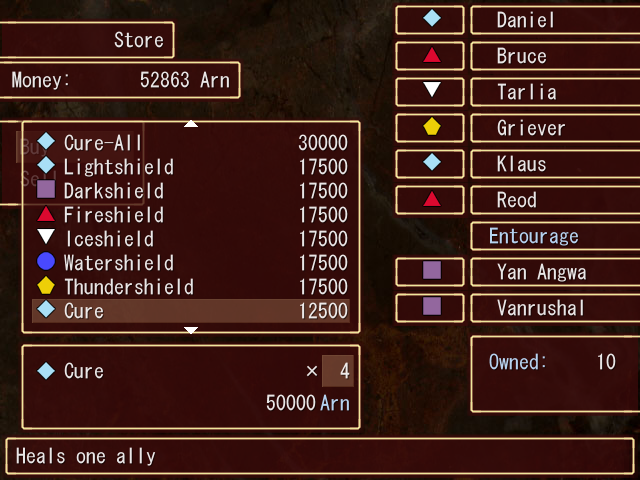
Now then, before we head to our final destination for this update, I head over to Mai's room at Elysium and pick up a few more copies of Haste and Lock, along with several Cures. We're going to need them where we're heading.
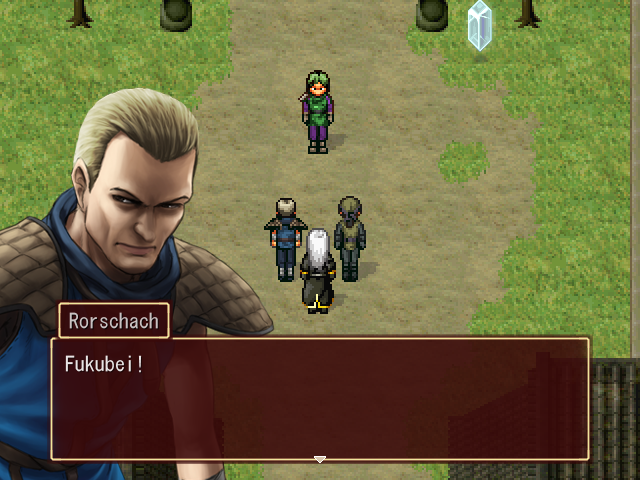
Then I grab Rorschach...
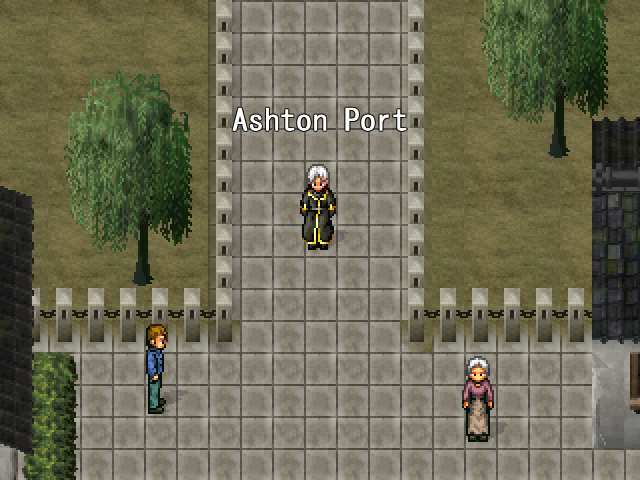
Music: Ashton - Chrono Cross, "Termina (Another World)"
... and it's off to Ashton Port.
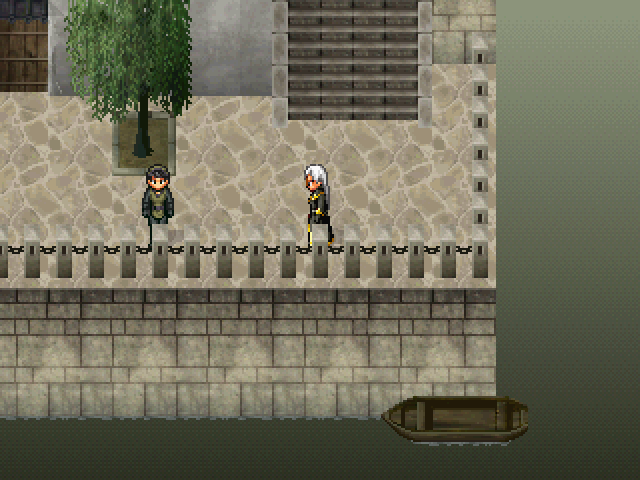
Following our adventures in the Hall of Memories, a new face will show up near the water here. Talking to her with Rorschach in the party will trigger a scene.
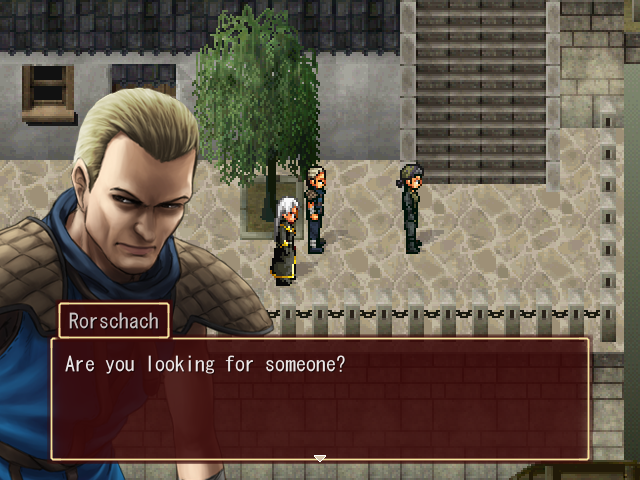
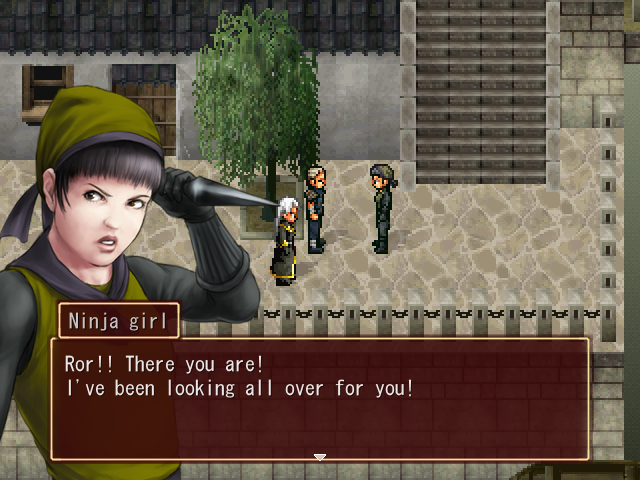
... Ror?
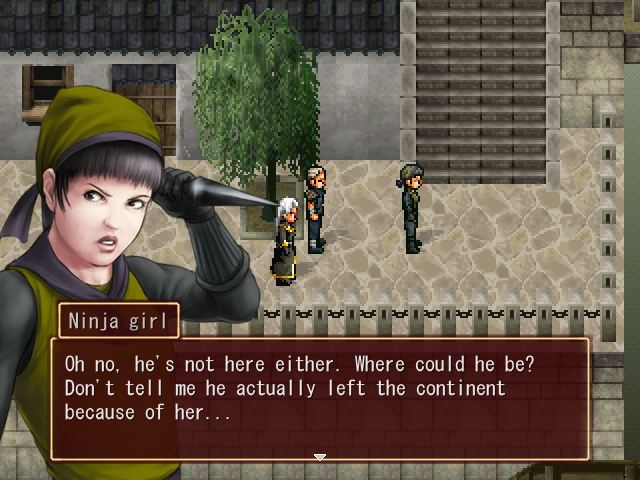
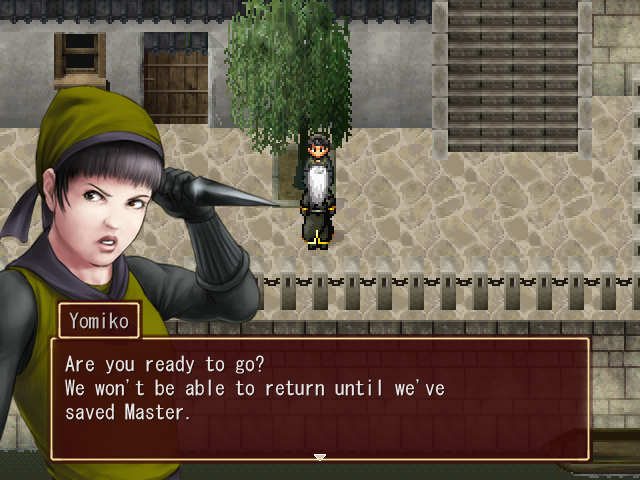
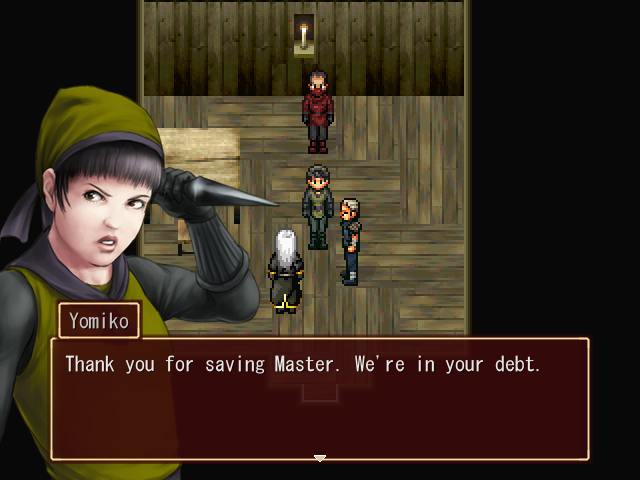
 What do you want, Yomiko?
 I need your help! It's horrible! During all the chaos when Almenga invaded Kirgard, our village was attacked by the Shadow Clan!Oh?"Oh"!? What do you mean, "Oh"!? They burned down the village, and they captured Master! Please! You have to help me rescue him!What about the others? Can't they help you?
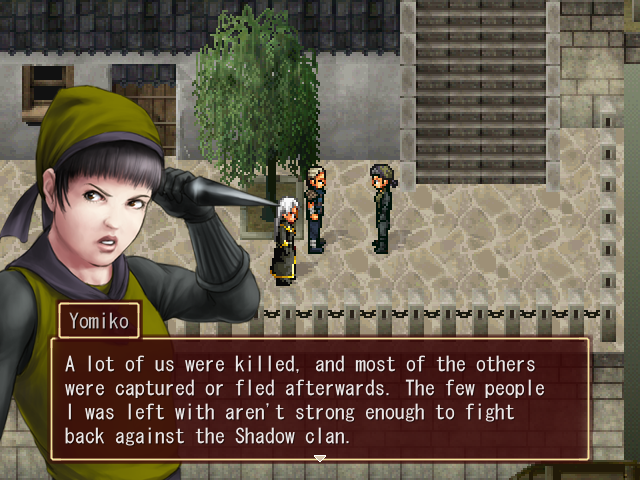 We have to infiltrate their camp and rescue Master, and you and I are the only ones who can do it.It's none of my concern anymore.H-How can you say that!? Master will die!
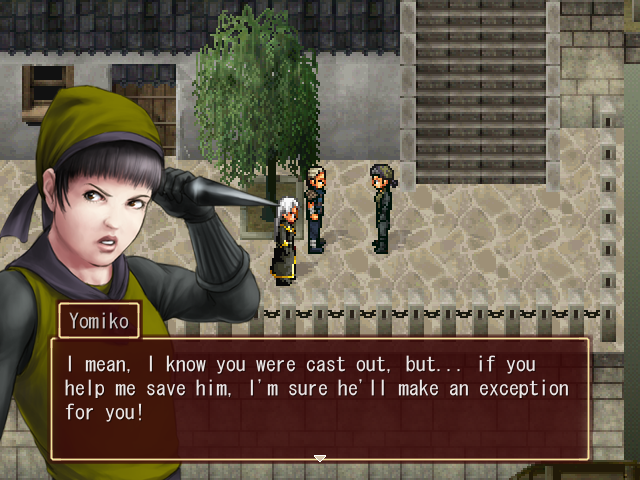 Don't you want to come back to us some day?I still haven't finished my business here. But... it seems this can't wait.You'll help me!?Yes... when I can find the time. The Shadow Clan are a dangerous enemy, so I'll have to prepare myself well.
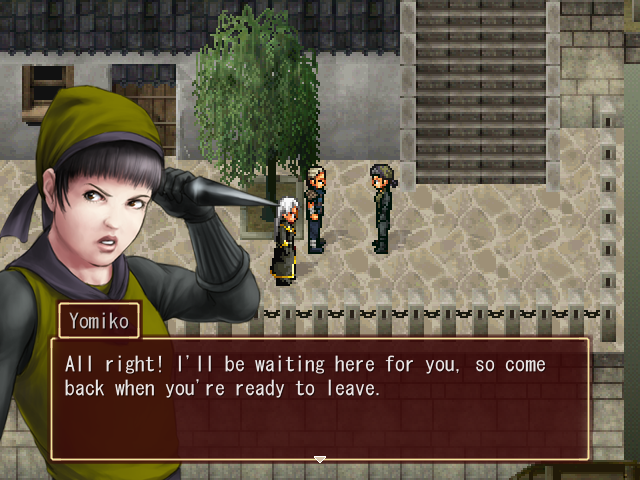
Fade to black...
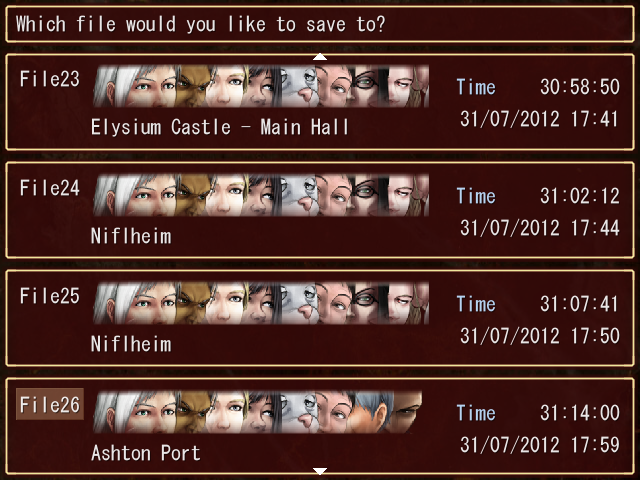
There is one very important thing you should do before you talk to Yomiko again, and that is make a separate save. The area she's going to take us to is quite dangerous, and the game won't let us leave until we're done there. So it's best to be prepared.
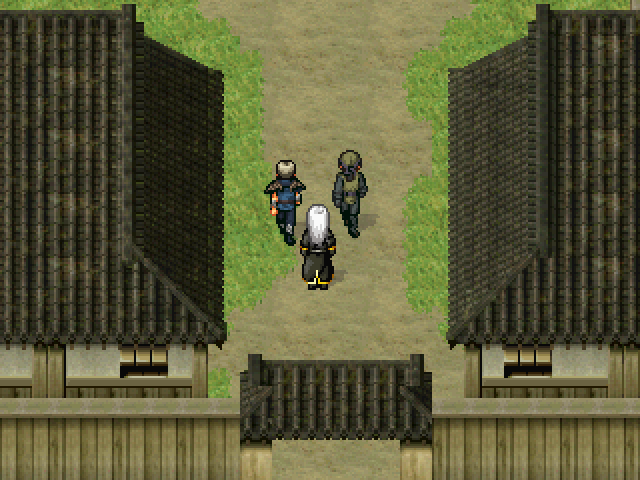
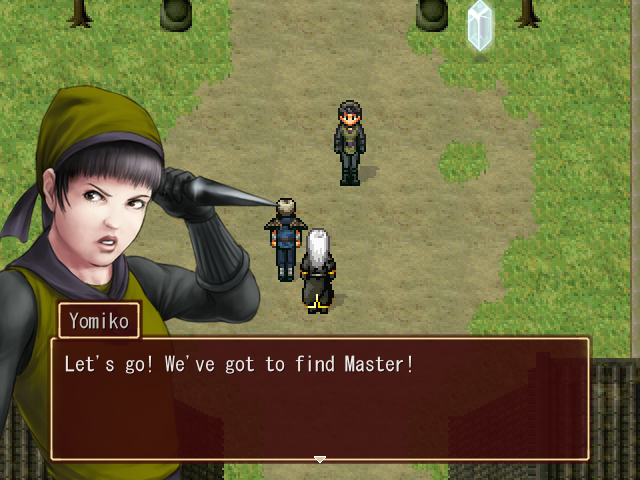
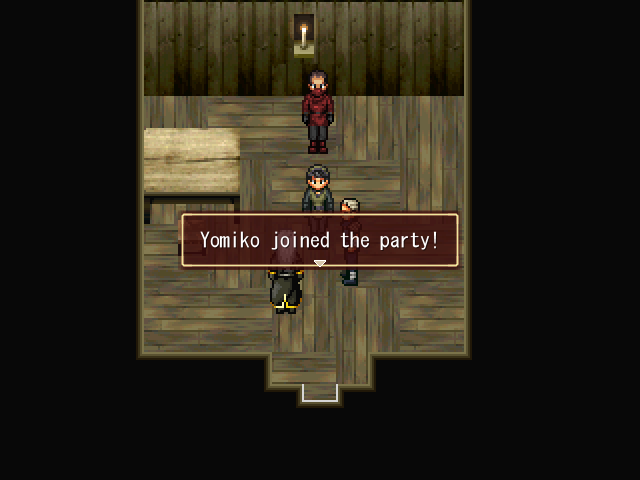
 Yes.Let's go then! I'll take you to their hideout!
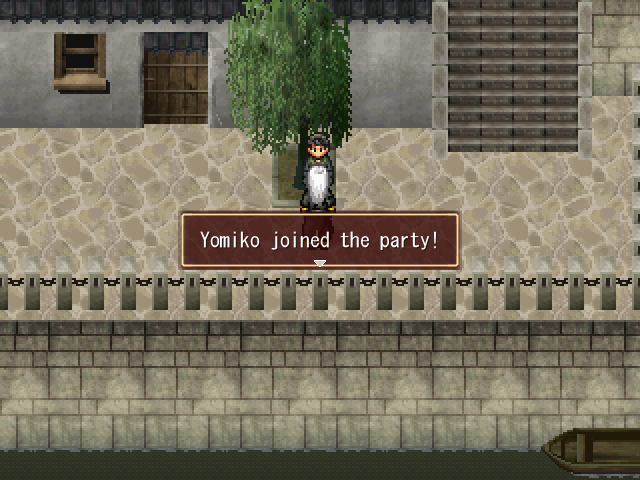
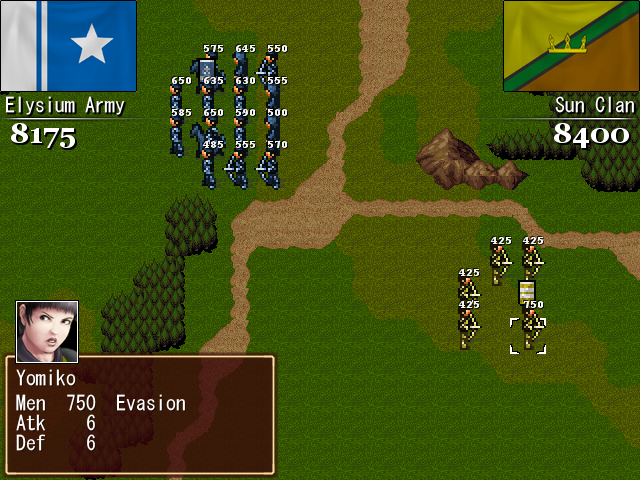
And Yomiko joins us temporarily. She won't be seeing any combat in the upcoming area, though, so I'll show her off at the end of this update.
Fade to black...
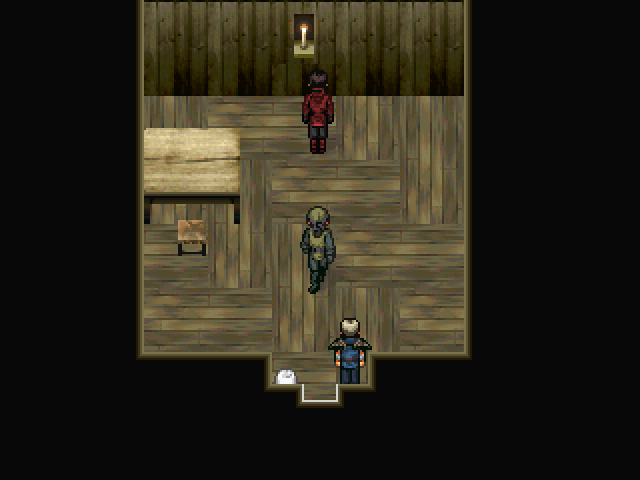
Music: Shadow - Xenogears, "The Jaws Of Ice"
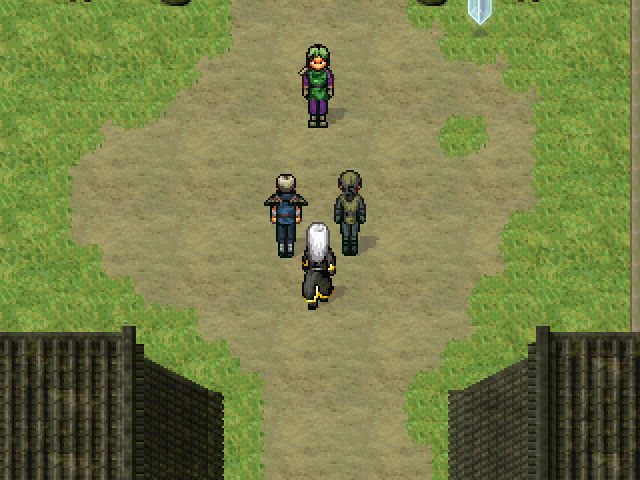
What's wrong with your faaaace
 Give back Master!
 But then it'd be over so quickly! Raiding your camp was too easy, no fun at all. I'm going to play with you for a while before I kill you.
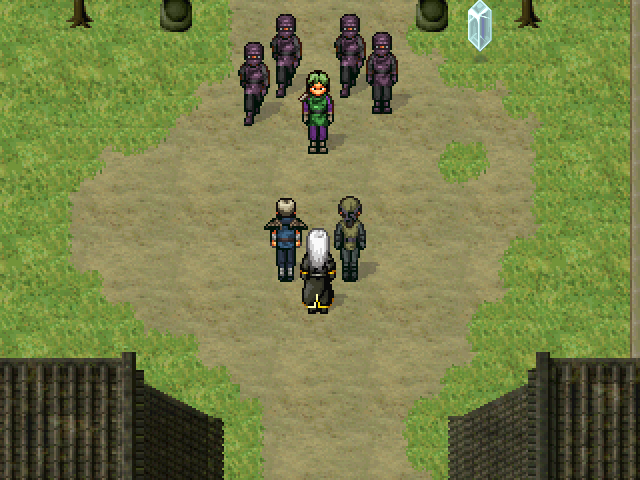
 Heehee... Have a little fun with them. I'll be seeing you!
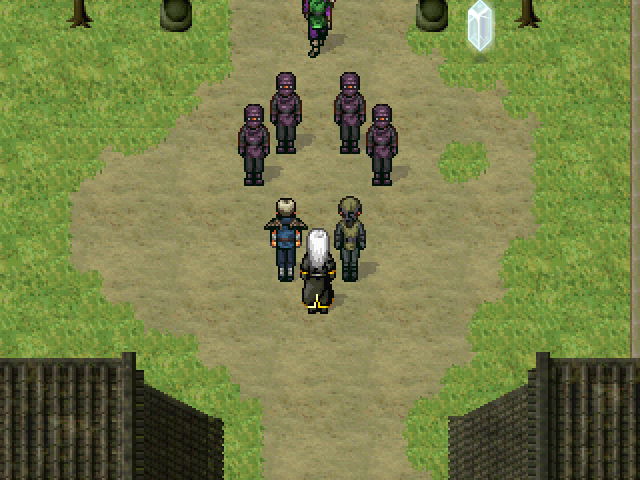
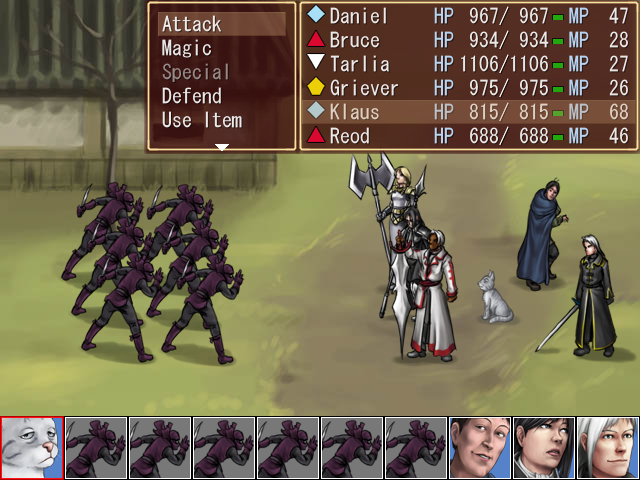
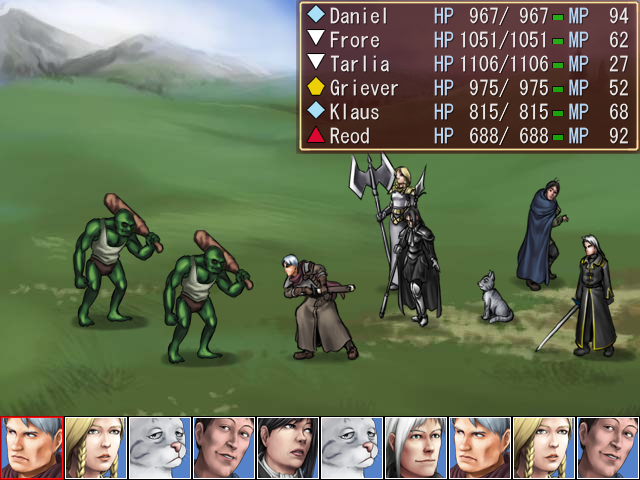
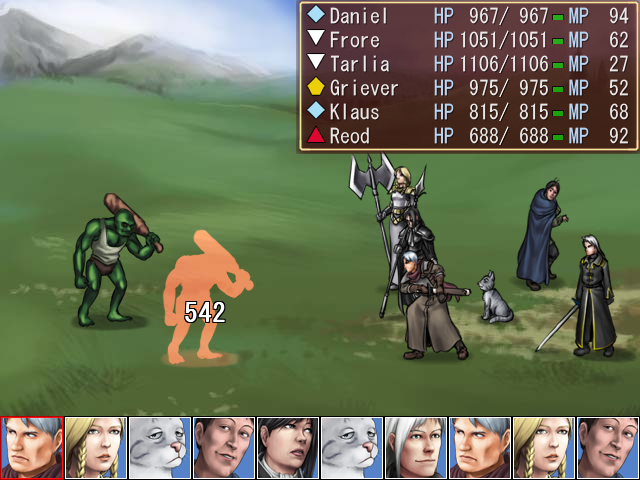
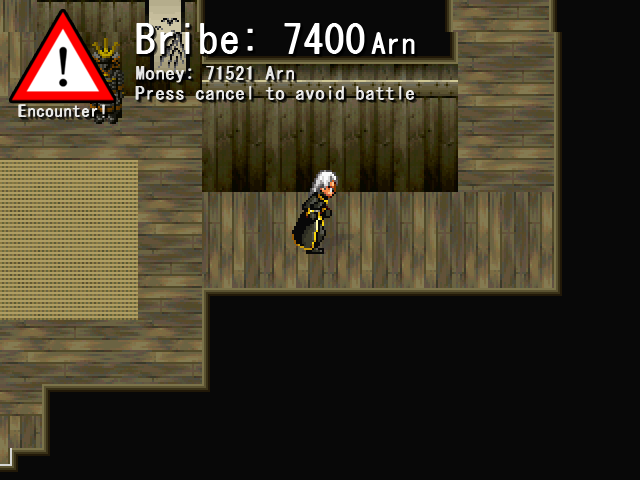
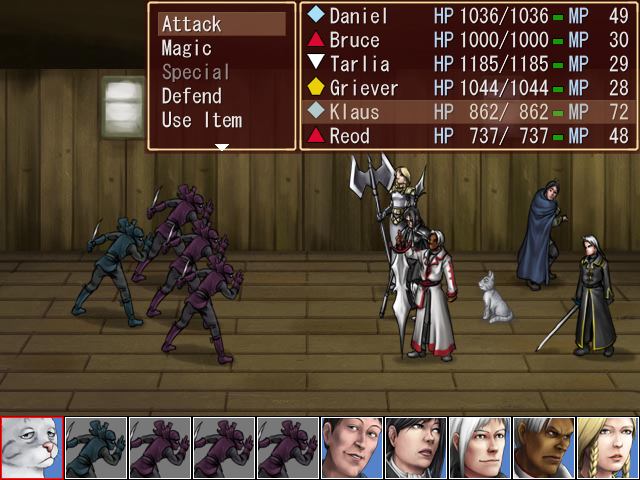
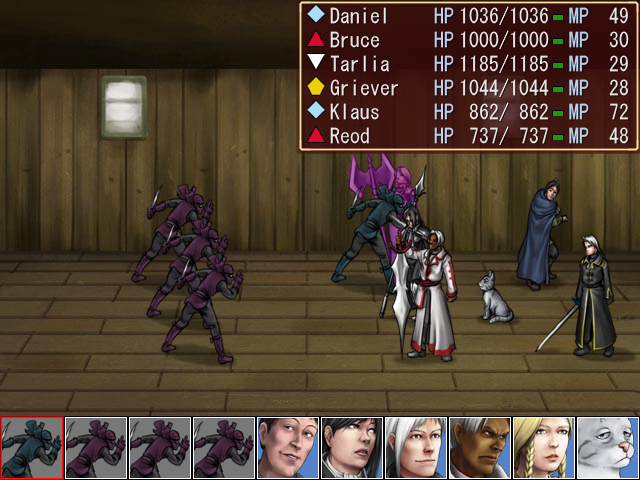
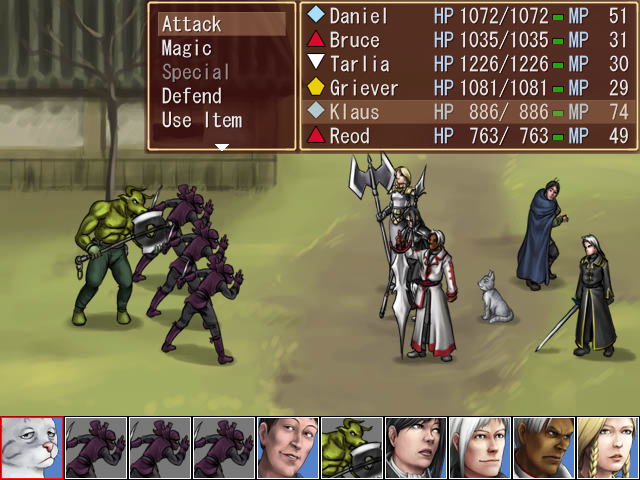
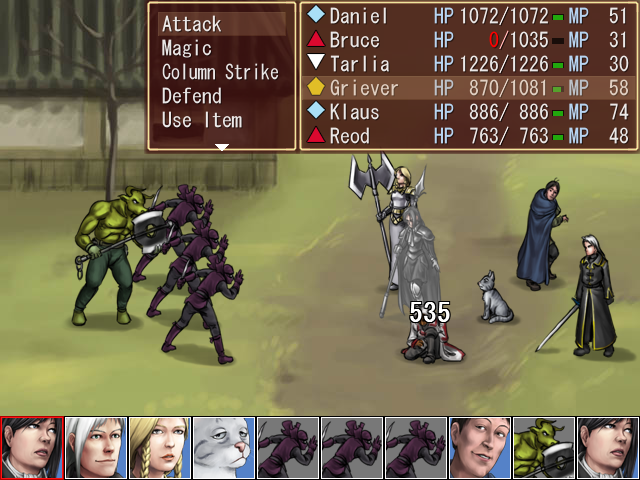
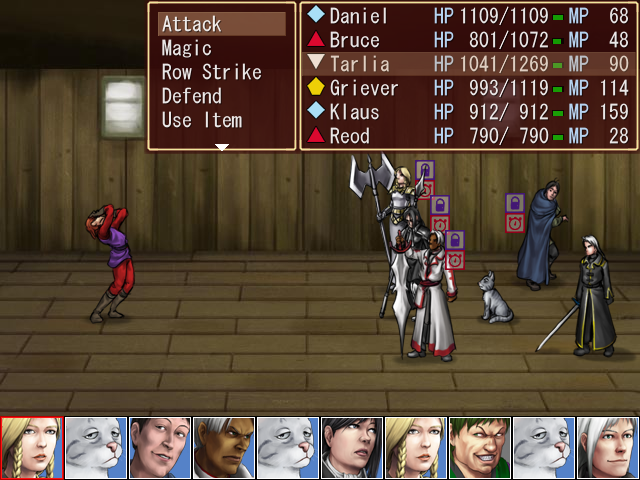
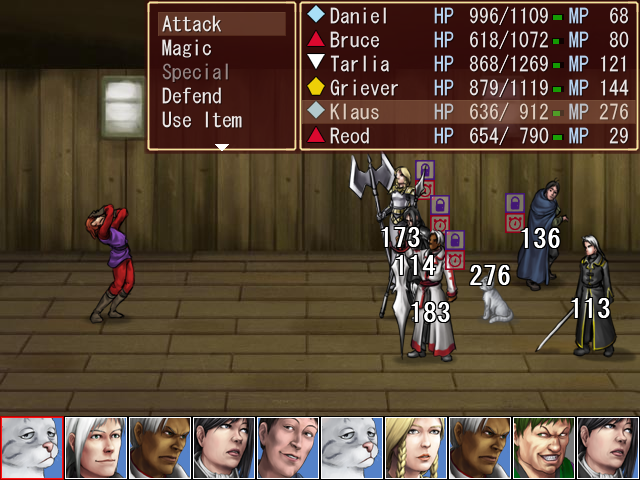
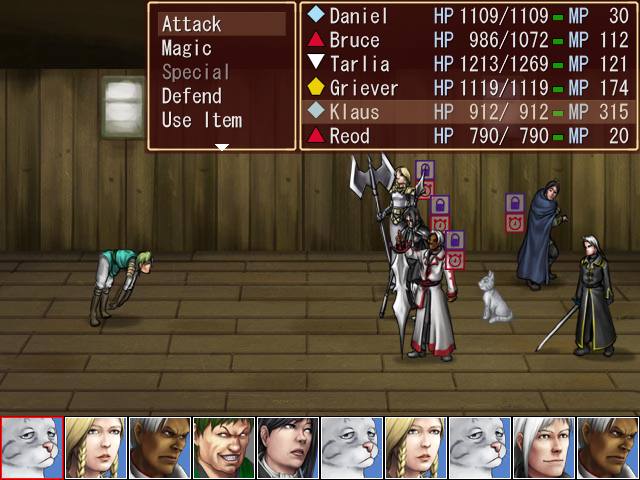
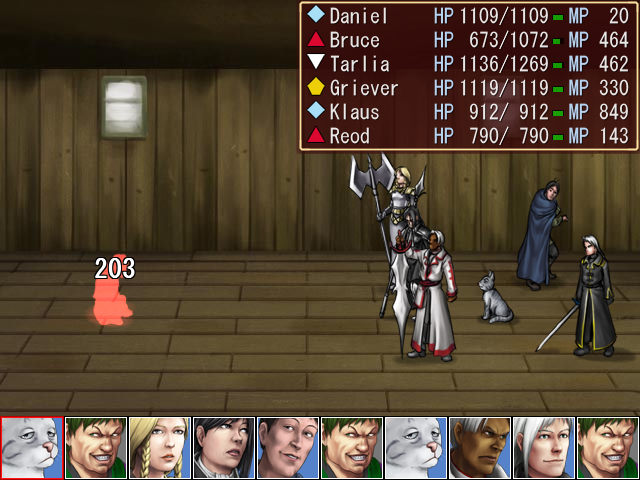
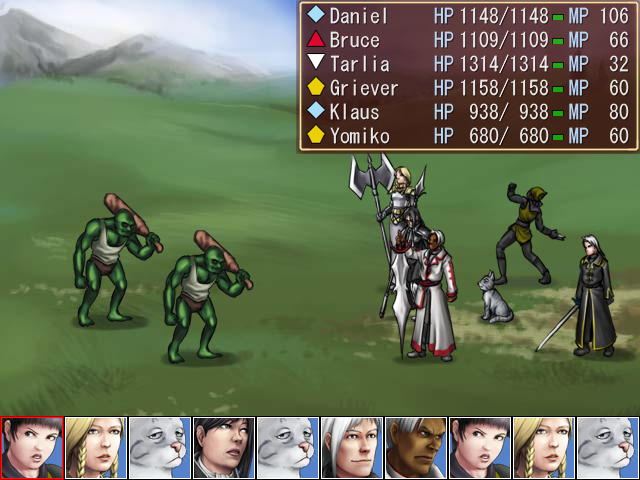
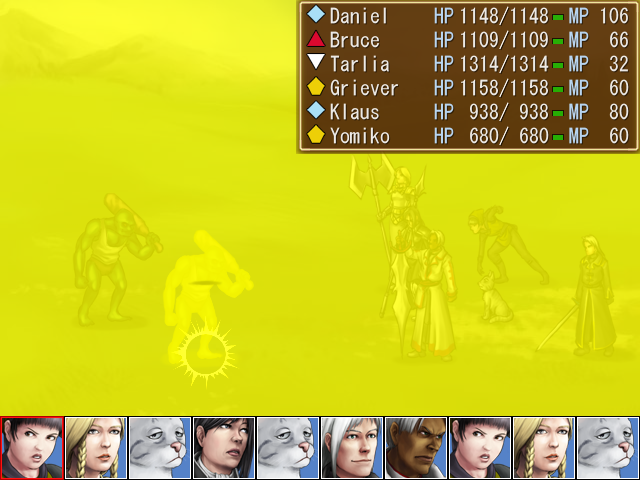
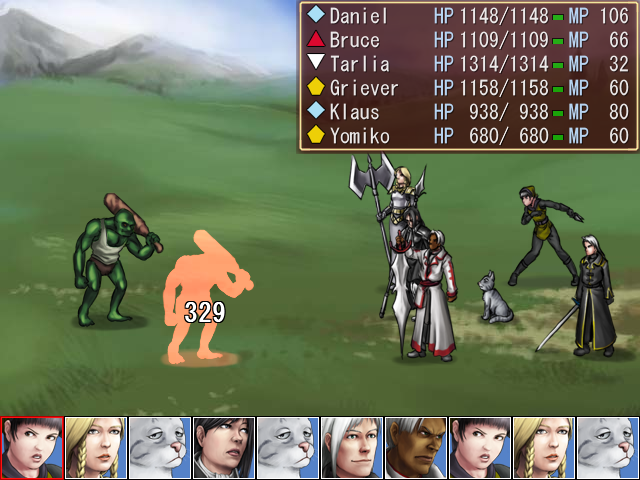
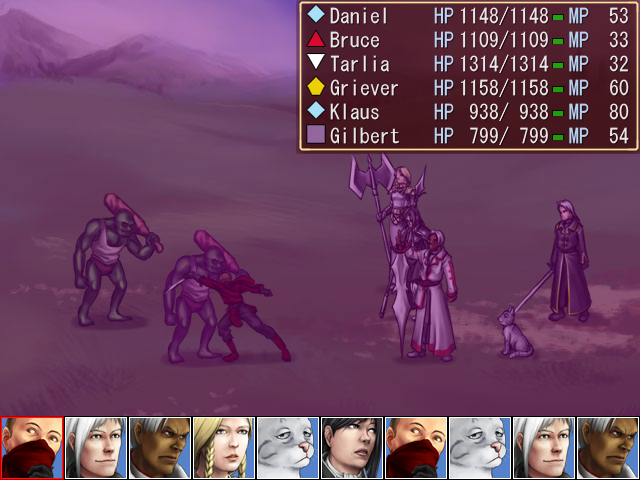
And with that, we're thrust into battle with six Shadow Clans.
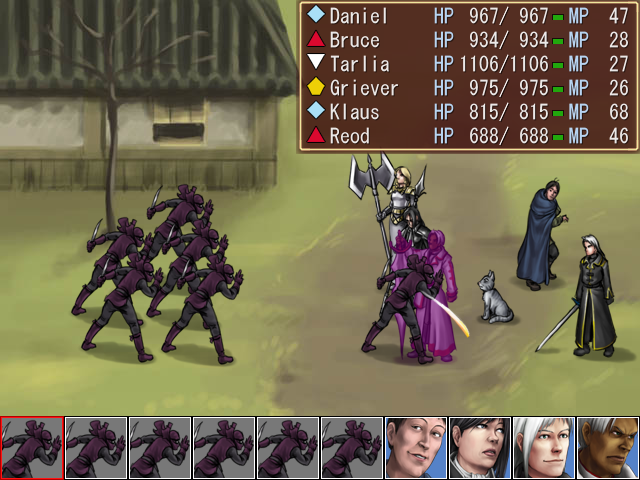
Shadow Clans are the epitome of the "weaker but fast and numerous" archetype we've seen throughout the game. Unlike most of those enemies, though, their damage is high enough that they can easily bring down a character before they even get a turn if they decide to focus fire. Thankfully they don't have any techniques beyond a basic attack.
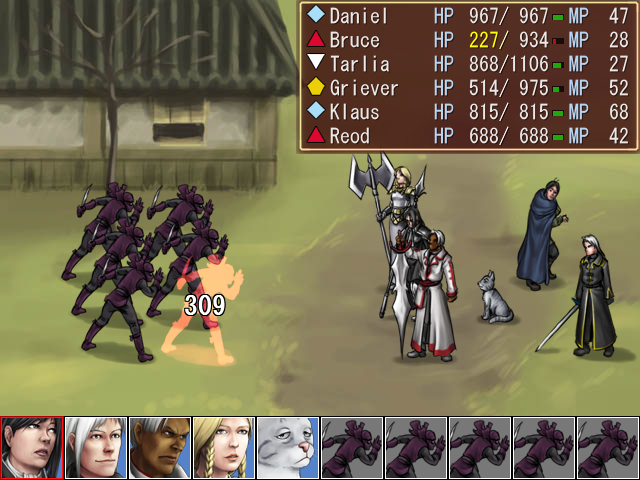
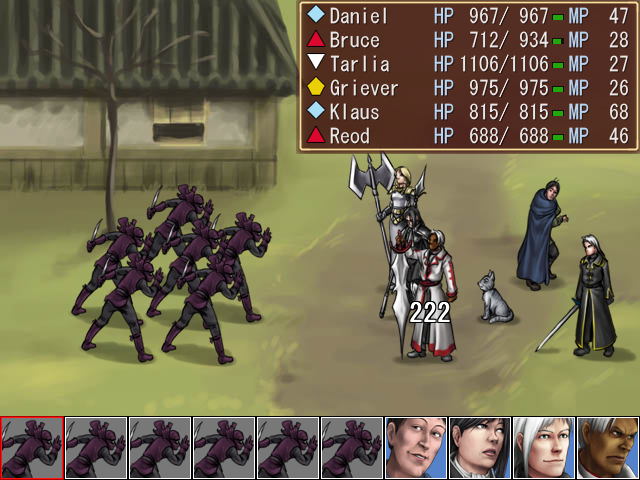
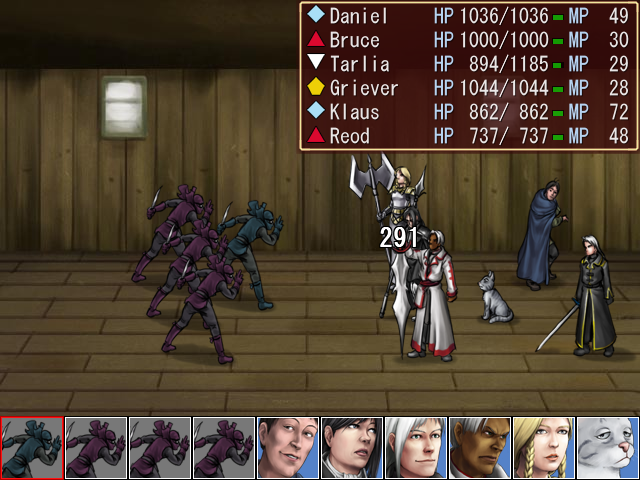
You can see that Bruce wasn't feeling so hot by the time their turns were over. Fortunately, they have fairly low HP, so if you survive their initial onslaught you'll probably be okay.
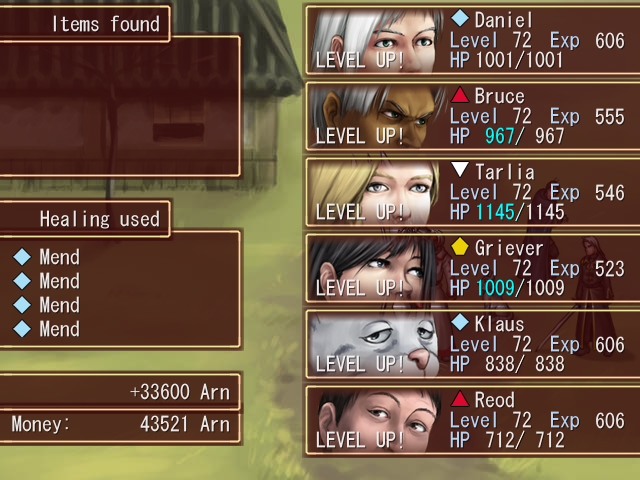
They also give assloads of experience.
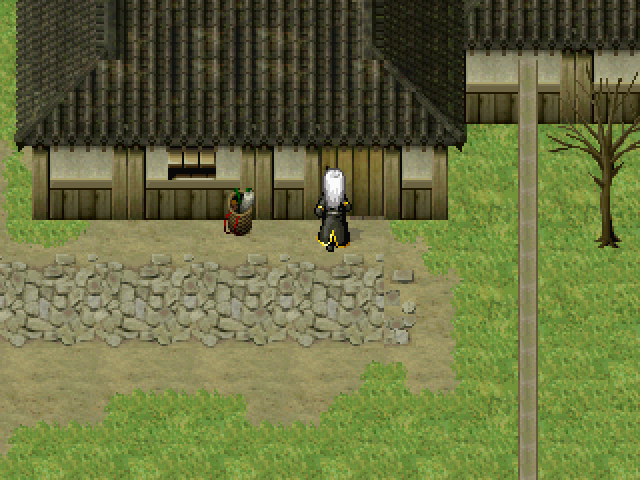
Afterwards, control is returned to us. The Shadow Clan hideout is pretty small, but the encounters are still fairly dangerous. Most of them are against large groups of the Shadow Clan ninjas we just saw.
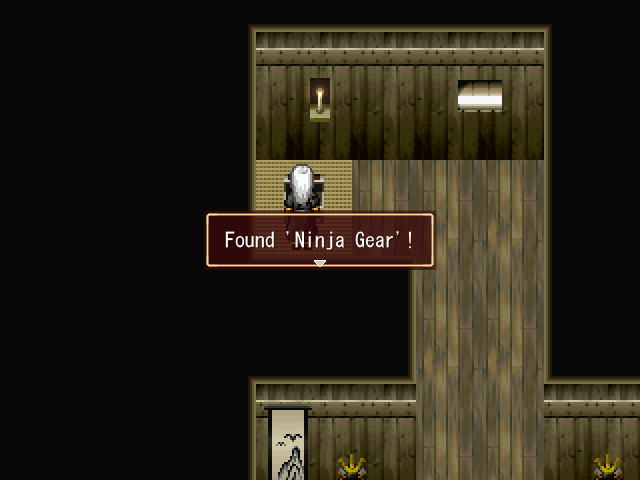
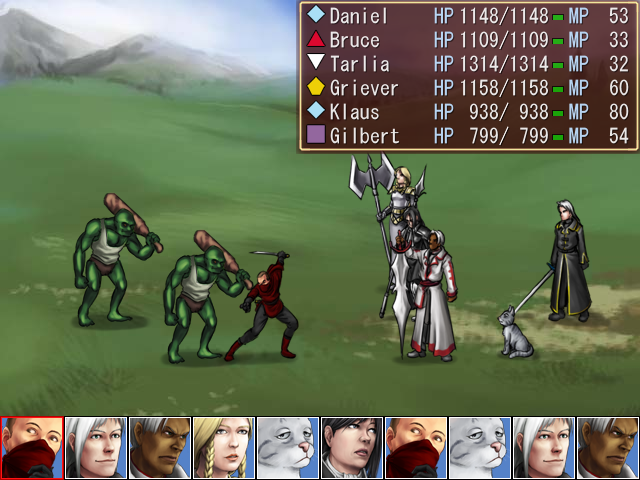
As we duck into the building we find a Ninja Gear. The Ninja Gear is an armor that grants +15 PDF and +8 DEX for 4 weight. I hand it over to Daniel and he changes his armor for the first time since we stole the Black Kirgard Plate from Trevor.
The Shadow Clans will occasionally show up with a Shadow Assassin in tow.
At first Shadow Assassins seem fairly similar to their Shadow Clan brothers, if a little stronger...
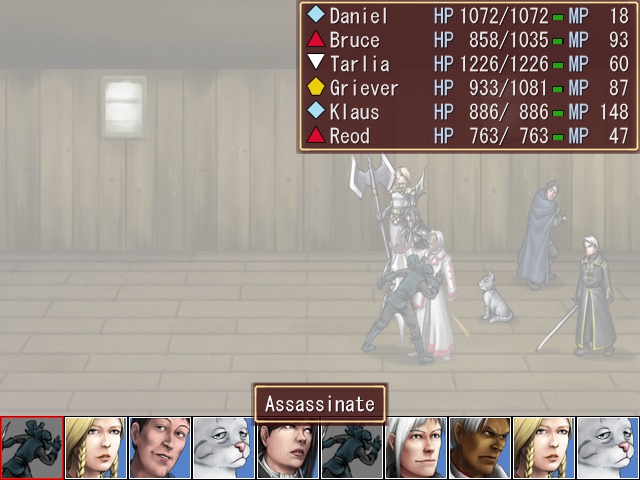
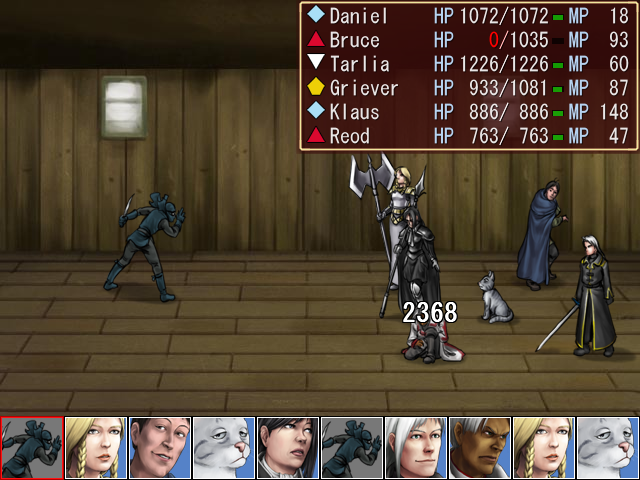
... but if you leave them alive for a few turns (which is likely because they're always hiding behind other enemies) they'll use Assassinate and straight up murder a character. Fortunately, by the time they do this they're usually alone and close to death.
The other enemy type that shows up in this area is the Navar, another minotaur recolor.
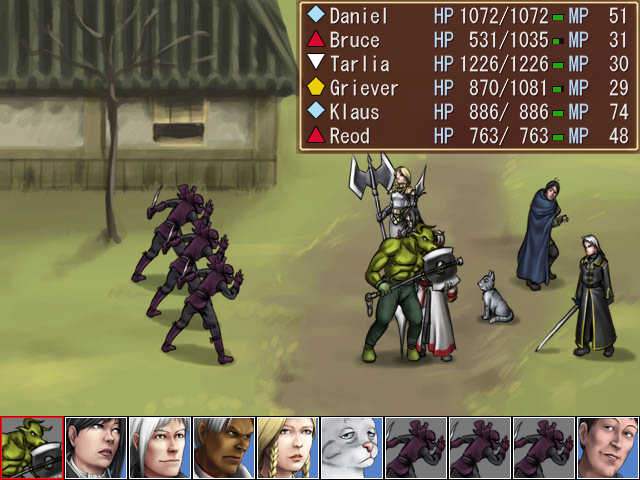
Navars hit hard and can easily take out a character when combined with the attacks of a few Shadow Clans.
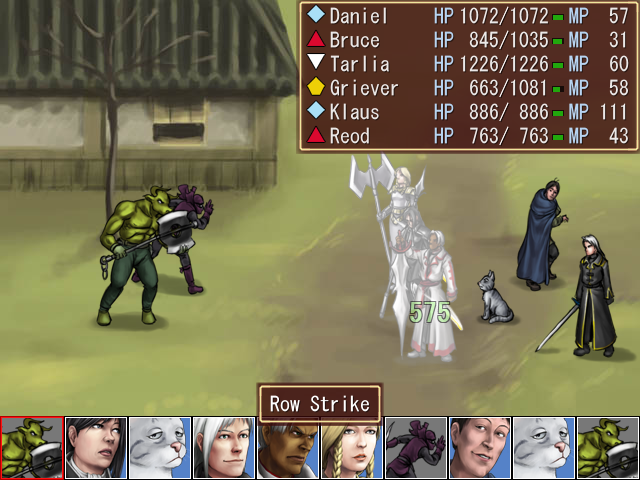
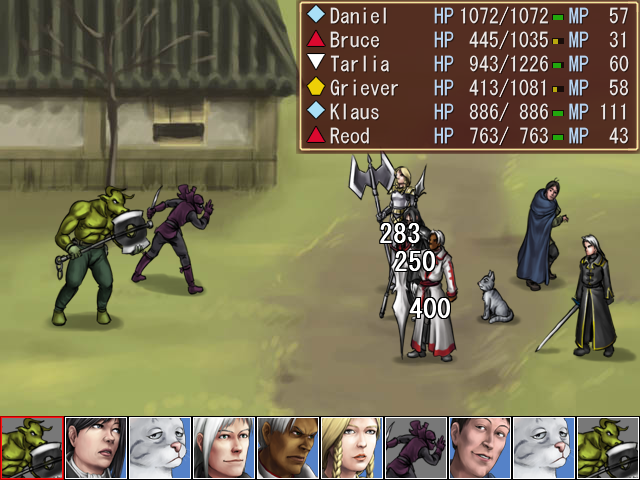
They've also got Row Strike, which can be rather dangerous. They've got quite a bit of HP, but as with the encounters with large groups of Shadow Clans, if you can survive their initial onslaught and get them alone, they're manageable.
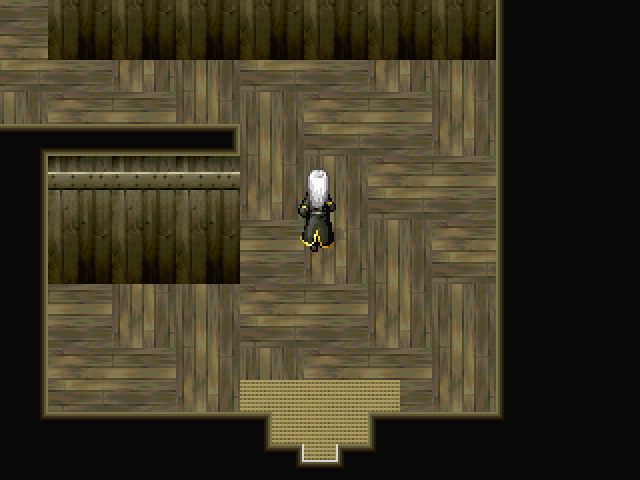
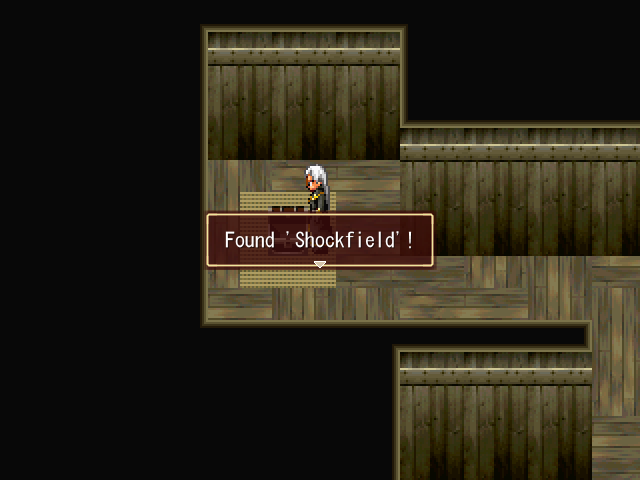
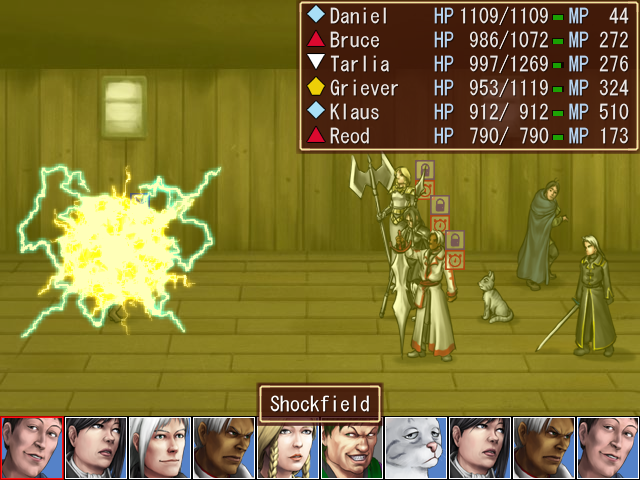
Anyway, there's not that much else to see here. We can check out one of the houses and grab a copy of Shockfield, the third-tier lightning attack spell...
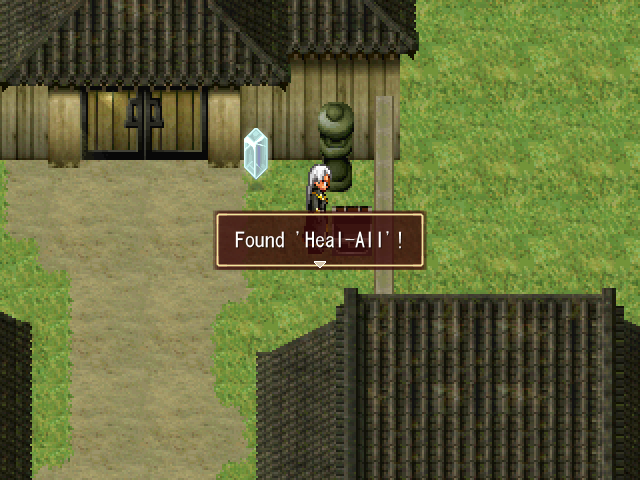
... and next to the conspicuous pre-boss save point we find a copy of Heal-All, the most expensive spell in the game at 150/180 MP.
After that, we head into the building and transition into a scene.
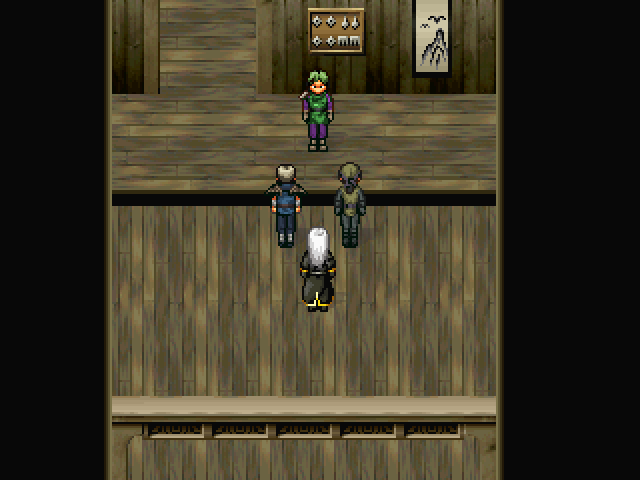
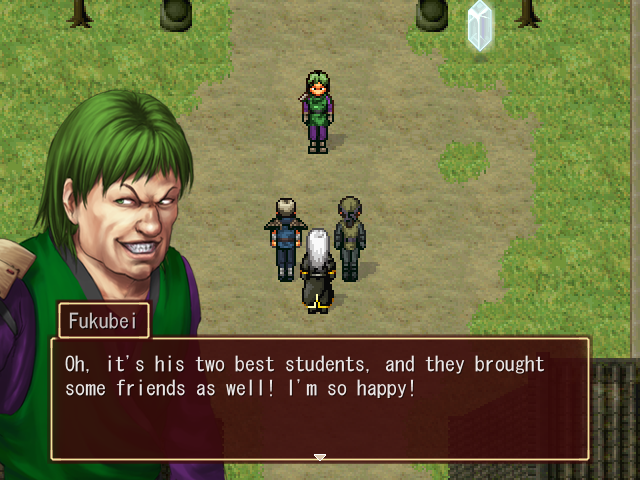
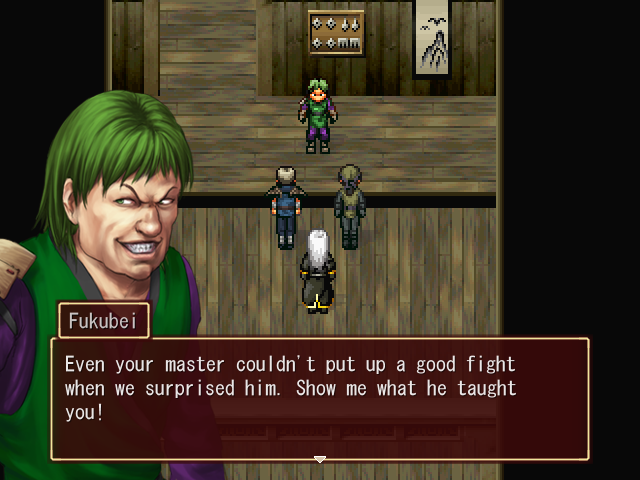
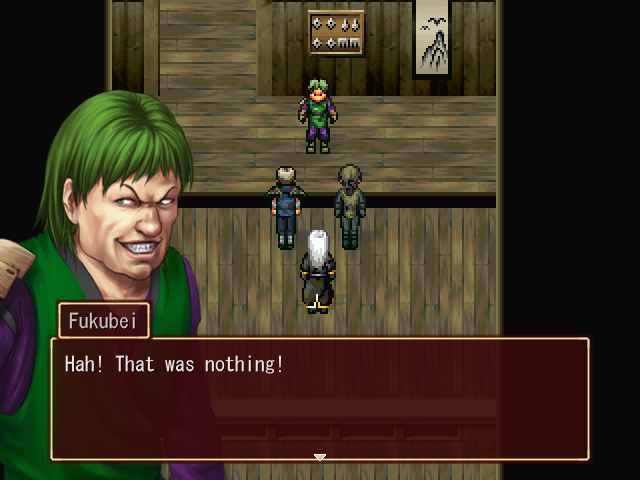
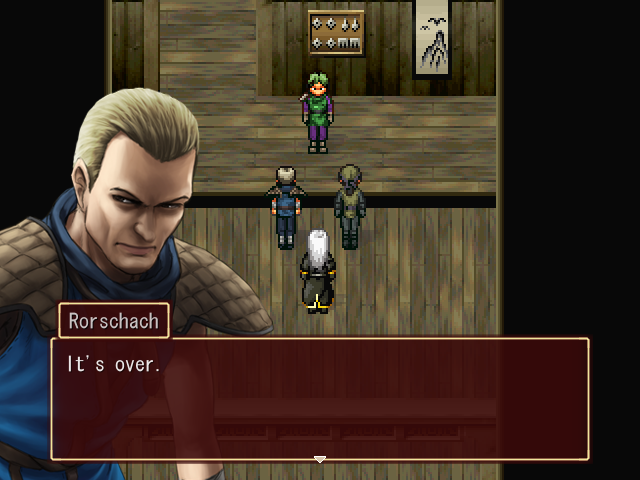 Huh? Over? But we haven't even started yet! Am I invisible or something?Fukubei! We can't forgive you or the Shadow Clan for bringing shame upon us! Stop running, it's time for our revenge!
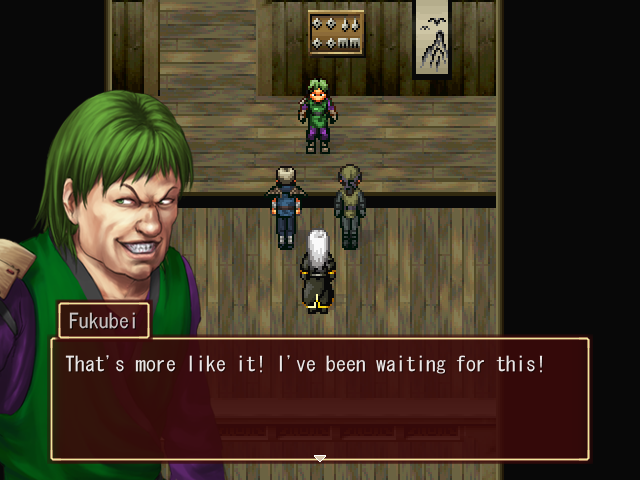
OPTIONAL BOSS: Fukubei
Music: Ninja Battle - Wild Arms 2, "Battle vs. Liz And Ard"
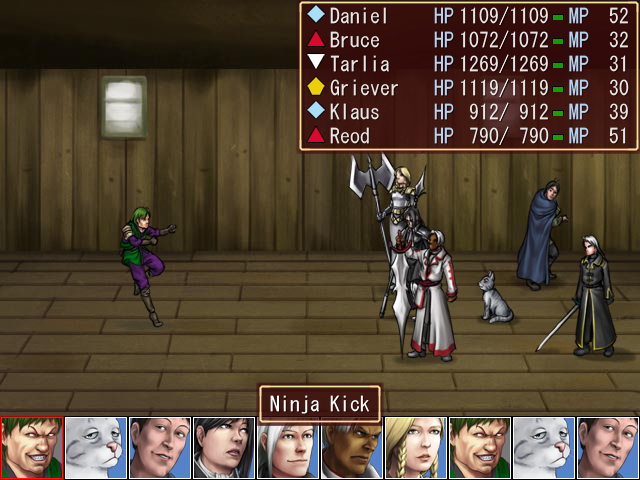
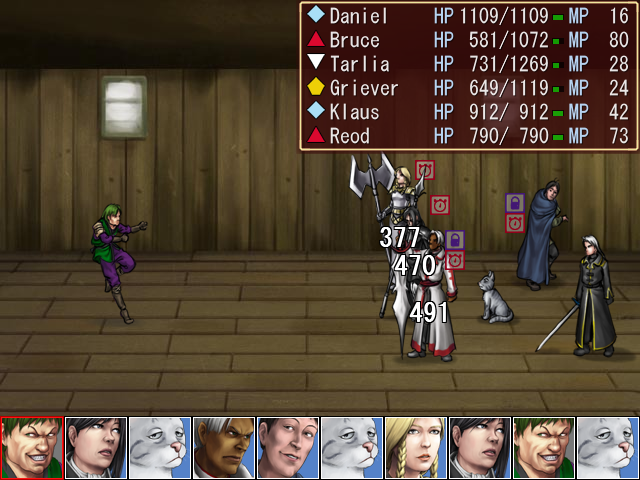
Ah, Fukubei. This is probably one of the trickier fights in the game if you come here at your first opportunity, for reasons that will become obvious soon.
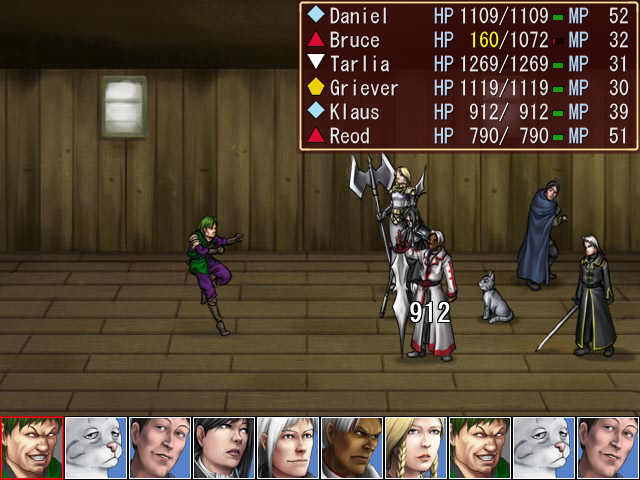
For starters, Fukubei begins the battle with some very powerful attacks at his disposal. Several copies of Cure and a few healing items are highly recommended for this fight.
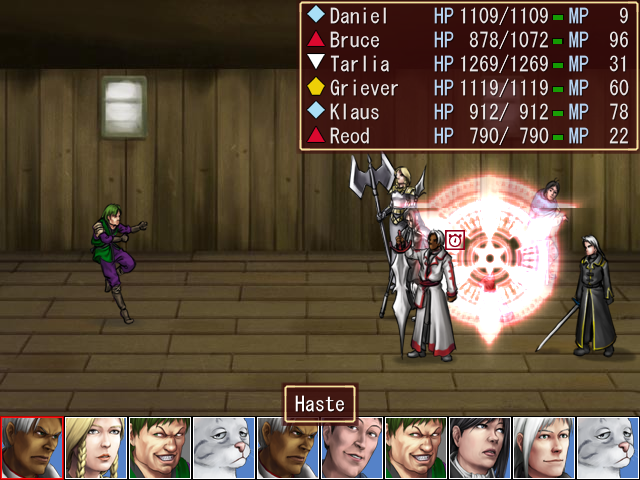
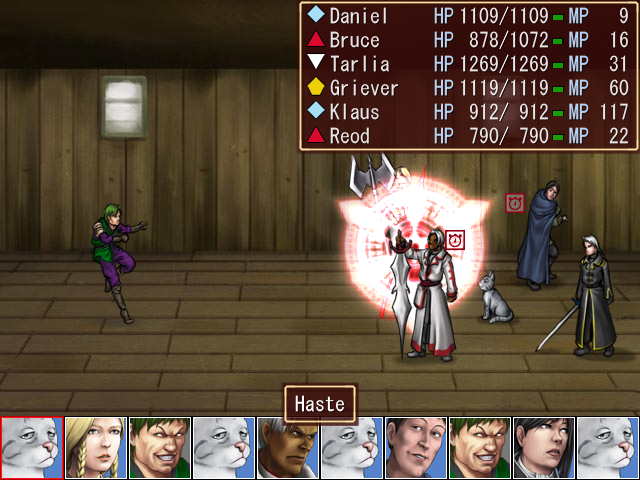
Fukubei is very fast and dodges a lot of our attacks, so getting as many people hasted as possible is also highly recommended. It won't help diminish his dodging, but more turns are always better.
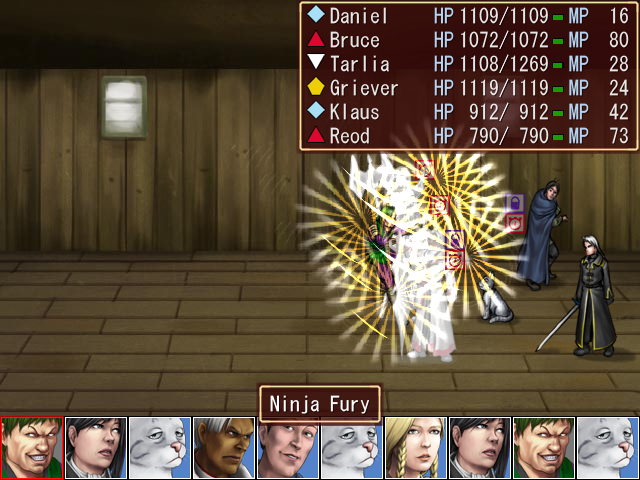
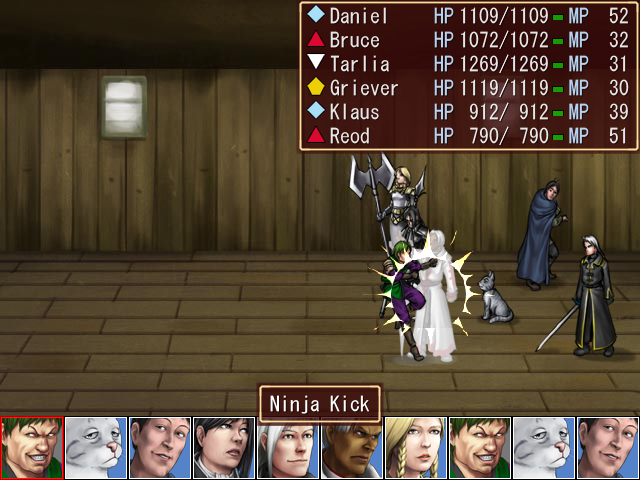
In addition to Ninja Kick, Fukubei can also use Ninja Fury to hit a row for moderate damage.
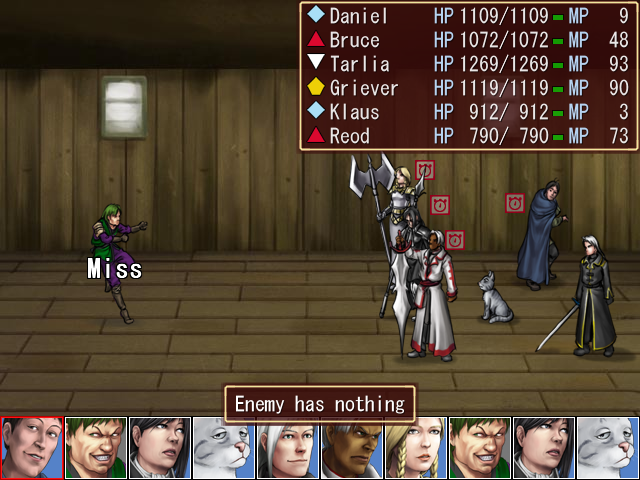
And he has no steal. That's just mean.

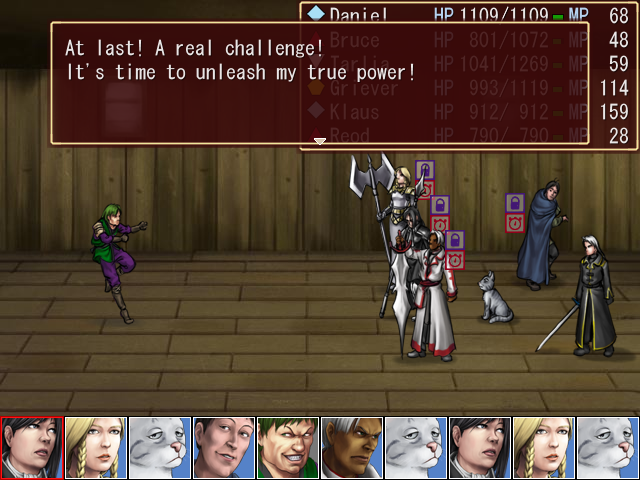
But the battle starts getting really interesting after we've done 2000 HP worth of damage to him.
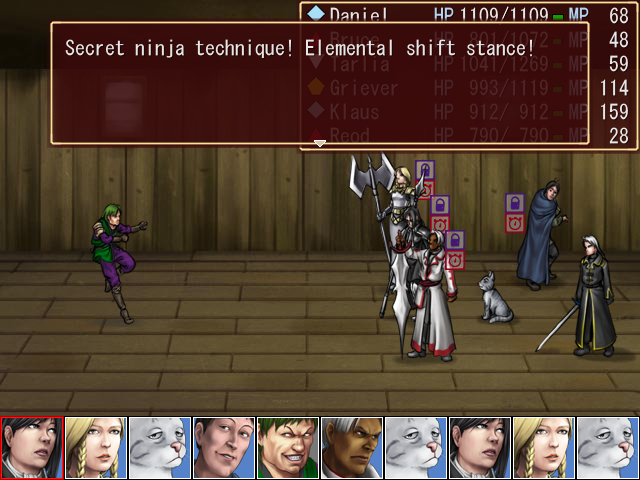
So, there's Fukubei's gimmick: after taking enough damage, Fukubei will switch element, in this case to fire (he was dark previously). He's got a form for every element, and each form has 2000 HP, making this easily the longest fight we've ever seen.
Each form has different moves and stats, as you might expect. Some forms, though, as you can see here, are less dangeous than others.

I deplete his HP this time before he even gets another turn.
Ice now.

His ice form is not much more threatening than his fire one. This is another form whose HP gets run through quickly.
Now he's switched over to water.
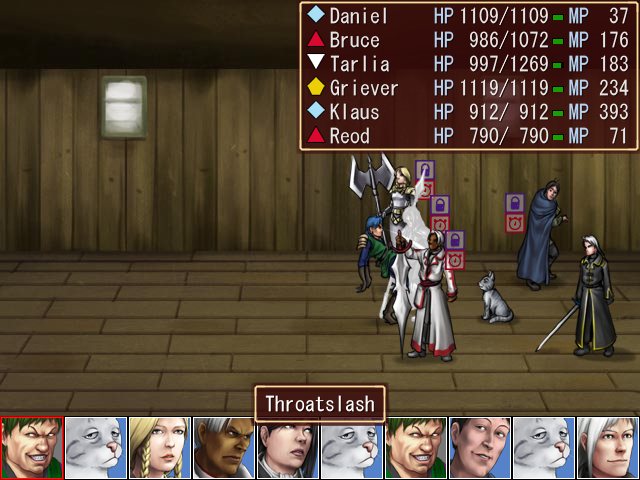
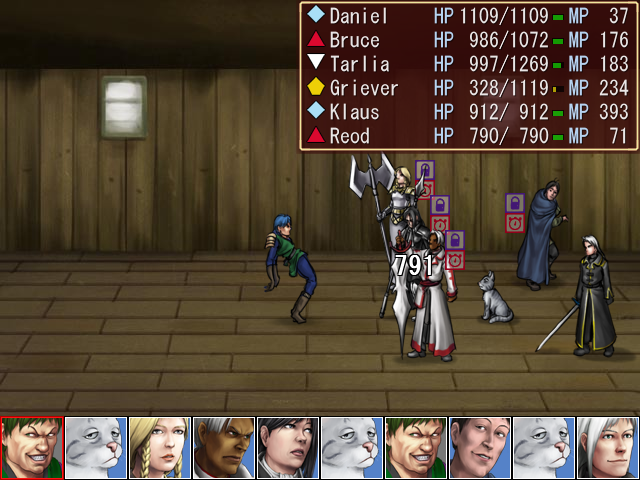
Water-aligned Fukubei starts using some more powerful moves. Throatslash deals major damage and (I'm guessing) can cause Silence, though Griever's Lock made her immune here.
His physical attack is no slouch, either.
Oh god dammit!

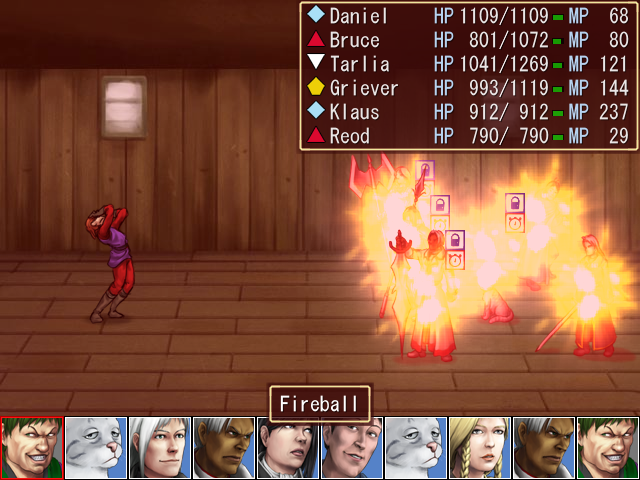
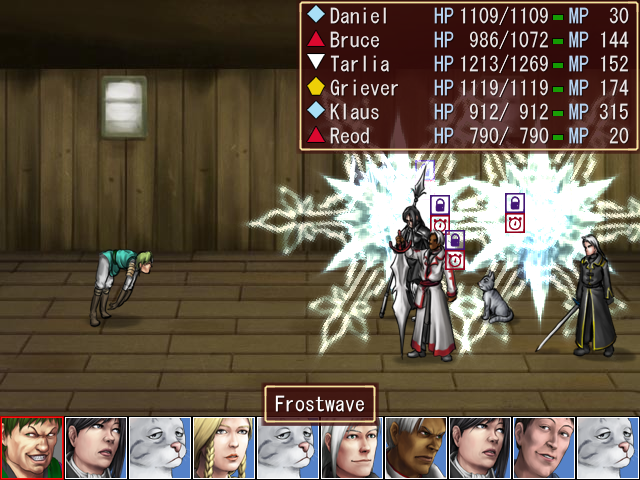
I was just going to try our new Shockfield.
 Even with the Shield up it's still doing a good bit of damage, though.
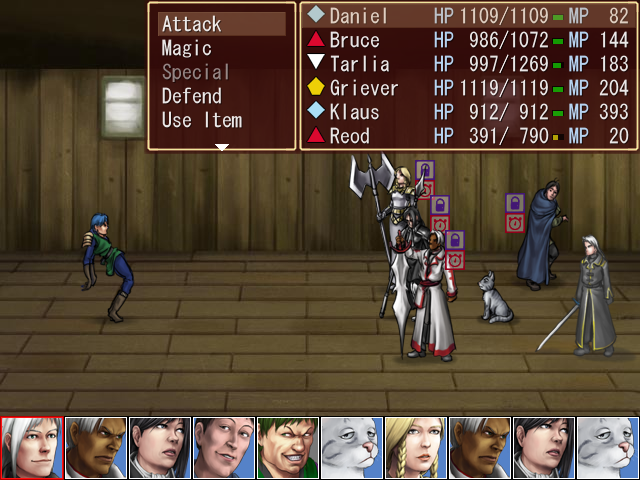
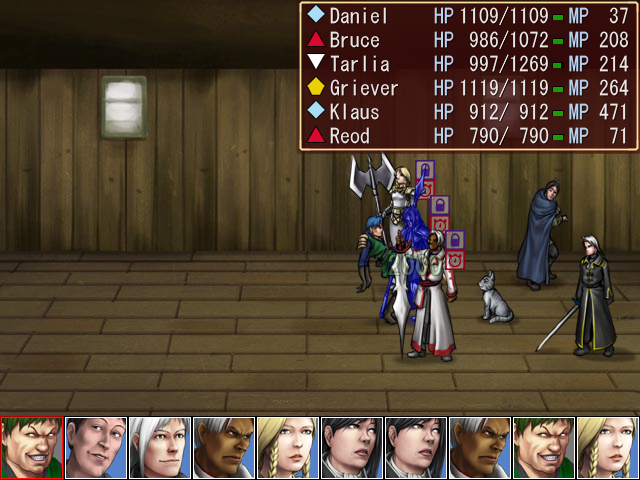
Now he's switched to lightning, retaining his buffs. You'll also notice that our Hastes have started expiring. This is where the battle got a lot harder.
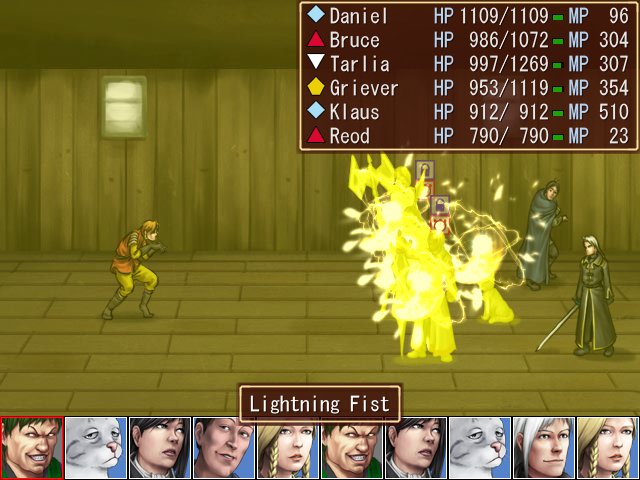
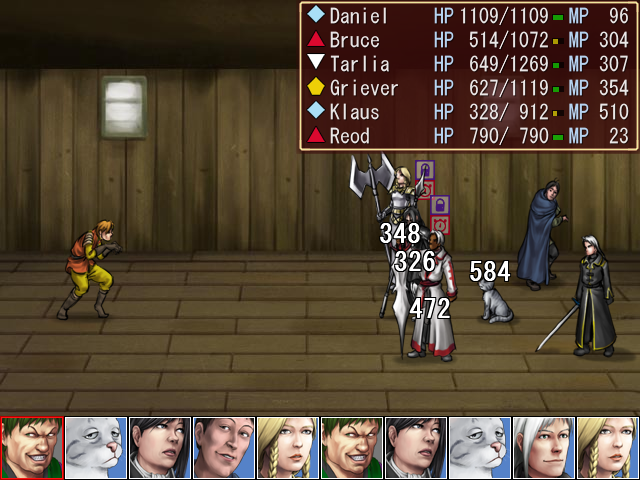
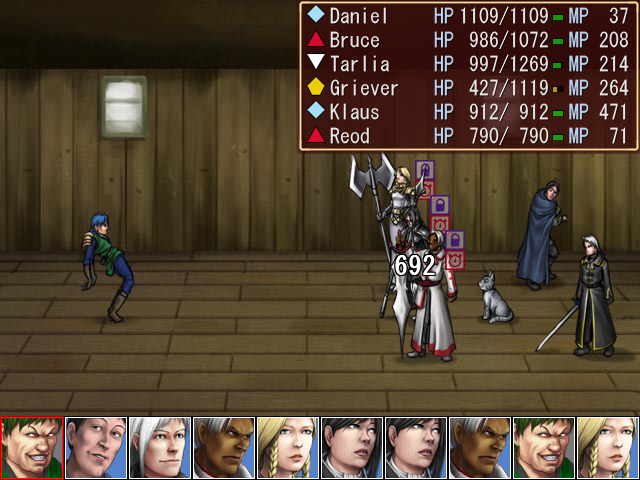
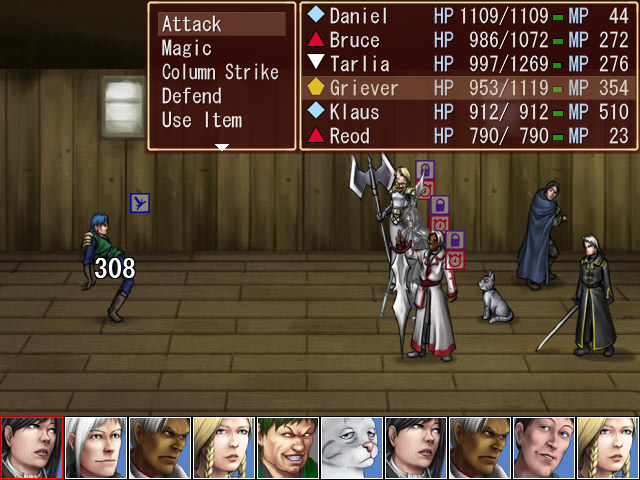
Lightning-aligned Fukubei's signature move is Lightning Fist, which hits enemies in a plus pattern.
His physical attack continues to be quite powerful, but this is all I saw him do in this form.
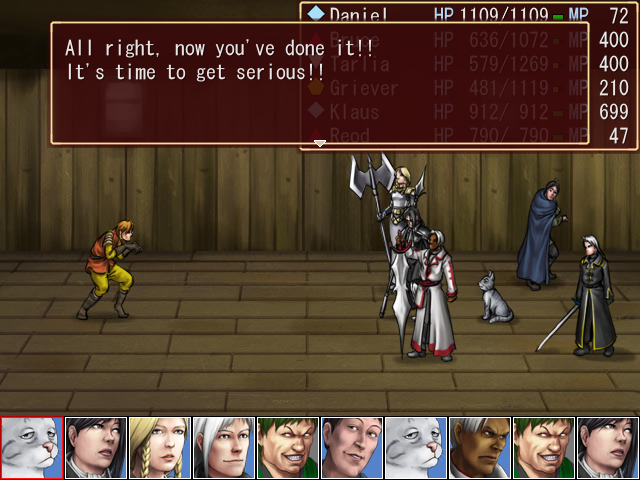
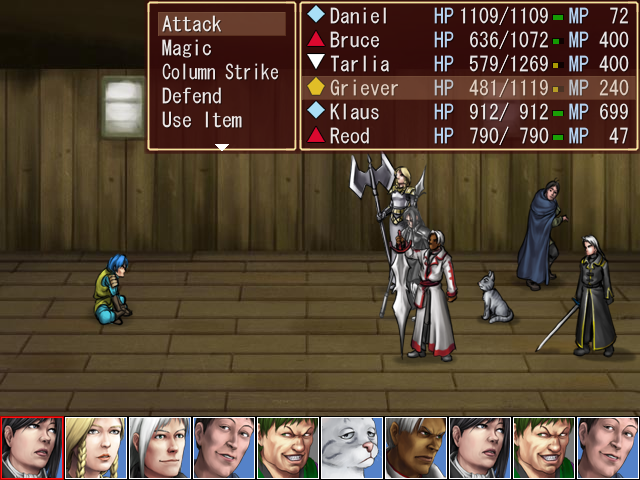
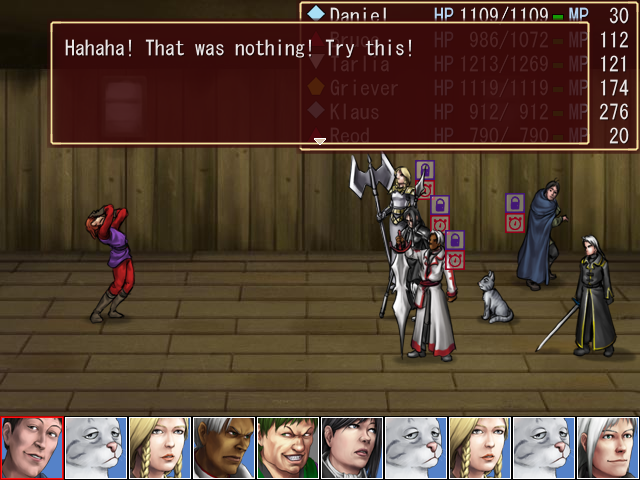
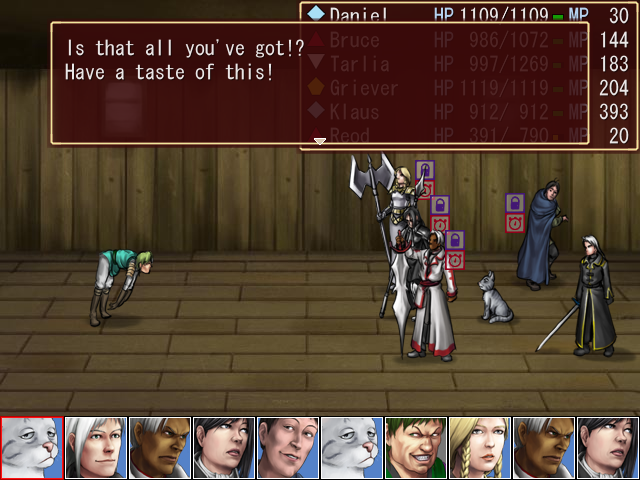
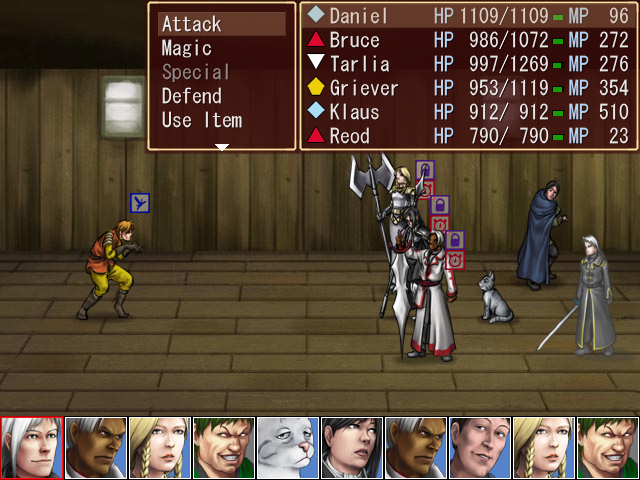
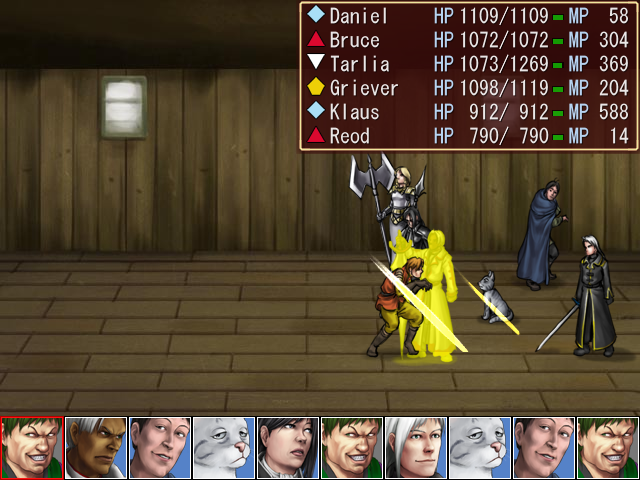
And finally, we have light. He may look rather docile in his current pose...
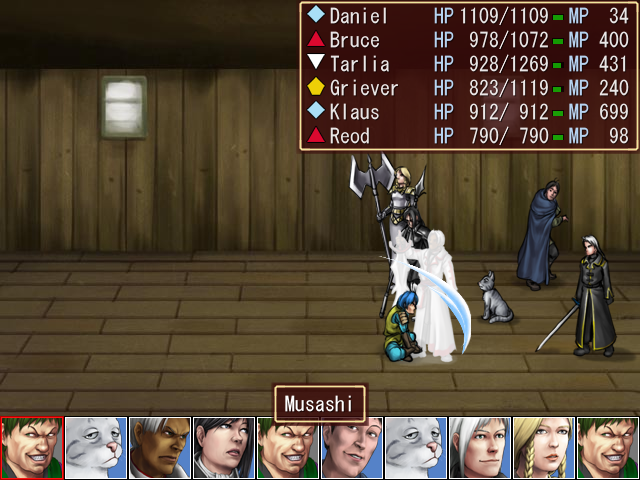
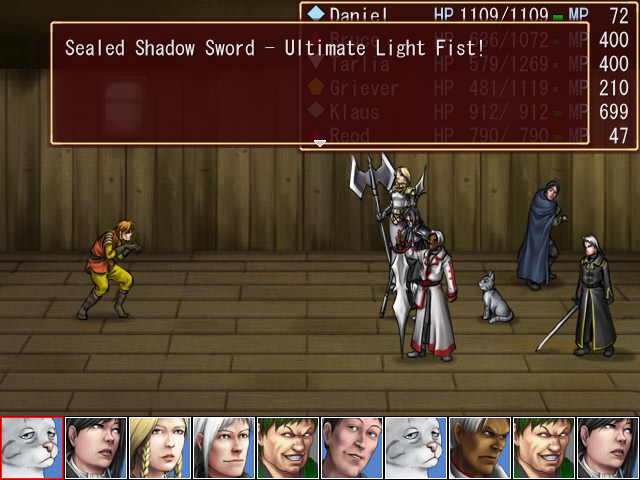
... but his light-aligned form has his most powerful attacks by far. He spends most of his turns in this form using Musashi, which one-shots Bruce and nearly kills Griever and Tarlia. I was reviving people like mad at this point.

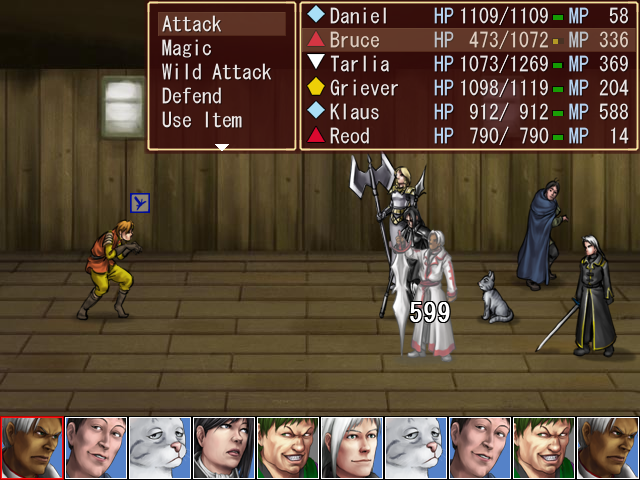
He's also got Shinai, which does some good damage, but is thankfully not Musashi. By this time the battle has been going on for quite a long while, as you can see from everyone's MP totals, so I just want to get it over with.
So I busted out the big guns.
Fucking finally.
Music: Boss Battle Won - Chrono Cross, "Victory (A Cry In Summer)"

And our only reward is Battle Plan #18. What a fucker. I'll show this off in a second.
Music: None
Fade to black...


I like this guy's style.
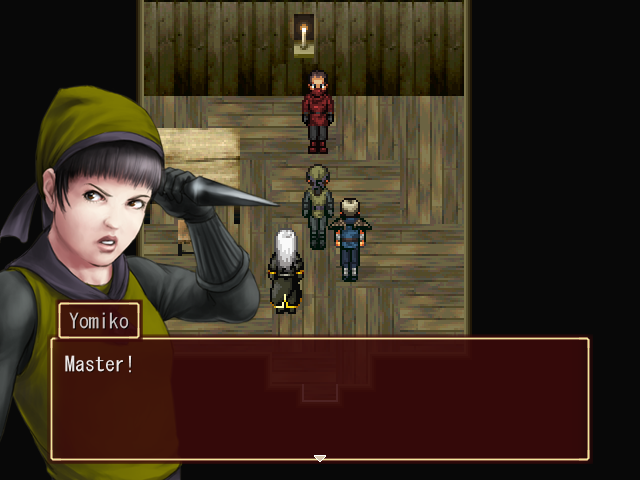
 Speaking of which, did you bring anything with you? I could really use a drink right now.Master! Is that all you can think about? Can't you see who's here with me?Huh? It's you?...So, you've completed your quest for vengeance?Not completely, yet.
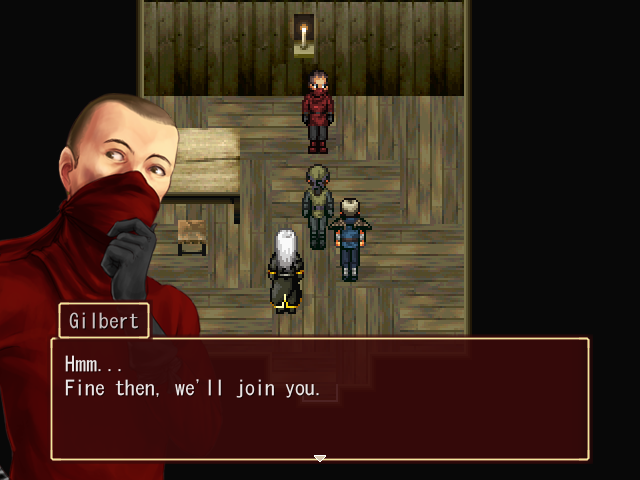 Join me?What else are we going to do? Our village was burned to the ground, so we'll have to start over from scratch. Since you came here with Yomiko, that means you haven't lost your sense of loyalty yet. We'll join you in avenging your sister, and then we'll worry about our future.I see... Thank you, Master. This man here is General Vinyard. He is leading the war against Almenga, and I'm following him to find the ones responsible for Rosa's death.
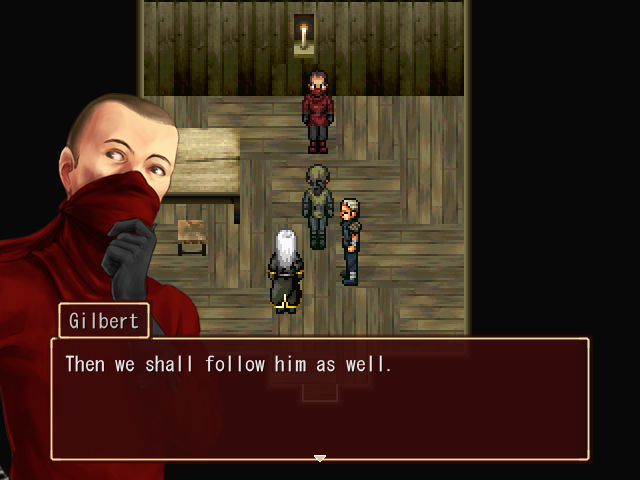

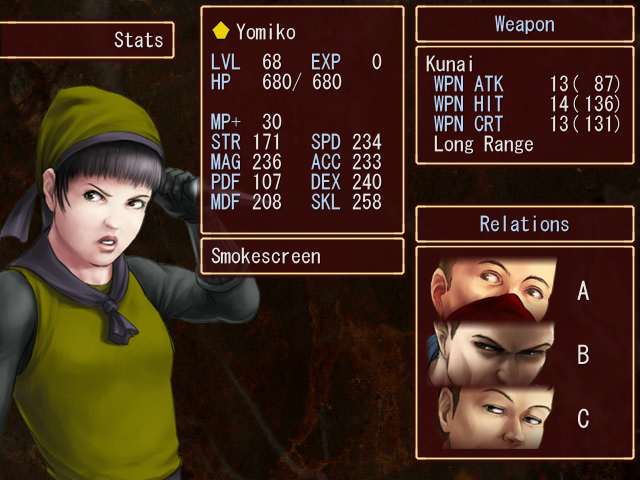
Yomiko is an odd one. As befits a ninja, she has high SPD, DEX, and SKL, but her STR is rather low. The most surprising thing about her is that she actually has passable MAG, a bit higher than Daniel's. It's not mage-worthy, but it's something.
Yomiko attacks by throwing kunai, but we can do better.
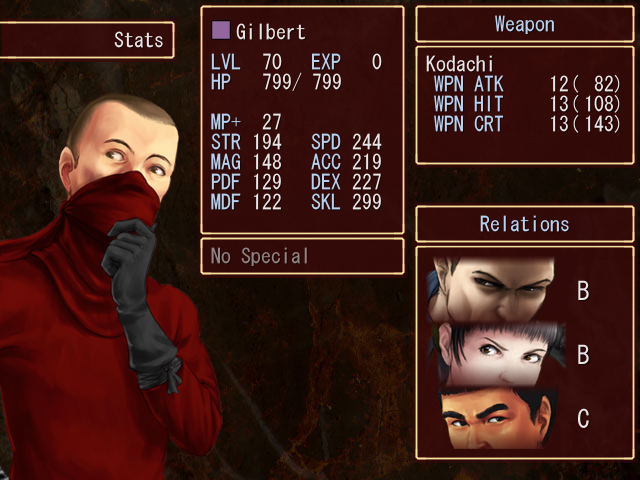
Gilbert, on the other hand, is basically a proto-Klaus. He's got very high SPD and decent STR (though not as high as our feline friend in either category), as well as garbage defenses. In addition, Gilbert's standout characteristic is that he has the highest SKL in the game, which means he'll be landing criticals all the damn time.

Gilbert attacks with his kodachi. Now that's more like it.
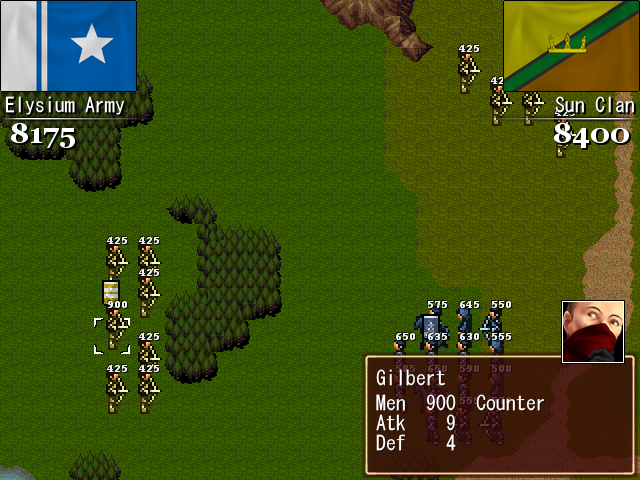
Also, Battle Plan #18 is Ninja Onslaught, surrounding us with the Sun Clan, which is composed entirely of scouts. Aside from the commanders, though, the Sun Clan units are incredibly weak, with 2/2 and 3/3 stats.
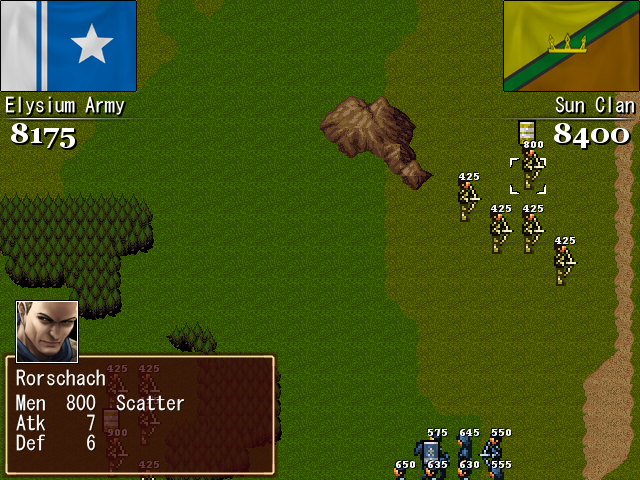
Our three ninjas are the opponents this time.
More importantly, though. that's it. We're done. We have now recruited every character in the game.


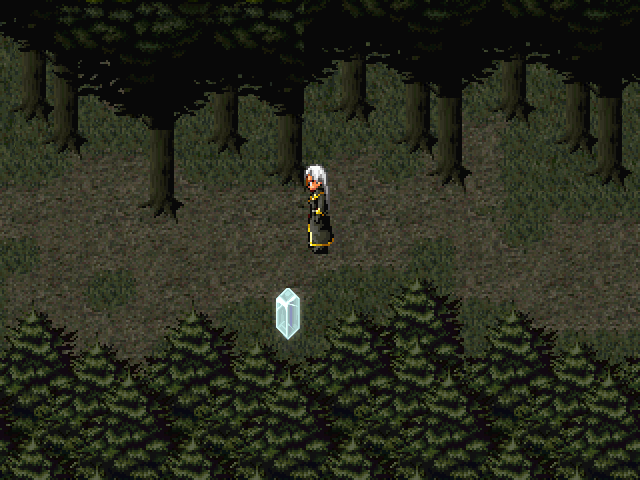
And that means it's finally time to see what's in this chest.


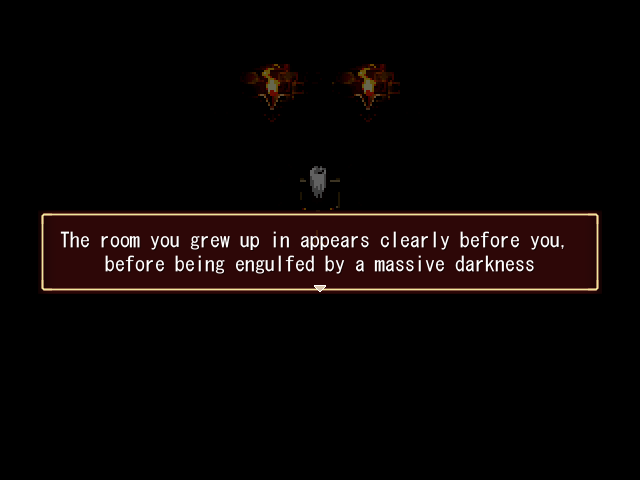
Uh... well. That's certainly a thing.
So, what the hell just happened? Well, by opening this chest we've unlocked the post-game content. But it'll be a little while before we can do anything with this, since trying to take it on now would just result in us getting curbstomped.
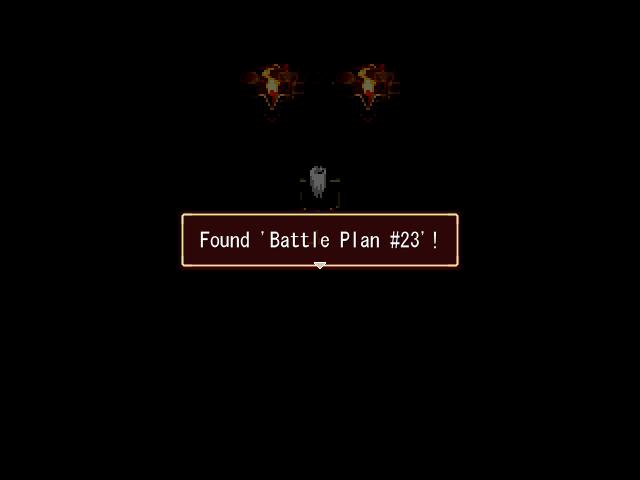
Oh, and we also get Battle Plan #23.
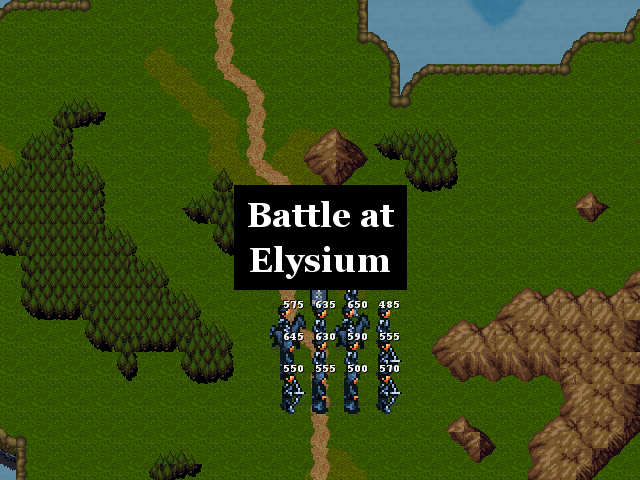
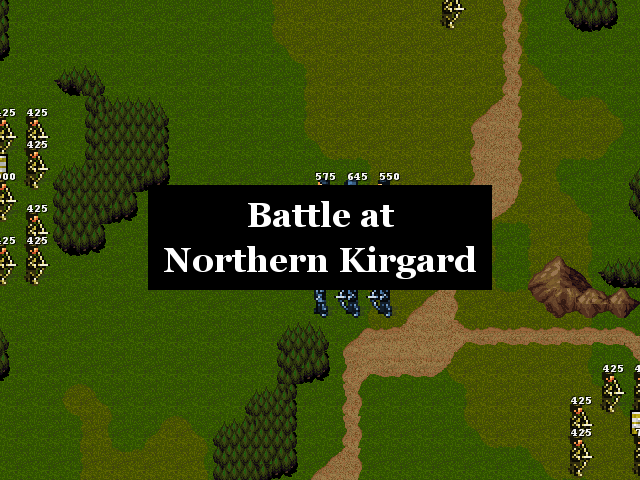
Battle Plan #23 is Fated Battle, pitting the Elysium Army against...
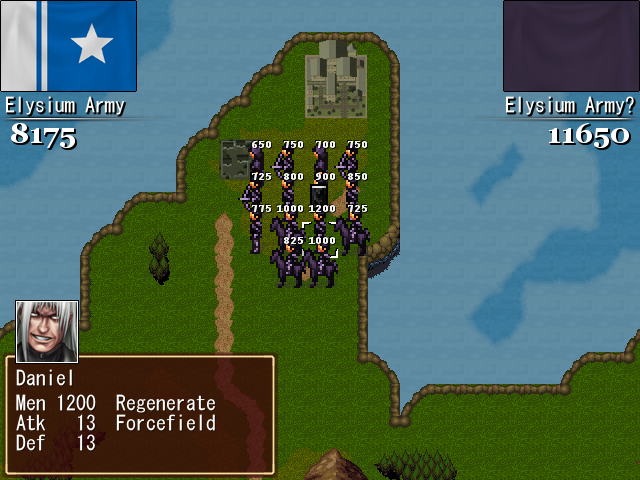
... the Elysium Army. Or more accurately, a greatly beefed-up Elysium Army, led by Evil Daniel. Every enemy unit corresponds to one of our own, just with more men, higher stats, and several skills. This is easily the hardest battle in the game and I'm not even going to try to win it.
Now then, I believe we had a couple of commandos to take care of. And that means it's voting time! In fact, we're going to be having two votes this time around!
1) In addition to our main party, we need two other parties to help us take down Trevor and Sick. Please vote for twelve characters not in our active party to fill these party slots. Deus and Yan Angwa will be leading these parties, but are not required to be active, so treat them like any other character. As with Shiva Passage, you may also request that characters be placed in a particular party or with certain other characters, but this part will not be an official vote.
For reference, here's how the sequence will work: Yan Angwa's party will be facing Trevor alone, while Deus's party will be facing only Sick, and then our main party will face them both. Any damage done to Trevor and Sick in the first two battles will carry over to the final fight, but Yan Angwa and Deus's parties do not have to survive in order to win, and are in fact quite likely to get killed. It is worth noting that Trevor and Sick cannot be killed during the first two battles. The most damage that can be done is half of their max HP, at which point they will fade out as if "dead," but the sequence will continue as normal.
Trevor focuses mainly on debuffs and powerful physical attacks, while Sick buffs himself and is more inclined towards magic. Keep that in mind when selecting your parties.
2) Also, not long after the fight with Trevor and Sick, we will reach a segment where Tarlia is briefly forced out of our party. Please vote for one character to replace her during this time.
Please bold your votes. I'm going to leave the voting open for 24 hours.
Next time: Let's bag us a couple of demons.