Part 4: Sewer of the Dead
EOTB 2: Sewer of the Dead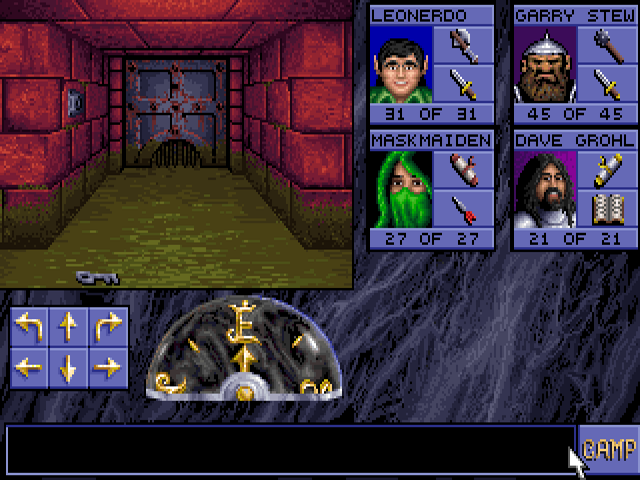
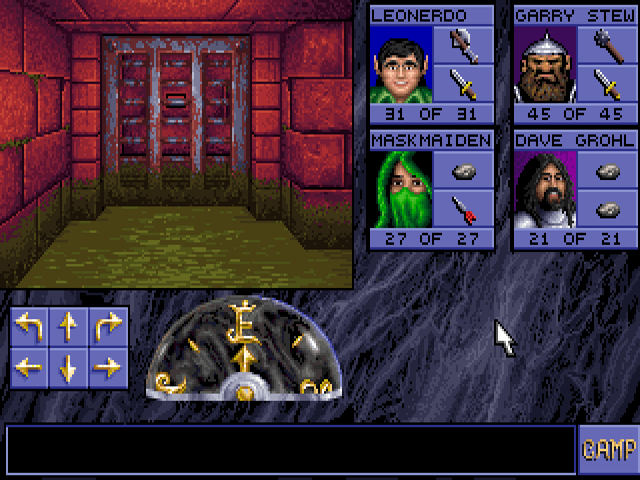
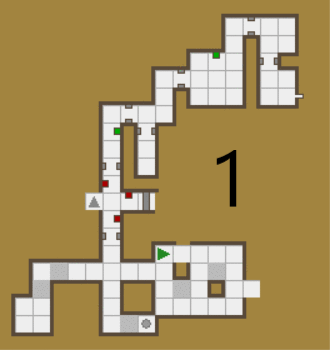
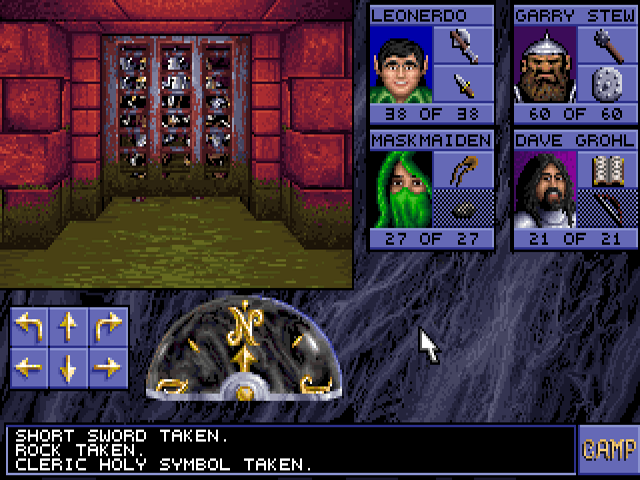
At the start of level 2, we find our first key along with our first locked doors. There are doors to the north, east and south. We can use this key on any of them or try picking the locks since we have thieves. I go north first.
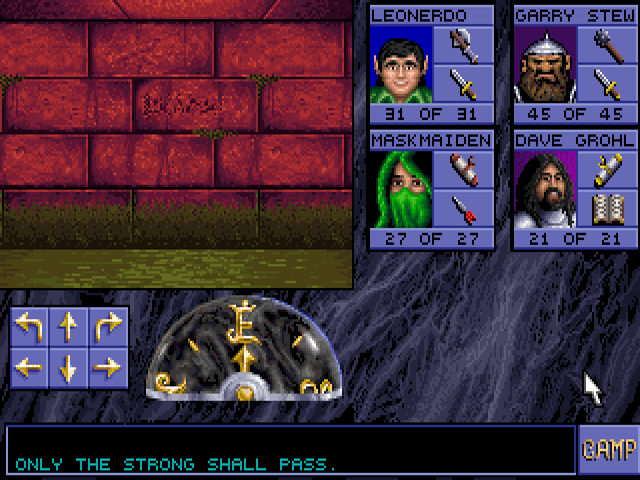
First thing to find is a message, which is easy to miss but nothing particularly important anyway.
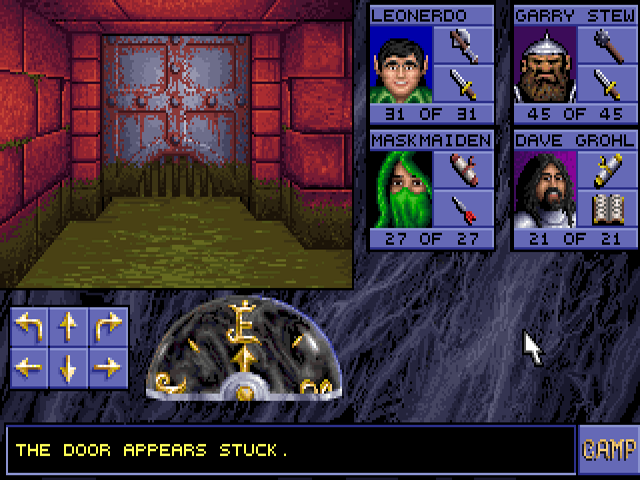
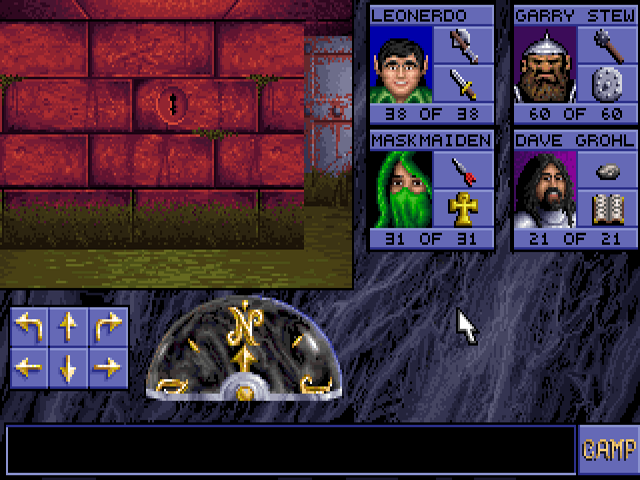
Pressing a button only opens this door partway. It must be forced, by clicking on the door, to get it up the rest of the way.
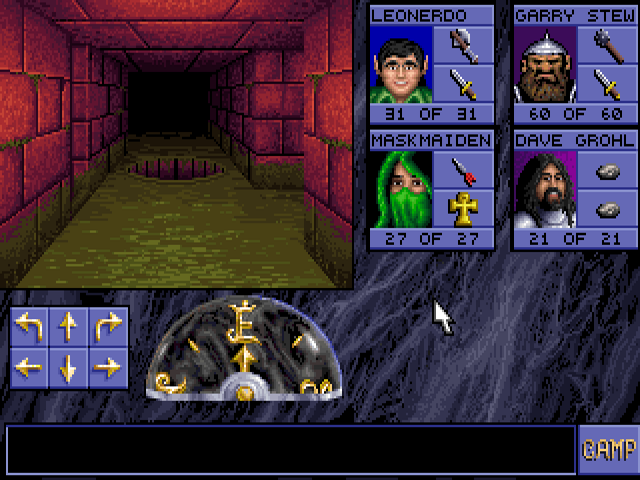
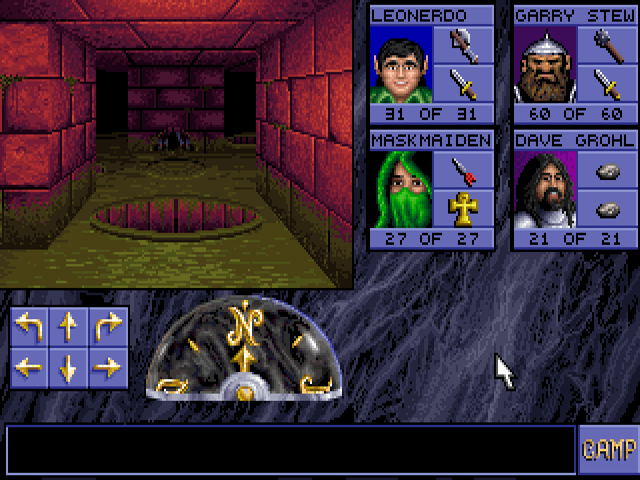
Further on we find a skeleton behind a grated door. Skeletons take half damage from sharp weapons, and attack quickly when they get into melee range. This one won't do that, since the grated doors allow projectile weapons through them. Not magic missiles though. On that note, since I haven't talked about it yet, only characters in the front (top) row can hit with melee weapons. Projectiles can be used from any position, and are retrievable as long as they land on a walkable tile. This grate must also be forced to enter the room behind it, which contains an unidentified green potion.
Another grate with a button right behind it. We can't just force this one. We could throw an item through the grate to hit the button, but I'll show another way.
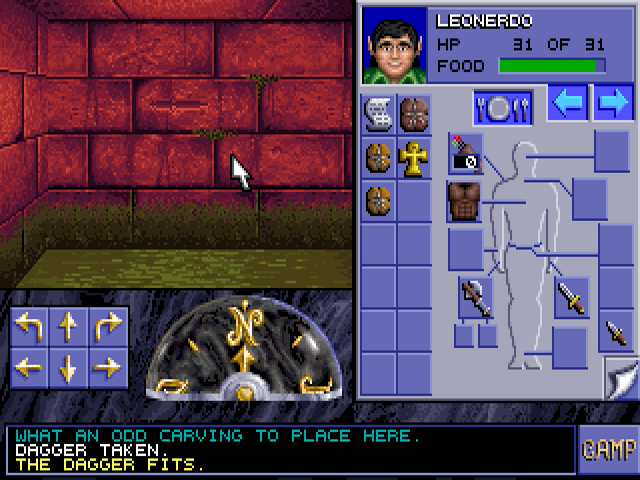
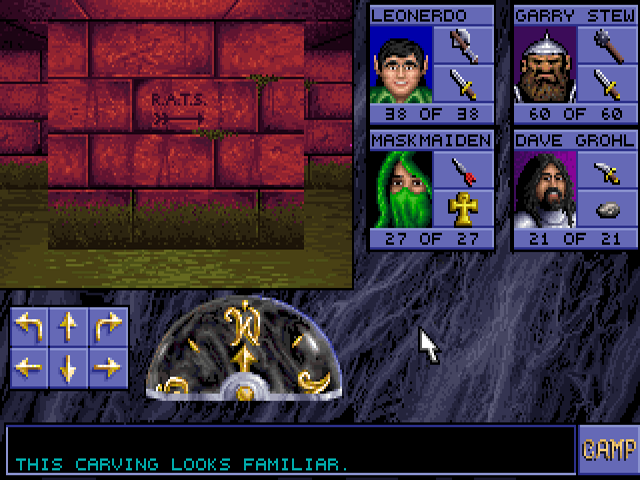
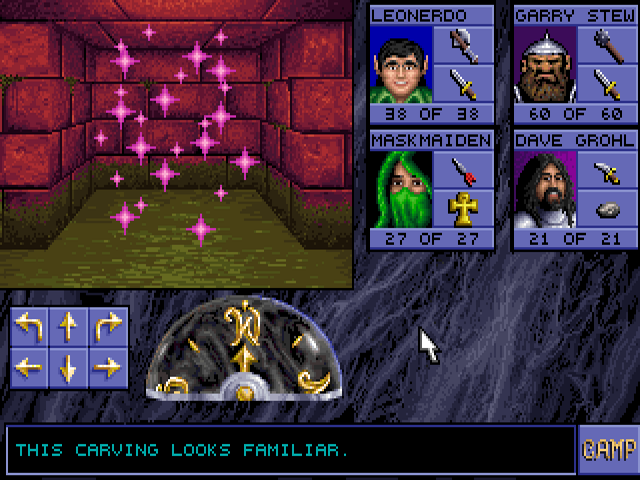
Just before it is this dagger-shaped carving. We have several daggers dropped from kobolds, so we put one in and open the grate. There are three more of these carvings throughout the level, which make up the special quest. Unlike the previous one, this is actually intuitive since doing it at least once can help you progress. The button removes the wall behind it, and we find another button to remove another wall.
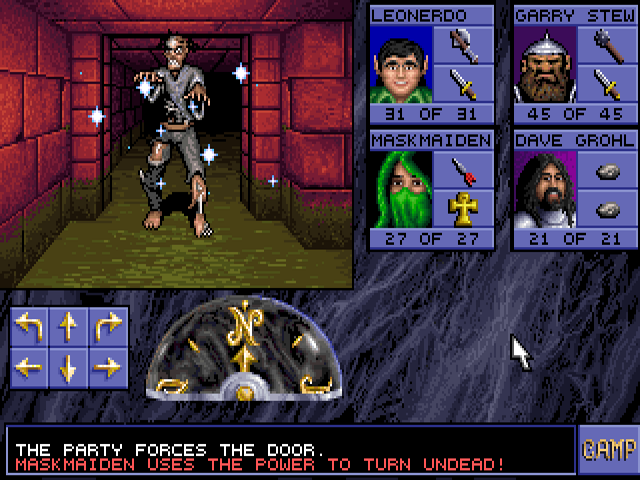
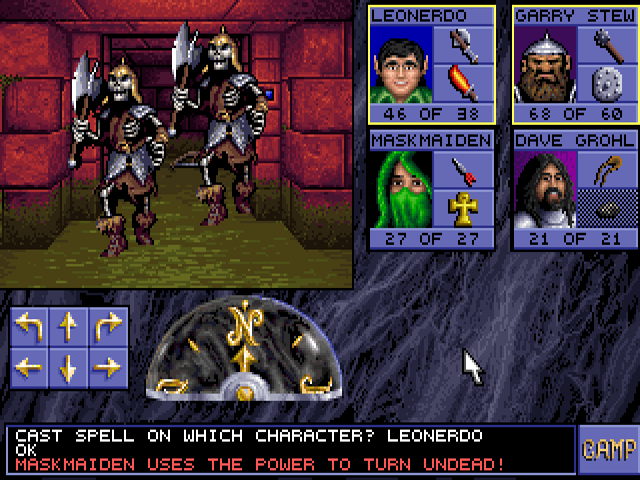
We encounter the other enemy of this level, a zombie. Zombies don't have the speed or damage resistance of skeletons, making them less dangerous. We also see Maskmaiden using her ability to turn undead, which makes the zombie walk away and avoid attacking. The highest-level cleric will automatically attempt this when undead get into melee range if their holy symbol is in hand.
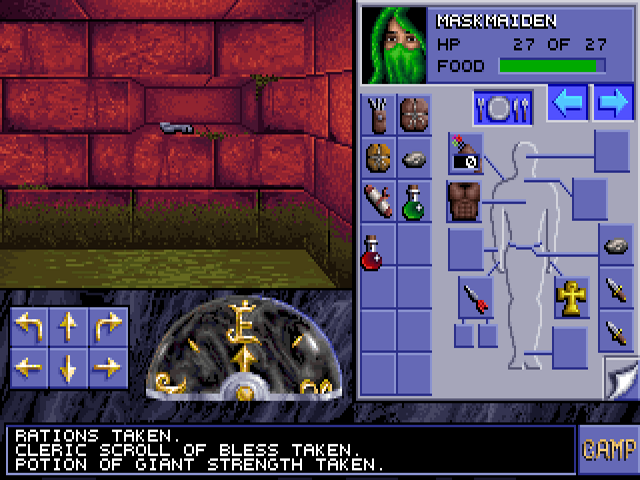
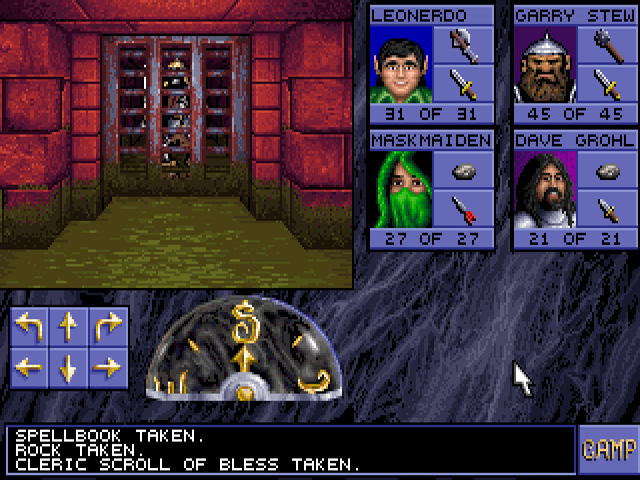
Past the zombie is a shelf with rations, a potion of giant strength, and another key. That last one is only there since I used the first key to open the door at the beginning. If I picked the lock instead, it wouldn't be there.
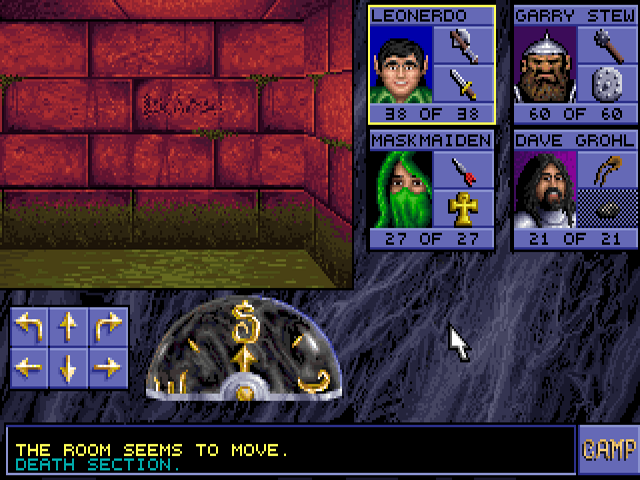
I take the south door next. A sling, which makes rocks do more damage, is on the ground ahead. But the tile right in front of it will rotate you 90 degrees clockwise every time you step on it. In this case it points me west, where I find this:
This indicates an illusionary wall. AFAIK no particular race is necessary to translate these runes. Behind it is a mage scroll of Shield, another spell Dave started with that blocks magic missiles and improves AC against projectiles. Another illusory wall to the south leads to a room with two zombies and another dagger carving.
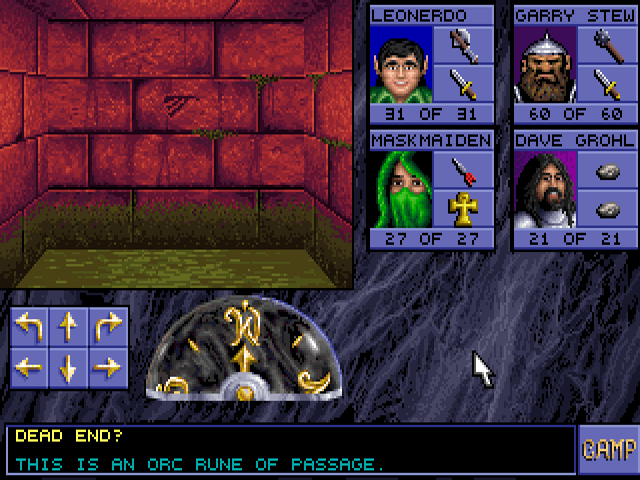
At the end of the south path we seemingly get closed in, and turned to this carving. When we put a dagger into it:
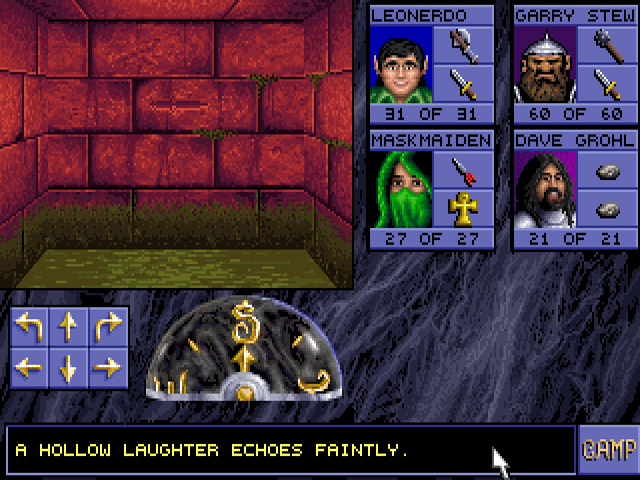
The wall created was fake the whole time, though it is not marked with an orc rune.
On the eastern path there is a room with hidden teleporters that also turn your party around:
Behind the key shelf, there are runed illusionary walls that lead to two arrows (still no bow) and rations. Other runed walls in the middle are needed to exit this room.
The east door brings us to our first pit. Walking into it causes fall damage and takes you into a subsection of this level. To the left is a ladder that goes in and out of that area, where a potion of healing can be found. To the right is a switch that closes the pit.
After getting past that pit we find another one. This one is closed by the floor plate behind it, so you need to throw an item across. This leads to a room with more pits closed by various buttons and switches, making a path to another key shelf. On the way back, taking the item off this plate will reopen the pit in front. You will have to leave something behind or take damage.
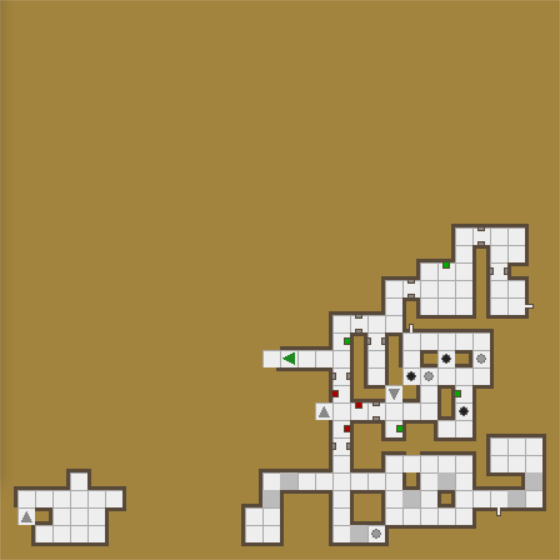
Taking items from the shelves removed walls from the north path, opening up a new hallway.
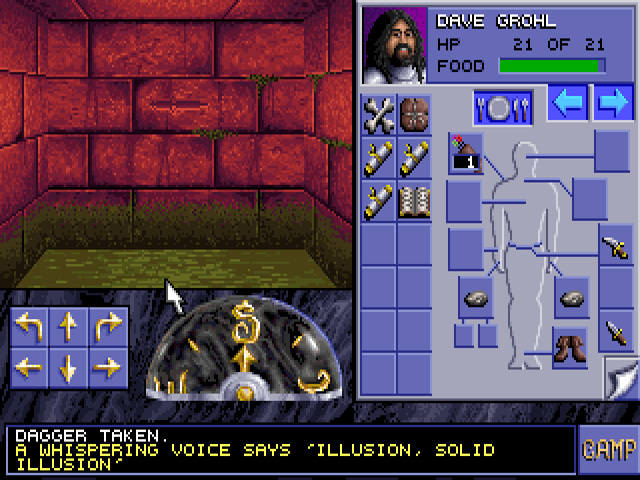
What looked like a normal dagger on the ground was actually this, which will be important when I get out of the sewers. I do not have Detect Magic active, that blue outline is always there.

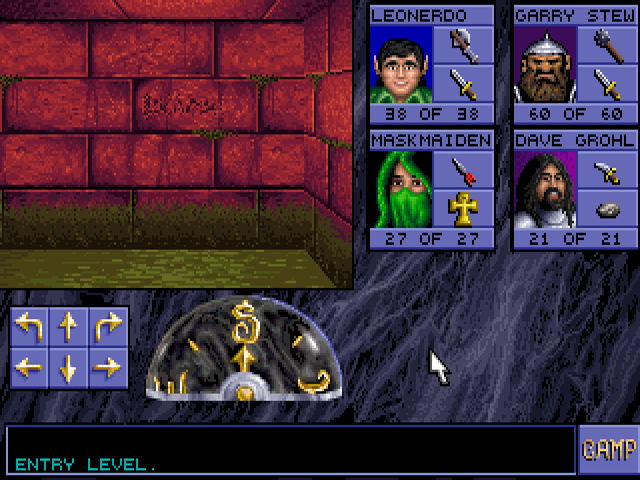
I find the last dagger carving. Inserting the dagger completes the special quest, which drops rations at each carving.
This teleporter is a shortcut to the end of the level. We still need something before we can leave.
Near that teleporter is a small room with nothing but a button and some text on the wall.

It's an elevator. Closing the door and pressing the button will take you between the main level and two sublevels.
The correction facility has several rooms each occupied by a pair of skeletons. To prepare for the battles, I used a couple of second-level cleric spells. Aid gives one character the hit bonus of Bless and 1-8 temporary HP, which can go above their max. There is a very helpful bug with this spell: when it expires, that character's HP will return to whatever they were before it was cast on them, even if they're now lower. So a character with max HP who has Aid cast on them can get a full heal at the end. Leo also cast Flame Blade, which does full damage to skeletons. Only one at a time is allowed. There is a bow in this room, allowing us to finally use the arrows we have. Another has a mage scroll of Invisibility. Monsters will mostly ignore characters under its effect, which is broken by attacking or casting. They are less likely to hit an invisible character if they do attack.
The second sublevel is this very normal part of a sewer.
Despite the ominous name, it's far less deadly than the correction facility. Only three zombies behind a grate, though they have room to move away from it.
The zombies guarded a gold key, needed to reach the third level.
The northern half of this level is pretty much entirely filler. These skeletons guard a button that moves some walls around, and a switch that opens a nearby room with zombies and a healing potion. There's nothing really special up here and you can skip it all with the teleporter.
The northeast corner has the gold key door leading to the level 3 entrance.