Part 5: Curated Fishman Ass
EOTB 3: Curated Fishman Ass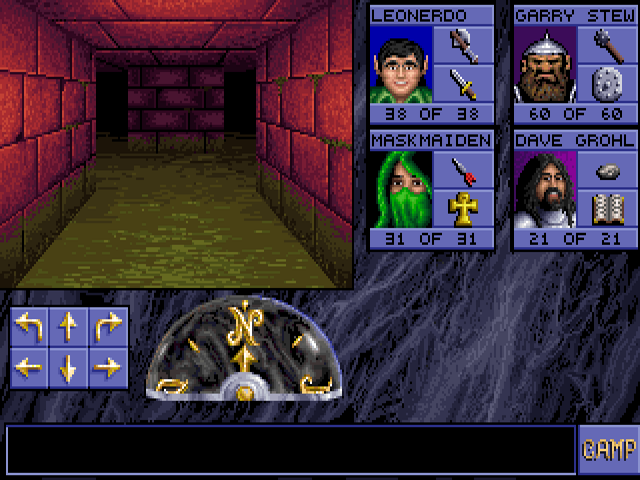
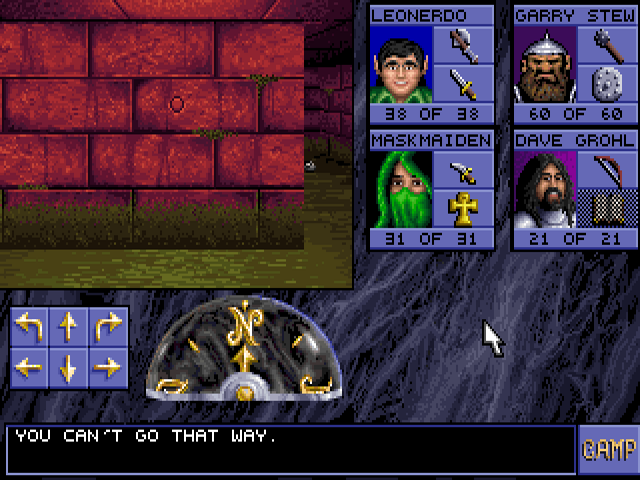
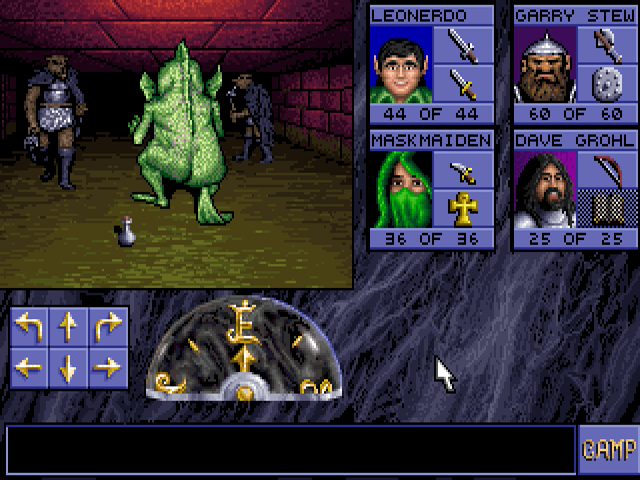
The first thing you hear when entering this level (if you have sound activated of course) is a very loud *blop* sound. All monsters have distinct walking sounds that change volume based on proximity. This does not account for any walls between your party and the monsters. I start with the east fork from here.
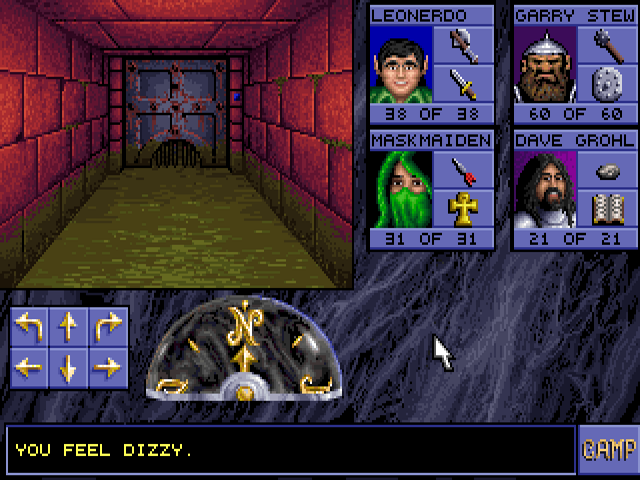
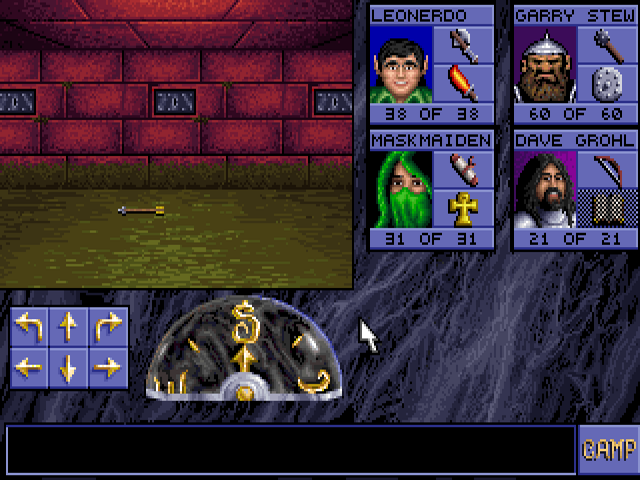
In the hallway is another instance of that beloved mechanic, rotating tiles. I was facing south before this. After this is a room with a key followed by another hallway that does this.
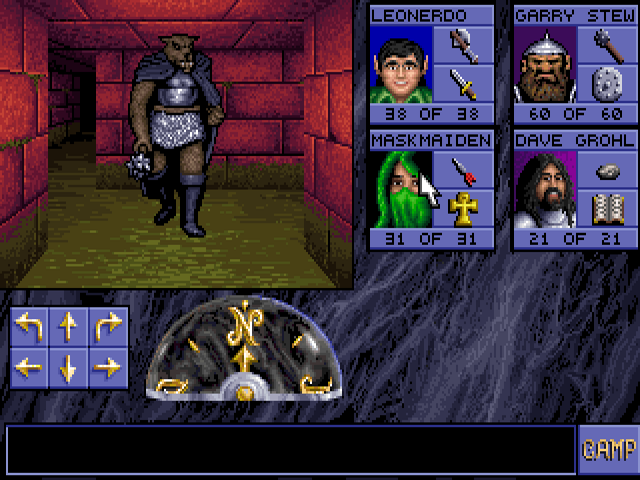
The first monster we encounter in this level is a flind. They're quick to attack when they get in melee range and sometimes drop their maces upon death.
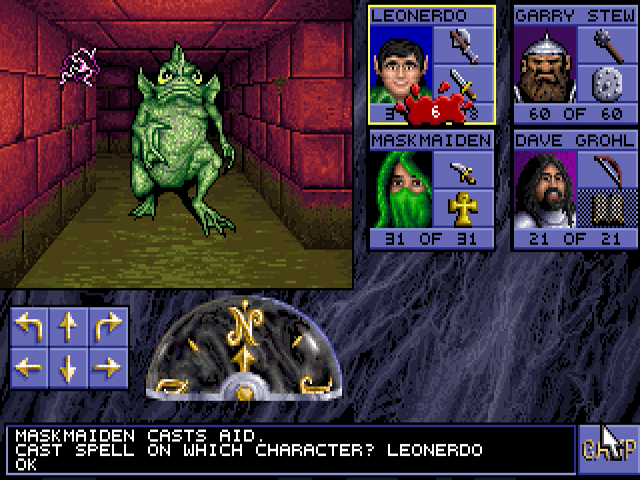
Soon after we meet the other monster of this level, a kuo-toa. This was the source of the noise at the beginning. As seen here, they can also throw a lightning bolt. This makes them the first enemy with a ranged attack, which fortunately doesn't penetrate like the spell.

In the northern hallway there is a hidden teleporter that moves you to the east end the first time you walk into it. The "T" on this map marks a non-hidden sparkly teleporter like the one in the previous level. Like that one, this is also a shortcut to the exit. You can skip pretty much this entire level, but not before another hallway that does this.
After getting past there, a small button opens up a wall. This leads to a cleric scroll of Cause Light Wounds, a spell that can only be used from the front row.
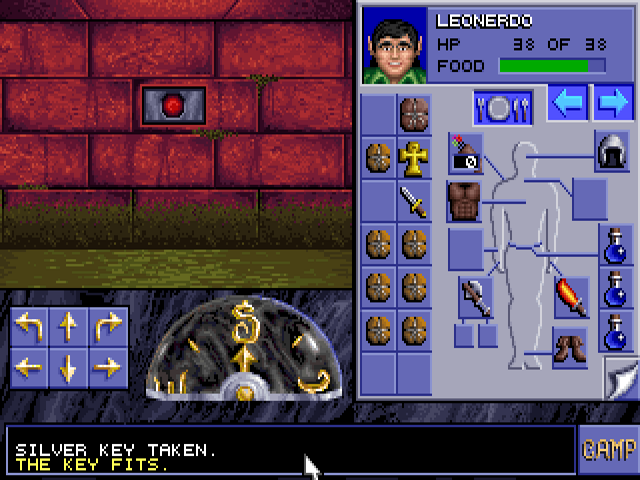
The key we found earlier can open up these panels, which reveal buttons.
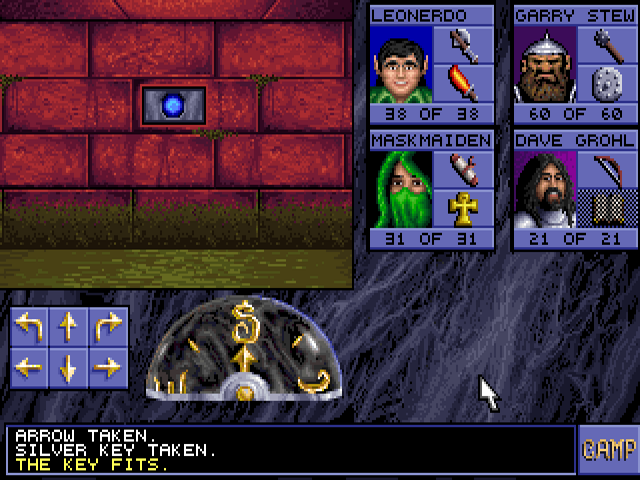
The two on the sides spawn kuo-toa that drop keys.
The middle one removes the wall behind it.
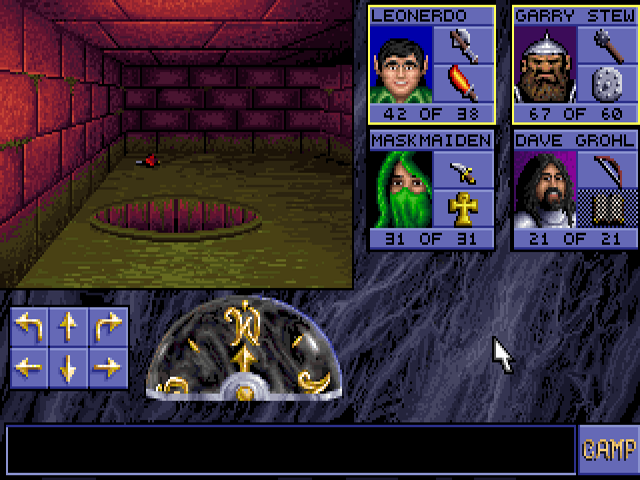
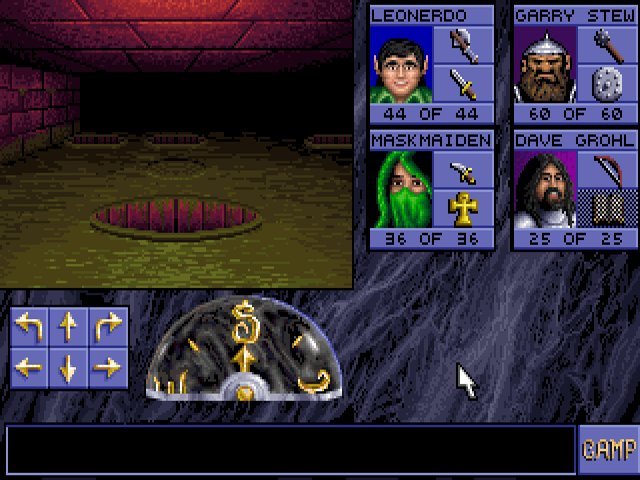
Later on is a pit that opens up in the tile directly in front of you, so don't rush too much. This will drop you to level 4, right into a giant spider lair. We're not well equipped to deal with poison yet, so let's avoid it. Behind it are a red gem and a +3 dagger called Backstabber.

This door has two different locks that can open it. Using this one will spawn kuo-toa at your flank and back. There is another one around a corner to the south that won't do that. Either way, that room has another kuo-toa and a couple of healing potions.
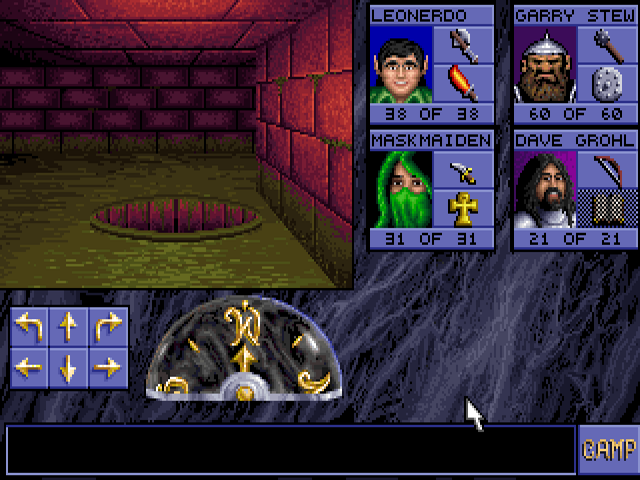
Another pit that opens up right in front of you and drops you into a spider lair.
There are two doors with these sockets next to them. Putting the red gem found earlier into one will open that door.
One of them leads to this room, with a floor plate and pit puzzle. At the end of it, you get four arrows, a potion of speed, and another red gem. Falling into one of these pits won't take you to level 4, but a small room of level 3.
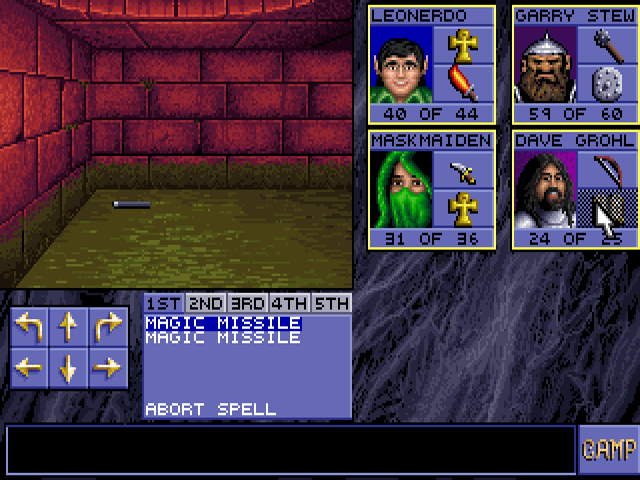
It actually might be worth doing since aside from 3 kuo-toa, it has the game's first wand. Unidentified wands can be annoying to keep track of since they all look exactly the same. This one casts Magic Missile. Speaking of which, Dave has his spellbook open even though it shouldn't be usable right now. If you use a spellcasting item then move it, the spell menu will stay open and allow casting.
On the way into the southwest portion of this level, I find a mage scroll of Fireball. This causes damage to everything in a single tile. It's not quite the weapon of mass destruction it is in other games, but still useful against groups and less likely to burn your own characters. I go ahead and teach Dave this spell since there's another scroll for it later, but he's almost certainly not going to reach a high enough level to cast it.
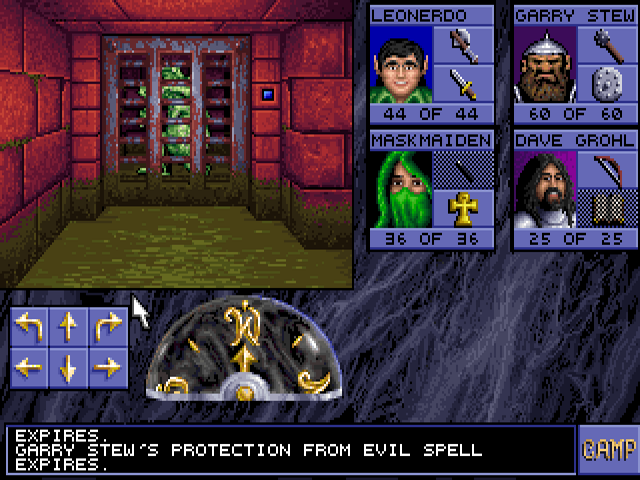
Another grated door. The kuo-toa can't shoot their lightning bolts through it, so you can kill them with impunity.
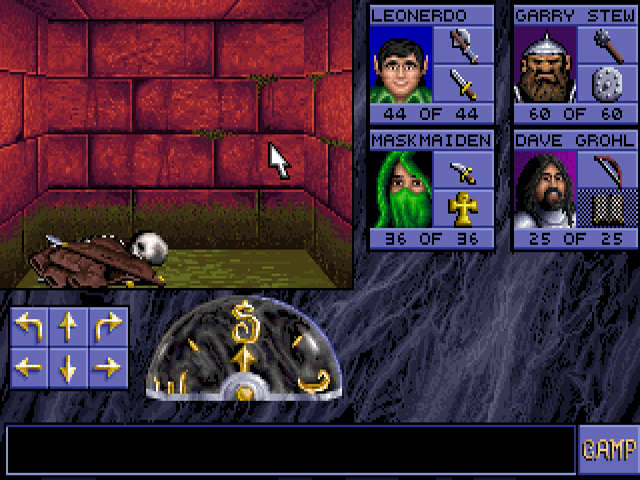
In the southwest corner are the remains and possessions of Anya, a human fighter. Alongside the bones are leather armor, a long sword, and a spear, a weapon that can only be thrown.
I backtrack to get to this room.

It has 3 flinds and 4 kuo-toa that stand perfectly still and won't attack unless you do first. If a monster becomes hostile, all other monsters of the same type will activate. Taking this potion of healing is another way to activate the kuo-toa, and the most advantageous position to do that.
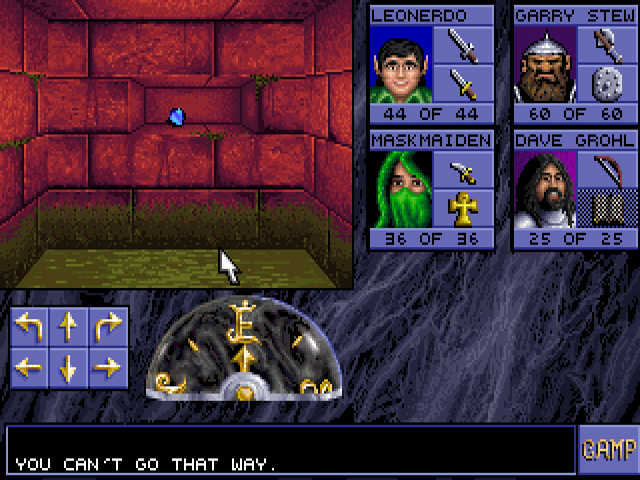
The exit is accessed from a square hallway, with hidden teleporters of course. Can't get enough of those. It has outlets on each side containing shelves with blue gems.
Insert them into eye sockets in nooks on each side.
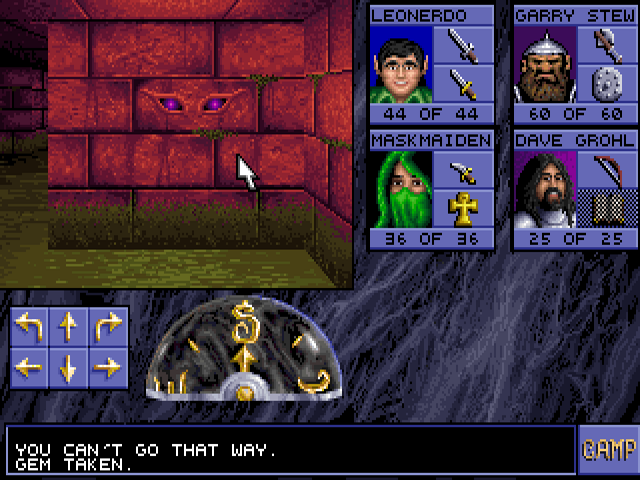
Once all four are in, they change color and walls are opened on the north and south sides.
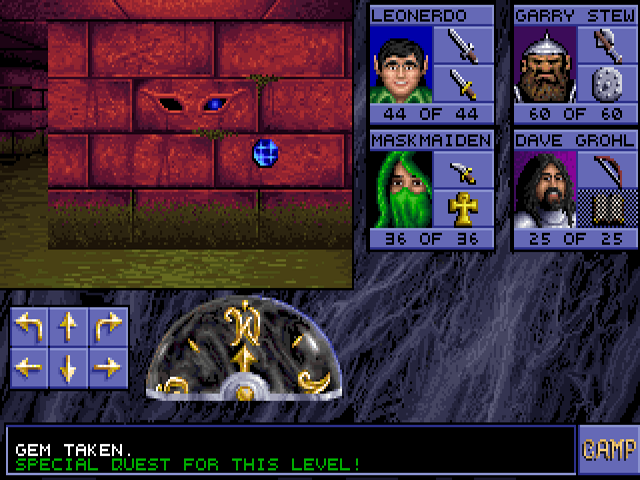
After that, you can take them all back out for this level's special quest.
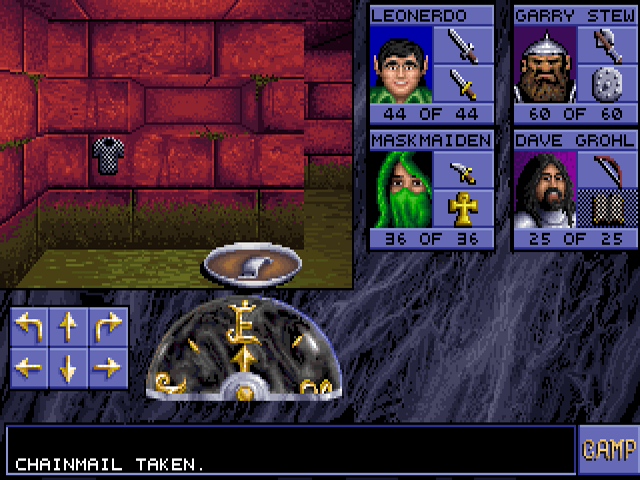
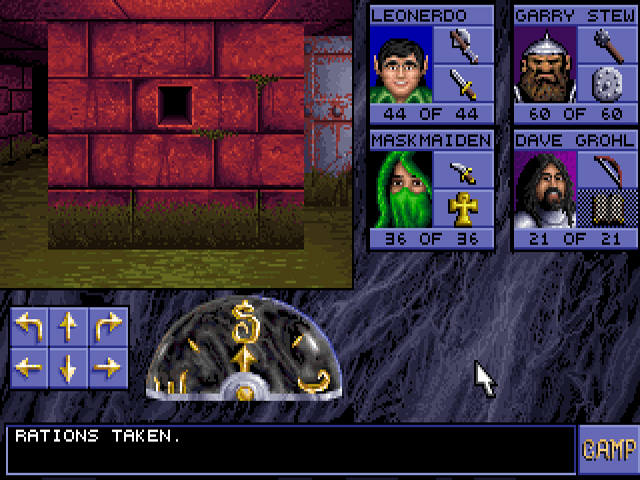
The last room has two exits to level 4, on the north and south sides. Near each exit is a shelf containing iron rations, which restore more of the food meter than regular ones. Near the north one we find some chainmail, the first improvement over leather armor. The north exit leads to a safer part of level 4, so we'll be taking that one.