Part 10: Magic Stones, Swords, and Darts
EOTB 8: Magic Stones, Swords, and Darts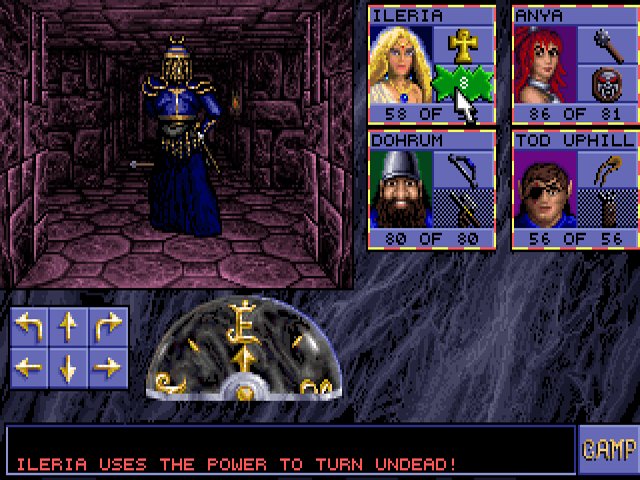
The last major challenge of level 7 is a prison area with ten cells. Most of have one or two skeletal lords within them. You open the cells yourself, and there's a 3x3 room in the middle, which make this manageable. As you can see here, they can be turned like other undead, though a 6th level cleric won't often do it successfully.
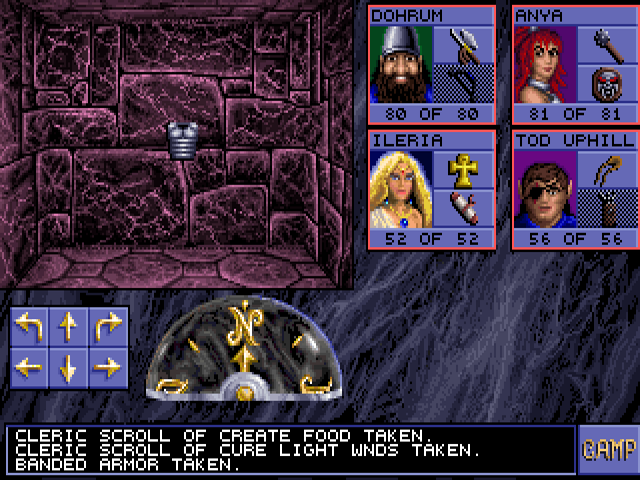
The main reward is four keys (two drow, two jeweled) that will allow you out of here. Other loot includes the second-best armor type and a scroll of Lightning Bolt, which damages a single column of enemies and won't bounce off walls like in other games.
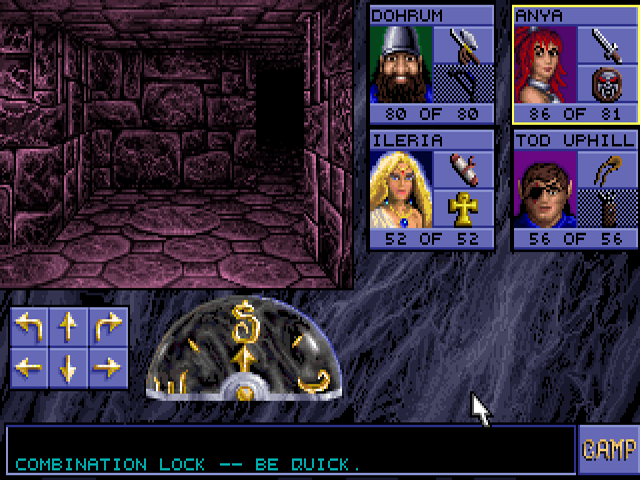
The four locks all look the same, so it takes guessing/trial and error or a guide to know which key to use for each.
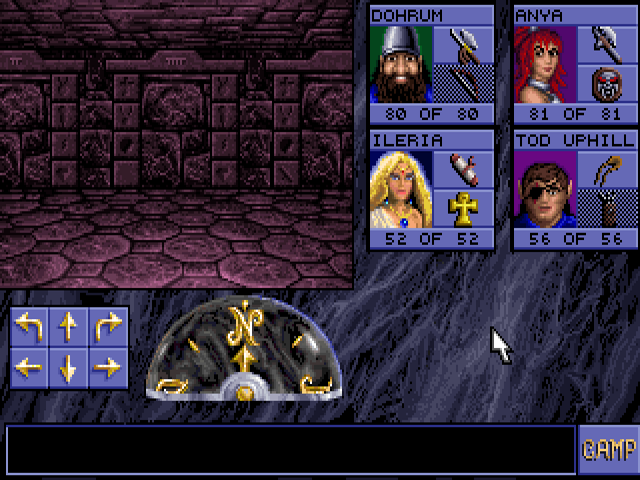
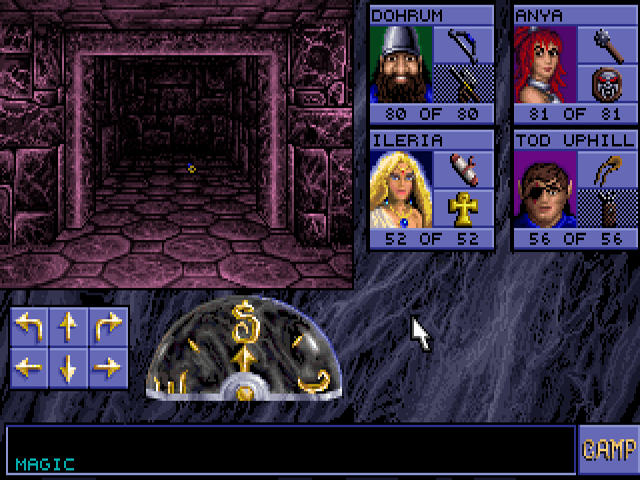
This leads to a hub with five stone portals. These are the medallion portal to level 4, the necklace portal to level 5, the dagger portal to level 9, and two more (on perpendicular walls not visible from here) we don't have keys for.
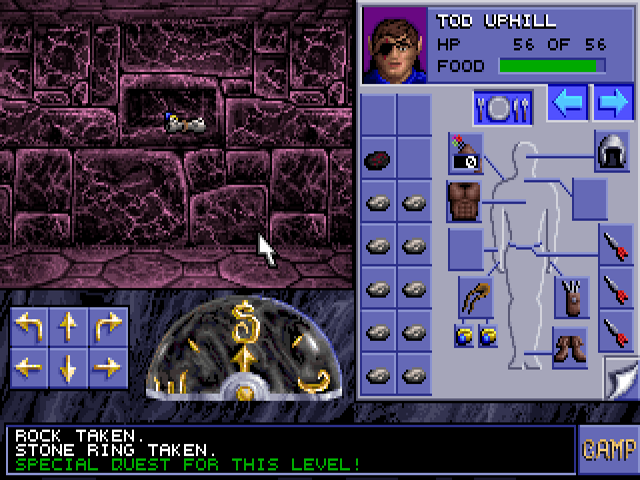
Across from the portals are three shelves. One has a wand with no magic (amusingly identified as "Wand of Stick"), one has the item you "sacrificed" in the trial from the previous update, and one has this black rock which is +1. Level 7's special quest is to put a stone portal key on each shelf, which creates scrolls with hints about where some of them go:
quote:
Around the neck
Made of gold
The sign of dwarves
You've been told
The light of the stars sparkles in the gem.
Follow one to see the other.
The orb leads to great evil.
Past stairs down to level 8, there is a cell with two more skeletal lords across from a teleporter to a vault room. The vault has three doors with a single item behind each, and opening one permanently locks the other two. They each have labels on the opposite side:
Weapon - Slicer, a +3 short sword
Armor - Bracers of Protection +3
Magic - A Ring of Wizardry, which doubles a mage's 4th and 5th level spells.
I take the last one since it's the most unique. I'll find things that are the same as or better than the others in the first half of the second game.
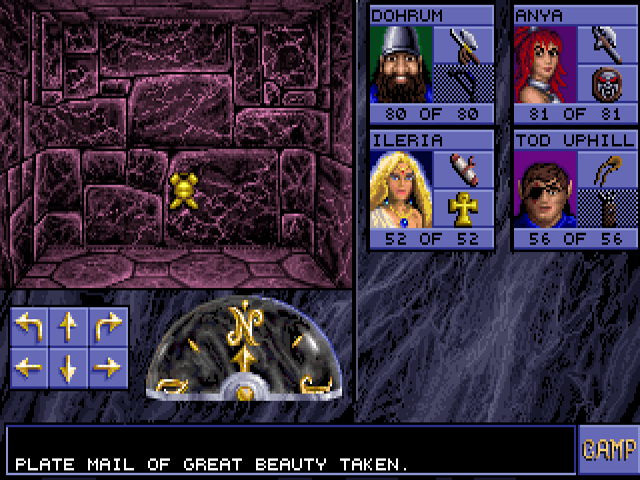
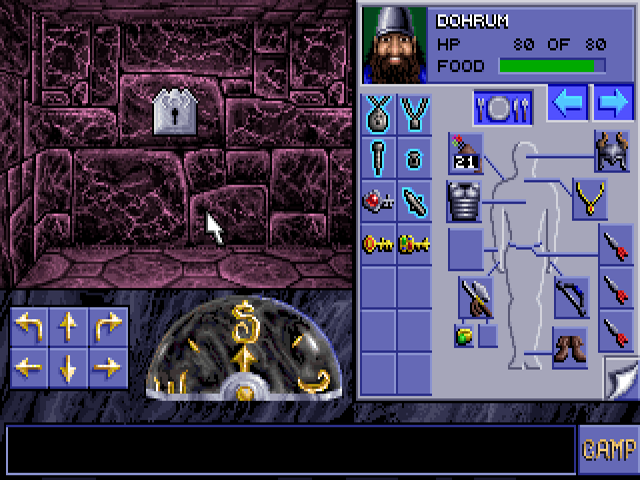
One of the first items found in the main part of level 8 is this. It's -3 though that's still a net improvement over no armor (equivalent to scale mail) and it can be taken off with no problem.
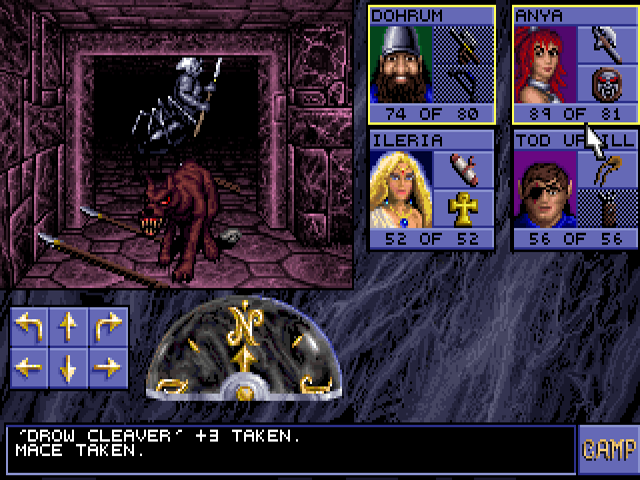
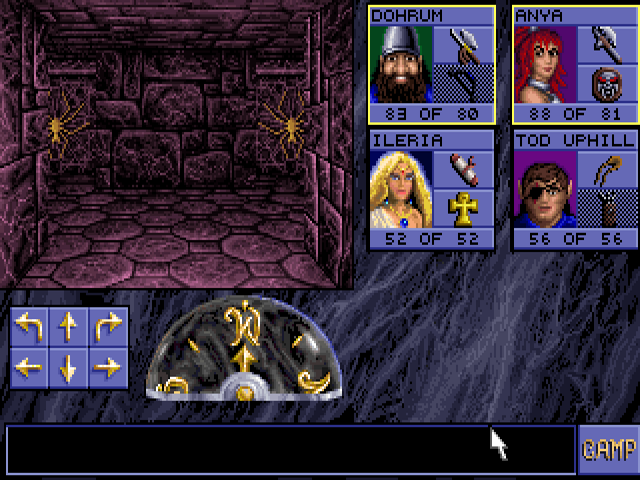
Level 8 is one in which both monster types occupy the same area. In front is a hell hound, which attacks quickly and requires a lot of hits to bring down. Behind it is a drider, who throws spears, but not over the hell hound despite the height difference. The manual suggests that they can cast spells, but they don't.
There are two scepter portals in level 8. One in the west, one in the east. Using the western one will take you down to level 10, and using the one there will bring you to the eastern one, which cannot be activated.
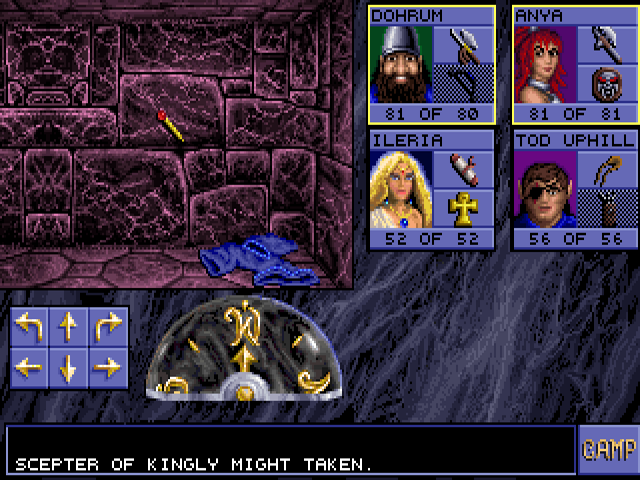
A hallway in the south re-introduces rotation tiles and the much more annoying hidden teleporters. Getting past those and a drider leads to this. If it has any special effects I have no idea what they are.
This is the start of a gauntlet. Certain tiles will launch fireballs from the north, the direction you are trying to go, with three two-tile alcoves to dodge on the sides. Two of those have pits in one tile. Past that and more hidden teleporters, I find a Ring of Sustenance in the northeast corner. It's supposed to keep the wearer's hunger meter from depleting, but doesn't seem to actually work in this game.
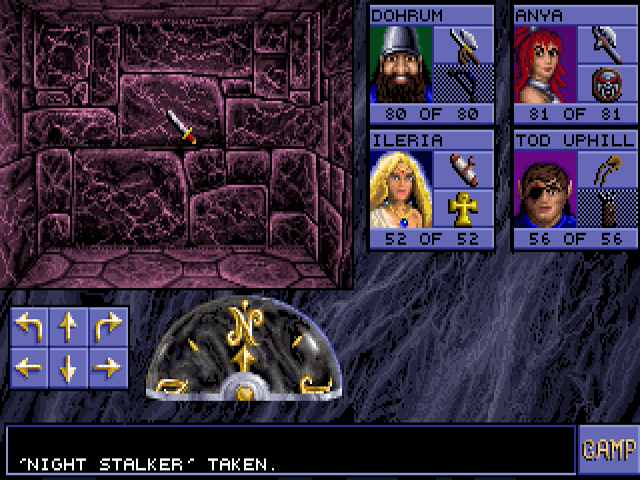
Behind an unmarked illusory wall in the northern part, you can find a +3 longsword.

A row of pits toggled by plates to the west (the direction I came from) and another +1 rock.
In the southeast there is a split hallway. The one you go into first will close off a section of the other, blocking access to an item. I take the northern one to take scroll of Ice Storm (does damage over five tiles in a + shape, the most likely spell to harm your own party) over a set of lockpicks, which are entirely useless at this point.

This room has twelve empty launchers. Putting a dart into each one solves level 8's special quest.
Activating the trap causes ten of them to come out upgraded to +5. This room also happens to be close to the stairs down to level 9.
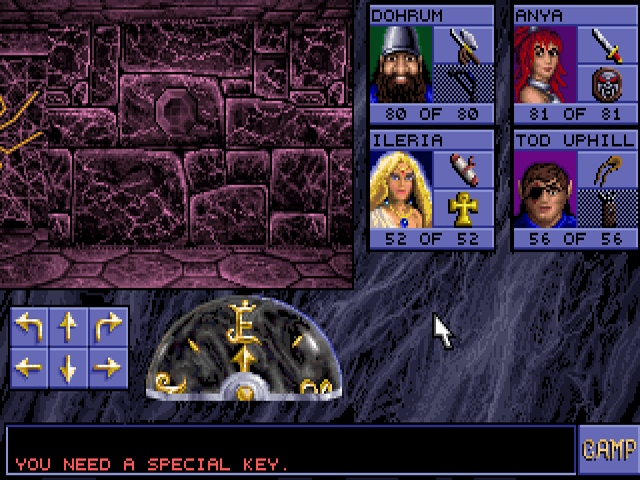
The start of level 9 is a room with doors at each corner. The northeast one leads to two of these doors. The item needed is not a gem like before.
Rather, a hall to the south drops another two +1 rocks which can open them. However, neither room has anything I really need, so I just keep the rocks.
The northwest door leads to several displacer beasts and a locked door. The key is behind one of the rock doors, but there is another way to the same places:
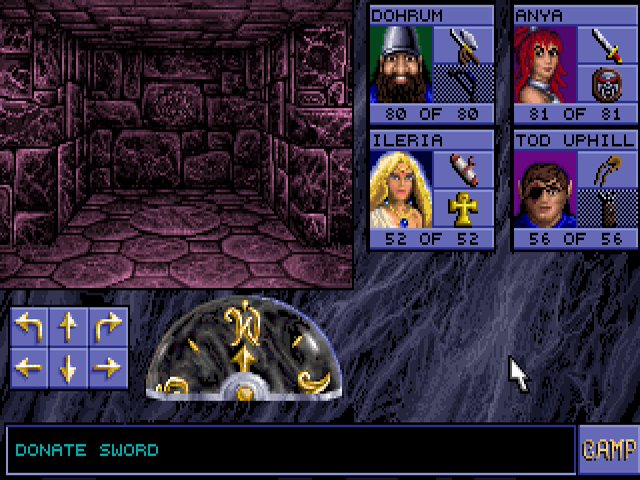
The southwest door leads to another with four plates requiring certain item types. This one says "sword" but any weapon besides a bow, sling, staff, or dart will work. The others ask for "armor" (otherwise-useless helmets work for this), "food" (rations), and "missile" (arrow, dart, or rock).
Level 9 is mostly populated by displacer beasts, but also has a few rust monsters. Their hits do very little damage, often none at all, but they can eat any metal item that character's inventory. This includes weapons, armor (including helmets, shields, and bracers), rings, and even wands. Axes strangely don't seem to count as metal, which is probably an error. I made sure my front-liners only had useless metal items before coming here.
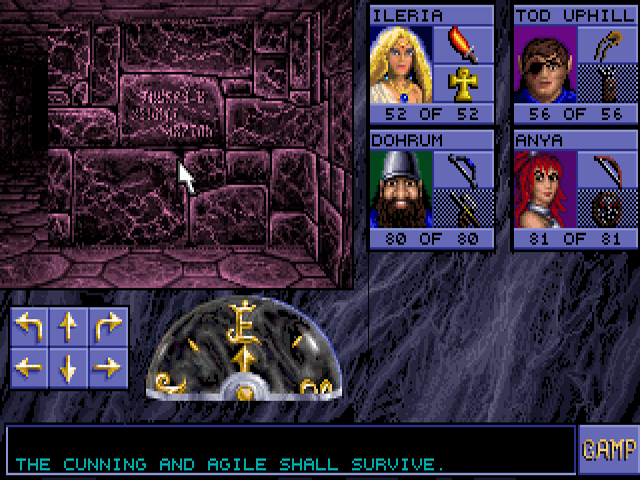
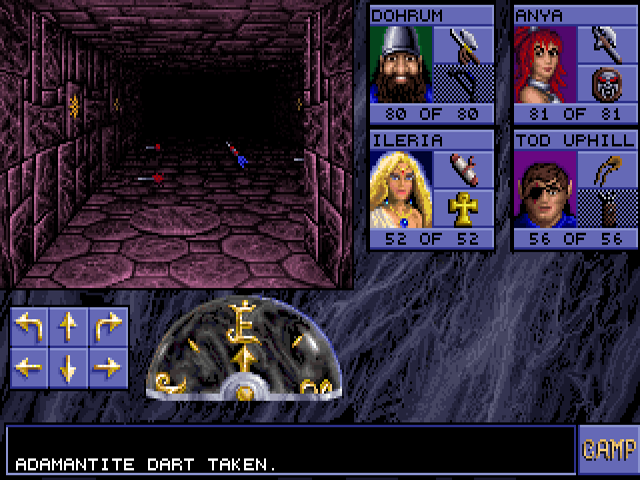
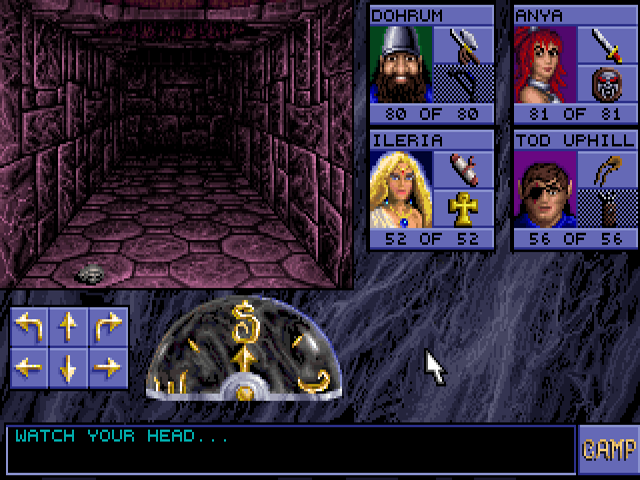
This hallway has a gauntlet of dart launchers on the north and south sides. They can be dodged by speeding through it.
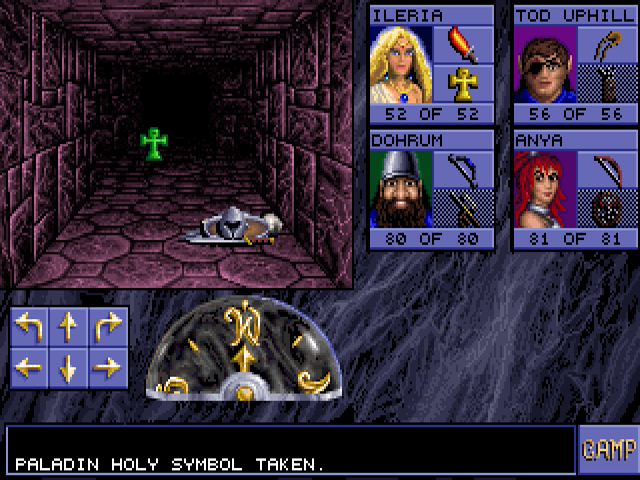
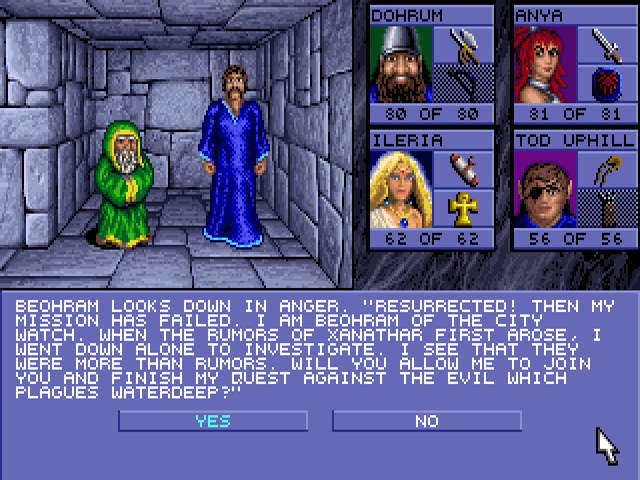
At the end of it are the remains of Beohram. Despite what this holy symbol might lead you to believe, he is actually a fighter. His other items are plate mail, a helmet, a shield, and Severious, a +5 longsword. That's the best weapon in the entire series right there.
This room has buttons that activate Magic Missile launchers, but you don't need to interact with any of them. You can just pick up a key on the floor and unlock the door at the opposite corner. The remnants of a scrapped puzzle, I guess.

It leads to this, a puzzle that definitely wasn't scrapped. It's one of the more complicated and least intuitive ones in the game. It might look like you should just throw an item over this pit to the plate, but doing that just makes it come back at you. Instead, you throw it through the top of the north wall, where it ends up landing in the middle. That uncovers another plate to the west (past another pit), which opens up another way in from the south. That's how you press that plate to close the pits. This ultimately leads to one way into level 10, but I'll be taking the other.
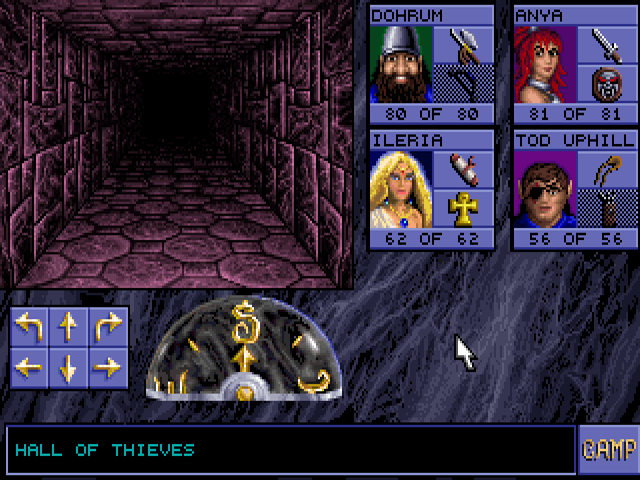
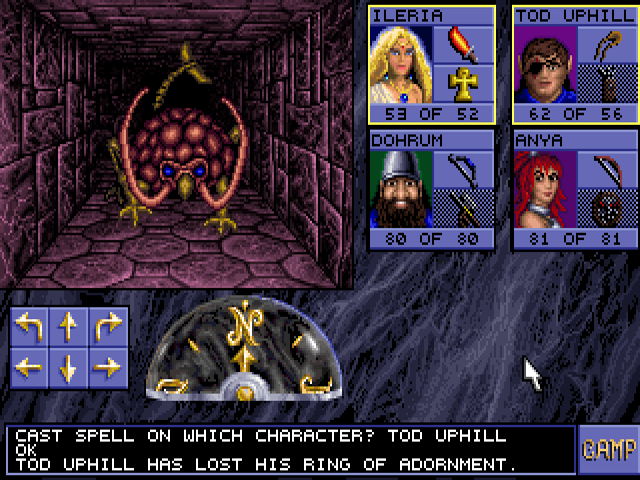
The southeast door from the entrance leads to this corridor full of shelves. They will each take a small item from your party as you walk past, true to the name.
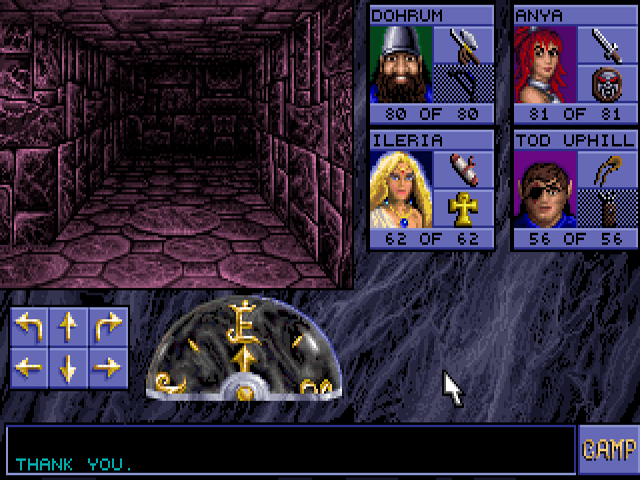
At the end is this plate, which deactivates the robbery and changes the message at the end to "You forgot something." That allows you to go back and retrieve your stuff.
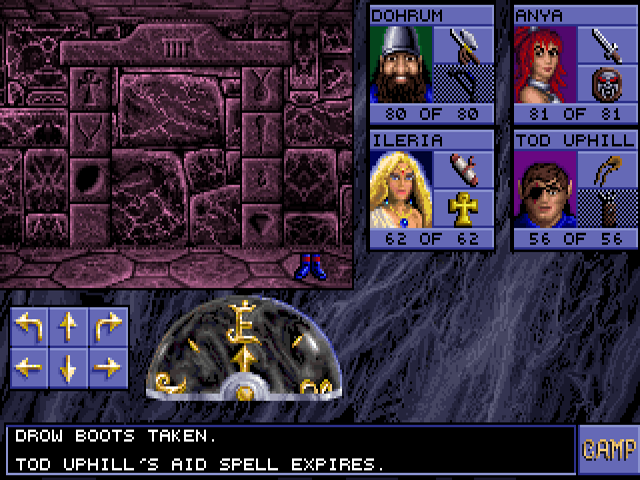
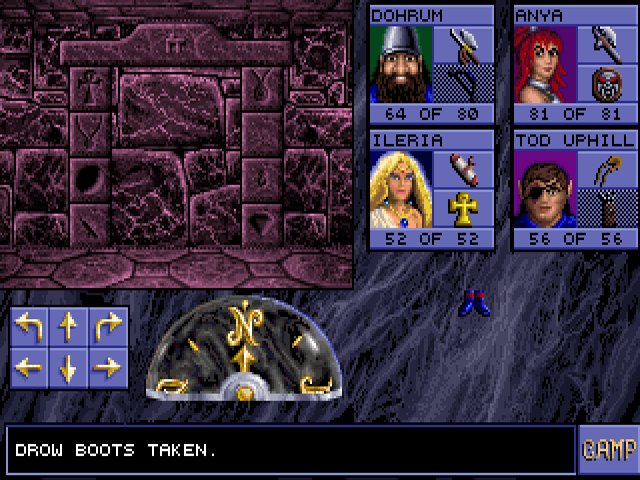
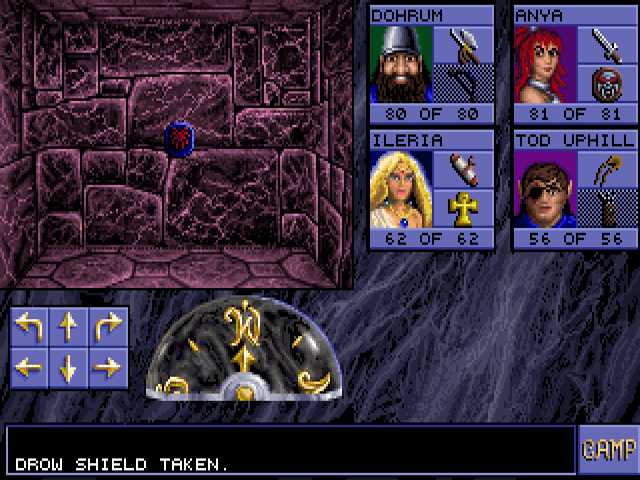
The other end of the dagger portal, and another pair of drow boots. I don't know if those are any different from other boots.
Behind another unmarked illusory wall is a +3 shield, the best one in this game.
Giving up a small item to this shelf removes the north wall, leading to a Wand of Fireballs and the other way to level 10. Before that, I take the portal to identify my items and revive our new companion, Beohram:
If you refuse him:

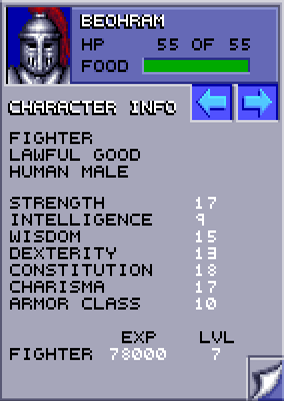
He replaces Dorhum, though is a bit of a downgrade:
One last thing in level 9:
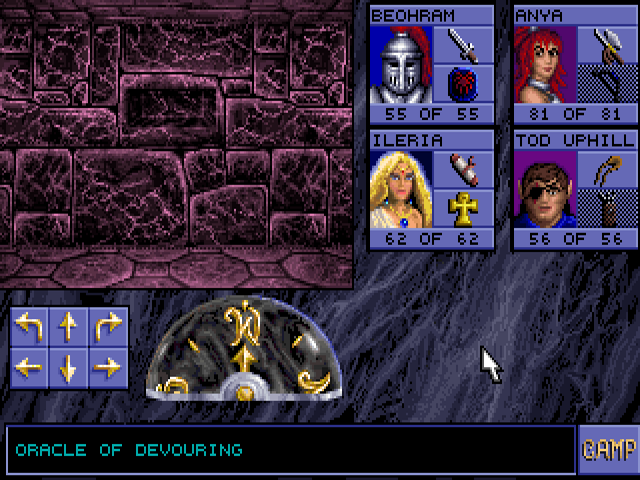
This works like the Oracle of Knowledge in level 4, but destroys the orb in the process. The Oracles are both very close to the portals in their levels, connected by the hub in level 7, so there's not much point in using this one over the other. Granted, Orbs of Power only have one other marginal use anyway. I take the south path to level 10, fighting one more rust monster along the way.