Part 12: End of the Beholder
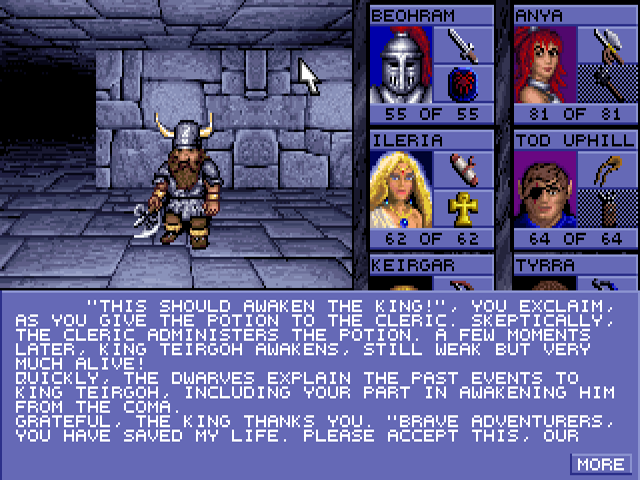
EOTB 10: End of the BeholderWe return to the dwarves on level 5 and give them the potion. Voiced version here.

Here's what we're given:
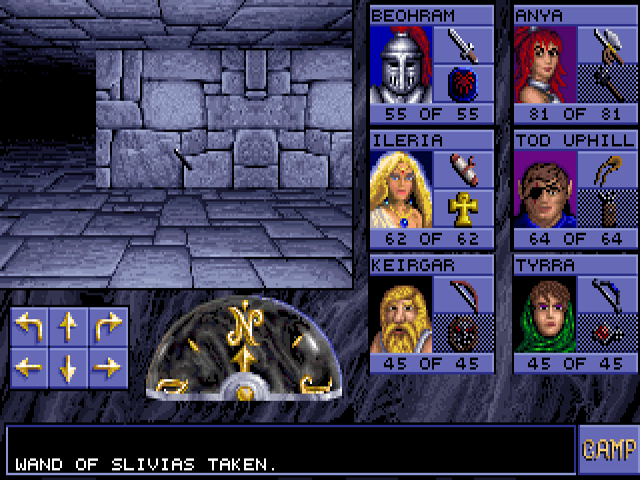
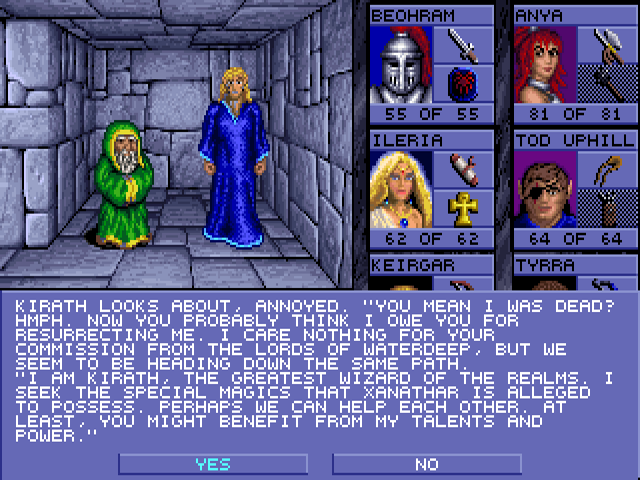
Wand of Slivias? Excuse me, it was supposed to be the Wand of Silvias. Bunch of scam artists here. As with any other wand, only a mage can use it. We can also take care of that right now by reviving Kirath.
Here are his stats and initial spell list:
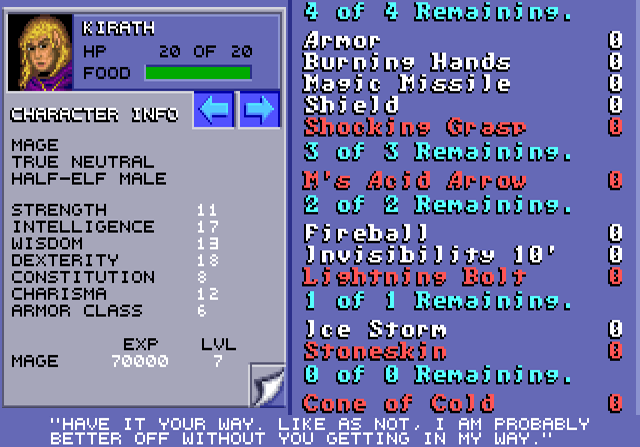
Two standouts among his spells. Burning Hands causes damage to enemies in front of you, which increases with the caster's level. It is notable mainly because it has no scrolls, so recruiting Kirath is the only way to cast it in this game. Stoneskin is an incredible buff. It nullifies a certain number of physical attacks, dependent on the caster's level (1d4+3 at level 7). Better yet, it is not time-limited. It will stay on after rest, so you can easily cast it on the whole party. Since only a few enemies are capable of anything other than physical attacks, this essentially means nigh-invulnerability. It does not protect against spells, however. A scroll for it is also behind one of the rock doors in level 9.
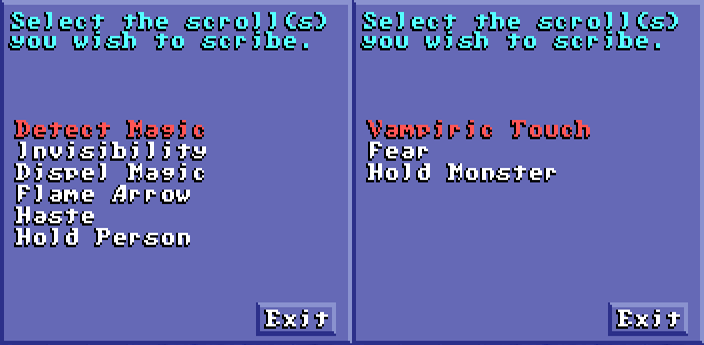
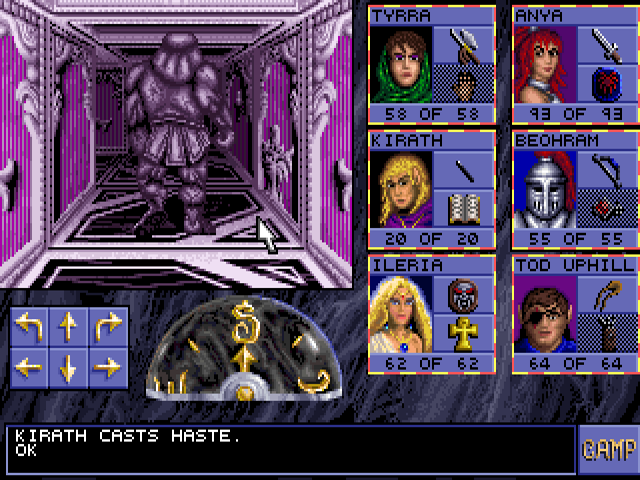
I also have him scribe some of the scrolls we've collected. I cancelled out after the first screen since it was listing spells he already knew. The most useful among these is Haste, which lowers the whole party's attack cooldown. Unlike some other games, it has absolutely no drawbacks in this series. Time to make use of some of these spells.
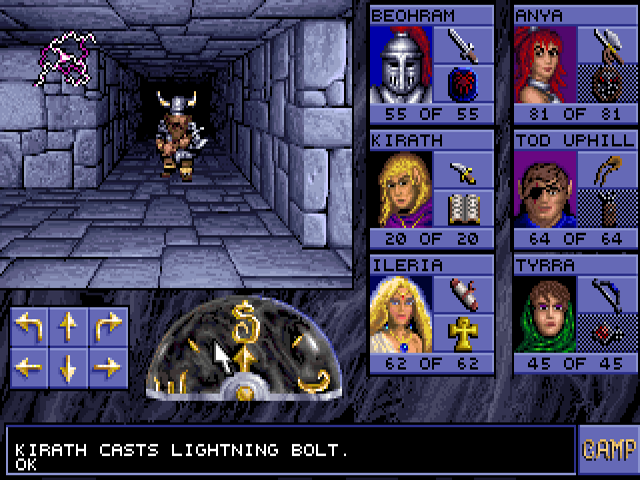
I'm getting revenge on the dwarves for their misspelled wand bullshit. This is two of them lined up in a row near the door. That latter part is important because it gives me an escape to avoid being surrounded. Nothing other than the party can open doors, not even the humanoids who built these places.
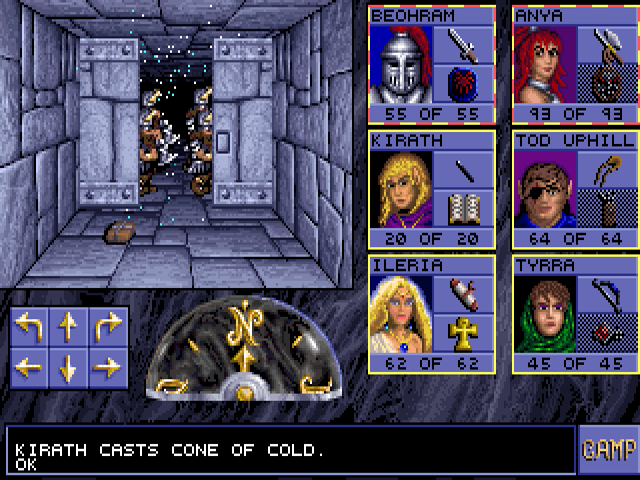
Kirath is not a high enough level to cast Cone of Cold, but I have four Wands of Frost. Here's a nice property of the spell: It can be cast through partially open doors. Any other spell would just hit the door, and the party if that spell was Fireball or Ice Storm. With this you can use it to kill enemies before they have a chance to reach you.
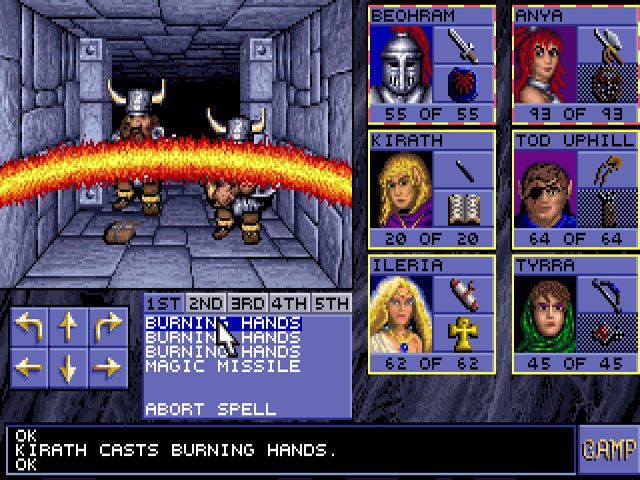
I use Hold Person on these stragglers and show what Burning Hands looks like.
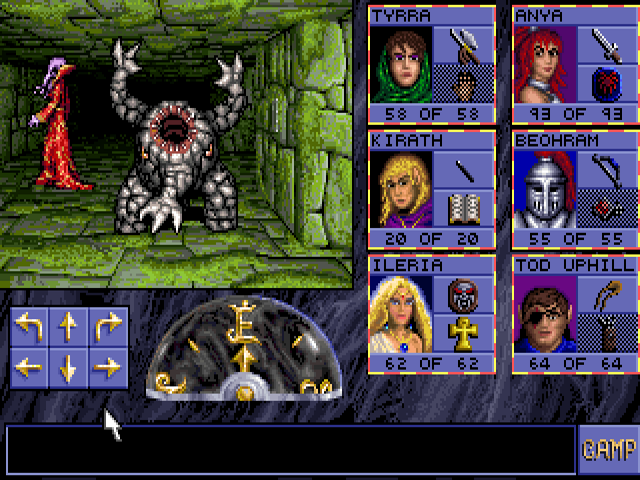
The way into level 12 is a portal behind a locked door in the southwest room of level 11. There are two xorns in the room and a mind flayer behind the door, so you can encounter both enemies in the same place.
Level 12 starts in a closed square room with no visible door. These things found around the level are fireball launchers, though this one seems to be inactive.
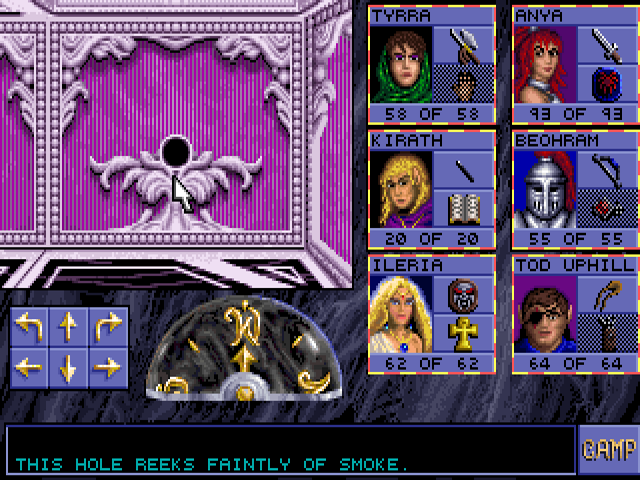
The way out of the starting room is clicking this lamp to remove the wall behind it.
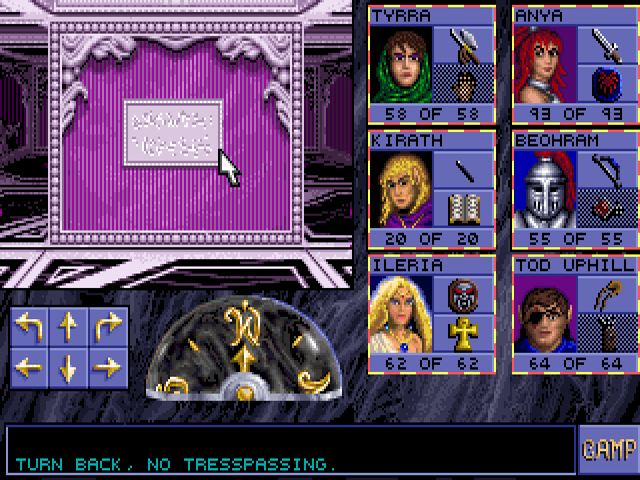
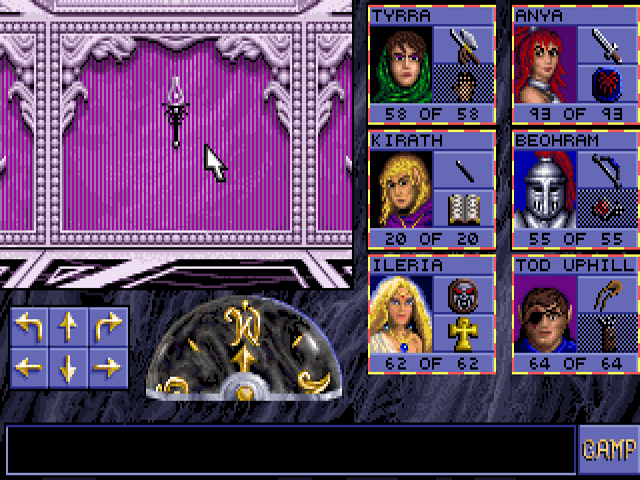
When you do, you see this message on a wall. In the next room, accessed by a normal door, is another sign saying "You were warned."
That room has a door to the west and this pixel-hunt button that removes the wall to the north.
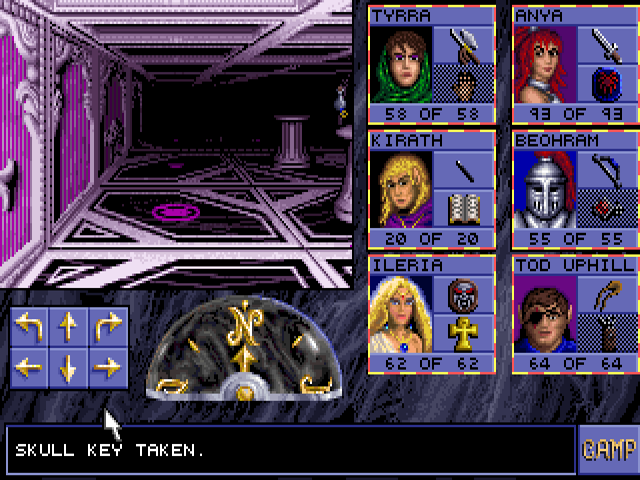
Taking that path disables a fireball launcher and allows us to get the drop on this level's main enemy type, the stone golem. These are weaker versions made by shortcuts, and they can be hit by non-magical weapons. Spells don't seem to work against them, though. There are four in this room, one of which drops a skull key.
To the north we find where they are made. Two other pedestals are labeled "Stone for substance." and "Potion for strength." Anything besides the Dwarven Healing Potion will work, including Potions of Poison. When each pedestal has the appropriate item, pressing the button on the right will create a hostile stone golem. The only reason to do this is getting some additional experience.
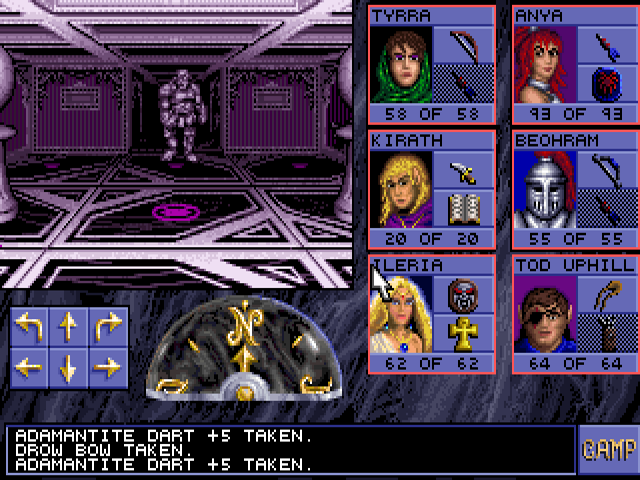
In the south there's another room with three pedestals. The middle one has another skull key. The outer two have Potions of Extra Healing and useless jewelry, but will steal small items from you if you take them. It's best just to ignore them.
This locked door is unique because it will close and re-lock itself when you come back out.
It leads here, with three golems in a corridor at the end. However, they don't come for you until you cross between the two pedestals, unless the whole party is invisible. You can also just pelt them with projectiles from here and never face retaliation. The shelves contain Potions of Invisibility and Vitality, which bring a character's hunger meter to full.
Level 12 is split into three isolated sections: west (where we started), central, and east. Each one has a room arranged like this. Two of the buttons will warp you to one of the other rooms, and the third will push you into the east wall, where you can go forward into another room or back where you came from.
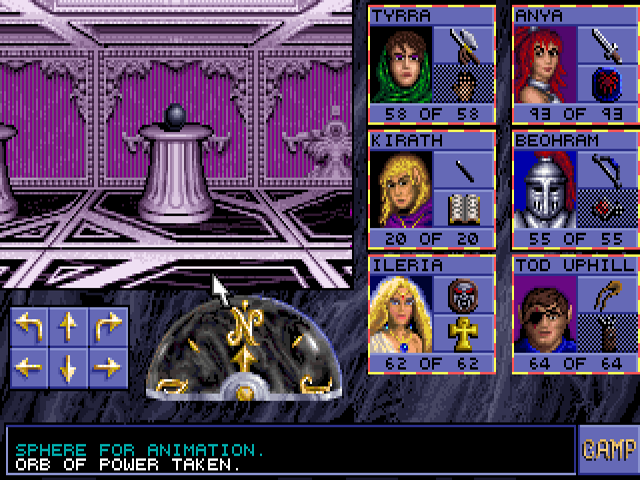
The east section has a different room with three buttons. The outer ones create shelves with items: an Orb of Power to the south, a Potion of Speed to the north. The middle one launches two fireballs that turn onto its location.

North from there you can find a Wand of Magic Missiles between two locked doors.
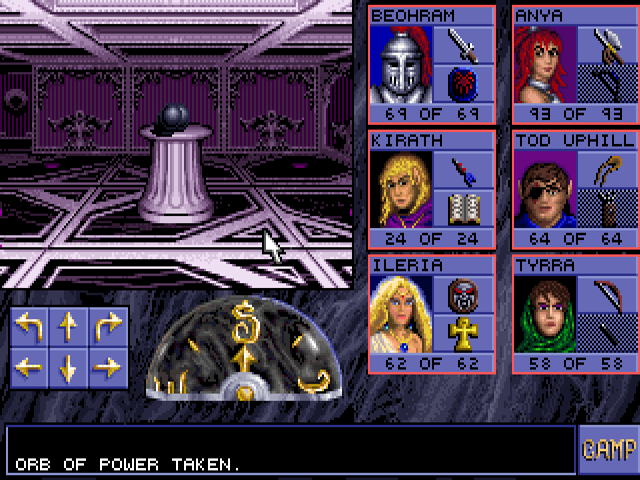
The northwestern room of this section has a pedestal with three Orbs of Power. They can be used in the central section.
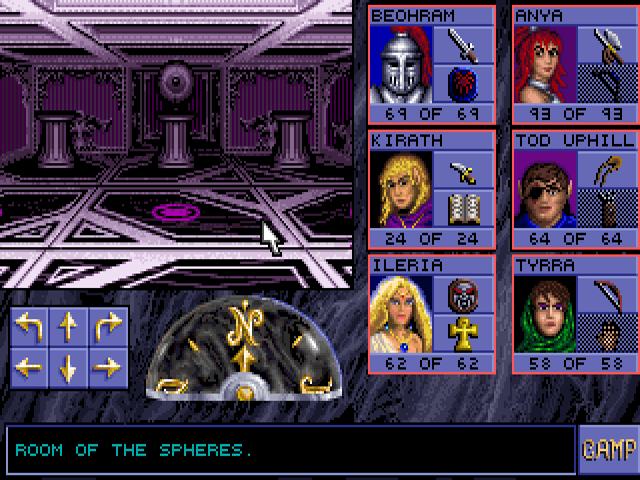
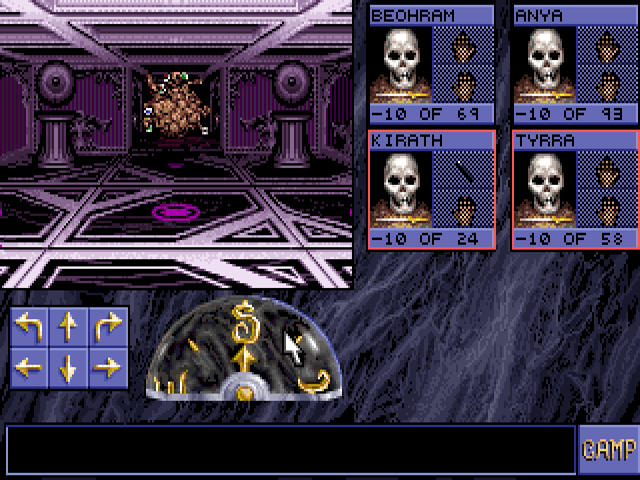
There we find this room at the end of a long hallway. Put an Orb of Power on each outer pedestal to remove the large eyeball. Put another orb there to remove all three pedestals. The orbs will return to the pedestal they came from. The room behind this has two doors that only open from the inside, connecting to that room with the orb pedestal and the golem factory. With the three sections connected, it's time to go back east and finally confront the titular beholder, Xanathar.


Beholders are extremely terrifying monsters that can very literally kill you just by looking at you and are immune to magic. Taking him on in a fight could be a very deadly mistake, so I do the sensible thing and surrender.

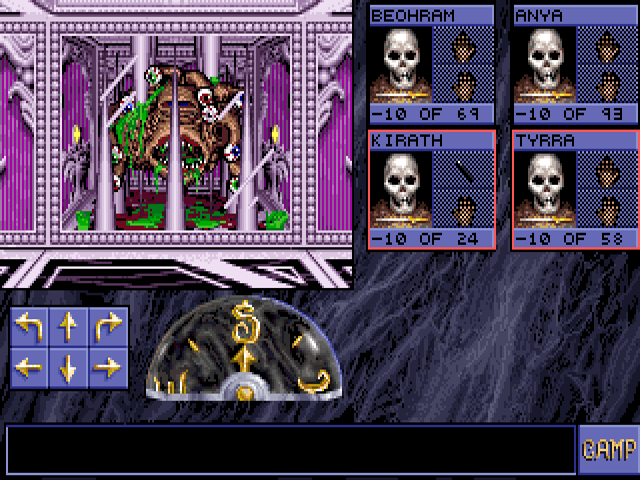
Your characters drop everything in their hands if you do that.
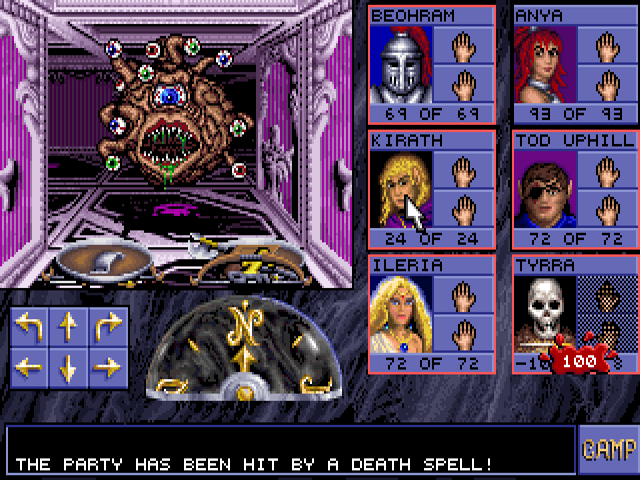
Damn, who could have guessed the villain was untrustworthy? Xanathar has two "insta-kill" abilities, the death spell and disintegration, that do exactly 100 damage. As you can see here, death doesn't happen at 0 HP, but -10. From 0 to -9, a character is unconscious: not able to do anything, but can still be healed back into action. Anya would survive this. In this case, Ileria is not a high enough level to cast Raise Dead, and I forgot to take any of its scrolls along. Oops. Luckily, the Wand of Inconsistent Spelling is still in Kirath's inventory. What it does is push Xanathar back. This is important because he stupidly put a deathtrap that he is vulnerable to right in his own quarters.
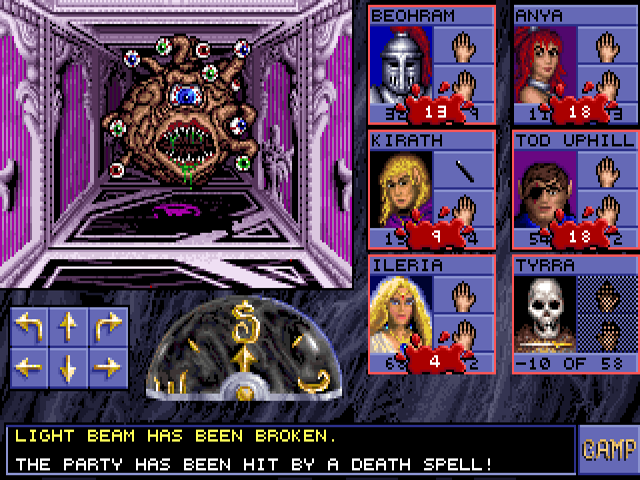
You have to get him through a corridor first, which reveals another mistake I made: neglecting invisibility. The beam launches a fireball from the north, but is not broken if the whole party is invisible. Granted, invisibility is no help against Xanathar himself, who follows this up with his own more powerful fireball that kills Kirath. I'll have to go back for my weapons and do this the old-fashioned way.
This is going pretty badly. Discretion is the better part of valor, so Ileria flees the battle and drags the barely-alive Tod Uphill with her. Obviously, when your last party member gets killed, that's a game over. But if you drop the last survivor, that last kill never happens. That means you can keep playing even with your entire party dead. In this state, while unable to attack or cast spells, you can still pick up items and throw them to damage enemies. I could kill Xanathar that way, but I'm not letting a perfectly good deathtrap go to waste.
That conspicuous bloodstain marks its location. The shelf behind it contains one of each stone portal key. Since I'm no longer able to push him back, I make him follow me instead. Protip: that's a better way of doing it even if you're keeping your characters alive and not using ridiculous exploits. To actually get him in there, I'll have to use the A.I. of the Beholder to my advantage. When an enemy is at your front-left position, it will move ahead to flank you. But if you move forward at the same time, the monster will keep going in the same direction. This also works with groups of four staying in formation.
It took a few tries to do this since he often turns around at the last tile. It seems to work most reliably when you follow him closely but don't bump into him.
When this happens, the special quest sound will play. I'm not entirely sure if specifically for getting him into his own trap, or just killing him by any means. In any case, we have achieved (pyrrhic) victory!
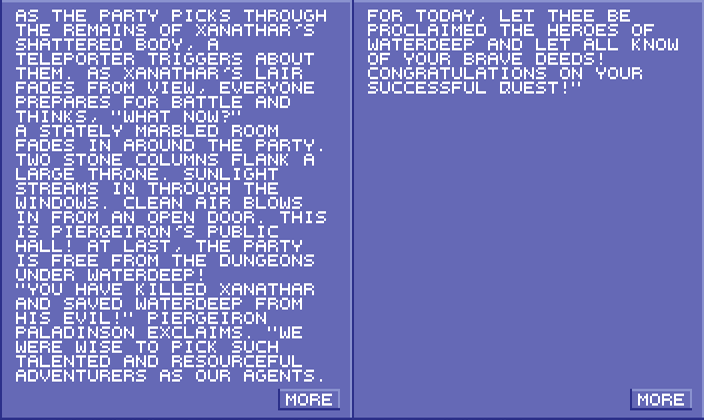
In the DOS version, the ending sequence is an anticlimactic text dump.

Completing all special quests gets you this as well before abruptly kicking you back to DOS. I have no idea where the password is used.
Videos
My absurd strategy in motion.
The Amiga ending, in which the Lords of Waterdeep act like pricks.
Sega CD endings with unused voice lines added.