Part 24: Dozens of Daemons
TLOD 10: Dozens of Daemons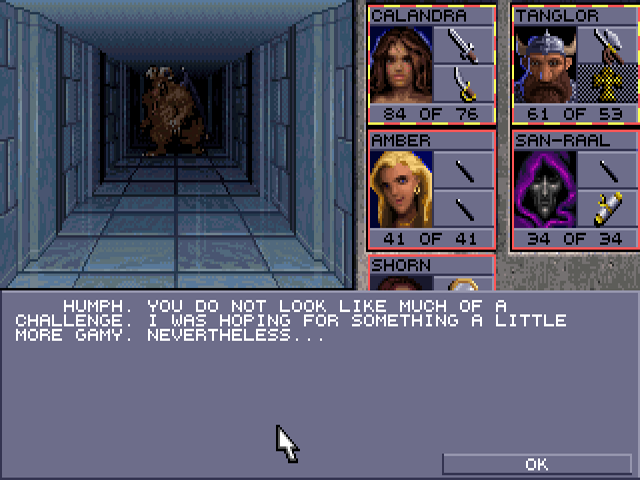
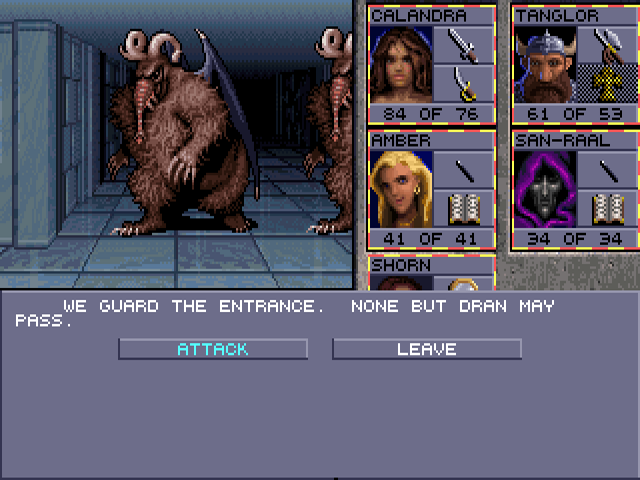
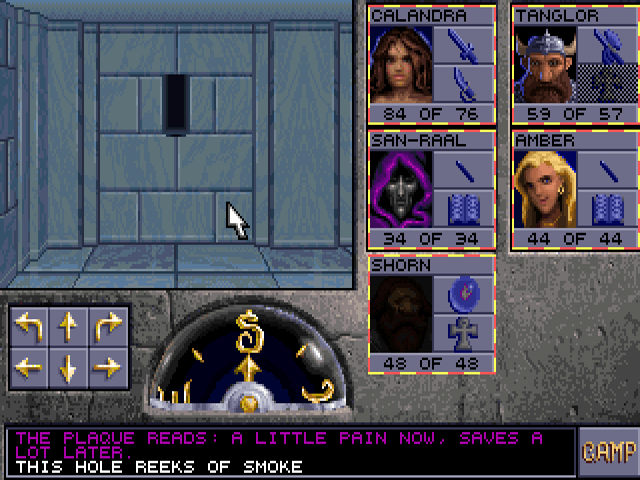
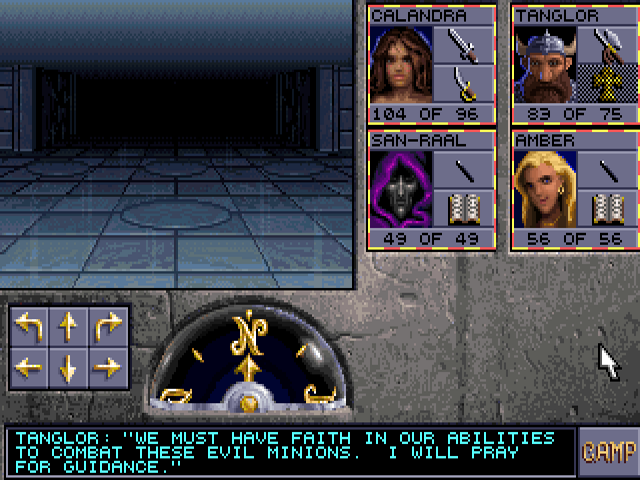
This is who issued the challenge at the end of the previous update, a greater guardian daemon. From what I know of AD&D cosmology, that "a" makes it something entirely different from a demon. Though I think this was released at a time when TSR had otherwise banned use of the "D-words" in its materials as response to 80's Satanic Panic. Anyway, this guy only has physical attacks with no status inflictions. The damage can go into the 20s, which is hardly trivial but nowhere near as strong as the bulette. To further compare the two, they have similar HP ranges of about 30-52, but he's a little harder to kill due to 25% magic resistance on top of immunity to lightning, cold, and weapons inferior to +2. Slay Living can work, though less reliably than on most enemies.
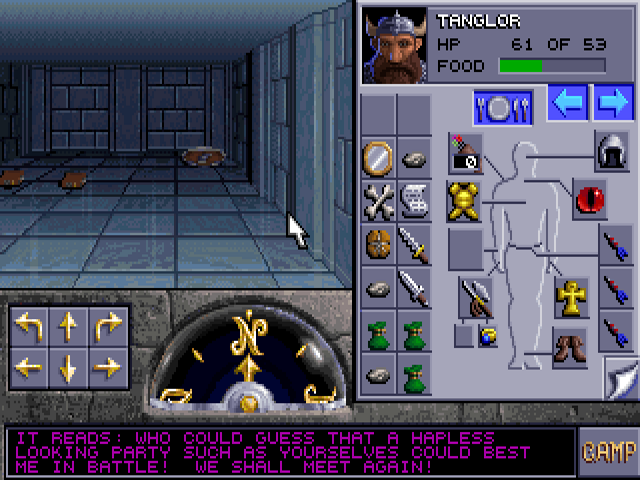
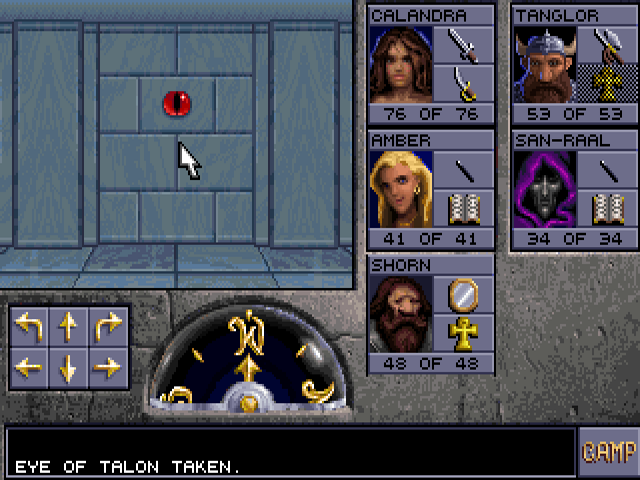
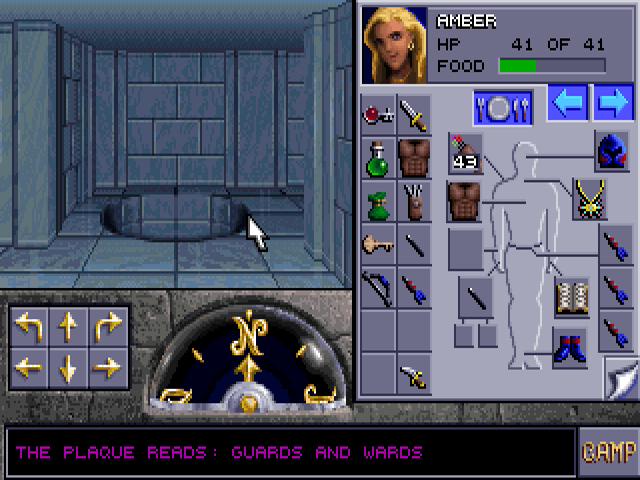
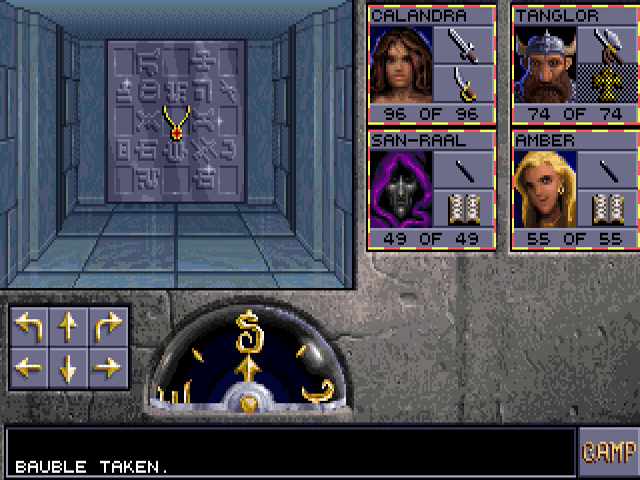
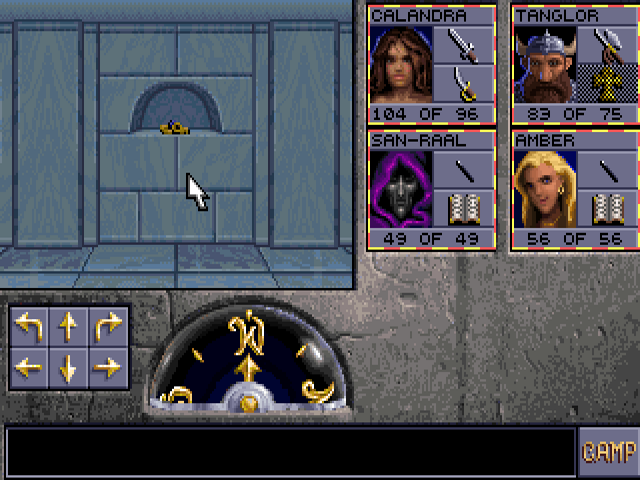
The Eye of Talon, being worn on the neck, is on the floor at his starting position. North of that is an illusory wall leading to a teleporter. It goes here, where your casting items plus another polished shield are found. Another illusory wall to the west, which was actually solid until now, goes into the north central room with the row of pits.
The Eye goes into this slot past the moving wall puzzle, but the door won't open until you also take it out. That's nice because it's something still needed later on.
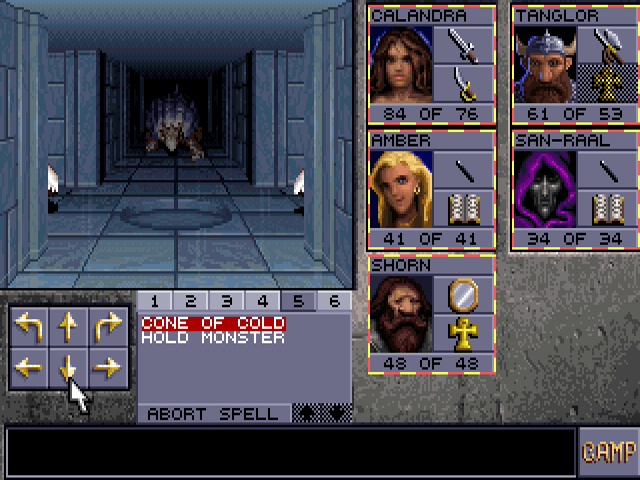
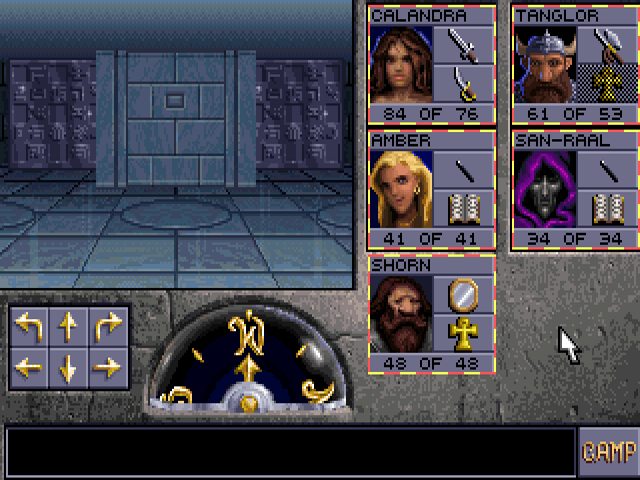
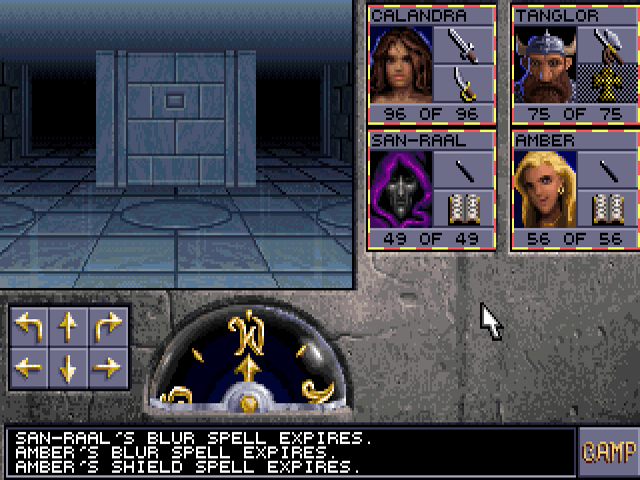
This plate closes the door behind you and makes bulettes in each corridor start moving. I use Hold Monster on the first one then Lightning Bolt and Cone of Cold to kill it and the one behind it. I then move into the junction for more mobility and use Slay Living on the last. The way to the Azure Tower's third floor is now open.

In addition to the visible shell lock, there's a crystal lock on the other side of that transparent door. Opening it requires both. It's an elf who makes this comment about stonework rather than a dwarf. This is calling out another illusory wall.
It goes into this room. The pressure plates do nothing. The button in the middle first opens the south door, which has a sign next to it reading "Short Cut..." Behind it is a teleporter leading to a shell key with no obstacles, and another teleporter back here. After going through that, the button opens the north door.
It goes into a four-tile corridor with a moving pit. It always skips the second tile, so it's safe to wait there. This ultimately leads to another teleporter.
That gives us a better look at the guardian daemons, who are the only enemies on this floor. There's no further dialogue if you leave.

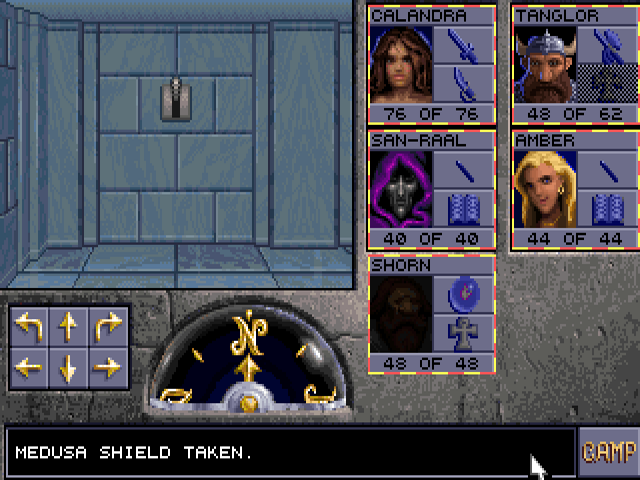
At this point doors to the west and east open, releasing another guardian from each room. I pre-empted that by casting Wall of Force in front of them beforehand. I then backed up beside the teleporter to avoid getting flanked. Since they're immune to all the spells that damage multiple tiles, fights with groups of them can be kind of a slog. One of the first two drops a crystal key, which has a corresponding lock to the north. You could use that or even the one from the second floor to unlock the staircase, but there are still things you need there acquired from here. Specifically, the east room has another Medusa Shield in it. There are six in total, and the remaining two are also in this area. The west room has an illusory wall on its north side with three more guardians behind it. They won't cross it, so you can whittle them down with hit-and-run.
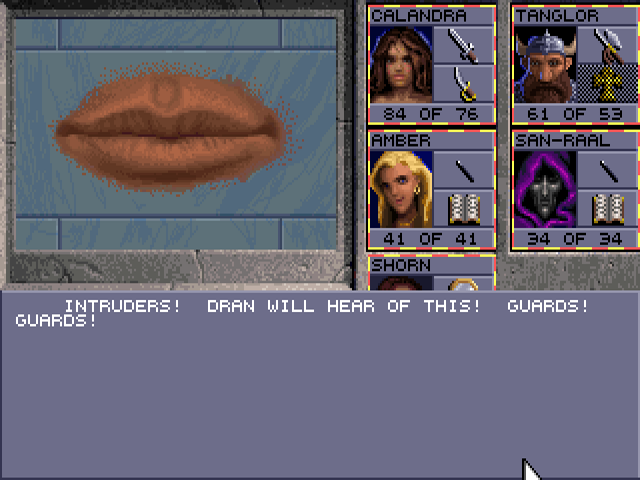
This magic mouth past the crystal lock opens a western door to the room those aforementioned three guardians reside. It and the lock can also be bypassed from that illusory wall.
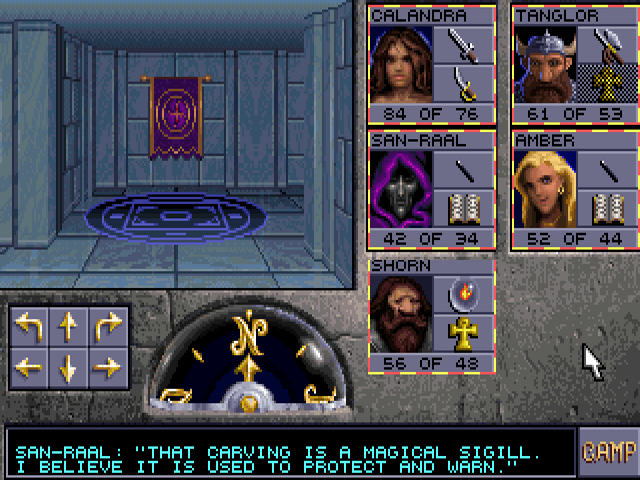
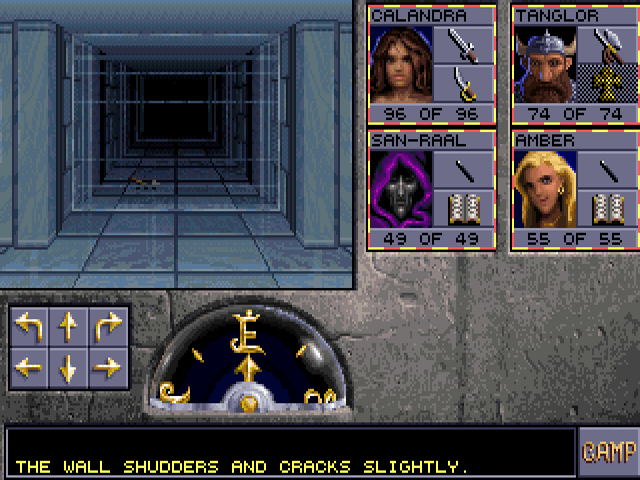
A mage gives a heads-up about this circle on the floor, but there's no way around it.
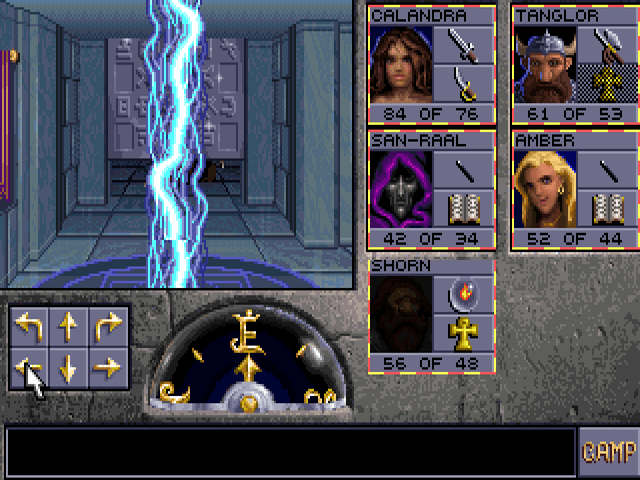
It damages the entire party with an electric beam every time they step on it and also opens the door next to it. You see a small part of a guardian behind this door, and there's another in the room. Also behind the door is a pressure plate that will close it. When you step off of that, it opens a door to the north with three more guardians behind it. You can rest between the fights.
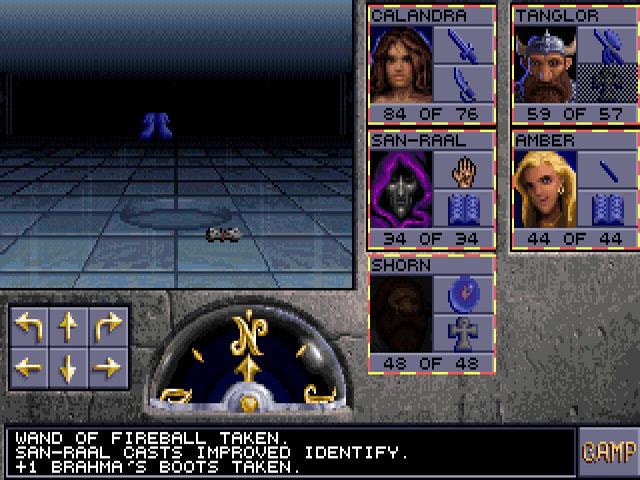
I'm not sure if these boots actually do anything. At the start, two fireballs revolve around the middle square of this 5x5 room. I got lucky and the guardians ran into them before I arrived. That scroll is Ice Storm. If this plate is no longer weighed down, a pillar will appear at each corner around it and fireball launchers in the middle of each wall will shoot towards it.
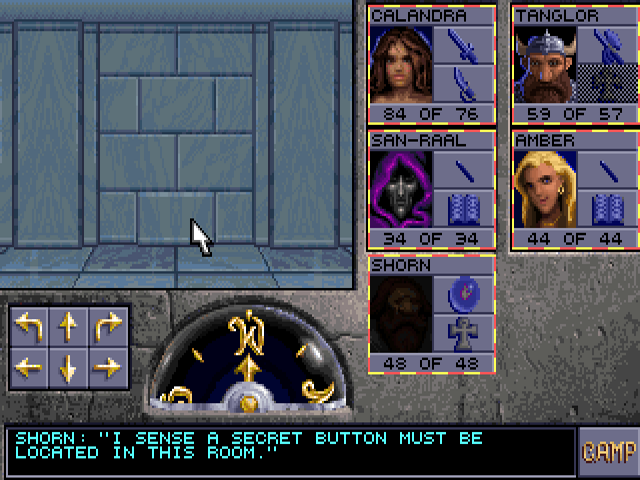
This is the last comment to come from a dwarf. Without one of them, a thief will say "There must be a secret out." The bottom brick removes the wall next to it.
That item northwest of the party's position is another Medusa Shield. As you can see, we need to go through a lot of guardians to get it. We have a weapon to help with that:
There is a fireball launcher on the south wall, opposite a door toggled by a button on the east wall.
Every time this pressure plate is stepped on, two fireballs will be launched. The other one at the north end won't do anything but make a sound, letting you know when a guardian is at the junction. You can also see them around the corner if you face north. You can stay in this alcove, and step out onto the plate then immediately back in when they get there. This will really soften them up or even kill them, and ones who survive that will be forced to step on it themselves to engage you in melee. That button toggles the door.
The north wall of the west room has this lever, which does two things: First, it toggles north walls in both rooms. Second, it spawns guardians at each open tile in the 3x3 room to the north. It does those every time it gets switched. Guardians are worth a lot of experience, so this can be a great place to grind. Instead of spending time on that, I increase everybody's XP with ASE and fight one group to level up. From that I find that racial level limits aren't actually implemented in this game. According to the manual the dwarf cleric limit is 10, but Shorn can reach the game max of level 13. However, I did retire him anyway: My final party is the four "loyal" NPC recruits, and you might remember there's a chance Shorn won't join you in the first place.
To get those items, you must break through these walls by attacking them. One of them is a scroll of Stone to Flesh. San-Raal started with that spell, so Amber scribes it. She now knows two 6th level spells, but still none at 5th level.

The other item is this scepter. Insal's letter after his departure mentions it as what he's looking for. Like the Eye of Talon, you must put it into a slot then take it back out to open the door next to it. Unlike the Eye, It actually does something else: It can cast "Mystic Defense" on the entire party. I'm not certain what the exact effects of that are.
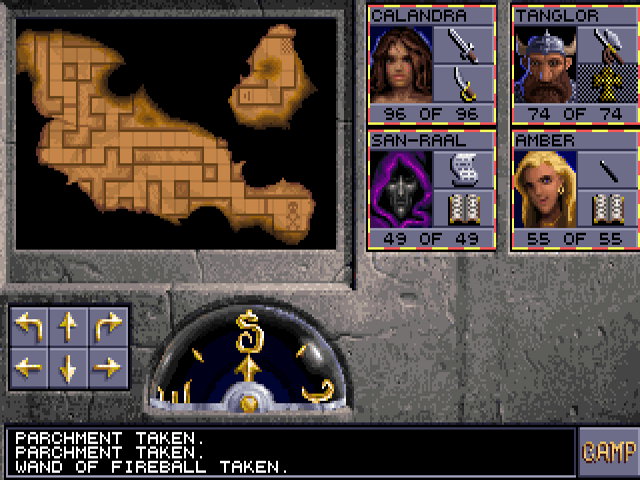
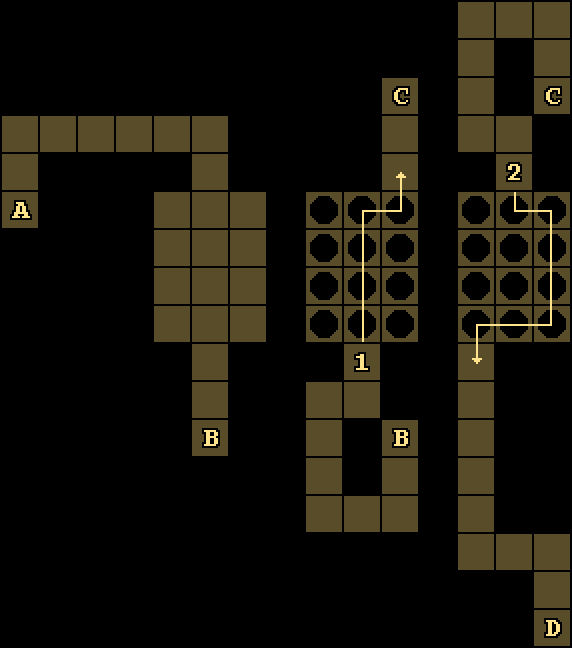
The hallway that door leads to has an illusory wall on its west side. Past it you can find this partial map of the next level, oriented with north on right. At the same spot you also find Jhona's Cloak +2 as well as the sixth and final Medusa Shield. That's all you truly need from this level, but you can't backtrack to the start.
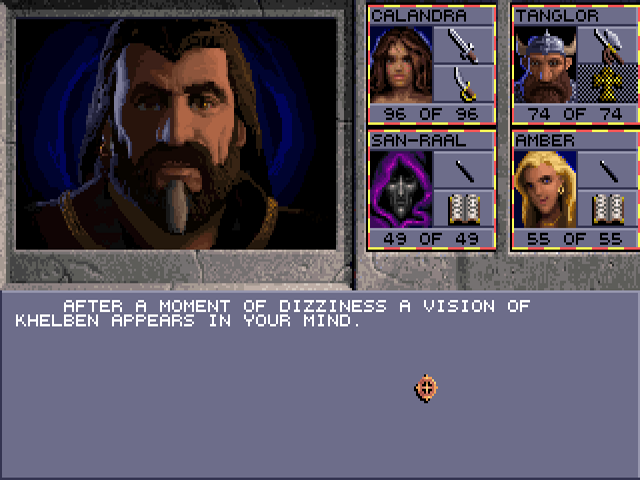
This Khelben speech occurs even if you don't have his coin in your inventory. Wait, wasn't our communication severed last time?
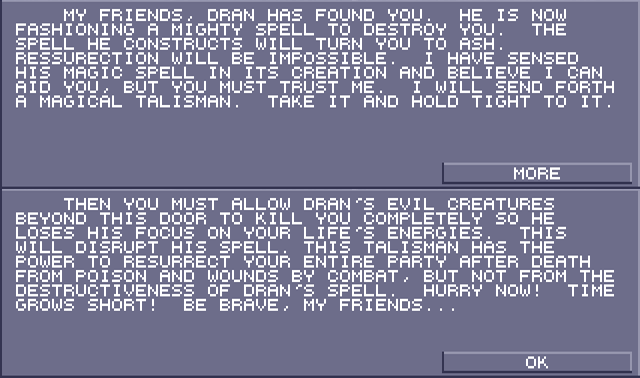
An "Amulet of Resurrection" appears on the floor, which has a different graphic from the Amulet of Life we got earlier. I only know Khelben from this game. I've heard he's kind of a dick in otherwise, but I feel confident in saying this advice is out of character for him. If you listen to the first part of that advice and put the amulet in a character's hand, you'll find that it's cursed. Interestingly enough, it can be removed from the neck. When it's identified:
Suffice to say, the whole thing is a fraud. A button on the east wall opens this door. Behind it is a pressure plate that closes it. Another button next to that opens the door to the east room, where three more guardians will spawn. After buffing, San-Raal cast Wall of Force in the north middle tile of the 3x2 room to prevent being surrounded while keeping some space to move. Slay Living and Disintegrate made short work of them.
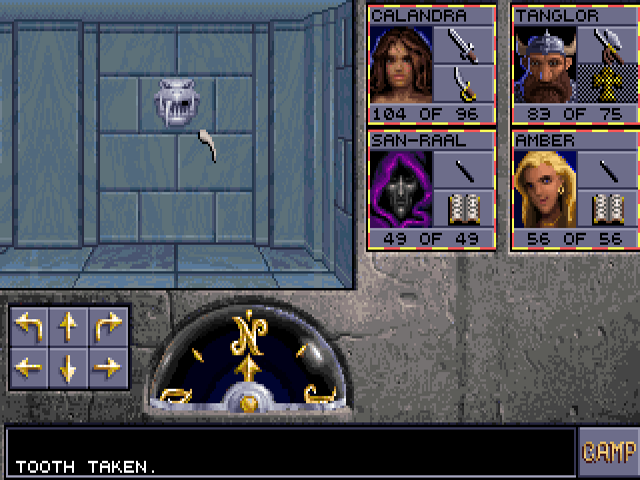
The guardian that started in the east room, which also has a sling +1 on the floor, will drop a tooth. Put into a "ferocious creature skull" to remove the wall next to it. When you do that, another image of Khelben appears and says, "You fools!" After that:
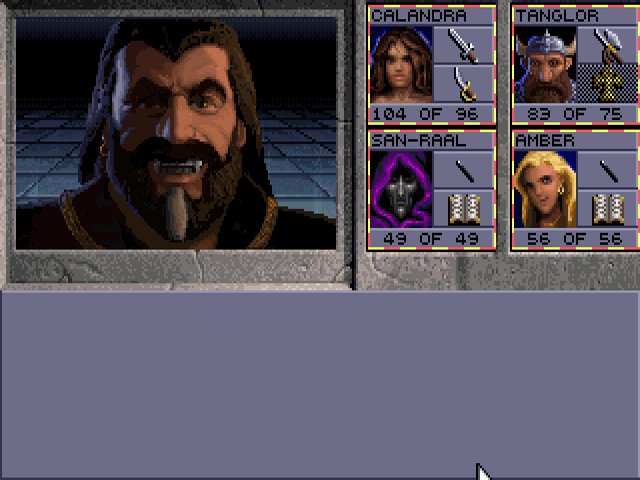
I don't remember Khelben having fangs like that. Remember who does?
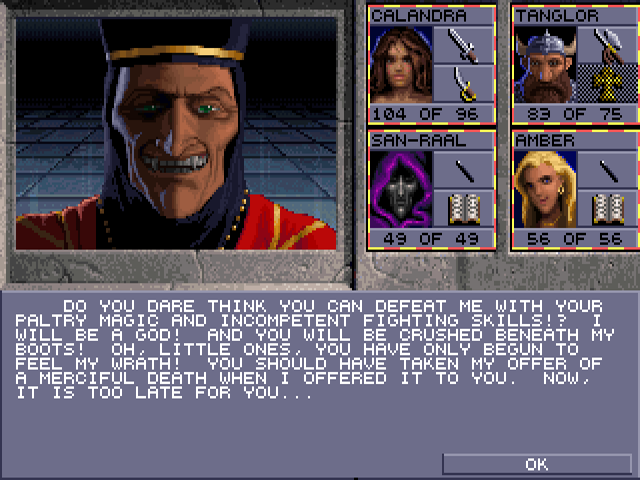
Pretty smug for a guy whose trick just failed. Speaking of which, there is a special message if your party does die in the previous room. "Khelben" appears and calls your party "Such trusting whelps!" You then see the same Dransformation as here and get this spiel:

On to the next room.
That cleric comment actually comes in the middle of an empty hallway and starts scrolling up by the time you get here, so this image is spiced. In addition to these five pressure plates, there are six more on the east and west sides behind transparent walls. There is also a teleporter at either the northeast or southwest corner, behind a pit. The east and west plates will bring the teleporter and pit to the same side. The most recent of the middle three you stepped on will stay down after you're off of it. They determine which corresponding plate behind the wall an item thrown into the teleporter will land on. When all six are weighed down, the north door and the middle panes on each side will open up. This allows you to retrieve the items and also get a Wall of Force scroll. Until now, having San-Raal in the party was the only way to cast it. Amber finally learns a 5th level spell.
A staircase leads to a series of three rooms. All but the first have patterns of moving pits. Falling into one will drop you into the previous room. The Gamebanshee guide shows the easiest paths through them.
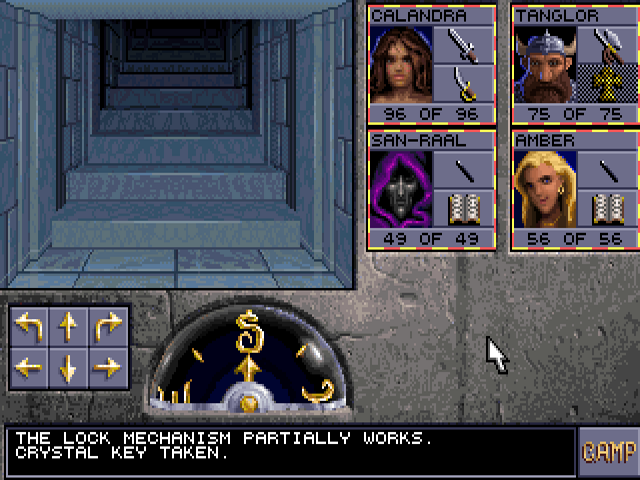
This shelf is in a 3x3 room with a teleporter in the middle, so be sure not to just go straight into that. It contains a crystal key and a ring of Feather Fall, which is the fourth one I've collected including three from the first game. Everybody in the party can equip one now.
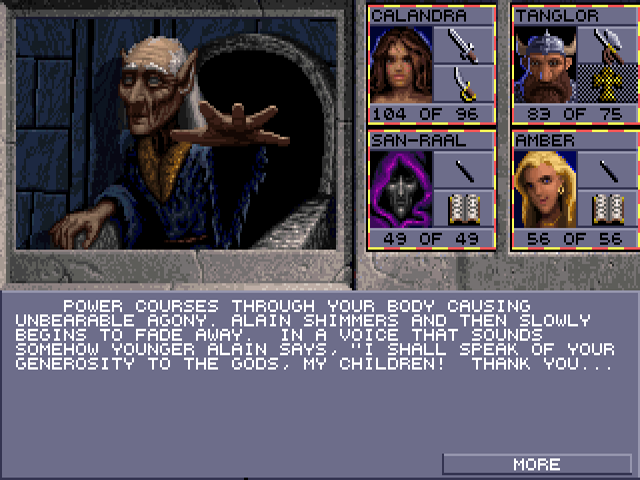
The teleporter takes us back here. I go back through the north door and intentionally fall through a pit, which lands me in the corridor to the Soul Gem room. From there I go through another pit to the first floor. I go back up and help Alain.
Amber took the experience boost. She had just over 750K before and 938.2K after. That's a little more than half of the 375K required to level up as mage at this point.
We go back up and finally unlock the way to Azure Tower 4.