Part 25: Mirrors, Mirrors, on the Walls
TLOD 11: Mirrors, Mirrors, on the Walls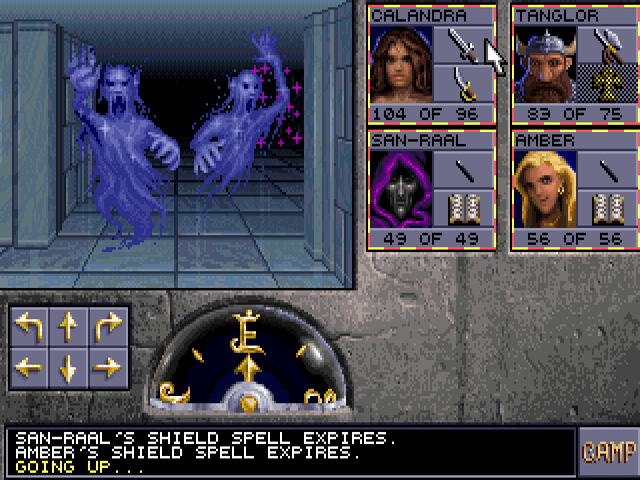
After going up to Azure Tower 4, we're immediately greeted by aerial servants. That first word in their name indicates that they come from the Elemental Plane of Air, and aren't undead despite their ghostly appearance. They only have physical attacks, which can do damage in the 20s with no other effects. No level draining or any other bullshit like that, since again they're not undead.
Damn it, what did I just say?
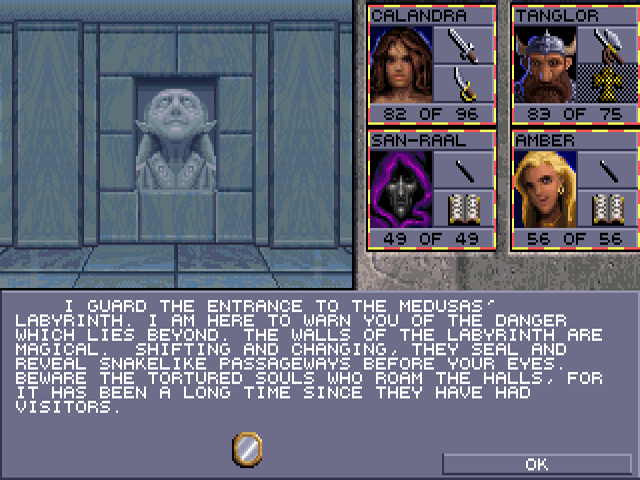
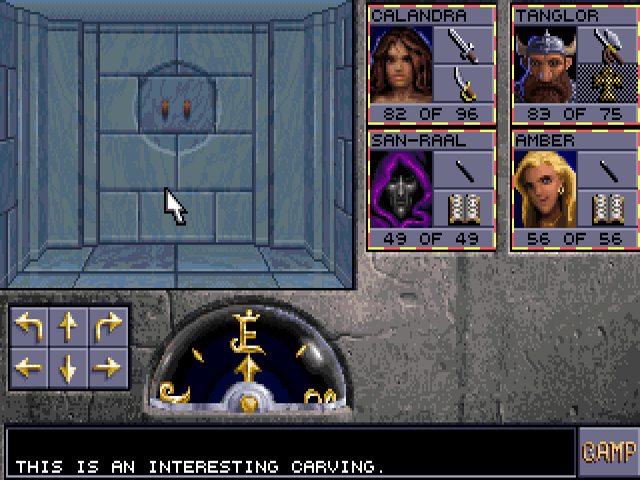
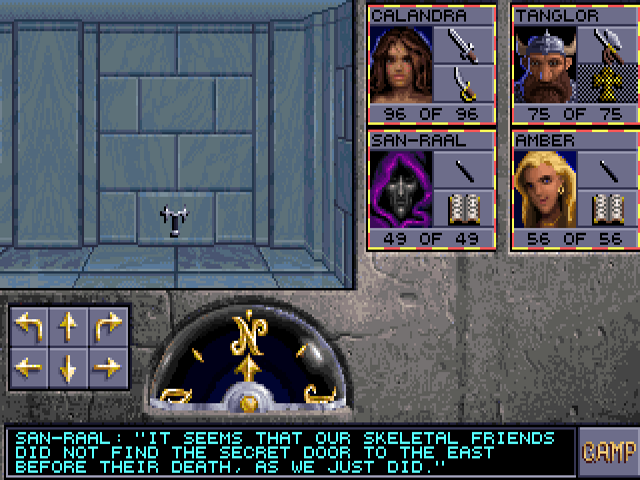
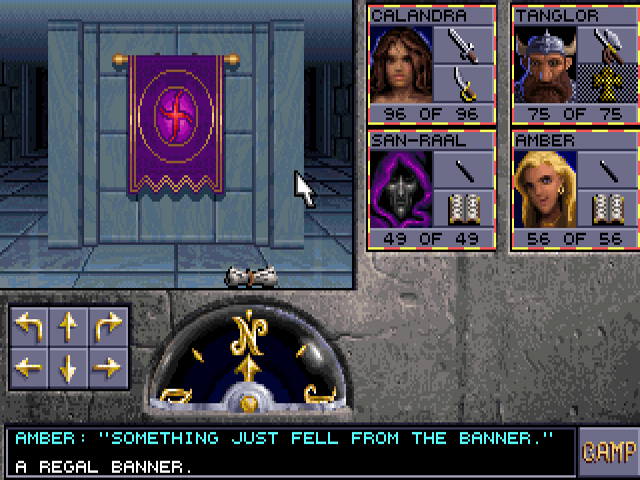
In the room at the end of the previous hallway, we find another bust. I think in the Amiga version it's another magic mouth.
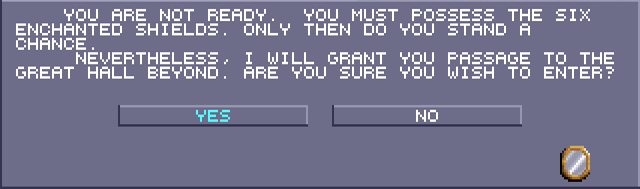
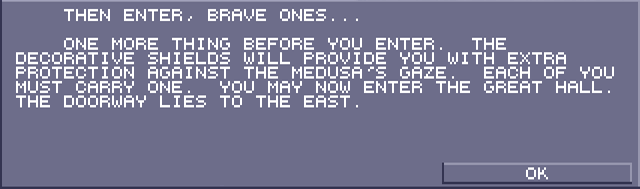
This line seems to come whether or not you have all six polished shields in your inventory. If you say no it will respond, "The Medusa's Labyrinth is not a place for the unsure."
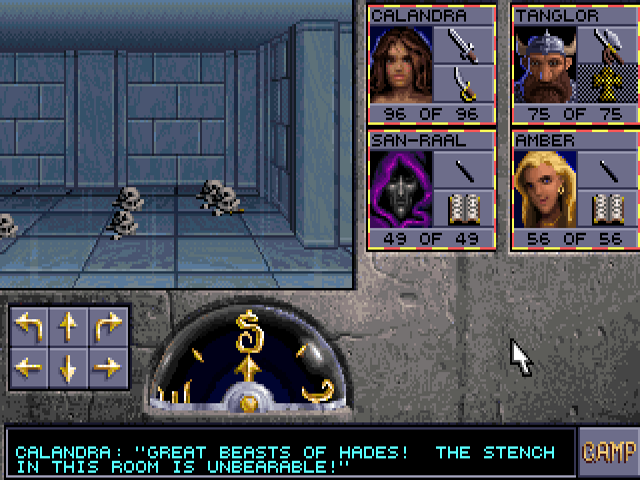
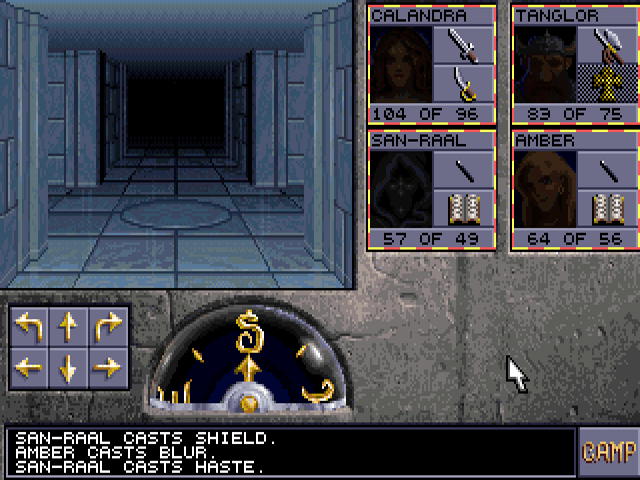
This room and the next one are good places to rest.
There are six of these slots on the walls. This is why it's actually necessary to find all of the Medusa Shields.
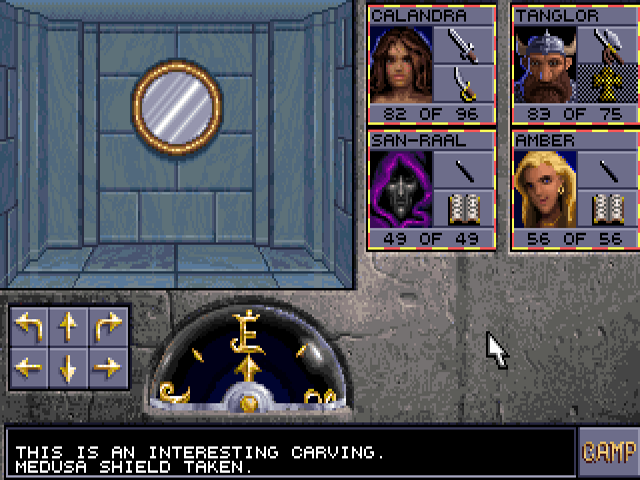
Filling all six slots opens a door to the north. You can take them back afterward, but I just leave them here. They improve the wielder's saving throw against petrification, and are not perfect defense against it. I still have all but one of the magic dusts I collected, no need for more inventory clutter. Petrification will never be a threat again after this point anyway.
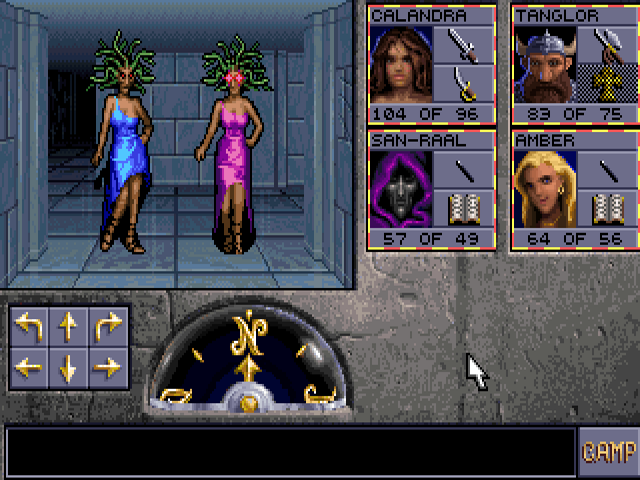
The first medusa encounter happens when you step into the junction ahead. One spawns at each of the three corridors going into it, including the one behind you. Like basilisks, their petrifying gaze is actually a hit effect. The medusa's seems to succeed more often. They can also poison with their snake hair, though I don't think both can happen at once. Also like basilisks, they have under 30 HP and no special magic resistance, so they die quickly.
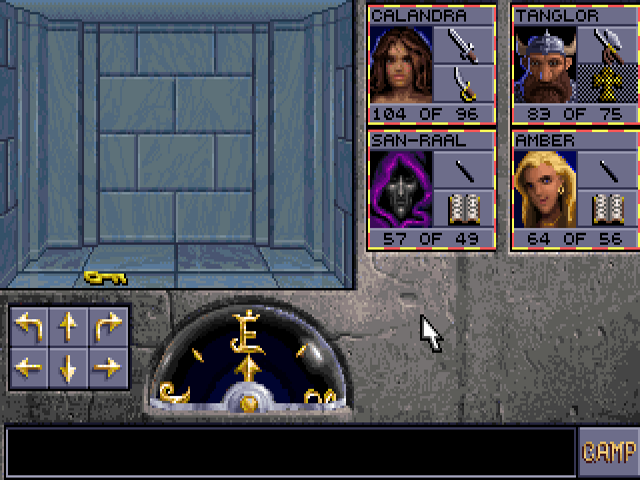
The first item to find in the labyrinth is another tooth. I didn't take a shot of it last time, but they look like keys on the floor. They do ultimately have the same function.
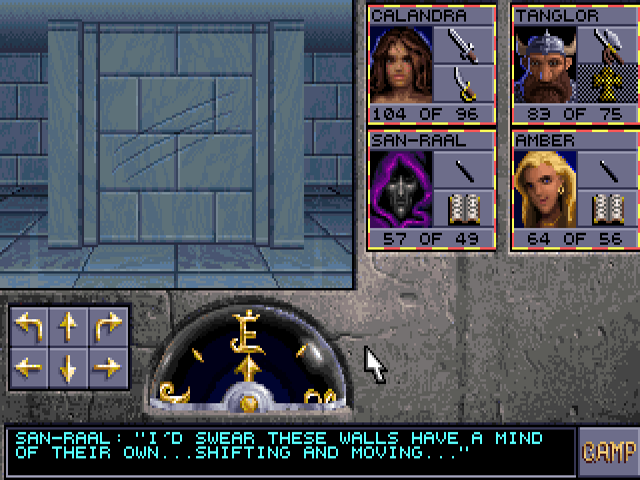
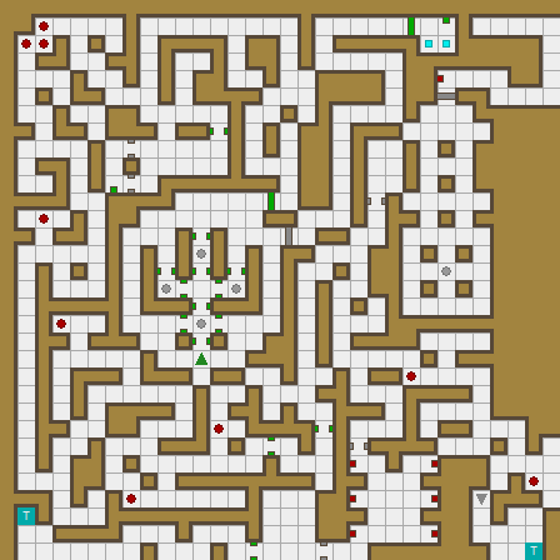
These scratch marks can be seen throughout the labyrinth. As a mage points out here, the layout will indeed change as you traverse it.
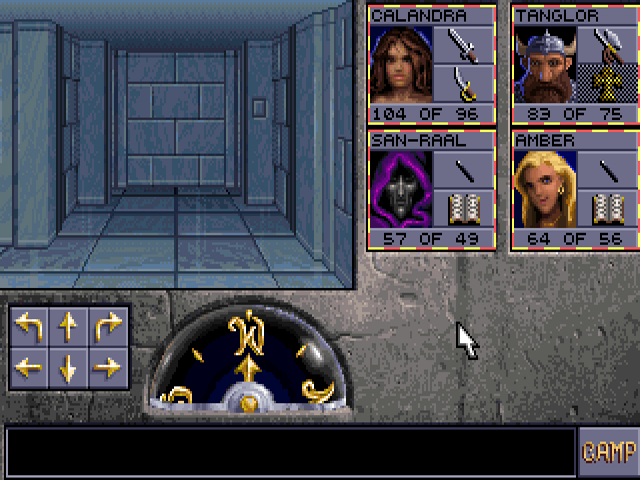
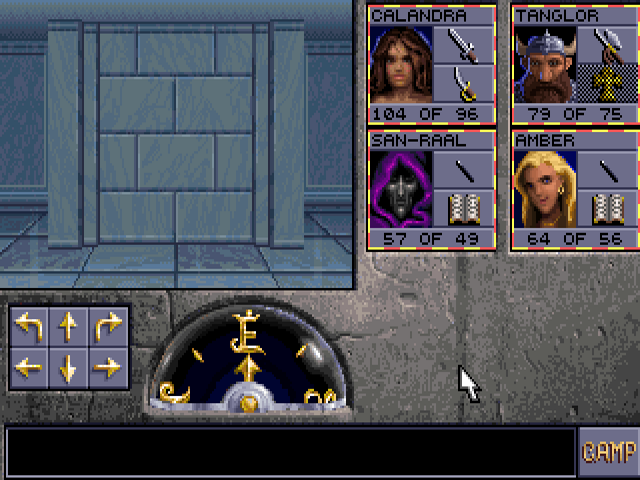
For example, this door I went through earlier now has a wall behind it. In a hallway on the west side of this floor, there is a rotation tile that doesn't get called out. Behind that is a one-time teleporter that forces you to walk on it again.
There are 11 medusae in the room behind these doors. Cone of Cold can thin the herd preemptively. A button on the south wall opens the door next to it, but stepping on that tile causes six more medusae to spawn in the corridors just behind this.
Stepping through the south door causes the north one to open, which makes it possible for the medusae to surround you. Casting Wall of Force in front of it beforehand can prevent that.
Shortly after exiting that room, we find more loot. Amber learns the spell.
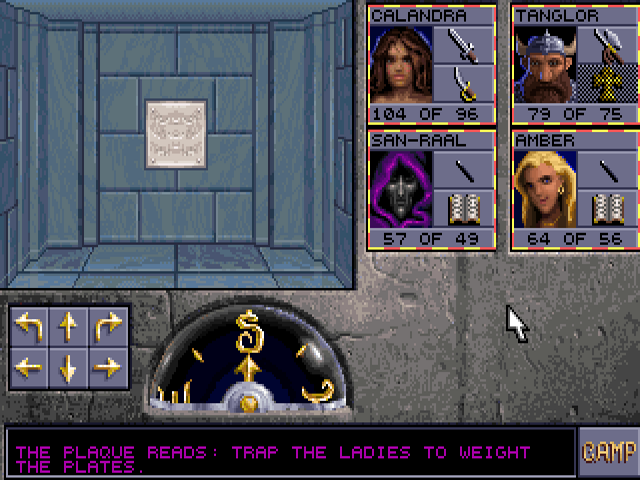
We make our way to the large central room, which has an annoying puzzle.
You have to get a medusa on each of those pressure plates. Leaving items on them won't work. There were several in the room to start, but I killed them all. That actually makes this easier due to fewer obstacles. Medusae spawn in this room two at a time at opposite sides. Lure one to the north plate, use Hold Person/Monster to keep her in place, then close the doors on each side. Repeat this for the east and west plates. Get on the south plate yourself, close its north door, then do this one last time. The door out will now be open.
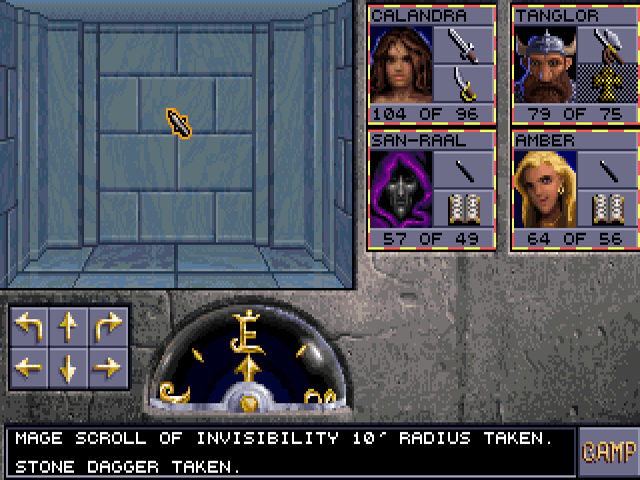
That goes into a hallway leading here. What looks like a dagger under the bones is actually the Hilt of Talon, which will be needed later.
An elf spots a misplaced brick on the north wall, which may be slightly confusing if you're not facing that direction. South of this you can find a scroll of Flesh to Stone under some more bones. San-Raal scribes it.
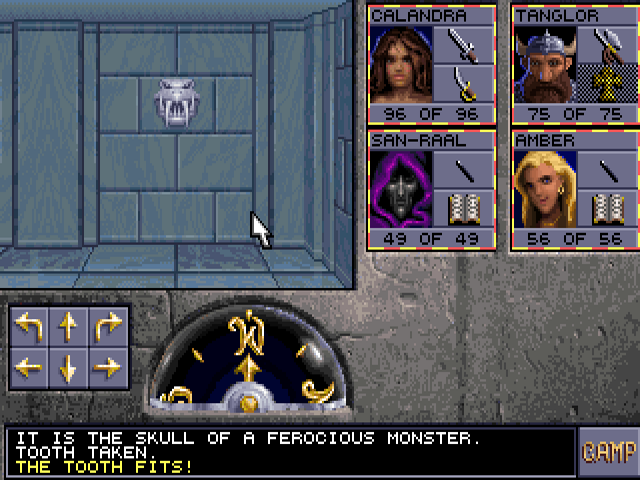
Putting the tooth from earlier into this skull opens a door to the south. You can take it back out, but that just closes the door again.
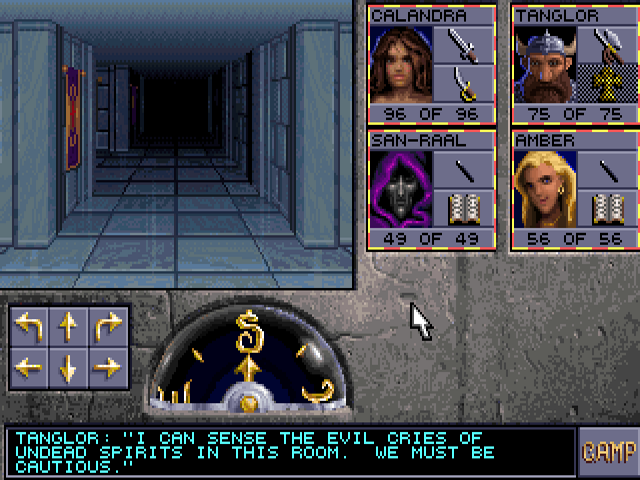
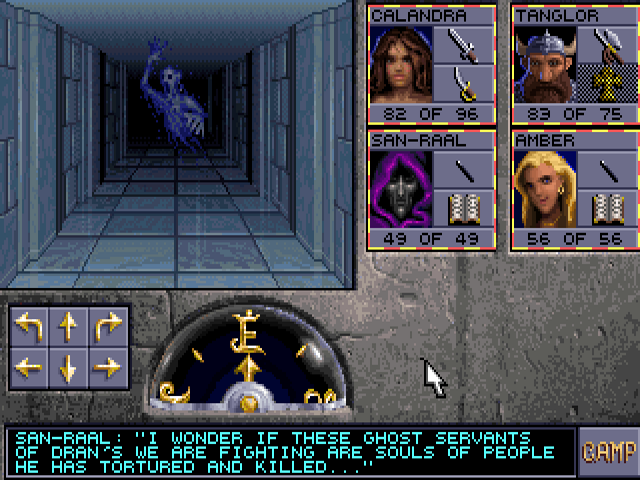
This comment is false on two counts. Assuming it's about aerial servants, the cleric who says this should know better than anyone else that they're not undead: turning doesn't work on them. Moreover, neither they nor any other monster showed up here in the first place. I was able to rest here undisturbed.
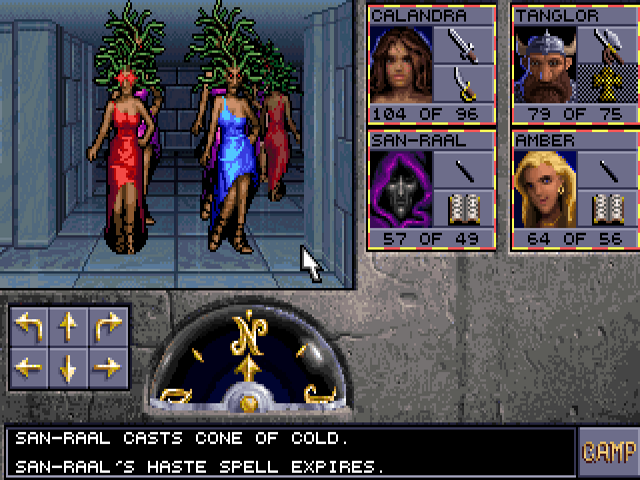
The scroll that dropped is Cone of Cold, which Amber scribes.
This pressure plate marks the end of the stage. I'd recommend buffing up before you step on it.

It marks a (temporary) point of no return.

We're not fighting Dran just yet, though this is the last encounter with him before we finally do. However, we will be fighting another tough enemy very soon.

After this, the plate becomes a pit which drops us to the next stage.