Part 34: A Temple in Shambles
AOMD 6: A Temple in Shambles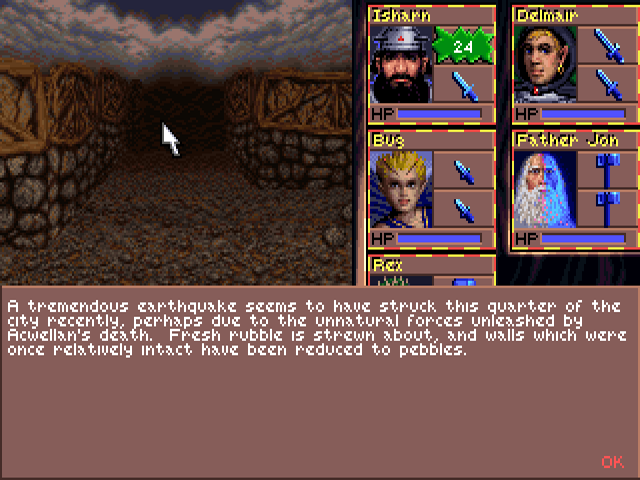
The Temple of Lathander is inaccessible until you have defeated Acwellan. After that, the party is teleported only a few tiles away from its entrance. This game can be finished with almost no backtracking to previous areas.
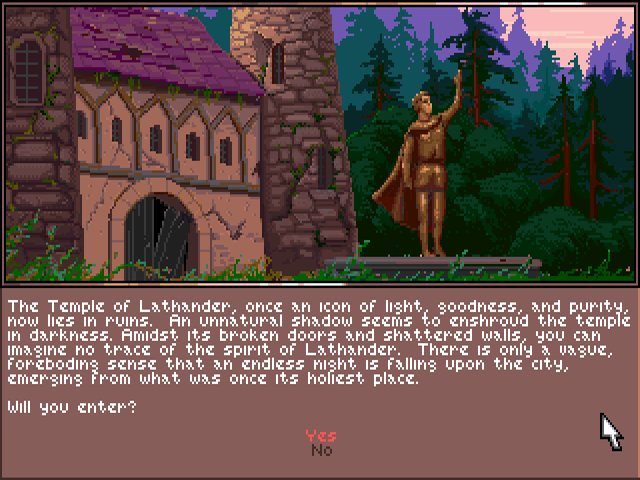
Time to start the final dungeon.

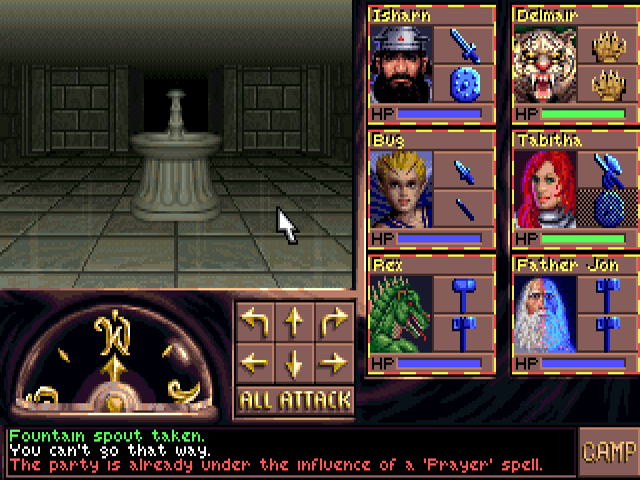
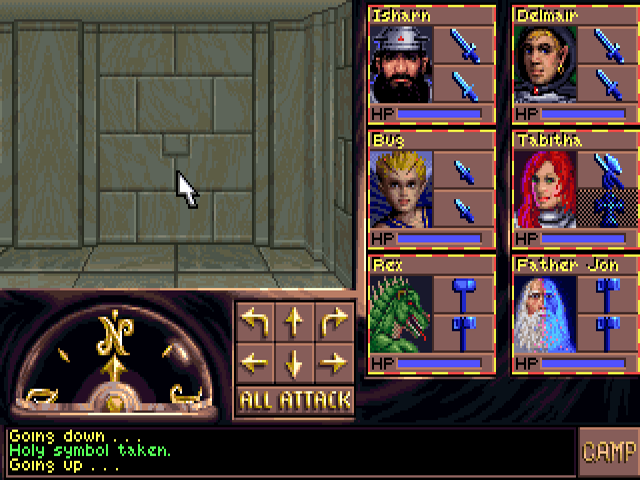
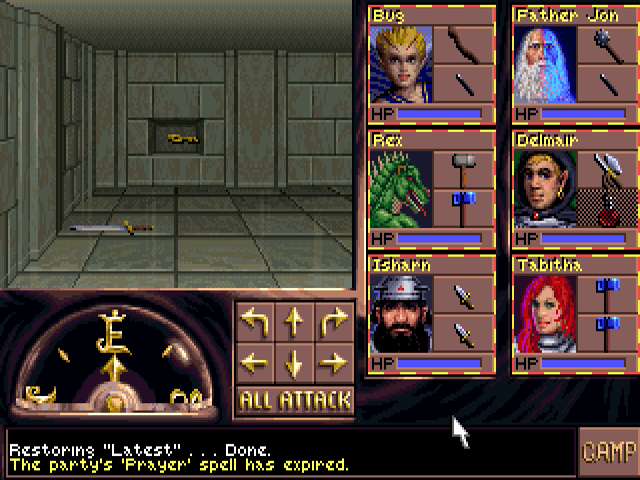
The temple uses the same tileset as the Warriors' Tomb. One of the very first things you see within is evidence of its defilement. The ground floor is symmetrical in design. There are a total of four "circular" rooms to the east and west of this fountain.
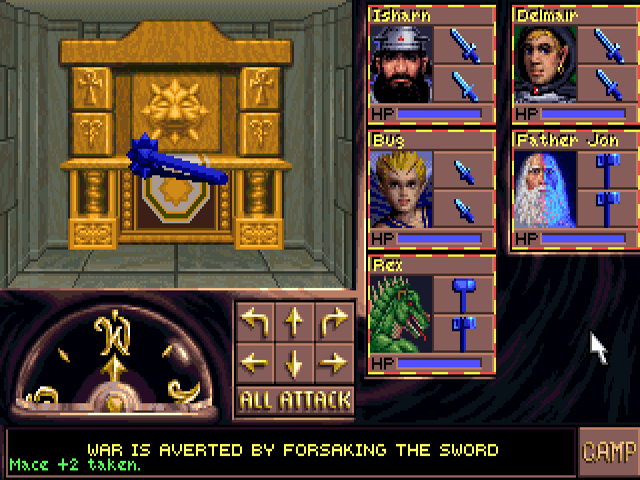
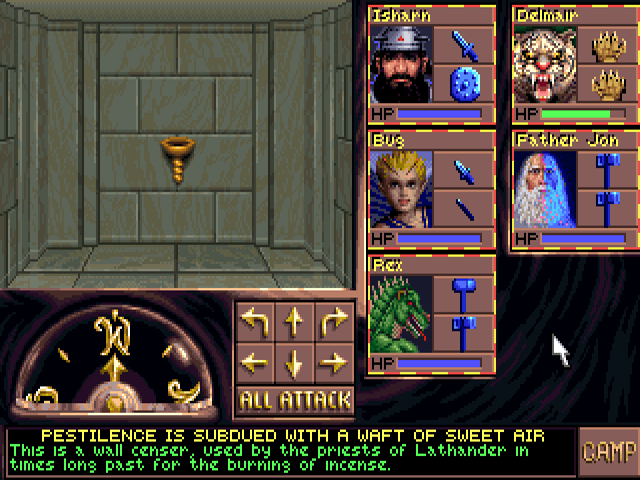
Three of them have altars like this one in the southwest. Putting almost any weapon on this one will remove a wall to the west, after which you can take it back. However, maces don't work, as indicated by the closed eyes. Maybe because it seems to be floating in front of the altar rather than on top of it.
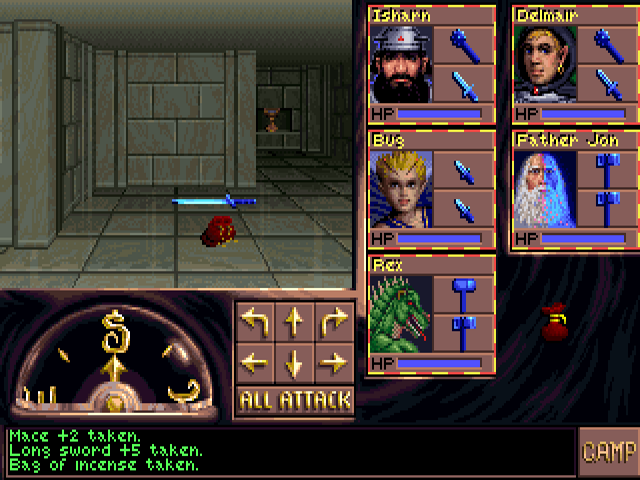
The room opened up by that altar has these items: a long sword +4, three incense bags, and a chalice on the southern shelf.
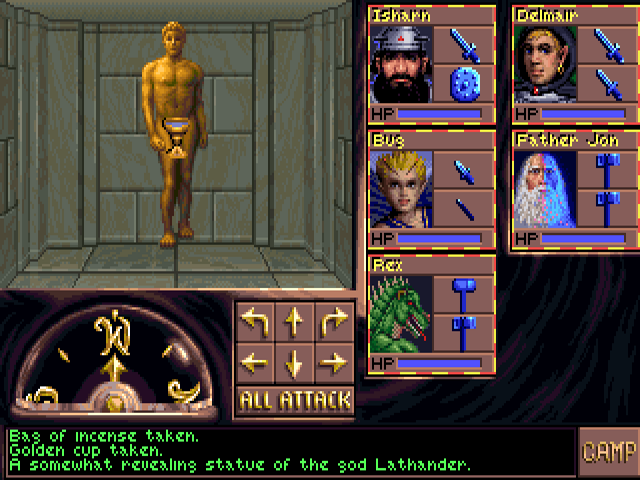
This is on the west wall. It actually does have visible genitals, though blurry and not very prominent.
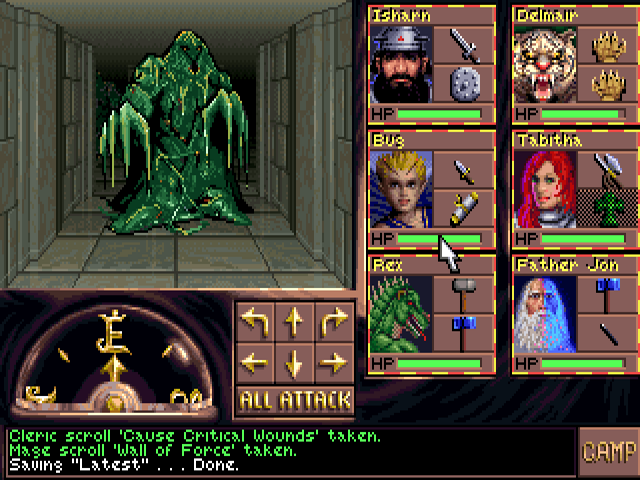
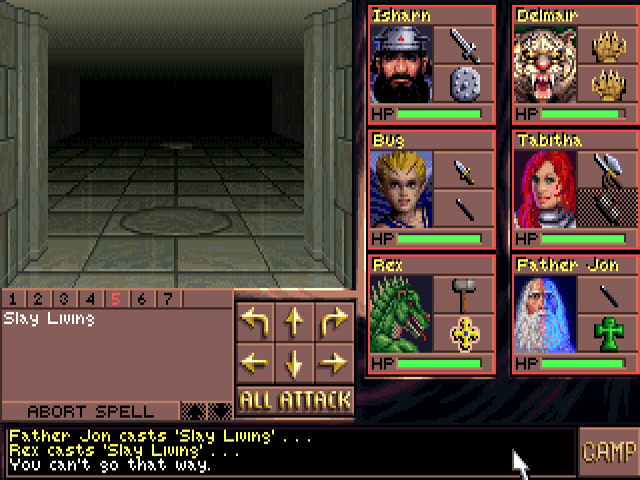
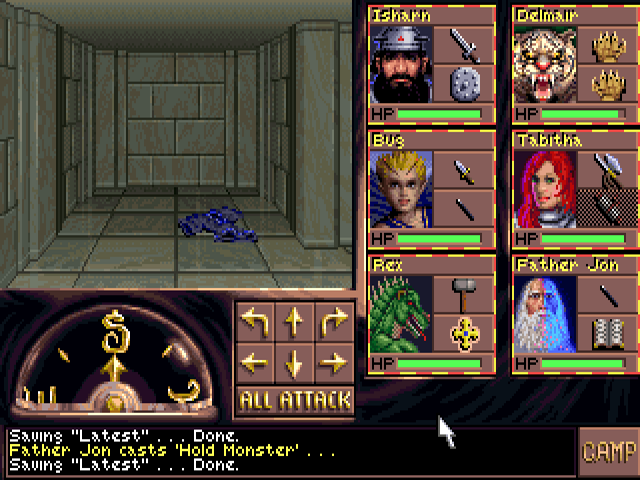
Soon after we encounter the first enemy, called a living muck. Their attacks don't connect often but cause 7-28 damage when they do. The manual says they have a chance of causing paralysis, but I haven't seen that happen. Like trolls, they take a maximum of 6 damage from weapons, but do not share their weaknesses: They are immune to lightning, poison, and acid, as well as taking half damage from fire and magic missiles. They have a lot of HP, so it can take a little while to bring them down. Especially because of this:
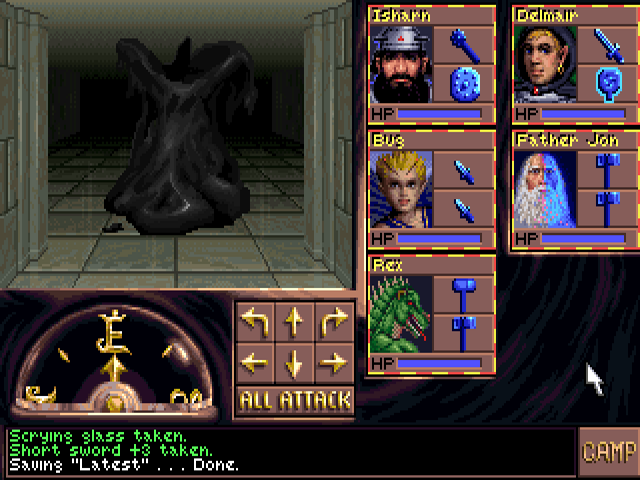
Hitting them with metal melee weapons can get them eaten. Magical ones have a chance to resist this, at 20% per 'plus' bonus. That means +5 weapons can't be lost this way. It can only happen when you hit the muck, not the other way around. Wooden weapons and projectiles, even metal ones, will always survive. They don't eat armor, rings, or any other metal items. Instant death spells can work against them. If they fail, I spam the Cone of Cold wands from town against them. Their movement sprite is a slightly recolored version of the slithermorph's. Compare:
I go to the northeast room from there.
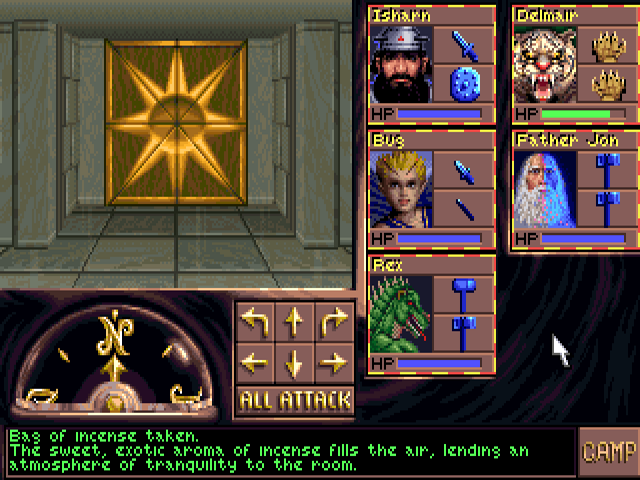
It's the only one without an altar. Putting incense into these restores some HP to all characters as well as casting Bless on them. This one in particular also removes a wall in a hallway to the north. This is also where I first encountered the other enemy of this floor, but dark backgrounds made it hard to get a good cap. I'll use the cluebook for that:
Their hits aren't really that strong and rarely land anyway. Both monsters have a somewhat frequent spawn rate, but it's not overwhelming.
This door is accessible from the start, but it's not where I'm going right now. The removed wall opens the way to a staircase east of this.
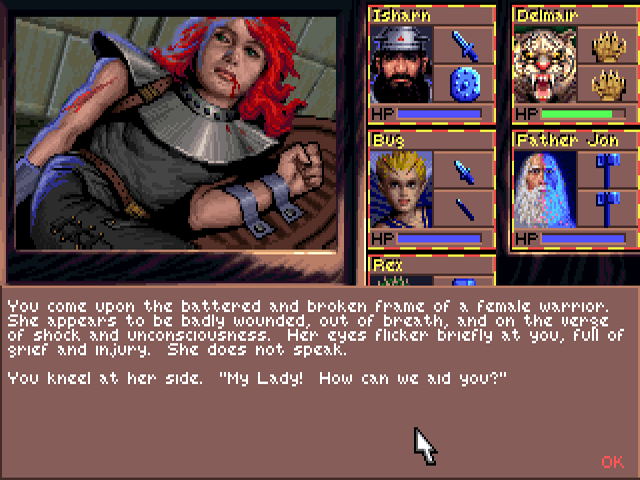
That goes into a small room where we meet the final party member.
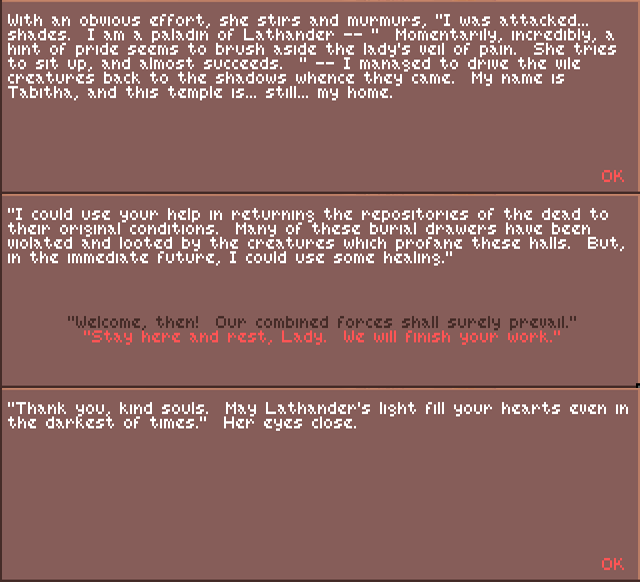
She has no further words upon joining.
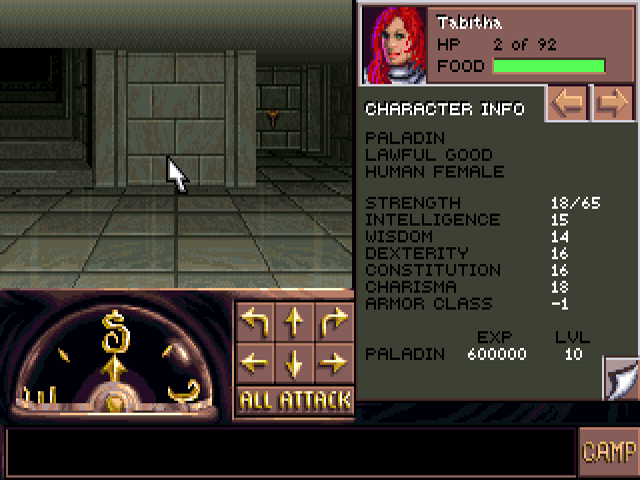
Near the very end of the trilogy, we finally get a paladin in the party. A scroll of Heal gets her back into fighting shape immediately. She starts with a long sword and plate mail, both +2, a Ring of Feather Falling, and a green holy symbol. This game makes no distinction between cleric and paladin holy symbols. Speaking of which, filling the censers at both side of the stairs makes another holy symbol drop at the tile just north of where we met Tabitha.

After that I make an offering to the southeast altar, opening the way to this room. It has the parts needed to repair the fountain as well as that statue on the east wall. I couldn't help but be a little immature with the detached arm, so the next image is under a spoiler as
 out of an overabundance of caution.
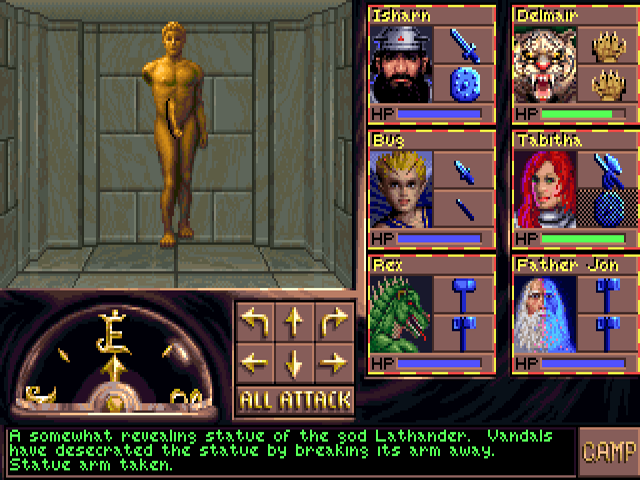
Repairing the statue gets us a visit from the big man himself:
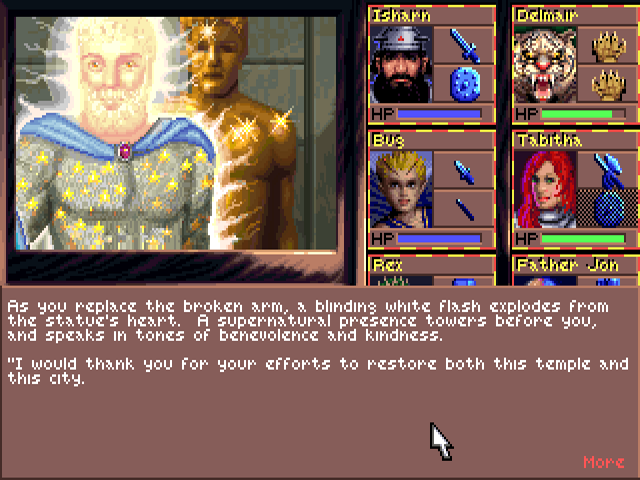
He gives us a spiel:
Just as he says, the party is healed by the statue. Now time to follow that up with the fountain.
It can now cast infinite Prayer spells. There's another altar northeast of it. I bet you probably won't guess what its theme is.
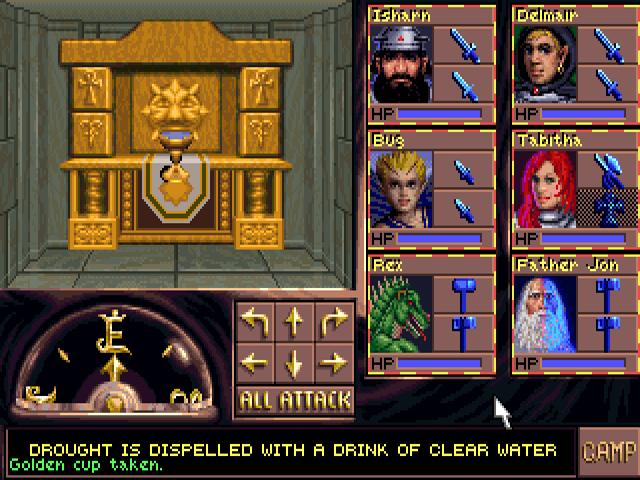
That wasn't sarcasm, it's the only one not based on one of the Four Horsemen. Much like the mace, the chalice graphic kind of goes in front of the altar rather than on it.
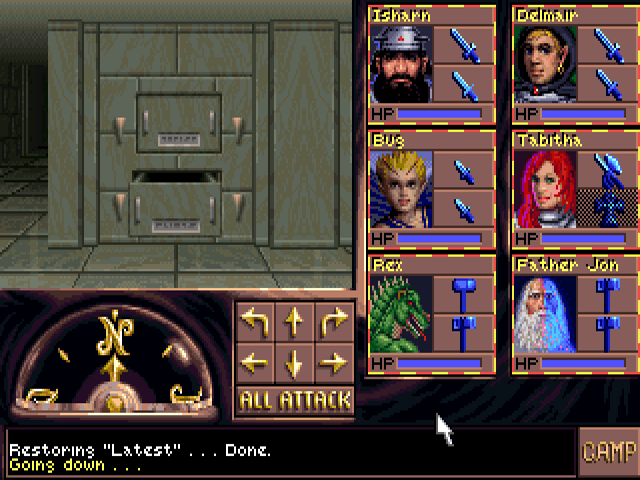
That removed another wall, opening the way to more stairs. This room has the same layout as the one Tabitha started in. Closing all of these tombs makes another holy symbol appear in the same position.
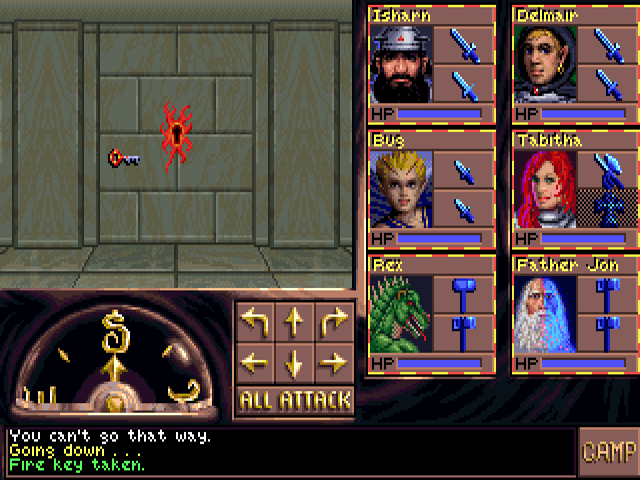
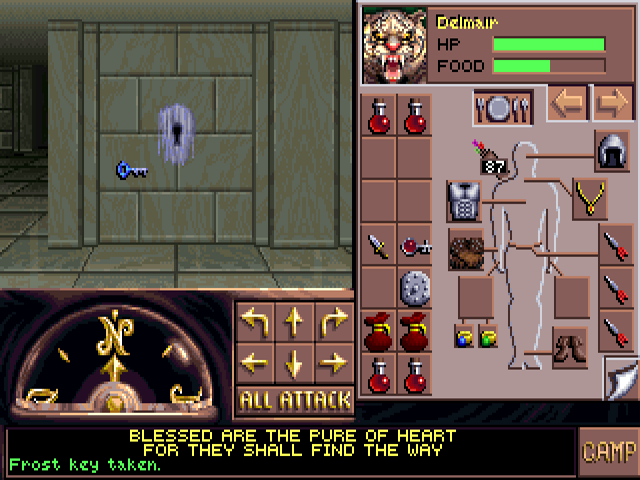
After coming back up, we find this button further along the hallway. Pressing it removes a wall at the west end, where a fire key is found.
Another stairway to the south goes into another small room. There are four of these pressure plates, which activate fireball launchers when weighed down by anything but shields. A shield on each creates a holy symbol in the shelf on the south wall. I have four shields +3 that I'm not actually using.
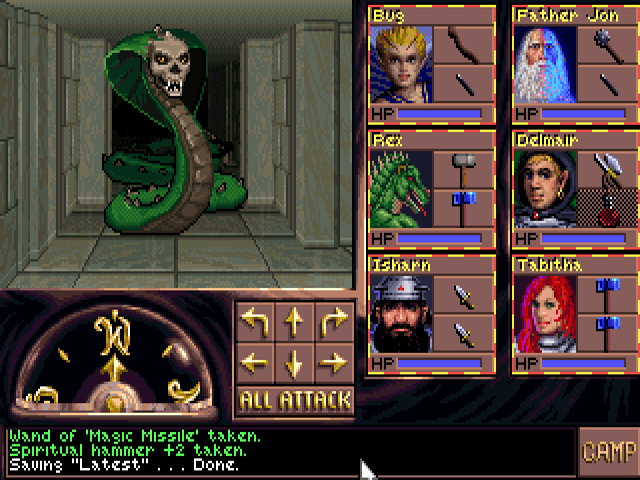
The south stairs on the opposite end go to where the fire key is used. This opens doors on both sides of it, where you can get four normal shields, a mace +4, an arrow +2, and two bags of incense.
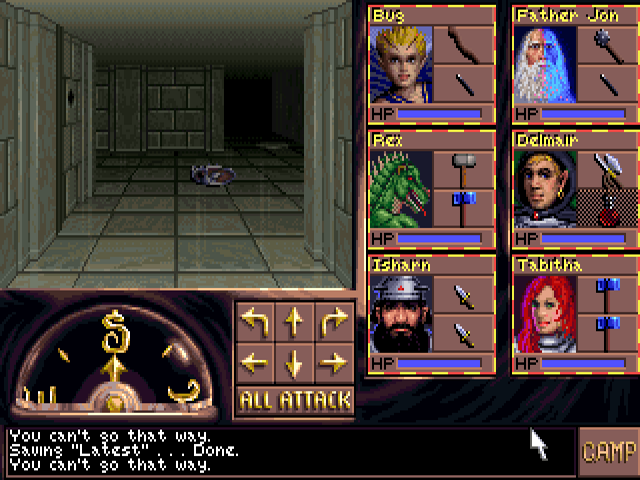
We finally enter the north section. It's a big cross-shaped hallway that doesn't really have much in it.
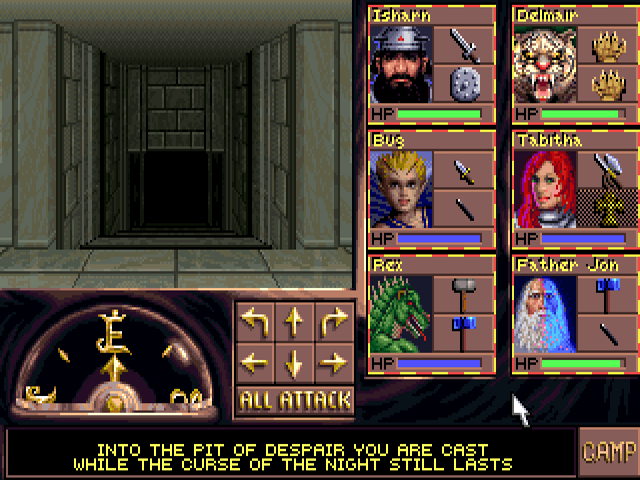
Each side has one of these stairways, which go into an inescapable void. The only way out is reloading. Any items thrown at them will never be retrieved.
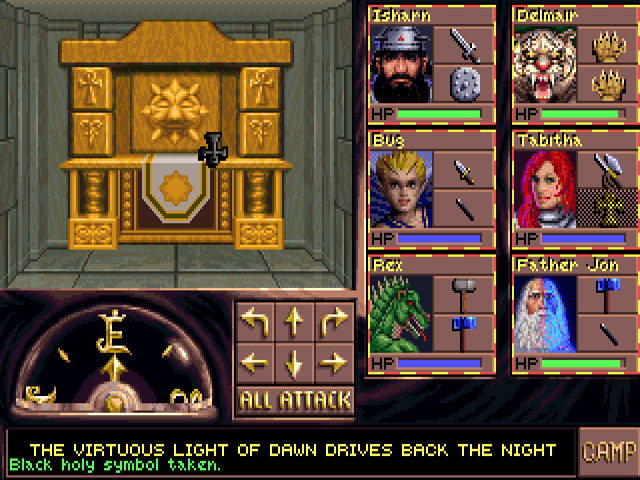
There are three altars, one at each point of the cross, that start with these black holy symbols on them. Replacing those with any other holy symbols will make the "pit" stairs seen earlier go up to the second floor. You might be wondering if they actually do something.
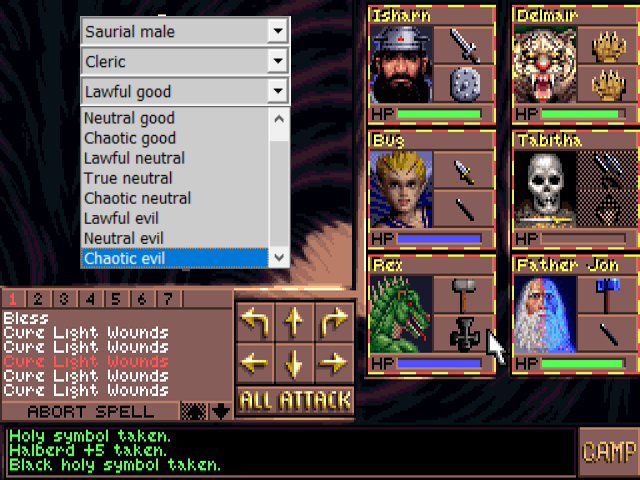
To answer that, I edited a save from just before meeting Tabitha to make the whole party evil. She still joins you if that's the case. Like other holy symbols, they're only usable by clerics and paladins. They function normally for evil ones, and instantly kill those who aren't. I reloaded my main save to go upstairs after throwing them into the pit.
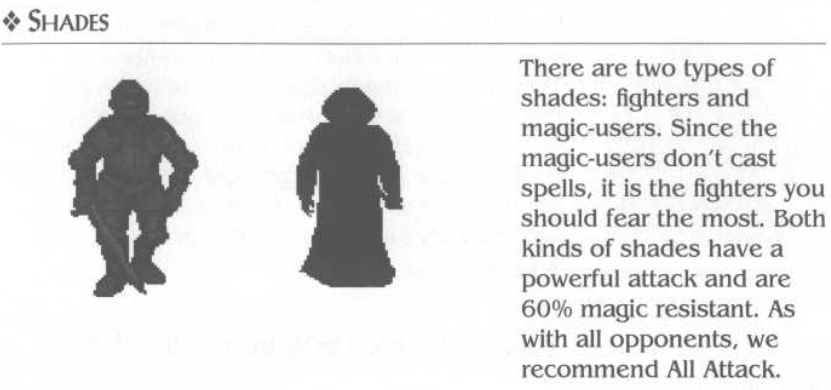
There are a couple of shambling mounds waiting for us up there. Like living mucks and trolls, they take a maximum of 6 damage from weapons. They're immune to fire and lightning. They have a whole lot of HP to go with their damage resistance, so this makes a good time to break out those two extra Power Word, Kill scrolls I got from the Mages' Guild. For others, I start with Slay Living and spam Magic Missile wands if that doesn't work. They can do damage in the teens with their hits, but they're slow. If you saved the scroll or actually have a mage high enough level to cast it, Abi-Dalzim's Horrid Wilting is instant death to them. The two tiles just north and south of this entry square will make your party do a 180.
I go north first, where there are a pair of stairways to little subsections. These pressure plates initially close the doors next to them, trapping you in this room. But that doesn't force a reload, even though it isn't absolutely necessary to go here.
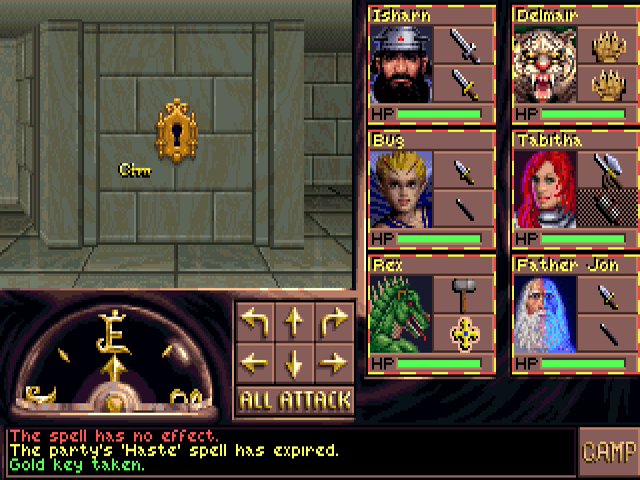
The return of this tileset also means the return of these tiny corner buttons. This one removes the wall it's on, revealing a lever behind it. Flipping that causes the pressure plates to open the doors back up. The west one leads to three more shambling mounds, one of which holds a gold key.
The other stairway leads to a little square hallway, where a couple more corner buttons open the way to items. One is cursed plate mail -4, the other is this Cloak of Defense +4. Unlike robes, Cloaks of Defense naturally improve AC by 2. That means this gives a total AC improvement of 6, making it the one and only upgrade to the robe +5 from the first game for single class mages.
That's timely since I'm putting both mages in the front row for a while. The other enemies on this floor are bone naga, undead who can cast Magic Missile and reduce strength with their hits. Negative Plane Protection and having both front-liners cast Shield will nullify that. I increase their HP with Vampiric Touch and give the Gauntlets of Fire Giant Strength to Jon. I don't bother increasing Bug's strength since these guys aren't tough enough to warrant that and it makes no difference for shambling mounds. I found that while he can wear any helmet, only the Helm of Underwater Breathing actually functions on him. Other magic helms will reduce AC on armor wearers. Another thing to note is that paladins can't cast Spiritual Hammer, but can use ones made by clerics.
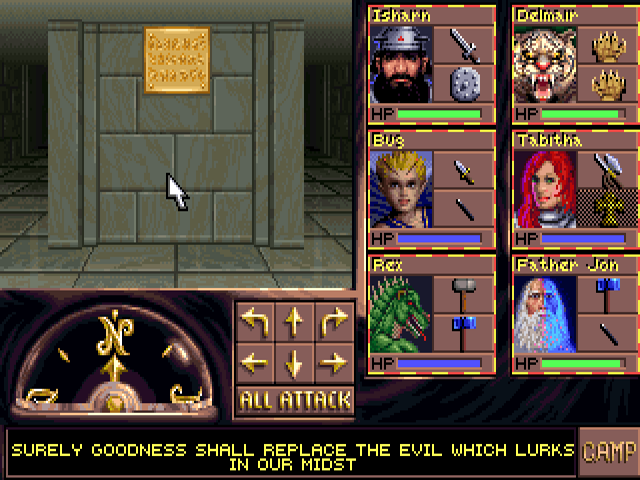
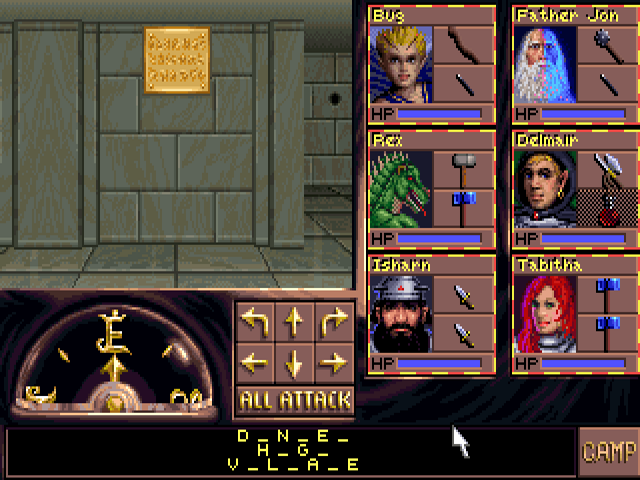
A room in the northwest has this poem. No other items are in that section.
Behind a door in the northeast is a path leading to this room. The items on the floor are scrolls of Raise Dead and Disintegrate, a potion of speed, and a +4 shield. That's the best one in the whole trilogy, though again I'm not really using shields anymore. Stepping in here will make a wall to the north close you in. To remove it, use items to weigh down three pressure plates. Each one will activate a fireball launcher on the opposite wall. Use Protection from Fire or quickly dodge them.
The way into the south section has a one-time lightning bolt gauntlet. Just rush through it and you'll get out unharmed.
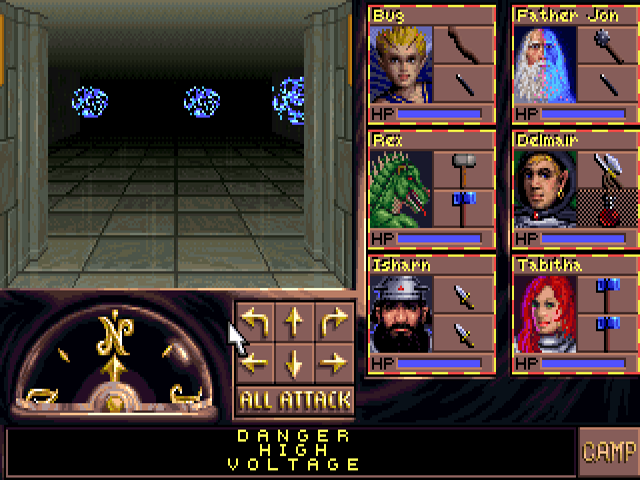
There's a fully intact sign on the other end, and you can turn around to watch an electricity show.
In the northernmost tile of the southwest portion you can find a short sword +4, best offhand weapon in the trilogy. The shelf behind it has a frost key.

Also in the southwest are another pair of hill giant strength gauntlets and two arrows +3 under a normal rock. Those are the last arrows to find in the series.
The stairs to the third floor are in the southeast corner. To get there requires going through a section which will change the party's direction every tile unless they have a Bless spell active. There's a censer to the north if you can't cast that, or you can just deal with the inconvenience of correcting their path after each step.
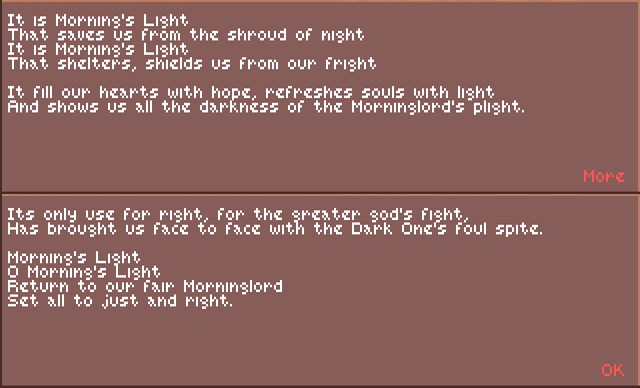
The room with the stairway up is inhabited by three shambling mounds, and has this door on its north side. Behind it is a shelf with an orb called Morning's Light. When you take it...
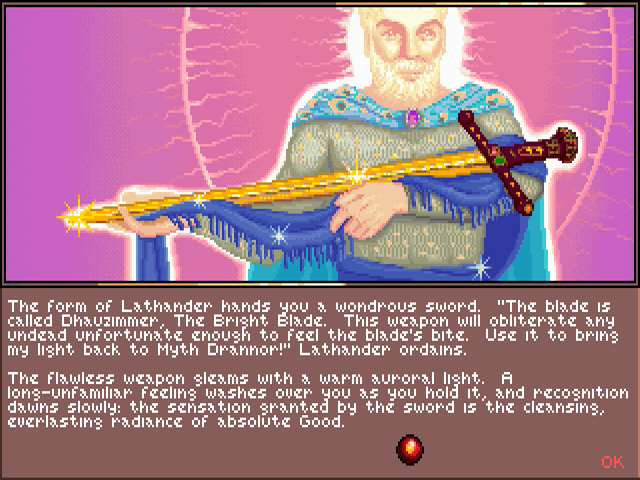
You also get the sword Delmair talked about in his introduction. It's a two-handed sword +5, which instantly destroys undead as described. That's the only +5 item found in this game. This event also gives experience, and both clerics reach level 11. That gives them access to 6th level spells, as we approach the end of the game. This makes a good time to rest, especially since that can't be done on the third floor at the start. I include some Slow/Neutralize Poison spells since it's also the last place where that will be a potential hazard. Next time will be the grand finale.