Part 2: The Crossroads
Update 2: The Crossroads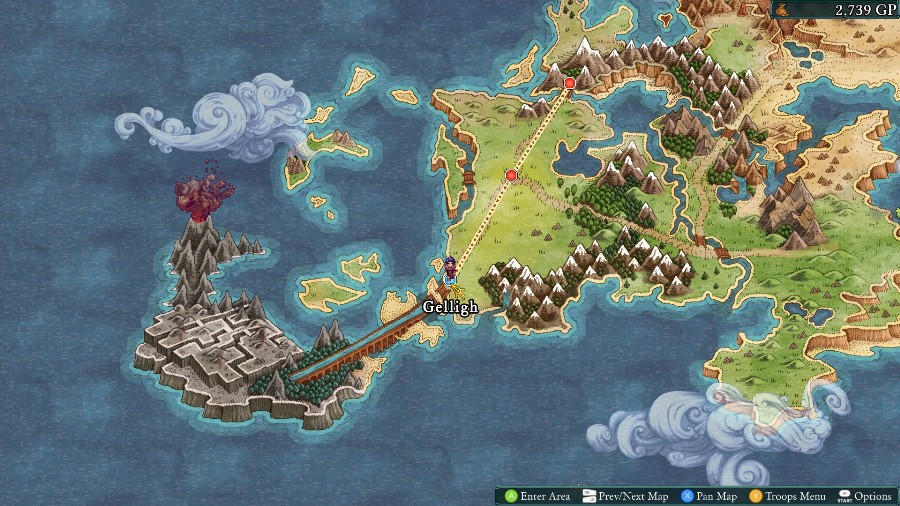
And we’re back.
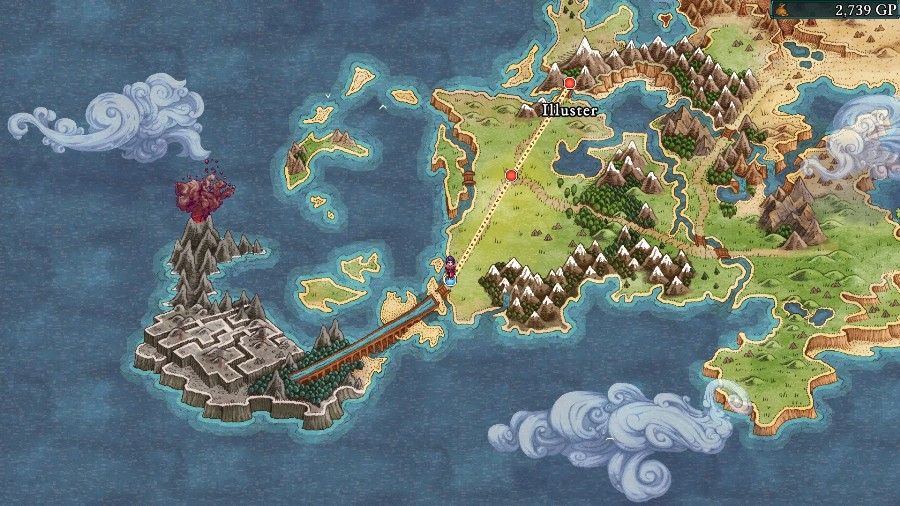
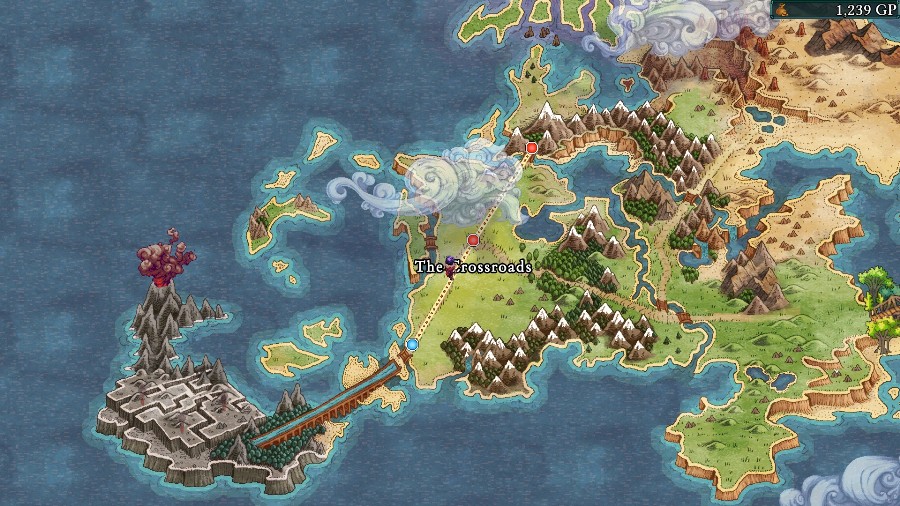
Here on the map, we can see our next objective, the city of Illuster, is just a little ways north from Gelligh. However, before we start our journey there are a few things to do.
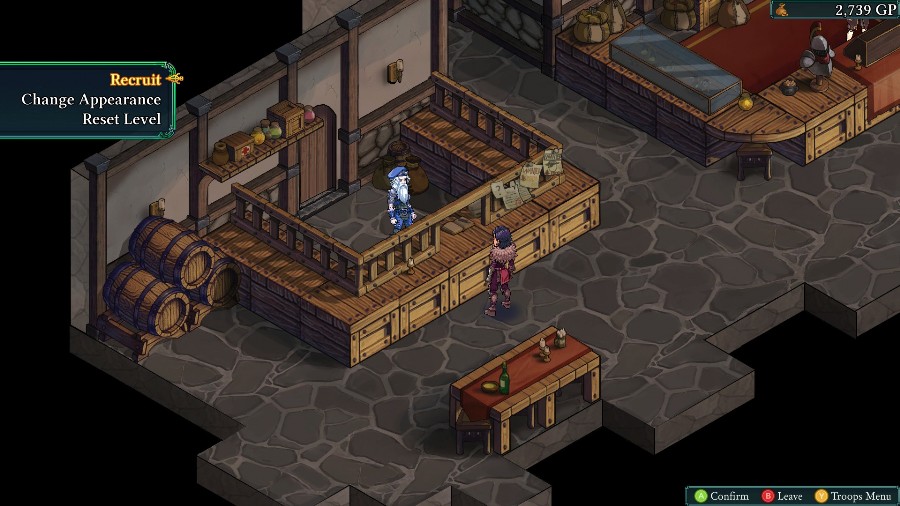
First up is a stop in the guild. Here, you can recruit new generics, change their appearance, and reset any character’s level for a fee. This game’s difficulty, like many others, scales off of the average level of your party, so if you don’t want to overlevel while training jobs or have someone who’s way higher level than the rest, you can use this to mitigate those problems. It’s not cheap though, especially when you reach higher levels.
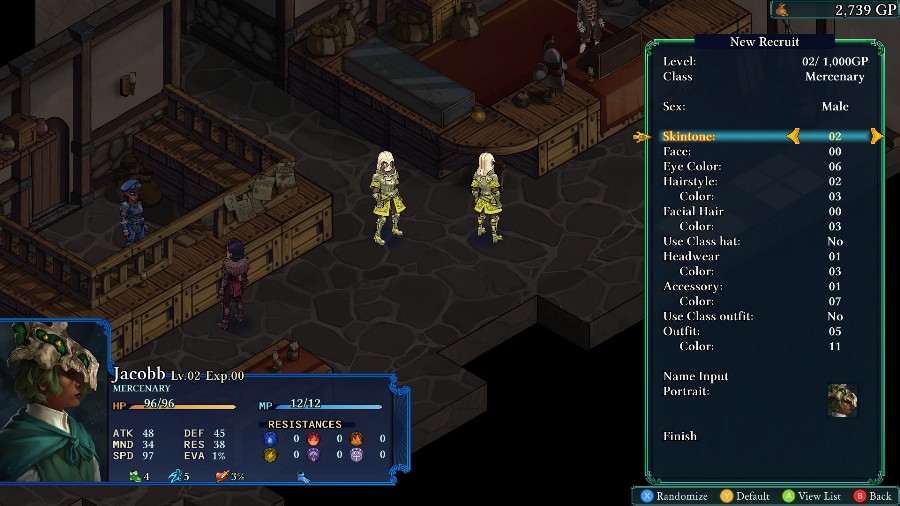
Here’s the recruitment screen. Here you can determine what class your recruit will be, what level they’ll be (up to a certain point), and then customize their appearance with a fairly robust system. You can change a generic’s name and appearance at any time, so
Thread Participation:
If anyone wants to submit a character, please do so. I’ll be taking Names, Appearance (as detailed as you want), and General Job Direction (i.e. physical fighter, mage, healer, etc.). Over the next few missions, I’ll probably hire at least 5-6 characters to serve as subs for injuries or to fill specific roles.
With that said, I just hire Jacobb as a mercenary for now and pop over into the shop.
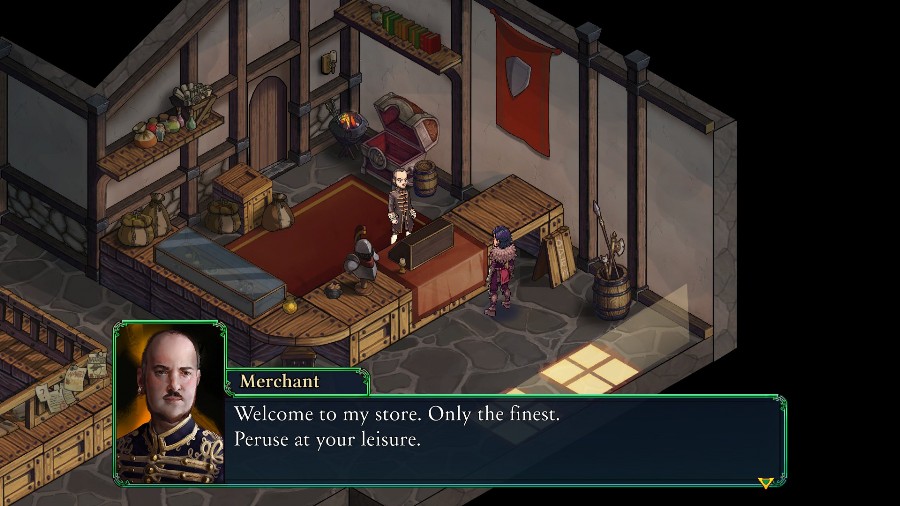
There’s a bit of a neat touch in that every shop has a different merchant with their own portrait at the counter.
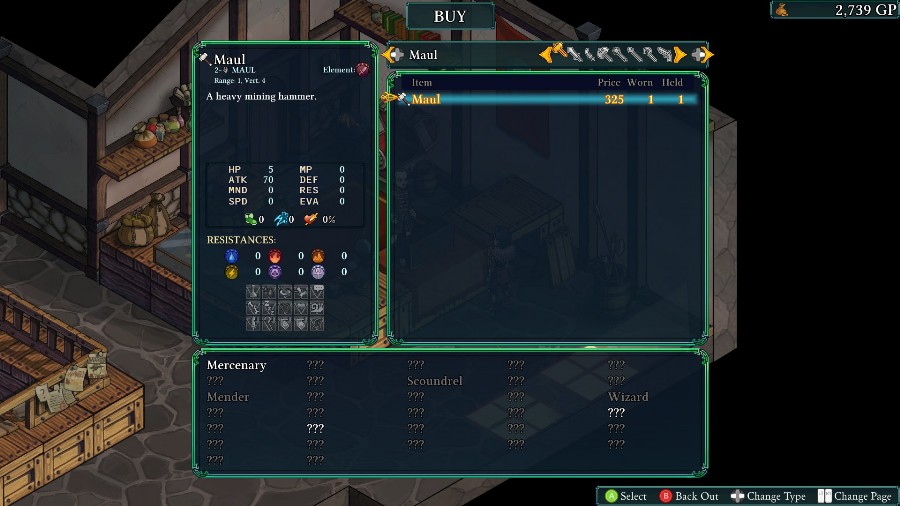
The stock obviously changes as you go, though I don’t believe that most shops ever update their wares.
There’s not much here for now so I just buy a basic shield and hat for Jacobb and leave. Of note, though, is the box below the items that shows which jobs can equip what. As you can see, we’ll have quite a few jobs to work with as the game progresses.
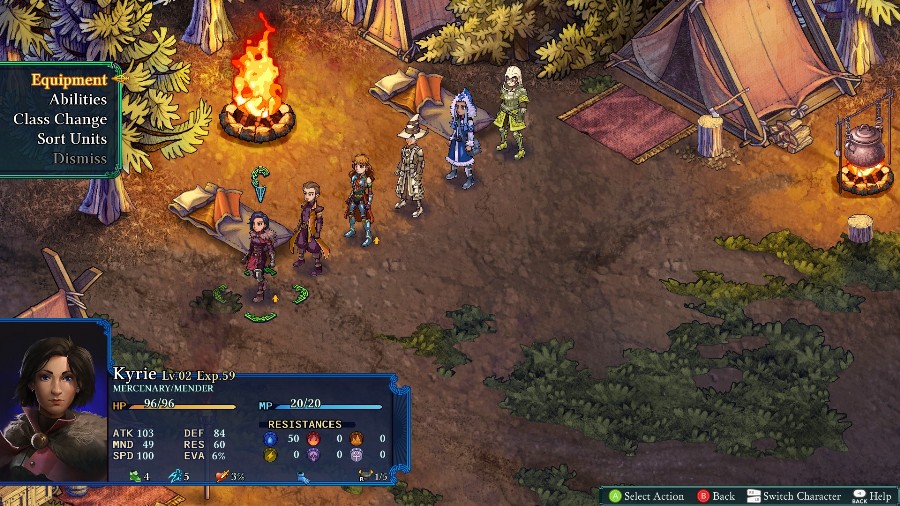
Last thing to do before we move is take a look at the camp menu. Here you can see everyone in your party, change equipment, learn abilities, and change your job.
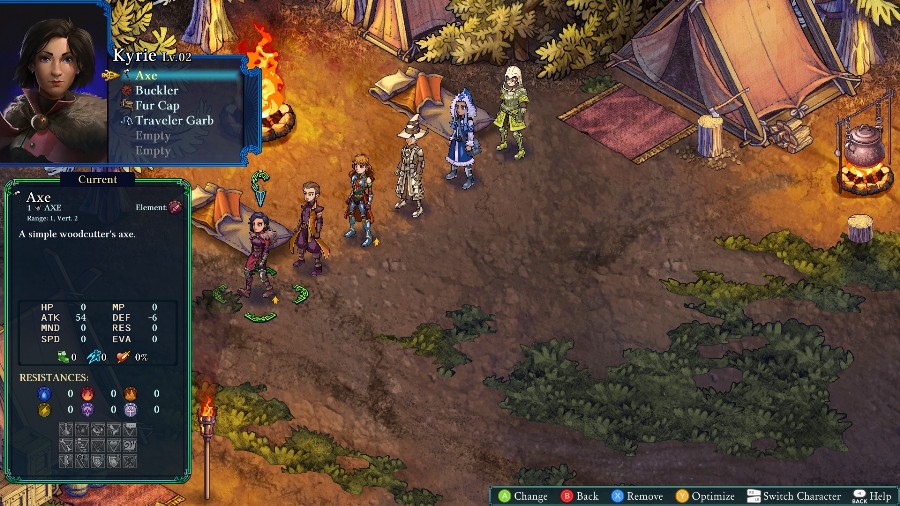
The equipment menu is pretty standard: 6 slots for some combination of weapon, armor, shield, hat, and accessories. Notably, there’s no limit on equipping accessories, so it’s totally possible to have a unit running around with 6 pairs of boots on if you want.
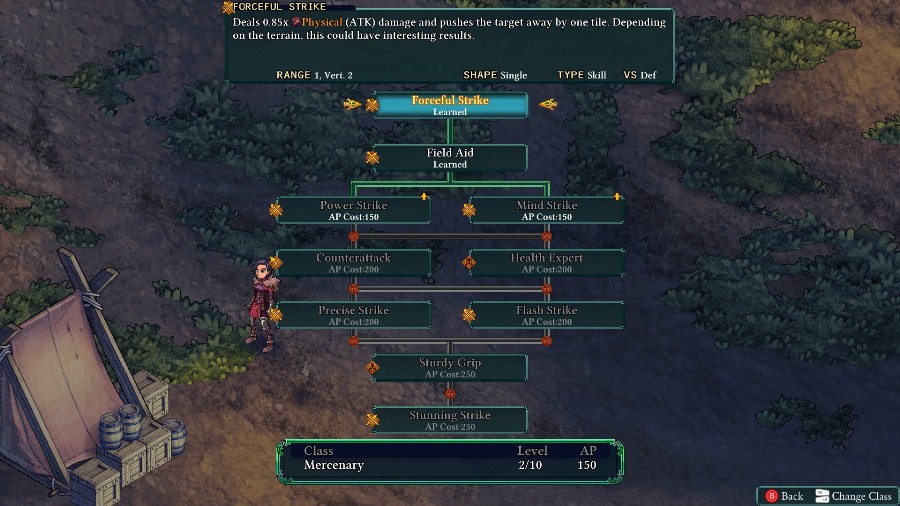
Next up are the ability trees. Rather than tie abilities to equipment or have everything open at once, each job has an ability tree to work down. You have to get one in each level to move onwards, and if you unlock all of them then you gain a mastery bonus that applies to every class. These bonuses can range from minor stat boosts to gaining slight innate elemental resistances, so it can be very worth it to stick with a class until the end. Especially since you’re also helping all of your other units gain AP in the class through vicarious learning.
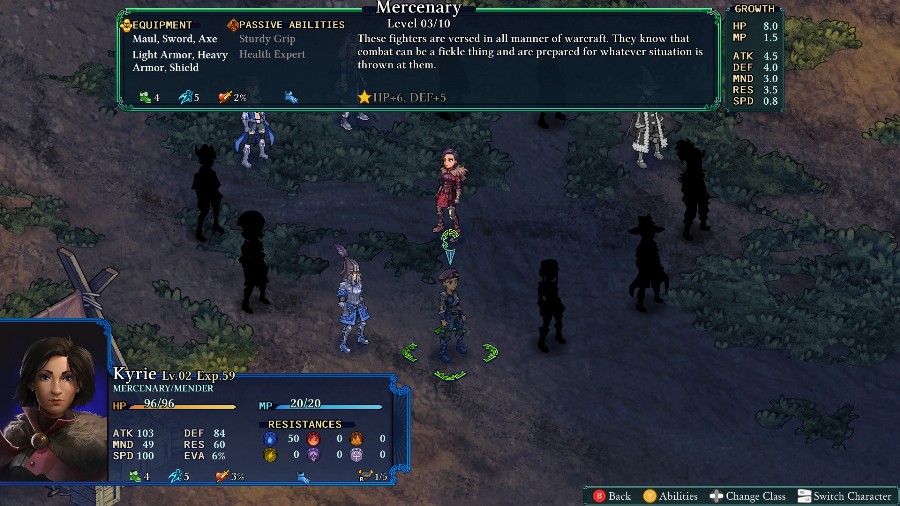
Lastly, we come to the job selection window. Everyone starts off with the two basic jobs (Mercenary and Mender) and then unlocks other jobs as you learn abilities. The shadowed jobs are locked, but you can scroll over them to see what abilities they require to unlock. More jobs will appear as you progress and unlock jobs. I’ll be going over what each job entails in some separate posts at a later date.
Also, there’s another nice feature in the top right corner: the growth rates. Each job’s growth rates are visible from the start, even for ones that are still shadowed out. Definitely a huge convenience if you’re trying to minmax or specialize a new recruit later in the game.
In the future, I won’t be going into nearly as much detail about the between mission admin steps. I just wanted to show what would be generally going on behind the scenes. Still, with that out of the way for now, let’s get going to the 2nd mission.
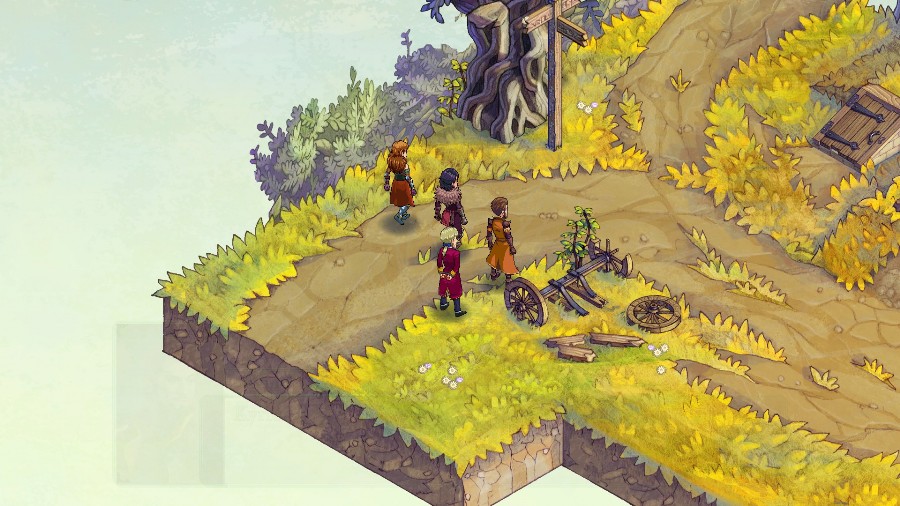
Our party approaches a crossroads, with Alphonse still bound and in tow.
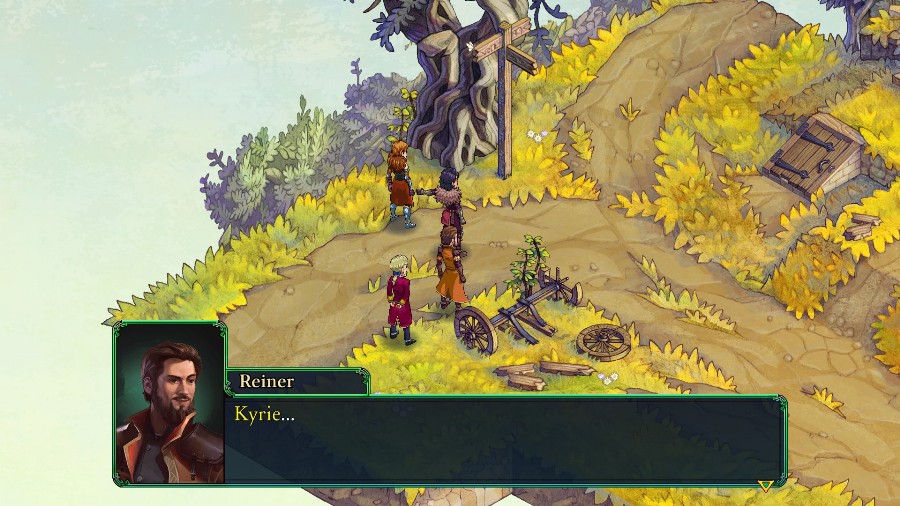
.jpg) Yes, I noticed.
Yes, I noticed..jpg) What’s happening, Captain? Stand back, Anadine.
What’s happening, Captain? Stand back, Anadine.A group of unsavory characters step out of the background and approach.
.jpg) But much friendlier Well met, friend! (Sigh). If you have business with us, out with it. Otherwise, step aside.
But much friendlier Well met, friend! (Sigh). If you have business with us, out with it. Otherwise, step aside..jpg) Of course, I will make it quick for you. Hand over that nobleman traipsing along at your heels, and everyone else can be on their merry way, safe and sound.
Of course, I will make it quick for you. Hand over that nobleman traipsing along at your heels, and everyone else can be on their merry way, safe and sound..jpg) What a splendid idea! Quiet.
What a splendid idea! Quiet. Safety and soundness first, exactly my own philosophy! But first, tell me: just what is it you want with our bejeweled guest?
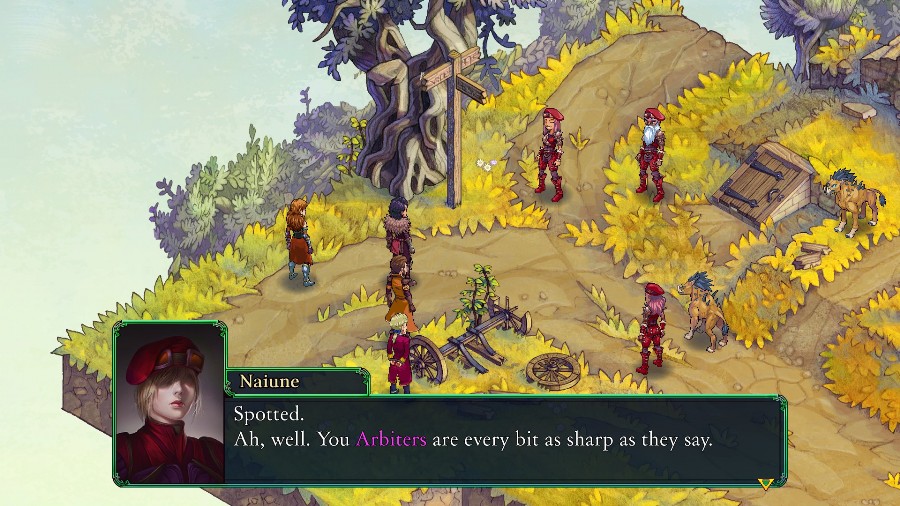
Funny you should ask. From what I’ve been hearing lately, I bet you Arbiters wouldn’t mind a taste of this action yourselves, eh?… All right, here it is: this rich fop will pay us handsomely for his freedom. Hand him over and 20% of the fee is yours to divide amongst yourselves. No on need ever know an Arbiter was involved in our littler transaction. I get what I want, you get paid, and your reputation remains as spotless as Illuster’s peaks. Win-win-win. Is there a fourth “win” I’m missing? Well, what do you say? Do we have a deal?
I dunno, Kyrie. Only 20%? Captain..? Enough. We haven’t the time to exchange banter with these fools.As for you lot… Attempted bribery, intimidation, interfering in Arbiter business. Serious crimes, the kind that should see every one of you decorating the trees. But get out of our way and I’ll forget I ever saw your faces. That is my final and only counteroffer. Signal that you accept, before I change my mind.
Tch! Of all the doomy luck, we just had to run into the one clean Arbiter within a hundred leagues! Jump lively boys! It looks like we must ear our prize today. No survivors, no witnesses!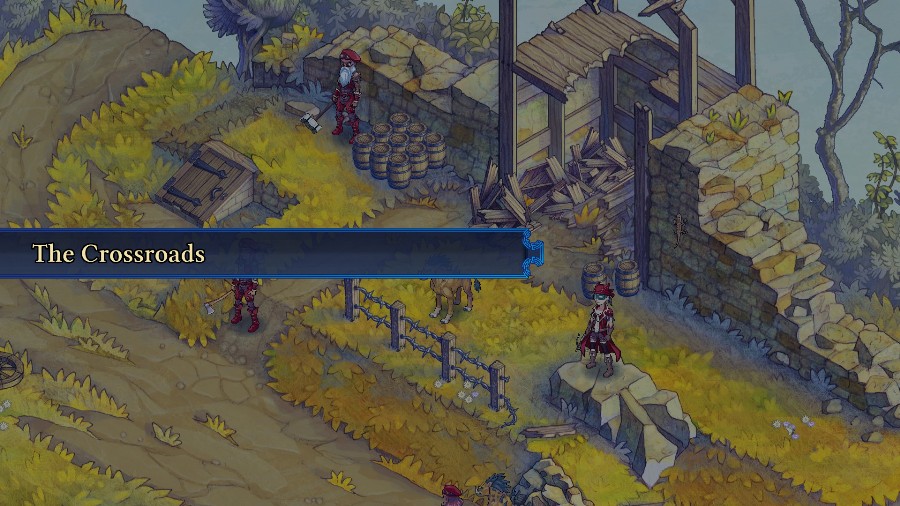
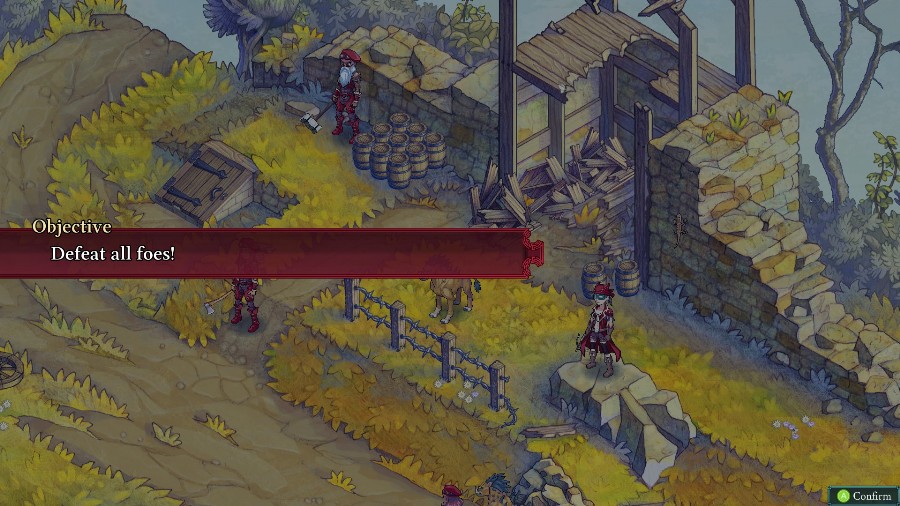
And with that, it’s time for a fight.
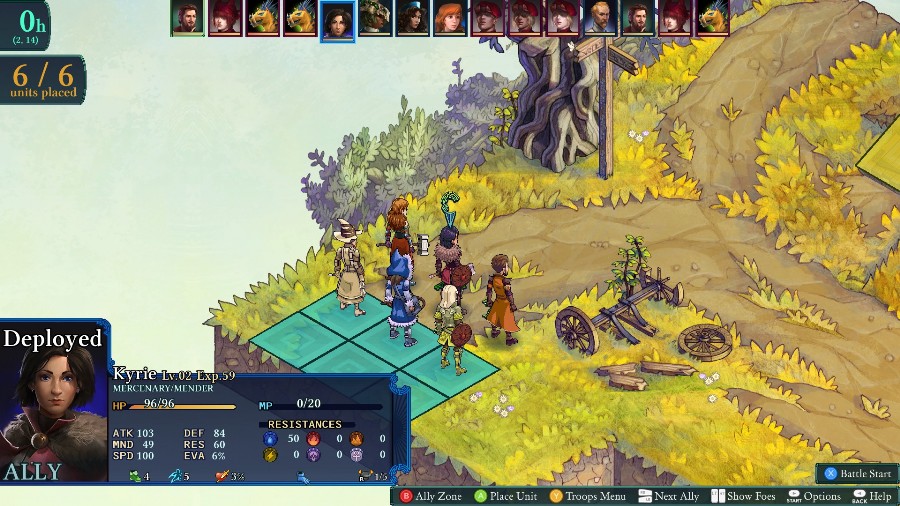
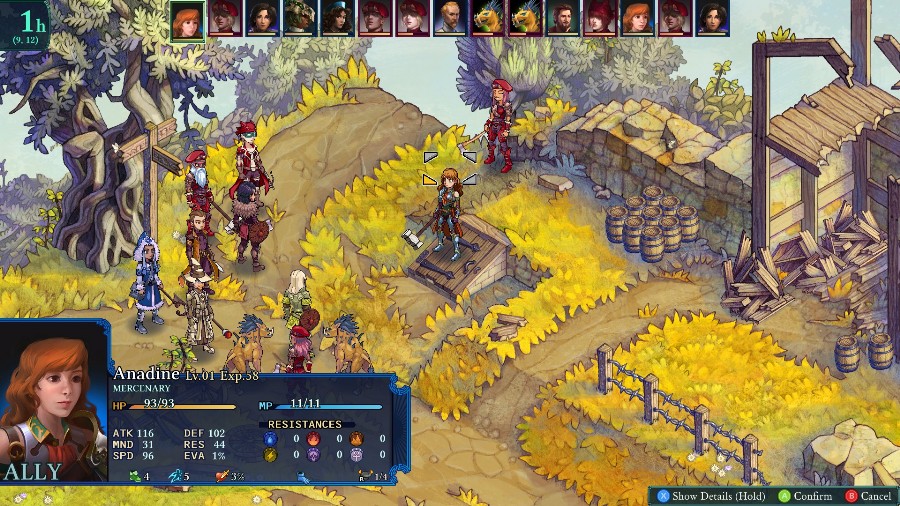
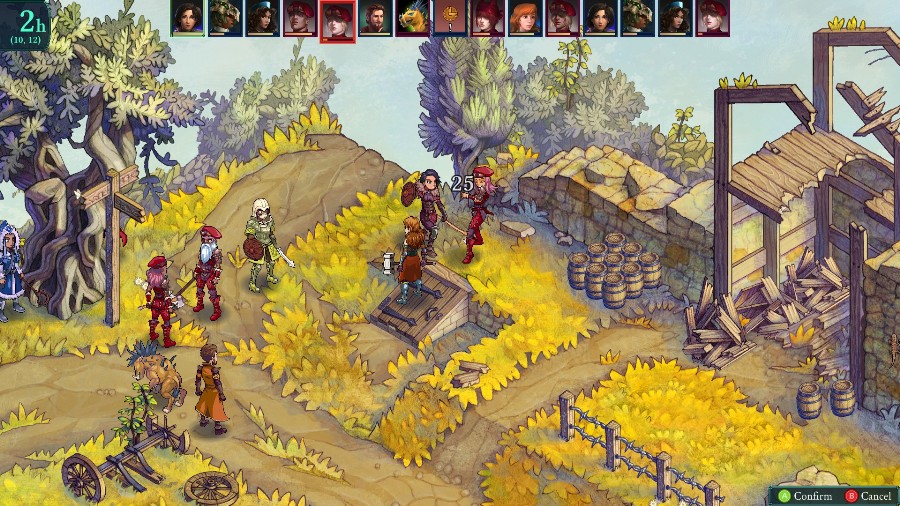
Half the party is fixed, so I just set the 3 generics up behind them. The only new units are Rainer who’s a scoundrel (this game’s thief), and Lana who’s a mender (aka white mage).
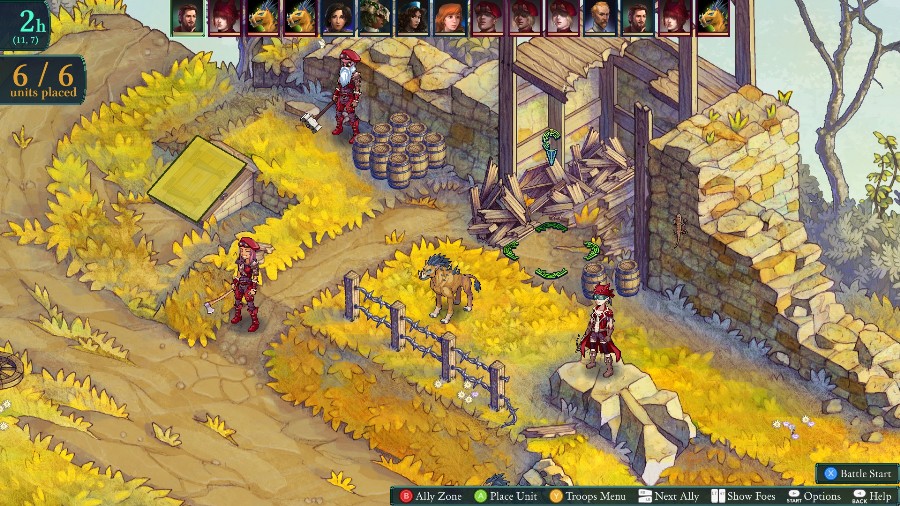
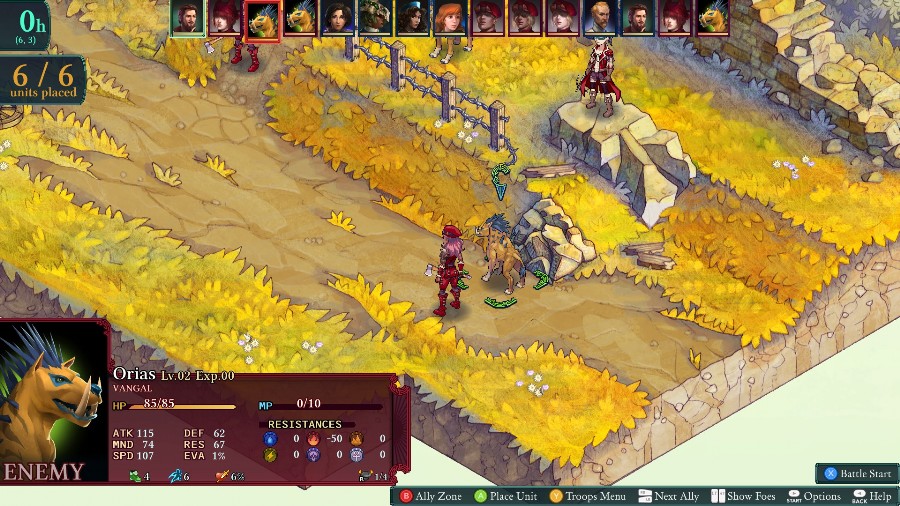
They’re spread out along the crossroad, but we’re facing 6 enemies today. Mostly basic mercenaries, but there are 2 of the wolflike Vangals, and one scoundrel who’s equipped with a crossbow for ranged attacks.
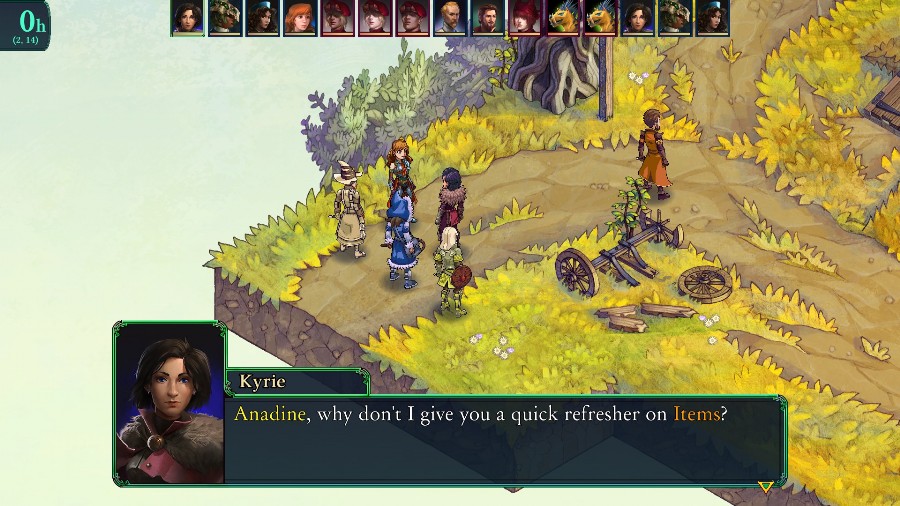
We start the fight, and as soon as Kyrie’s turn comes up, we get a tutorial on items. The big change this game has is that, while you do get a limited number of items per battle, they get refilled to the max amount after every fight. The pool and numbers start off pretty limited, but you can get both new items and higher stocks of items you already have as the game progresses.
I’m a huge fan of this way since I usually succumb to the “But what if I need it later?” feeling in most games with consumables. In my previous playthrough, I ended up using them liberally and felt that it really opened up a lot of options I’d otherwise ignore.
The battle continues, without any contact until
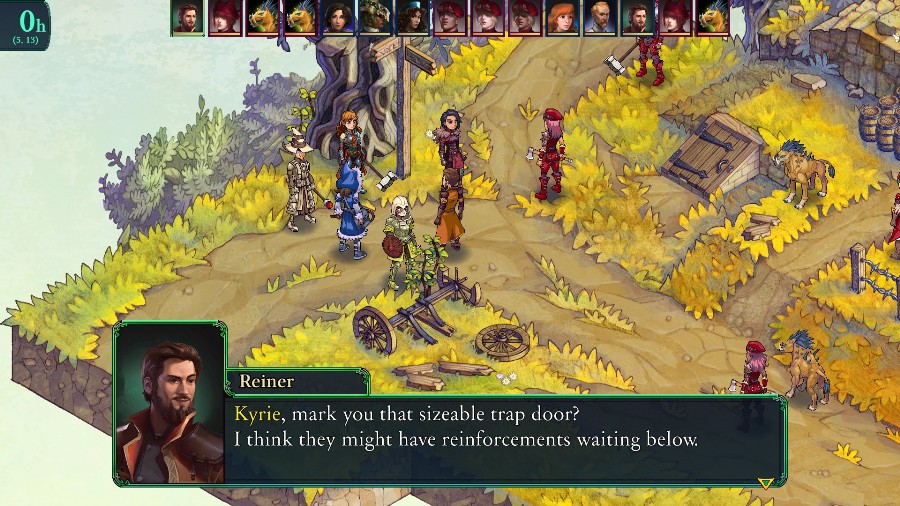 Well spied. If one of us stands directly upon it, that should keep it sealed against any new enemies. Agreed. But we must move quickly if we plan to secure it. They could strike at any moment.
An environmental gimmick for the current battle is revealed. This one, like most others in the game, is pretty simple. At some point indicated on the turn order, the trap door will open and enemy reinforcements will come out. If there’s someone on top, be it friend or foe, then it won’t open and the reinforcements will be trapped inside forever. So not too hard to prevent, but it could definitely make the fight a lot harder if you don’t.
The fight continues, and I get some light hits on the closest mercenary as the rest of the enemies close in.
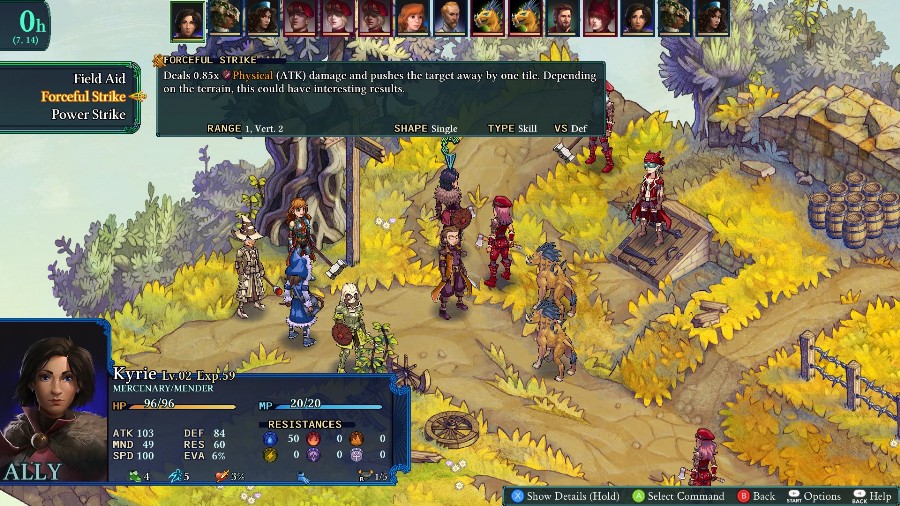
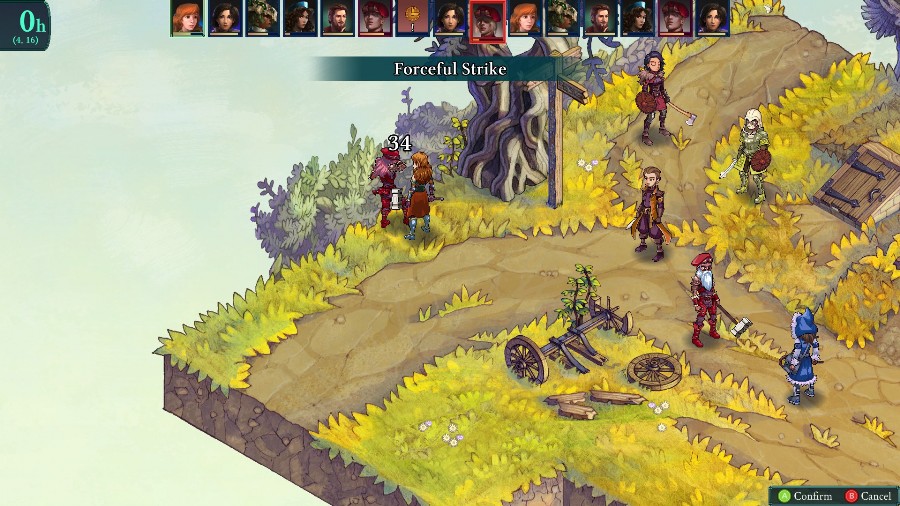
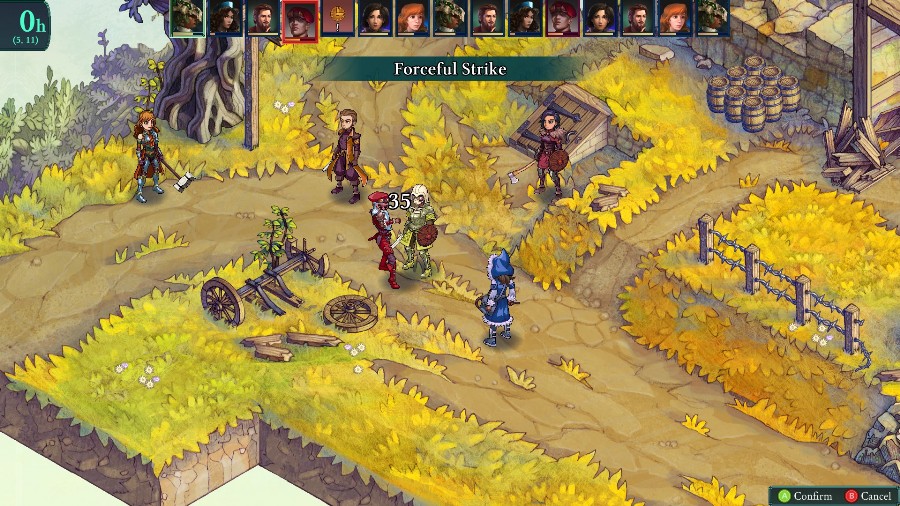
I’m only making this to show off this move, and demonstrate why the AI loves to spam the ever-living hell out of it and any other move that moves the target.
Currently, Kyrie’s basic attack would deal about 20 damage to this guy from the front. However, if I use forceful strike, then this happens:
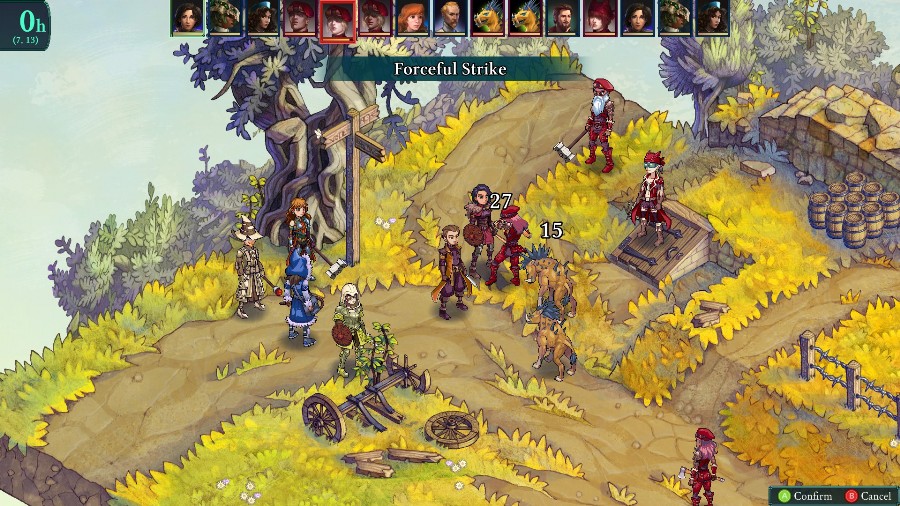
Despite its lower modifer, it does more damage to the main target and hurts whatever is where the target would be shoved. This works whether there’s a unit or just basic terrain in the way and is an incredibly powerful way to weaken or take down multiple enemies at once. It also bypasses any reaction abilities or counters that the secondary target has, making it a good way to deal with extra dangerous enemies.
Forceful strike is a pretty basic ability in the mercenary tree and the mercenary skillset is often used as a secondary skillset for the AI, so expect to see this happening to me regularly.
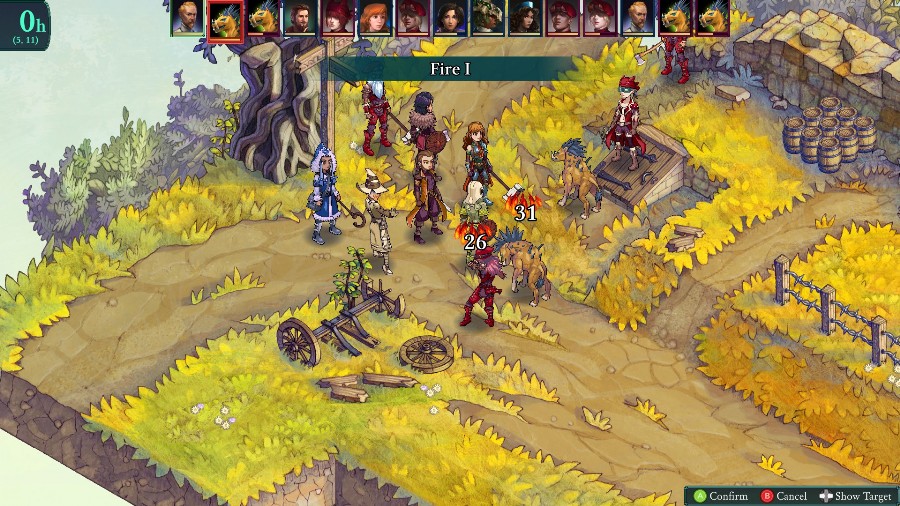
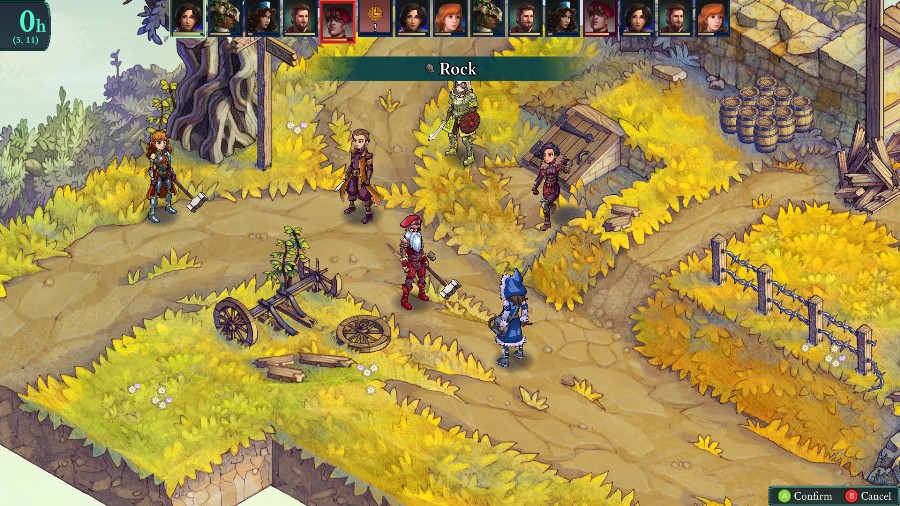
Afterwards, the battle proceeds and I set fire to some guys.
Move Anadine over to stand on the trapdoor waay earlier than I need to.
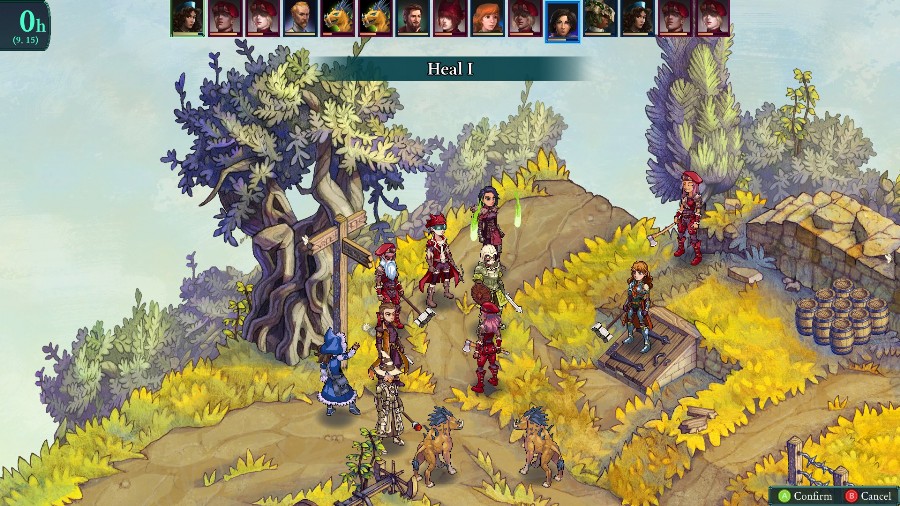
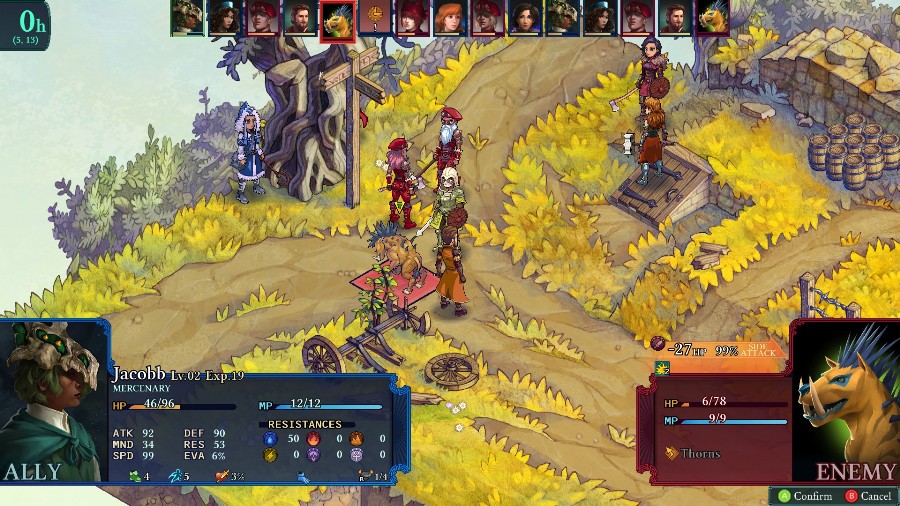
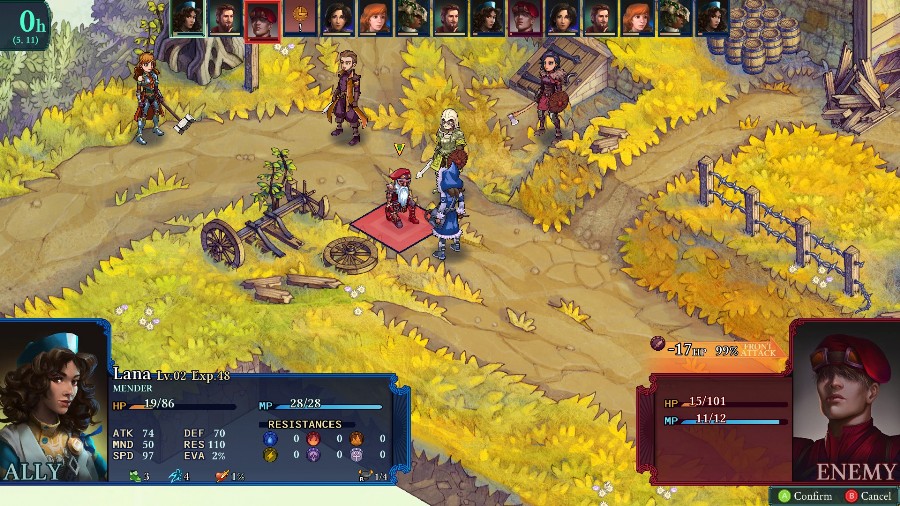
I nearly lose Jacobb to a crit from the scoundrel, but manage to get Lana a turn to heal him.
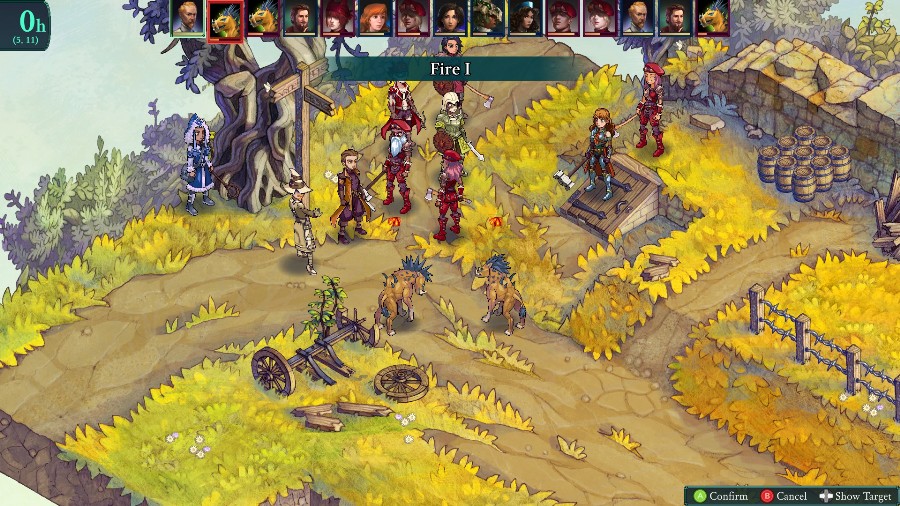
Virgil nearly takes out both Vangals with one cast thanks to their 50% weakness to fire. However, I manage to miss an 85% chance to hit and only take out one of them instead.
Because of that, the remaining Vangarl is able to weaken Virgil and the enemy mercenary takes him out with another crit. Definitely a pain, but nothing insurmountable. It just means that Virgil’s going to have to sit out the next fight.
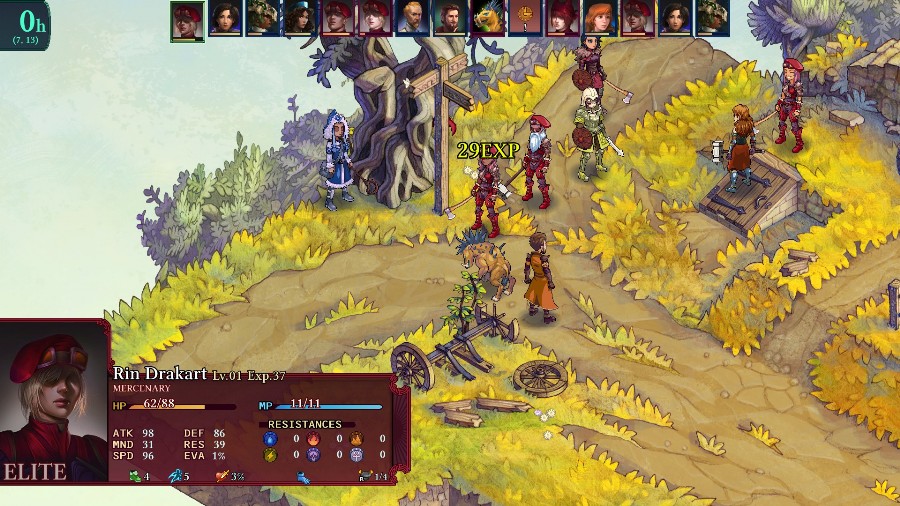
Anadine weakens the leader merc for Kyrie to get the kill.
While Jacobb finished off the last Vangarl.

And then takes out the scoundrel soon afterwards
Anadine takes advantage of forceful strike’s bonus damage to kill one more mercenary.
And Kyrie, Jacobb, and Lana work together to take out the final mercenary. A nice bonus for items is that they can’t miss and always deal fixed damage, so they’re great for finishing off evasive or highly defensive enemies.
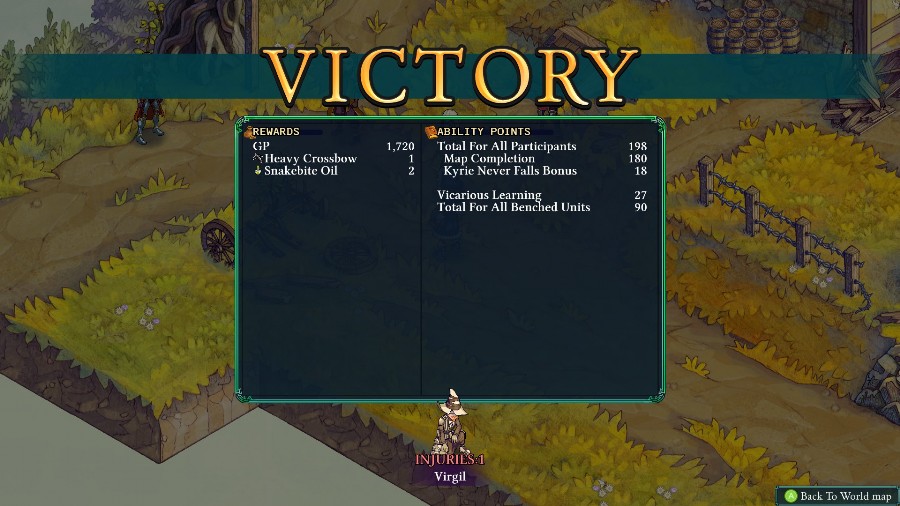
On the victory screen, we get a Heavy Crossbow (our first ranged weapon) and some more snakebite oil for crafting. We also get a visual of the injuries that were either sustained or extended during the battle.
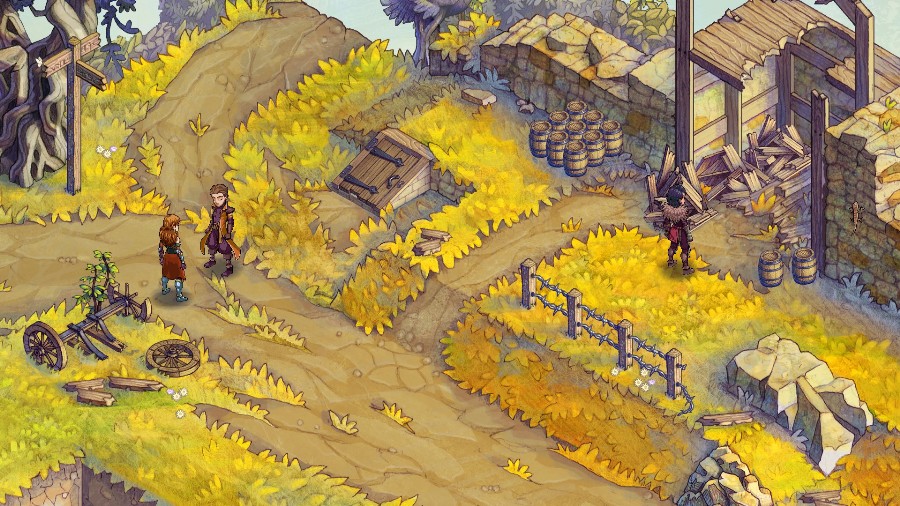
Afterwards, Anadine and Reiner chat while Kyrie stares at the ruins of the nearby building. Soon, Reiner wanders over to Kyrie.
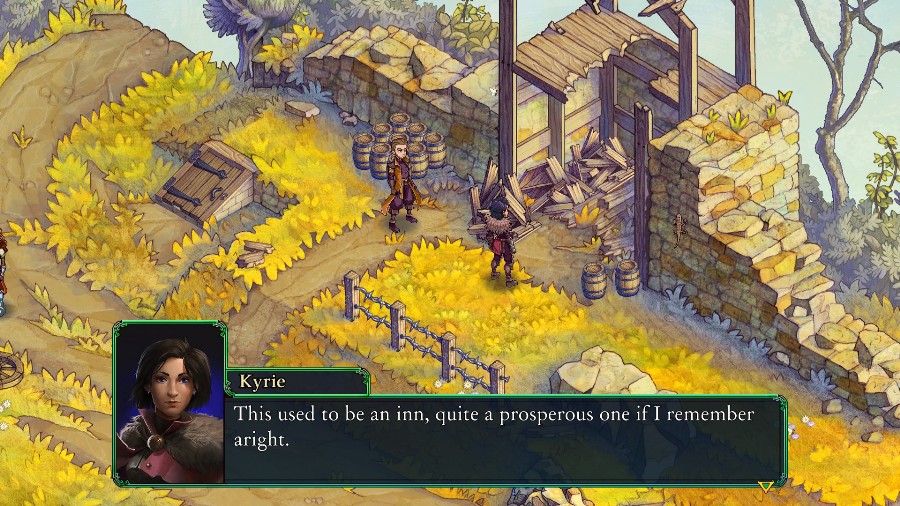 Burned down in a marauder attack last year. And no Arbiters nearby to prevent it. …
You allude to that scoundrel’s claim about Arbiter’s taking bribes. Nothing but a desperate attempt to talk their way out of a fight. I don’t believe a word of it.
And yet here we are, dragging that foppish nobleman around because we can’t quite trust the local Chapterhouse. That’s a long enough break. We need to keep moving if we’re to reach Illuster before nightfall.
I’ll make sure everyone is ready.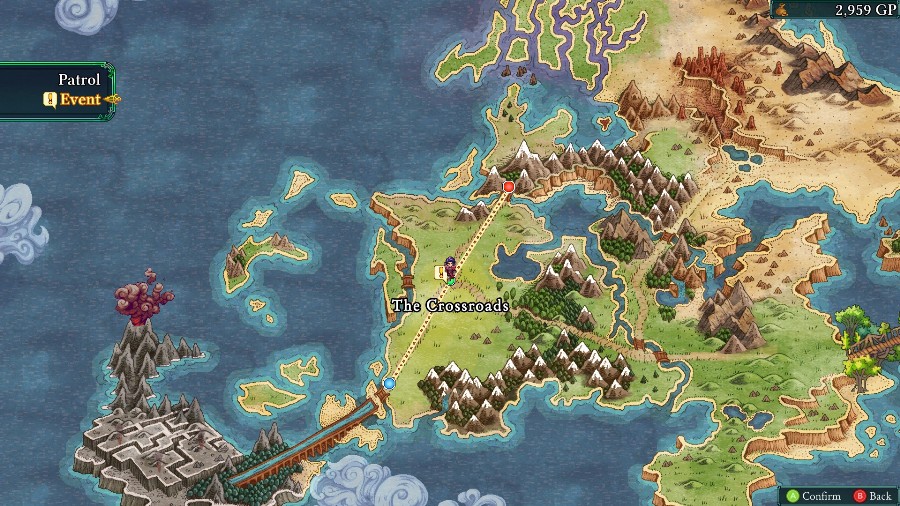
And with that, we’re put back on the world map. We could head directly up the road to Illuster, but before that there’s a new event available at The Crossroads that we’ll check out next update.