Part 33: Caravan Trail II
Update 33: Caravan Trail II (Saving Somier Again)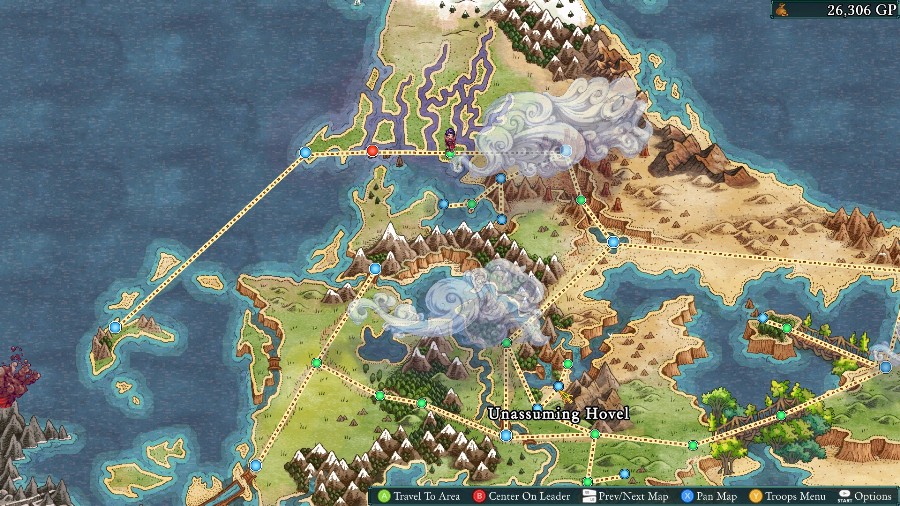
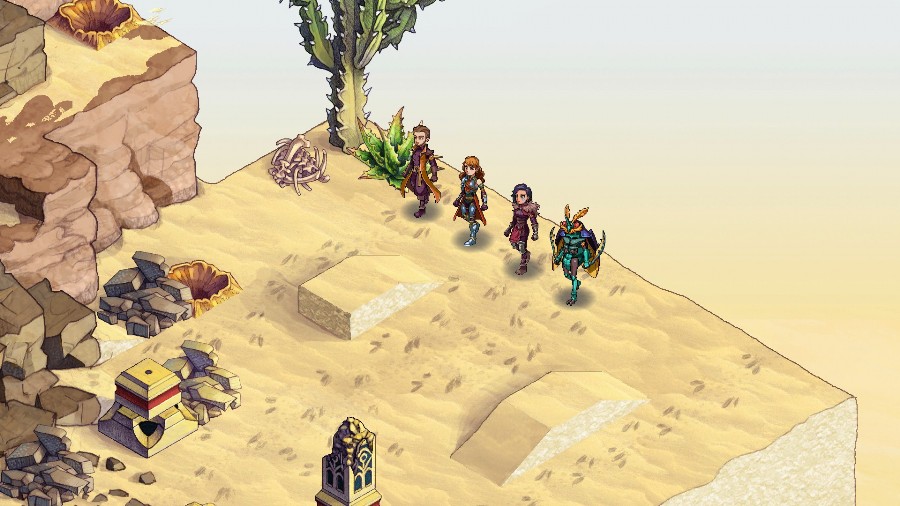
Welcome Back! Last time we fought a bunch of enemies in a poison swamp, and Reiner and Anadine reminisced about Somier, the Kawa merchant that we saved. Anadine suggested we go and check up on him, so that’s what we’ll be doing.
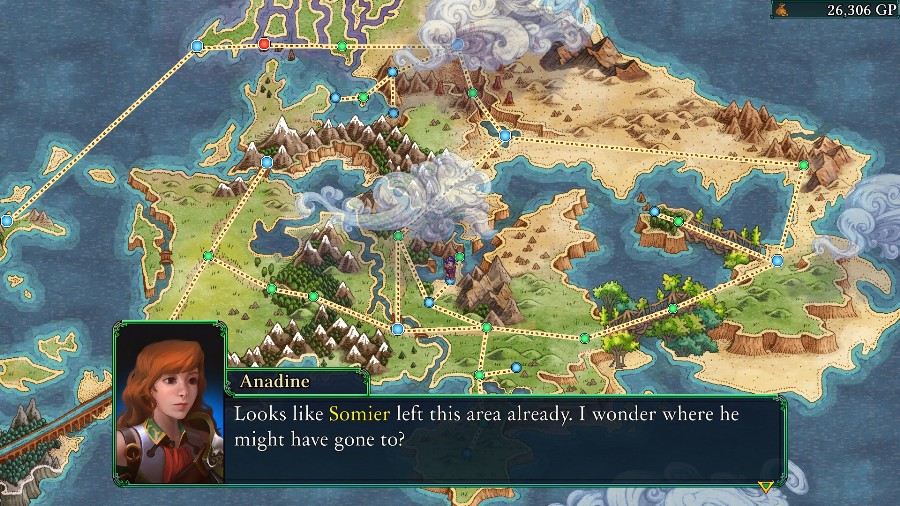
Going back to his hovel, we discover that he’s already left.
 Oh! He left a note… “I is going back to mighty Gogombob City. But first, exploring great desert during trip.”
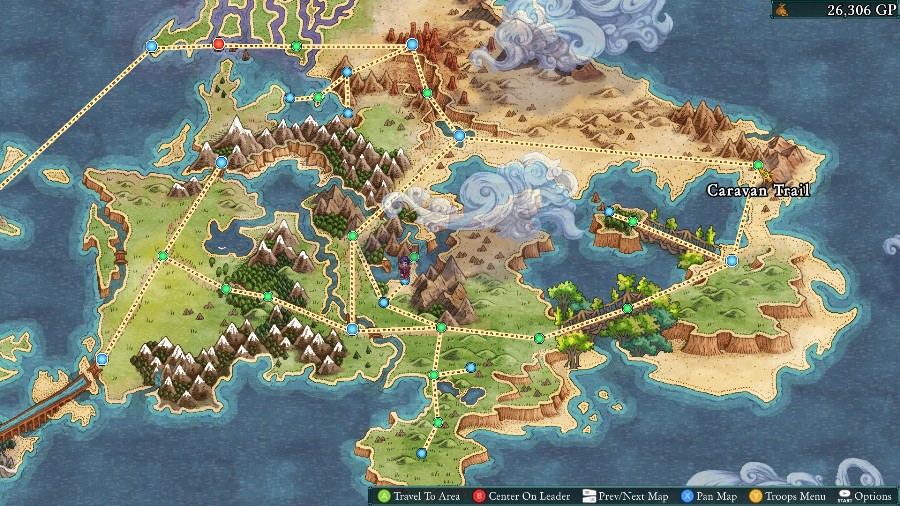
The only place we know of in the desert is the Caravan Trail, though it doesn’t go red or anything.
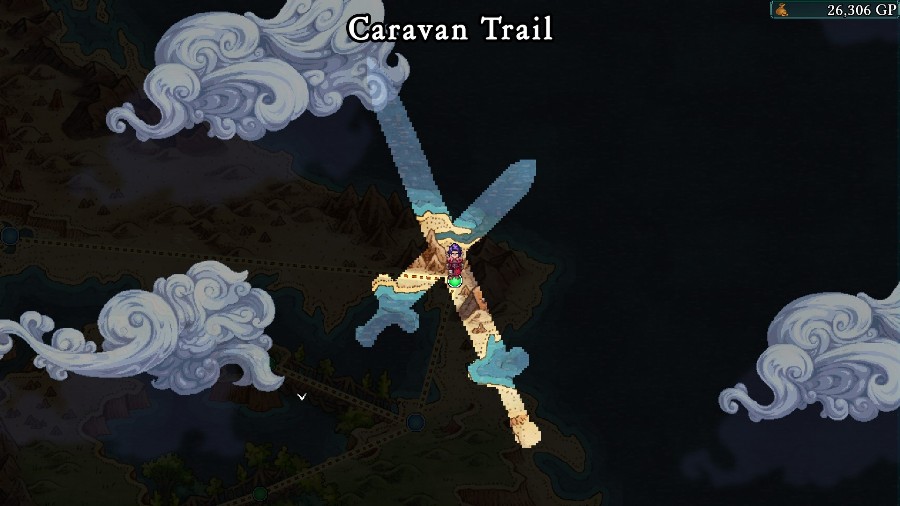
However, heading over there does trigger a new fight!
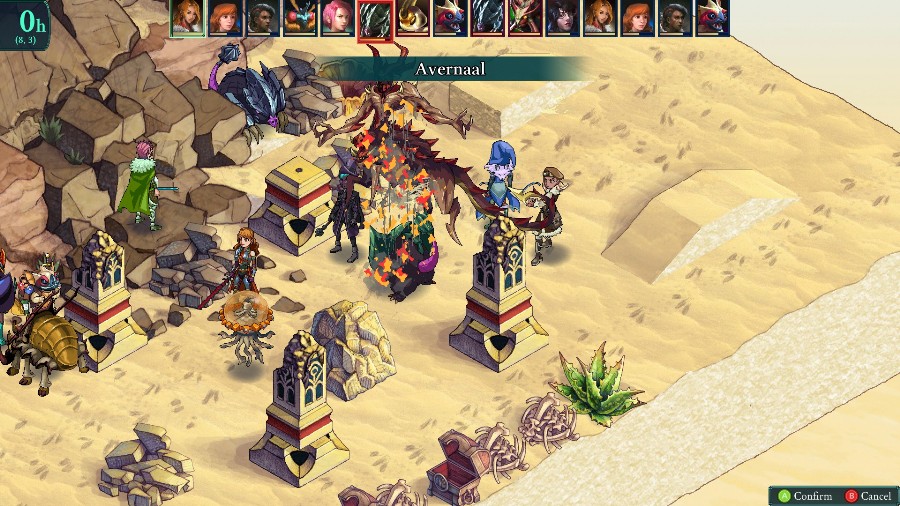
The party walks in from the north.
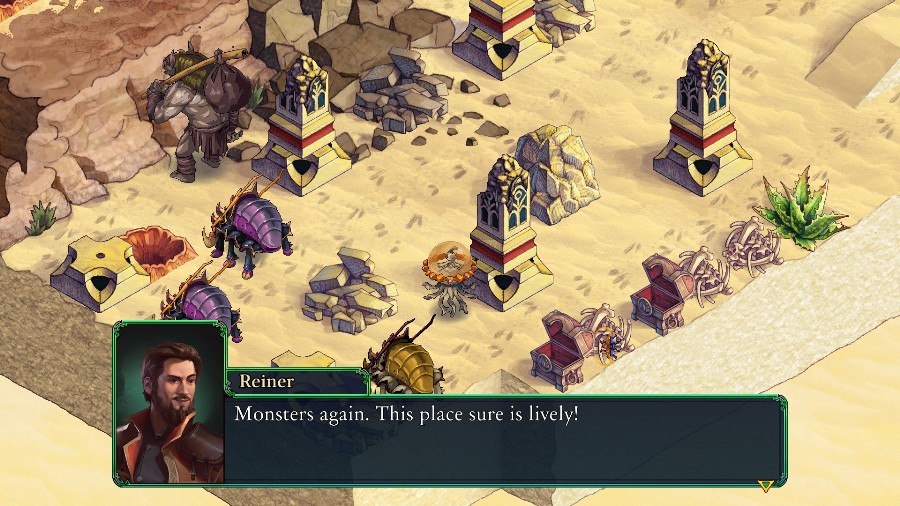
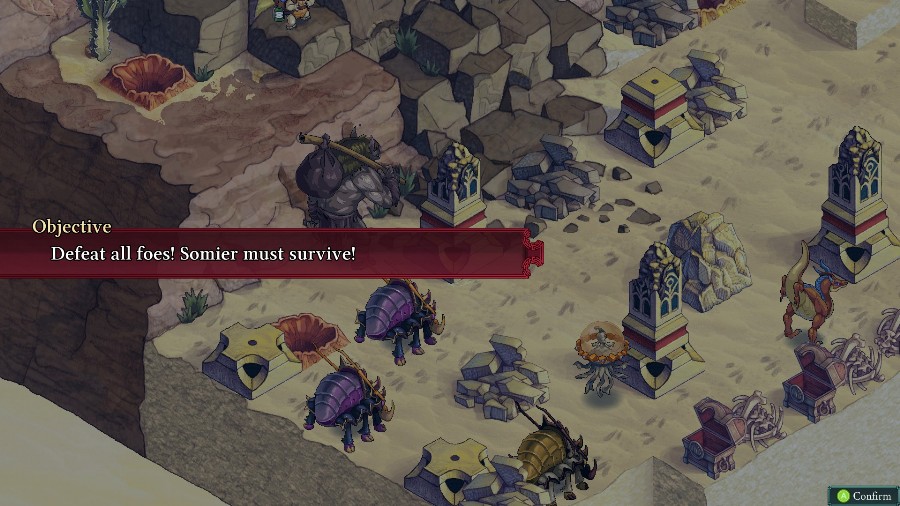
And discovers a pretty sizable group of monsters!
 They look occupied. Maybe they’ll let us pass by.
 Let’s make sure a helpless traveler isn’t what’s occupying them.
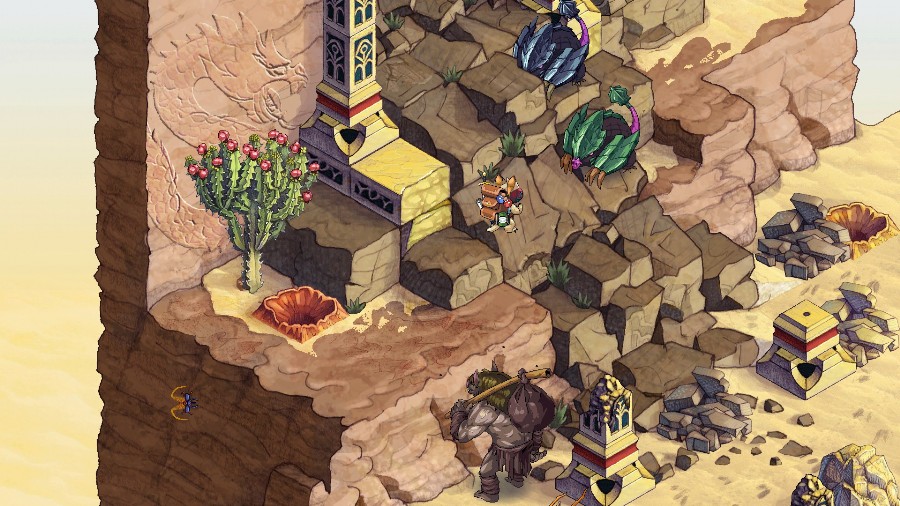
The camera pans over to see a familiar Kawa backing up from some Tangrels blocking his escape.
Isn’t that Somier? It is! We have to help the little one.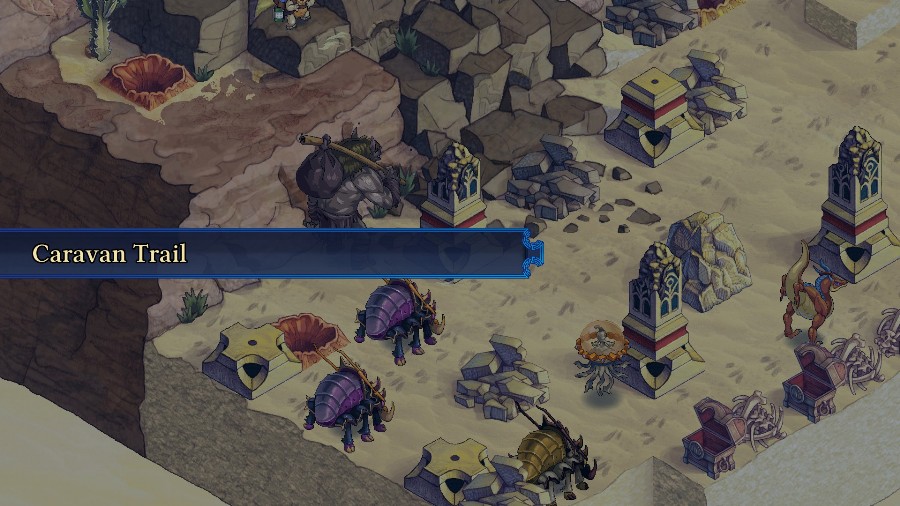
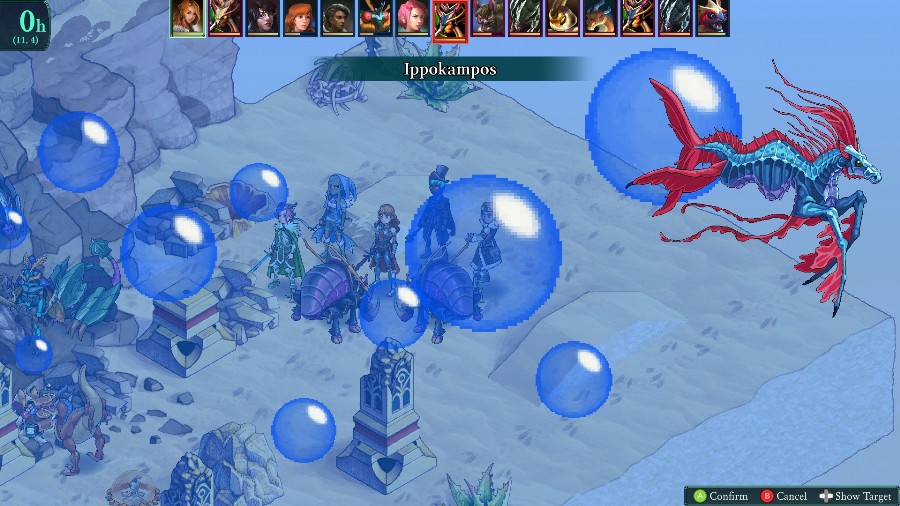
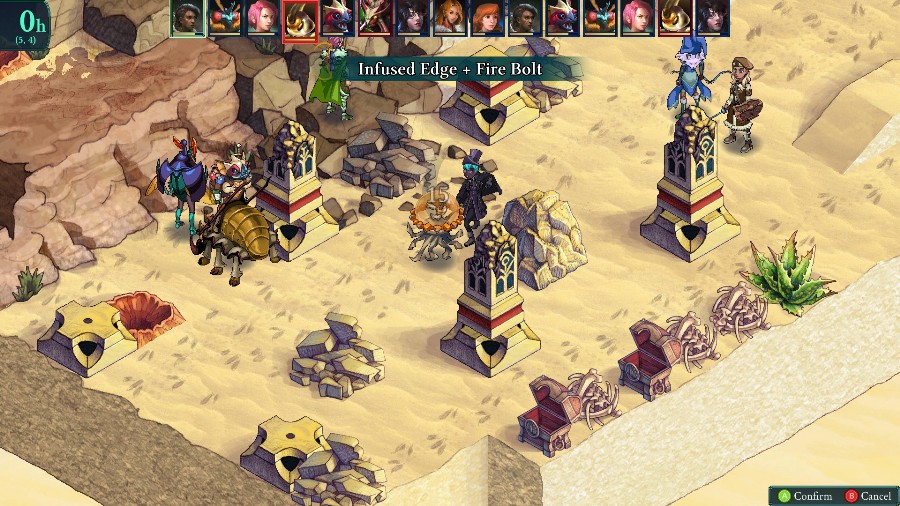
And it’s time to setup for a fight.
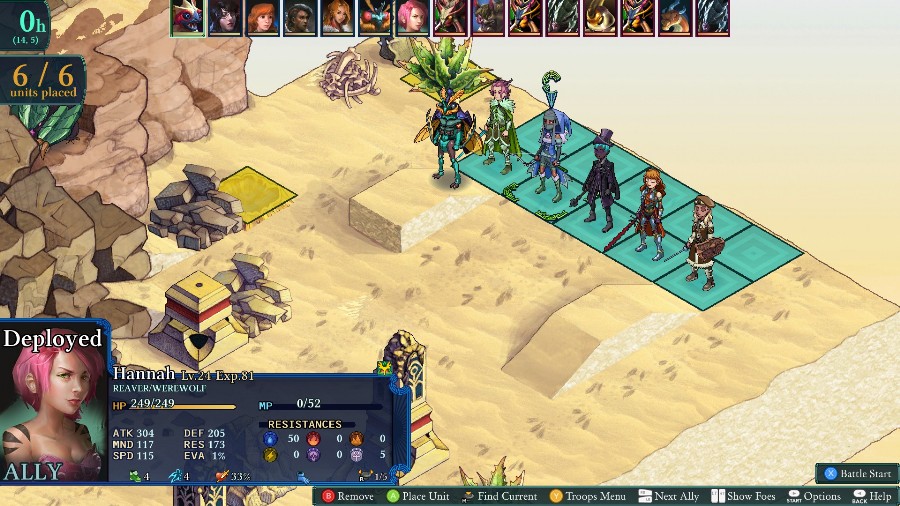
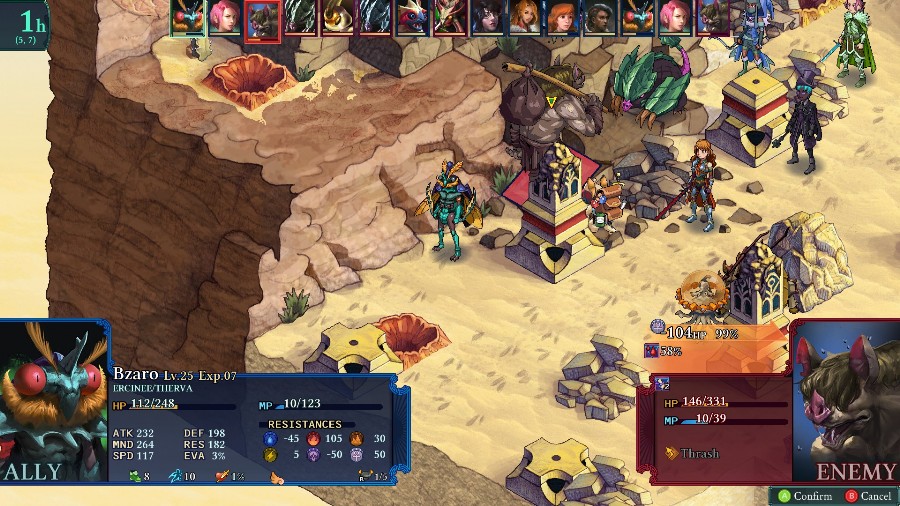
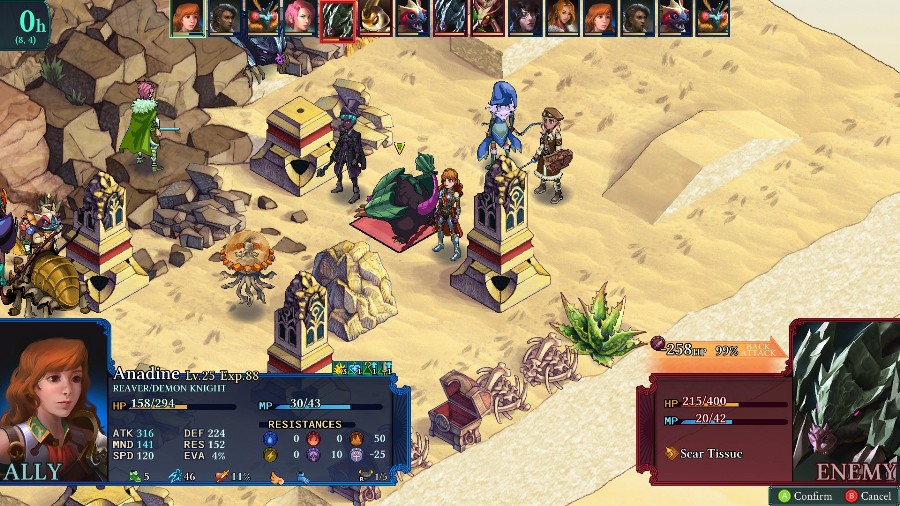
For this one, Bzaro is actually locked in instead of Kyrie. My big priority is having the mobility to get over there before all of the monsters swarm Somier, so I’m bringing Hannah, Azure, Selina, and Anadine. Sophia is a bit slow, but having her healing will help keep everyone up, and her attacks have a decent range so she can still help out.
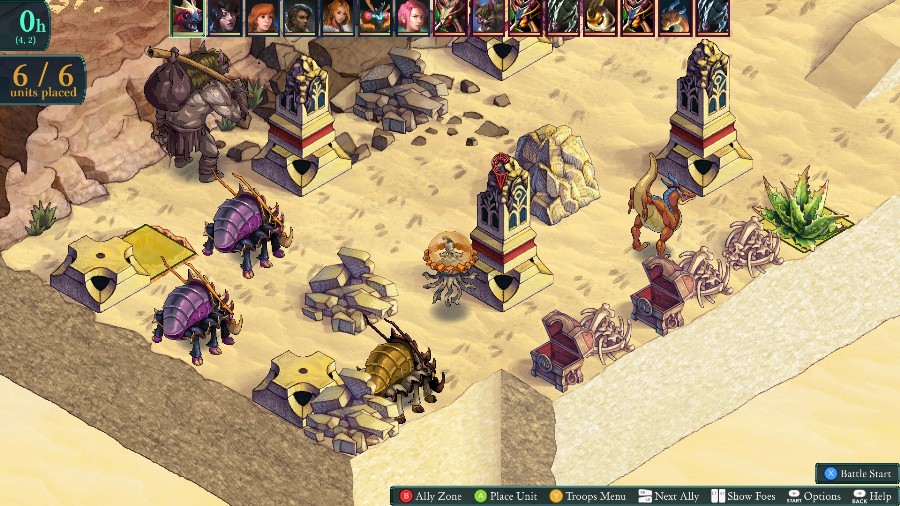
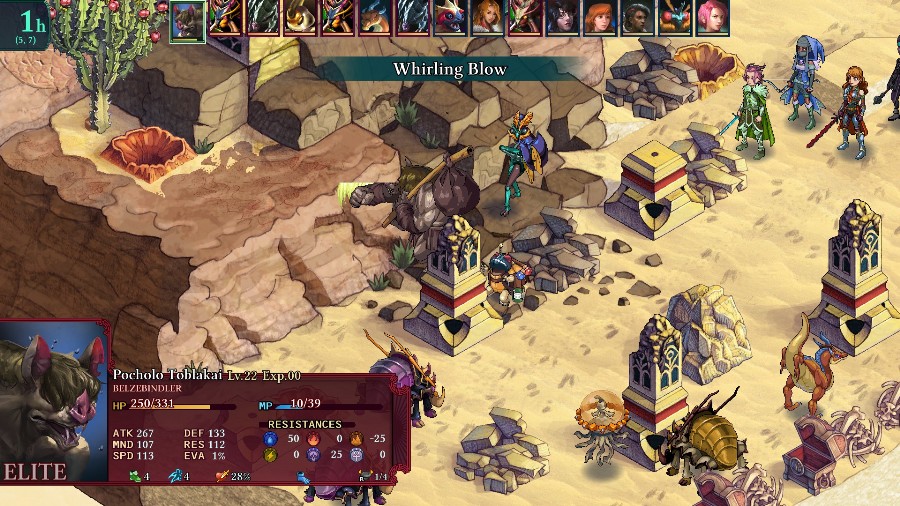
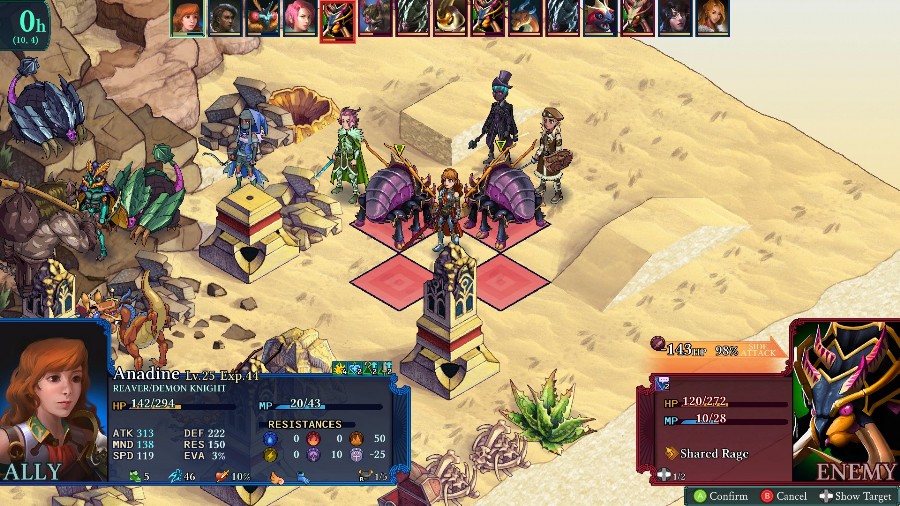
The monster line up is pretty similar to what was here the first time, with a few Bzzrk variants, a Pekite, and a Therval, but also has 2 Tangrel Variants and a Belzebinder. I feel like the Belzebinder is the biggest threat here because it does good damage and can jump well, meaning that Somier can’t really hide from him.
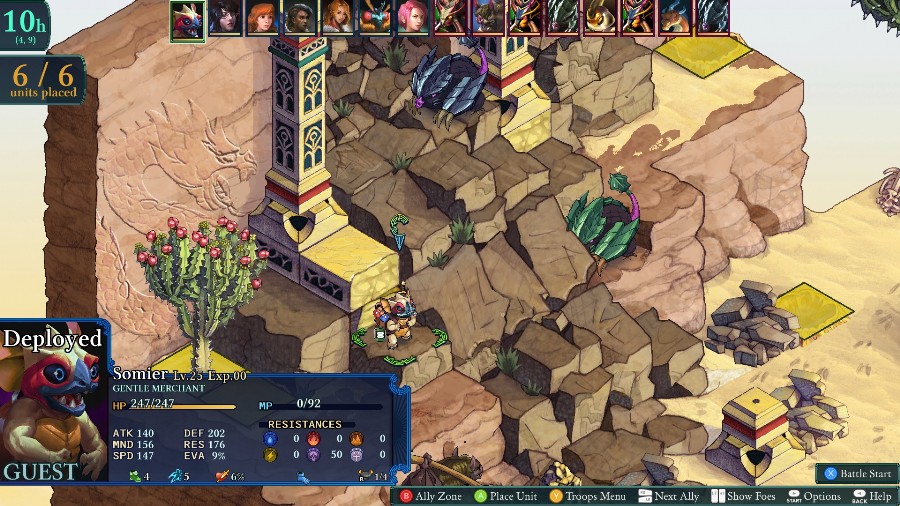
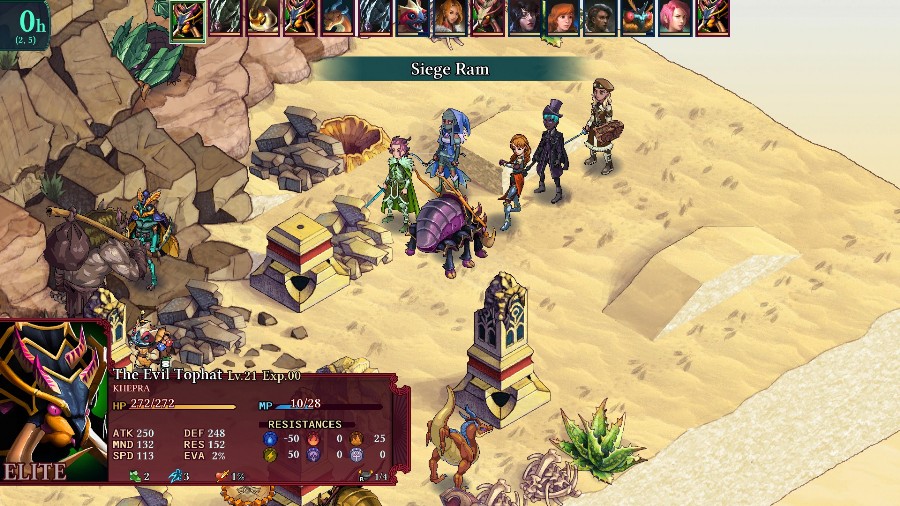
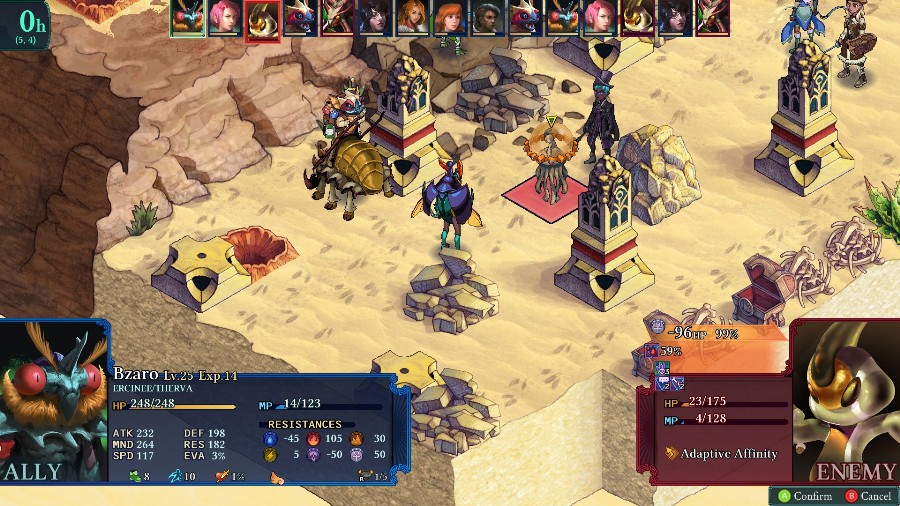
Speaking of Somier, here he is. His stats are nothing to write home about and he has no offensive abilities, but he does have a separate stock of items to use to support us.
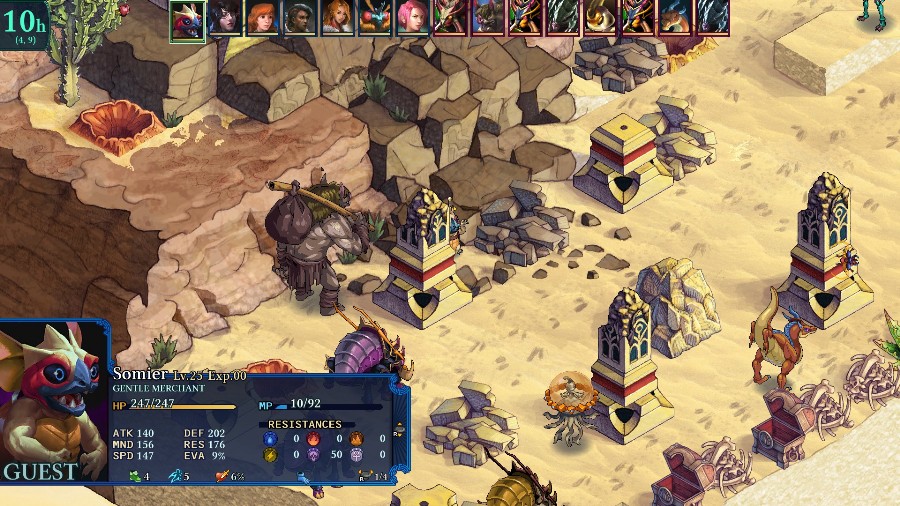
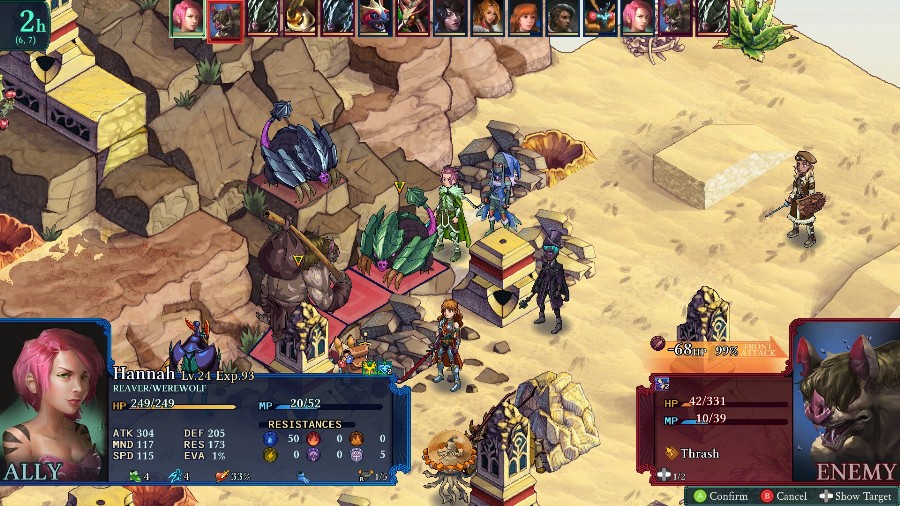
Continuing the time-honored trend of allies you have to protect having suicidal AI, Somier moves first and goes right into the middle of all of the monsters. Specifically, almost right next to the Belzebinder who can do probably over half of his health in 1 hit.
Most of my units are out of range on turn 1, so I just have them buff up and move forward.
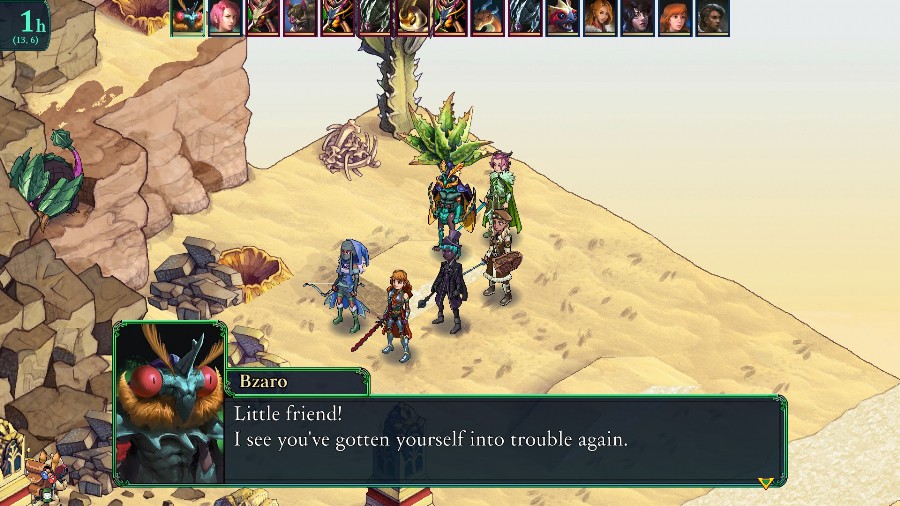
On Bzaro’s turn, he calls out to Somier.
 Kind Arbiter and friends! I is glad to see friends! Very glad! Don’t worry, little one, we’ll protect you!
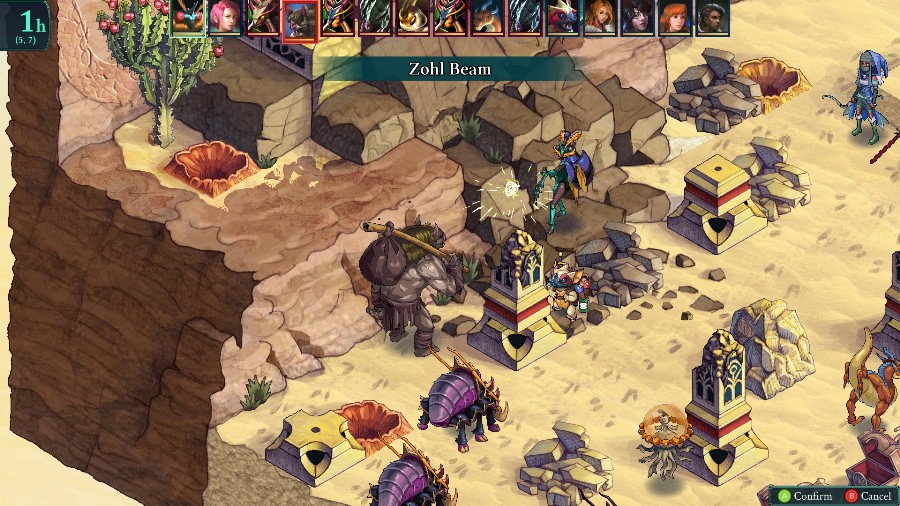
And then Bzaro draws first blood by zapping the Belzebinder.
Of course, the Belzebinder doesn’t mind that too much and then retaliates with a solid hit to both Bzaro and Somier.
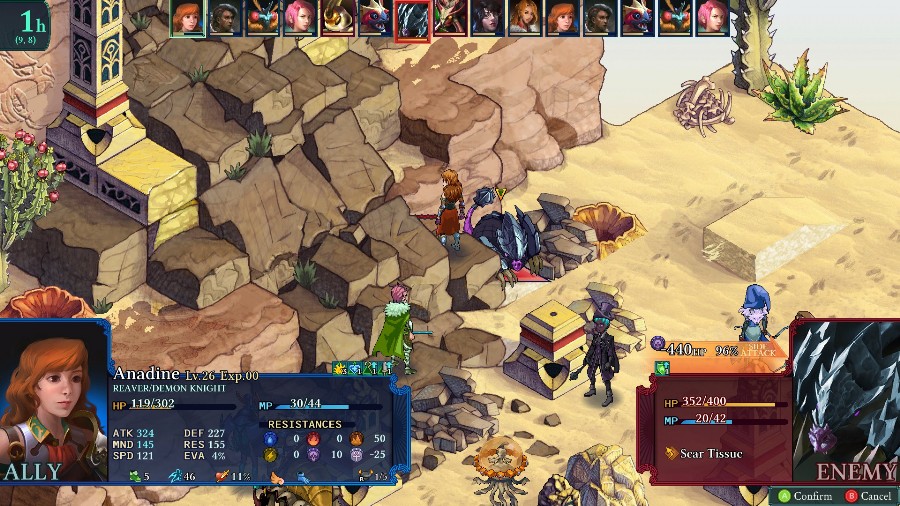
Anadine gets charged by a Khepra, which is soon followed by a 2nd one.

While the Pekite hits Somier, followed up by another hit from the Therval.
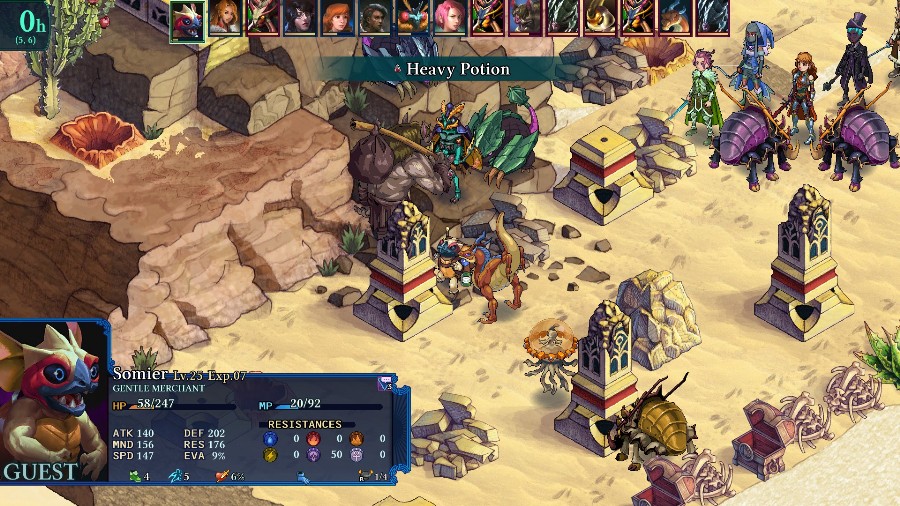
Somier is already hurting really badly. Thankfully, he uses a heavy potion to heal himself back up to full. He is totally pinned between the rubble and the monsters though.
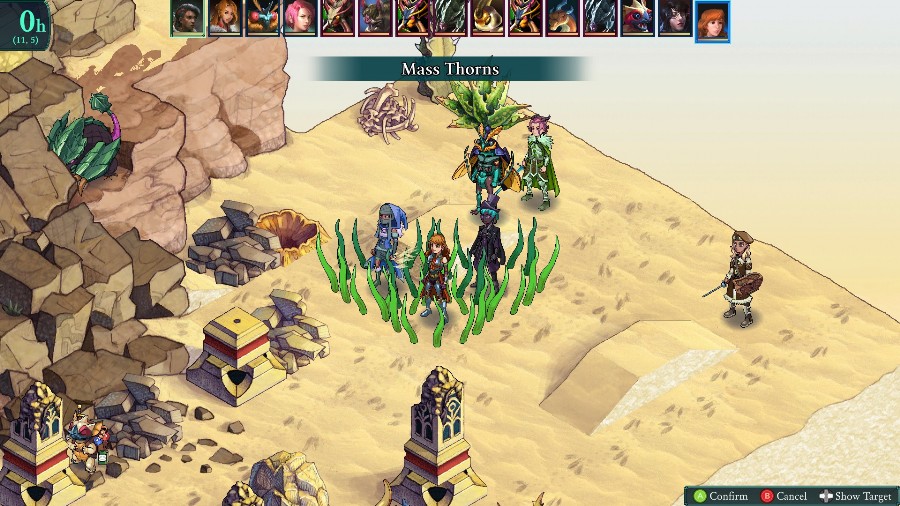
At the back, Sophia takes advantage of the Khepras’ positioning and hits both of them for about half of their health.
Which is then followed up on by Anadine. Thanks to her reaver passives and buffs, she’s doing enough damage to easily finish off both of them.
And then teleports over to the Therval to 1 shot it with an enraged blow.
Selina moves to heal Anadine a bit.
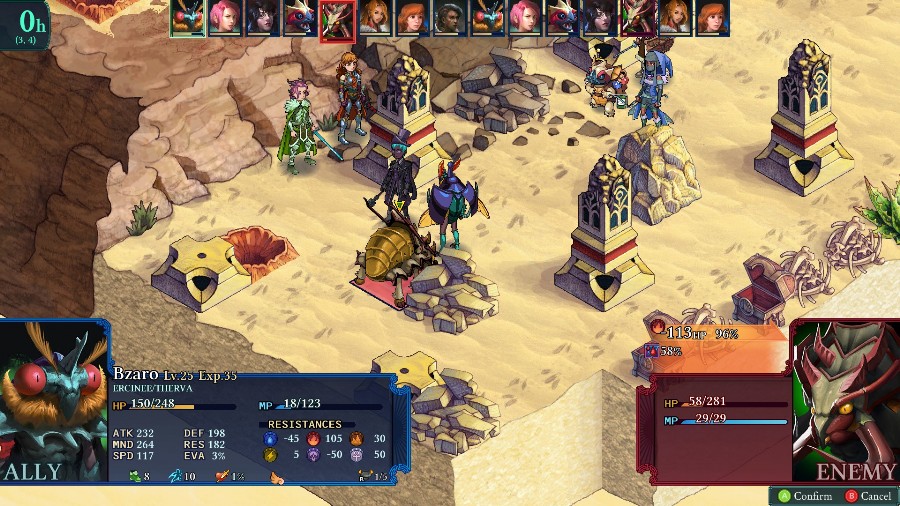
While Bzaro does some good damage to the Belzebinder.
Hannah uses the werewolf’s leap to take out the Belzebinder and put some damage on the Tangrel.
The Tangrel variants pop out to hit Azure and Selina, though neither of them is hurting too badly.

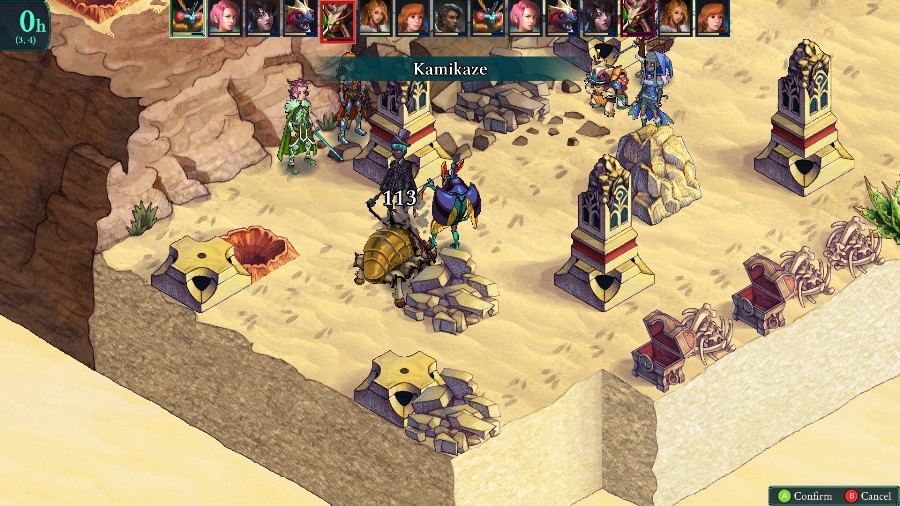
Somier heals Bzaro up to full.

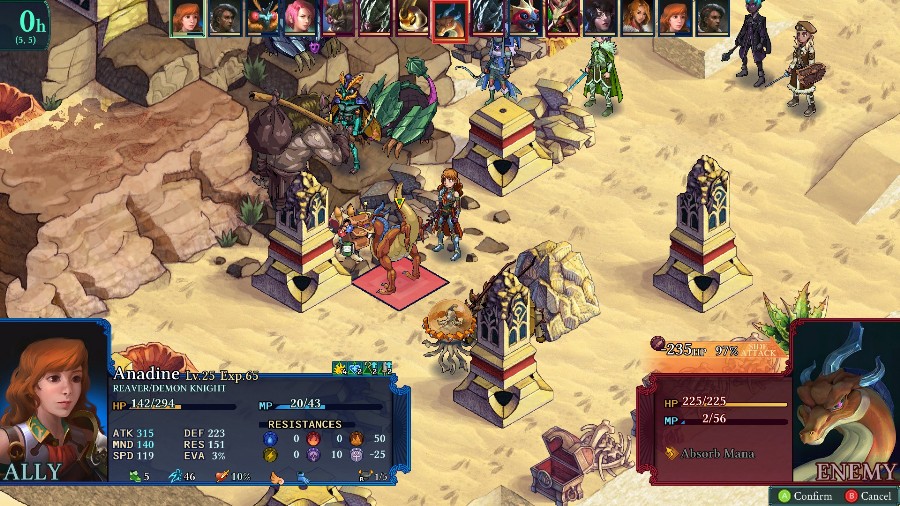
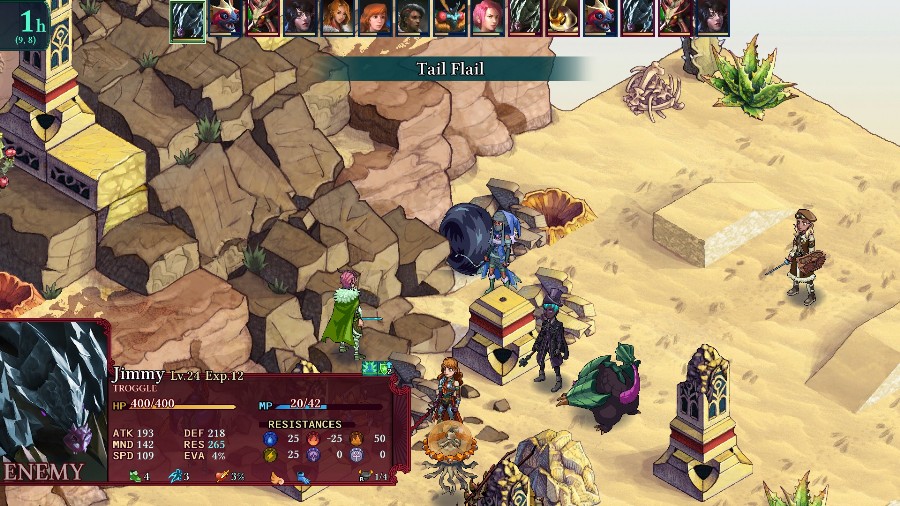
Which is great because this Golyat does a ton of damage to him with a charge right afterwards.
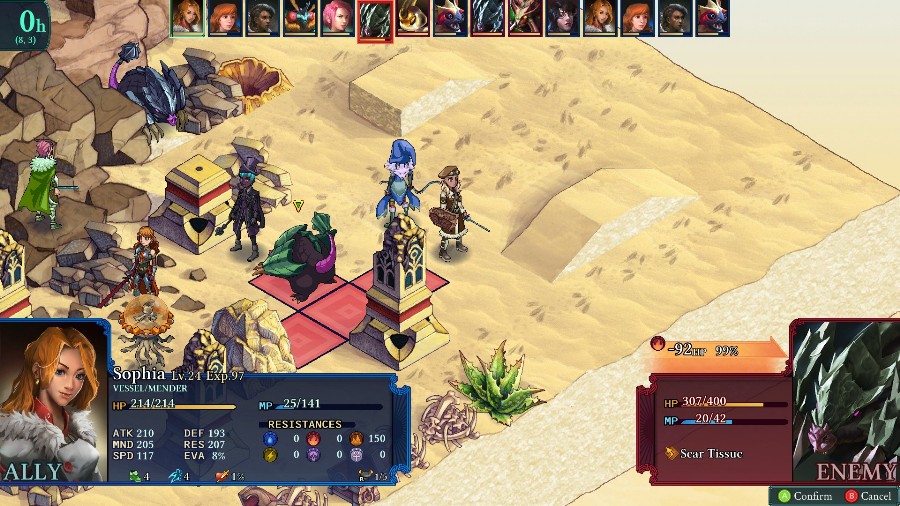
Sophia softens up the Tangrel.
And Anadine continues her rampage by taking it out.
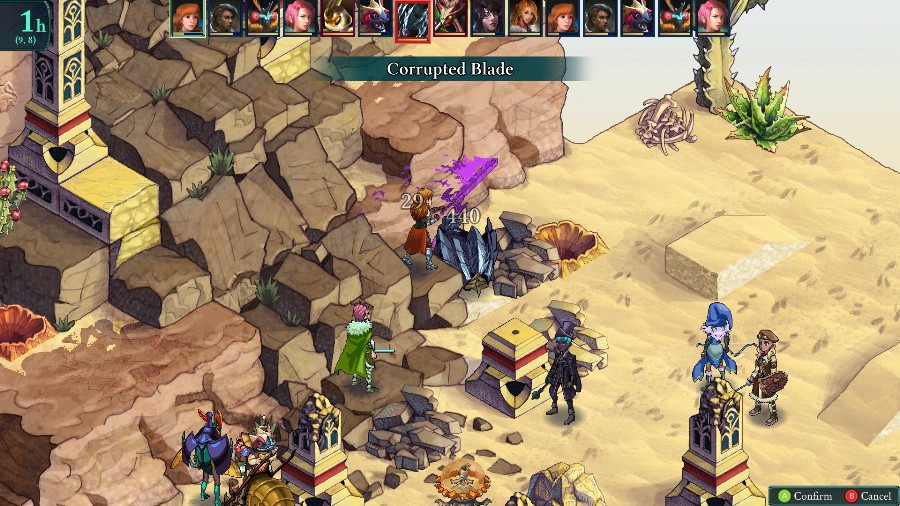
And then heads over to the Troggle and slaughters it with a corrupted blade.
Selina nearly kills the Pekite, but Bzaro’s able to finish it off.
And then after another round of hits from Hannah and Selina, Bzaro takes out the Golyat to end the fight.
And because he has the passive to ignore injuries, I have him finish it in style.

This one was pretty easy, mostly due to the fact that Anadine’s power has skyrocketed thanks to the Reaver class’s abilities. The combo of the Demon Knight’s strong self-damaging abilities, high movement, and the Reaver’s passives that make you stronger with low health and near enemies make her a force of nature on offense.
I did still nearly lose Somier thanks to his first move, but other than that things went pretty smoothly.
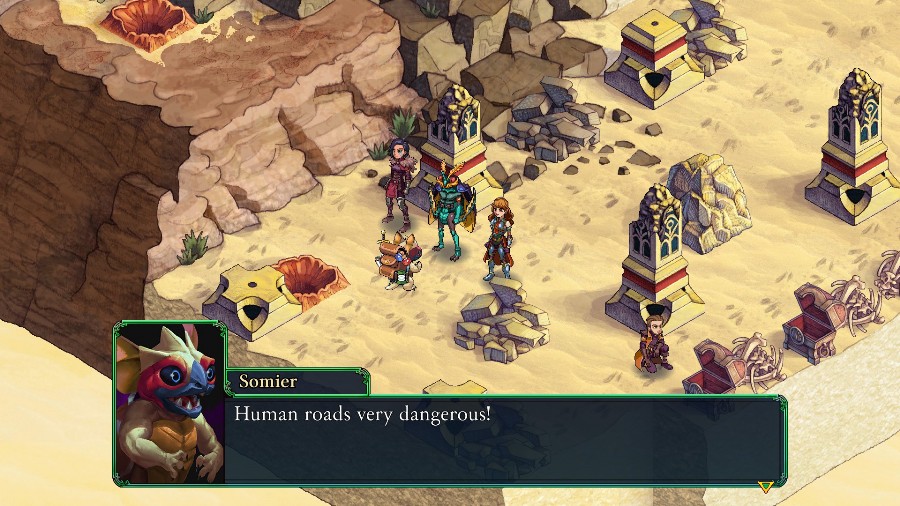
Afterwards, we check on Somier, who seems pretty much fine.
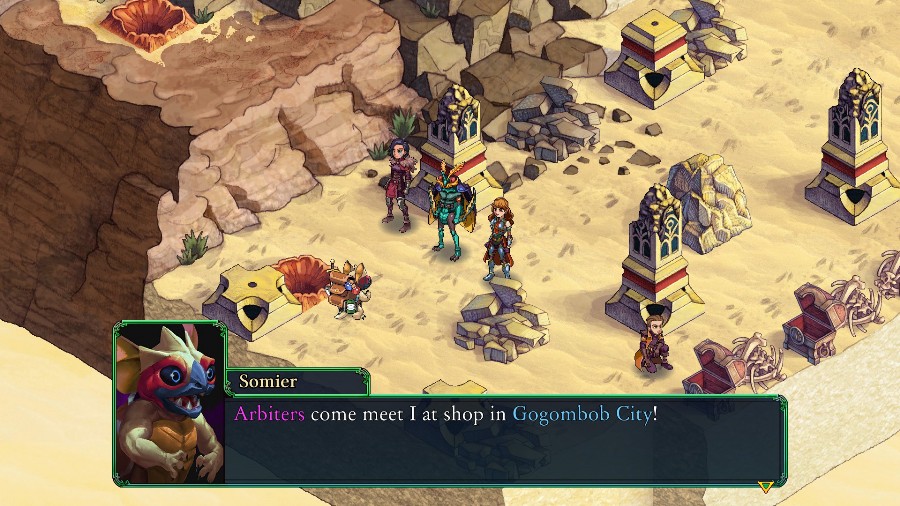
Did you get lost again, Somier? I not lost! I is on way to Gogombob City. That’s a long way from here, little friend. Are you sure you don’t need an escort? I is fine. Will hide better next time! Big thanks to kind Arbiters!And he starts to walk off before turning back around.
 I sure hope he’ll be all right on his own.
And the scene fades out to the world map.
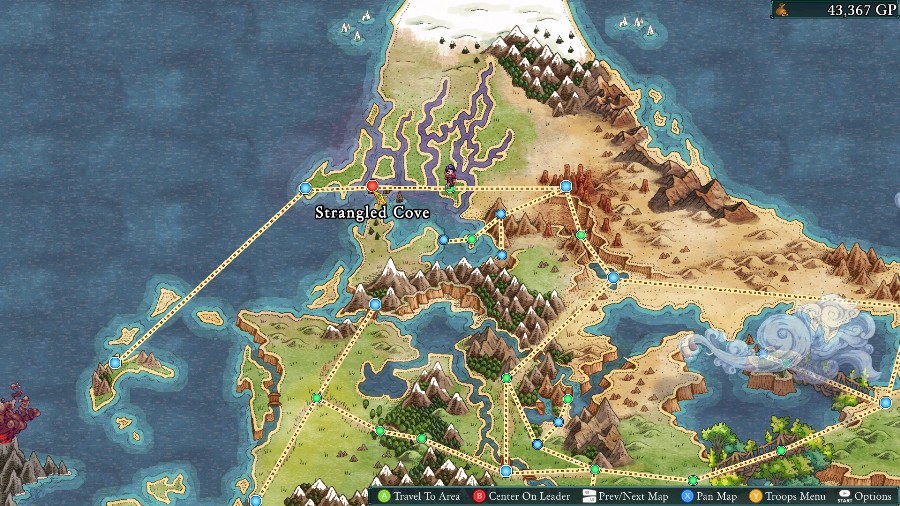
With that done, we head back to the Phougamouth Bogs to prepare for the next area, the Strangled Cove.