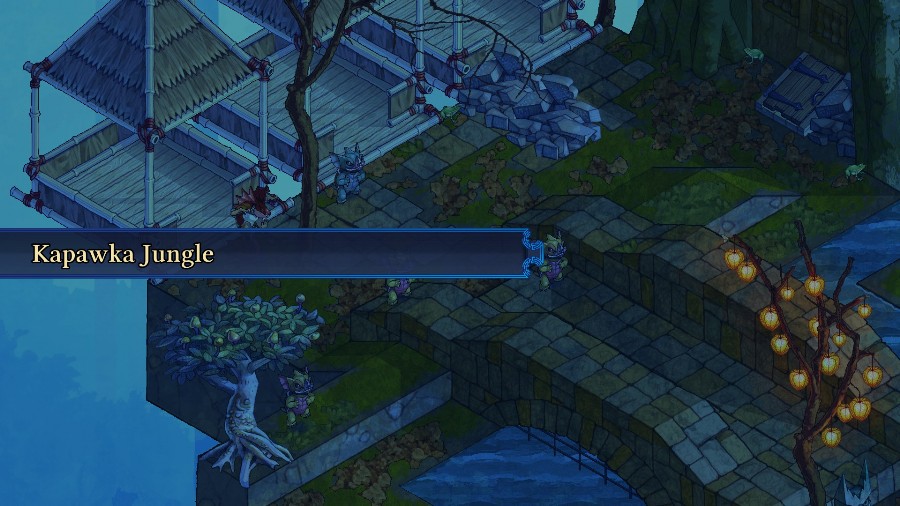
Part 38: Kapkawa Jungle
Update 38: Kapawka Jungle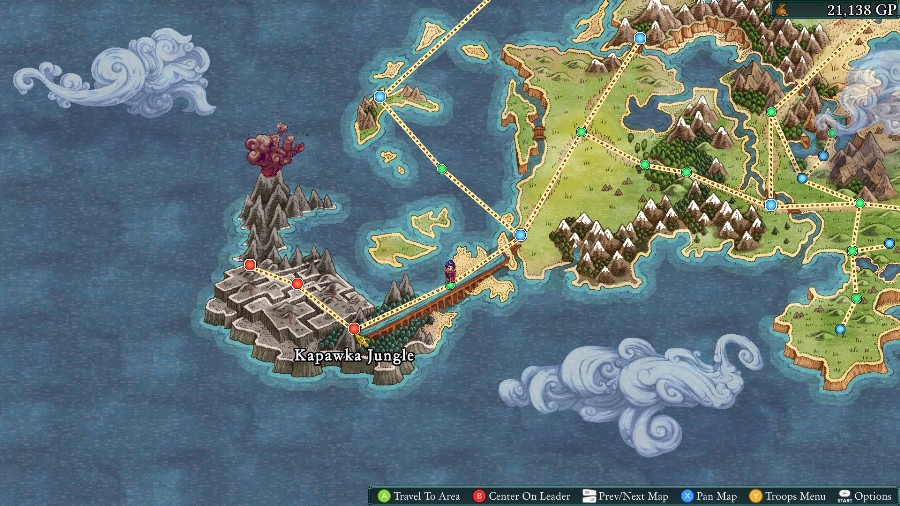
Welcome back! Last time we fought off another Marked and learned that the Kawas had closed off the next Temple. Unswayed, Kyrie wanted to continue onwards and this time we’ll be heading through the jungle on our way there.
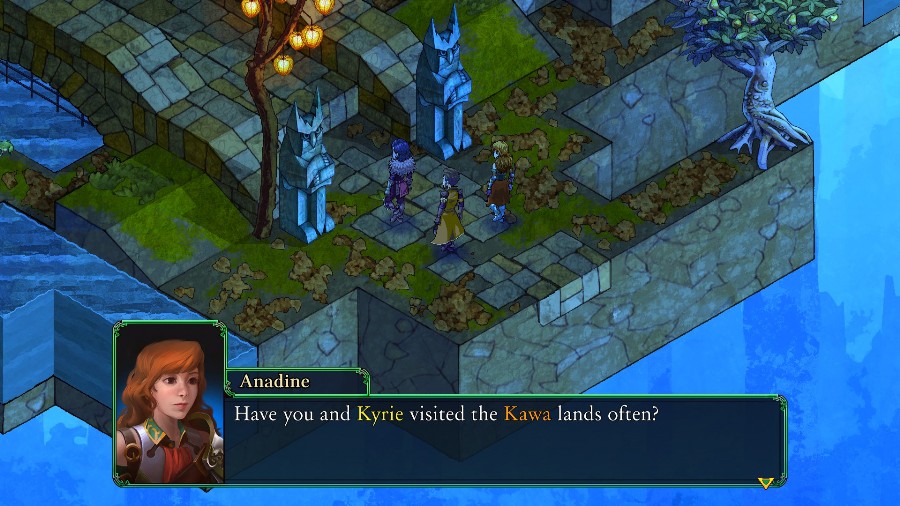
We come in on our party walking towards a small bridge.
 As you probably noticed by now, their main city is fairly remote, so not many Arbiters choose to visit it. And this has left them without much Arbiters protection compared to other cities. Which is why Kyrie’s always made it a point to check on the area from time to time. Even though she downplays it, she’s actually quite trusted by the Kawa elders.
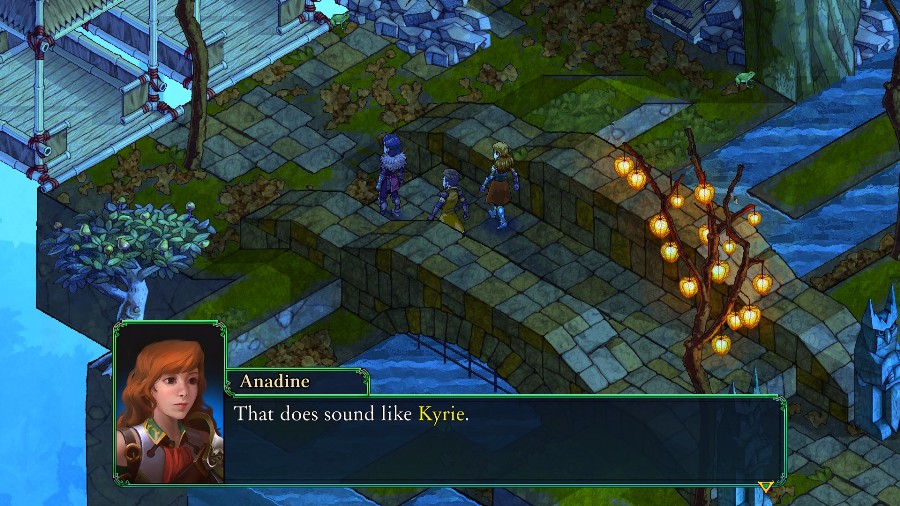
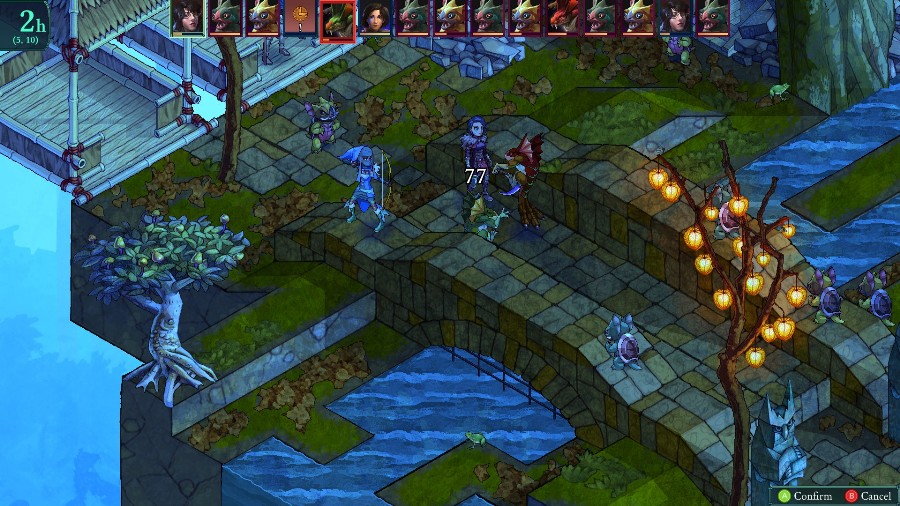
The party reaches the end of the bridge.
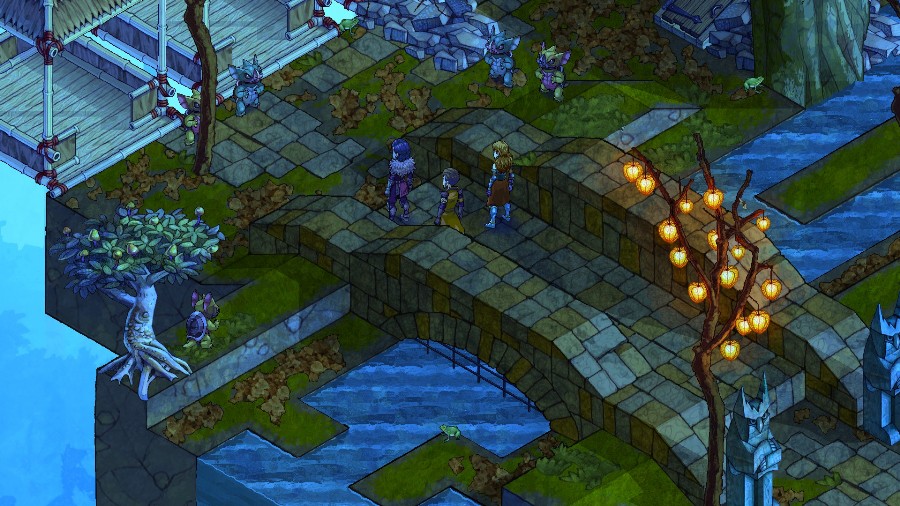
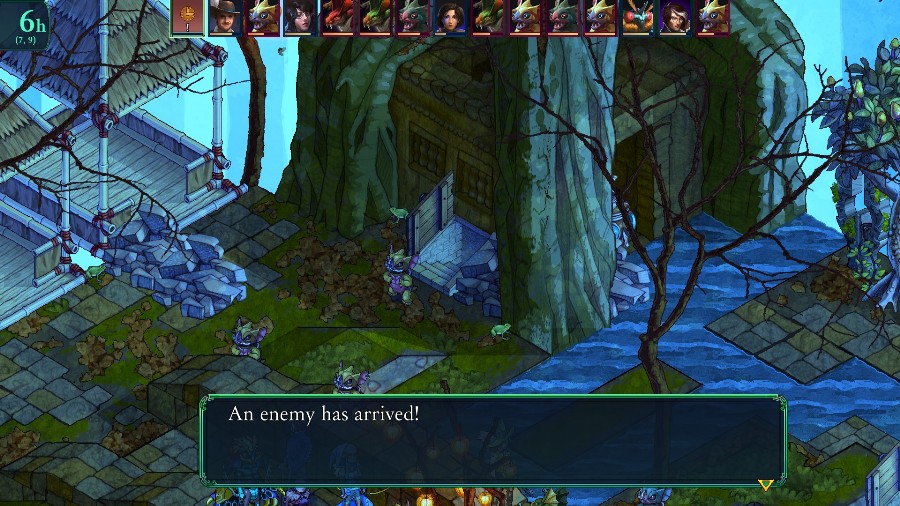
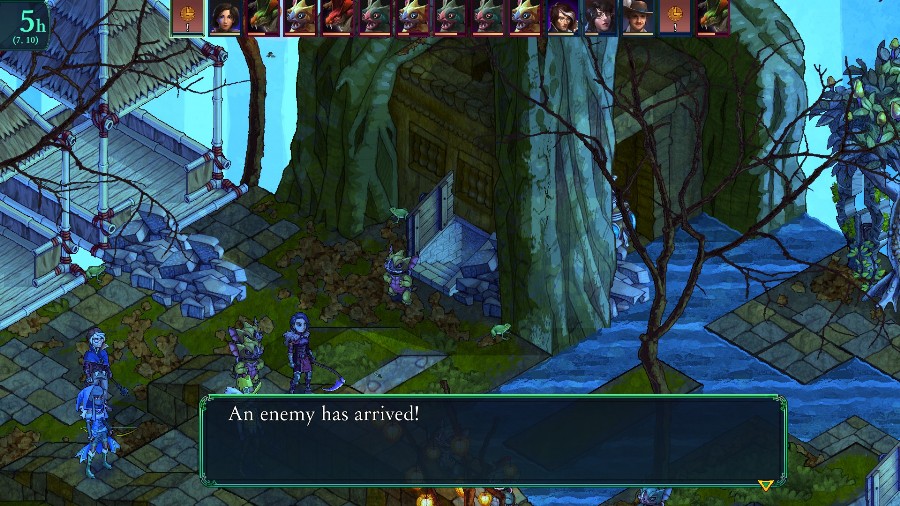
When suddenly a bunch of Kawas bar the way forward.
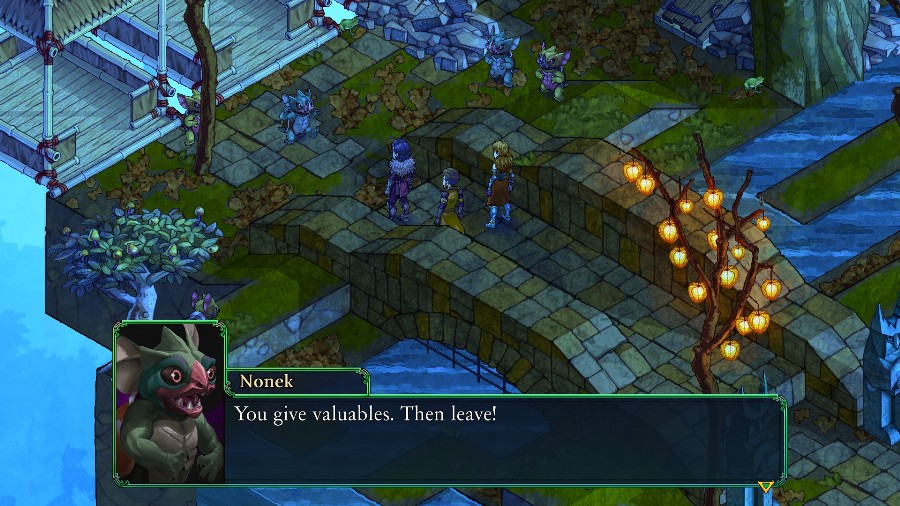
 That’s not the welcome I thought we’d be getting.
 Those are not the Gogombob City envoys, but rather, run-of-the-mill bandits. There’s an awful lot of them, though, and I wouldn’t be surprised if even more of them were on their way. They do like their swarms… If we’re to catch up to Sigil, I think our best plan is to rush ahead. Agreed. Let’s make a run for those lifts ahead.
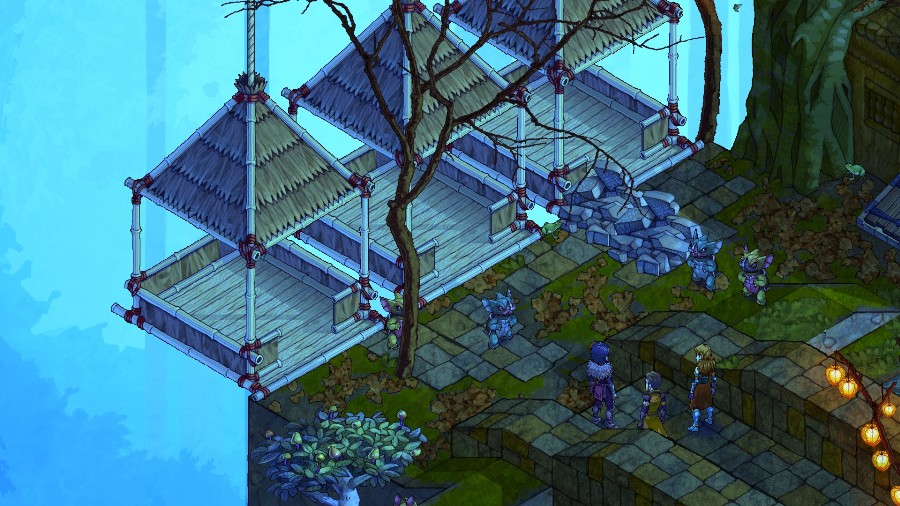
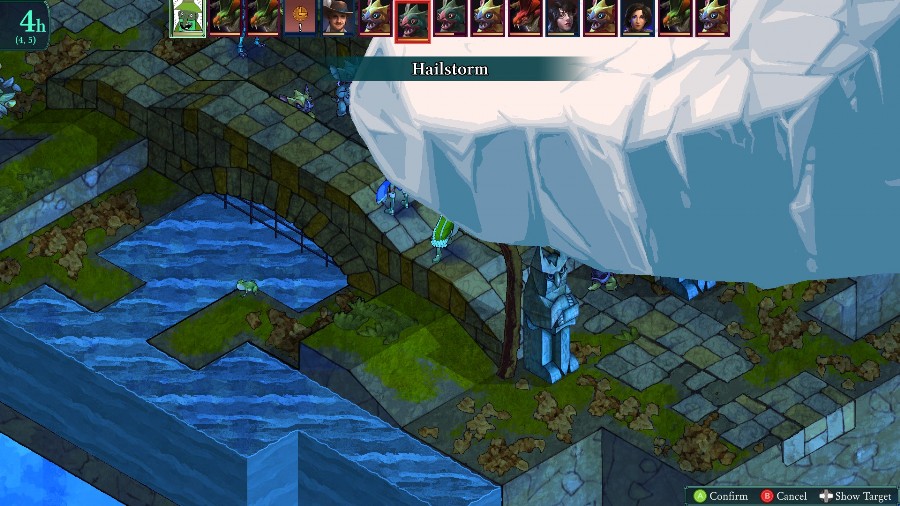
With a camera pan over to the lifts.
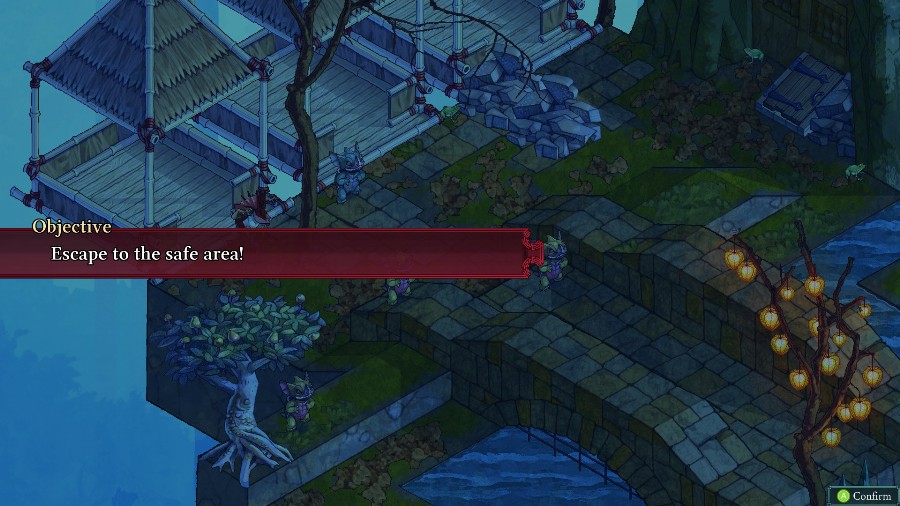
And it’s time for another fight. This one is similar to the escape from the explosion before the previous temple. It’s another one where you only need at least one person to reach a certain area, while constant enemy reinforcements pour in.
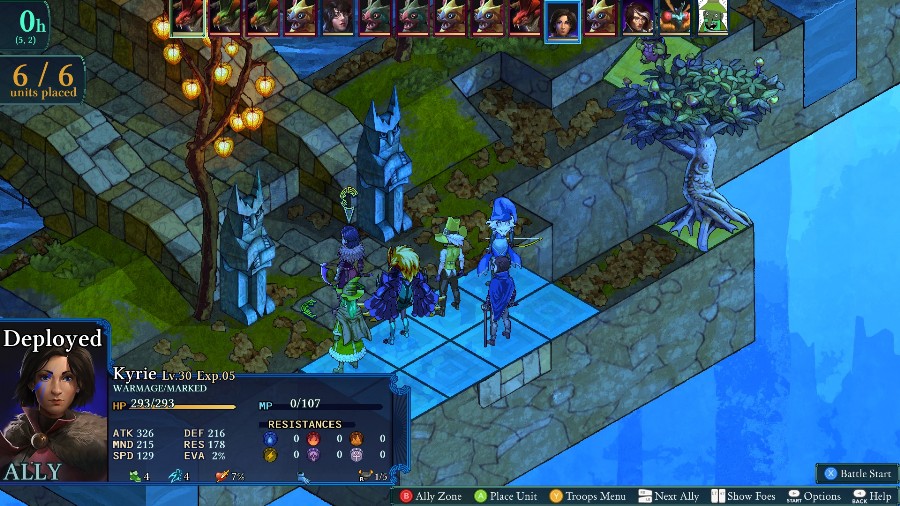
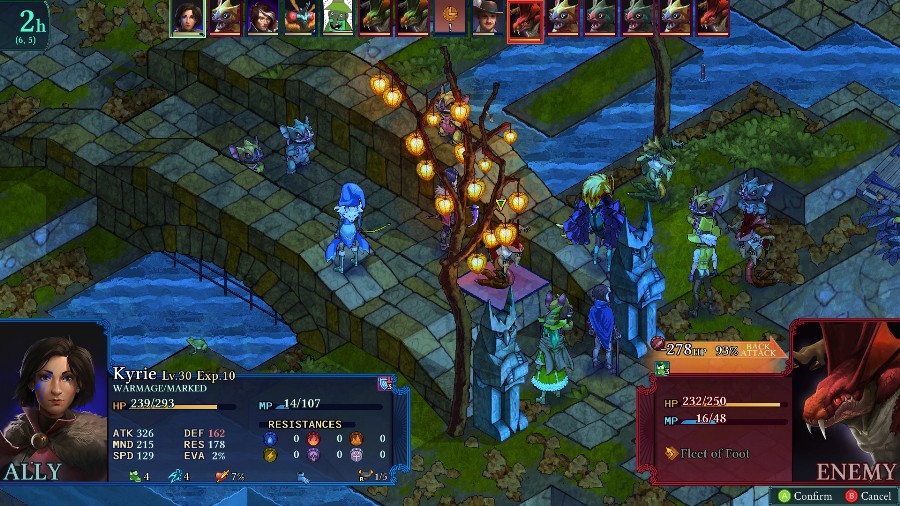
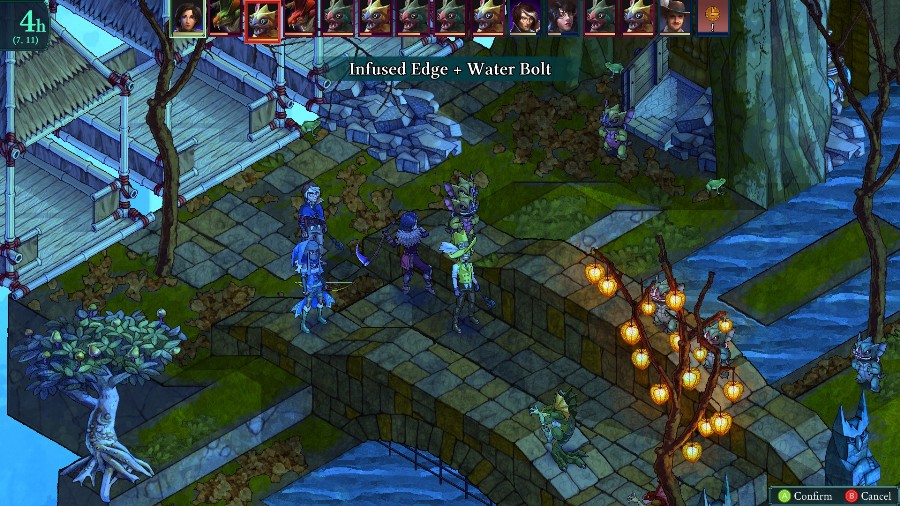
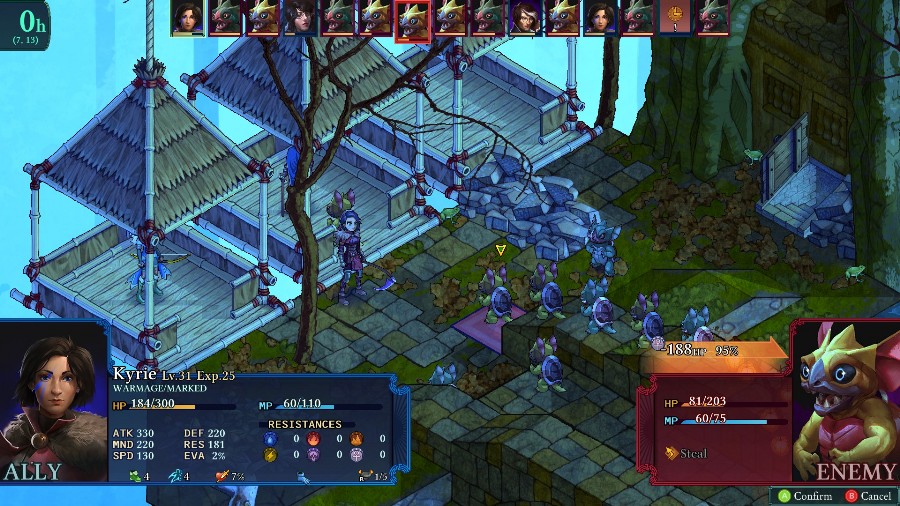
For this fight, Kyrie’s locked in, and I’m also bringing Bobby, Bzaro, Eustace, Azure, and Yates. Everyone’s back to their normal classes instead of the super boosted one they had for the max difficulty fight.
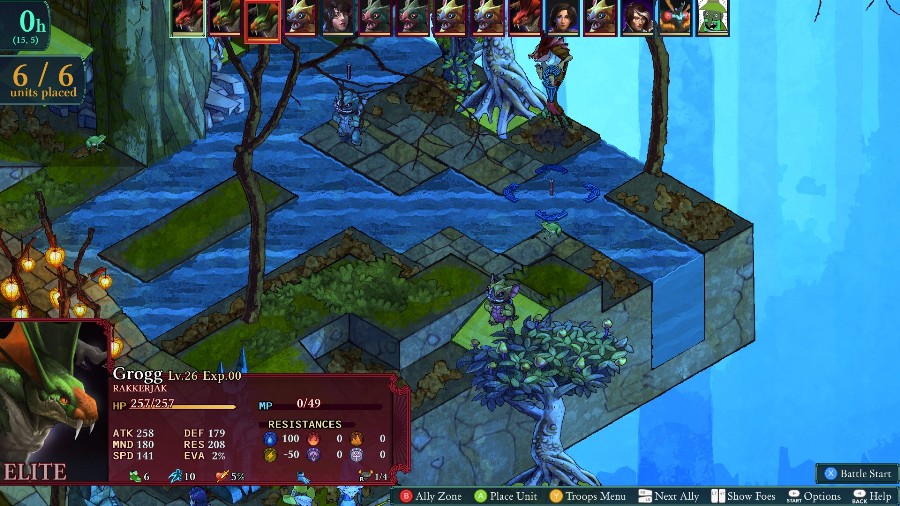
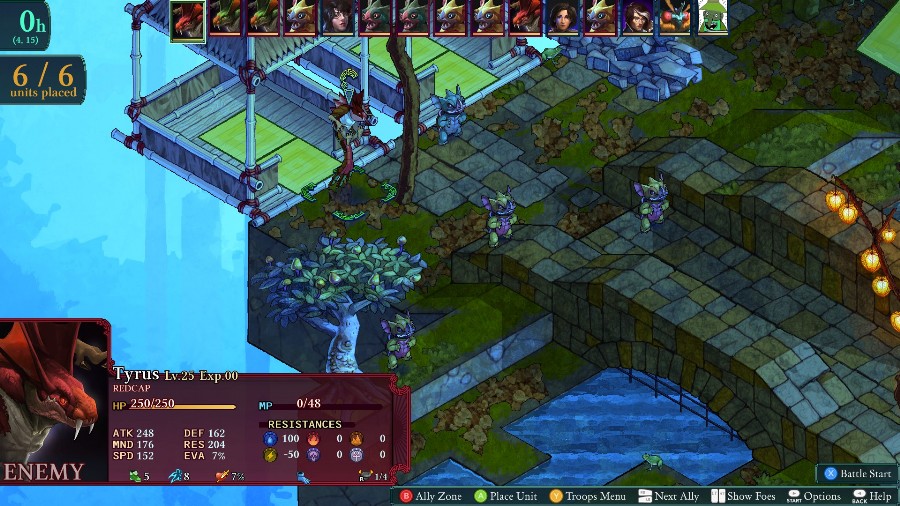
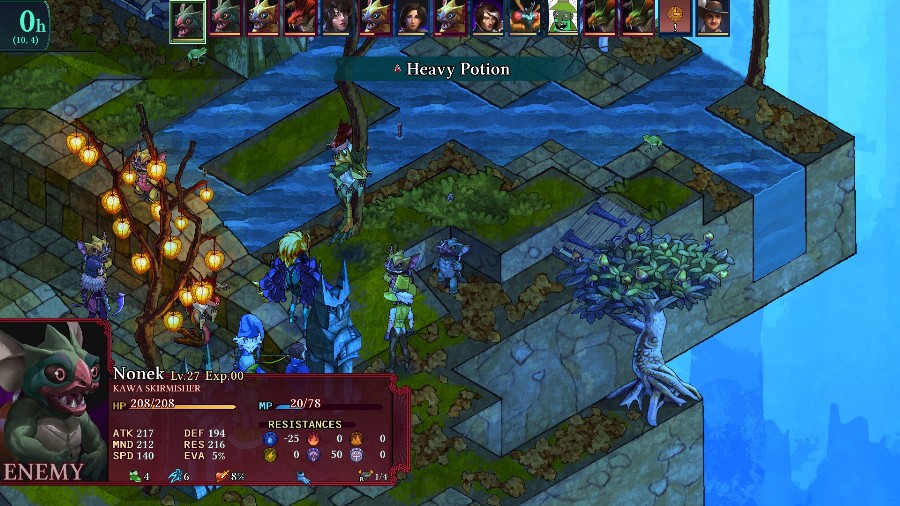
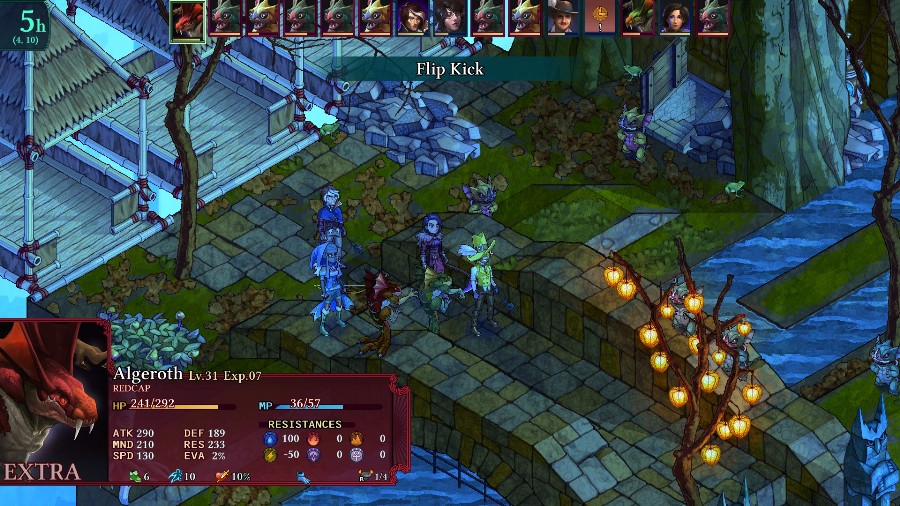
We start off with 6 Kawas and 3 Rakkerjak variants. Howeverm this will grow quickly, as 2 new Kawas will pop out of the trapdoors every round.
The enemies are almost all significantly faster than our units, so they all advance towards us before we get to take a move.
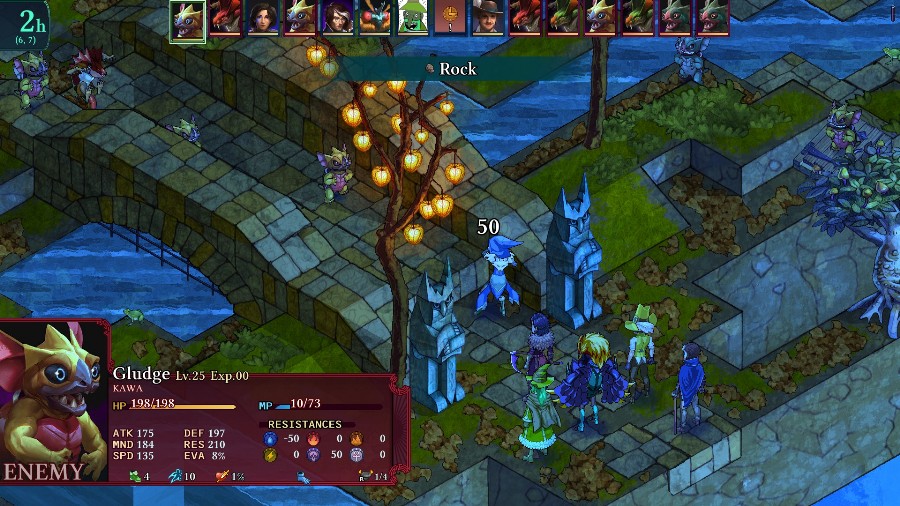
Azure moved closer to scout out any traps and gets a rocked chucked in her face.
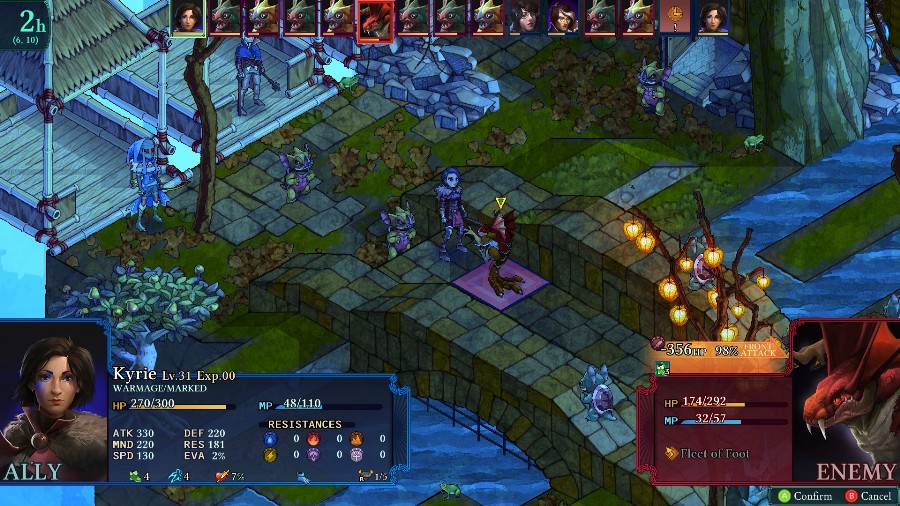
Kyrie falls a square short from actually reaching the Kawa, so she just hits it with a quick water spell.
Bzaro and Eustace nearly kill one of the flanking Kawas.
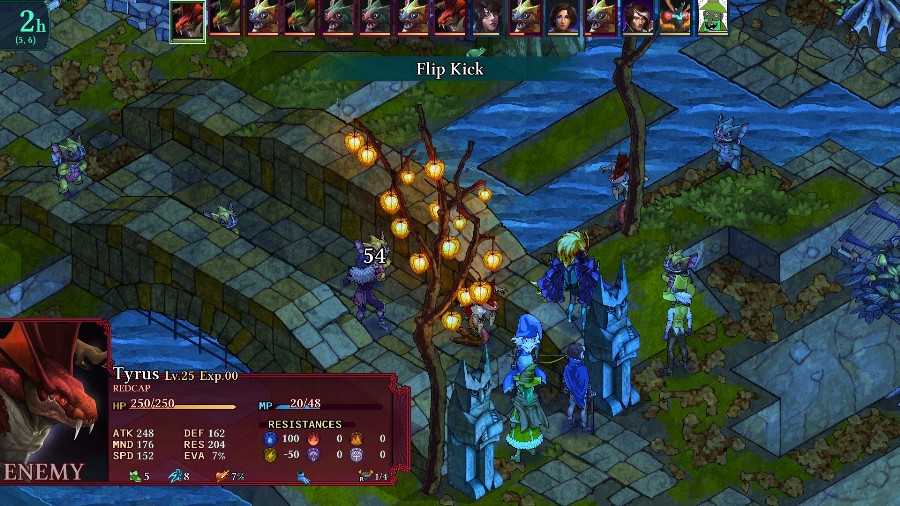
And the Redcap swaps spots with Kyrie, putting her in range of the other Kawas on the bridge.
Meanwhile, we can see the enemy forces slowly growing as they mass up and get more reinforcements.
After a bunch of people get slightly hit by the Kawas, Kyrie gets a turn and kills the Recap
And Yates cures all of the status conditions that Eustace has built up.
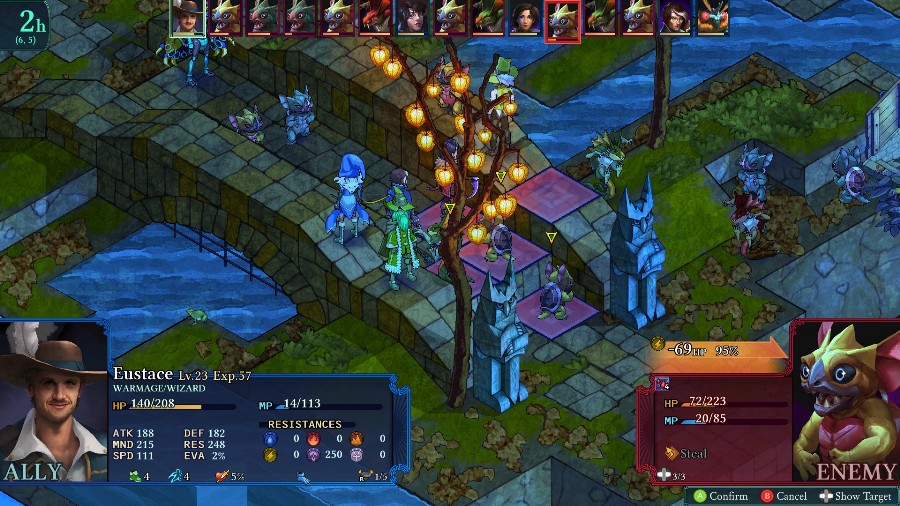
I send Bzaro to the other end of the bridge to hopefully draw a few of the Kawa over there and away from the main fight.
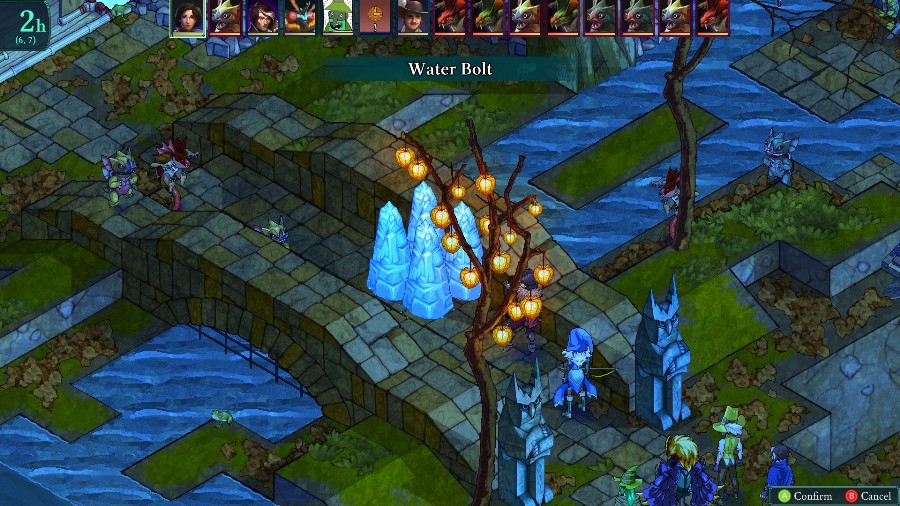
And Bobby throws out a map-wide spell to hit the Kawas’ water weakness. I would’ve done lightning to take out the Rakkerjaks instead, but they were all just slightly too bulky to die in 1 hit. Bobby then gets stabbed by a Rakkerjak and nearly dies.
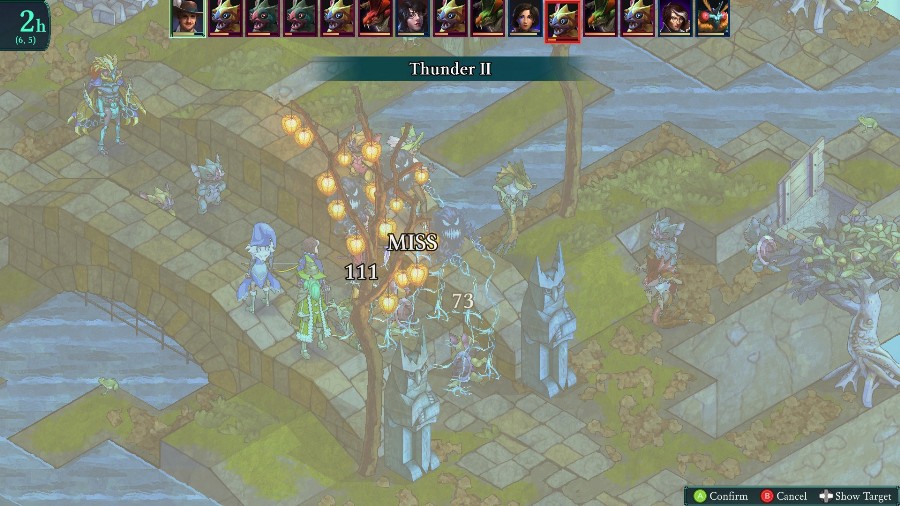
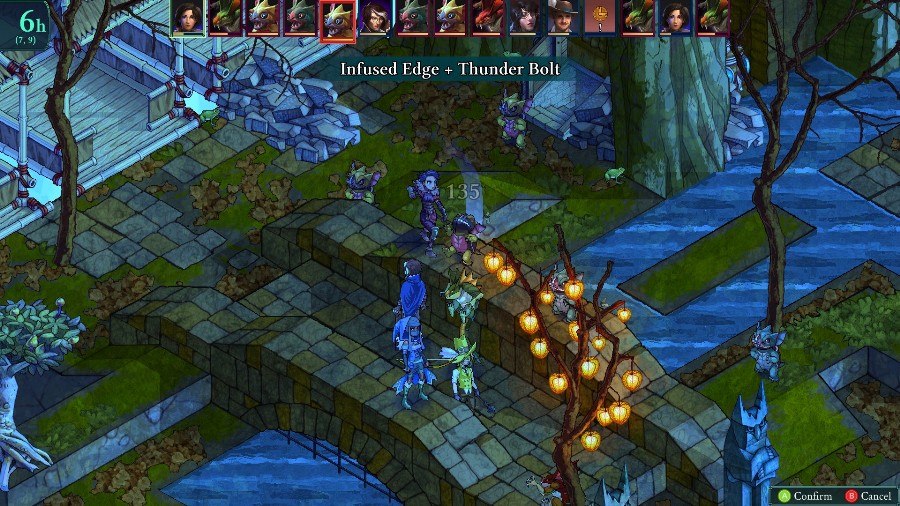
Eustace throws out a thunder, but doesn’t manage to actually kill anything.
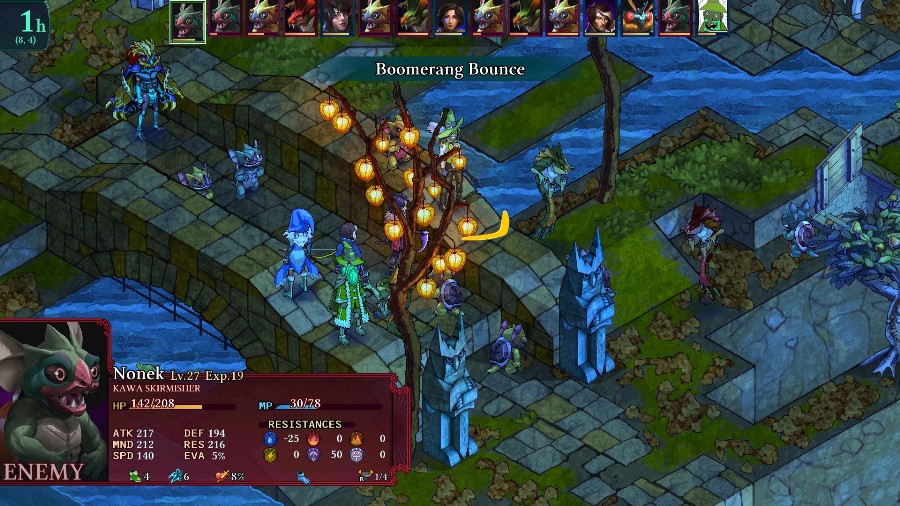
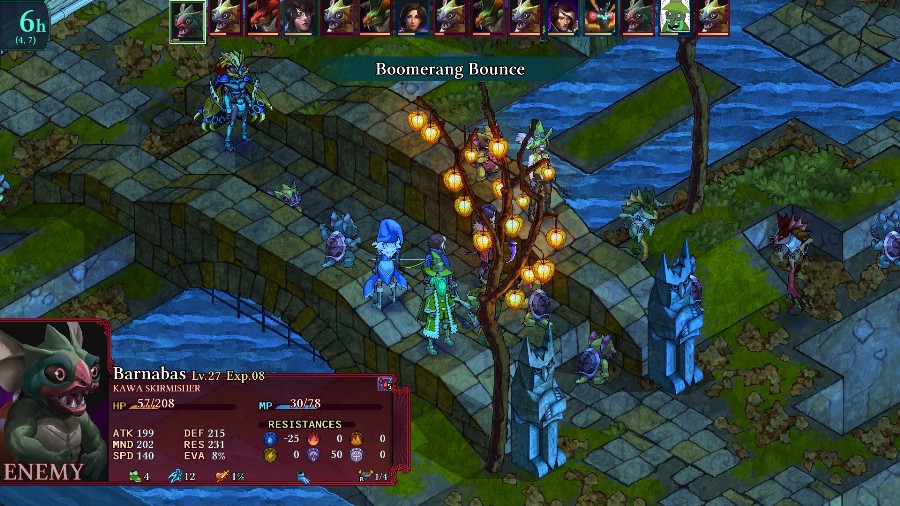
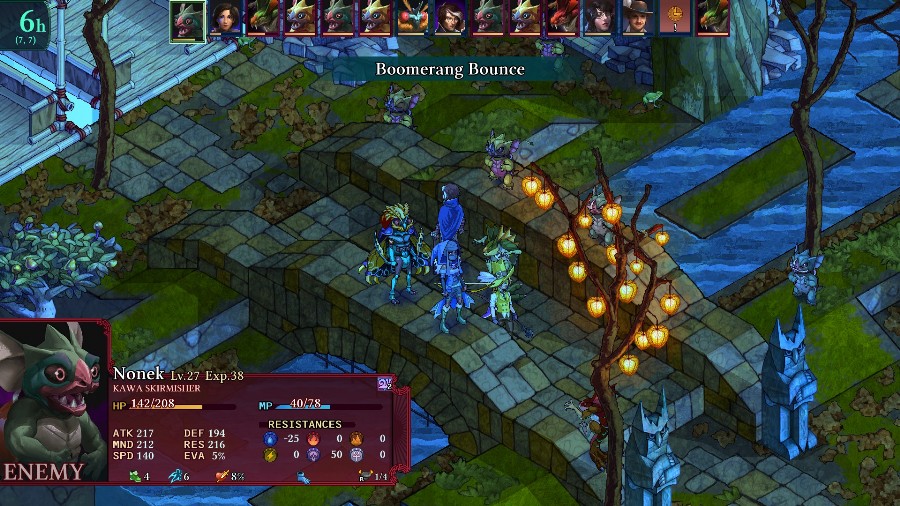
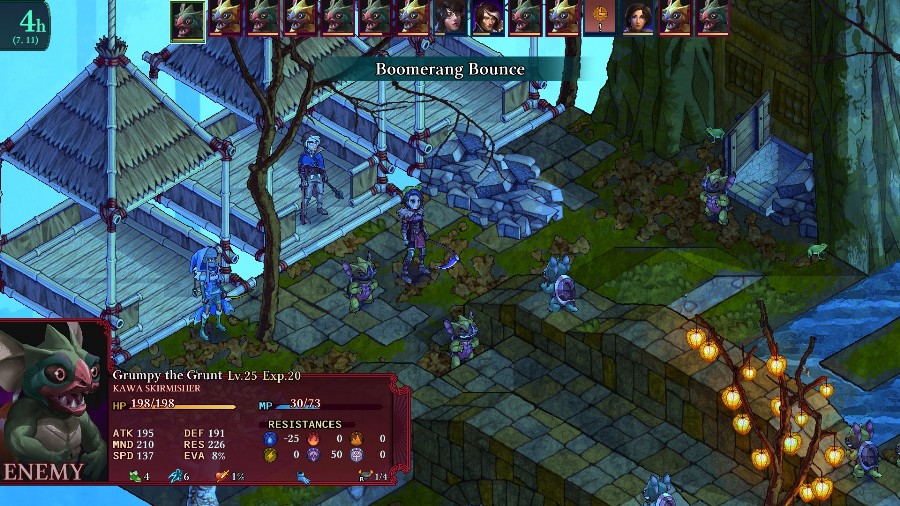
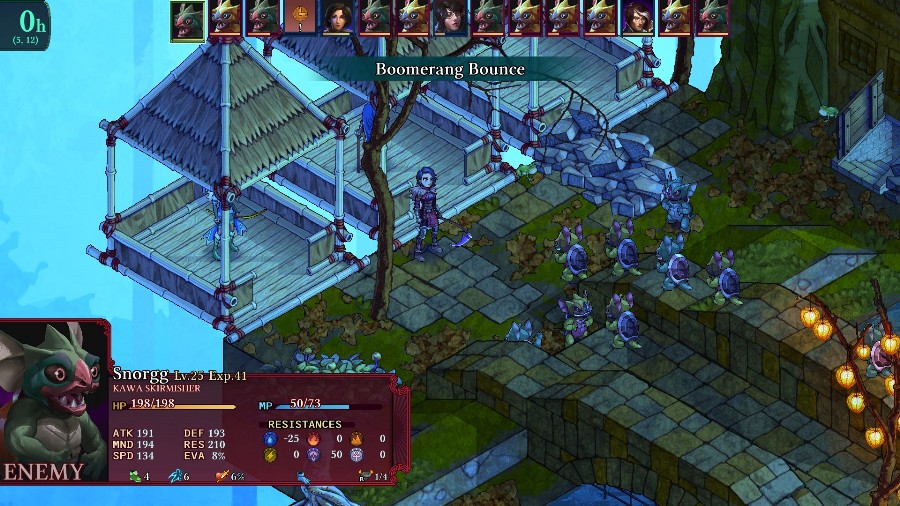
And just like the AI loves Forceful Push, the Kawas love to spam Boomerang Bounce and shove my people into each other.
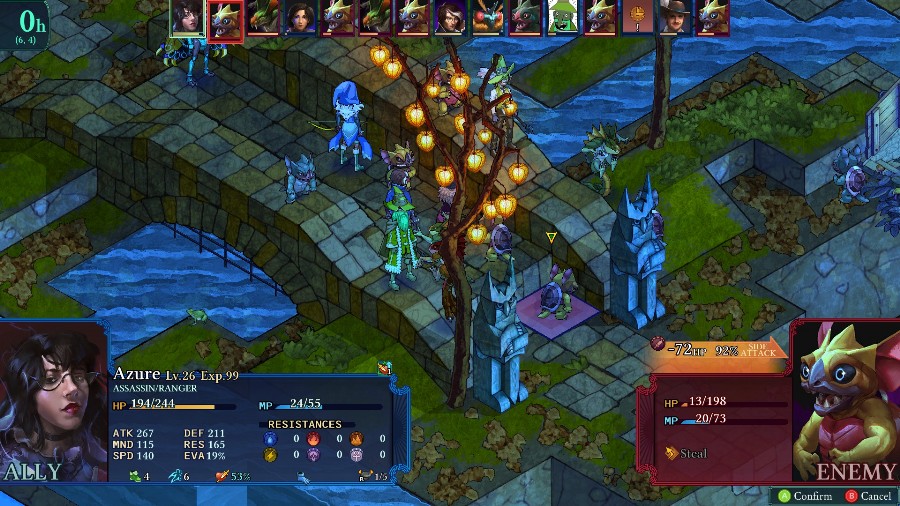
Azure keeps moving up and takes out a Kawa (no idea why I didn’t multishot to maybe kill the Redcap too).
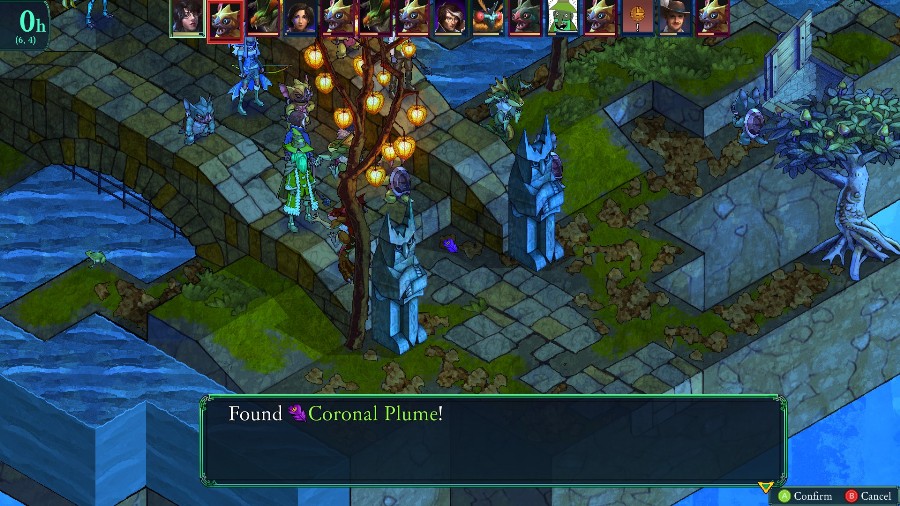
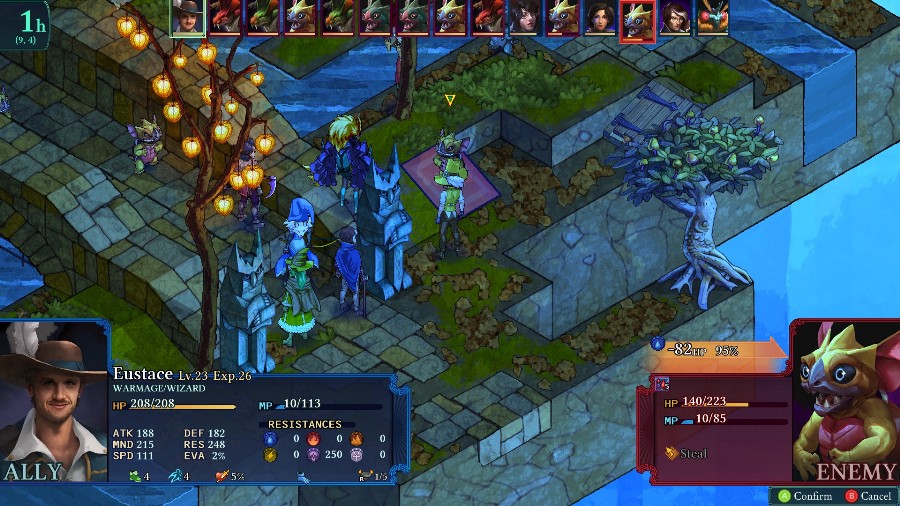
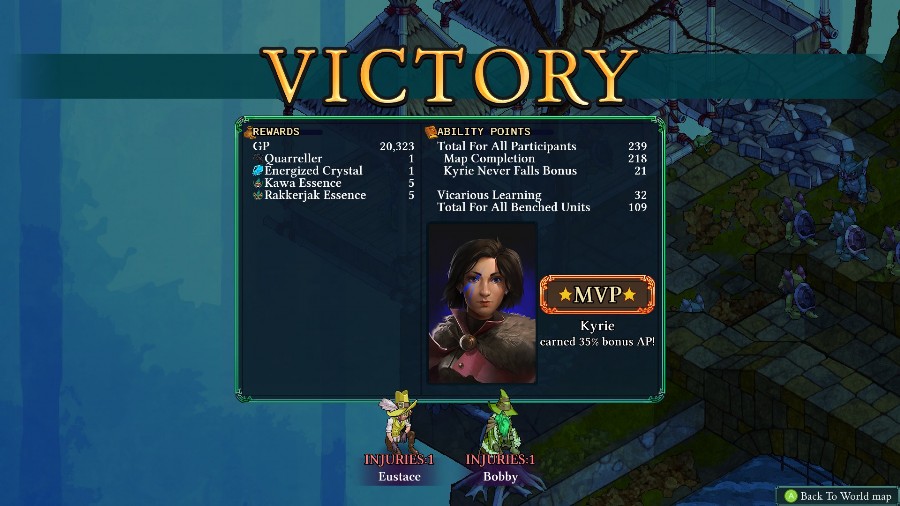
And she gets a really nice drop for it! This is a crafting material for one of the high-end badges, so it’s really nice to get one off of a random enemy.
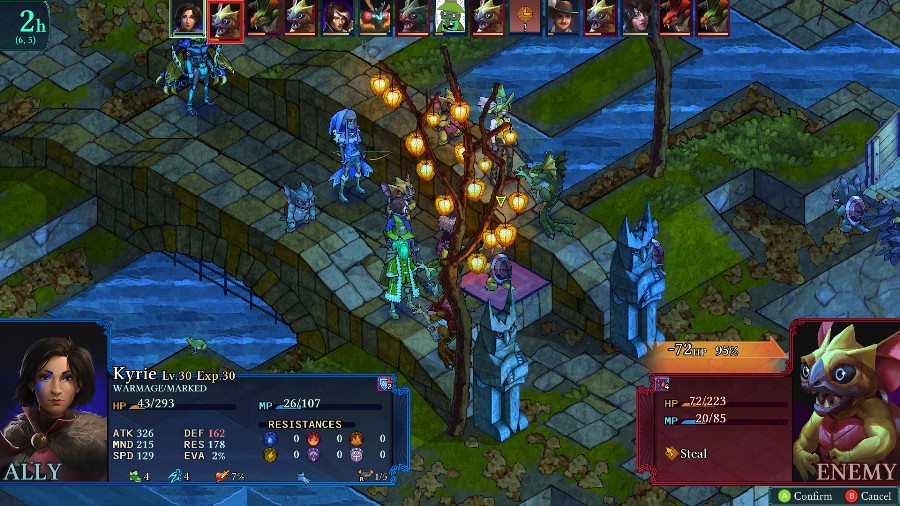
Kyrie’s been getting whacked around a lot, so I have her leech this Kawa’s health. Very lucky that it was an exact kill.
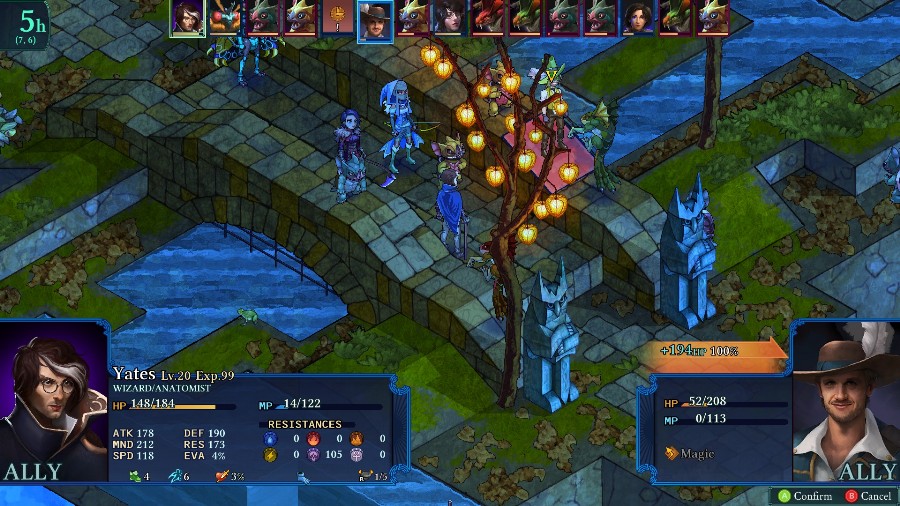
I keep moving up the bridge and have Yates heal the nearly dead Eustace.
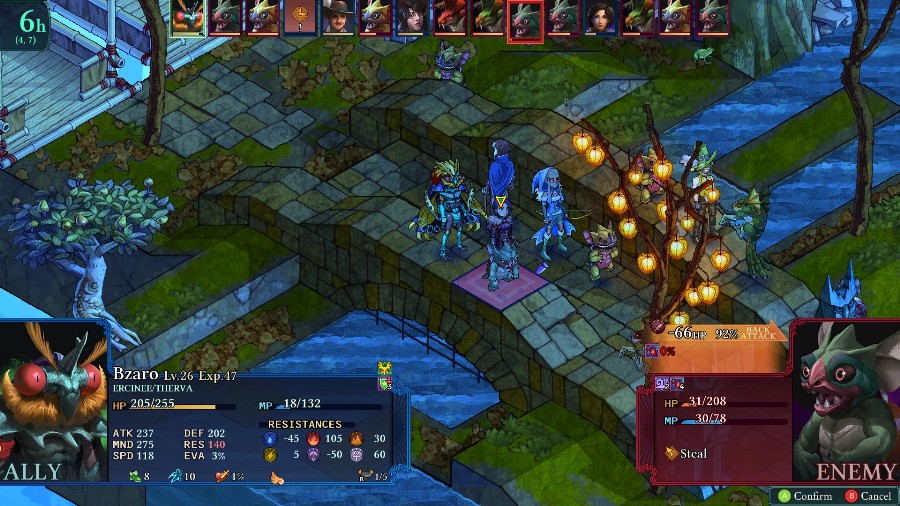
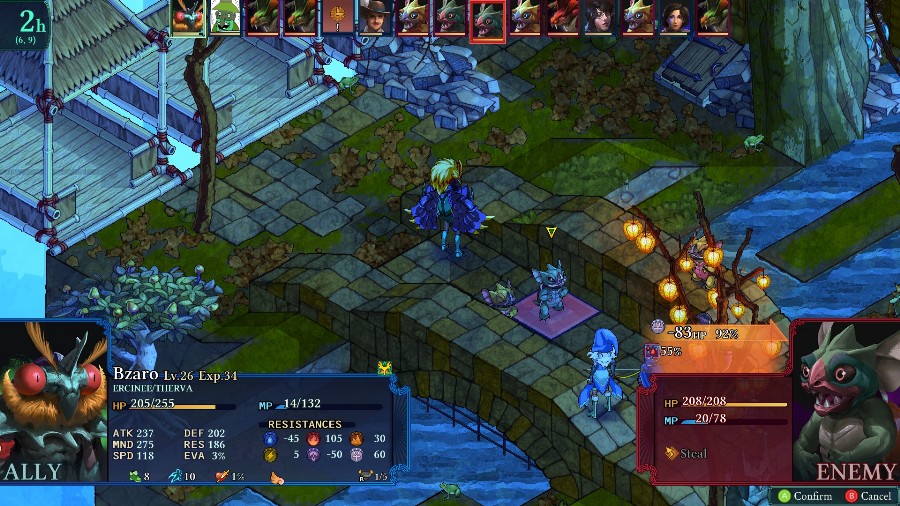
Bzaro takes out another Kawa.
But more show up to replace it.
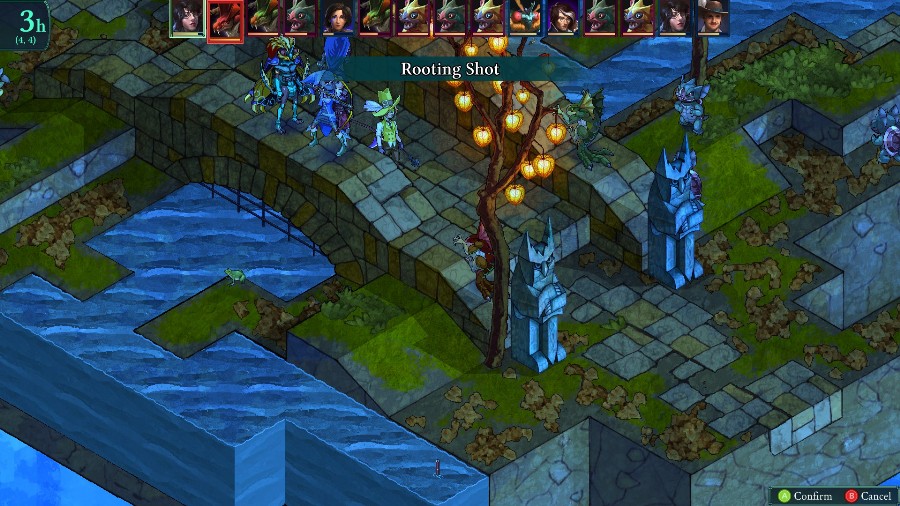
Azure successfully roots the Redcap, preventing it from stabbing more people.
But I forgot that, though he can fly, Bzaro cannot swim. So he gets whacked off the bridge and drowns.
Kyrie gets vengeance as she continues slaughtering waist-high aggressors.
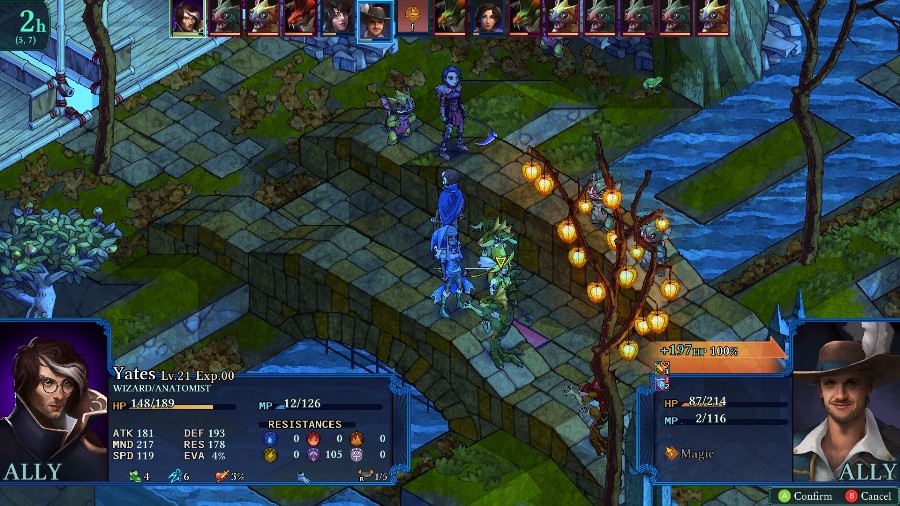
The enemies have been ganging up on Eustace so he gets healed again.
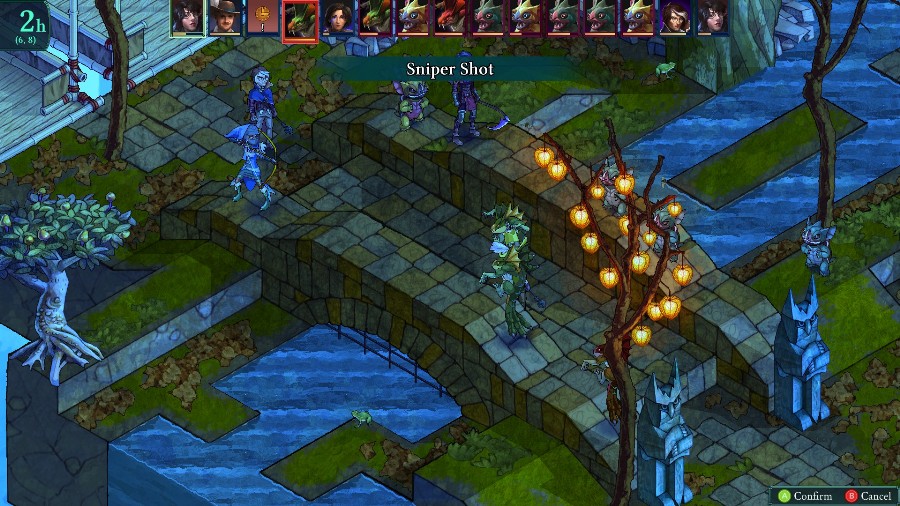
Azure snipes one of the Rakkerjaks and then Eustace uses a potion to keep Kyrie alive.
And even more enemies arrive.
Though numbers won’t save the ones in Kyrie’s range.
The now un-rooted Redcap swaps Eustace onto the bridge, where a Kawa throws another boomerang at him and makes him drown too.
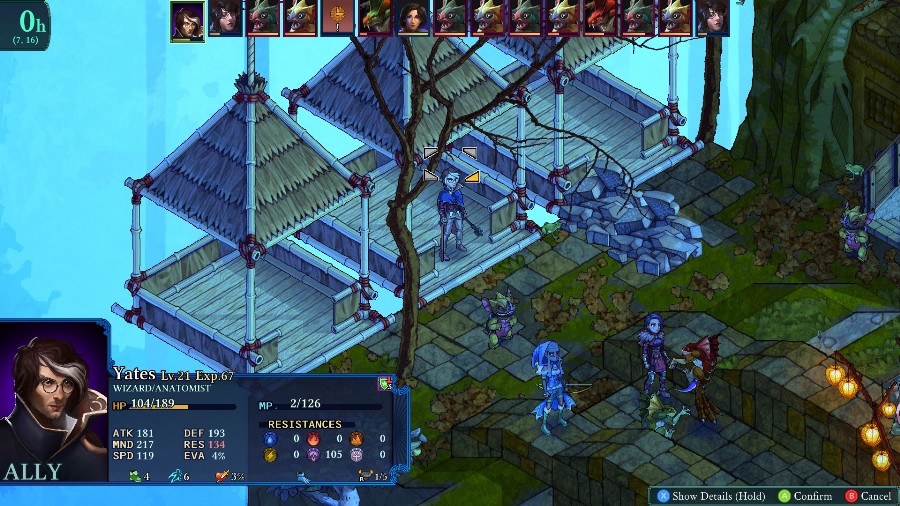
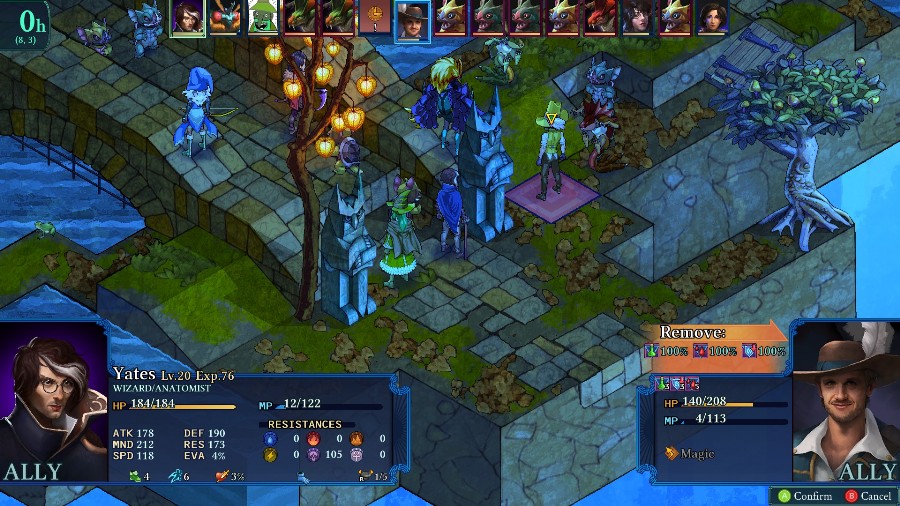
After blasting the Rakkerjaks, Yates is the first one to reach a lift.
Though Azure falls just short of the lift after she finishes a Rakkerjak off
Kyrie finally kills the Redcap and then ends up 2 spaces away from Yates.
Though the number of Kawas with boomerangs means that she doesn’t stay in any one square for long.
Still, on her turn she’s able to blast one more little monster with a holy bolt.
And then run over to Azure for the win.
Not my greatest win, especially because all 3 of my deaths came from getting whacked off the bridge. Still, a win’s a win.
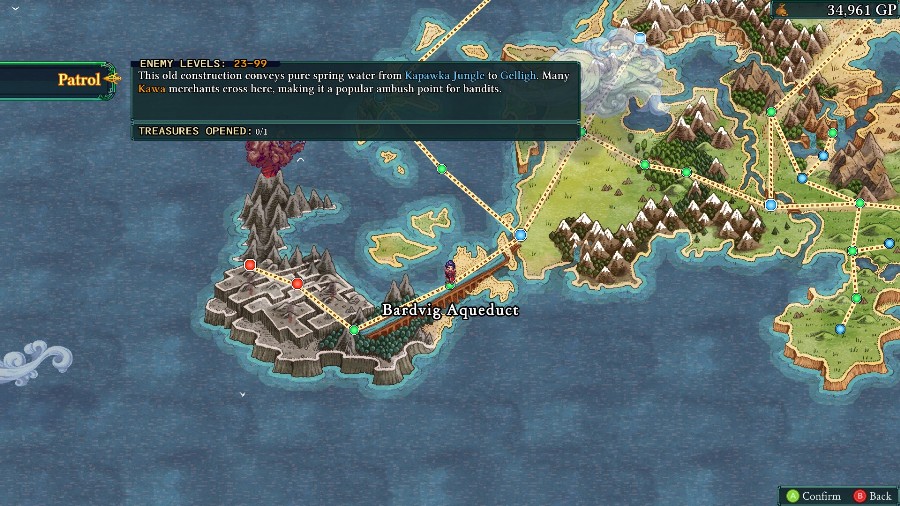
With that, we finish the fight and return to the world map. But before we break off, I want to show off a really neat thing on the Bardvig Aqueduct map that I didn’t do last time.
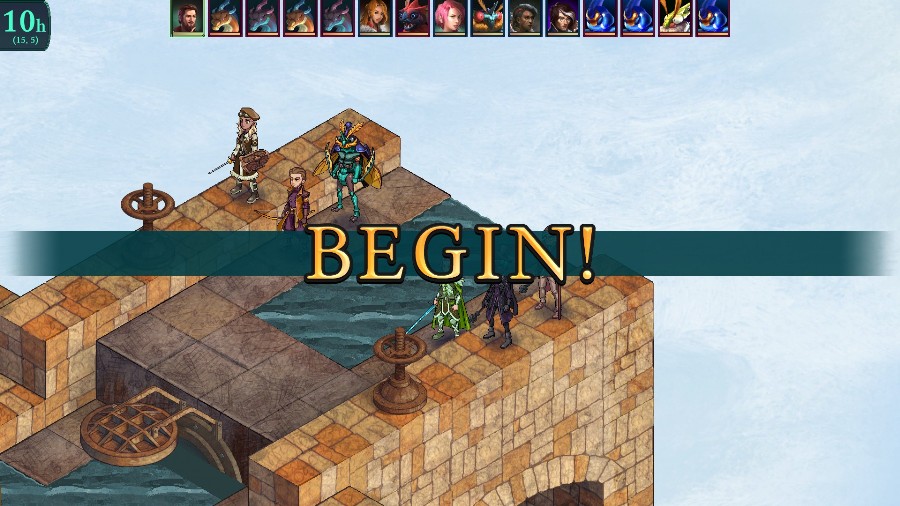
The fight starts off pretty normally, just that we’re where the Marked’s party previously was.
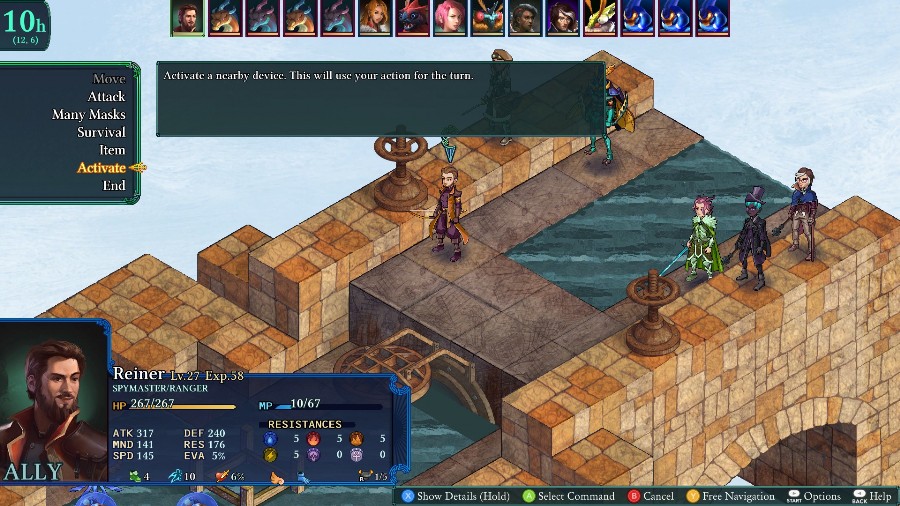
However, if you have a character end their turn adjacent to them you can discover that the giant valves are not just for show.
Activate both of them and…

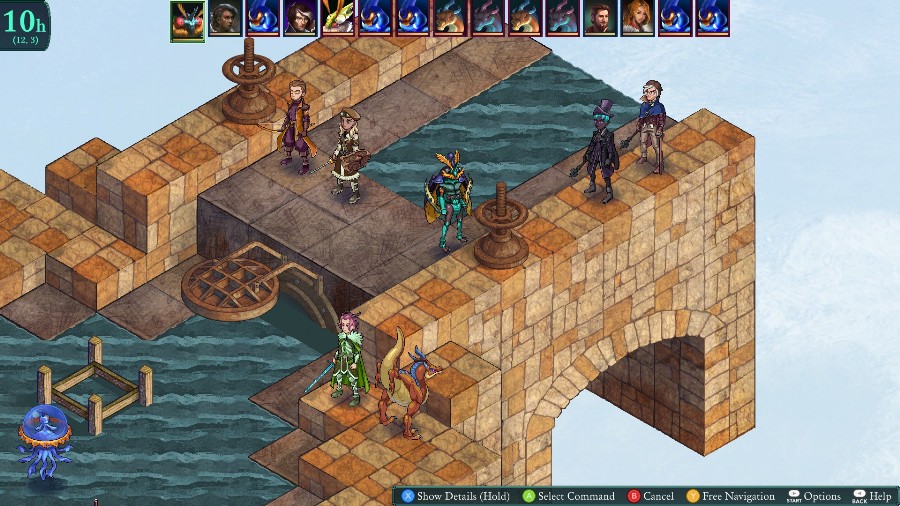
The screen suddenly starts to fade out!
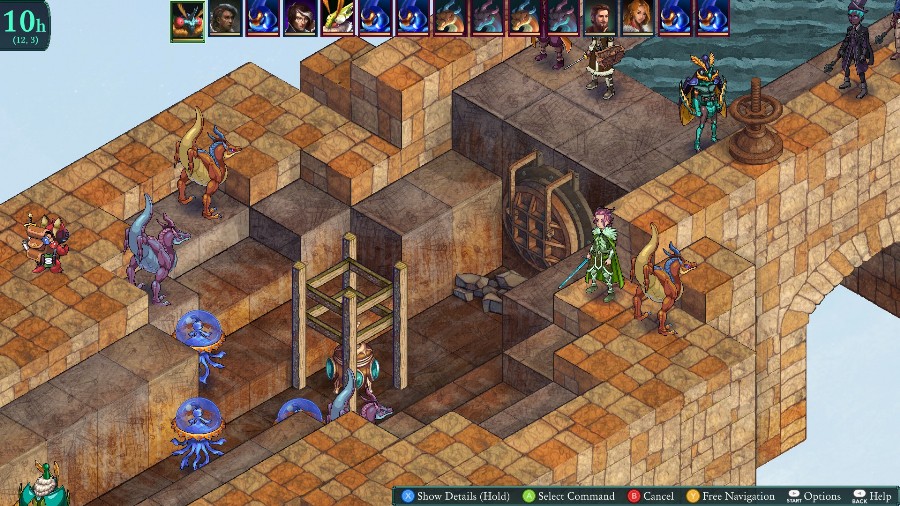
When it comes back in, the water has completely drained out of the lower area, revealing a secret chest! The water drain is permanent, so now all future battles here will have that whole lower area exposed. The chest also gives us a copy of hover boots, which let the wearer hover over any type of terrain. Very nice!
And with that, I will not leave us on the world map, but on the beginning of an unmarked event that I accidentally triggered and is what we’ll be covering next time!