Part 43: Mountain Temple I
Update 43: Mountain Temple I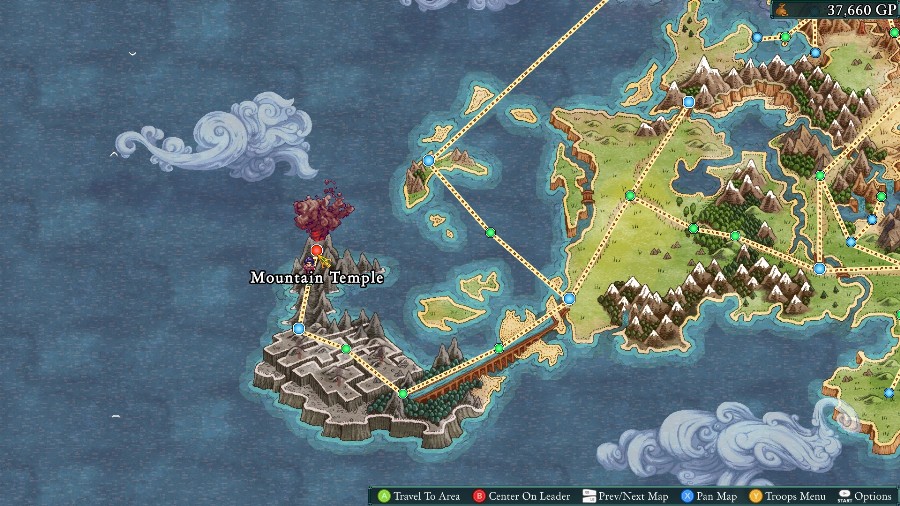
Welcome back! Last time we fought up a volcano and made it to the entrance of the final Temple. This time, we’ll be following Sigil inside to hopefully stop them.
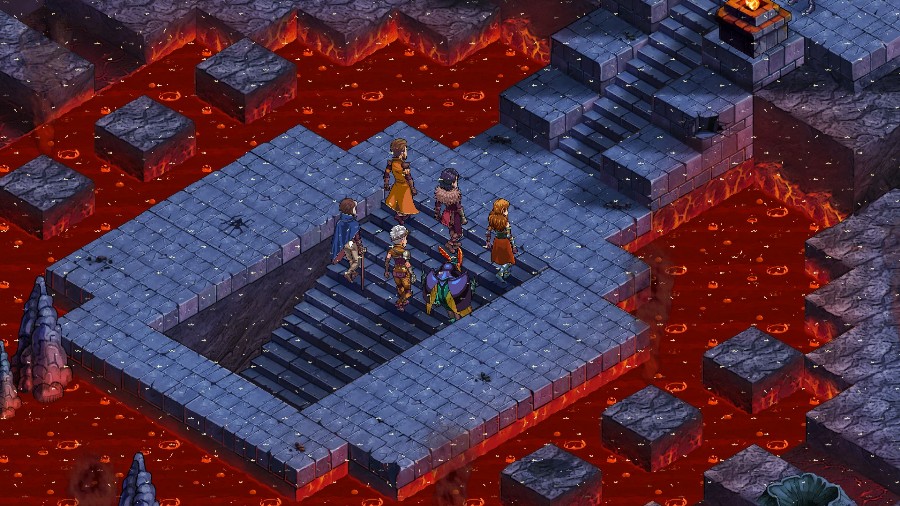
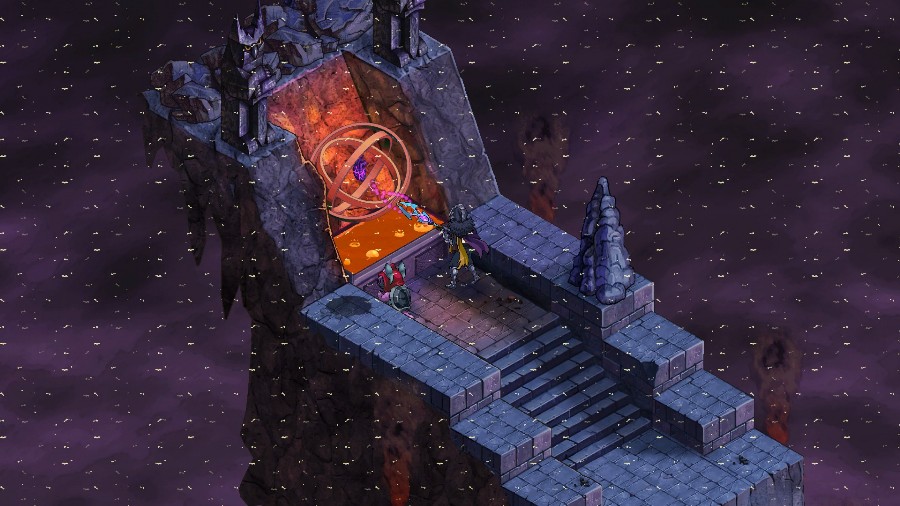
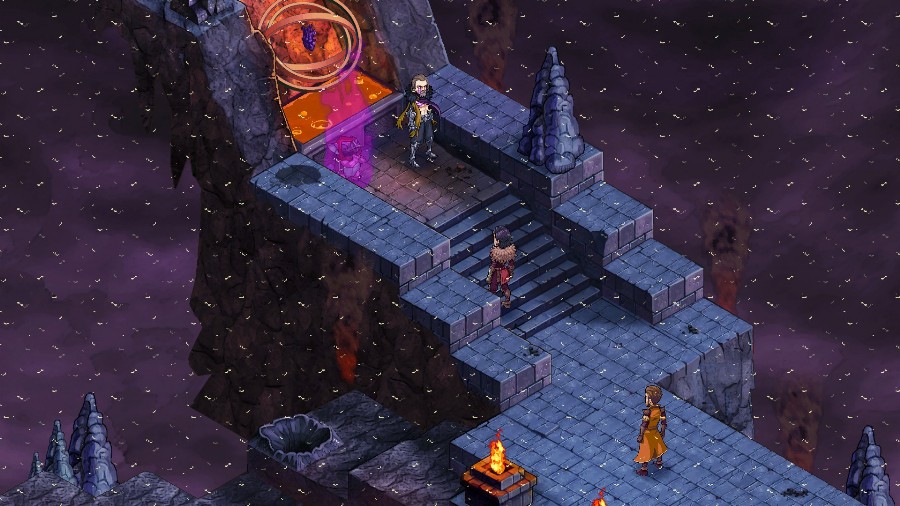
We come in on the group, walking up some stairs set in the middle of a volcanic crater and surrounded by lava.
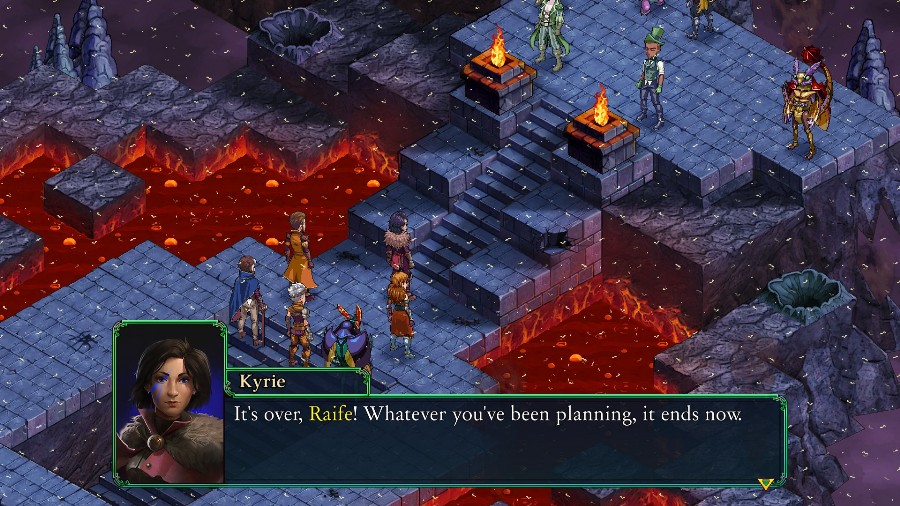
Unsurprisingly, Raife and Grim Eye beat us here and have a bunch of lackies with them.
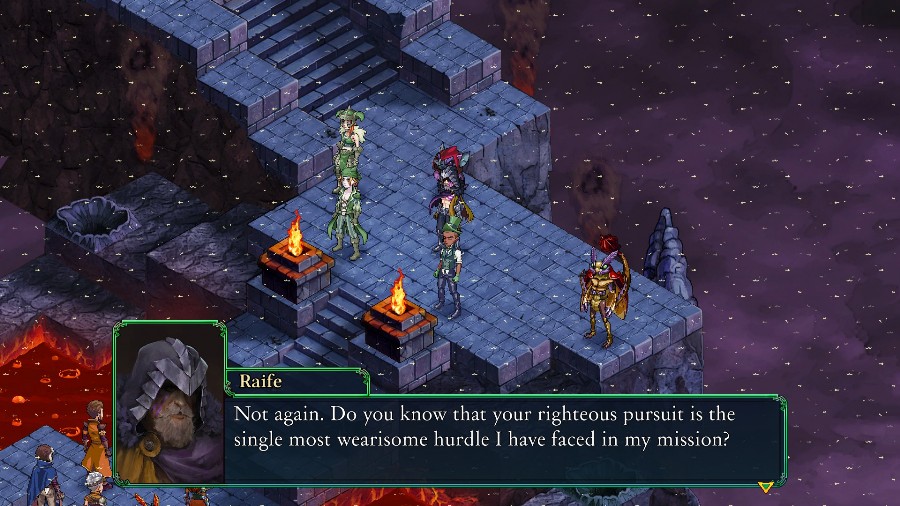
 (To the Sigil Members) We must not be interrupted. Stop the Arbiters by any means necessary. The cause depends on it!
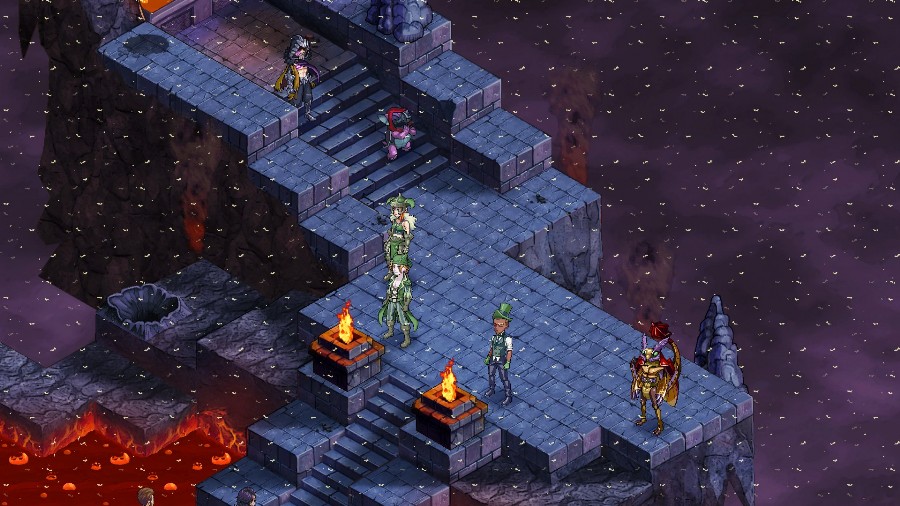
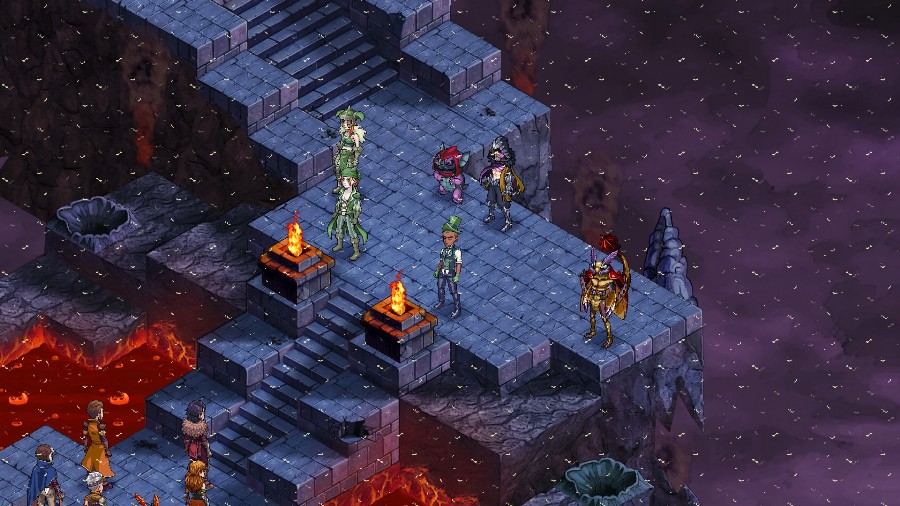
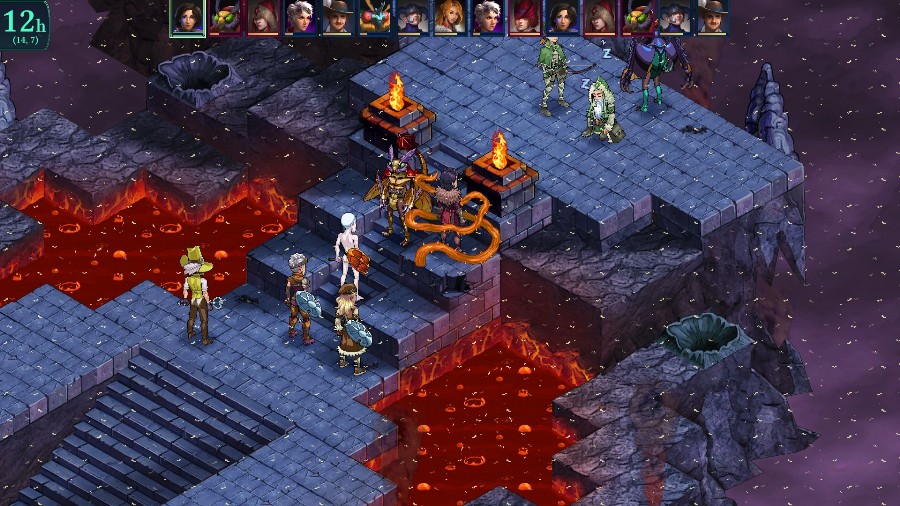
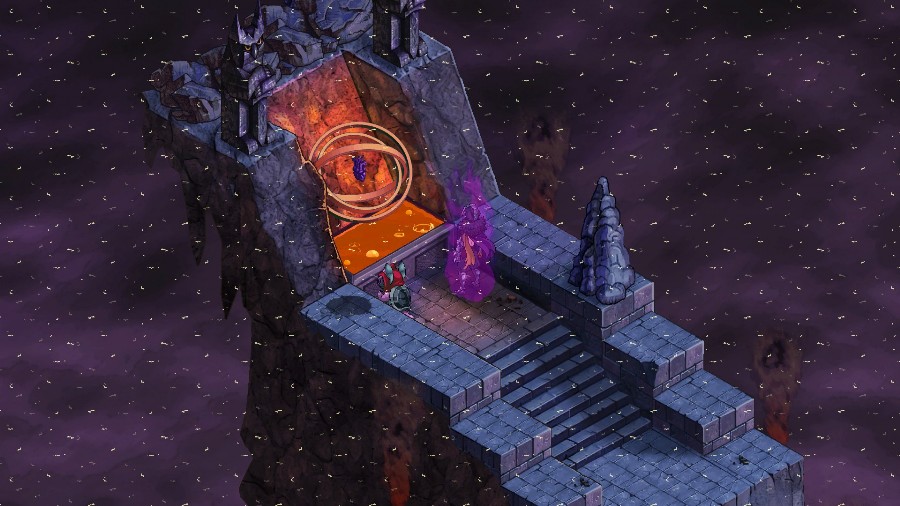
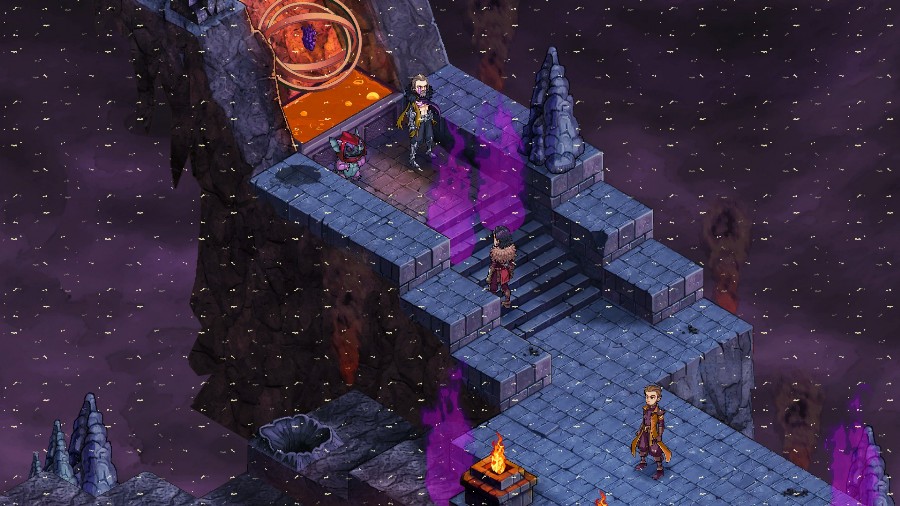
Raife and Grim Eye head up to the top of the Temple.
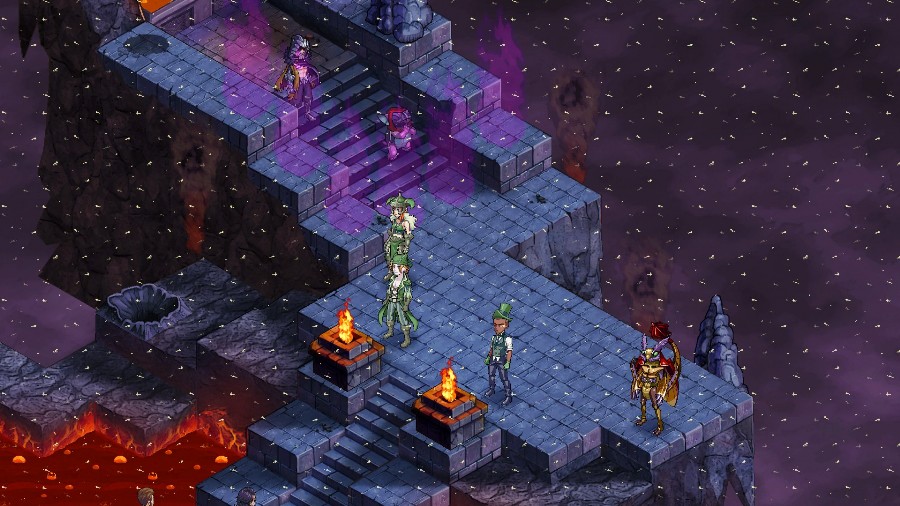
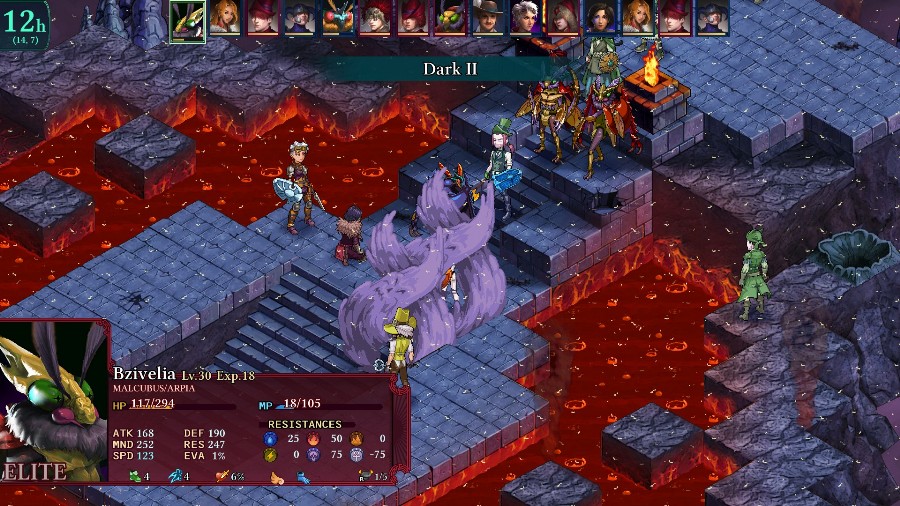
And Grim Eye conjures up a wall of purple flames to block the two of them in.
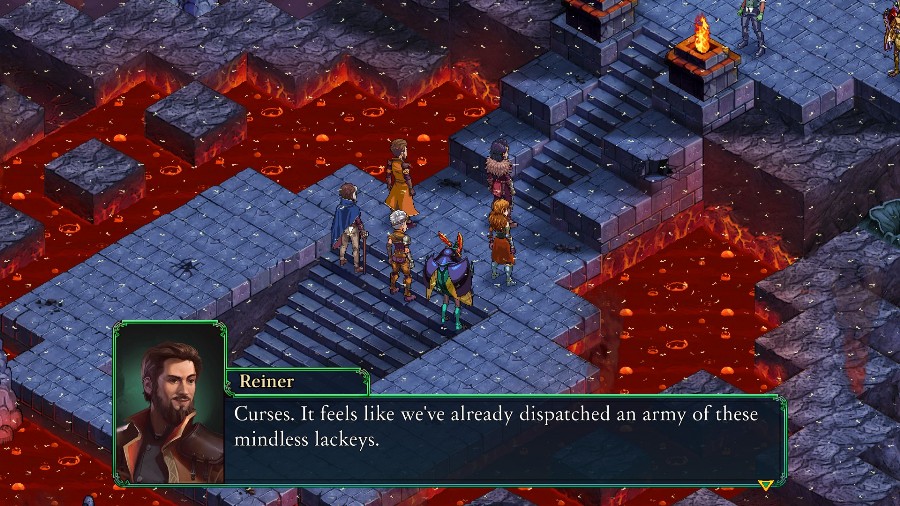
 Never mind that. We must break these rebels quickly and stop those two before they drain the last relic!
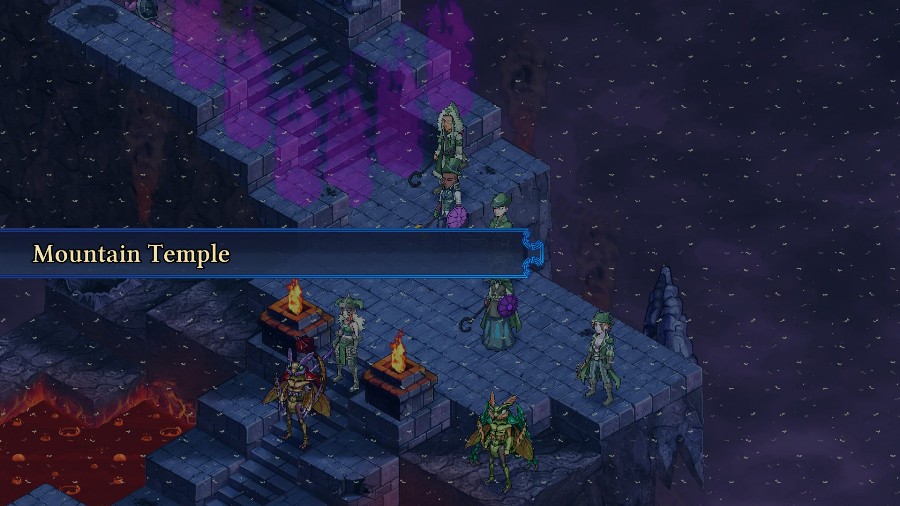
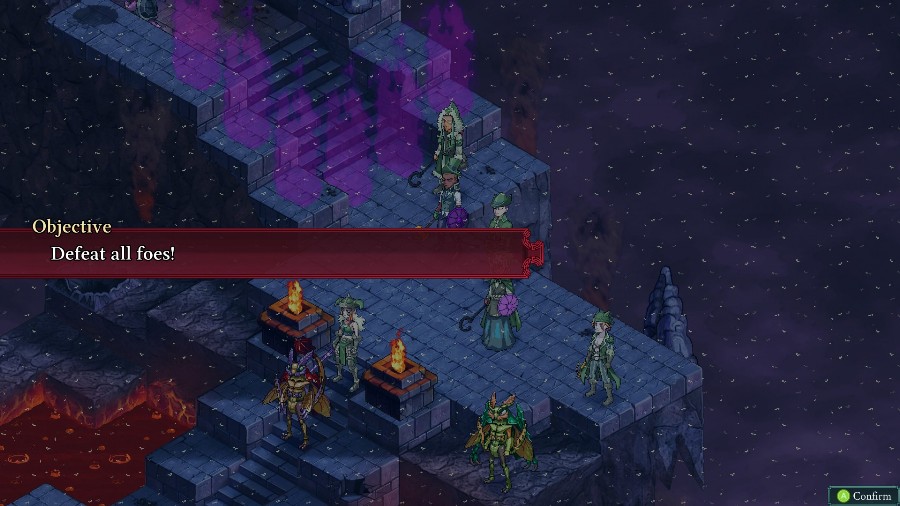
And with that it’s time for the fight.

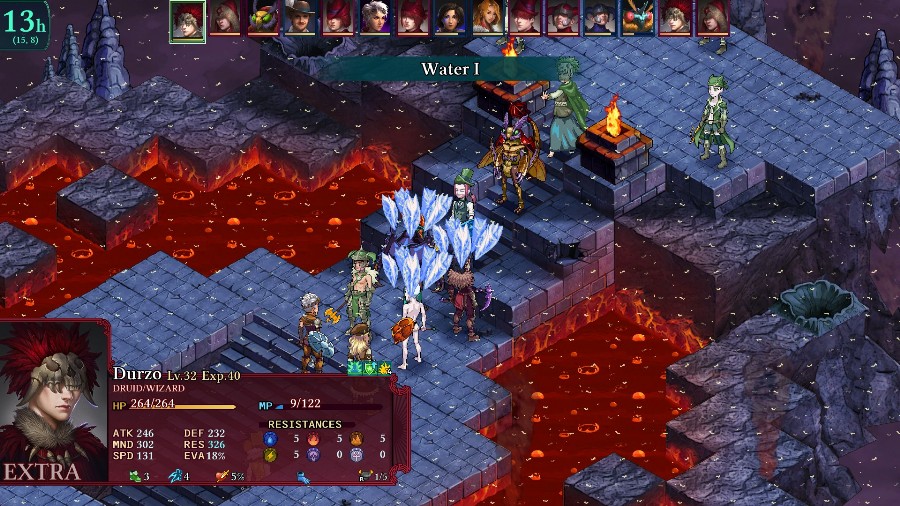
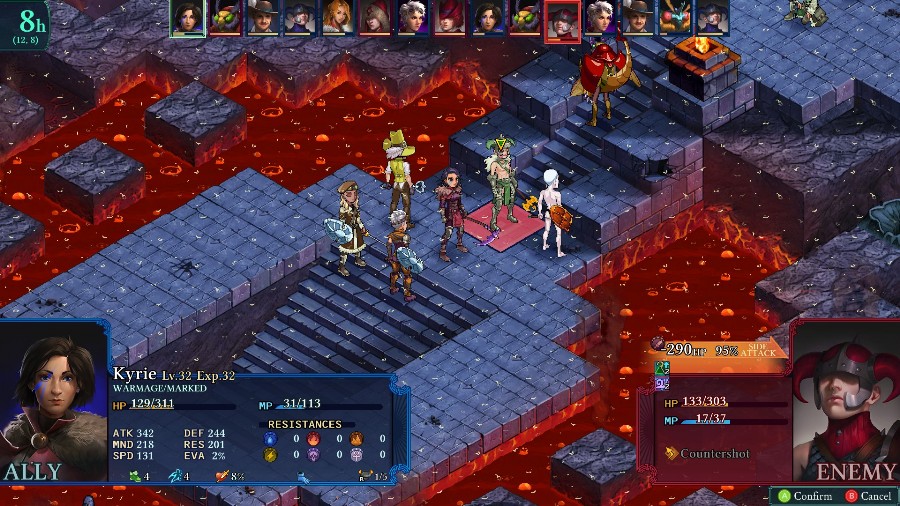
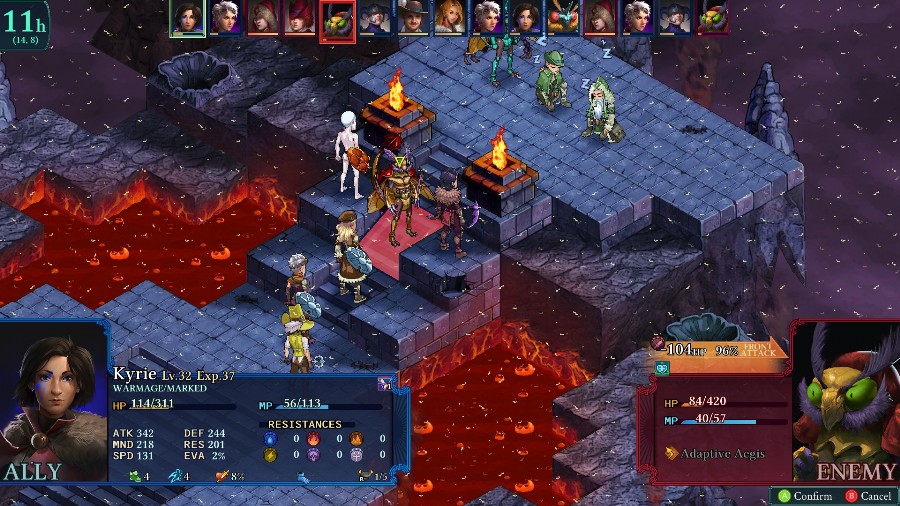
This time we’re locked to 6 again, and I’m bringing Mongo, Bzaro, Eustace, Sophia, and Katja.
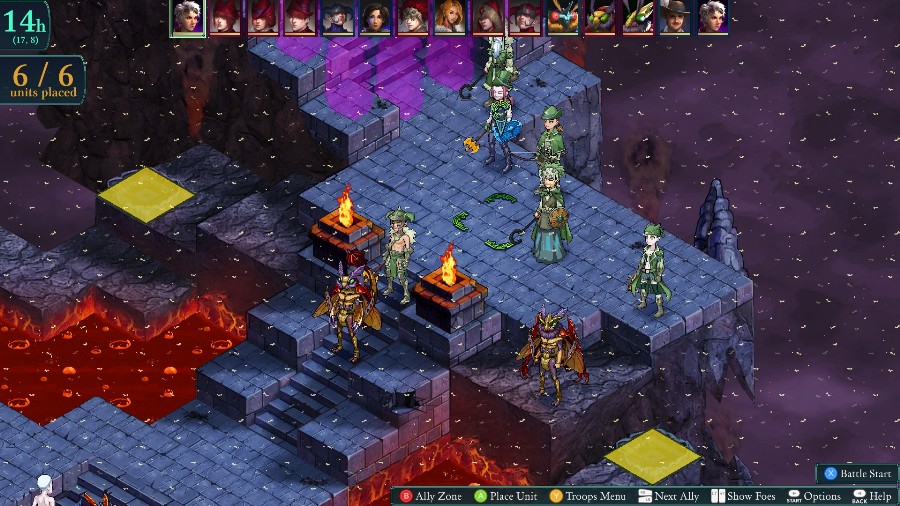
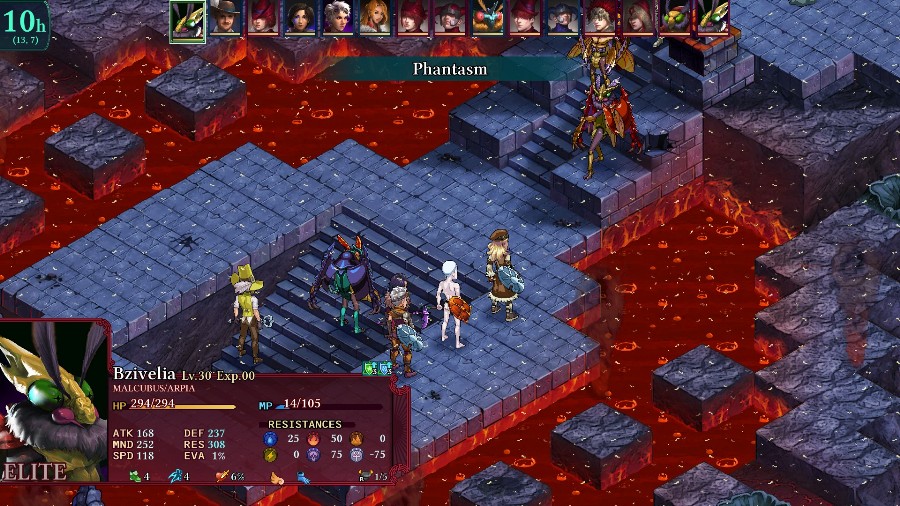
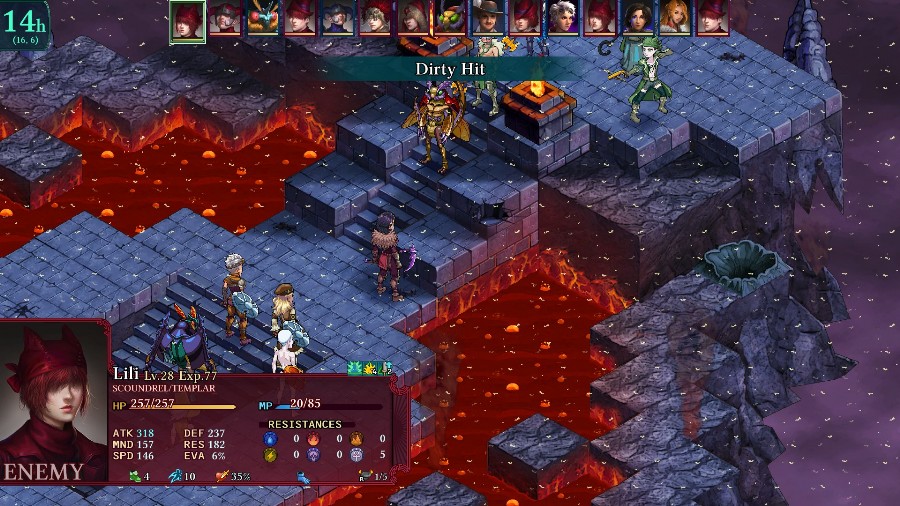
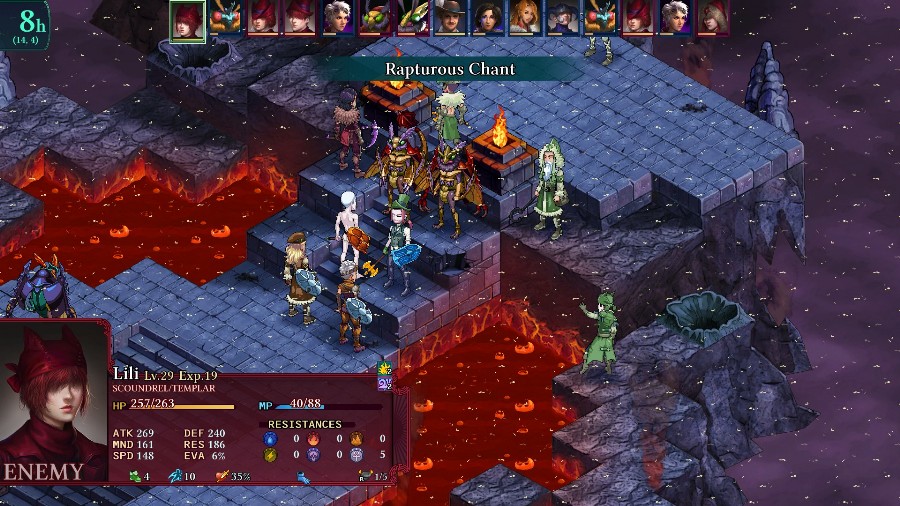
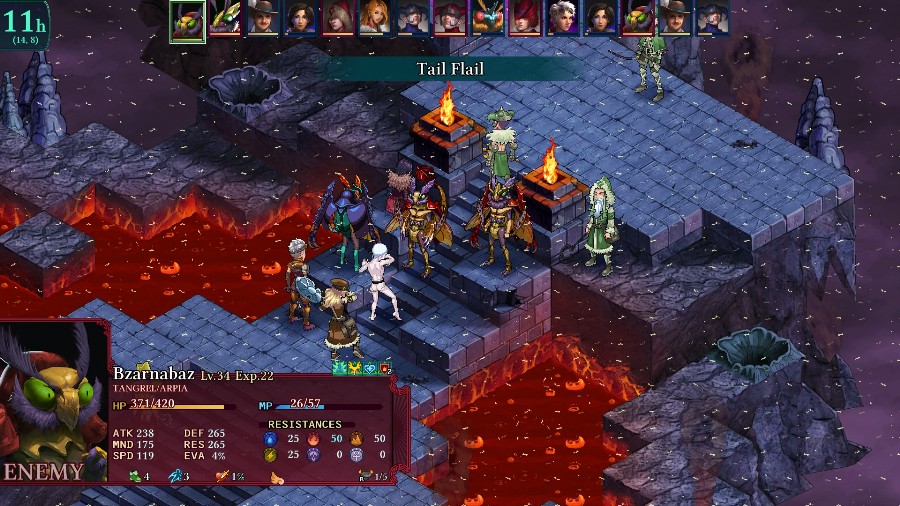
Up against us are 2 Bzils, (one’s a Tangrel base, one’s a Malcubus base), a Reaver, a Druid, a Scoundrel, a Ranger, a Peddler, and a Mender. So overall a pretty diverse group. One quirk of the map is that the Bzil on the stairs will not move unless forced to, so if I want to reach the ranged units, I’ll have to deal with it first.
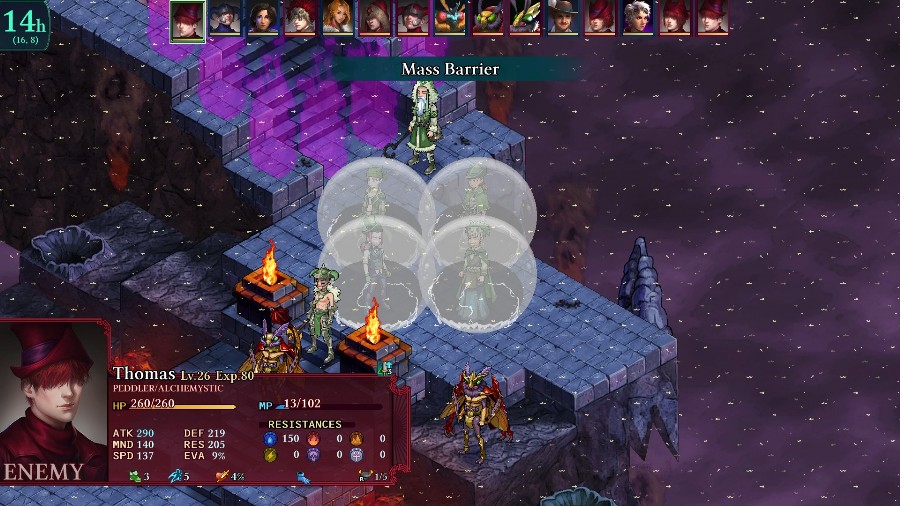
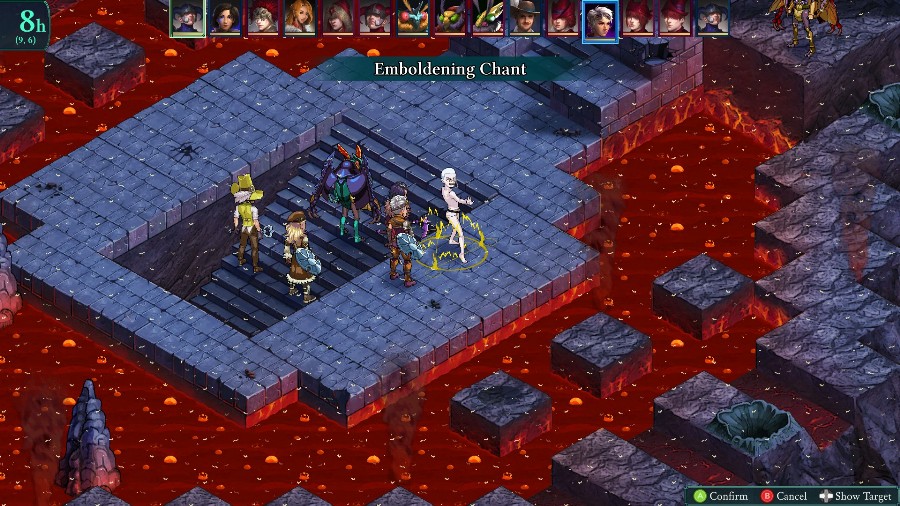
Once the fight starts, there’s a lot of buffing for the first few rounds.
But eventually the Malcubus Bzil breaks ranks to debuff Kyrie’s mental stats. Since he’s out of range of any enemy, I just have Eustace use his turn to cure them.
And then Kyrie, Katja, and Sophia work together to take out the exposed Bzil.
Kyrie then gets immediately blinded
And hit by the Reaver, taking her down to about 40% health.
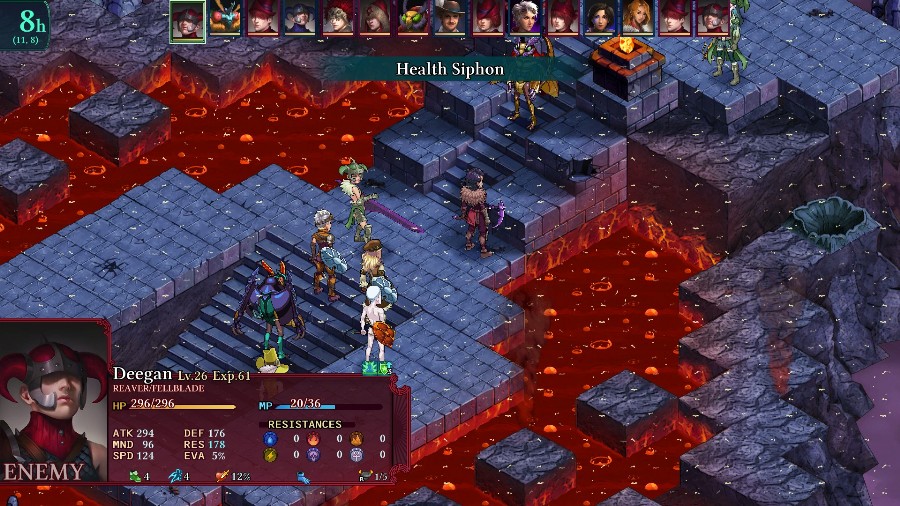
Bzaro cures her blindness, but then the Peddler comes down and chucks a boosted rock at both of them.
So instead of doing damage, I have to have Mongo save Kyrie.
Which was a good idea, because the Druid double casts at the group of 3, nearly killing Bzaro and Kyrie all over again.
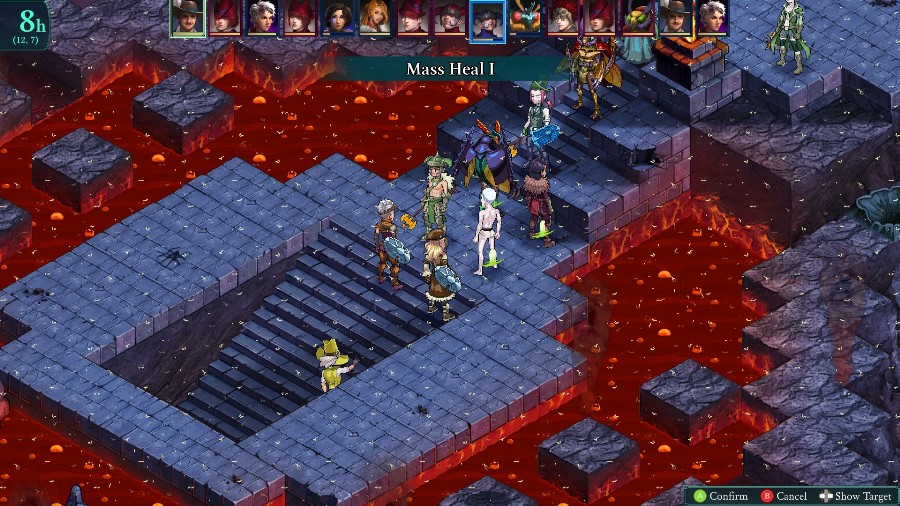
After a few more enemies barrage my group, it finally reaches Eustace’s turn with everyone somehow still up (especially because Bzaro managed to get a very lucky ~6% dodge chance). Eustace helps the front liners back up.
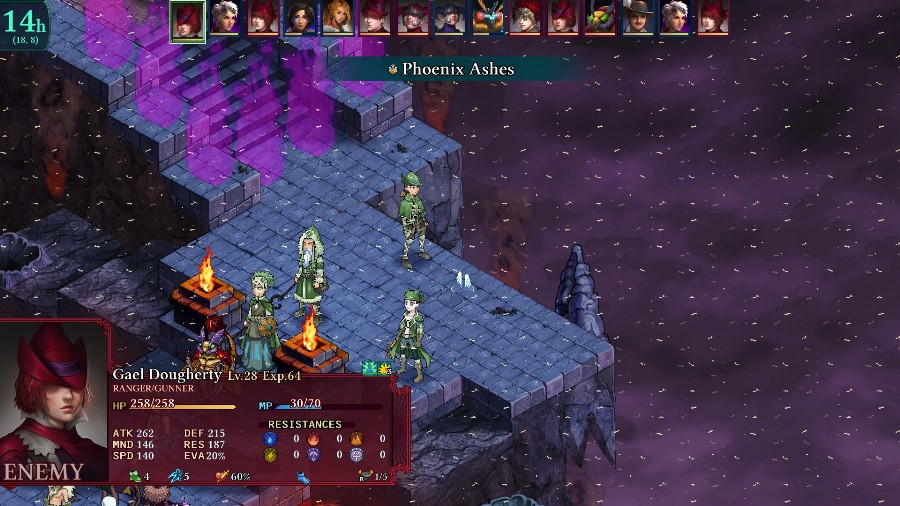
While the Ranger revives the dead Bzil with some phoenix ashes.

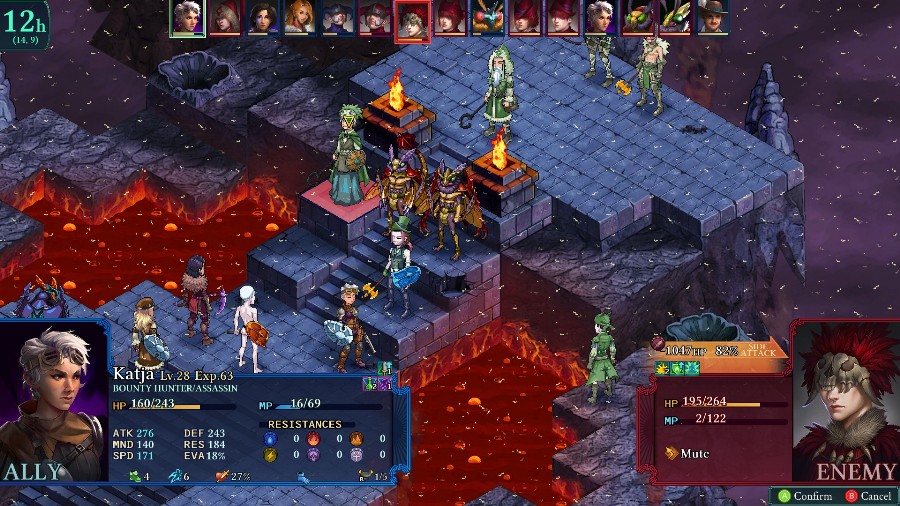
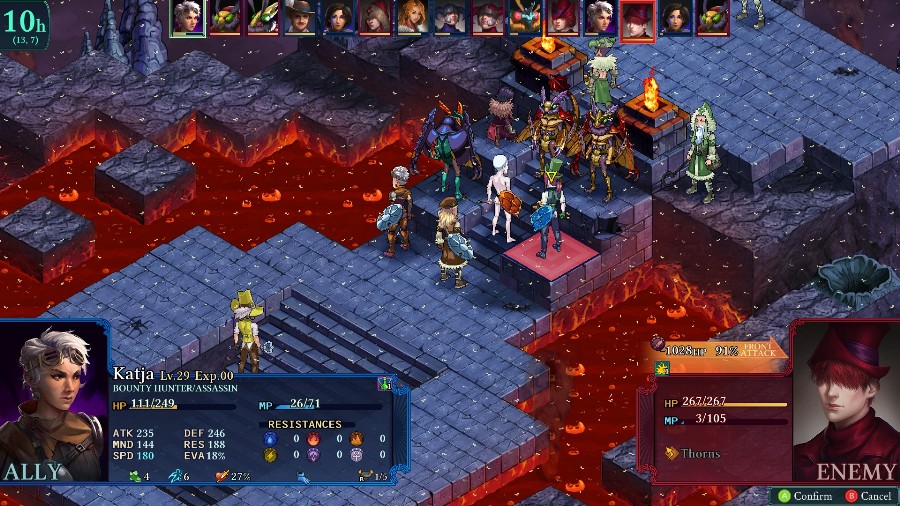
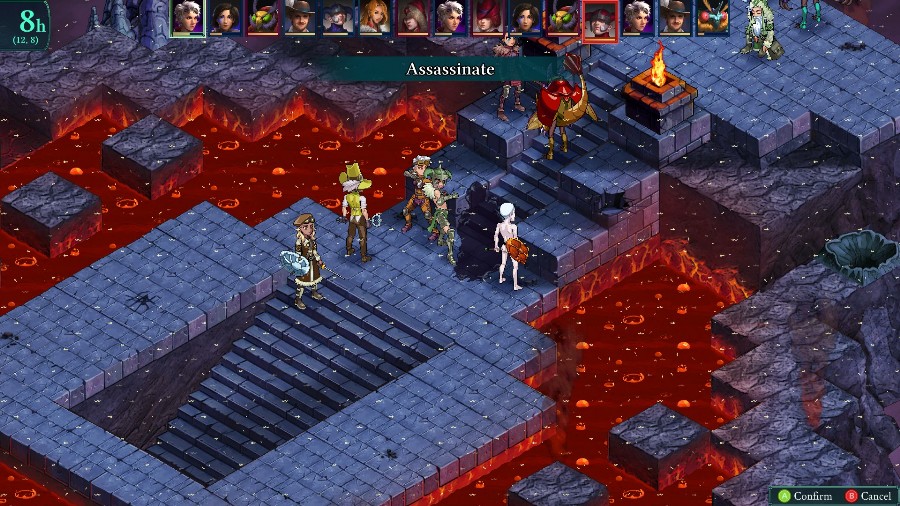
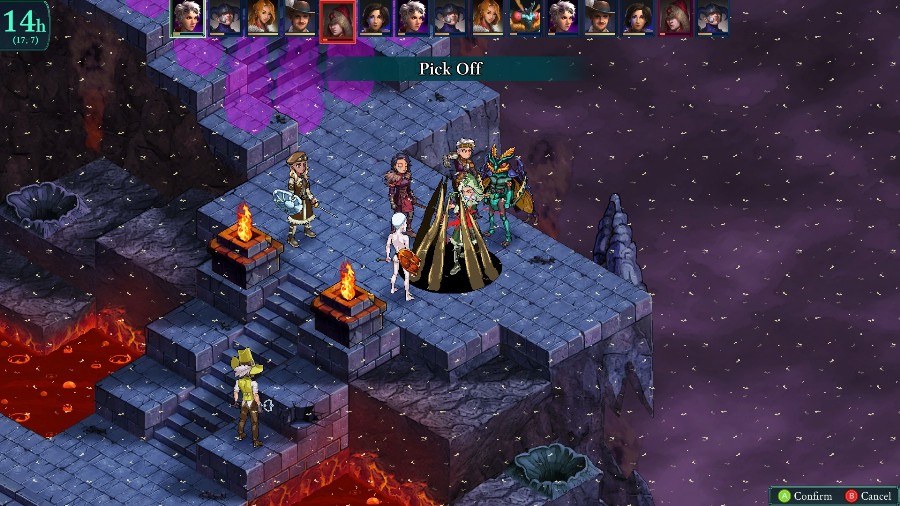
Having a Reaver running around in my backlines is a bad idea, so I have Katja get a good hit on him with Pick Off.
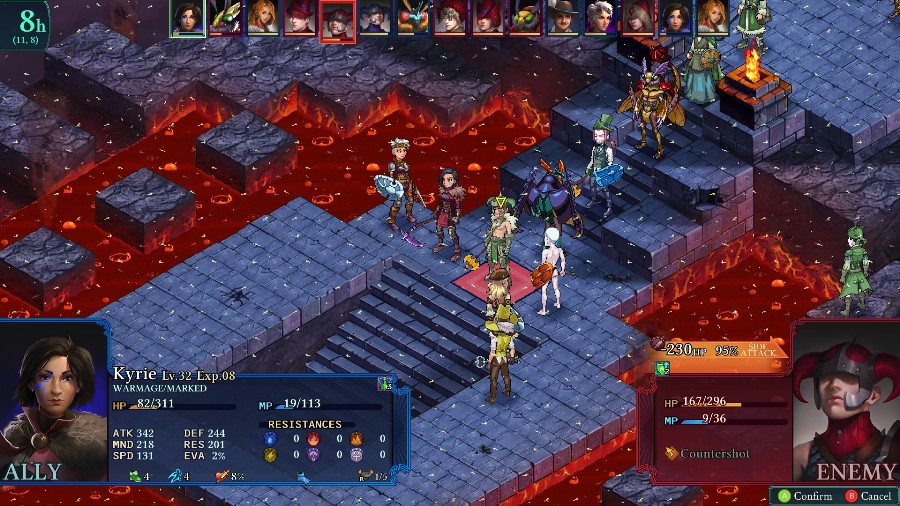
Which does enough damage for Kyrie to comfortably take him out.
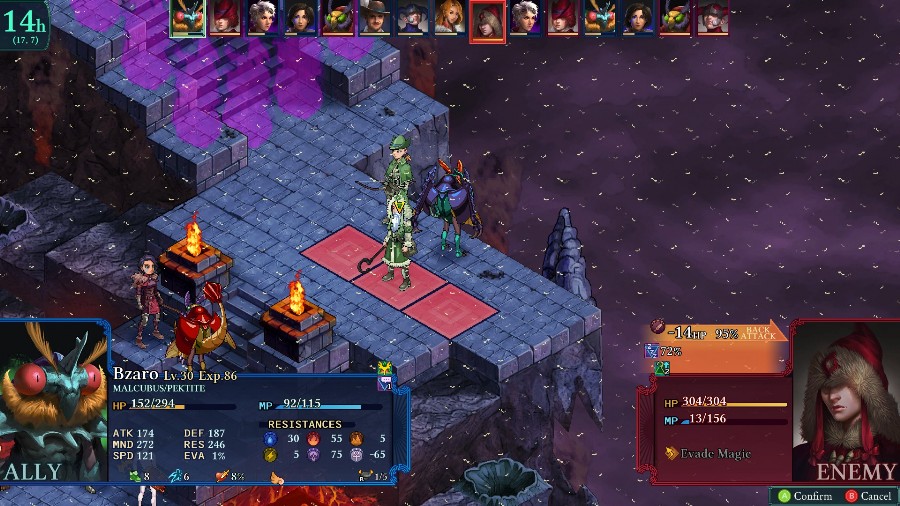
The newly revived Bzil comes back into the fray, but isn’t in range to hit anyone weak. Bzaro absorbs dark damage, and Mongo and Sophia are bulky enough that they don’t really care about the hit.
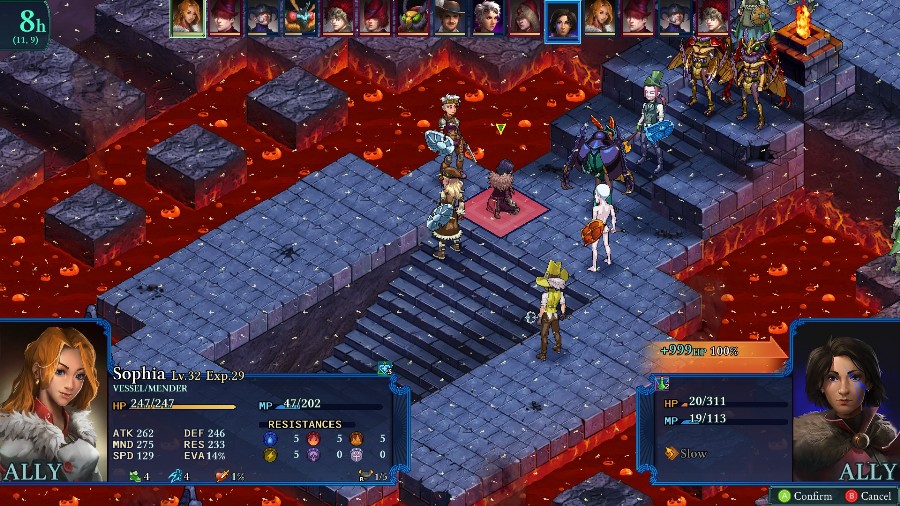
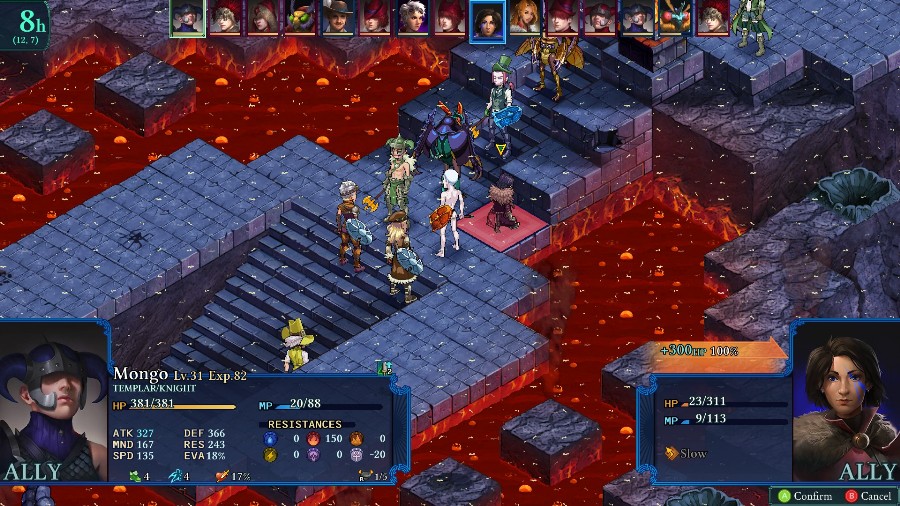
Sophia heals Kyire back up again.
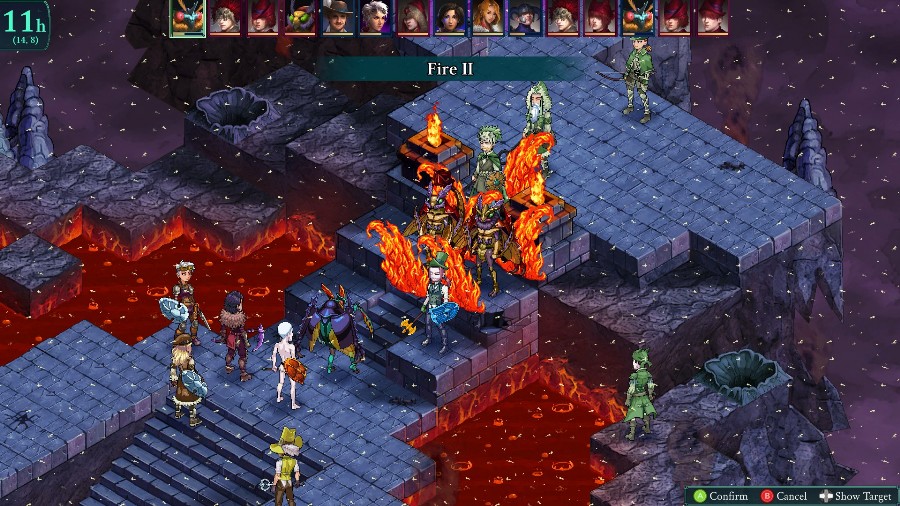
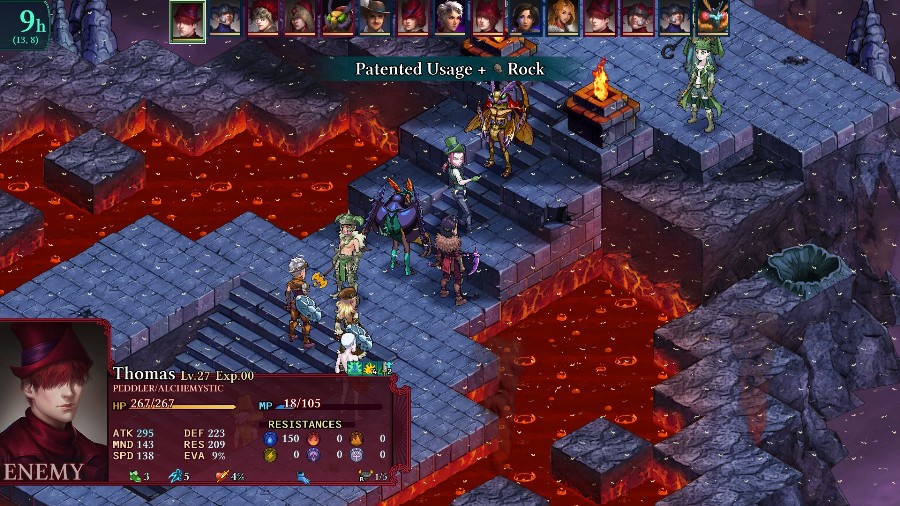
The Peddler chucks another rock and nearly kills Bzaro, so I have him blast the enemies with Fire and then fly off.
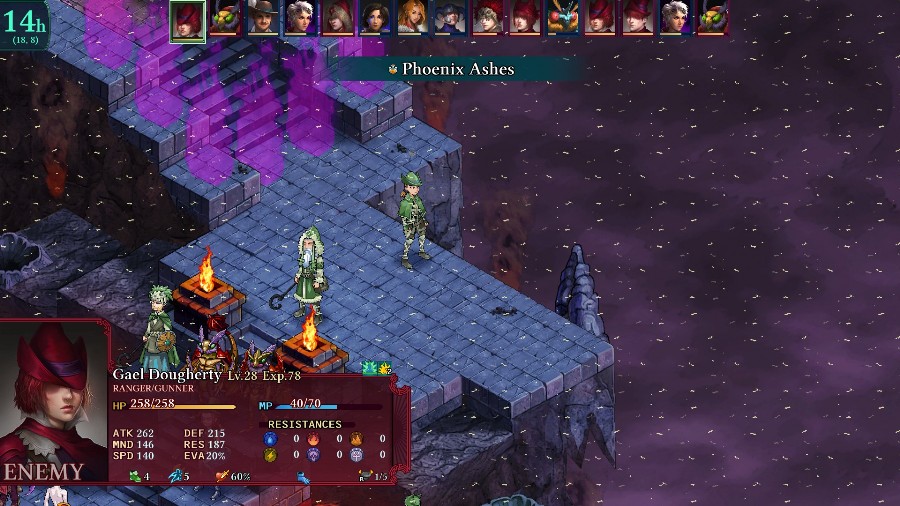
The Ranger, apparently on revival duty, brings back the Reaver as well.
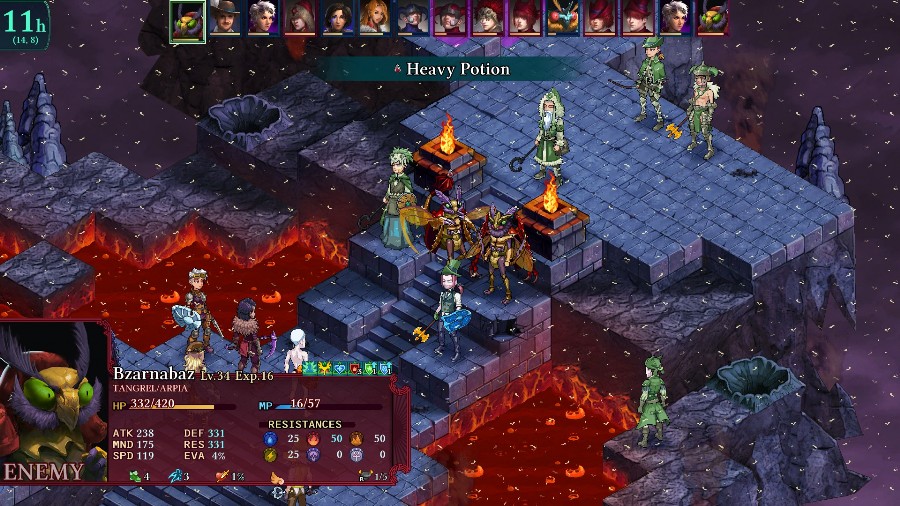
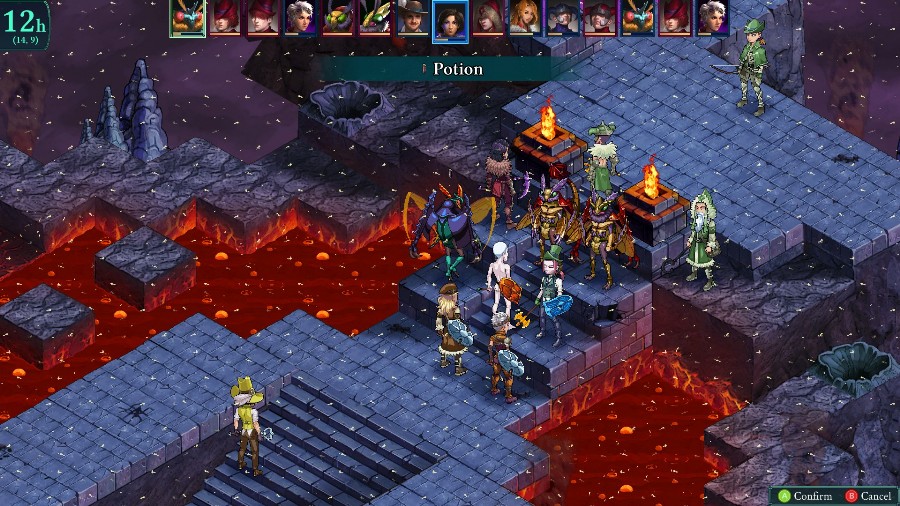
While the Tangrel Bzil uses their Heavy Potion on the Malcubus Bzil.
At which point I remember that Katja has Boomerang Bounce, the ranged push attack that the Kawas love to spam, and use it to warm up the Druid.
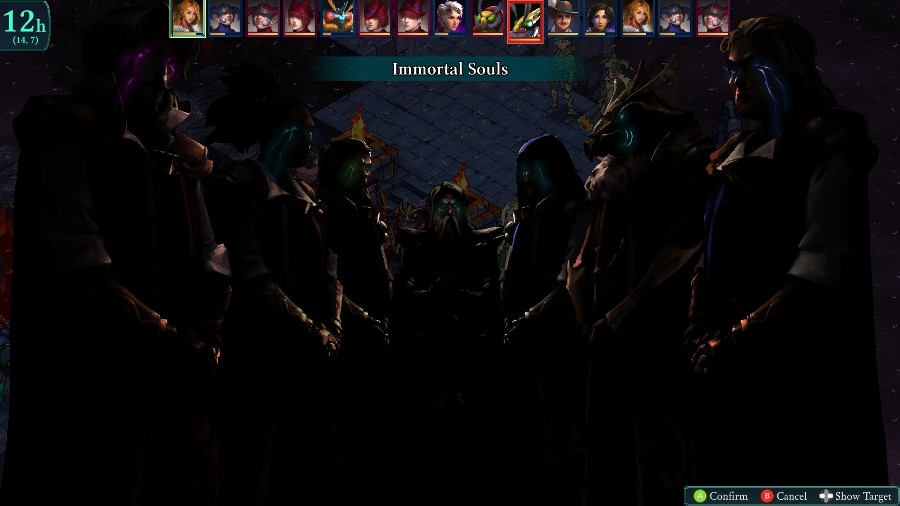
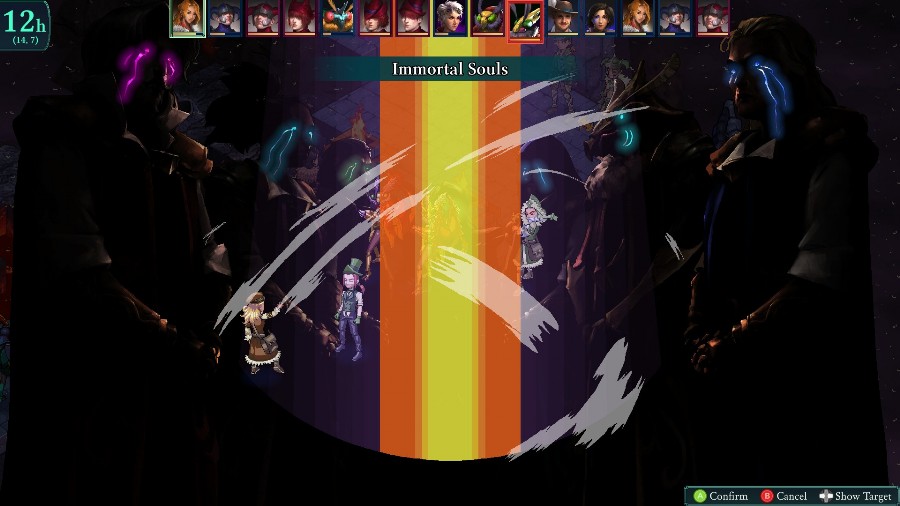
And then Sophia uses Immortal Souls to do a good chunk of damage to most of the enemy team.
The Scoundrel, who’s been off to the side taking potshots, decides to sacrifice themselves to heal the damage back up. I’m not complaining though, they would’ve been a pain to deal with otherwise.
I have Bzaro heal Kyrie up, as she’d been targeted by a few enemies in a row.
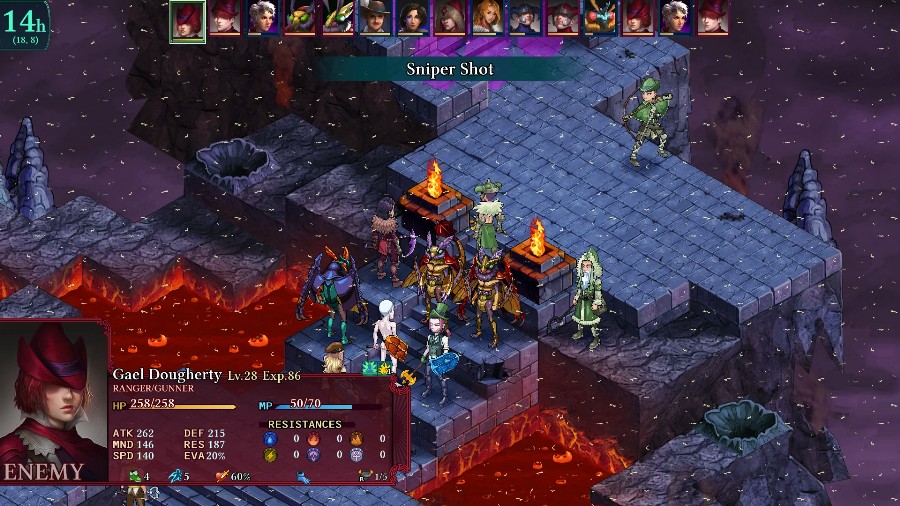
Which was a great idea in retrospect, as it allows her to just barely survive getting sniped by the Ranger.
I respond by having Katja dunk the Peddler in the lava as well.
In hindsight, I realize I screwed up and Kyrie had been sitting in danger of insta-death for a while, thanks to the Tangrel’s push attack. Thankfully, the Bzil chose to weaken Mongo instead of killing Kyrie.
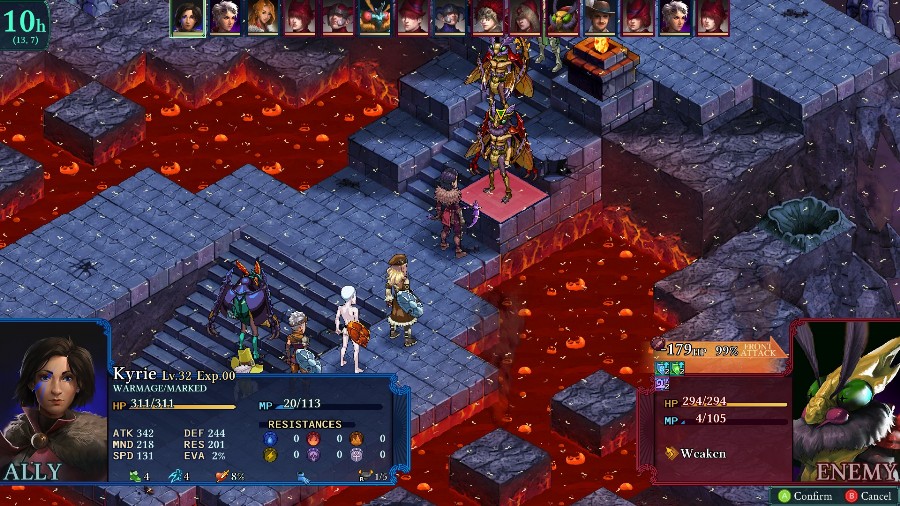
I have Kyrie weaken the Reaver while Eustace, Sophia, and the enemy mender all spend their turns healing people.

But after that brief respite, Mongo’s able to take advantage of the Malcubus-Bzil’s holy weakness to 1-shot it with a Righteous Blade.
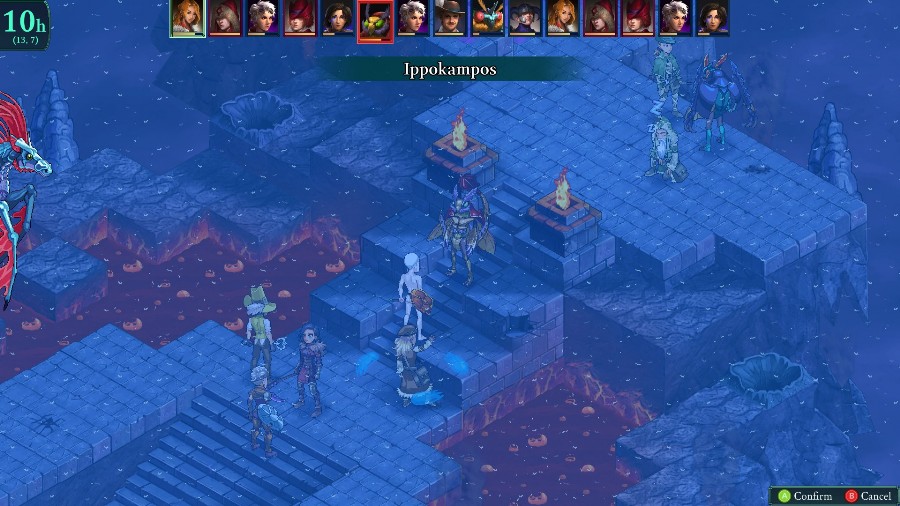
I also realize that the Tangrel-Bzil is bulky enough that I won’t make much progress if the Mender’s active, so I have Bzaro fly over and put them to sleep.

Katja weakens the Reaver again.
Though it might’ve been a bit unnecessary, since Kyrie could’ve killed him without the help.
At this point, I spend quite a while wailing on the Tangrel-Bzil, who just uses its turn to heal itself.
There was also apparently a root trap on one of the neighboring squares. I get lucky and Kyrie dodges the attack from the Bzil that could’ve easily killed her.
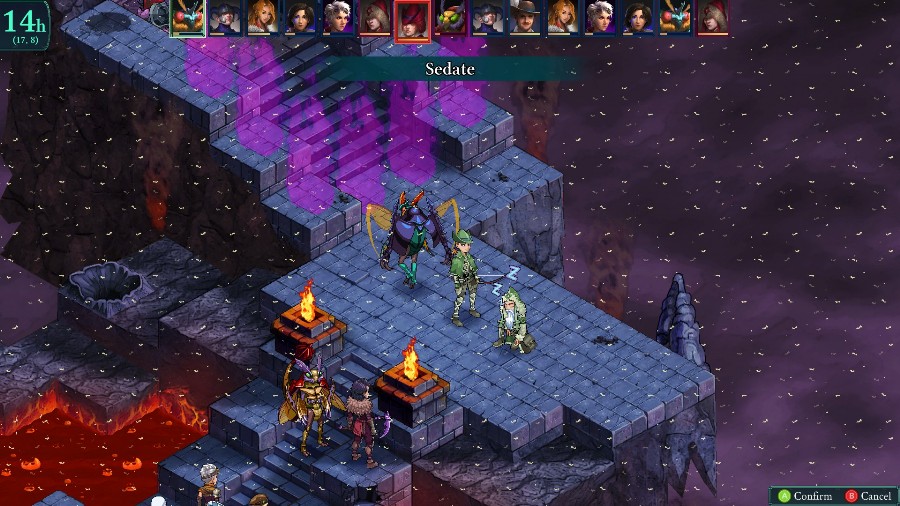
Bzaro puts the Ranger to sleep as well, which means the map is essentially over.
Kyrie soon takes out the Bzil.
Sophia has a worm eat the Ranger.
And then Katja takes out the Mender.
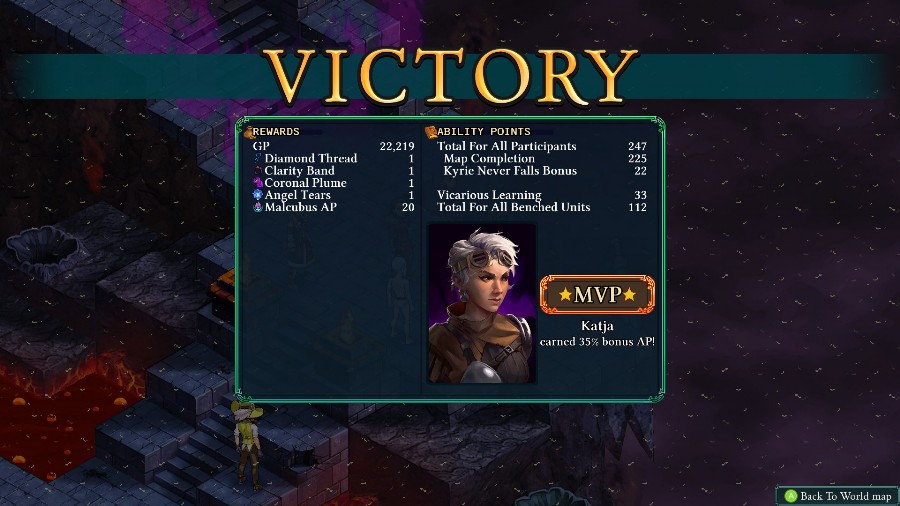
Katja gets MVP, pretty deservedly since she took out quite a few annoying enemies. I’m pretty astounded I managed to make it out without anyone falling, since I did not really play this that tactically. If I were to do it again, I’d probably run another person who could fly or teleport to get in the backline earlier and prevent their mages and ranged attackers from wreaking so much havoc on me.
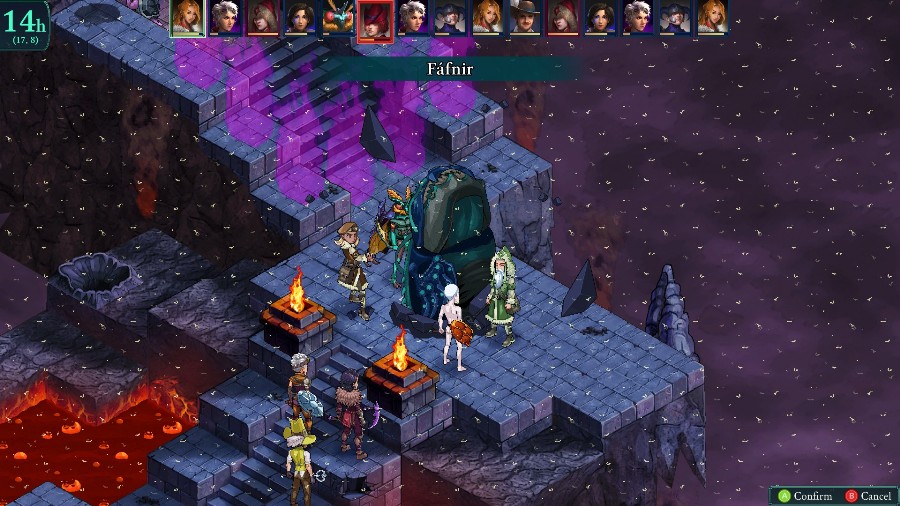
After the battle, we see Raife finish draining the Relic.
That was the last Temple Relic. Everything we dreamed of, now within reach! All that remains is the final ritual in Illuster.
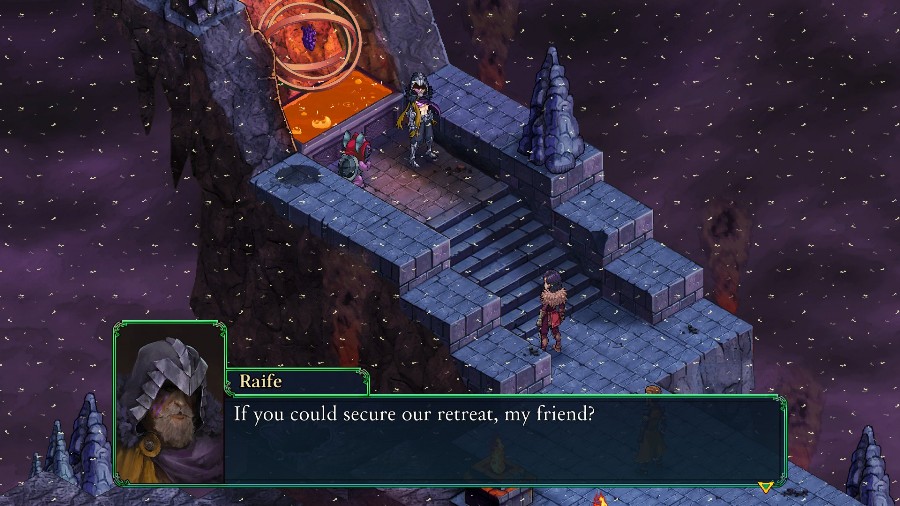
Kyrie rushes up to the two Sigil leaders.
Summon as many demons as you please, you will not slip past us this time! Why should we want to get past you? Let’s deal with this rabble ourselves and be done with it. Hmm… Very well.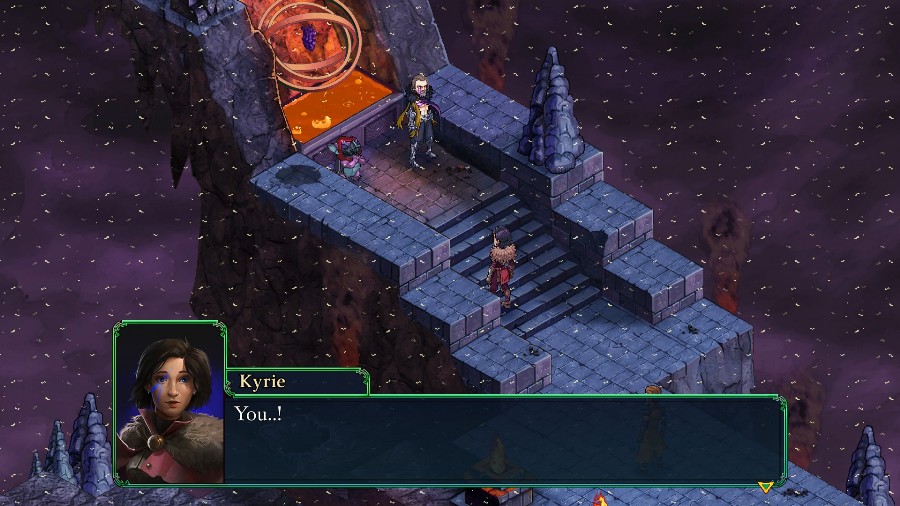
Raife removes his hood, and Kyrie apparently recognizes him.
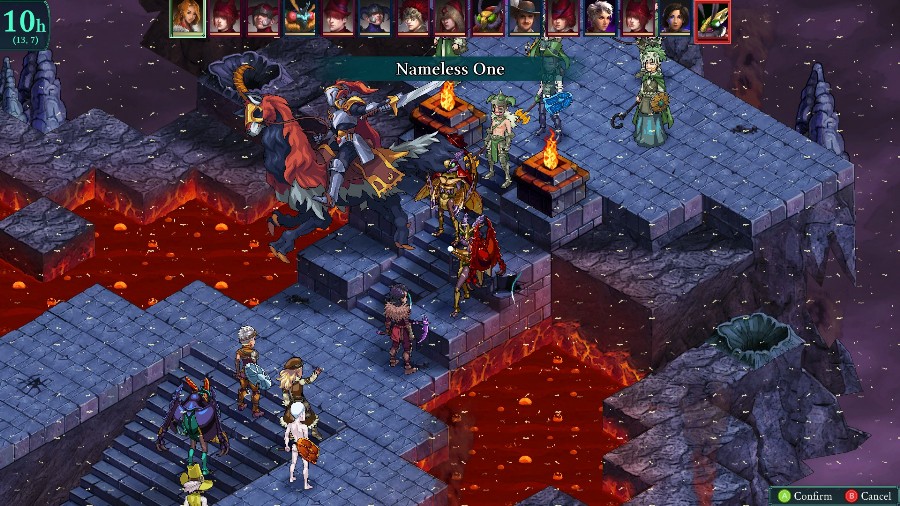
But before she can do anything else, Grim Eye starts summoning power.
A bunch of giant purples flames appear again, all around the map.
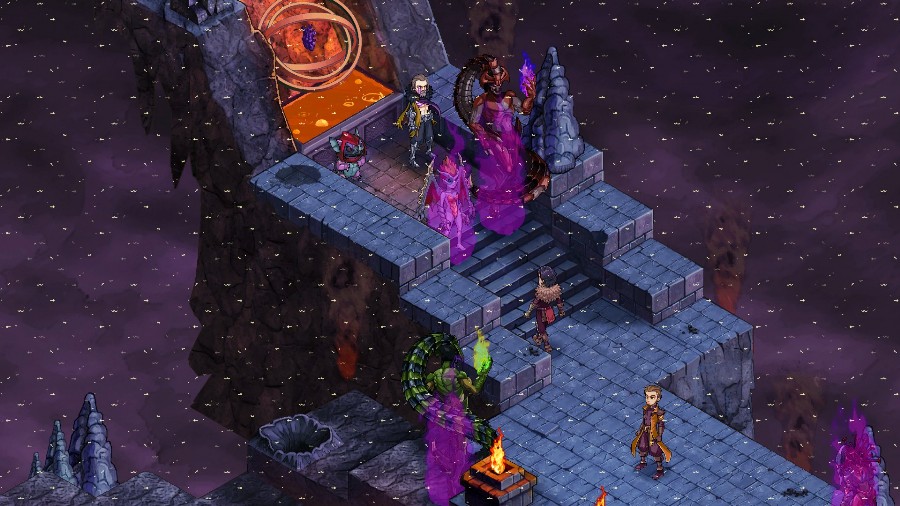
And out step a bunch of demons!
However, this is where we’ll be stopping this time. Next time, we’ll get to see the stunning resolution to this cliffhanger!