Part 51: Gelligh III
Update 51: Gelligh III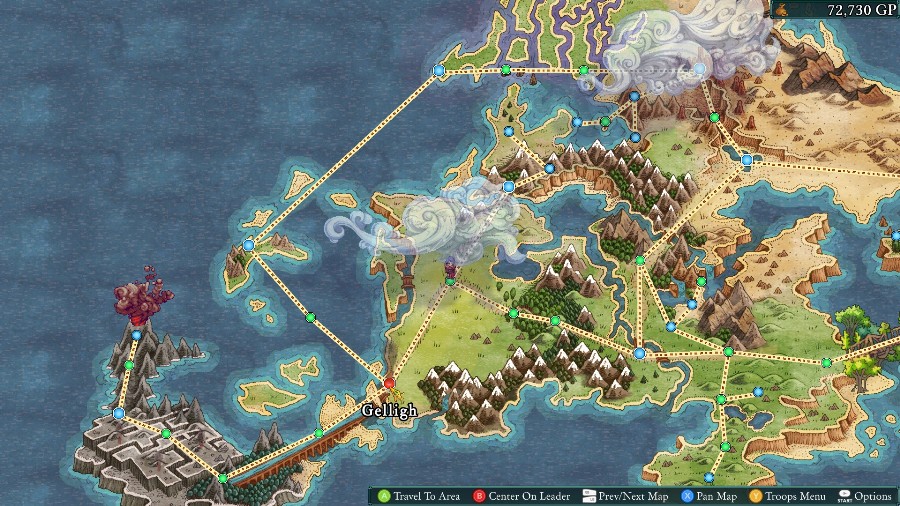
Welcome back! Last time we stopped Primus from becoming a truly all-powerful God King with some help from Raife and Grim Eye. Who promptly went and ruined everything by unleashing The Maw and then trying and failing to control it. This time, we’ll be investigating that ominous plume of smoke coming from Gelligh.
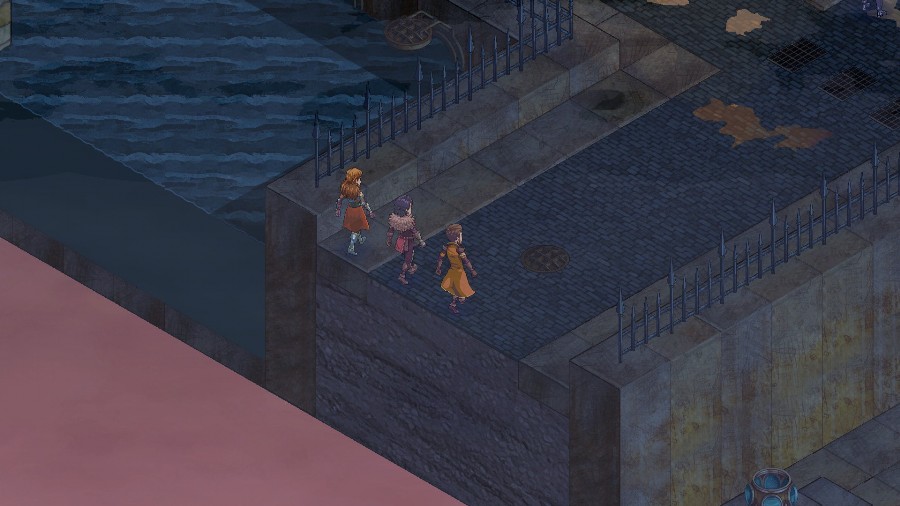

The party arrives in Gelligh and are treated to a dismal scene.
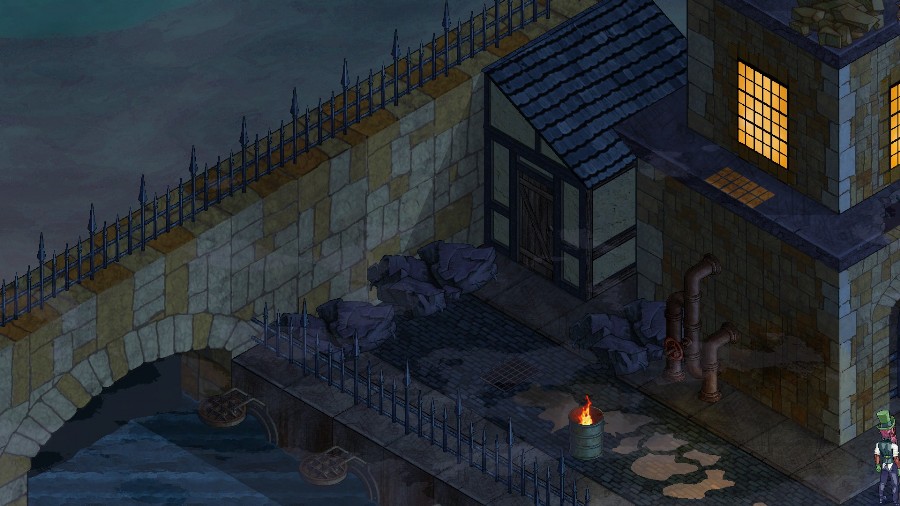
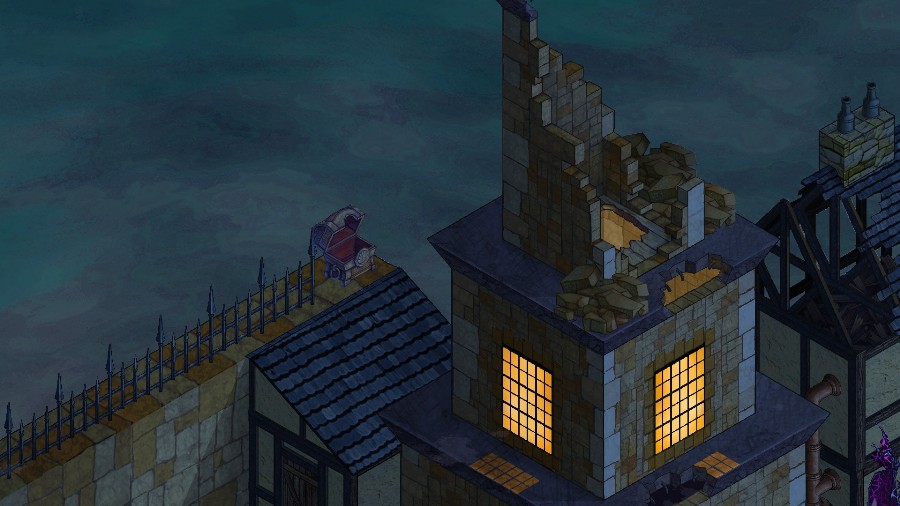
Massive parts of the town are destroyed. The camera keeps panning around
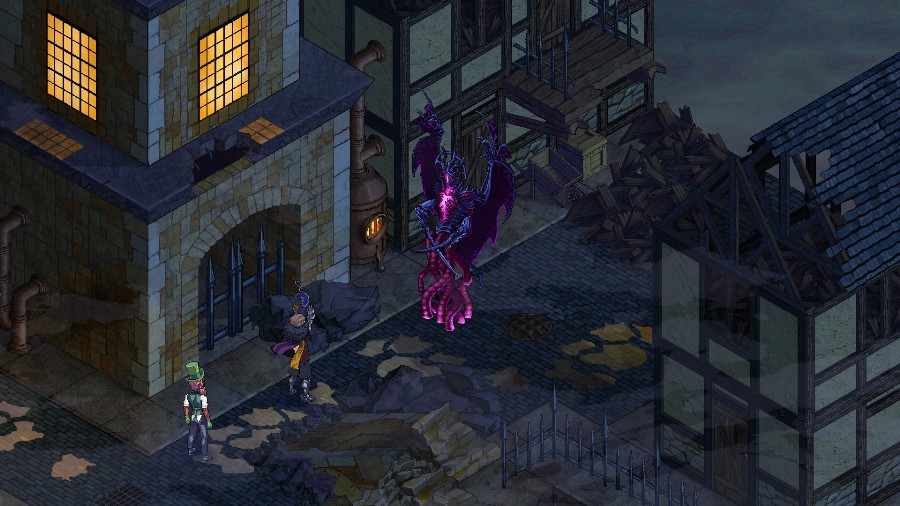
And comes to rest on Raife and The Maw again.
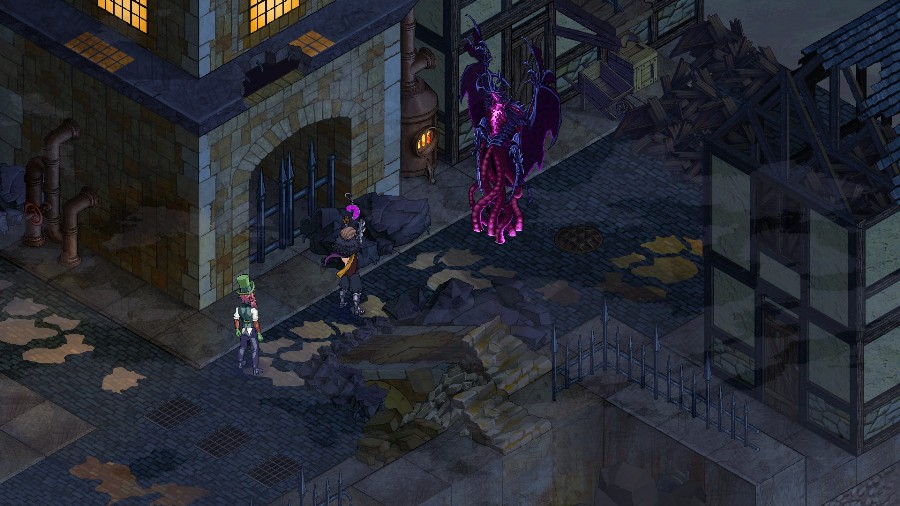
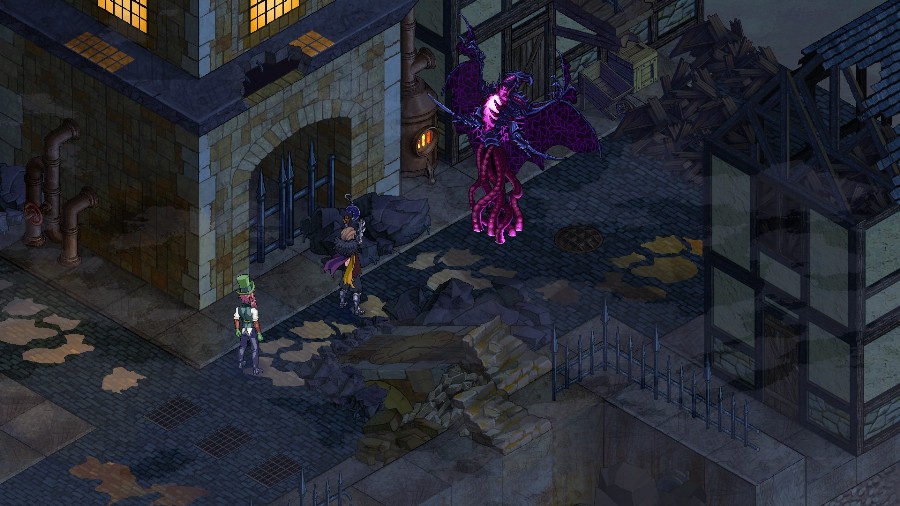
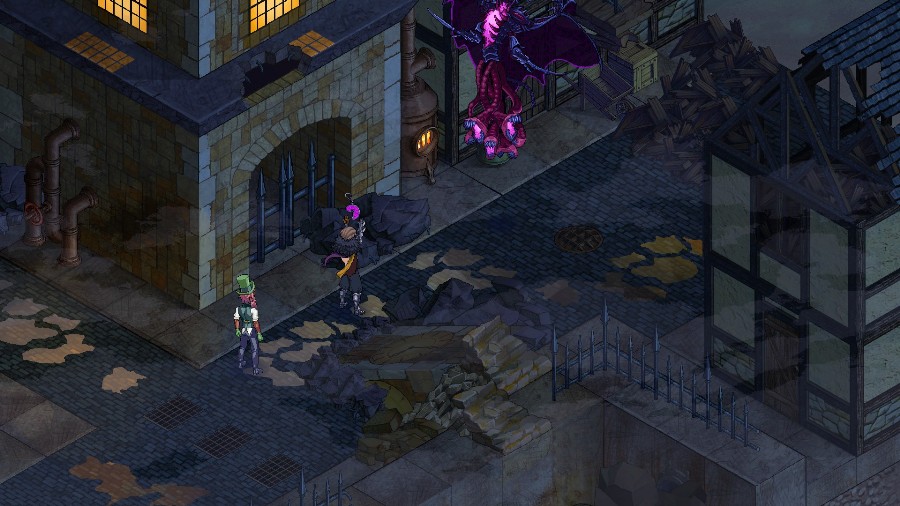
The Maw disagrees and flies off again.
 What?!
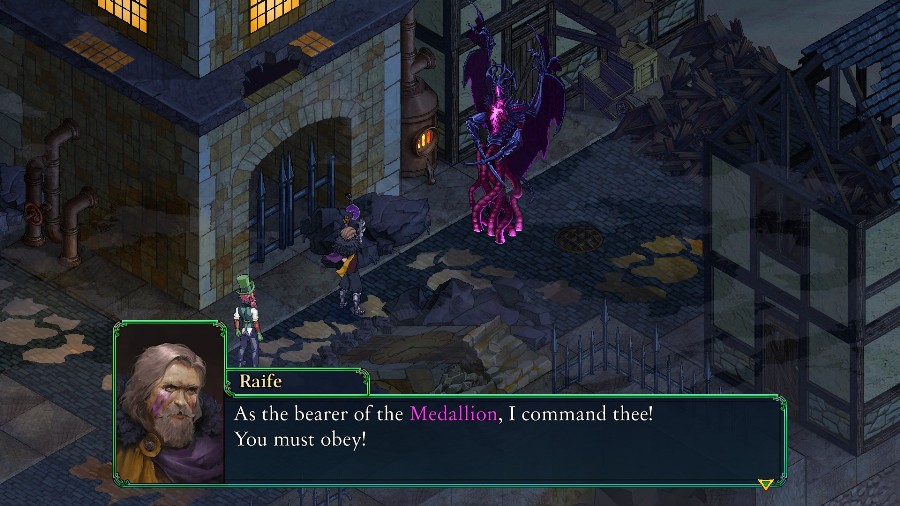
.jpg) We have company. Ah. Kyrie. Glad you could make it. I didn’t have a chance to thank you for your assistance with Primus.
We have company. Ah. Kyrie. Glad you could make it. I didn’t have a chance to thank you for your assistance with Primus. What have you done, Raife? What could have possessed you to unleash The Maw?! Think about it… The Maw is so powerful, even the original Immortals couldn’t defeat it. With the beast under my control, I can wipe out the Council in one stroke! Then we can begin to make this world a better place.
 As you’ve done here in Gelligh? What happened here was unfortunate, yes, but every revolution requires sacrifices.
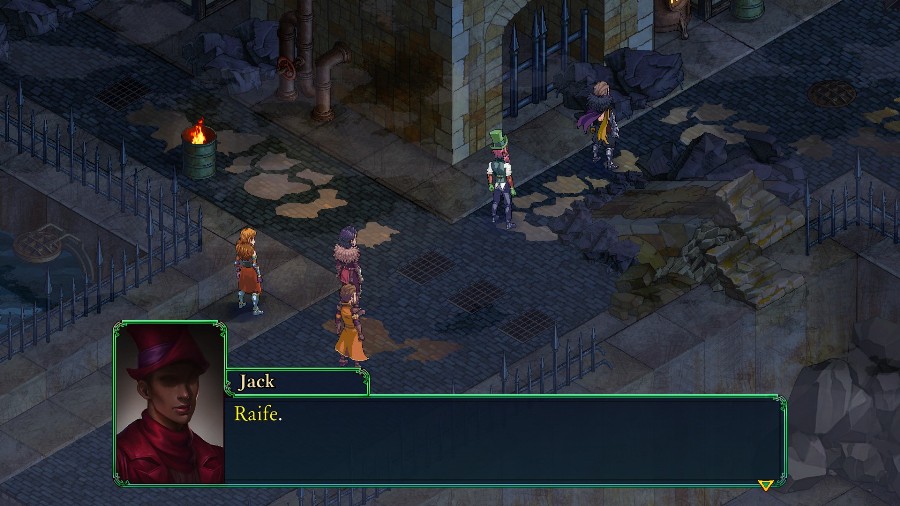
 I feel as though your claim to control The Maw was somewhat exaggerated. I admit it has proven more challenging than we expected. But it’s only a matter of time now. Just how many innocents are you willing to sacrifice to get there? Even should you finally manage to control the monster, it’s obvious you can’t be trusted with so much power. Frankly, no one can. Bah! I had hoped you would see reason. A foolish mistake on my part. (to Jack) Take care of them. I must follow The Maw.
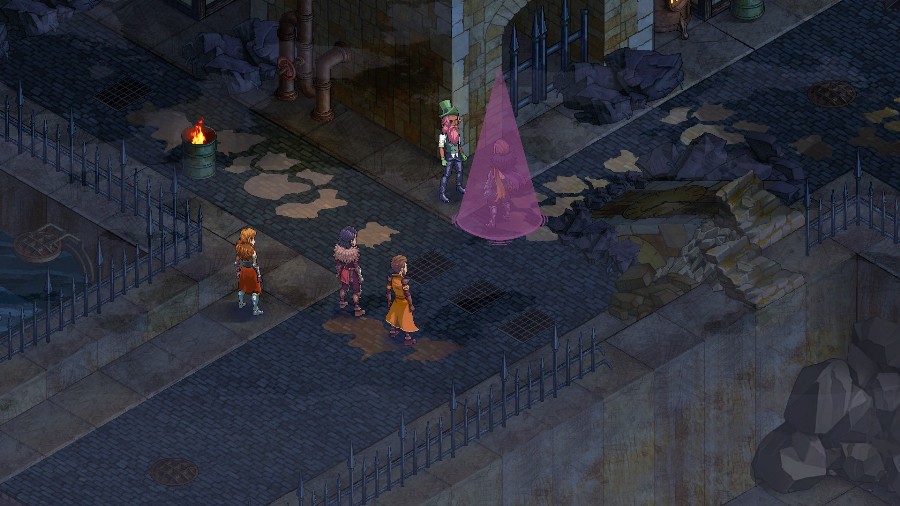
Raife then teleports out.
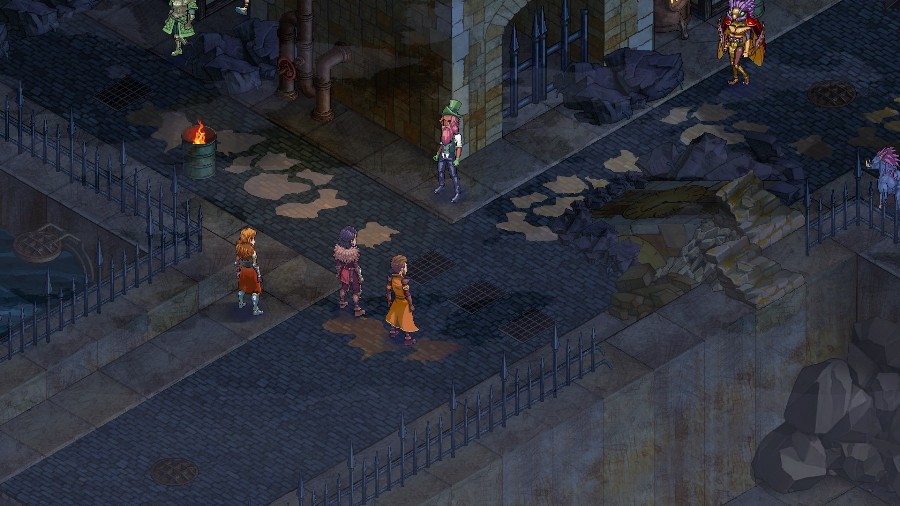
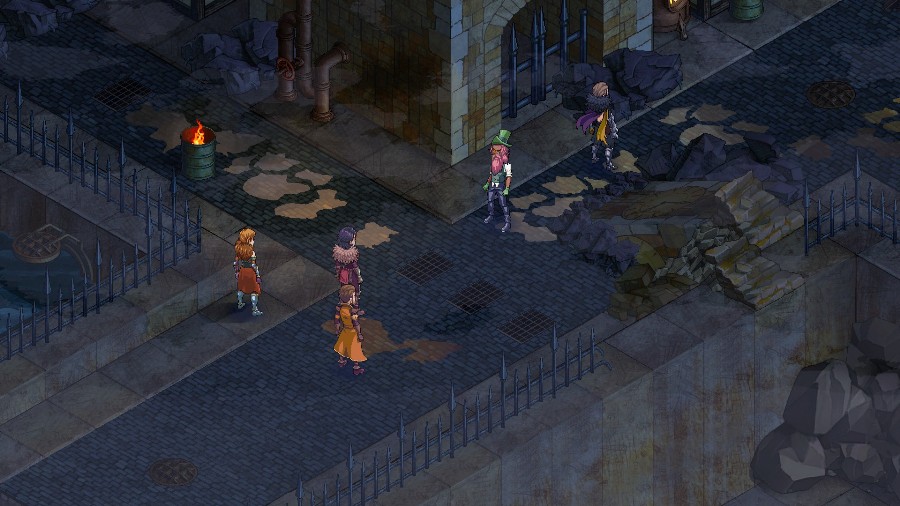
And then a bunch of people close in.
Is this what Sigil stands for? … We’ve chosen our path. It’s too late now to take another. Everyone, to me!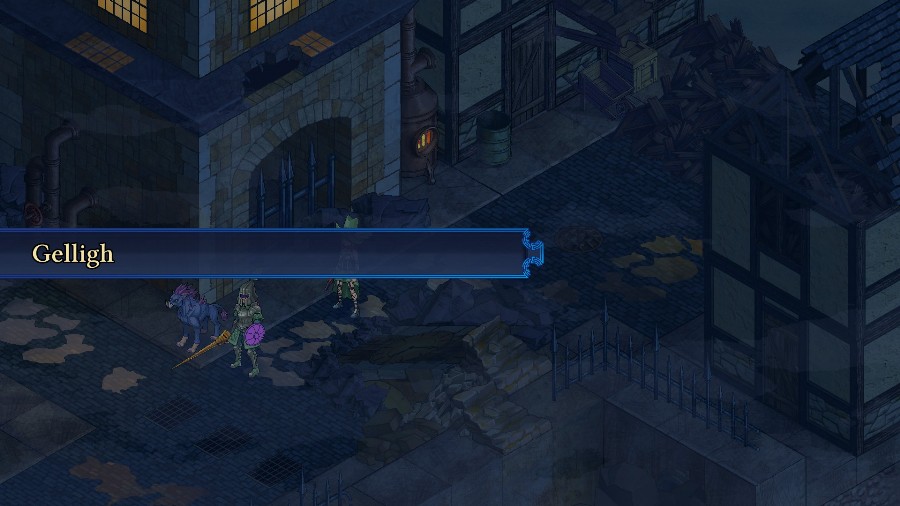
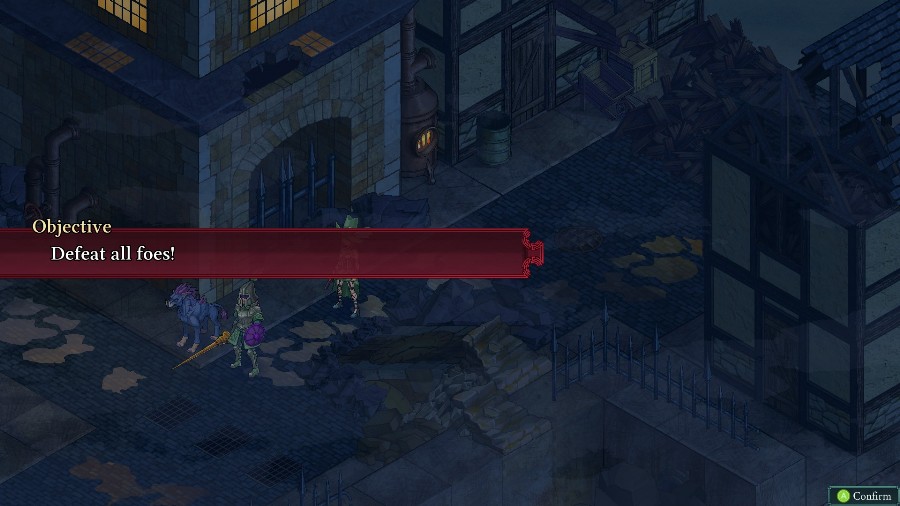
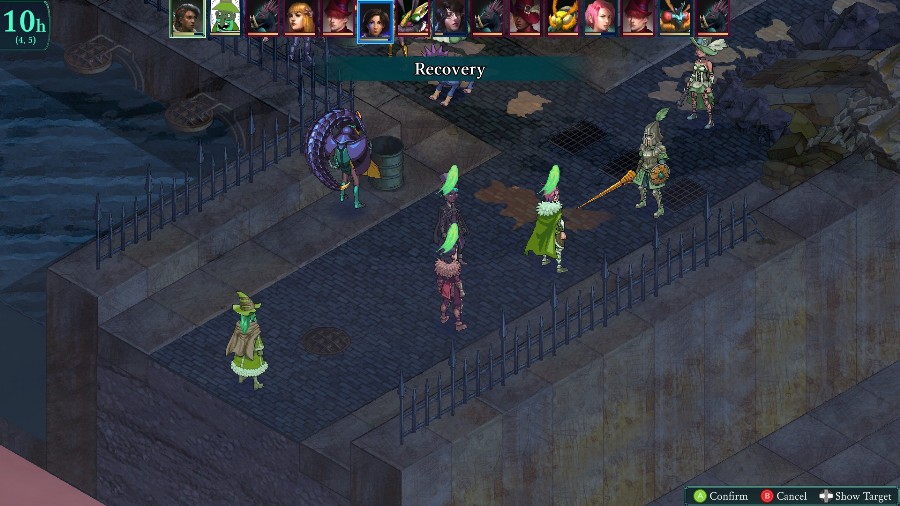
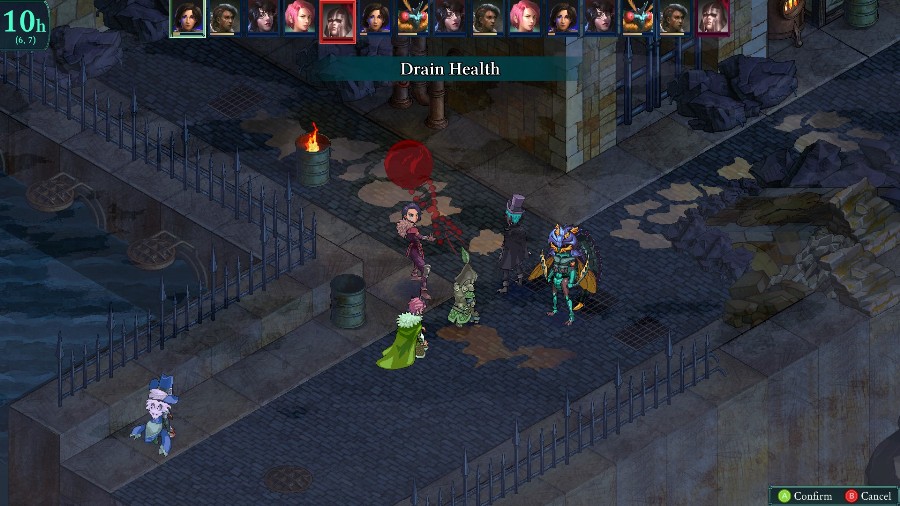
And with that it’s time to fight.
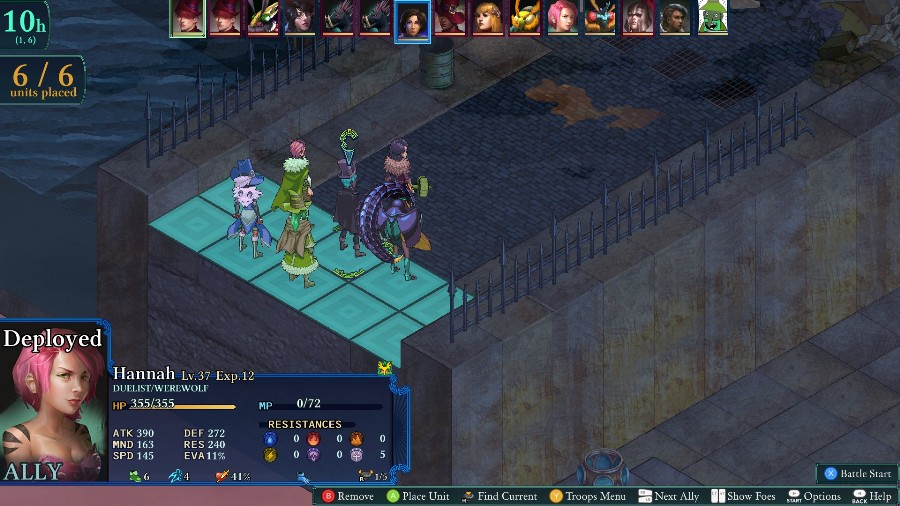
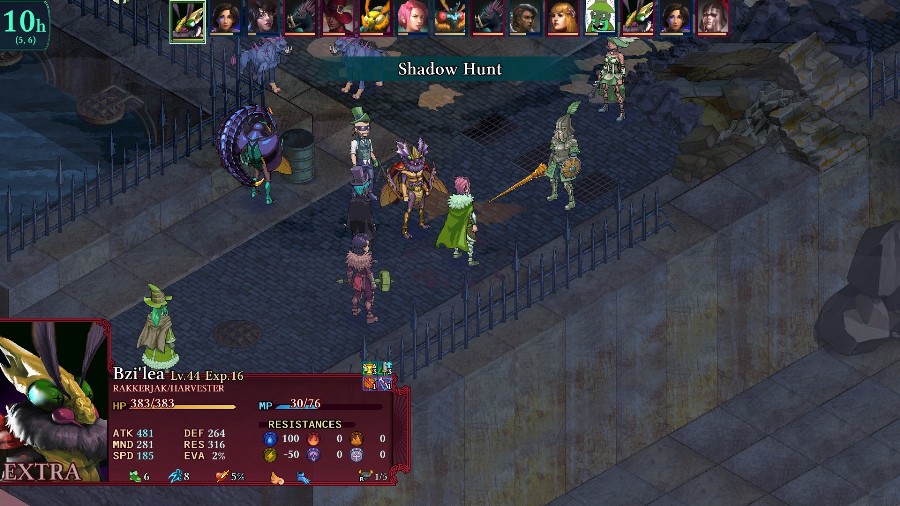
For this fight I’m bringing Hannah, Selina, Azure, Bobby, and Bzaro.
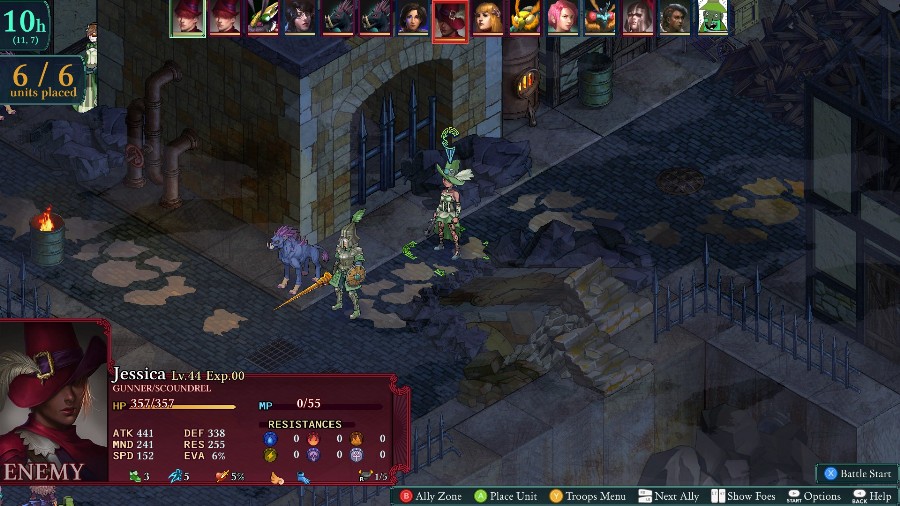
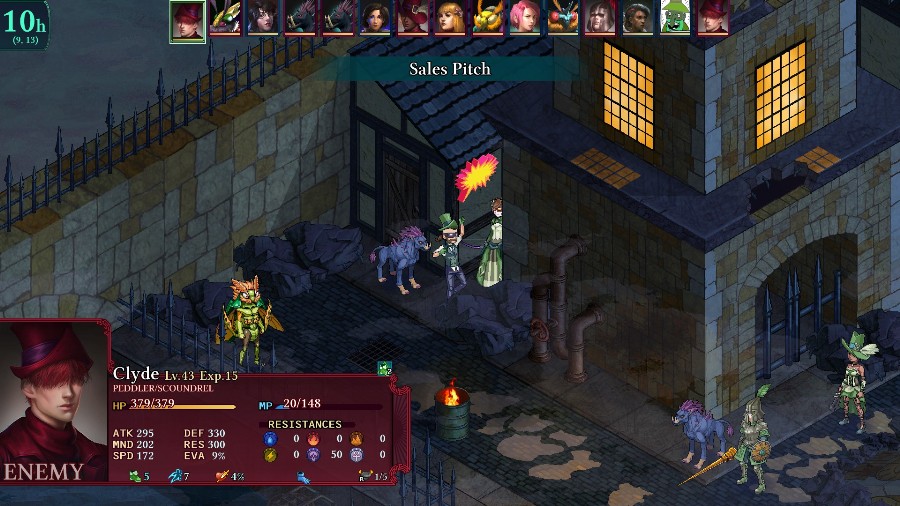
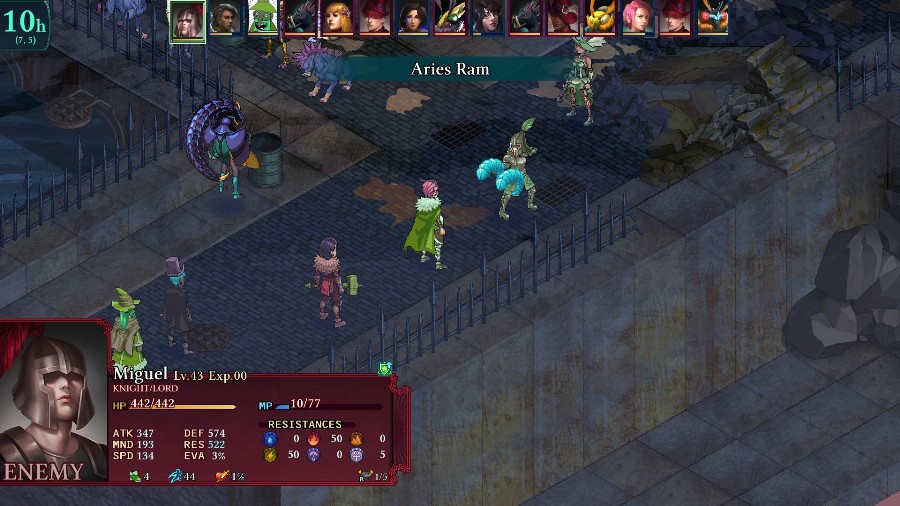
Up against us are a variety of enemies. We have a Gunner, a Gyaum, a Knight/Lord,
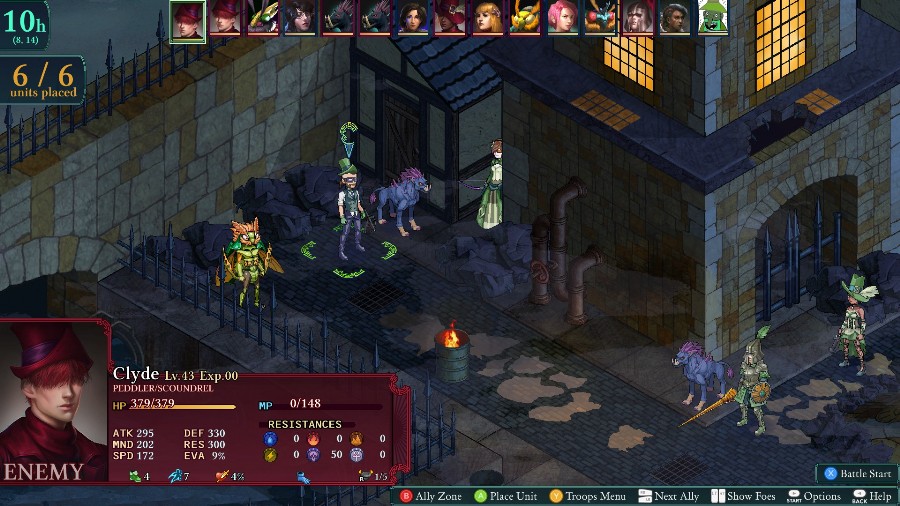
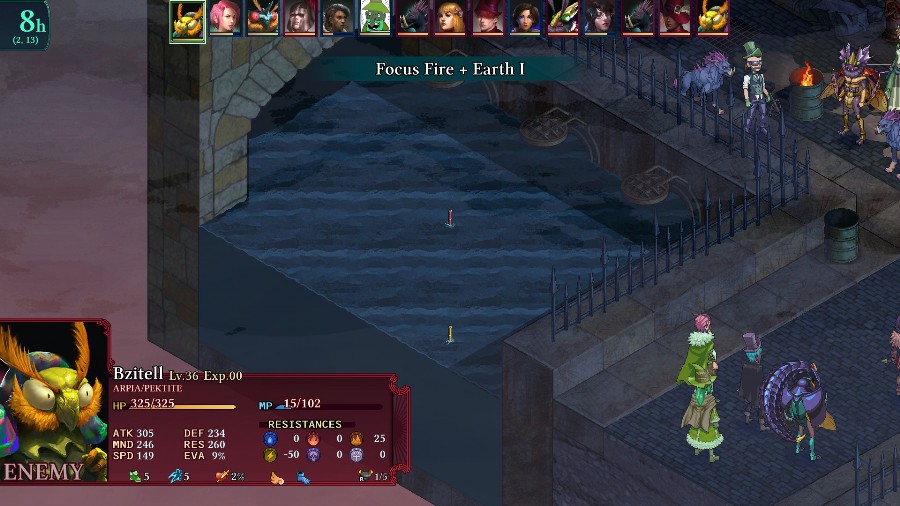
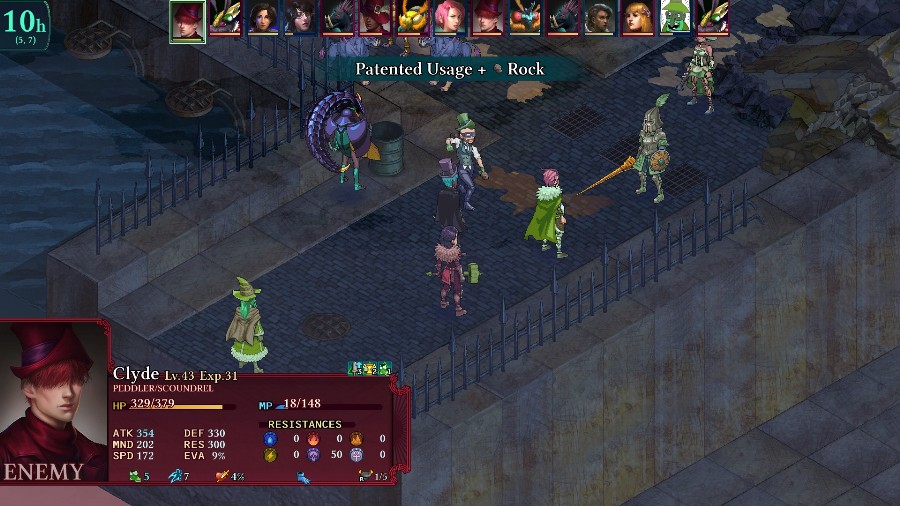
Clyde (who replaced Jack from the intro because I lost the first fight), another Gyaum, a Bzil
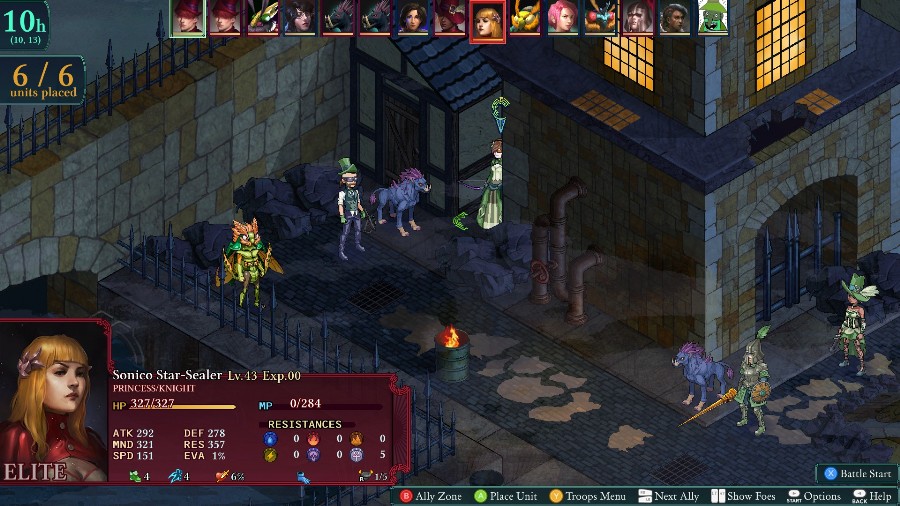
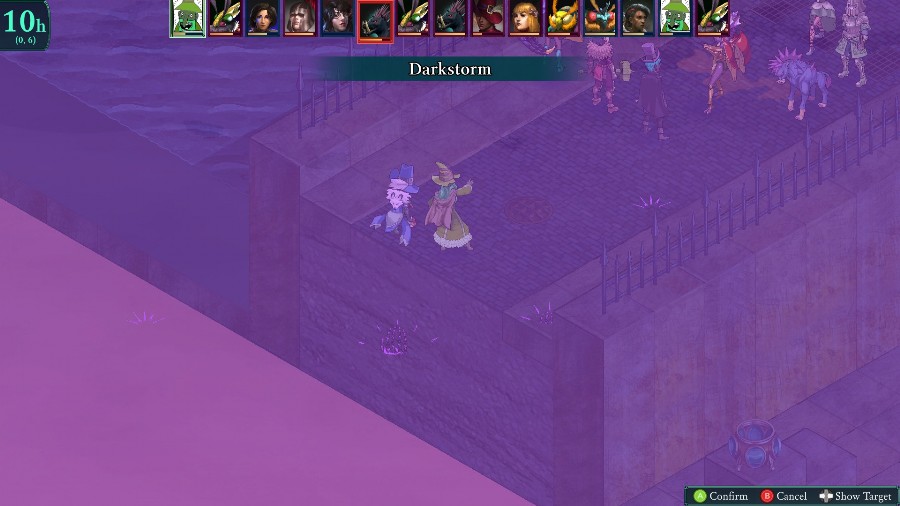
And most notably this Princess. The Princess is the female end-game badge class and is magically focused compared to the Lord’s physical focus. They can be incredibly dangerous, even with just the base class, and should pretty much be a priority target whenever possible.
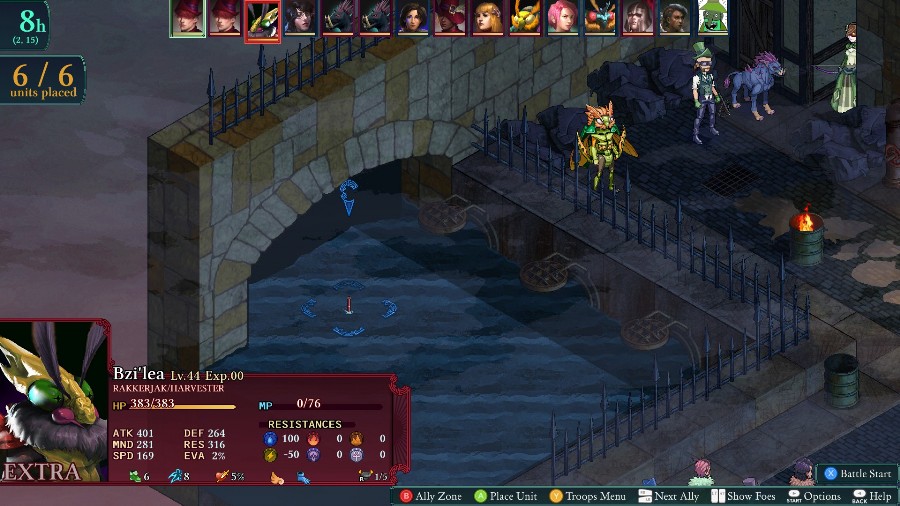
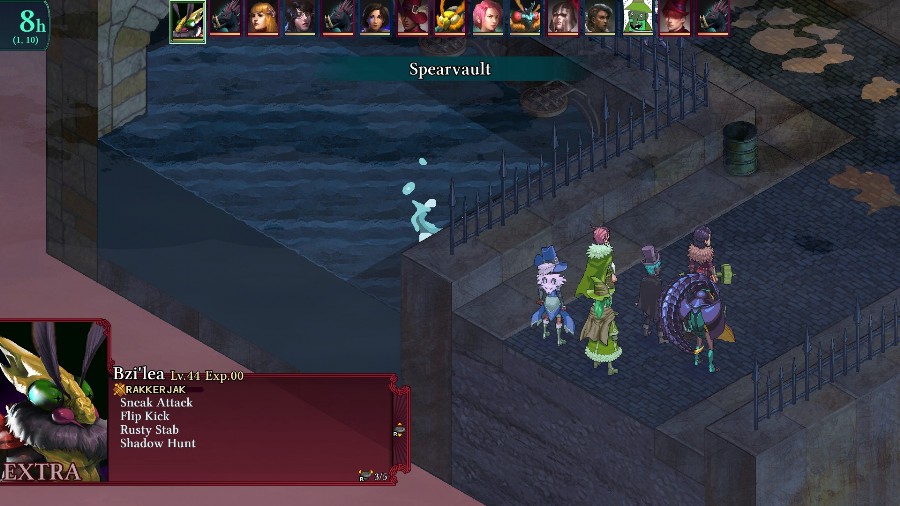
There’s also a Rakkerjak Bzil sneakily hidden underwater over here.
The Peddler starts the fight off by movement boosting and then hasting both the Princess and a Gyaum.
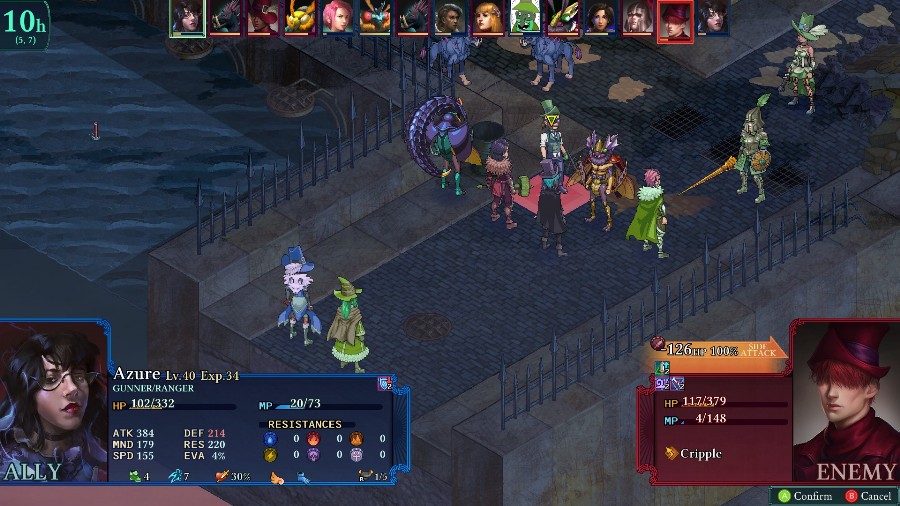
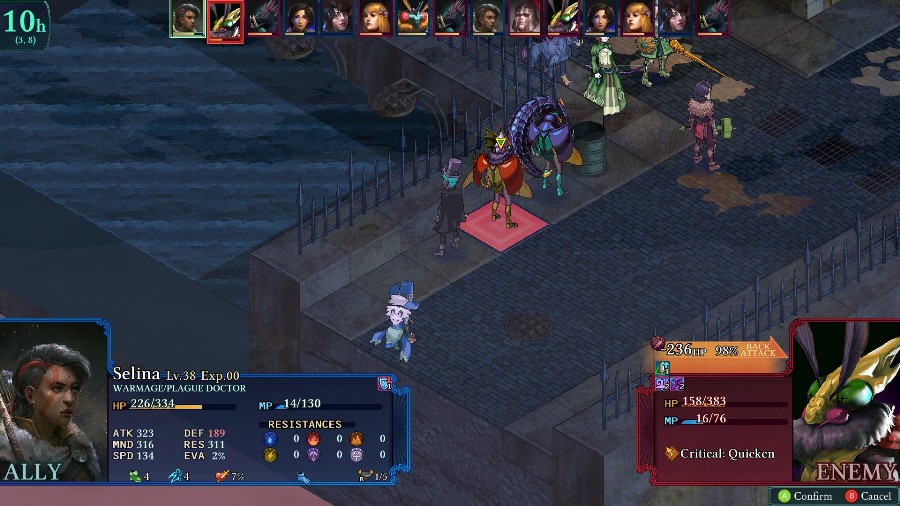
While the Rakkerjak Bzil runs over and hits Azure, then gets hit for a decent bit of damage off of the countershot.

I have Azure hop in the water to shoot his back and she falls just barely short of killing it, procing its Critical: Quicken reaction.

Though it just uses the turn to heal itself instead of doing any damage and then runs back to the main group.
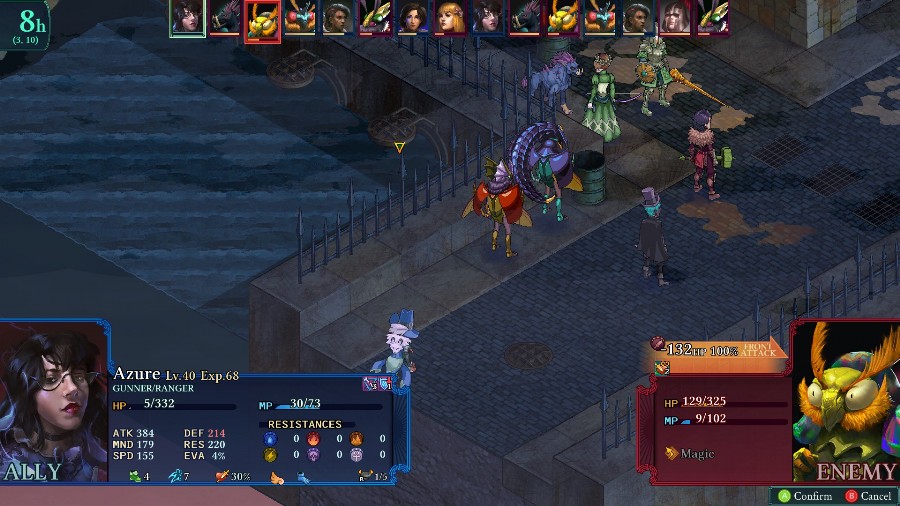
There’s a bit more skirmishing as the enemy heals themselves a bit and we take potshots back and forth with ranged units. One notable thing is that the non-Rakkerjak Bzil hops in the water and nearly kills Azure with magic.
But eventually we get into melee range as the Knight hits Hannah and Kyrie with a line attack.
Selina heals the damage back up
While Bobby starts blasting things.
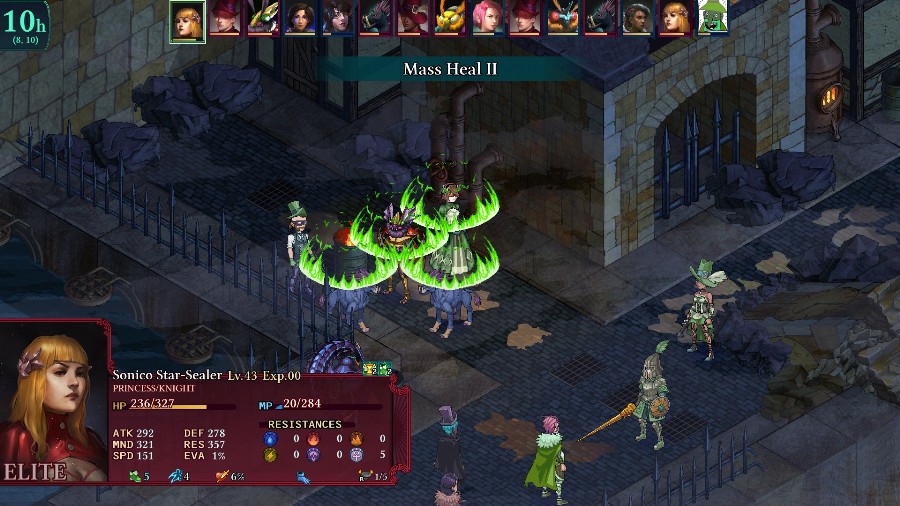
Annoyingly, the Princess heals most of the inflicted damage back up with no trouble.
And then the Peddler and Rakkerjak cooperate to take down Hannah and proc her reraise.
But I’m able to start fighting back and have Kyrie and Azure work together to kill the Peddler.

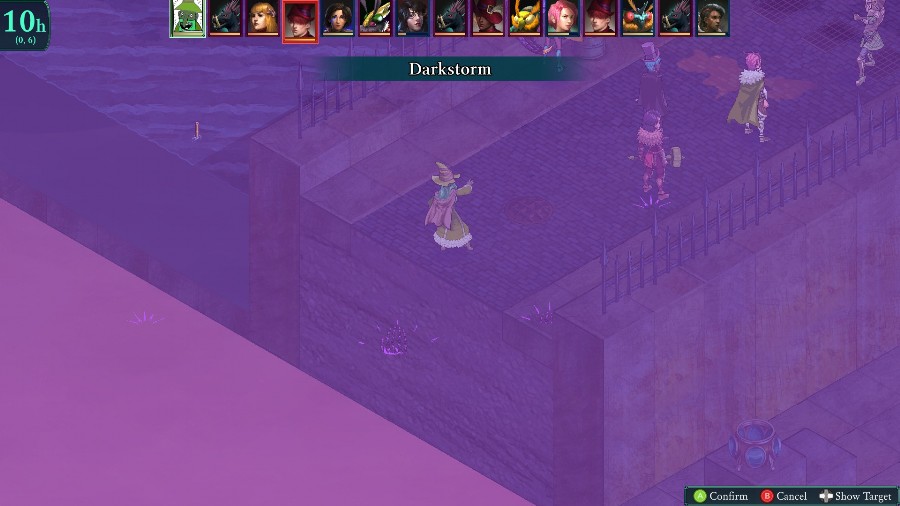
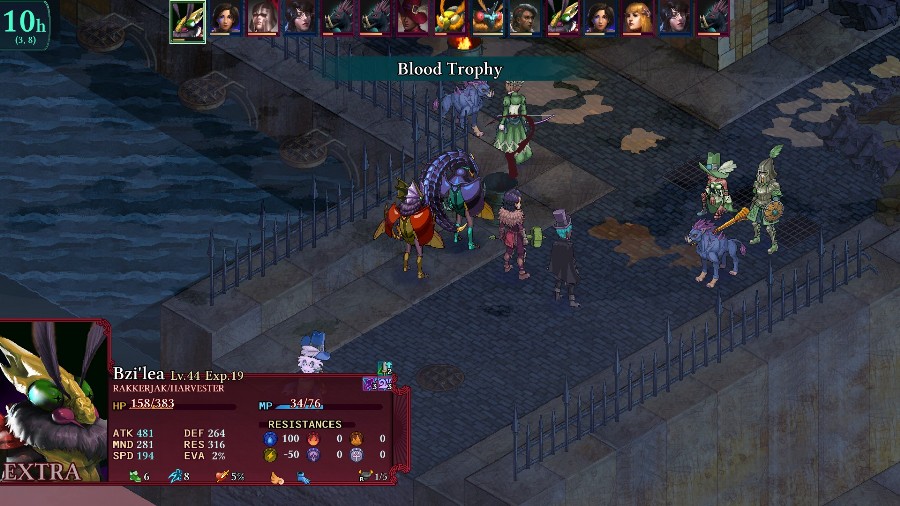
Hannah falls to an attack from the other Bzil, but on Bzaro’s turn he has enough MP to use Plaguestorm. It does an okay amount of damage, but inflicts a good number of debuffs on the enemy.
Chief among which was charming the Princess, who proceeds to do even more damage to the enemies.
But I’d rather have Bobby inflict more damage than keep her charmed for another round. Of course, I’m also a moron and forget that some people have the spikes buff, so he dies to the counterattacks.
The Rakkerjak tries to take out Bzaro for good but it thankfully misses.
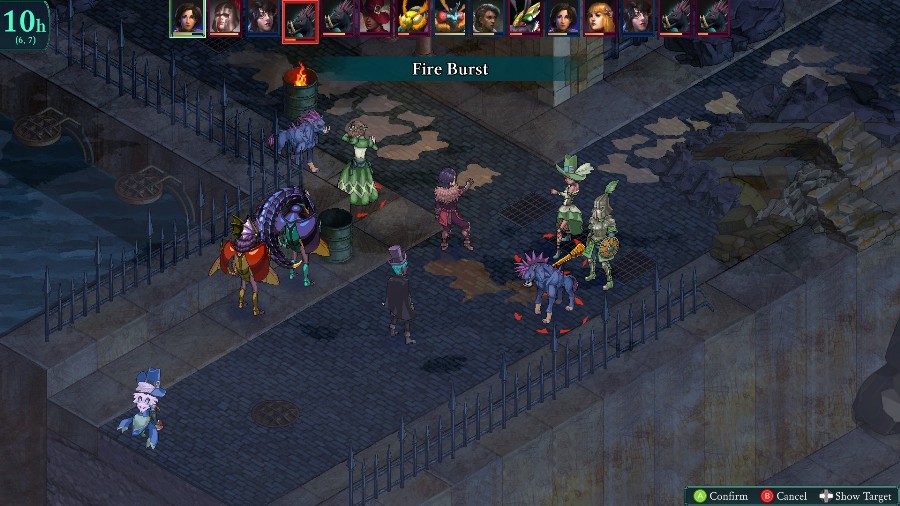
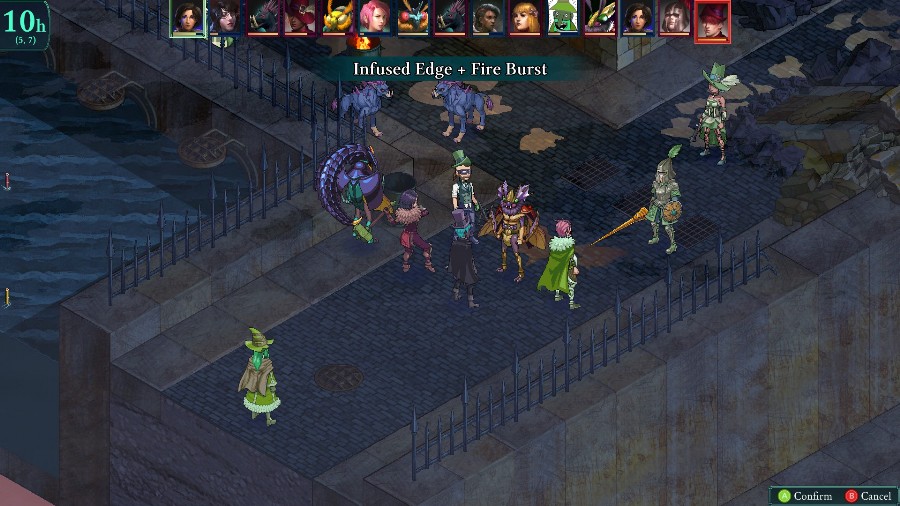
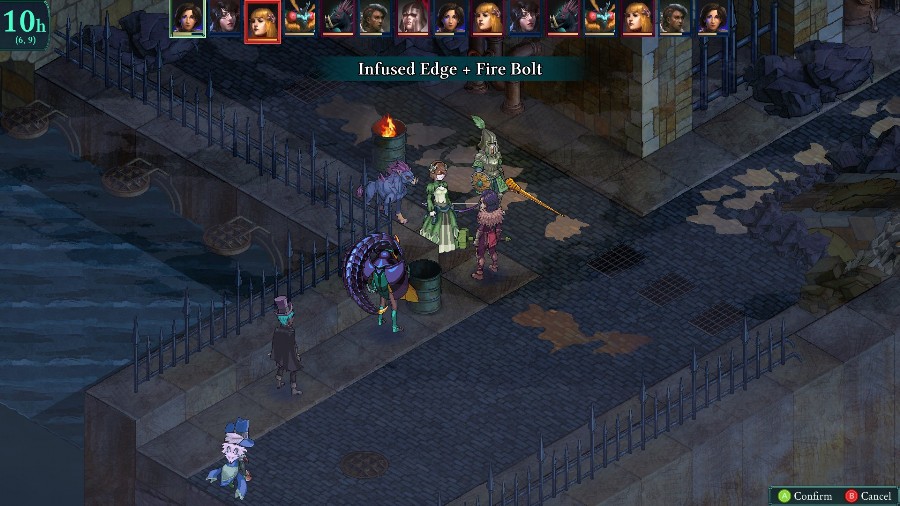
And then I have Kyrie run into the middle of things and use a Fire Burst to kill a Gyaum and the Gunner and almost kill the Princess.
The Knight heals the Gyaum and Princess, but does not heal the Arpia Bzil, so I have Azure finish it off.
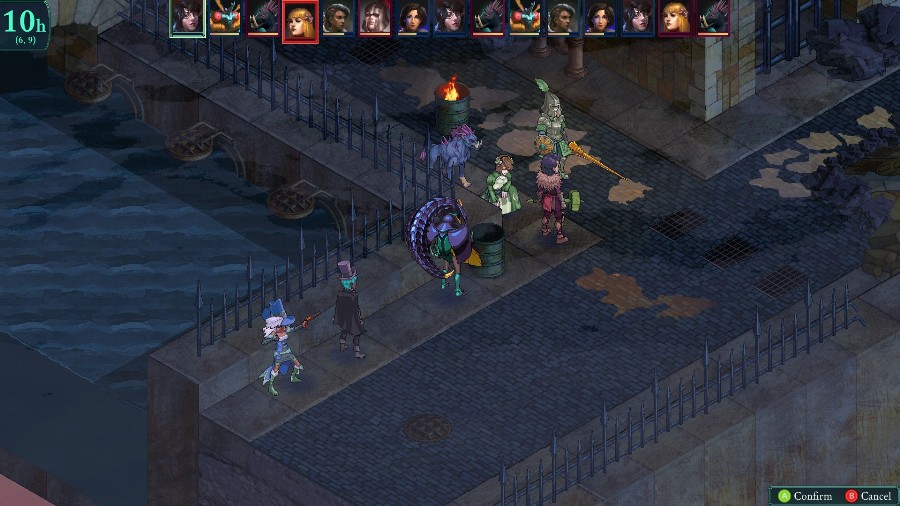
And Selina finishes off the other Bzil soon afterwards.
Kyrie and Azure work together to kill the Princess.
Kyrie kills the Gyaum after it buffs itself instead of doing damage.
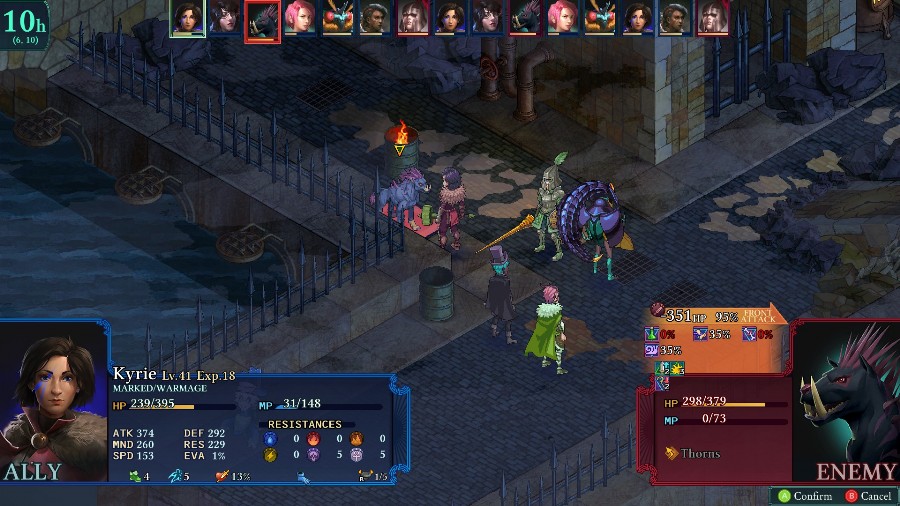
And then, after a lot of wearing down, Kyrie is finally able to kill the Knight.
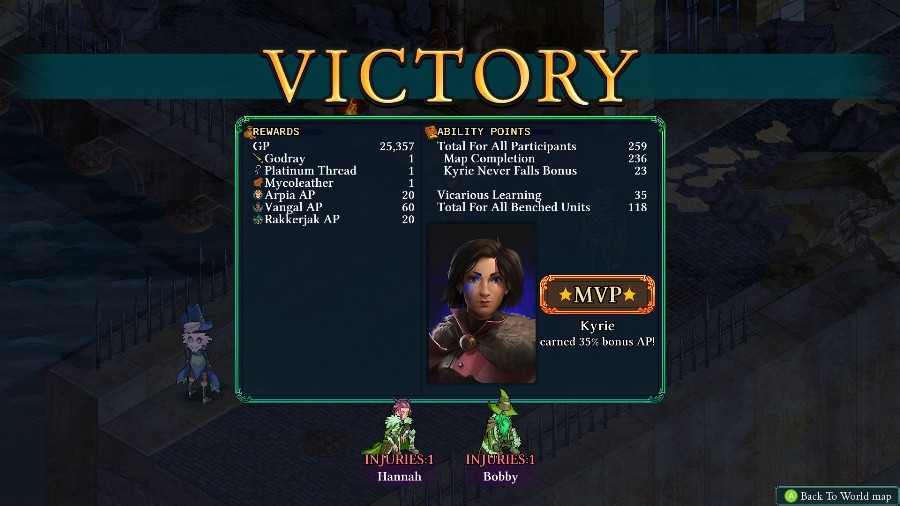
This fight went pretty well this time. While getting that charm wasn’t absolutely critical, the fact that the Princess didn’t hurt me or heal the enemies gave me a bit more breathing room than I would’ve had otherwise. Overall, just like the other fights on Gelligh, this one is really about weathering the initial storm and whittling a few enemies down quickly. Since you can’t avoid them or really outrange them, it really helps to take out an attacker or 2 ASAP. After that, the damage bursts become much more manageable.
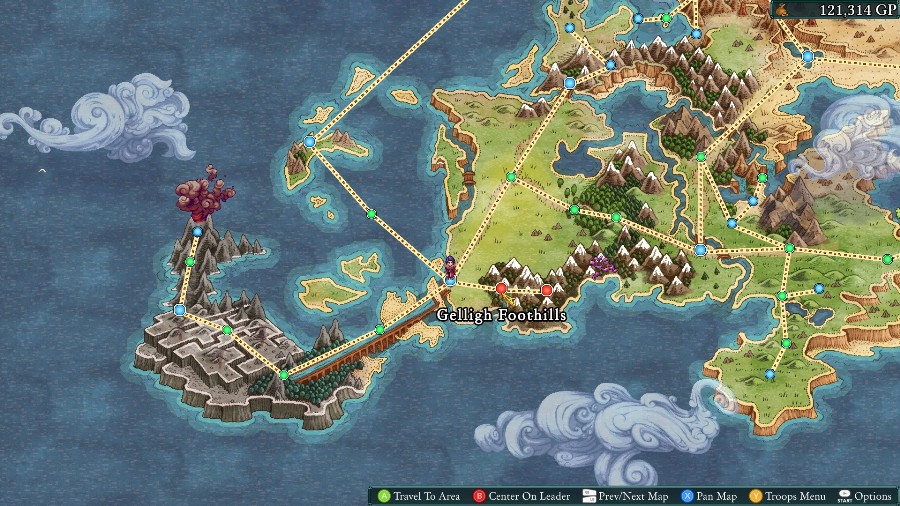
With that win, we’re popped back out on the world map and 2 new areas have appeared in the mountains to the east, as well as a weird purple mass a bit further on. But this is where we’ll be stopping. Next time, we’ll be checking out the Gelligh Foothills!