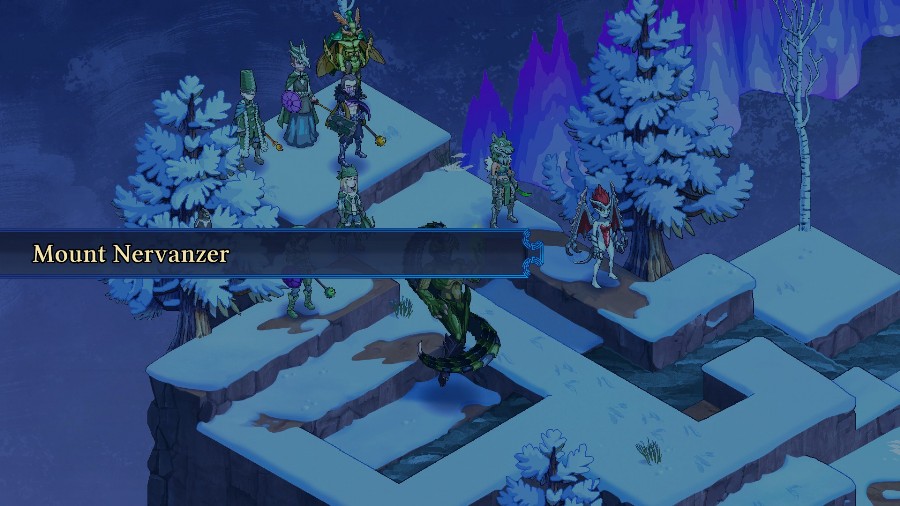
Part 53: Mount Nervanzer
Update 53: Mount Nervanzer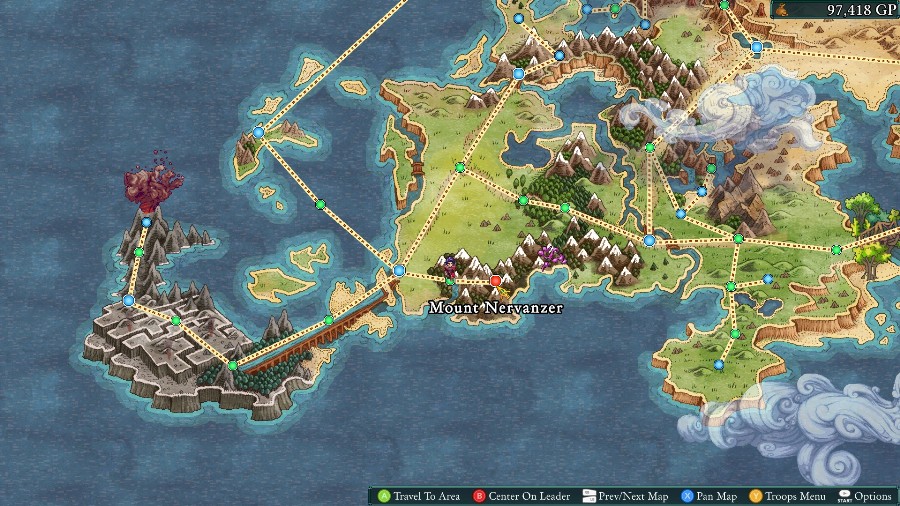
Welcome back! Last time we fought a bunch of unimportant goons. This time we’ll be fighting some important goons instead.
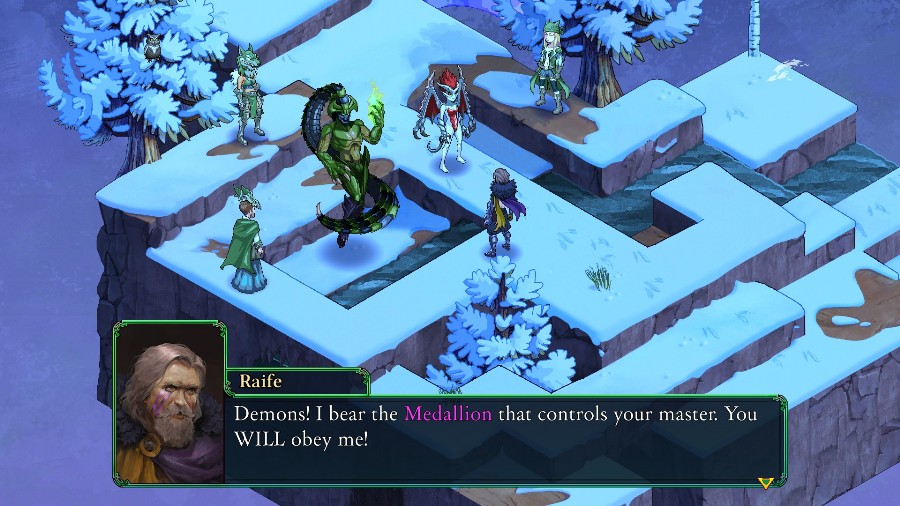
The scene opens on Raife attempting to control some demons.
When he raises it, both of them recoil as if struck before going down to their knees.
 Good.
Good.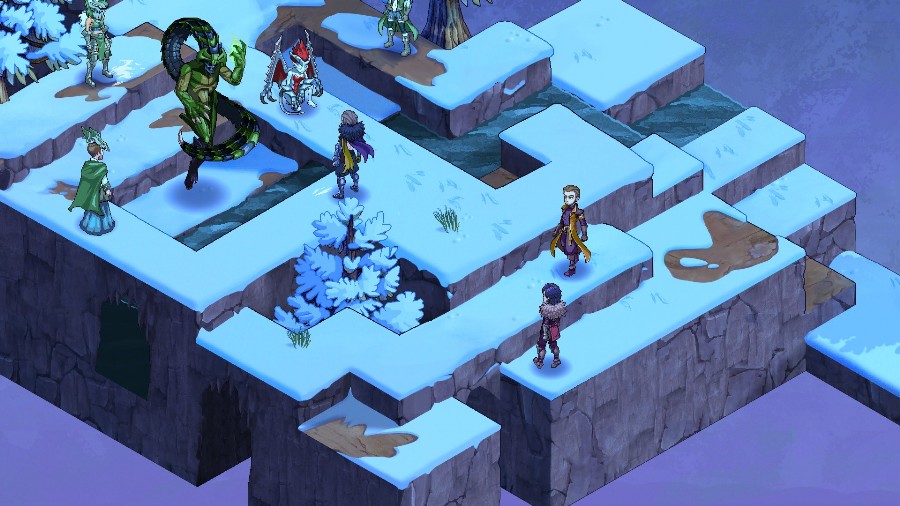
At which point Reiner and Kyire appear on the scene.
 I don’t know that he could control The Maw itself, but he’s certainly getting better at it.
 If there’s even a chance he can master The Maw, we must intervene and stop him now. Who knows what havoc he could wreak with that monster at his beck and call!
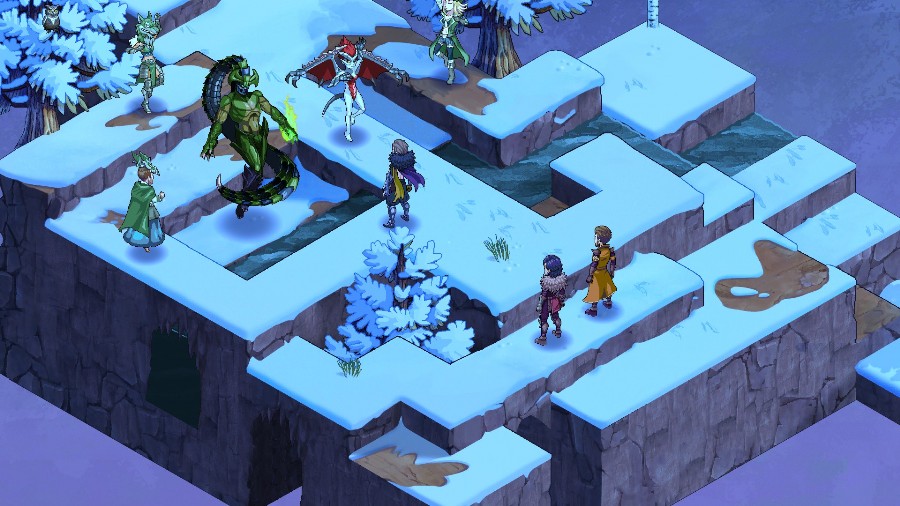
Raife, finally noticing the two, turns around.
You again. Out of respect for Sylvia’s memory, I gave you every opportunity to join me, or at least desist in your attempts to hinder my plan. But you simply will not stop. I can’t let you do as you please using The Maw as your personal weapon. And you have much to answer for. Then let’s end this now. I cannot afford the distraction of you nipping at my heels when I finally gain control over The Maw.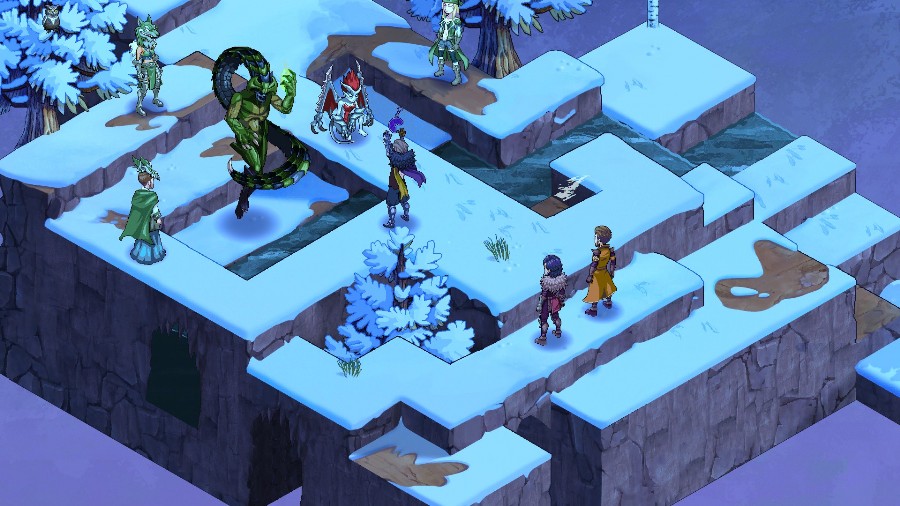
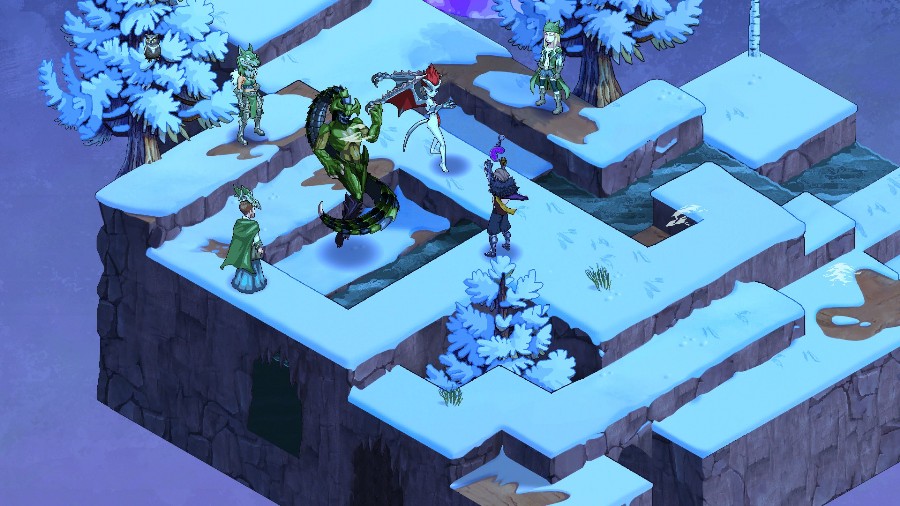
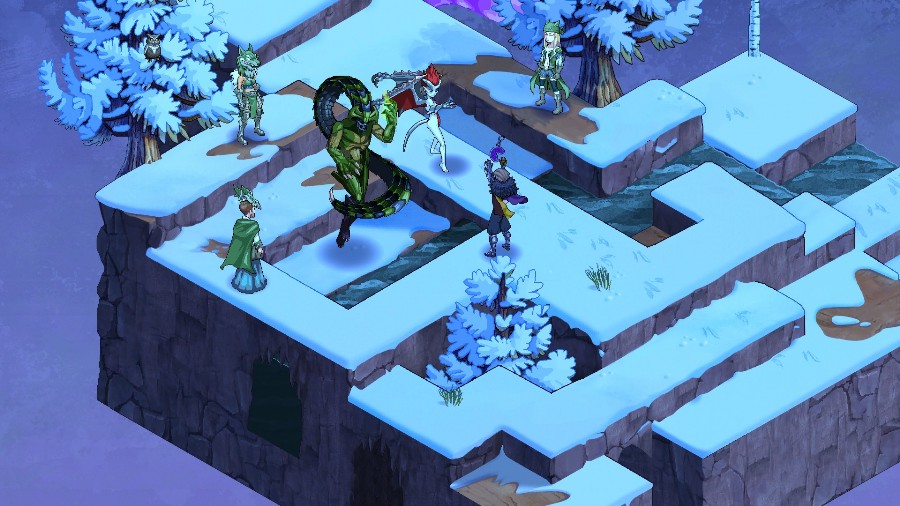
Raife turns back and raises the medallion.
And the demons spring back up.
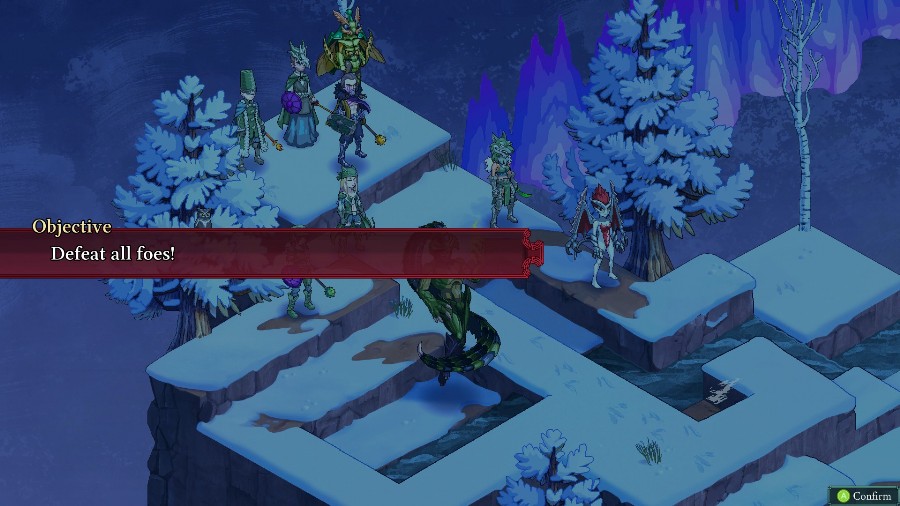
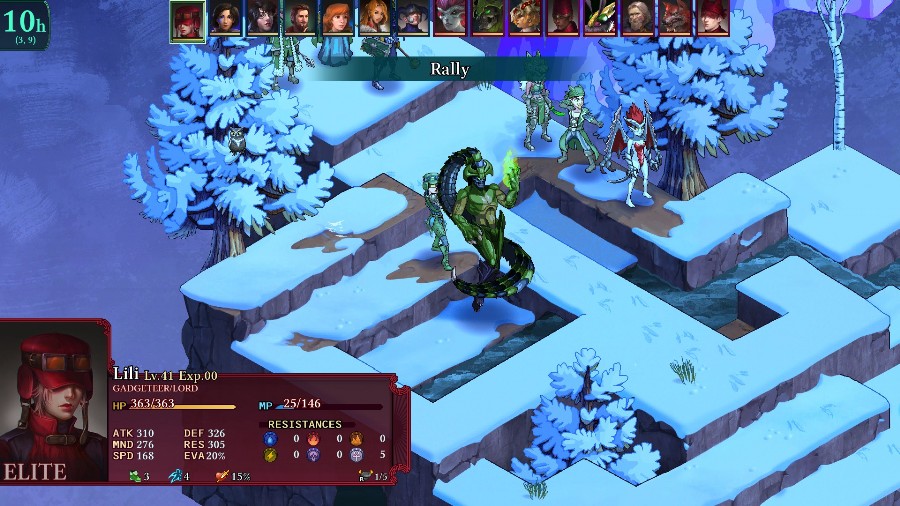
And then it’s time to fight!
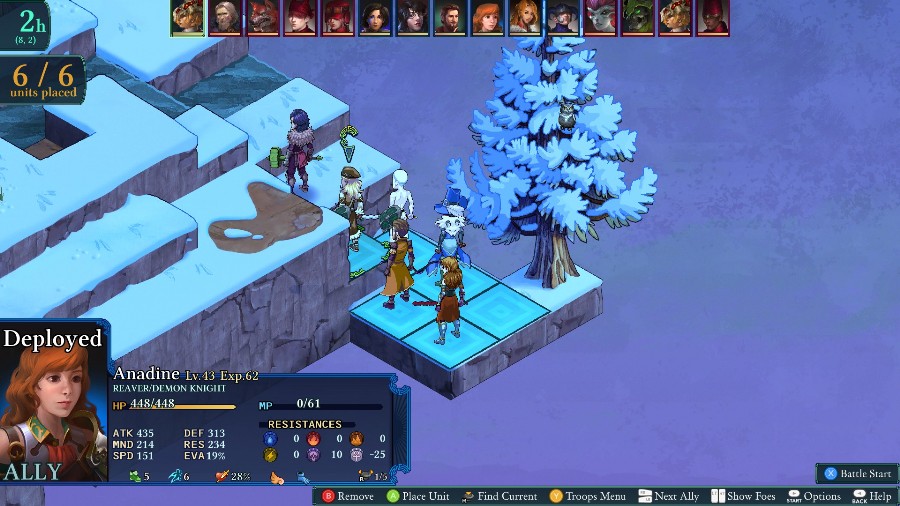
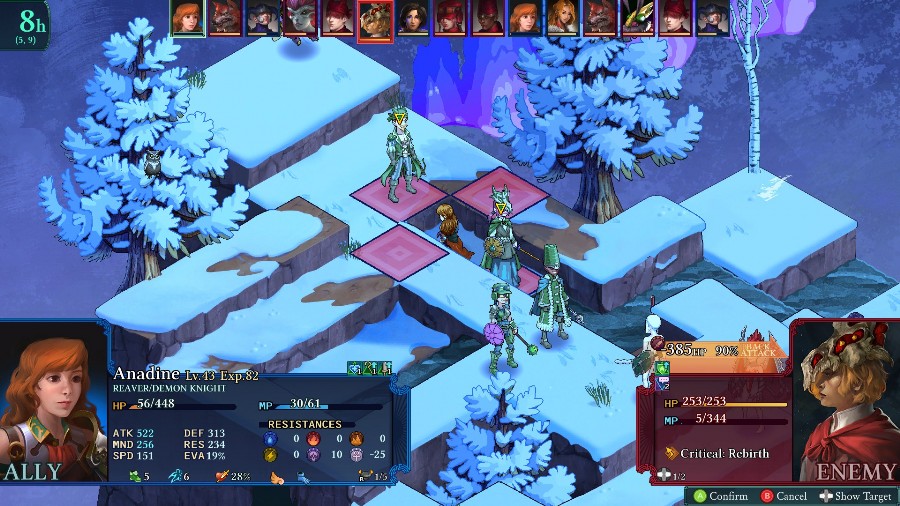
This time I’m bringing Anadine, Mongo, Azure, Reiner and Sophia.
And we’re up against a wide variety of enemies with lots of powerful subclasses.
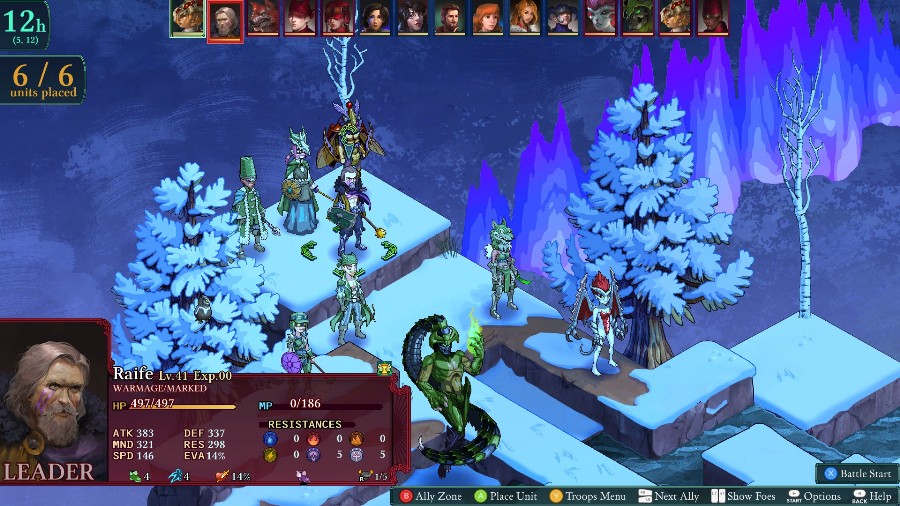
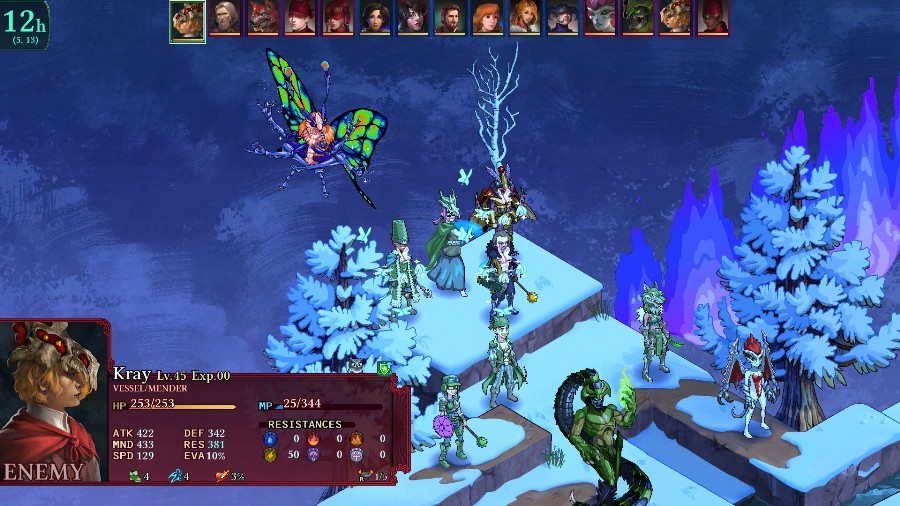
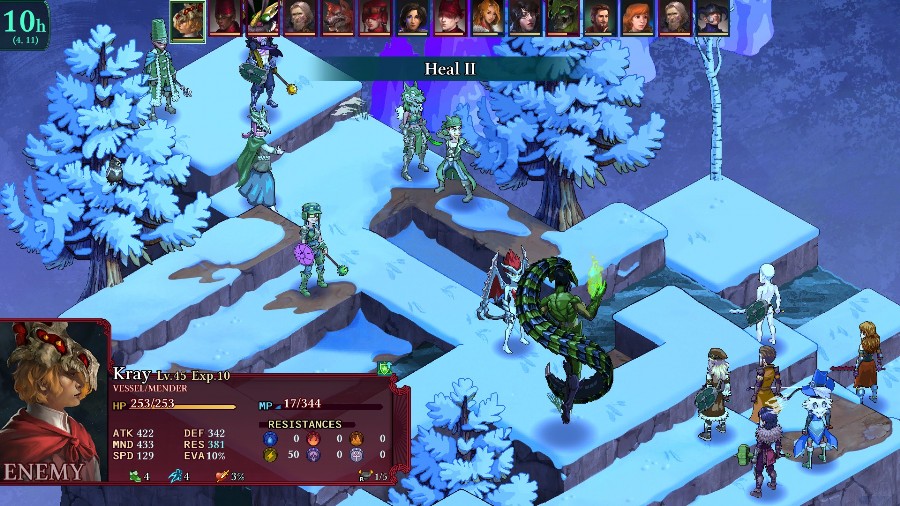
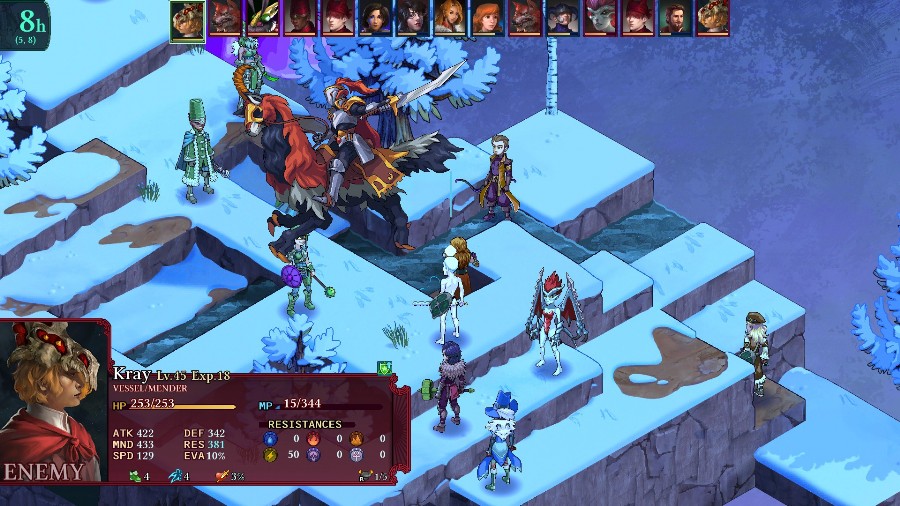
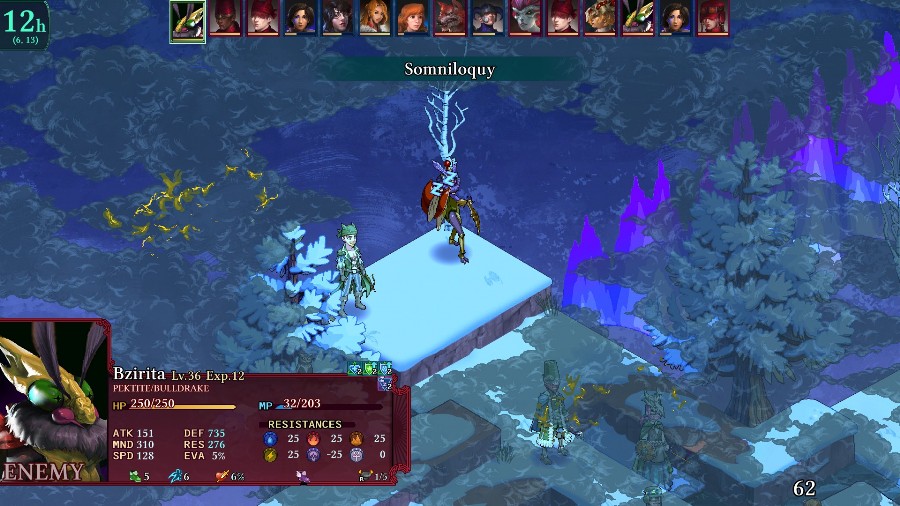
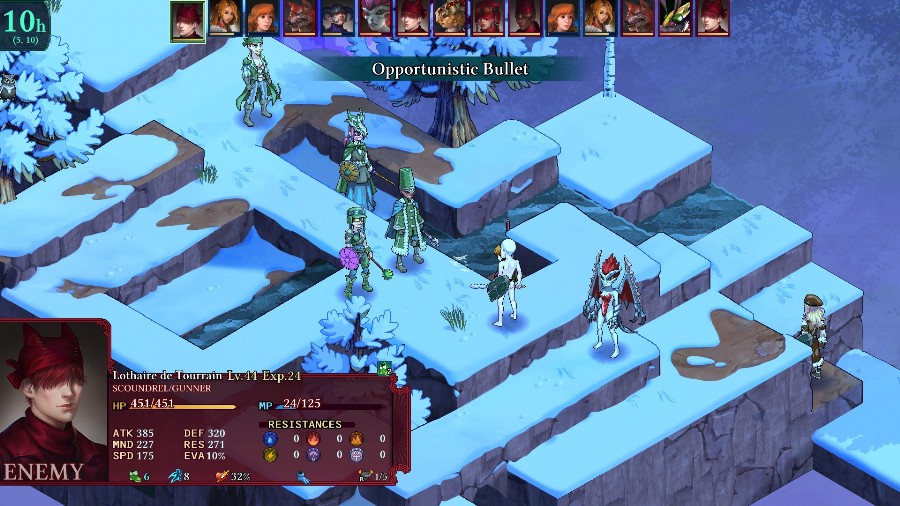
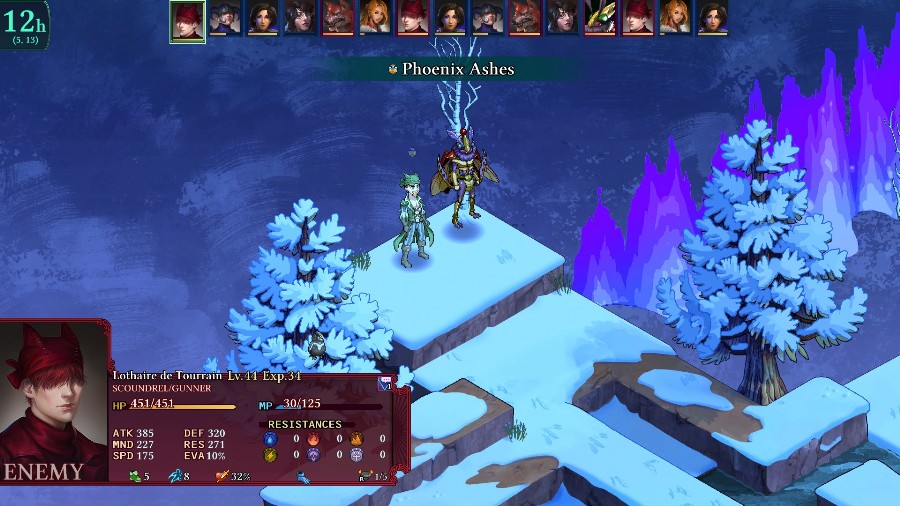
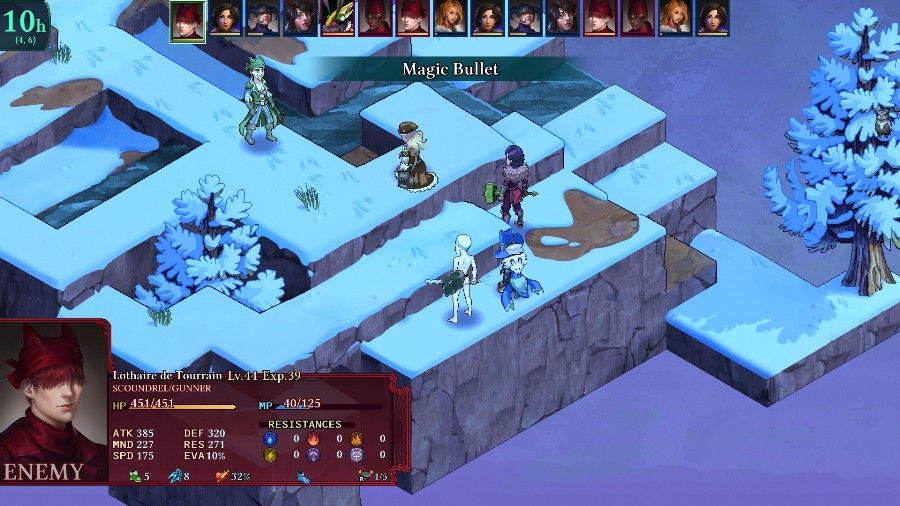
Raife is much the same as he previously was, just a bit leveled up. The Bzil is a Pekite/Bulldrake to take advantage of the Pekite’s high magic for the Bulldrake map-wide attacks. The Vessel is also a Mender, The Sorcerer starts with 15 MP and is also an Alchemystic, the Gadgeteer is also a Lord, and the Werewolf is also a Fellblade. The Scoundrel has a Gunner secondary, but that’s less impactful. And then of course there are the demons, a Pestilord and a Domincubus.
This can be a pretty tough fight, depending on how it starts. Since it’s such a small map there’s no real way to isolate targets or take them out without being in danger and its pretty easy to get overwhelmed.
The fight starts off with a bunch of buffing on the enemy team. That Psyhie cast means that we’ll also be eating attacks from the Sorcerer on their first turn.
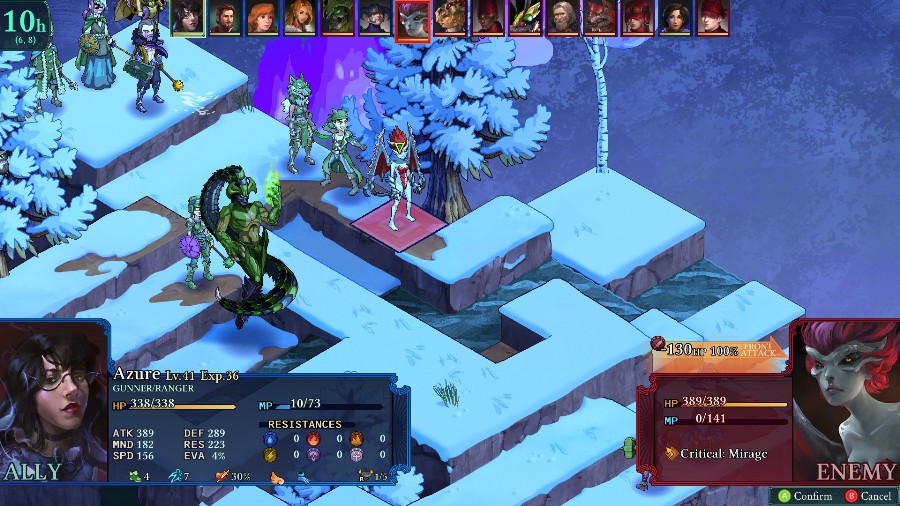
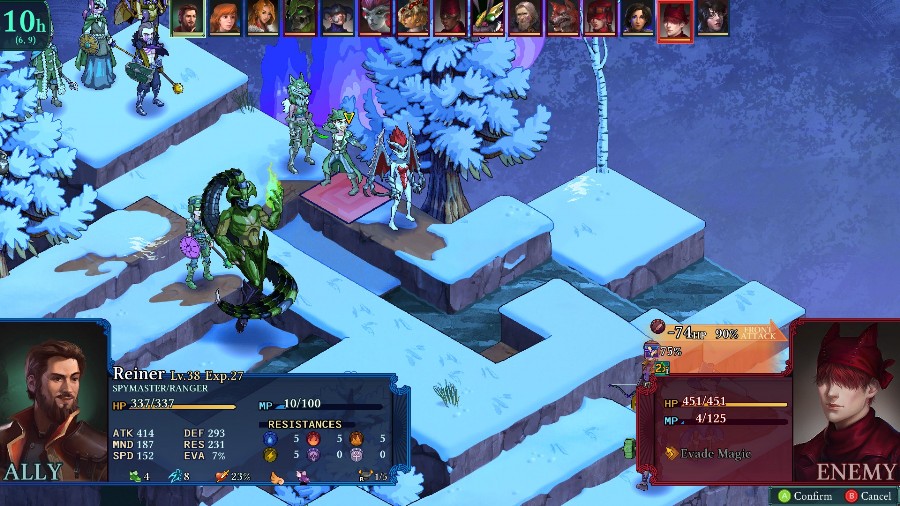
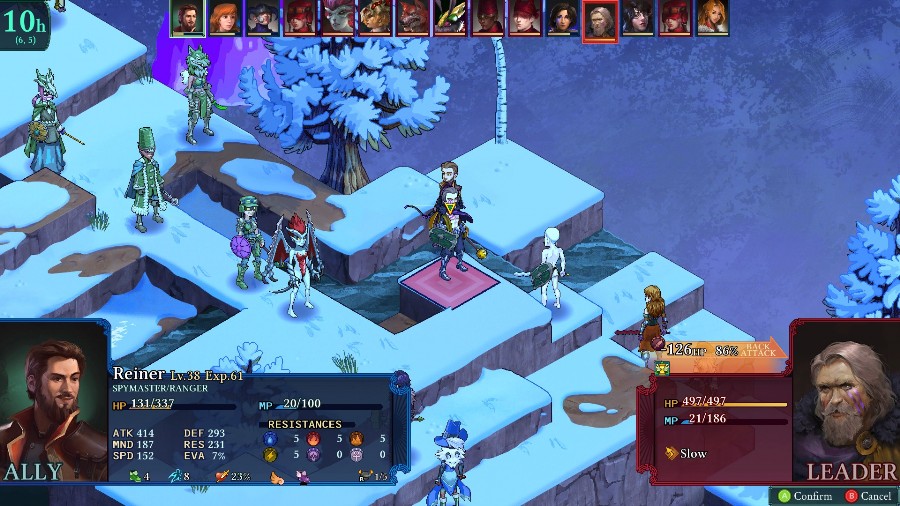
On my end, I have Azure take a chunk out of the Domincubus and have Reiner attempt and succeed to root the Scoundrel. As long as I stay out of range, that means that his focus will have been a wasted move.
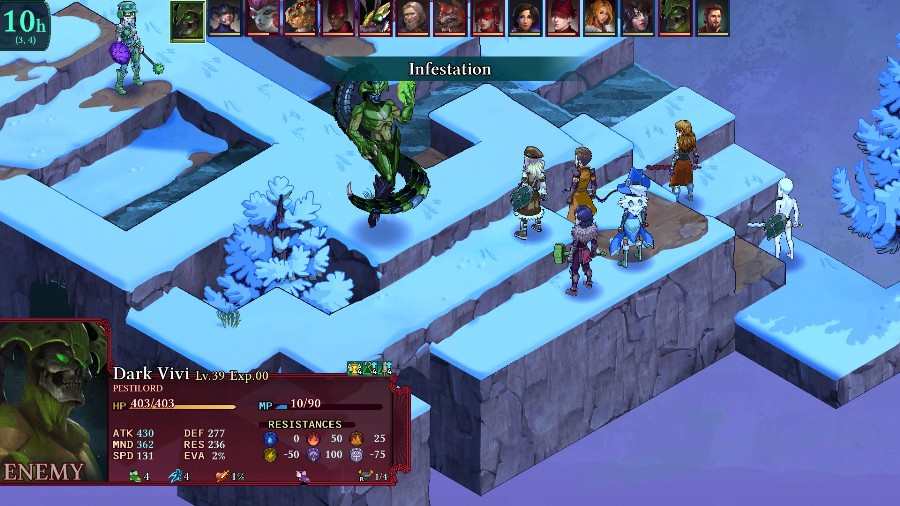
The Pestilord moves up and does a trivial amount of magic damage with infestation, then gets hit decently hard by countershots from Reiner and Azure.
The Domincubus also moves up and gets healed by the Vessel.
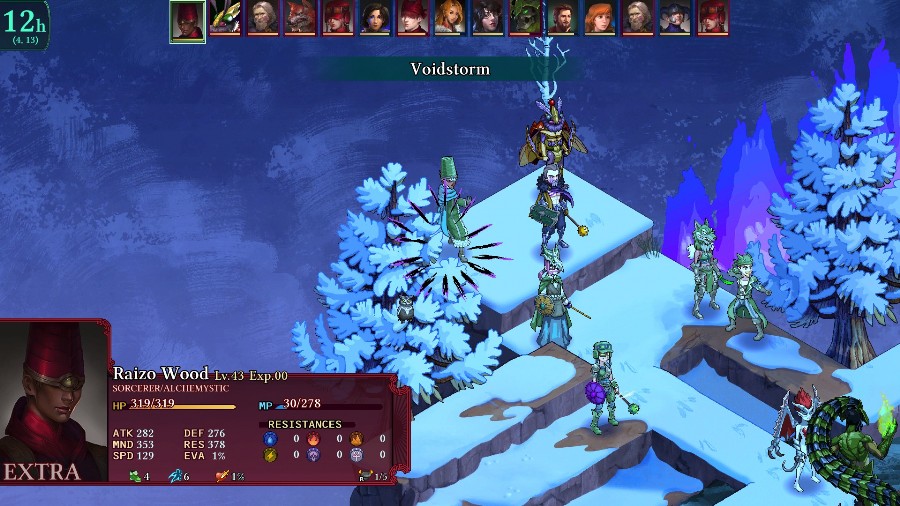
The Sorcerer hits everyone with a Voidstorm, though he eats a few counterattacks. The Bzil also puts themselves to sleep to start hitting with the Bulldrake attacks next round.

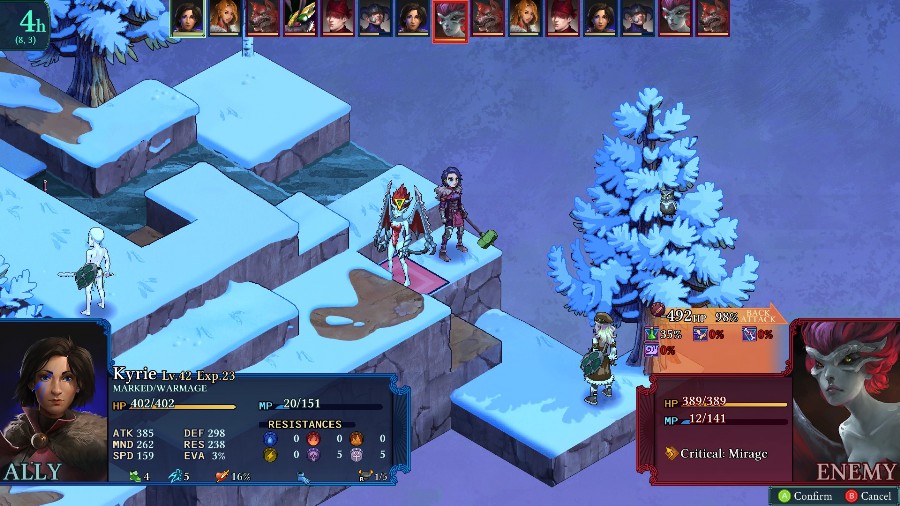
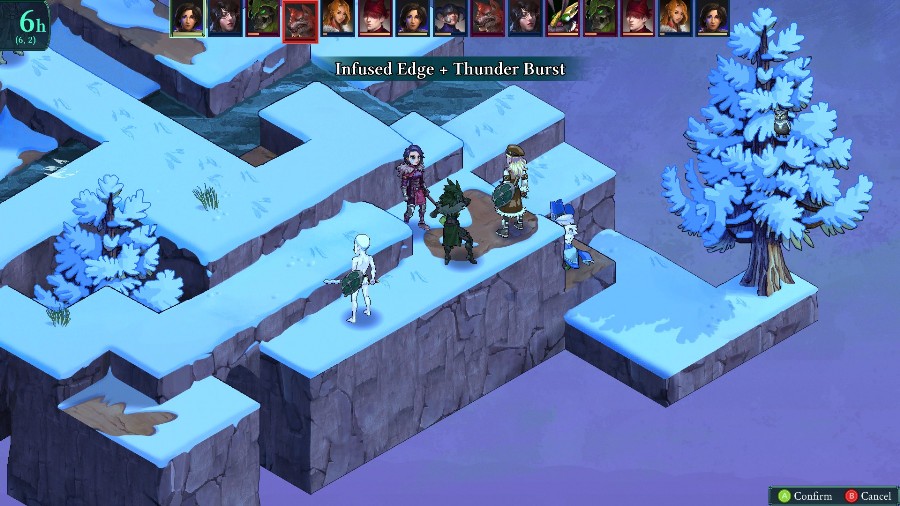
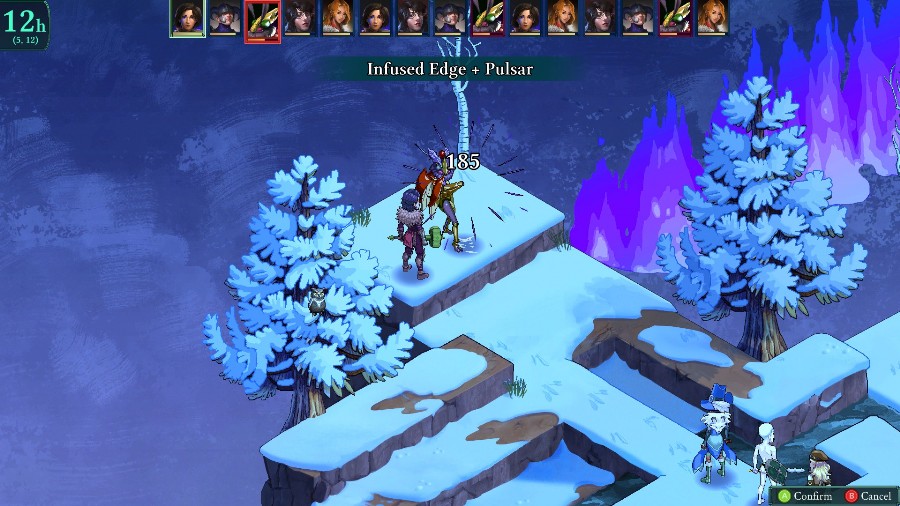
Eventually, Kyrie’s able to go and nearly kills the Pestilord, but whiffs the magic part of the Infused Edge so he lives. Sometimes it really feels like that 2% chance is actually like 40%.
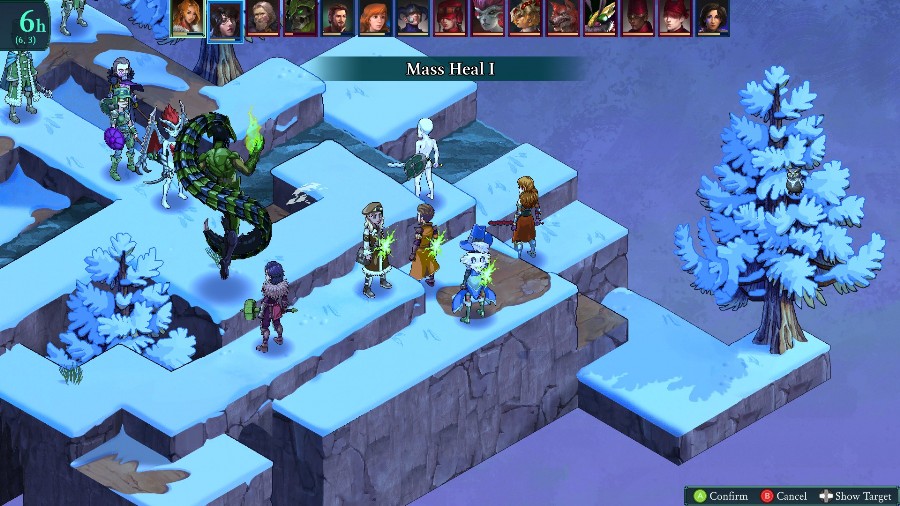

But I have Sophia heal everybody back up and then have Azure kill the Pestilord with a 100% shot.
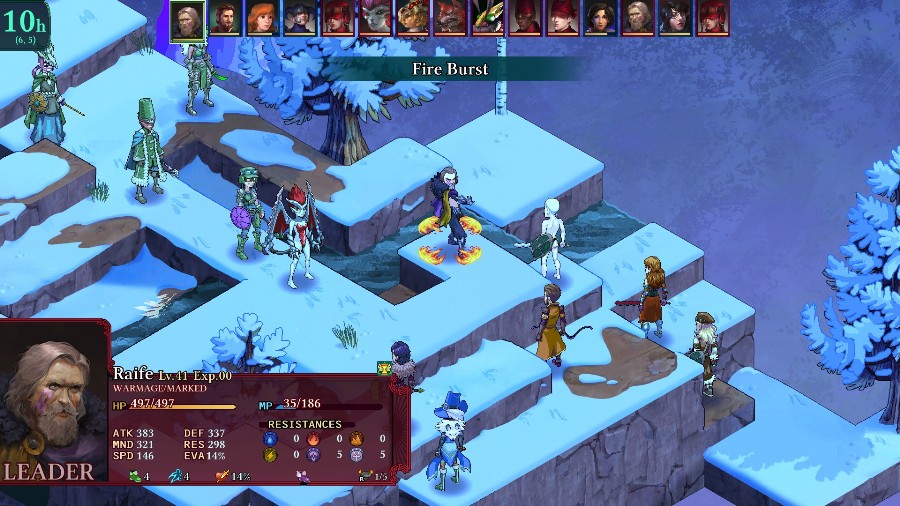
Raife then moves in and uses a Fire Burst to take out ~70% of Reiner’s health and a decent chunk of Mongo’s as well.
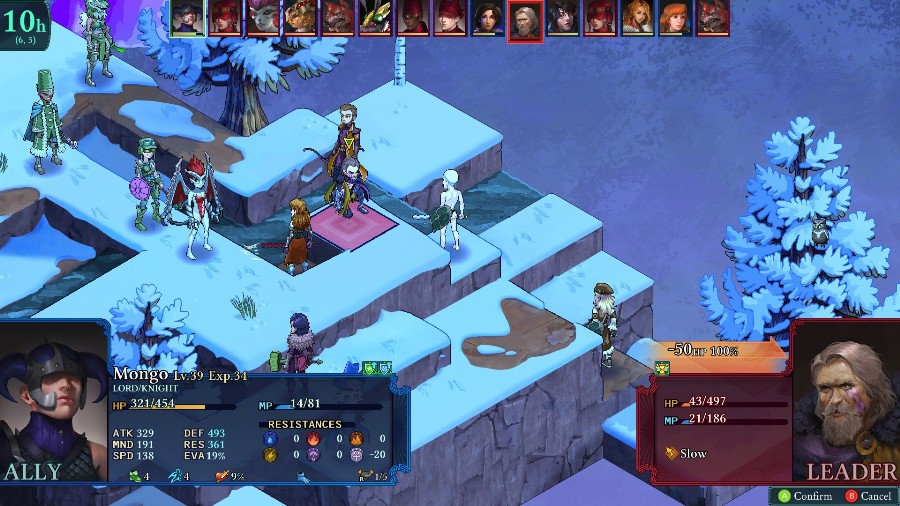
But Reiner, Mongo, and Anadine work together to take him out before he gets another turn.
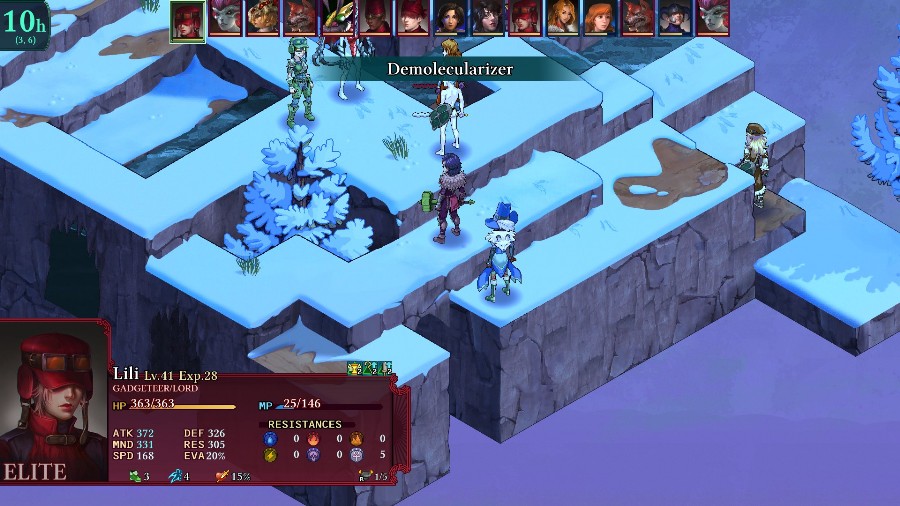
Now that it’s the enemy phase again, the Gadgeteer does a ton of damage to Kyrie and Azure.
The Vessel does a bunch of damage to Anadine.
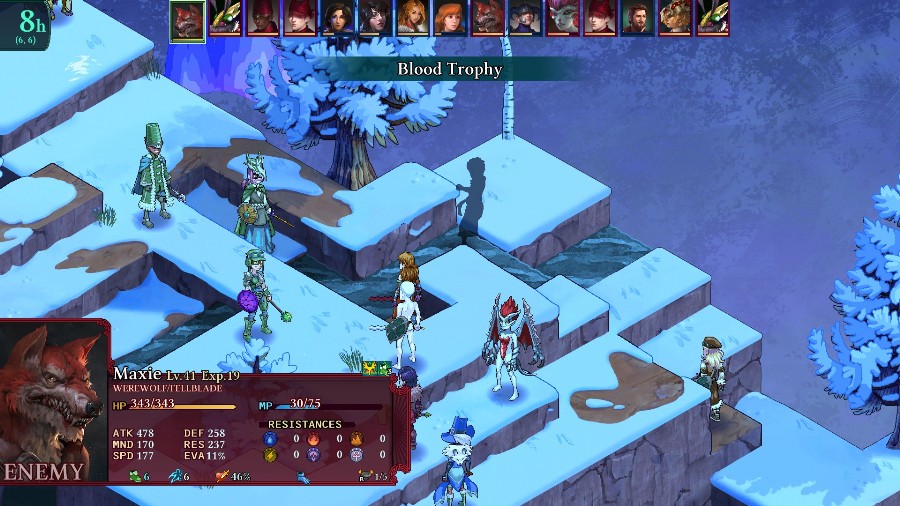
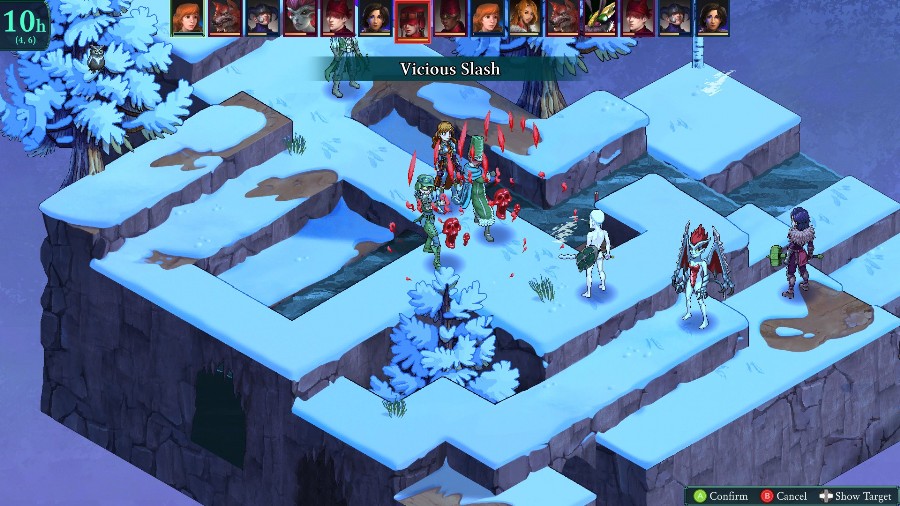
And the Werewolf (who’s hiding underwater) takes Reiner out of the fight with a Blood Trophy.
The Bzil hits everyone with even more damage. That leaves Kyrie and Azure low enough for a cast of Soul Tendrils from the Sorcerer to kill them both.
And I get incredibly lucky that Anadine dodges this attack from the Scoundrel.
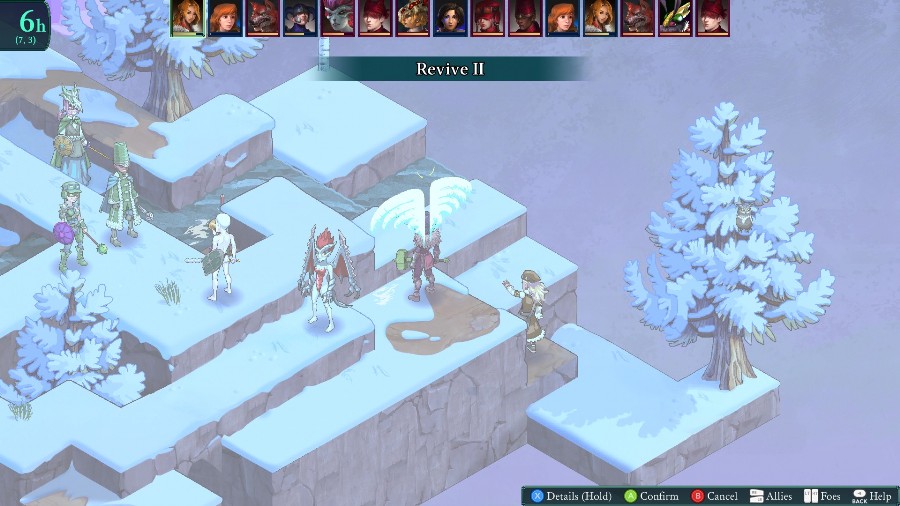
Because Anadine’s still alive, Sophia spends her turn reviving Kyrie.
And Anadine spends her turn killing the Vessel and Sorcerer while wounding the Gadgeteer and Scoundrel. A big win to get the Vessel/Mender out of the way before they start reviving things and to get the Sorcerer’s map wide attacks out of play.
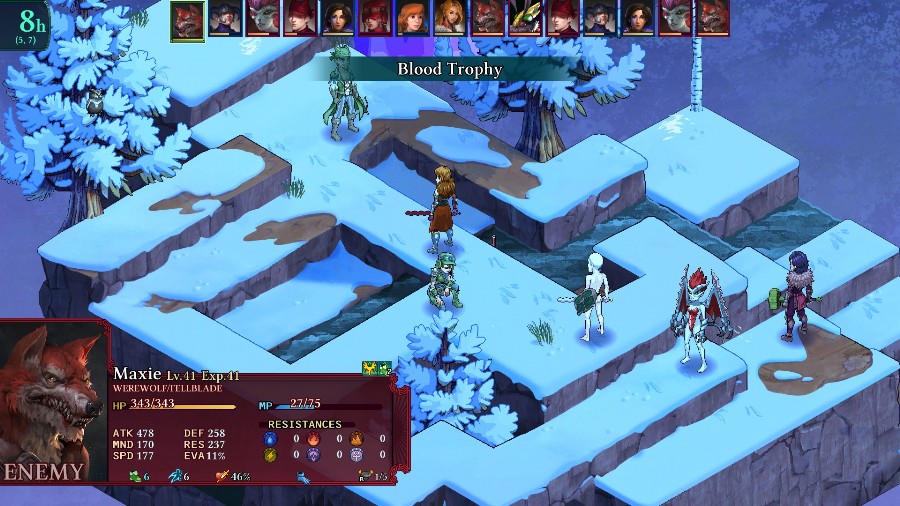
But that victory is a bit short lived as the Werewolf kills her too.
Mongo finishes off the Gadgeteer with another rock while the Domincubus and Scoundrel spend their turns using potions to heal themselves.
Not that it saves the Domincubus from Kyrie when she’s actually able to hit.
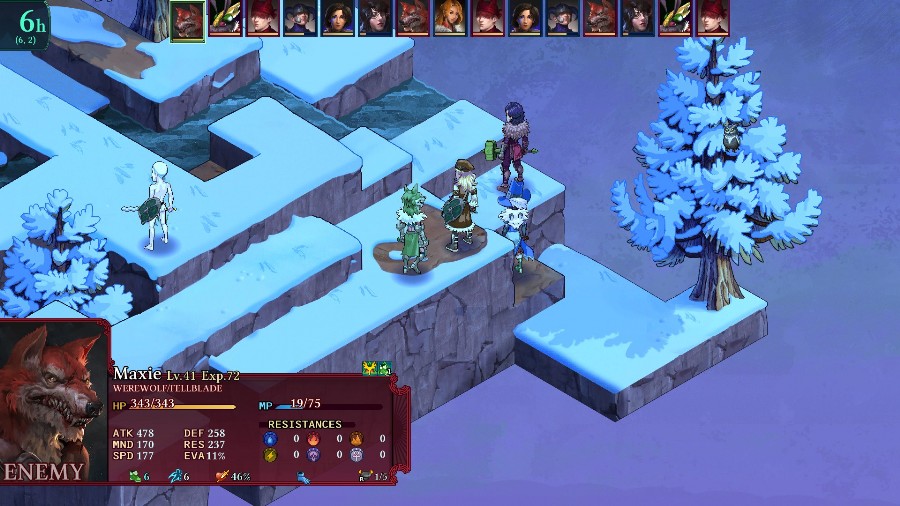
I have Sophia revive Azure, and then the Werewolf comes over and crits her, nearly OHKO-ing Sophia.
While the Bzil keeps hitting everyone with Somniloquy and the Scoundrel starts reviving people. Thankfully choosing the Pestilord instead of the Vessel.

Meanwhile, Kyrie and Azure combine to kill the Werewolf twice (since he had the Phoenix ring for innate reraise).

And the Pestilord revives the Sorcerer, which could be very bad.
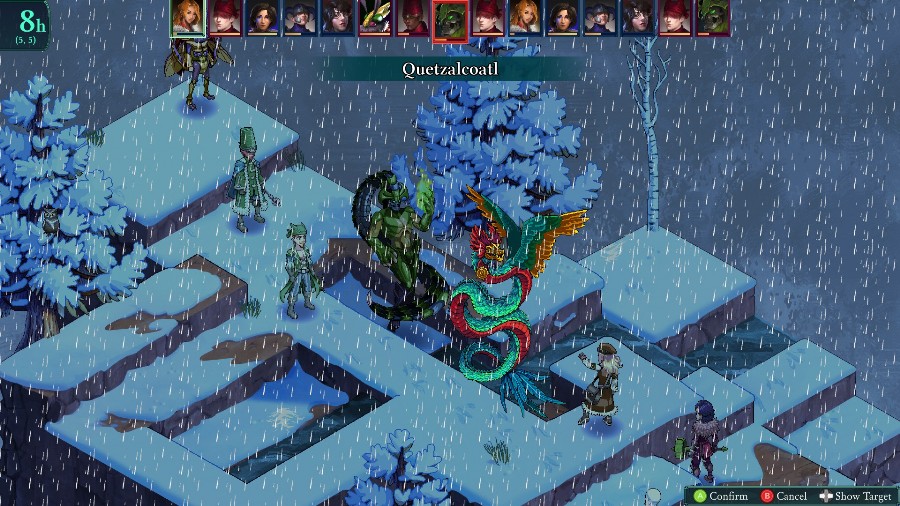
I have Sophia use Quetzalcoatl to kill the Pestilord and hurt the Sorcerer, in hopes that that will help.
And thankfully, the Scoundrel chooses to kill Azure again instead of Sophia.
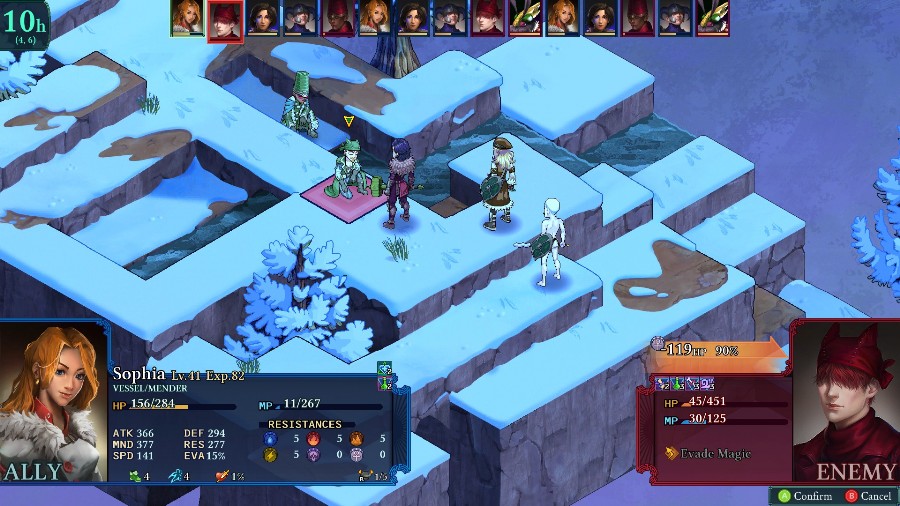
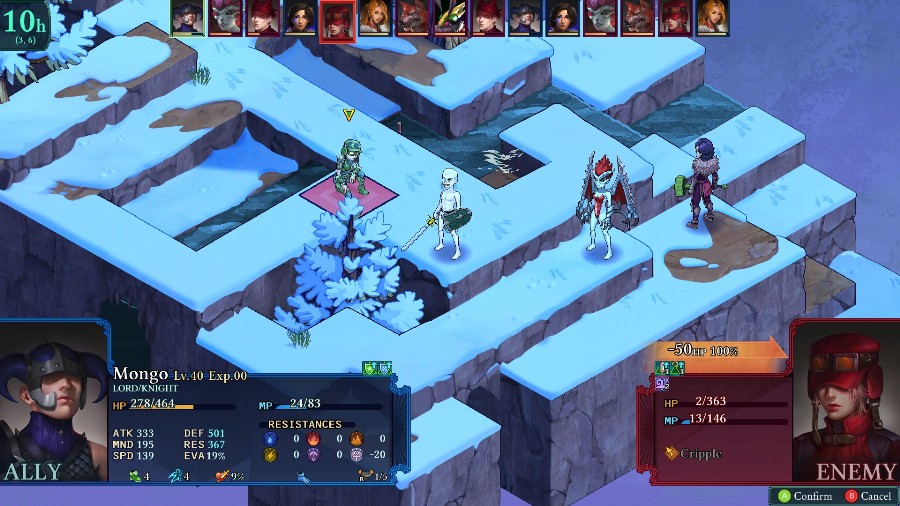
After a bit of healing from Mongo, and then tanking attacks from the Sorcerer, Sophia kills the now weakened Scoundrel.
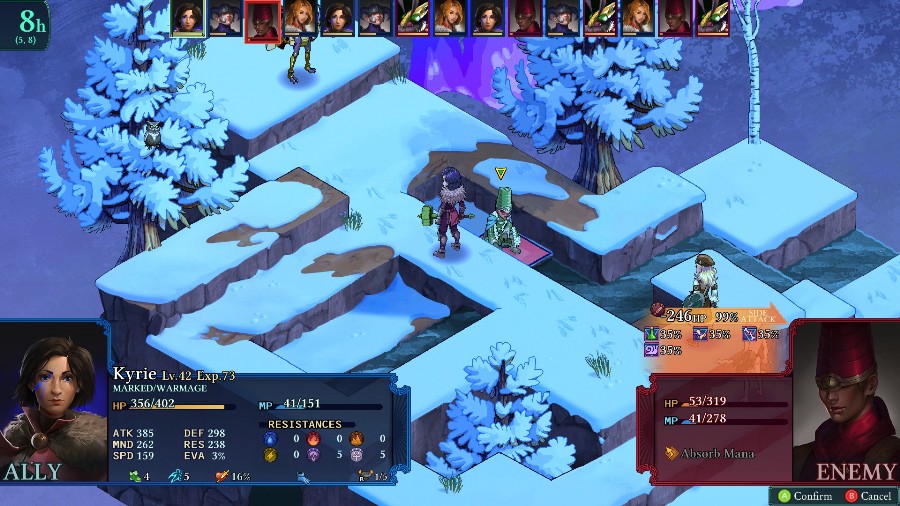
Kyrie kills the Sorcerer.
And then finishes off the Bzil a round later to end the fight.
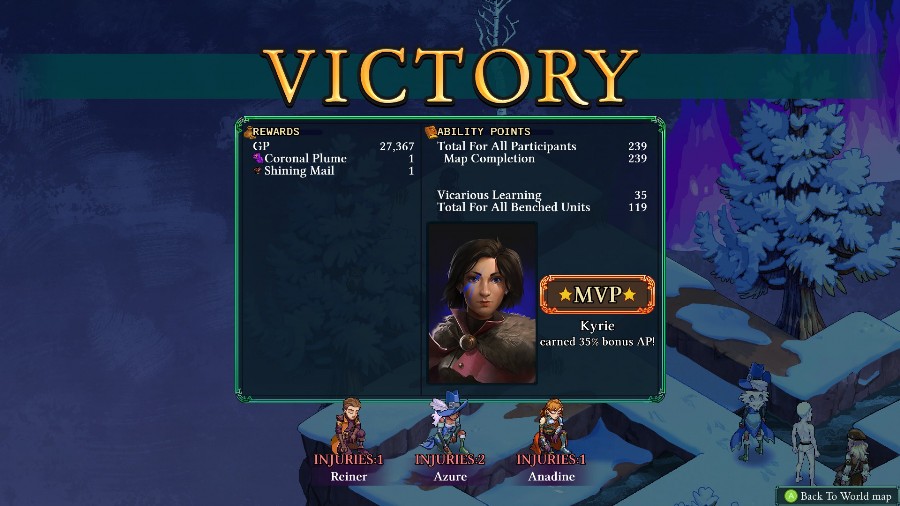
Definitely one of the tougher ones I’ve had. There’s a lot of damage incoming quickly and there’s not much you can do to mitigate it. Losing Anadine to the Werewolf really hurt my damage output, though she did still do a good deal before going down. If I were to do it again or change things, I think that this would be a battle where the Gadgeteer’s 15 starting MP passive would shine. With the close quarters and the enemies having it, being able to throw out a big move on turn 1 would’ve been really helpful.

After the fight, the group surrounds Raife.
How… foolish of me. How could I think myself strong enough to control The Maw… if I couldn’t even defeat you?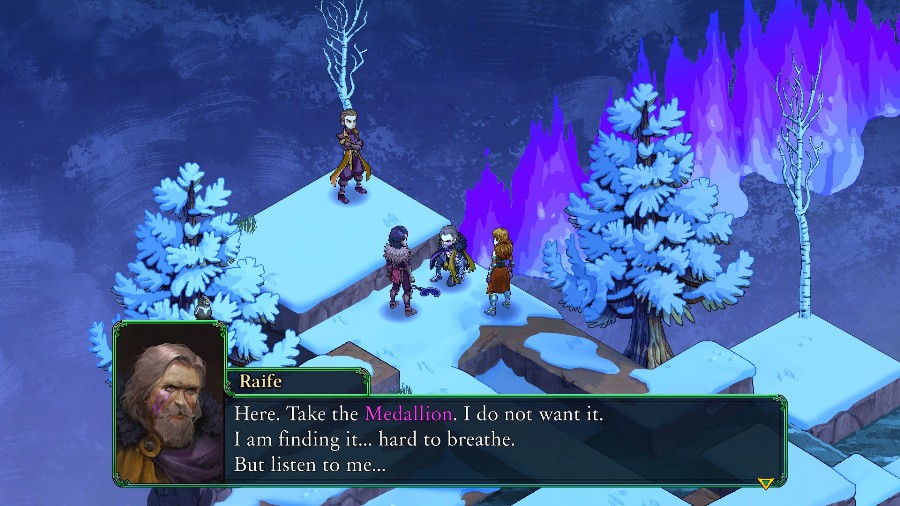 Right and wrong have swapped places so many times… I have no idea what the correct path is anymore. But I know you’ll do what’s best for Teora, Kyrie. You always have. Sylvia… taught you well. You too... have grown strong, Anadine. I know Sylvia… would have been very proud. Whatever you do… you must stop the Ancient Beast… At all costs… It will… corrupt… every… thing.
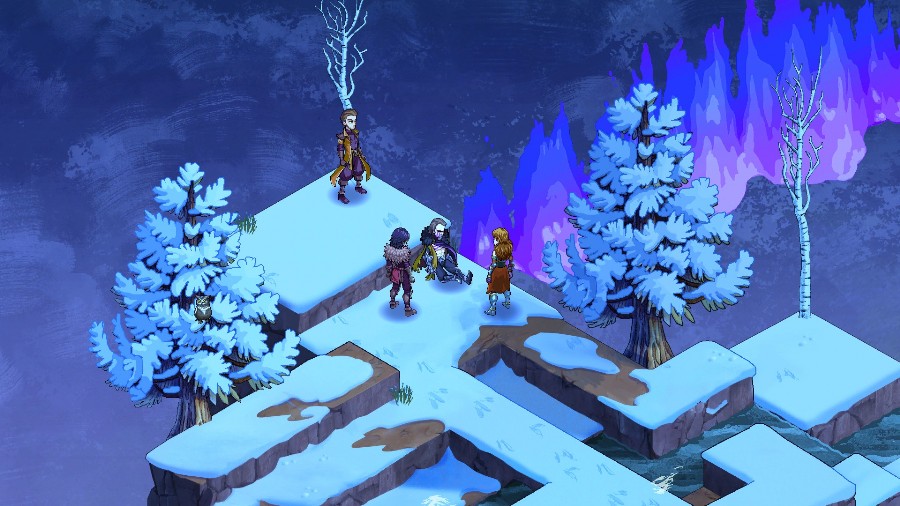
And Raife collapses against the rise.
He’s gone. Even with all the wrong he has done… Somehow I am still saddened. … I understand, Anadine.
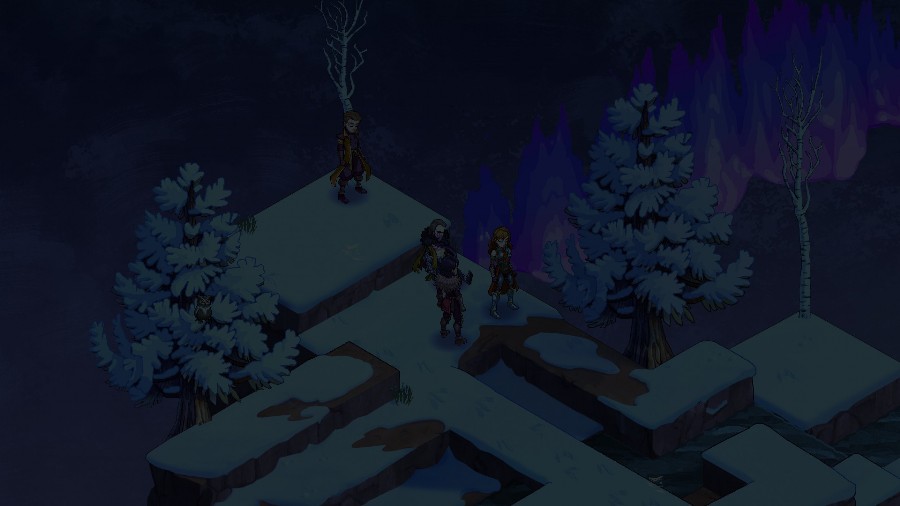
And it fades out to the world map.
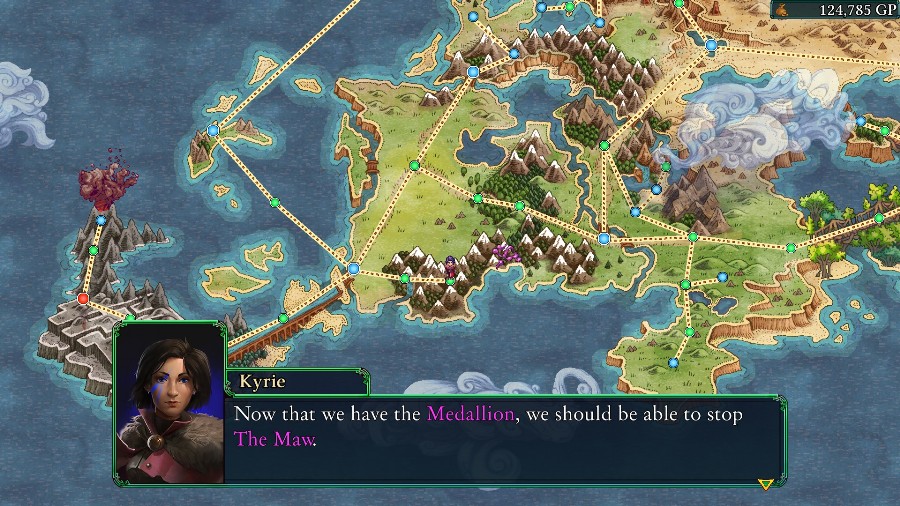
 We still need to figure out how to seal the beast away, though.
.jpg) Let’s go ask the Kawas. I bet they’ll be happy to help us!
Let’s go ask the Kawas. I bet they’ll be happy to help us!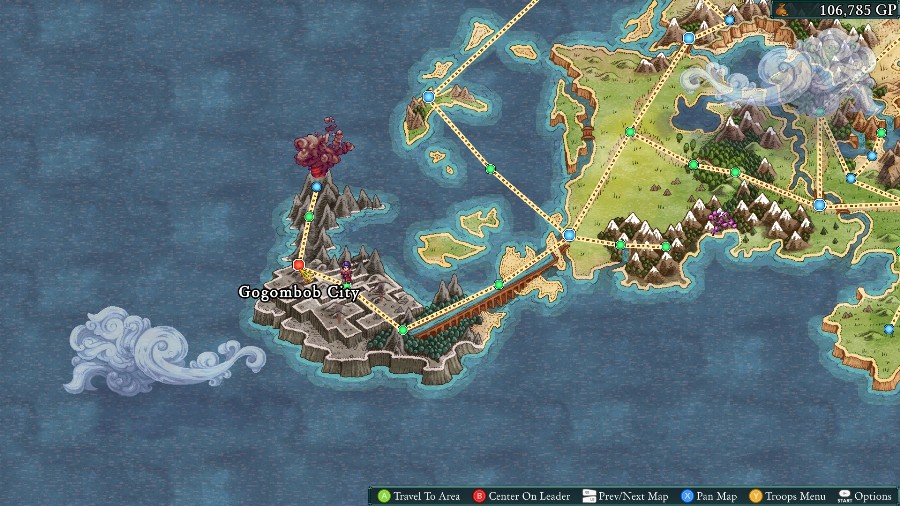
And as you can see, Gogombob City has turned red, indicating an event there. But we’ll be checking that out next time!