Part 58: Arena Tournament II-1
Update 58: Arena Tournament II-1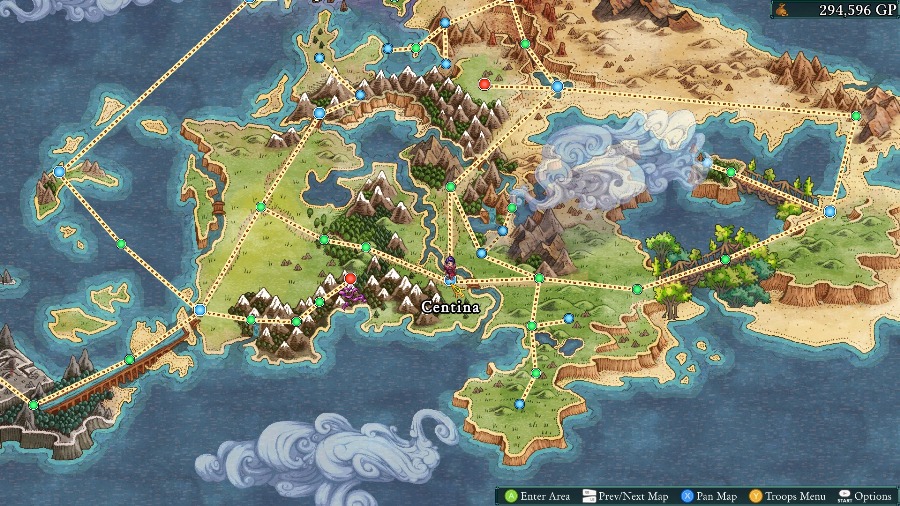
Hello and welcome back! Last time we fought a bunch of doppelgangers and received Excalibur. This time we’ll be checking out the 2nd arena tournament in Centina. This opened up right after we defeated Primus.
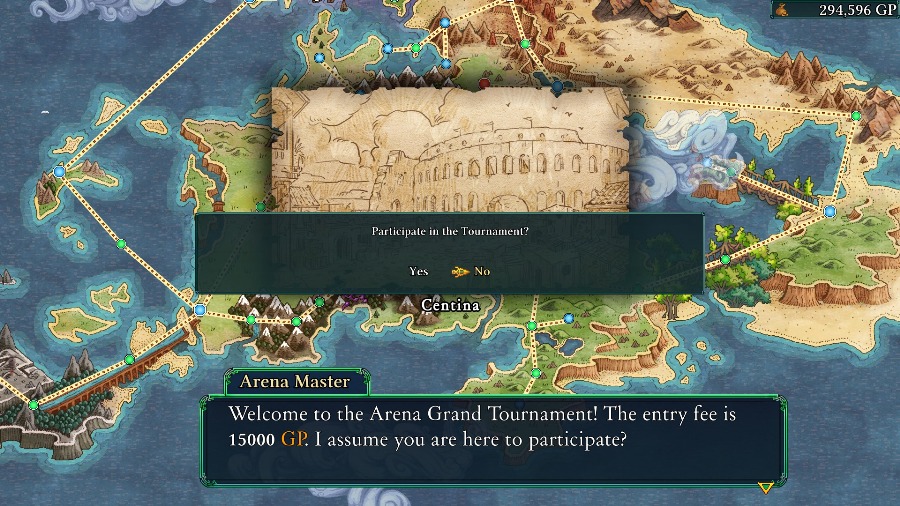
Head in, and we can see that it’s decently pricey to attempt. Probably won’t break your bank, but the cost can definitely add up if you fail a few times.
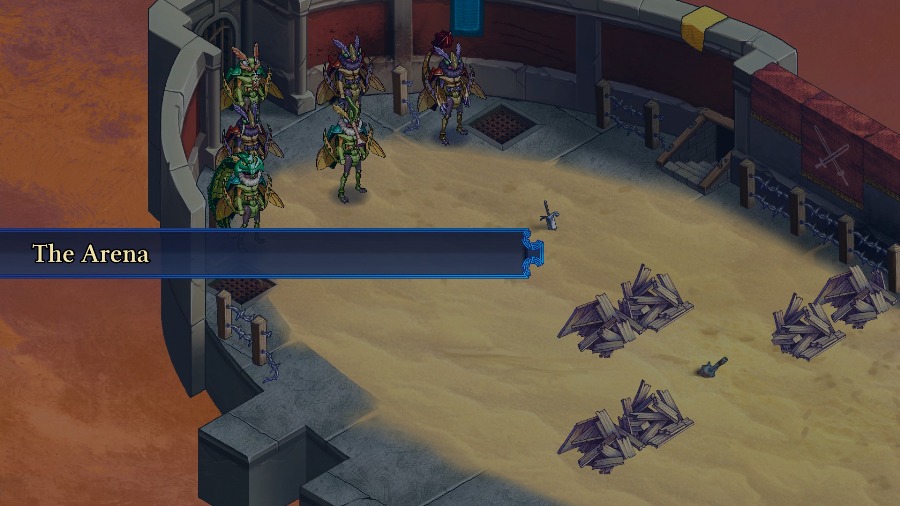
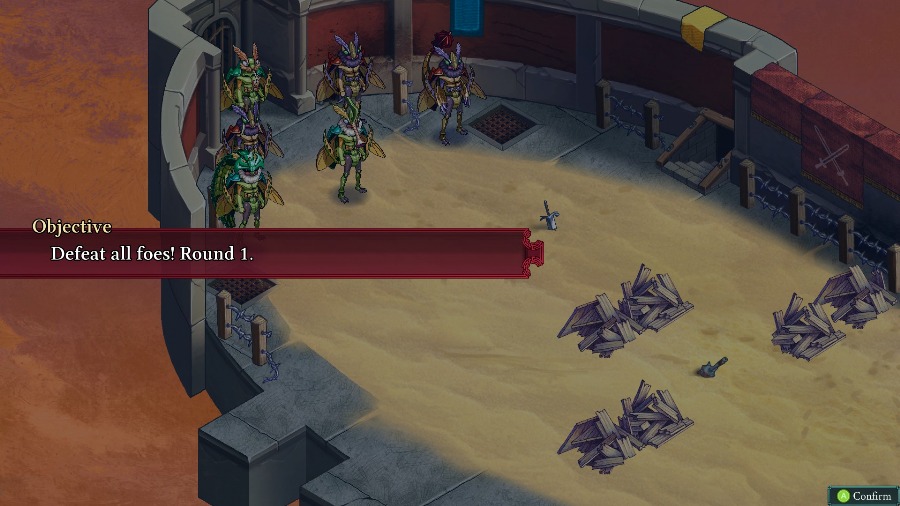
All of the fights in the tournament are the standard “Defeat all foes” types, though the map itself will be different for each one. This map is pretty simple, with the wooden barricades in the middle making a choke point to focus on.

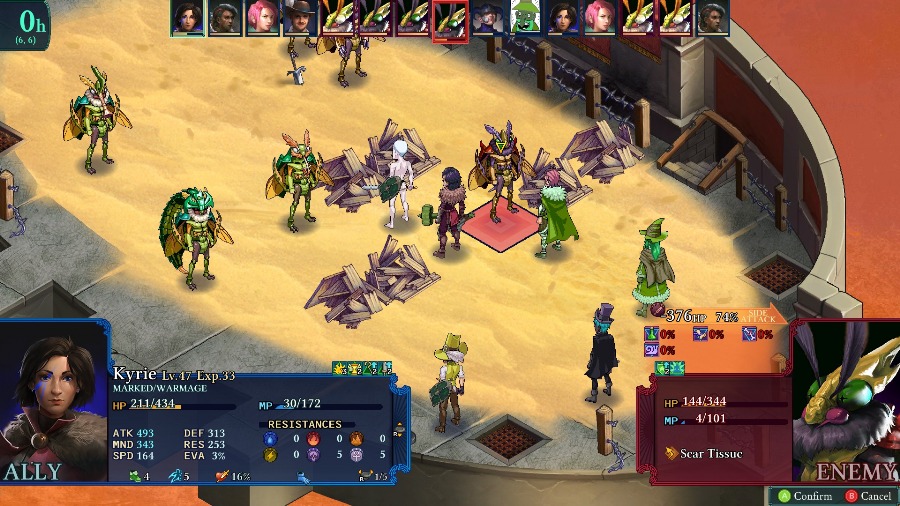
Round 1 is up against a bunch of Bzil and between the 6 of them they have 12 different classes/subclasses filled. In my experience, the ones to watch out for are the Archafflictor one (because Plaguestorm is a pain), the Niwot (who can do a surprising amount of damage), and the Zotzit (because Zotzits actually have great stats and abilities, typically balanced by their effective turn limit in combat).
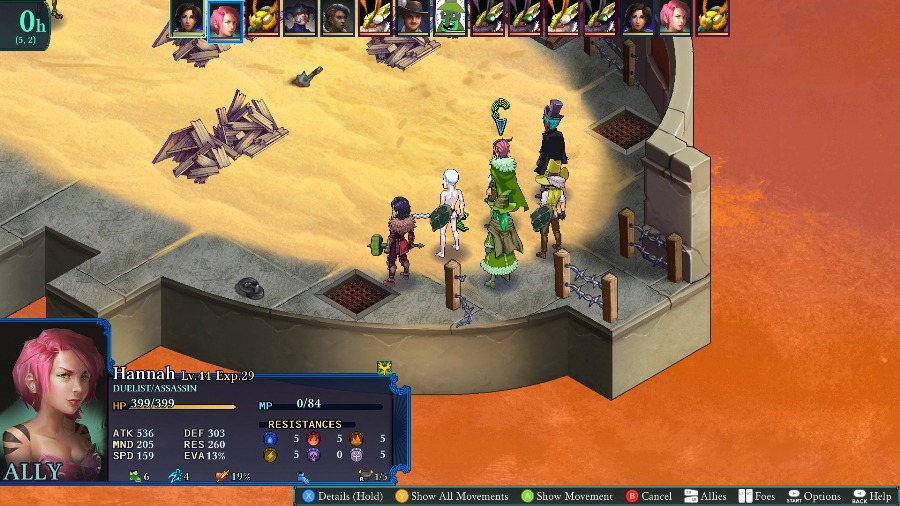
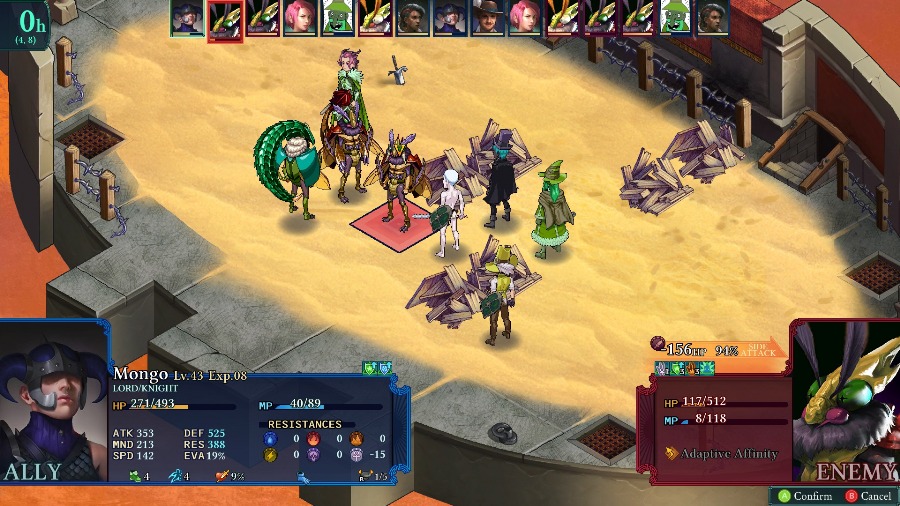
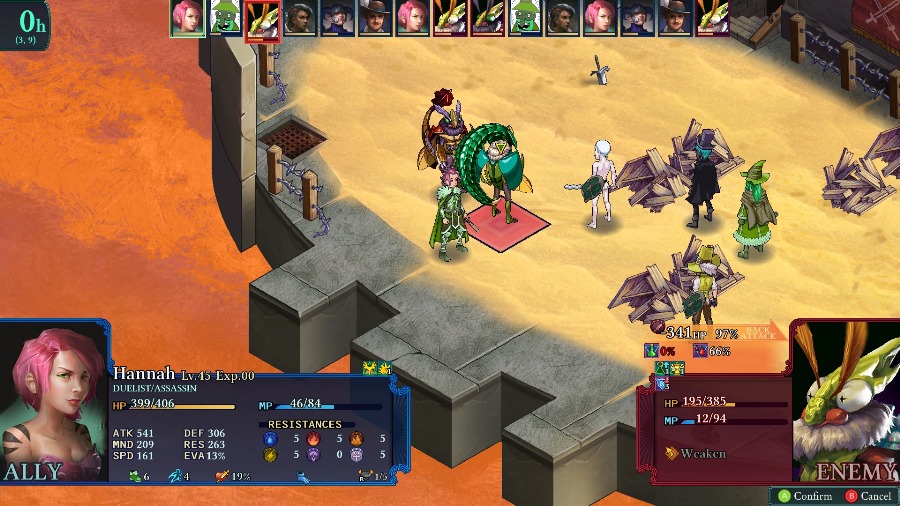
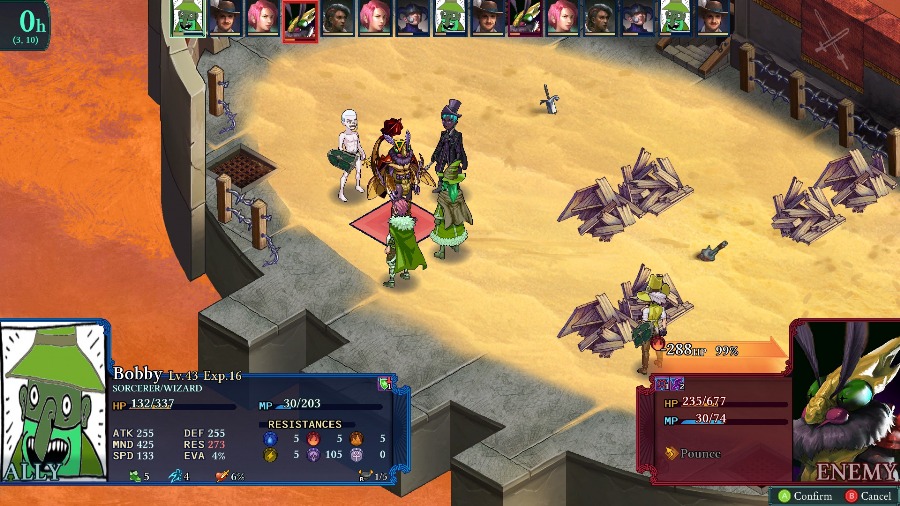
For fight 1, I’m bringing Kyrie, Mongo, Hannah, Selina, Bobby, and Eustace. There’s a mix of damage here, but a big factor is that most of these units are decently bulky (or don’t care about wounds) so I’ll be more likely to be able to use them in later rounds.
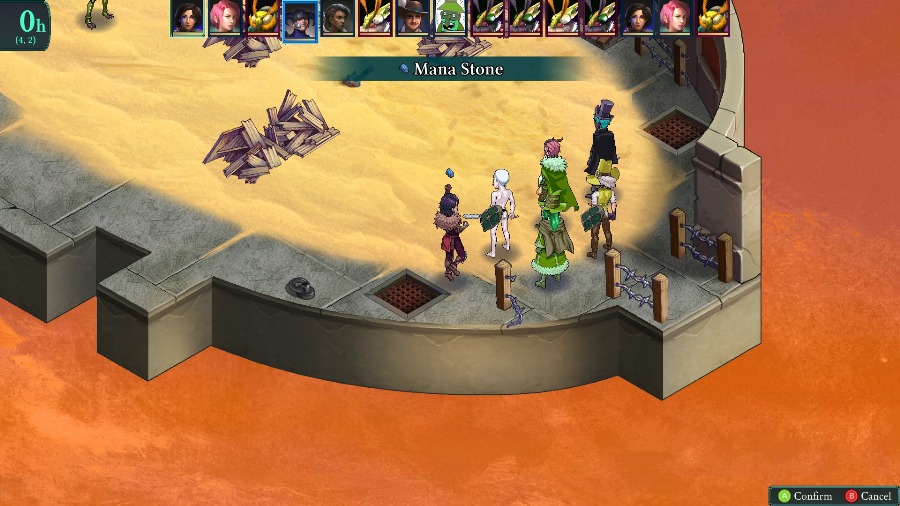
I start the fight off by giving Mongo some MP and keeping most of my units in formation.
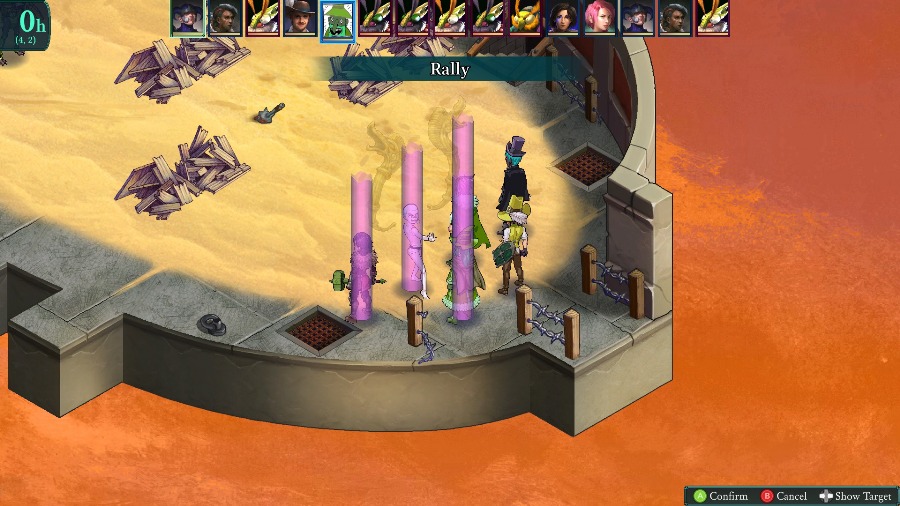
So that I can Rally them. The Haste and offensive stats will be a big help here, especially on the slow Bobby.
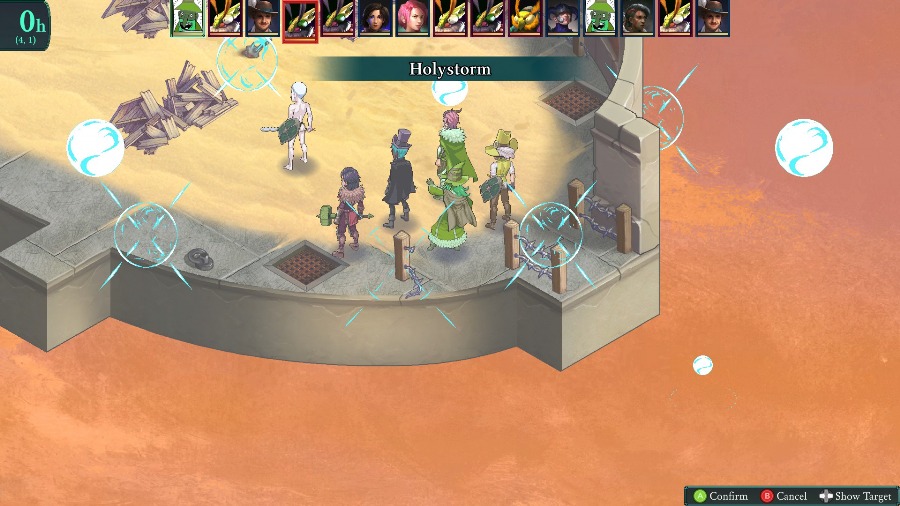
Speaking of Bobby, thanks to the speed boost, he gets to go and starts whittling people down with a Holystorm.

There’s a bit more dancing around as the enemies heal and buff each other and both sides advance.
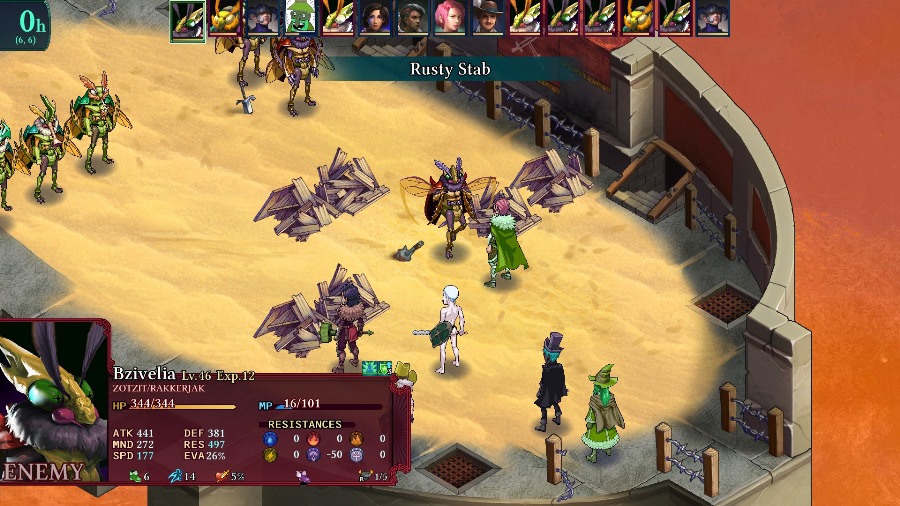
But eventually the Zotzit gets close enough to take a stab at Hannah.
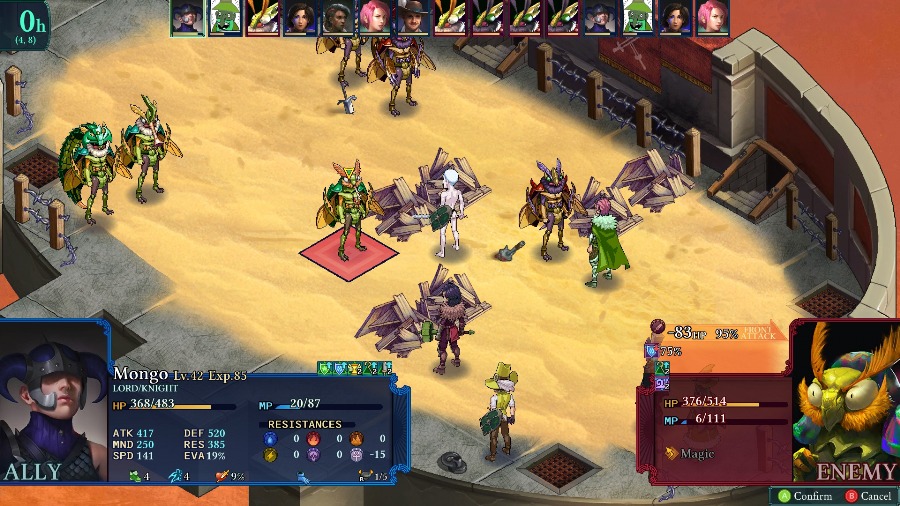
The Helhund/Pekite advances and hurts Kyrie with some magic, while Mongo moves up and blocks the enemy from getting through.
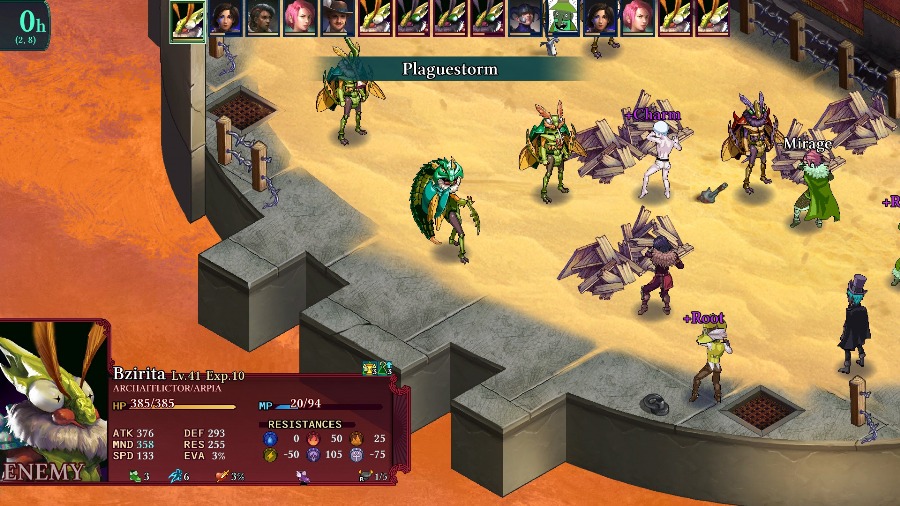
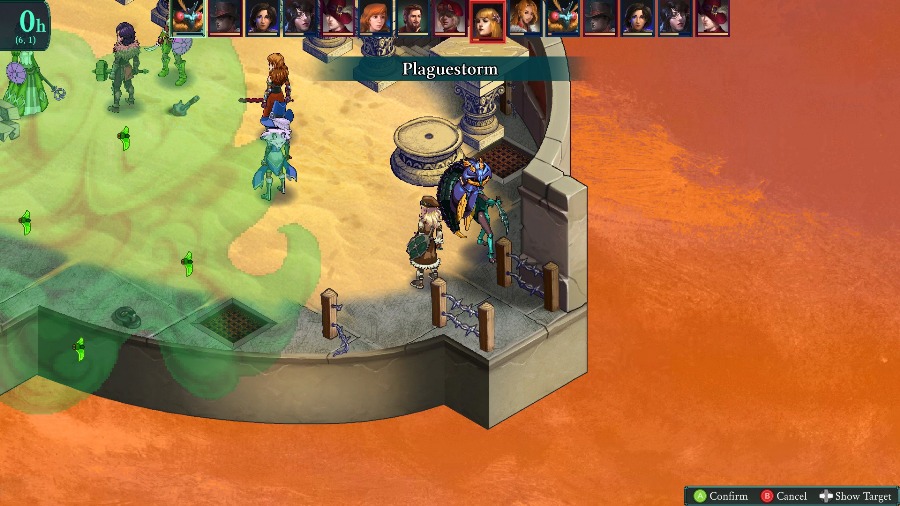
The Archafflictor casts Plaguestorm. Lots of small ones, but the only really annoying effect is the charm on Mongo.
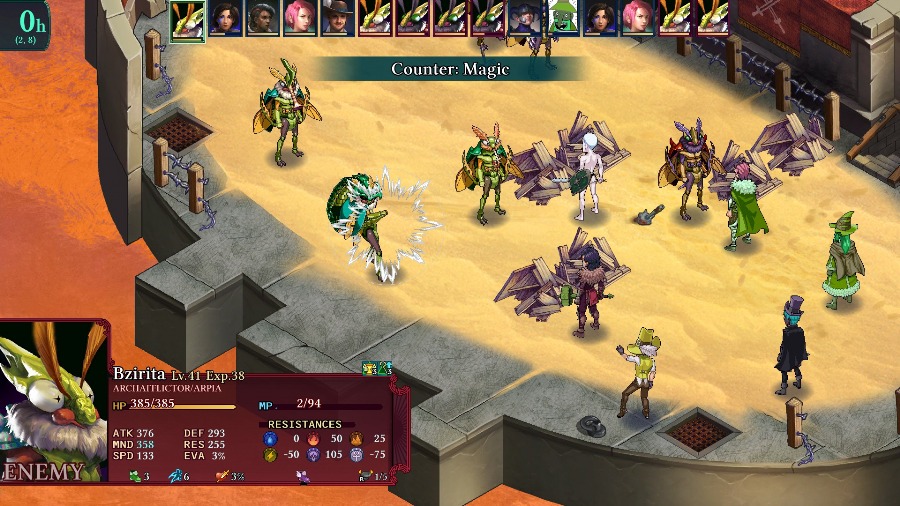
And hilariously, Eustace counters back and charms the Bzil. (That is because the Magic counter responds with the exact same spell, including affliction chances, just made non-elemental).
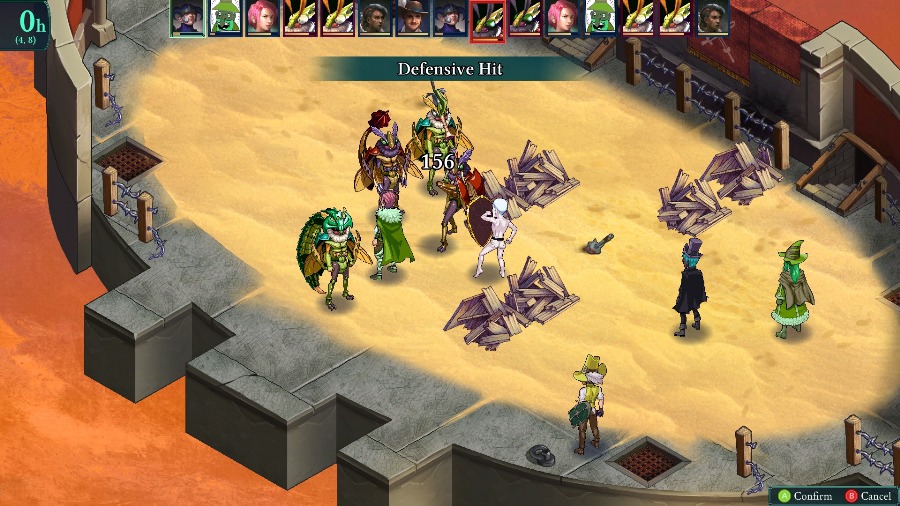
With some help from Bobby, Kyrie is able to kill the Zotzit before it does any more damage.
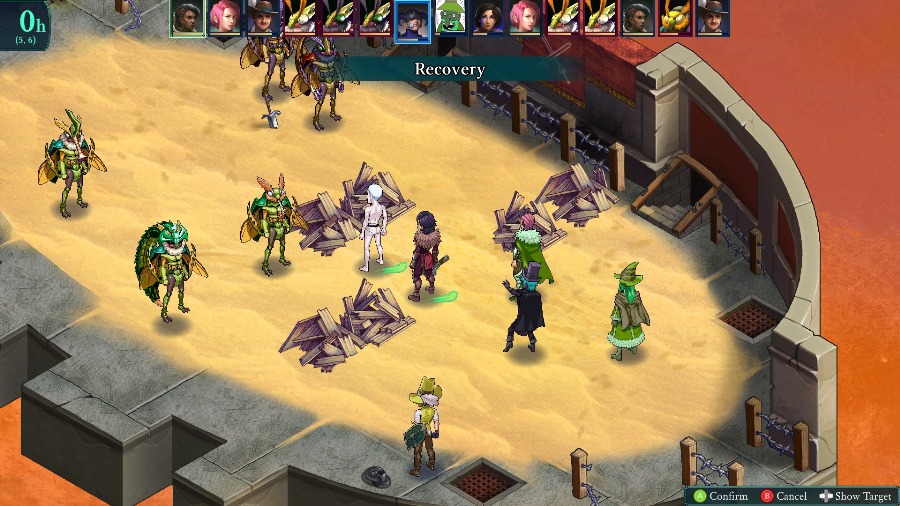
And I decide that Mongo probably will either get hit before his turn or won’t do that much damage, so I just heal him and Kyrie a bit instead of trying to break the charm.
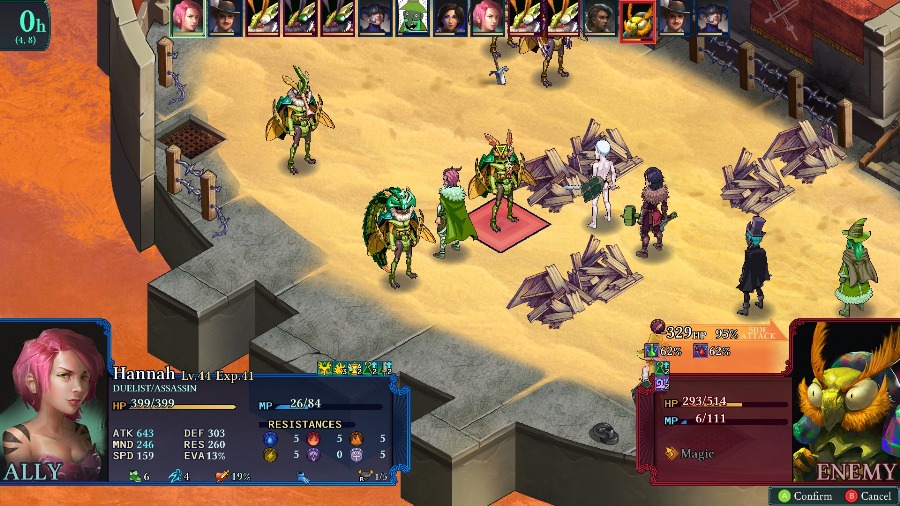
And Hannah goes up and obliterates the Helhund thanks to dual-wield and the attack buff.
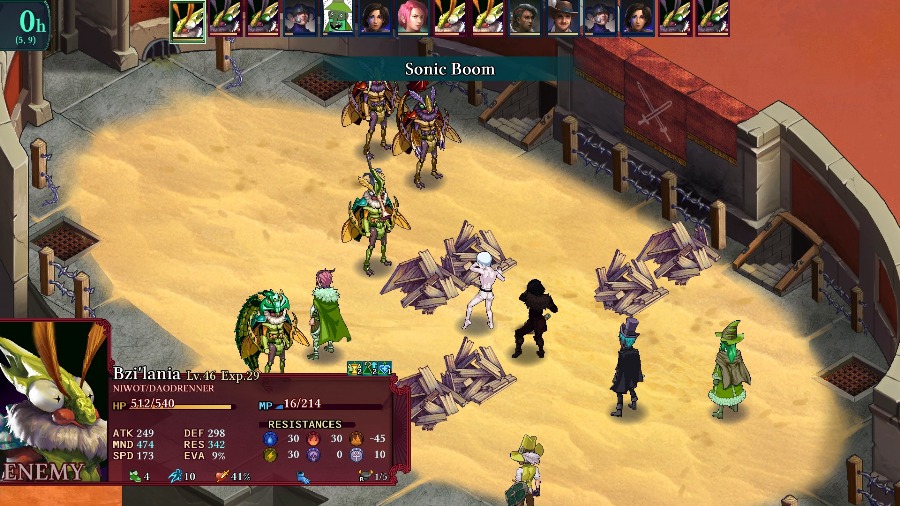
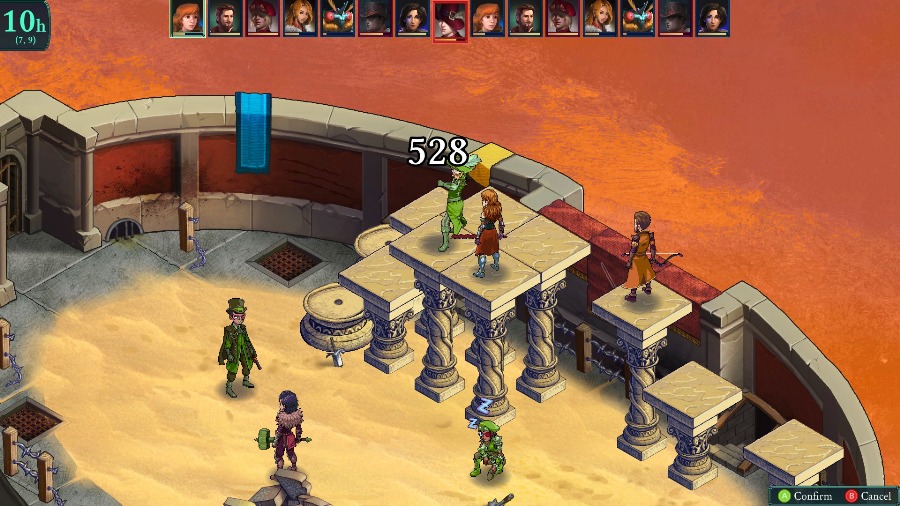
But the enemy Niwot has also been buffed, and its Sonic Boom manages to kill Kyrie and nearly kill Mongo.
Mongo and Bobby move up and deal some damage to the gathered Bzil.
And Hannah finishes off the Niwot before it can move again.
The Archafflictor spends its turn whacking another Bzil, so I have Selina heal Mongo and Bobby since both of them are nearly dead.
Mongo’s then able to kill one Bzil and use his extra turn from cleave to berserk the Tangrel, which also draws it to hit him instead of the much more vulnerable Hannah.
Which is good, because Hannah’s able to kill the Archafflictor before it gets another turn.
And then it takes the party most of a round to wear down the Tangrel for Bobby to finish off.
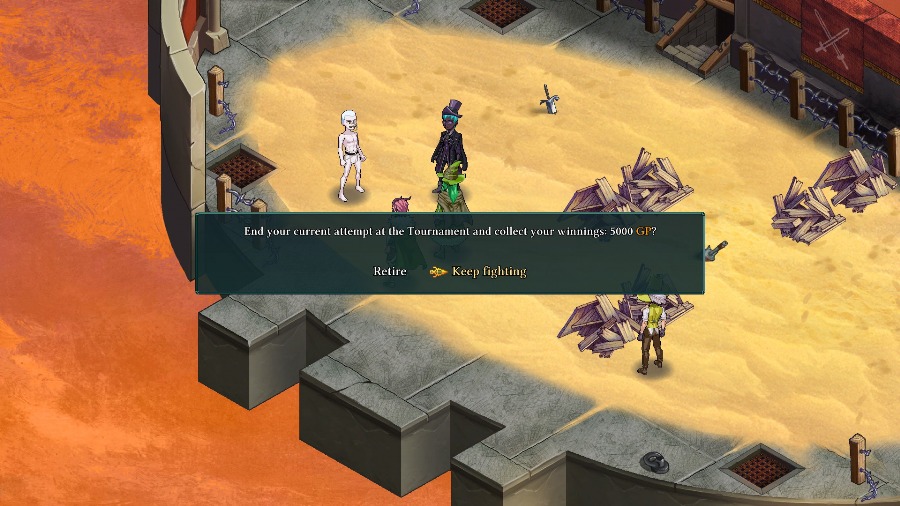
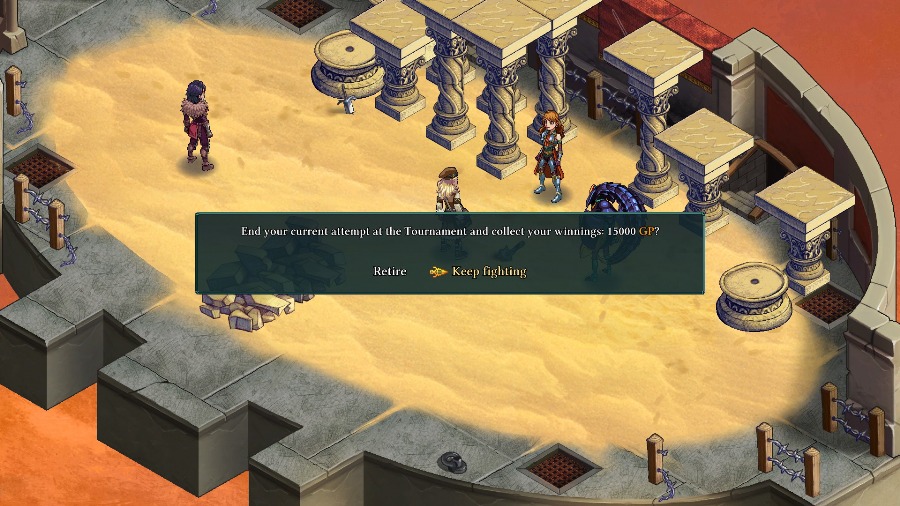
You then have an option to retire if you don’t think you’ll make it, or keep going. Obviously, we’ll keep going.
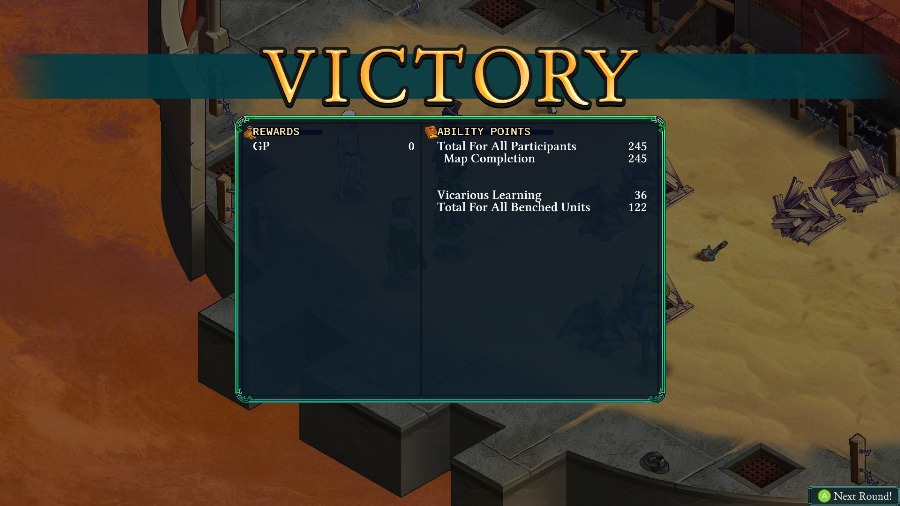
You don’t get any physical rewards, but you do still earn AP for everyone.
Overall, this stage isn’t too bad as long as you’re careful. As always, Plaguestorm can mess you up with status effects, and the Zotzit, Tangrel, and Niwot can all hit really hard if buffed. But if you can keep them isolated a bit or focus them down then the rest of the enemies will fall pretty quickly.
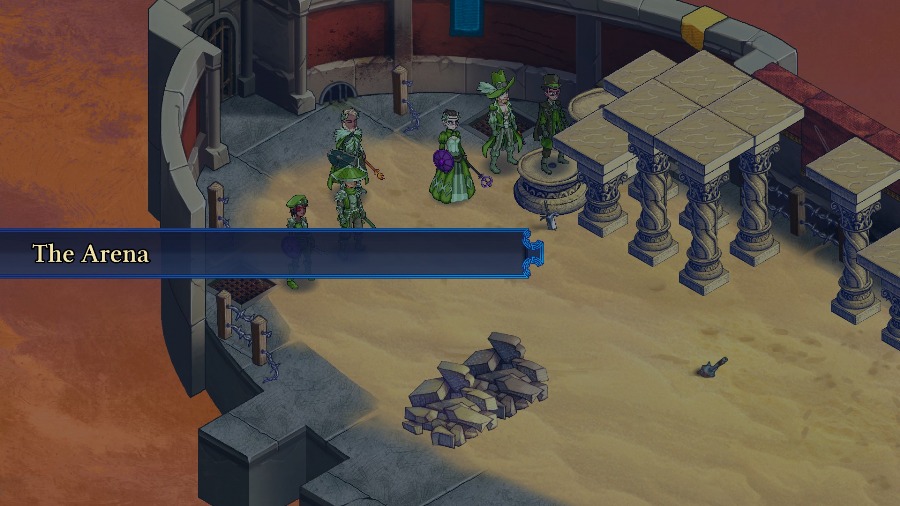
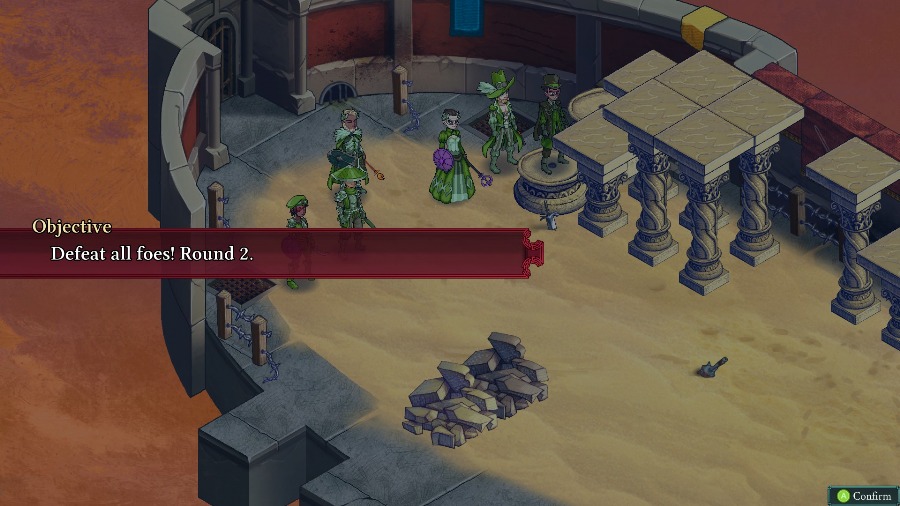
For Round 2, we’re up against a number of human opponents.
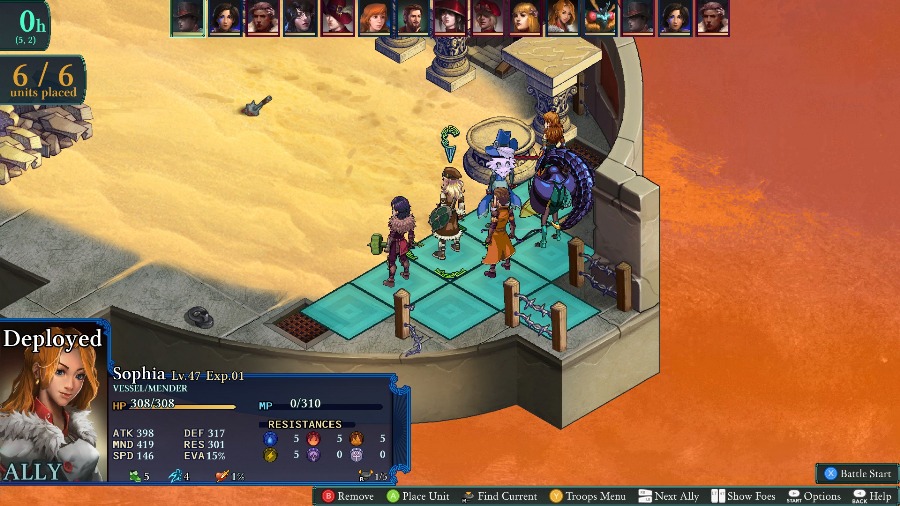
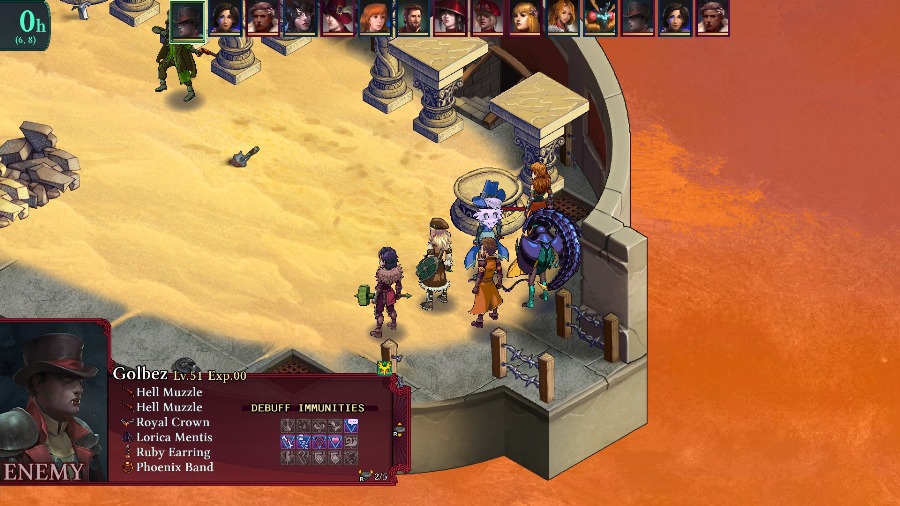
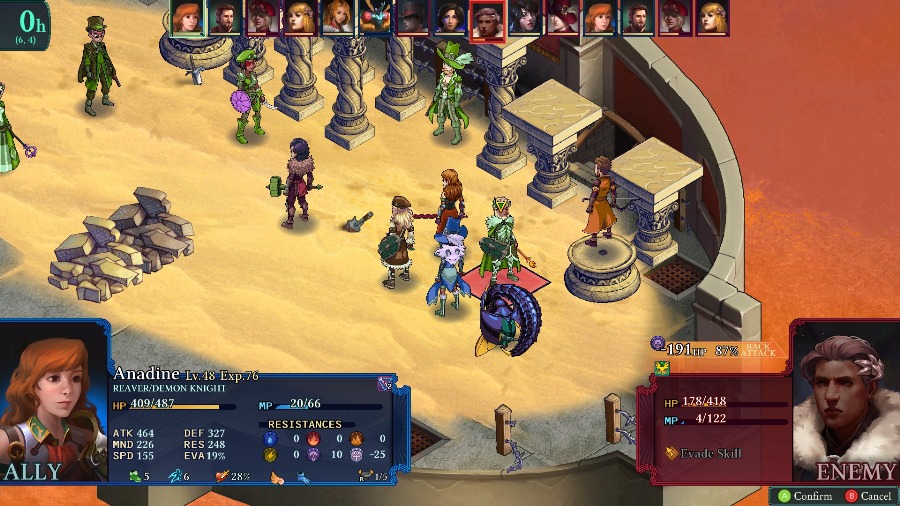
On my end, I’m bringing Reiner and Azure so they can take advantage of the height bonuses from the pillars, Anadine and Kyrie because they can do enough damage to take out humans without too much trouble, Sophia to heal and for the AOEs offered by the Vessel, and Bzaro because I love spamming out Plaguestorm myself.
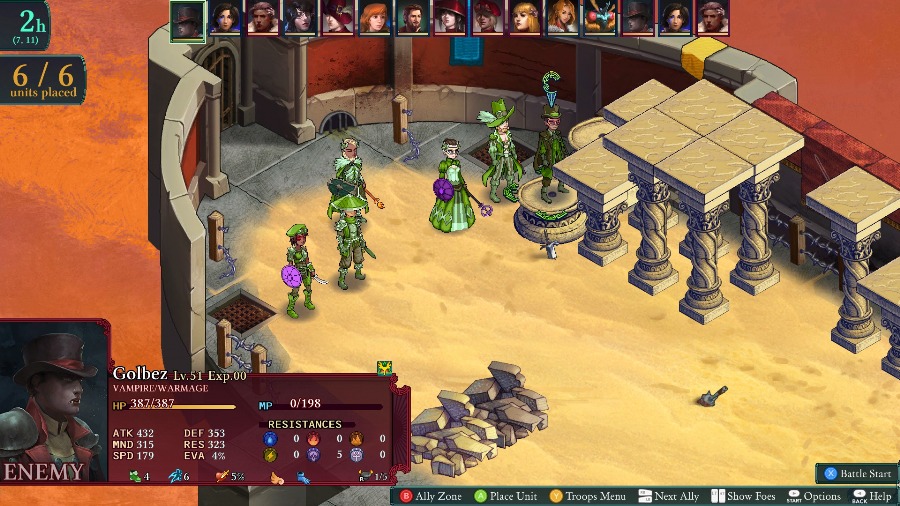
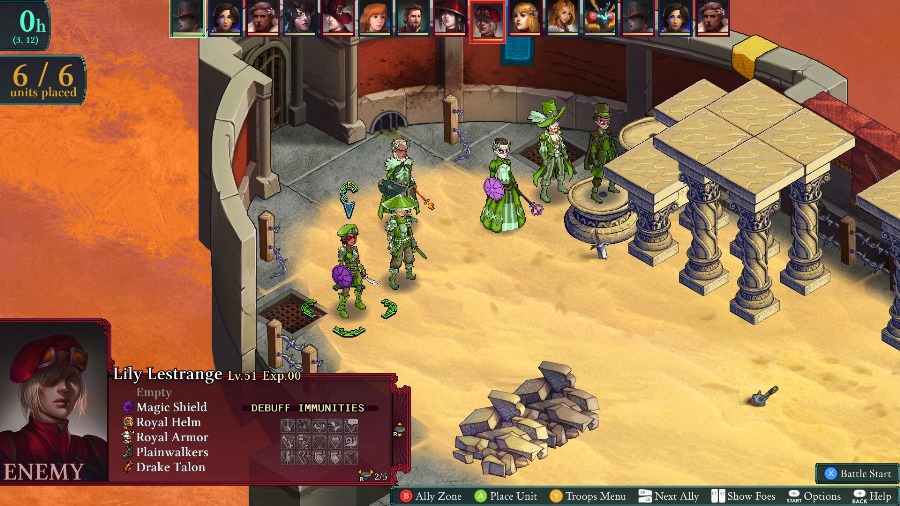
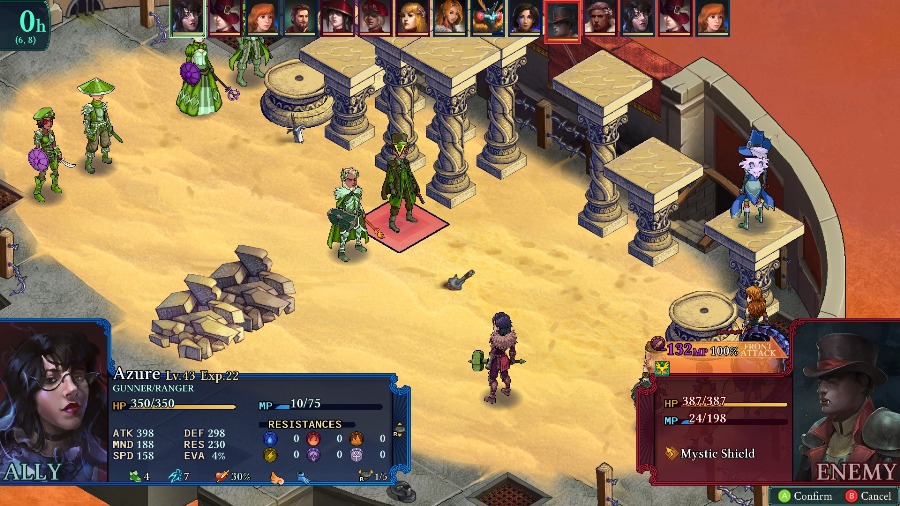
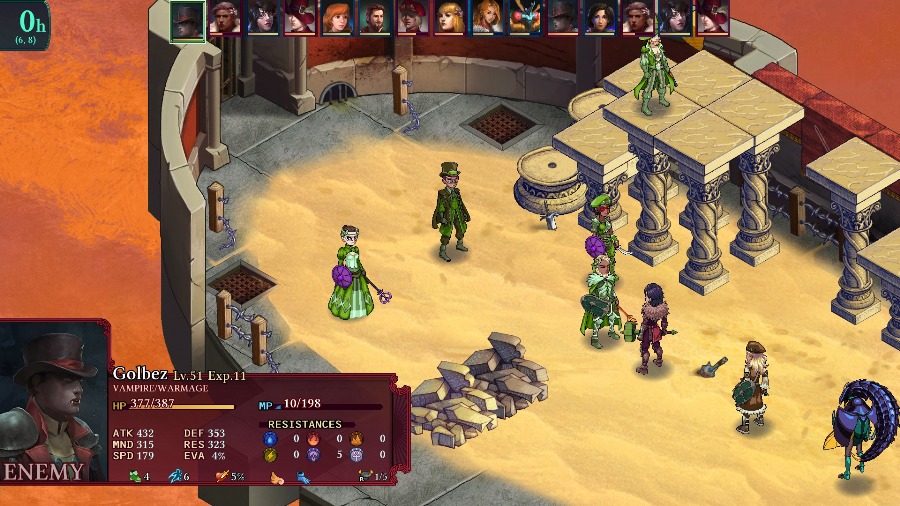
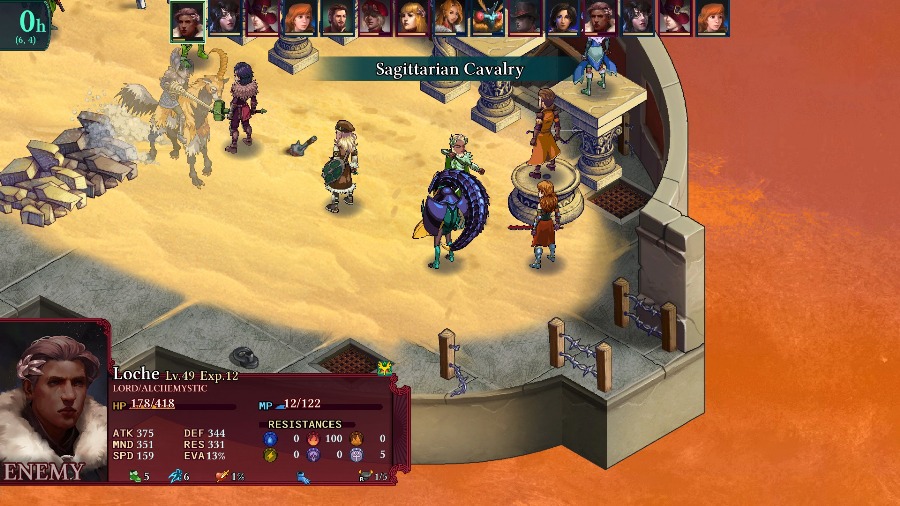
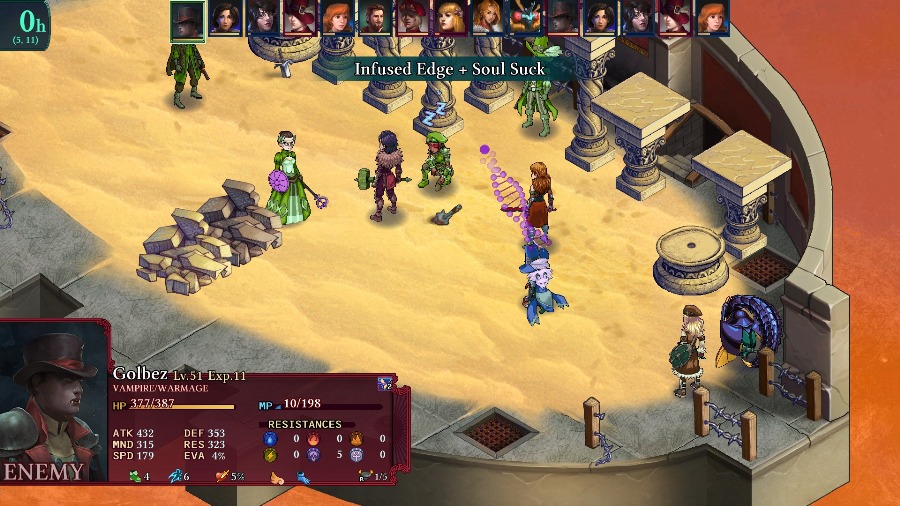
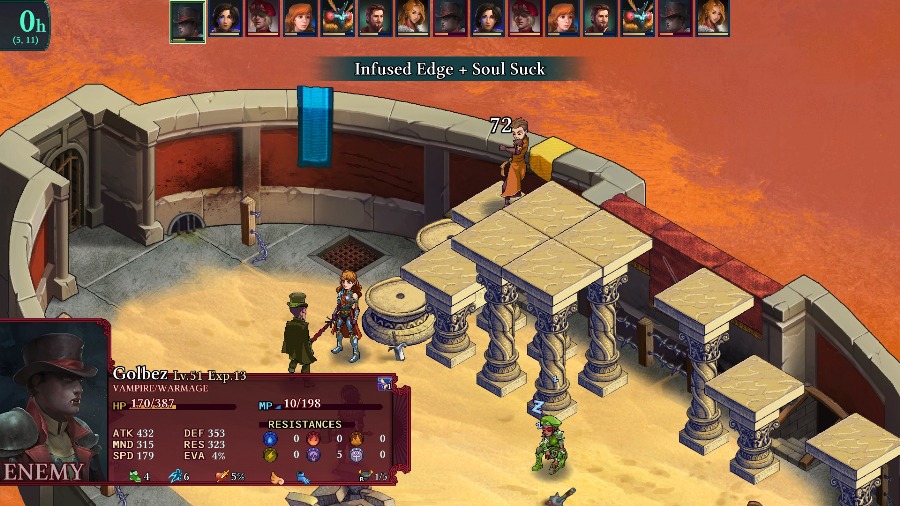
The enemy side has a number of dangerous units including a Lord/Alchemystic, a Princess/Mender with Blood Magic, and this guy. The Vampire is actually the biggest pain in the butt of them all.
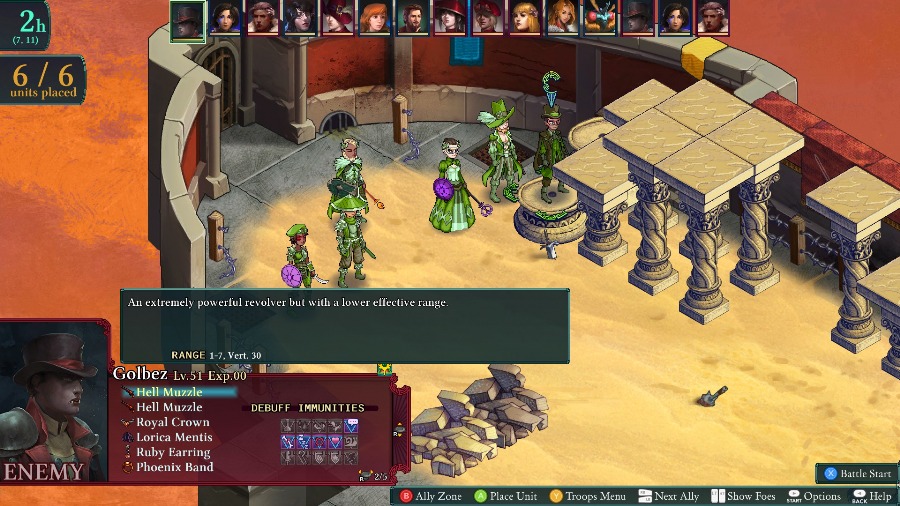
That’s because it has dual-wielded guns with the Warmage’s Infused Edge and hybrid stats to deal good damage with the spells. Additionally, it has both a Phoenix band for innate reraise AND Mystic Shield as a reaction. So this guy can do crazy damage to basically anyone he wants and difficult to get rid of as well.
Also, for some reason the Mercenary/Fellblade doesn’t have a weapon. That’d make them a lot more dangerous, so I’m all for them engaging in some fisticuffs instead.
To start the fight, the Vampire jumps forward and shoots Bzaro, thankfully only with a regular attack, but it still does good damage.
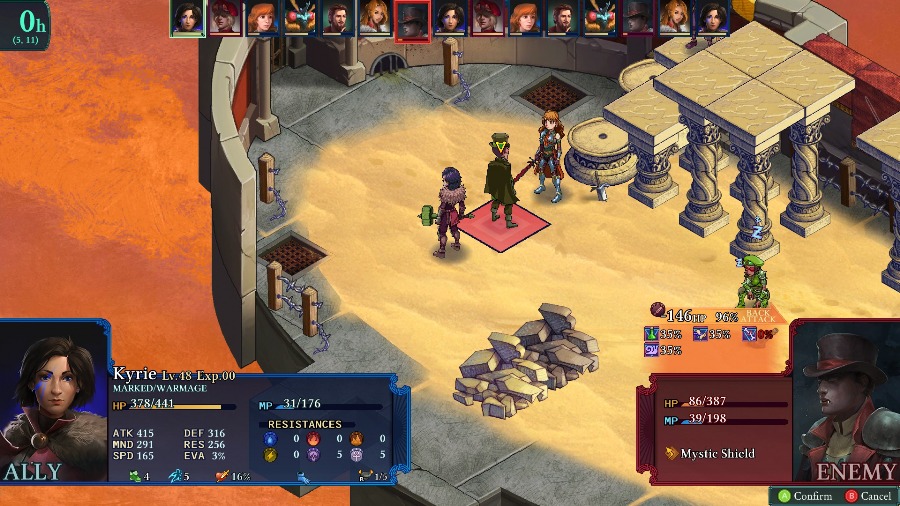
Knowing I want to take him out first, I have Azure break his Mystic Shield and do a bit of damage.
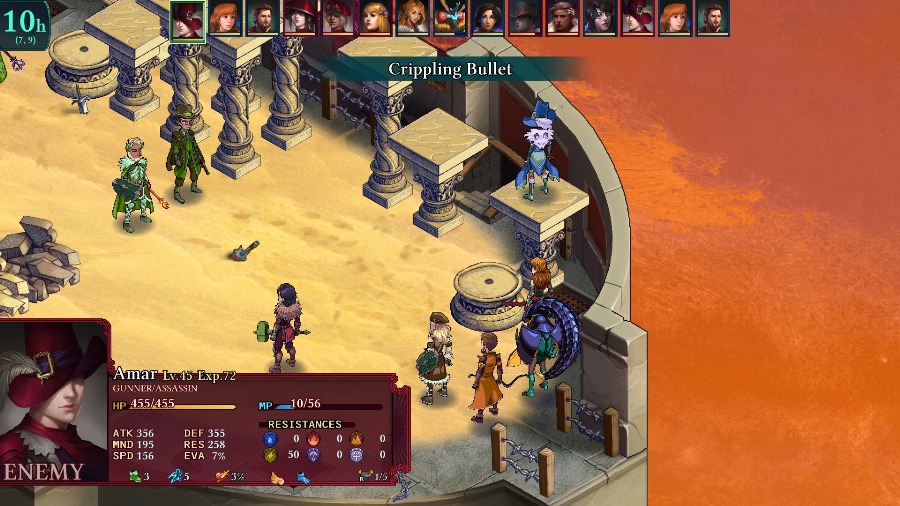
But the enemy Gunner goes next, and annoyingly procs the 50% chance to cripple Anadine. So instead I have her boost Bzaro’s MP with a Mana Stone.
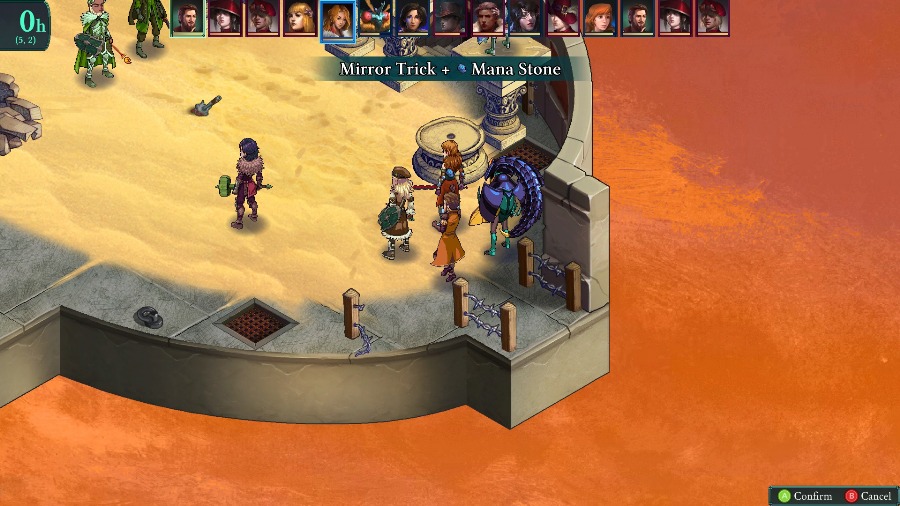
And then Reiner uses Mirror Trick to use it again on Sophia.
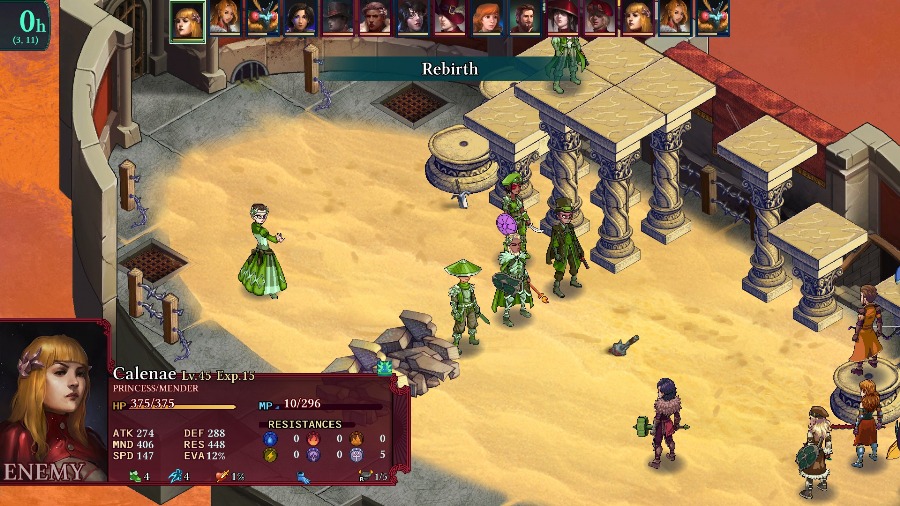
Luckily for me, the enemies all bunch up along the center. Unluckily, the Princess puts a reraise on the Lord and then heals herself back to full.
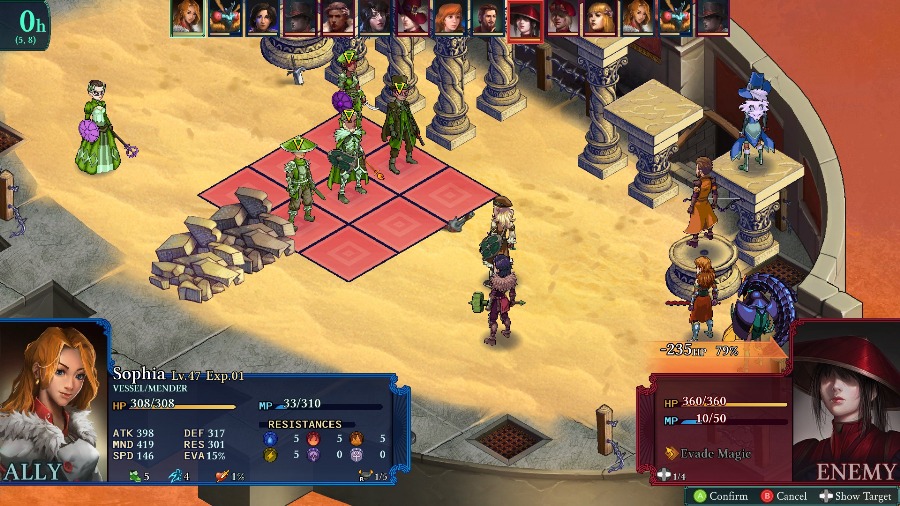
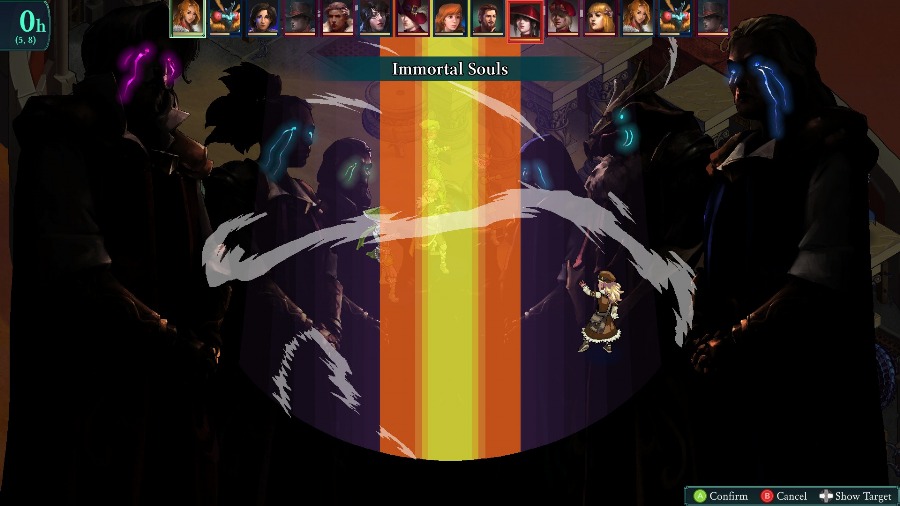
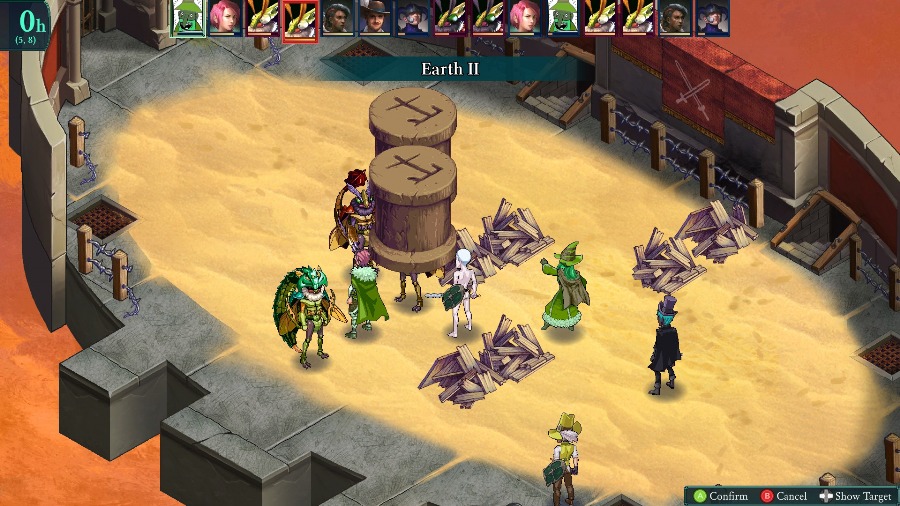
But since they’re all grouped up and she has the MP, I have Sophia use Immortal Souls on the group and hurt them all quite badly.

And then I take a risk. This can take out the Duelist entirely, clear the Vampire’s reraise, and nearly kill the Lord, but it also hurts Sophia for about 40% of her health while enemies are nearby.
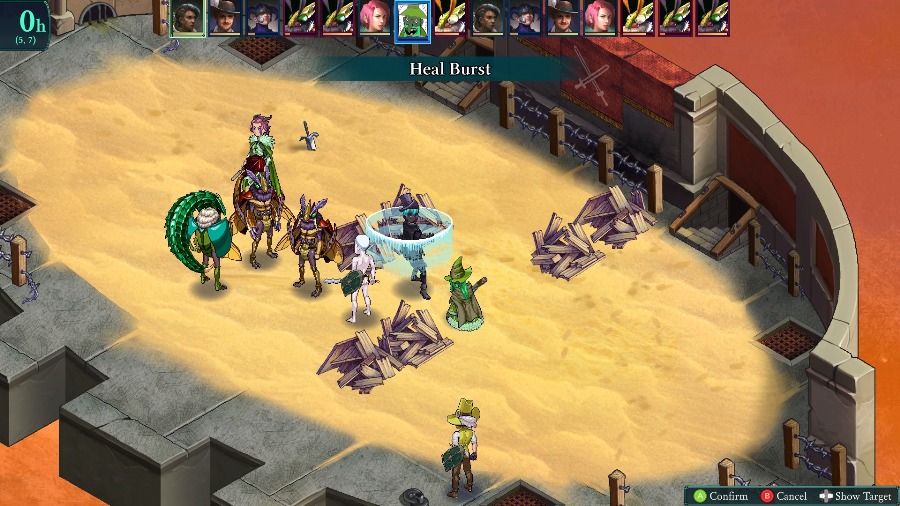
But instead of attacking, the Vampire uses his turn to heal with a potion and retreat.
Leaving the Lord just short of killing Sophia or Bzaro.
I have Azure heal Sophia up while Anadine takes out the Lord for the first time (since he has rereaise Cleave doesn’t proc).
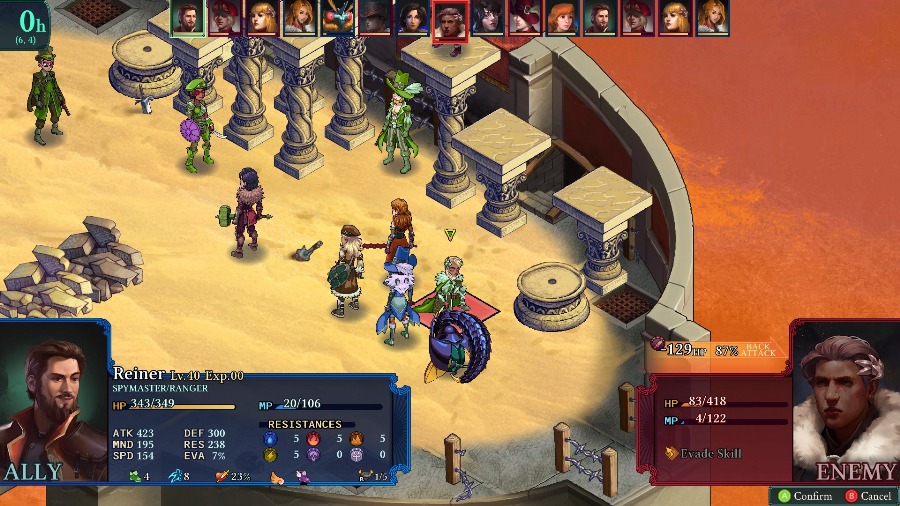
And then Reiner’s able to take him out for good.
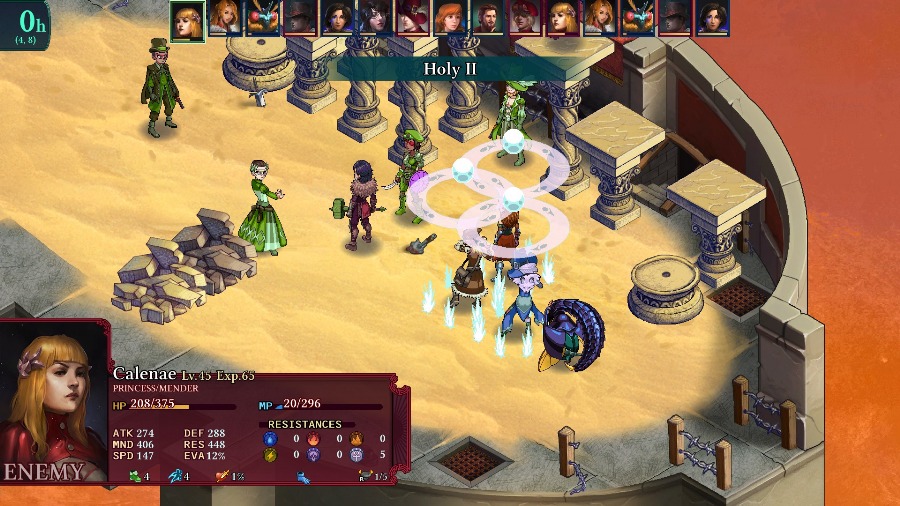
Taking away the Lord’s pressure is nice, especially because the Princess moves up and doublecasts Holy II, nearly ORKOing all 3 women from near full health.
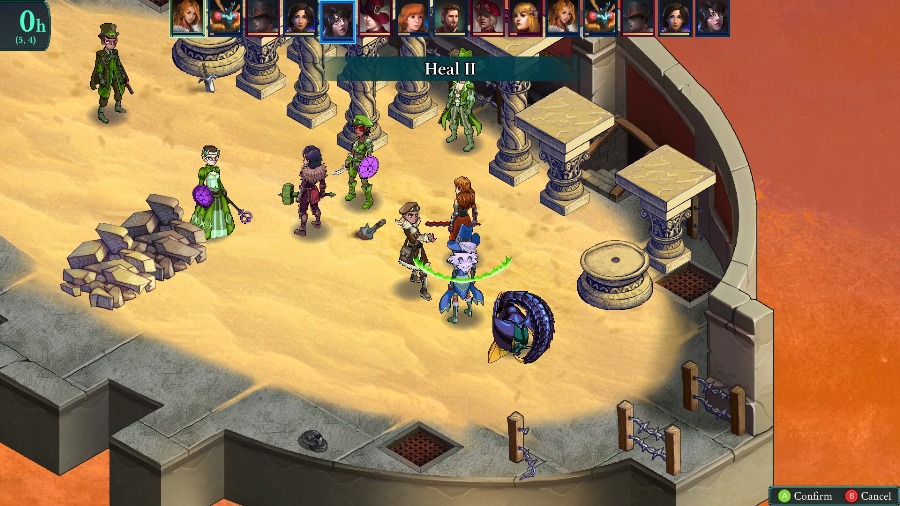
Since Anadine likes being low on health and is at least physically bulky, I just heal Azure and Sophia.
While Bzaro puts out a Plaguestorm that puts a few people to sleep.
For whatever reason, the Vampire decides to steal Azure’s MP instead of finishing her off.
While Kyrie actually finishes the Princess off.
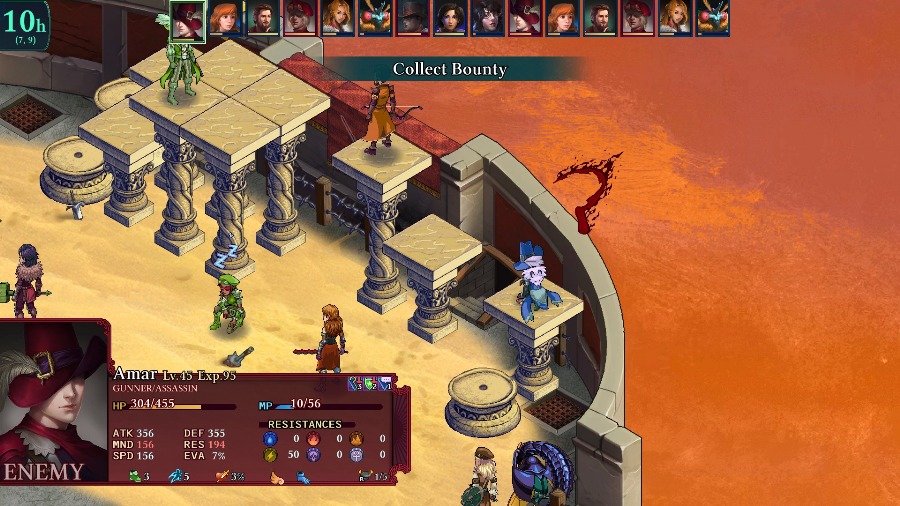
I have no potions for Azure to heal herself with, so I try and enrage the Gunner. It doesn’t work, so he takes her out of the fight. Things are at least starting to wind down in my favor, so I’m not too miffed.
And Anadine’s able to get revenge and massively overkill the Gunner in return.
My team ignores the sleeping Merc to focus on the Vampire, who again decides to steal MP instead of hurting someone.
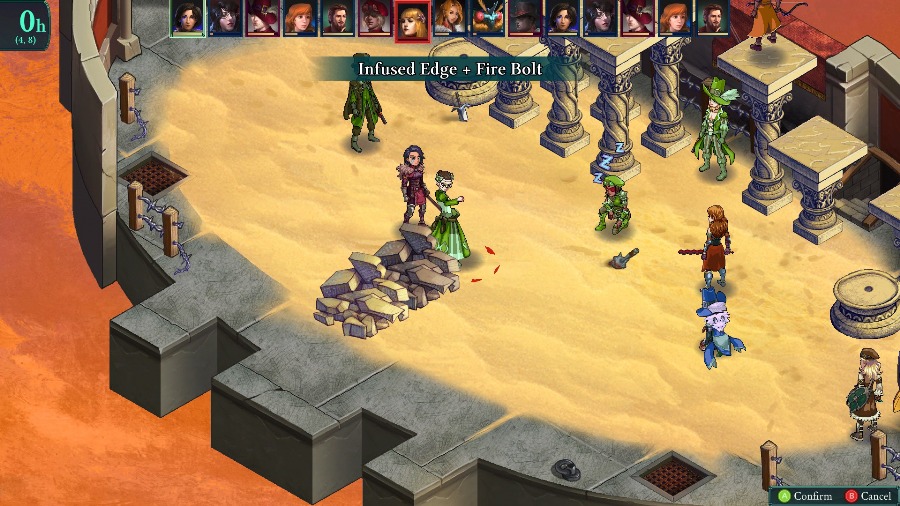
But Kyrie doesn’t care about the small boost and kills him through the shield with an Infused Edge.
And shortly thereafter, Sophia’s able to take out the weaponless Merc to end the fight.
This fight’s a bit swingier than the first one. While the enemies have nasty abilities and class combos, they’re generally less bulky than the Bzil were so a few good hits can weaken or take them out. Just need to be careful that they don’t blitz you down before that can happen.
You’d come out even if you quit here, but we’ll be continuing again. But because 4 battles are a lot to show in 1 update, we’ll be seeing the rest next time!