Part 62: Ancient Path II - Screwworm Swamp
Update 62: Ancient Path II: Screwworm Swamp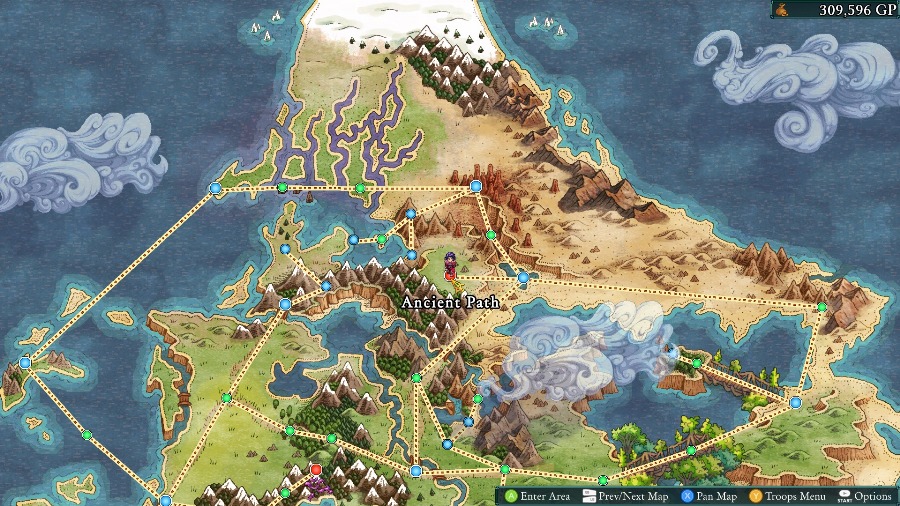
Welcome back! Last time we entered the Ancient Path and teleported with a mysterious stone. This time we’ll be continuing down the path to the 2nd map.
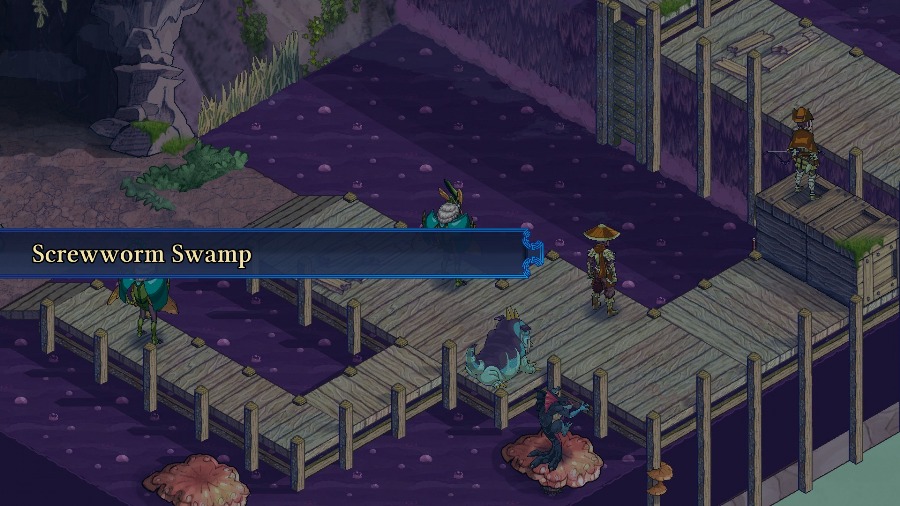
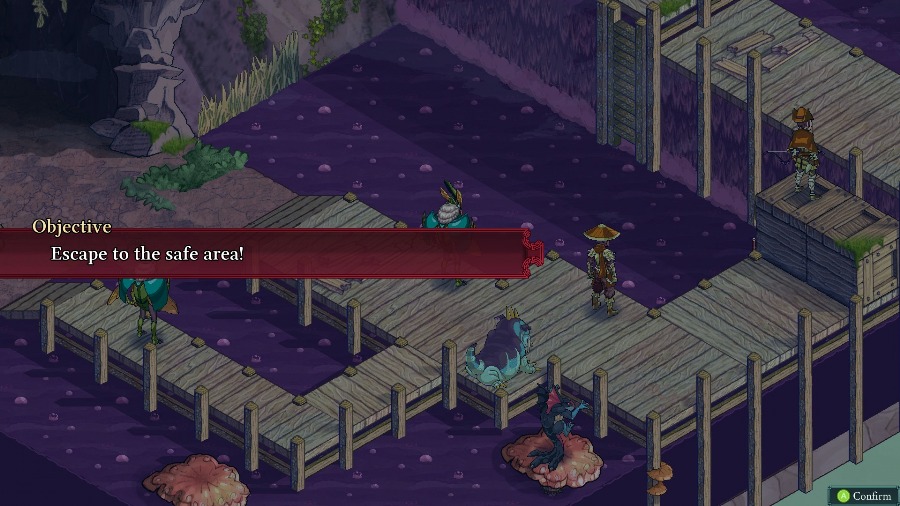
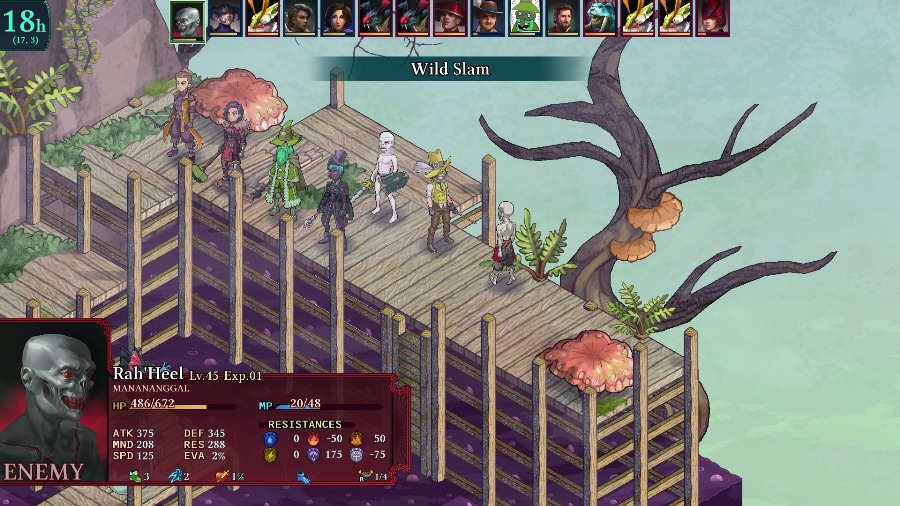
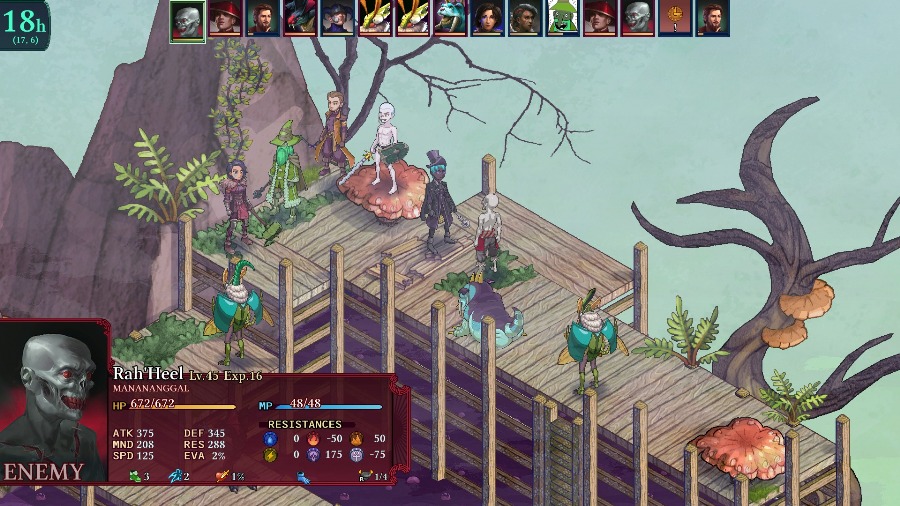
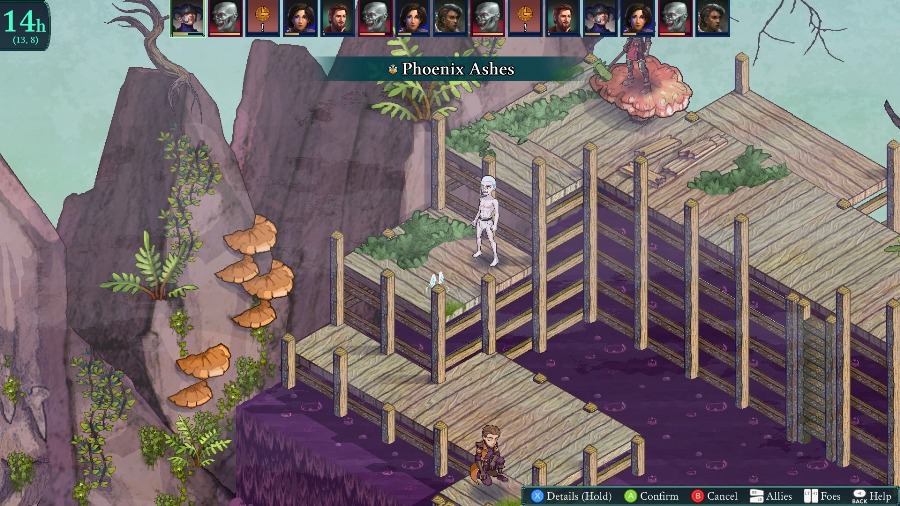
This one brings back the Escape objective, specifically to make it to the squares at the front of the cave in the west of the map. Enemies will continually spawn in on the right side of the map, but they’re Manananggals (high tier Cadavers) and thus are nowhere near as threatening as the Grues from the previous map were.
This map also takes a page out of Phougamouth Bog’s and Strangled Cove’s books with massive pools of poison all over it. Most, but not all, of the enemies are immune to poison and most of them can swim as well.
So in general, there are a few paths you can take for this fight: you can build the party to swim and rush through the poison pools, hoping to rush through things before getting overwhelmed, or you can take things a bit more slowly and follow the path as it winds around. For that one you’ll need to deal with mobile enemies able to hit you from relative safety and a growing wall of Manananggals in the way.
Or, you can do my preferred approach and basically castle up in the top. Kill the threatening enemies as they close in, then deal with the slow Manananggals as they spawn in.

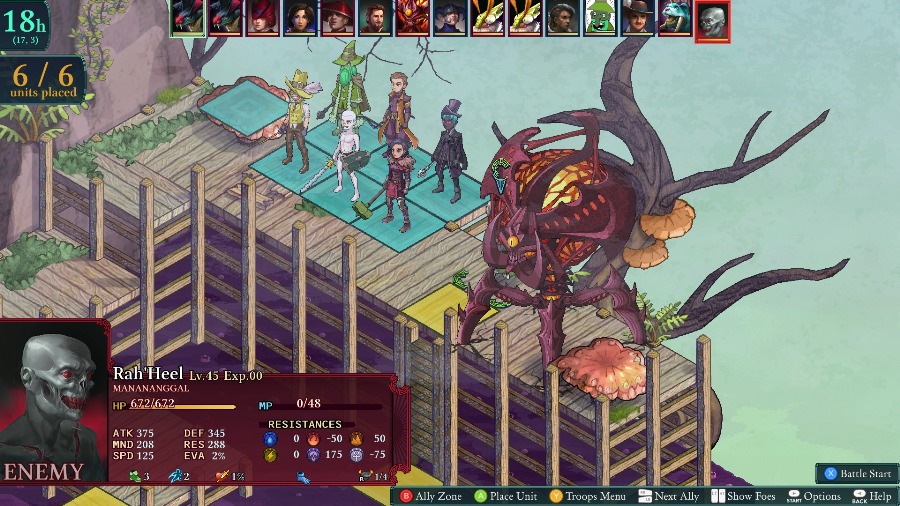
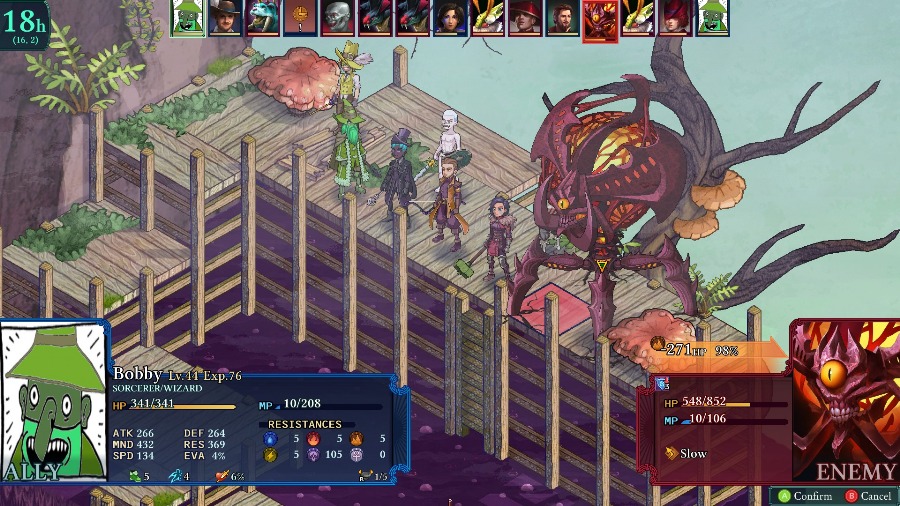
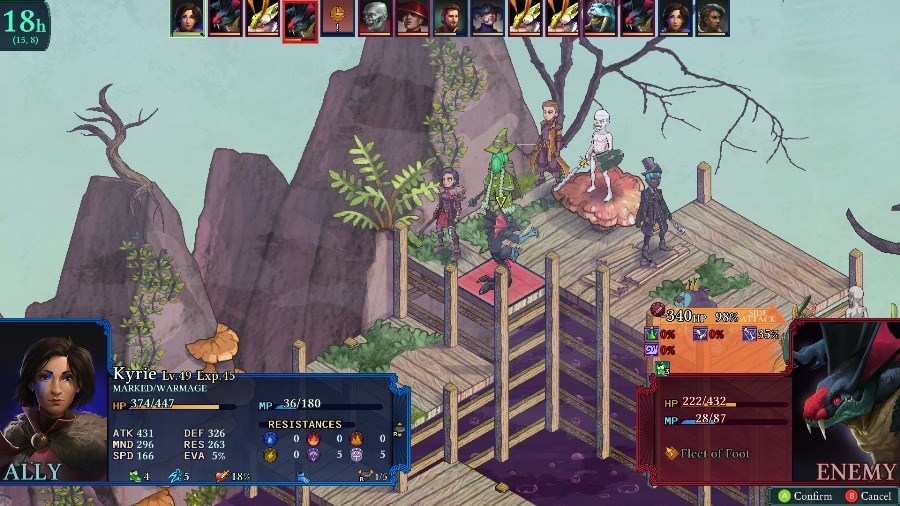
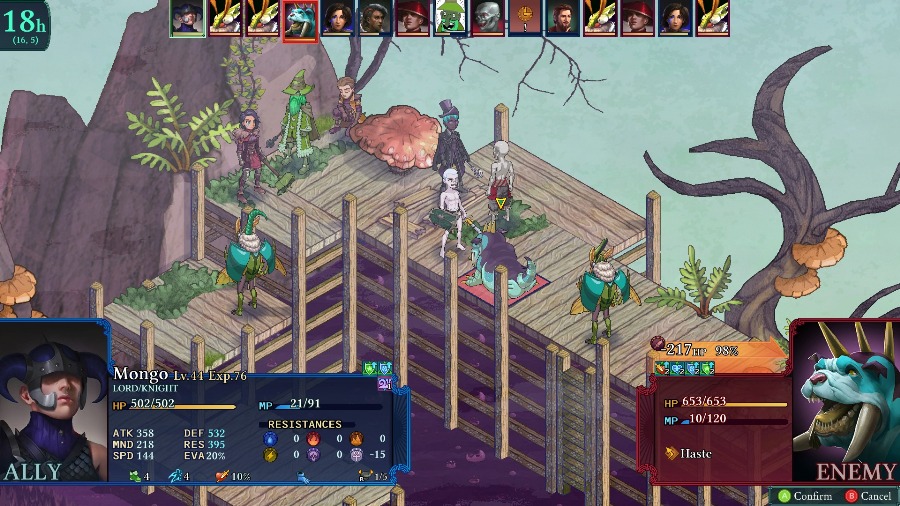
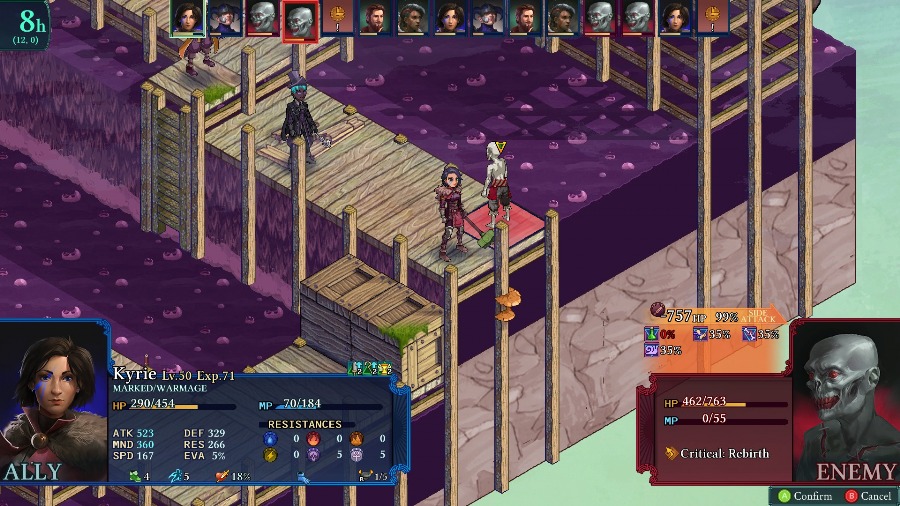
I’m bringing Kyrie, Mongo, Eustace, Selina, Reiner, and Bobby to round things out. A good bit of mobility and everyone except for Bobby can swim, so I won’t necessarily have to worry about people getting dunked in the water as I go.
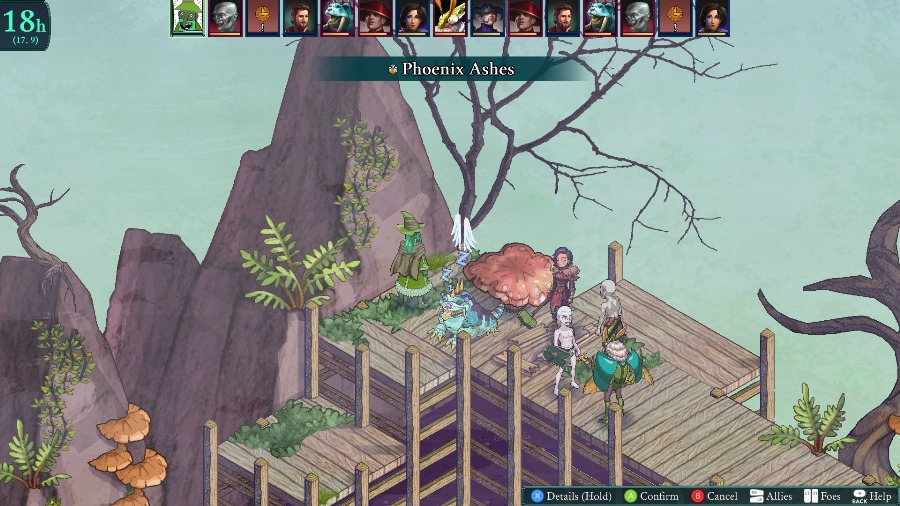
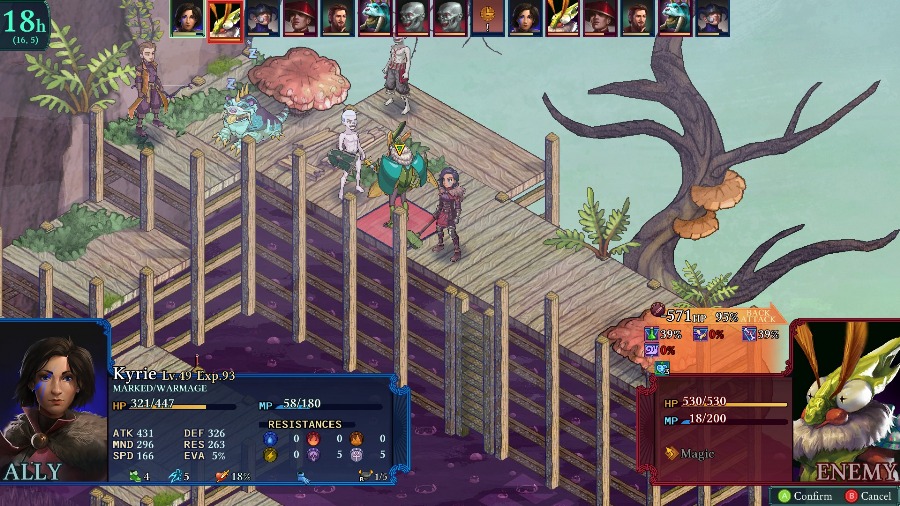
Up against us are an Aeoth and a hidden Manananggal near the top

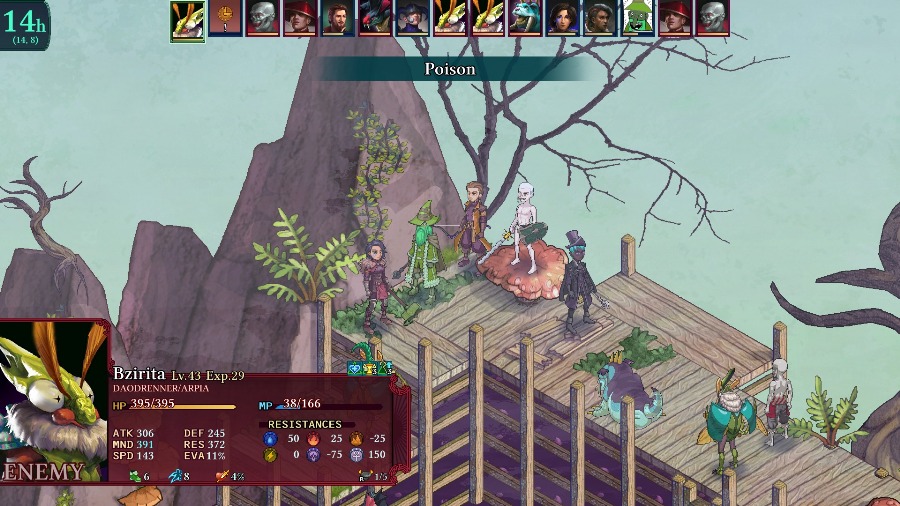
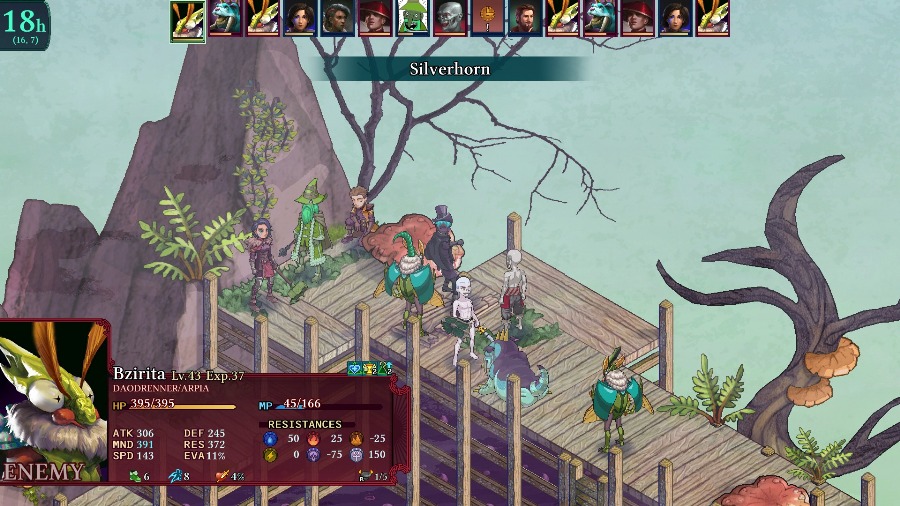
And 2 Bzil (a Daodrenner/Arpia and a Niwot/Pekite), a Storm Bulldralisk, 2 Grues (one hidden in the poison), a Duelist, and a Ranger. Most of these have some form of ranged attack and they just love to hang out in the poison while attacking.
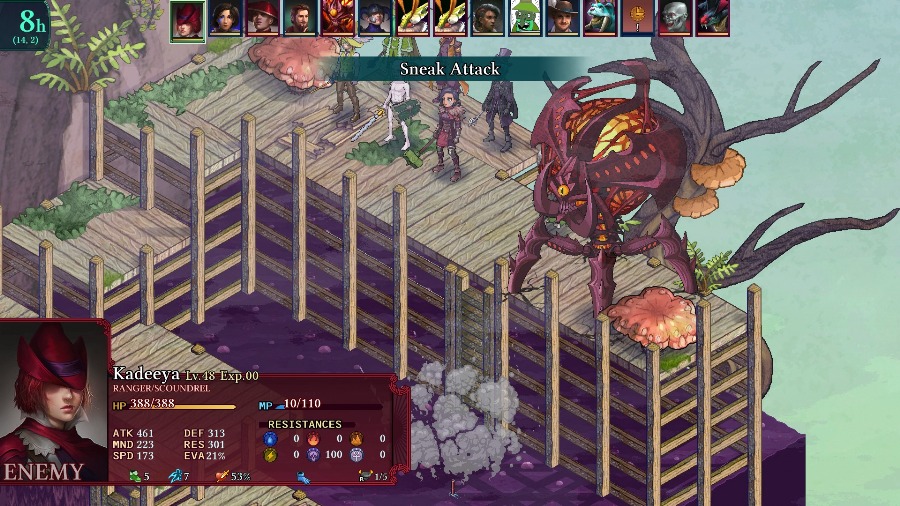
The Ranger starts the fight off by taking about 1/3 of Kyrie’s health with a sneak attack. Conveniently, the Ranger is actually not immune to poison, so they’re slowly killing themselves by sticking down there.
My first priority of the fight is to take out the Aeoth. It’s right here, basically unguarded, and can be a massive pain if you leave it be.
It takes essentially a full round of attacks from the party, but it falls before the rest of the enemies can close in.
But when they do close in, they hurt. This cast takes a big chunk out of Eustace’s health.
And he’s finished off by the Manananggal. I really don’t know why he keeps getting focused down. By now Eustace is pretty much the same level as everyone else and has pretty decent defenses.
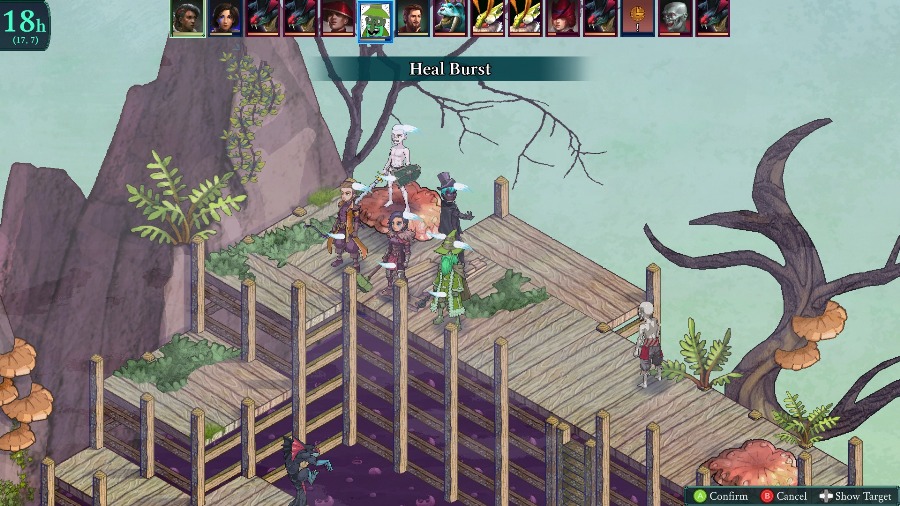
Selina heals everyone, with a focus on keeping Bobby alive through the incoming Grue.

One ignores Bobby and goes to stab Reiner instead.
While for some reason the other one runs back to the pathway and gets its buffs refreshed.


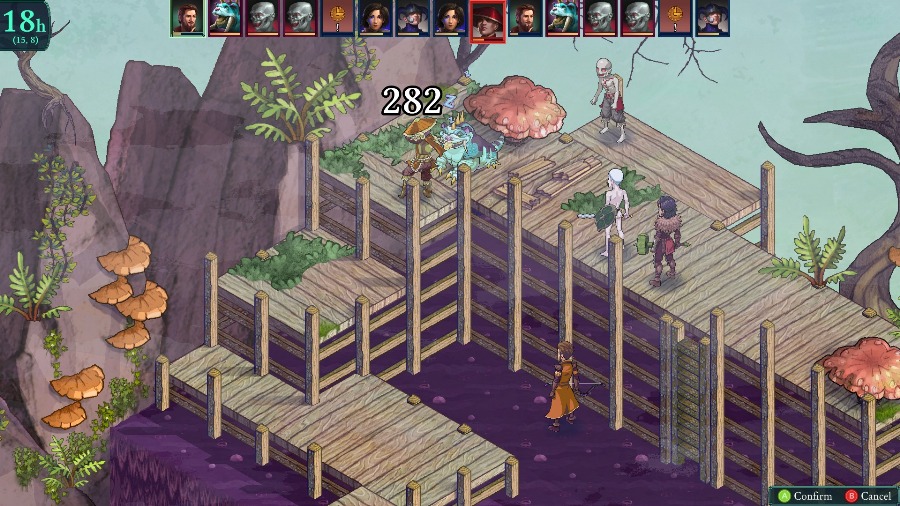
Bobby’s able to take advantage of the enemies grouping up to kill the Ranger and take out about half of the Niwot Bzil’s health.
Reiner crits the Grue to take out about half of its health.
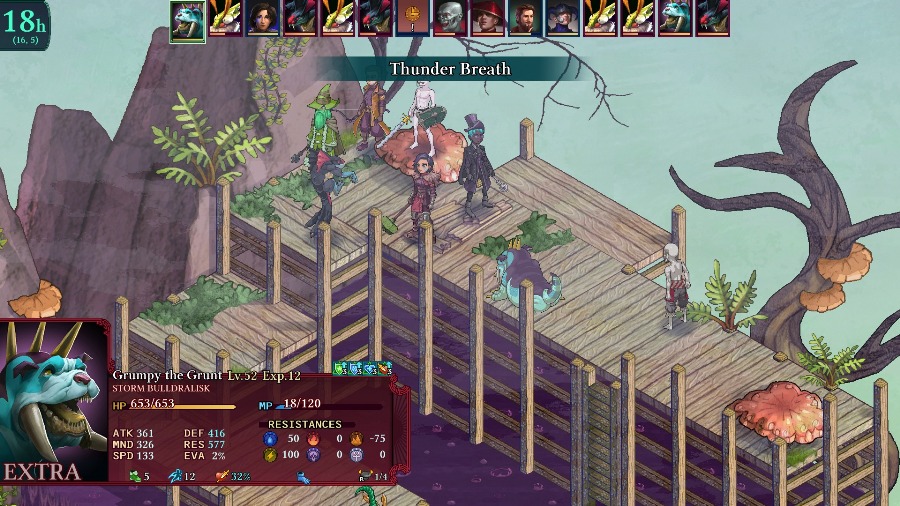
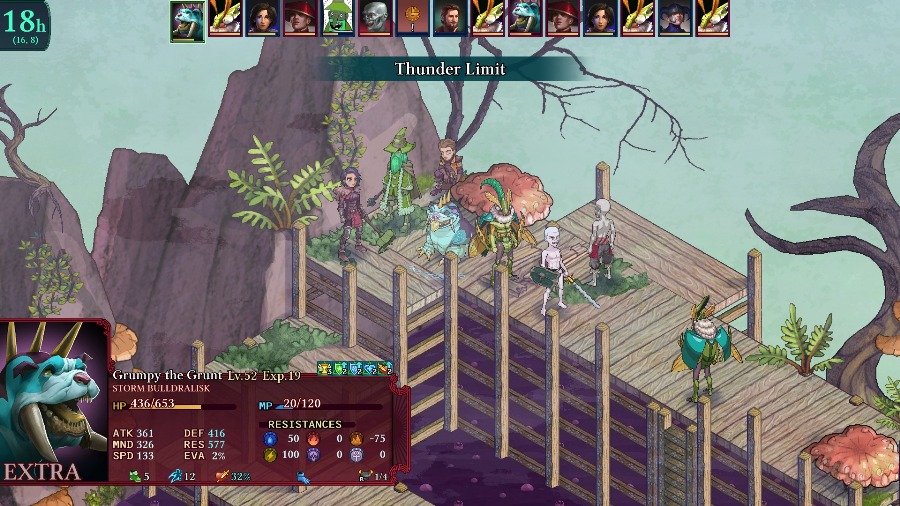
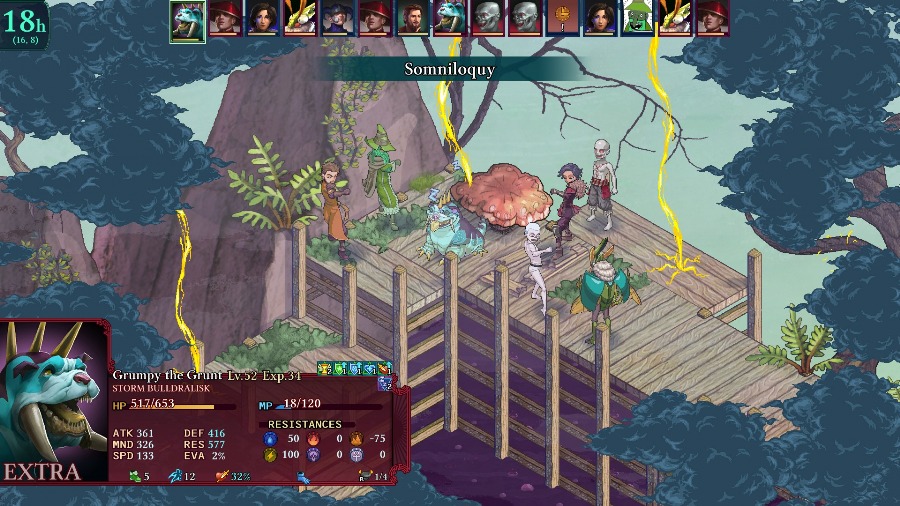
And the now very buffed Bulldralisk moves up to attack as well. Though it only does like 30 damage apiece to Kyrie and Selina.
And then Kyrie’s able to take out the weakened Grue, relieving a bit of pressure on me.
The Daodrenner Bzil moves up and nearly kills Reiner with a cast of Poison.
And the Manananggal gets a crit on its attack to nearly kill Selina.

Reiner’s in danger, but I decide to have him snipe (and 1-shot) the Grue.
While Mongo moves forward to block off the Bulldrake from the group.
But I forgot that Daodrenners are actually really strong with their magic attacks, and this one kills Selina.
And the Bulldrake uses the hole let by Selina to run into the group and blast everyone, killing Reiner and destroying Bobby’s MP shield. This leaves Bobby open to get nearly killed by the Niwot Bzil.
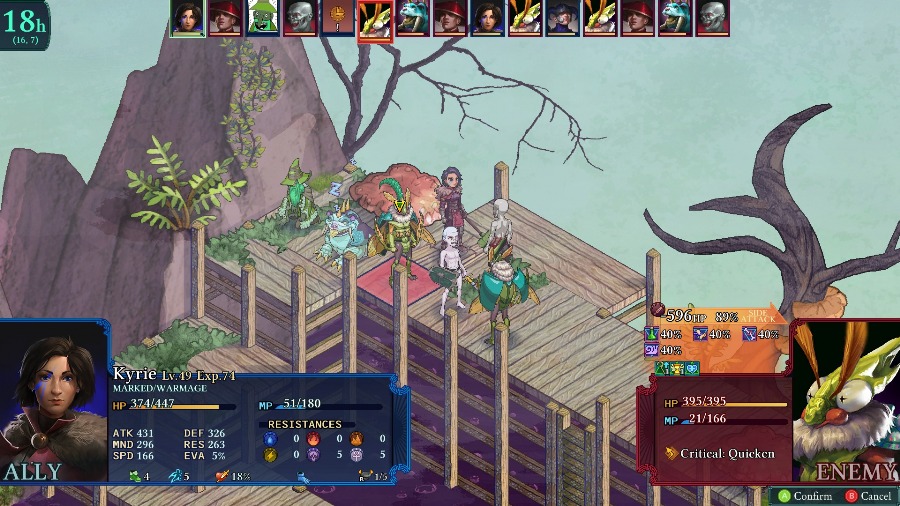
Thanks to the damage boost from Avenger, Kyrie’s able to overkill the Daodrenner Bzil, which is great because I for sure cannot have it running around any longer.
Instead of healing himself, I have Bobby revive Reiner and then have Reiner heal himself.
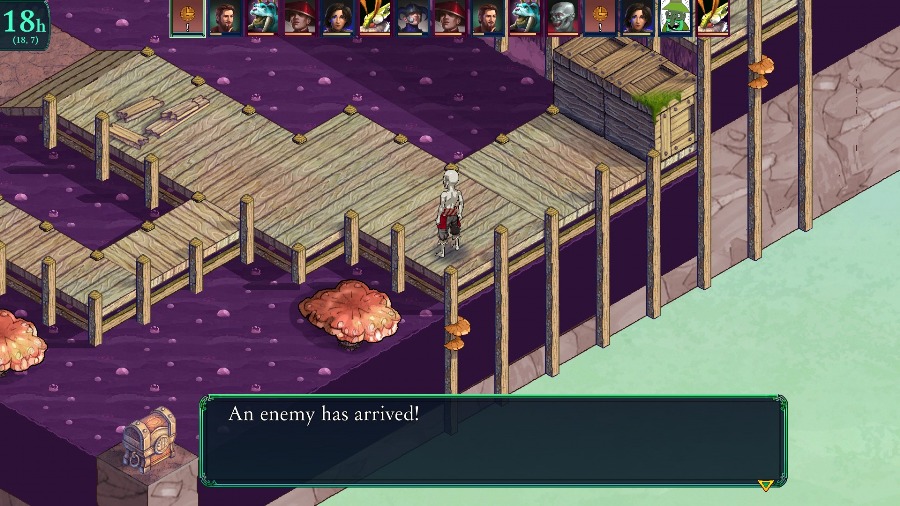
We also have our first reinforcement spawn, though this one’s pretty far away.
I thought the Duelist was too far away, but apparently Bobby is just in range and gets killed after the Bulldrake wipes out his MP shield.
Kyrie does a bit to turn the tide as she kills the other Bzil.
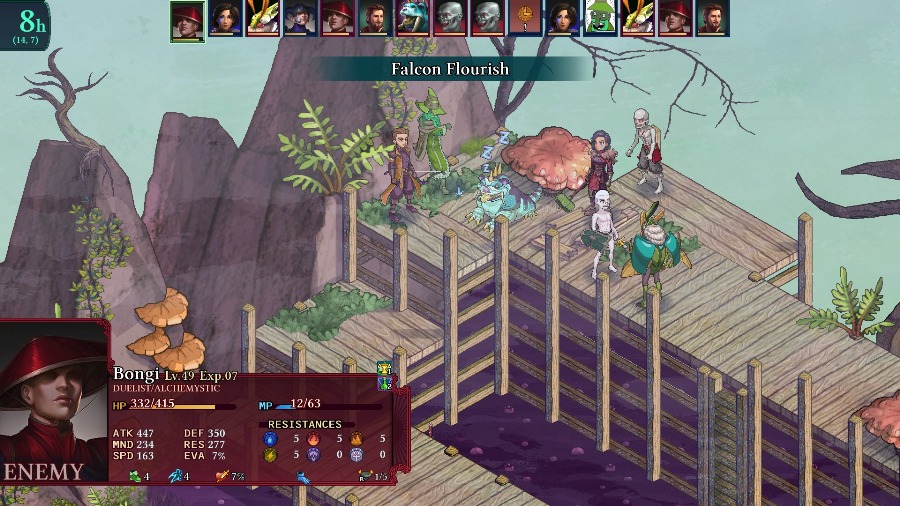
And soon afterwards Reiner crits and kills the Duelist.
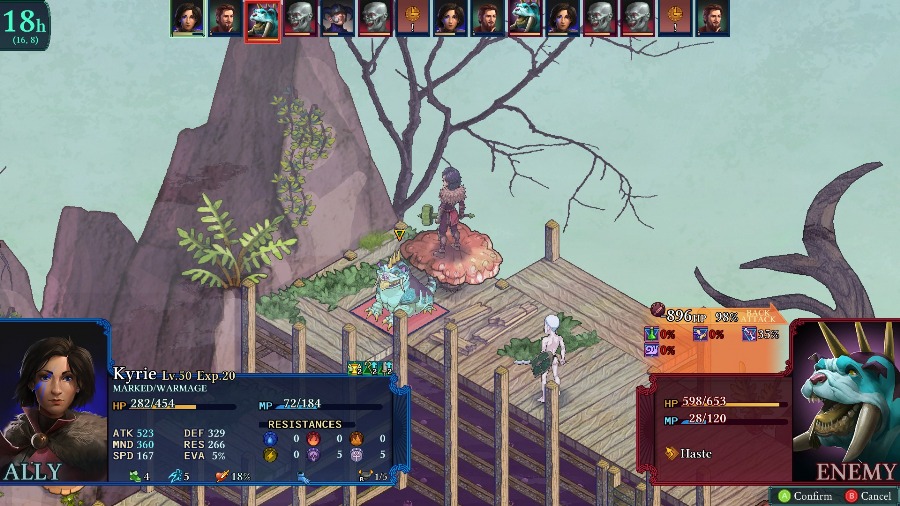
It takes a little bit, but Kyrie, Reiner, and Mongo cooperate to kill the Bulldrake. Now the map is basically over, since the Manananggals are pretty nonthreatening on their own.
I bring Selina back for the heck of it.
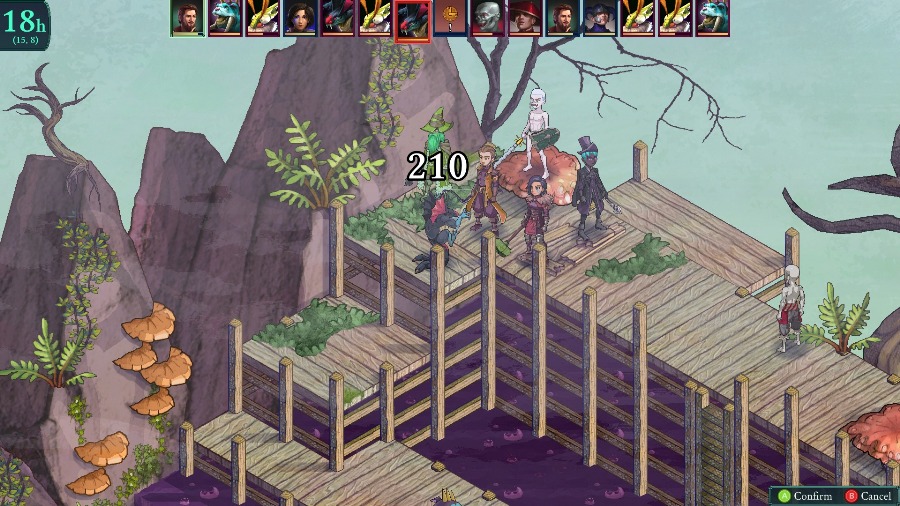
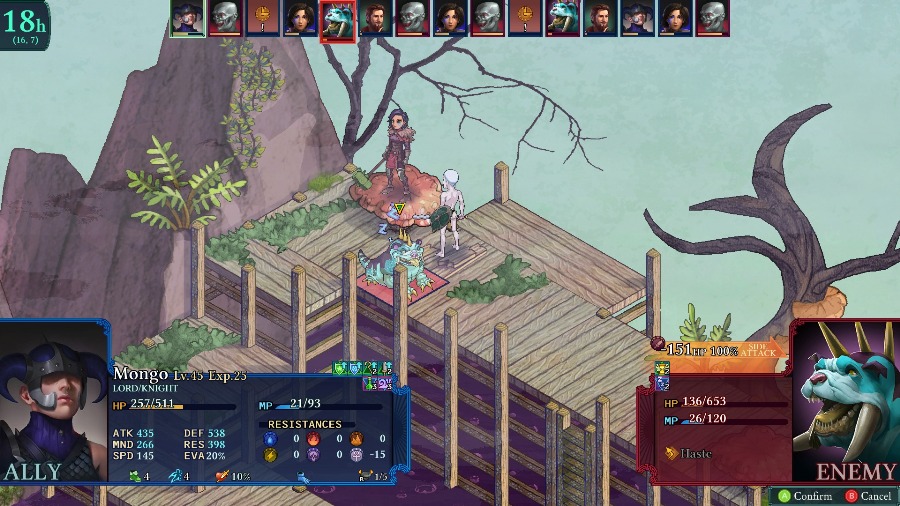
Obliterate a few Manananggals.
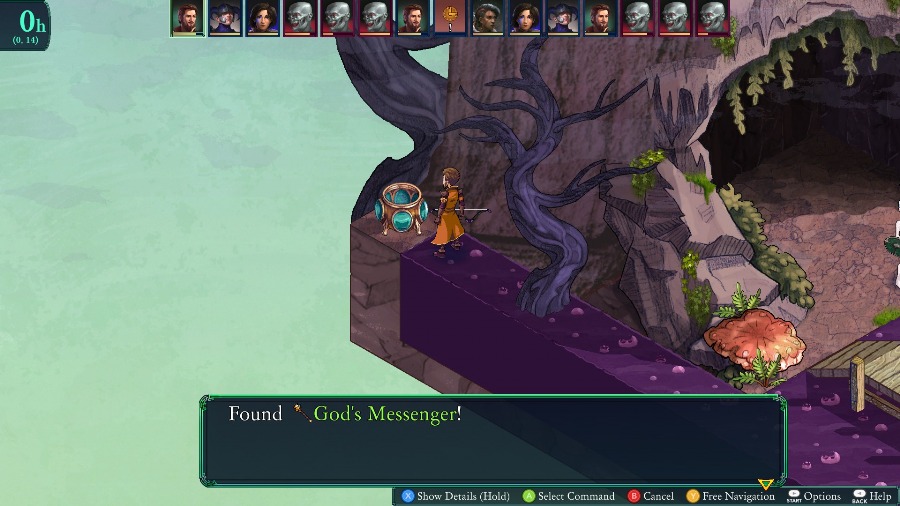
And get the special chest hidden in the back corner. You need floating for it, but it is a great find. The God’s Messenger is the best Mace in the game with pretty big stat bonuses on every stat but a slightly low attack value (at least compared to other end game weapons). The real bonus on this, though, is that it grants the wielder permanent, undispellable Haste which is huuuuugely useful.
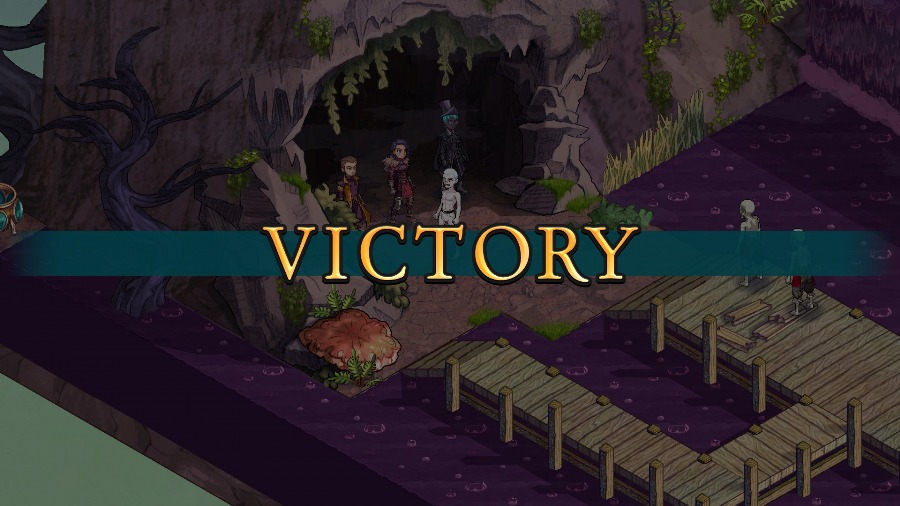
But eventually we make it to the cave, leaving like 5 or 6 Manananggals trailing behind.

Compared to the first map, this one’s a lot easier. The enemies are generally a little less threatening, it’s a lot easier to separate groups out, and the reinforcements are pretty much nonentities.
I think that if they wanted to make the difficulty more comparable to the first map, they need to give some incentive to actually rush through the map. Whether it’s a turn timer, another Aeoth/Sorcerer, or just changing the reinforcement spawn locations, there needs to be something so that prevents you from turtling until the difficulty disappears.
Anyway, with that done we’ll next be heading to the 3rd area of the Ancient Path: the Decaying Depths.