Part 63: Ancient Path III - Decaying Depths
Update 63: Ancient Path III: Decaying Depths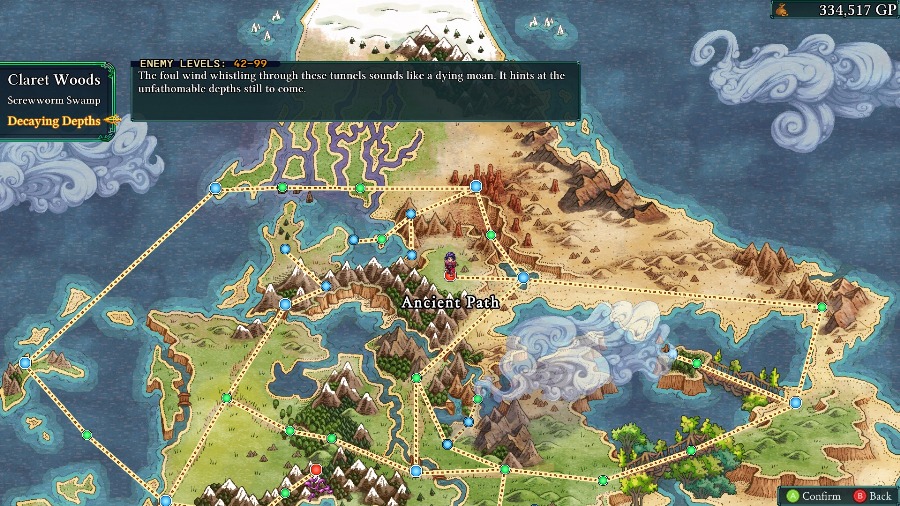
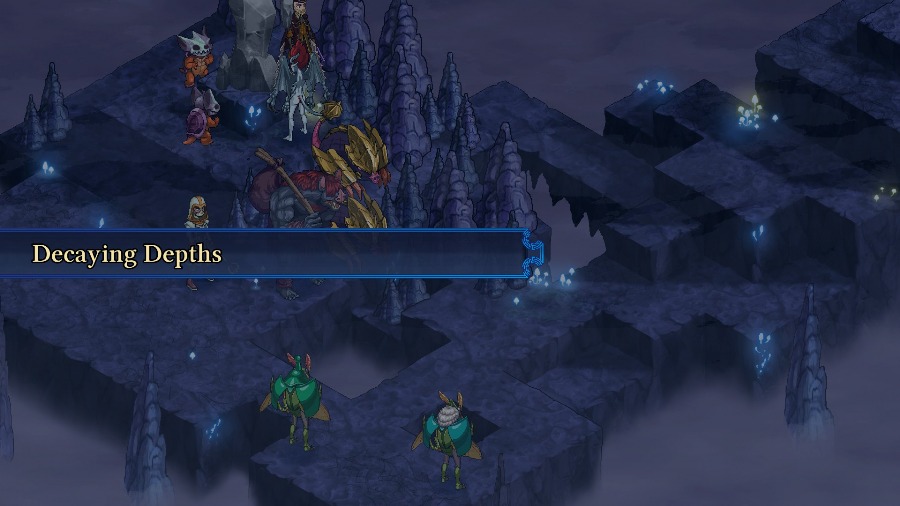
Welcome back! We’ll still be continuing down the Ancient Path, this time headed through the 3rd level, the Decaying Depths.
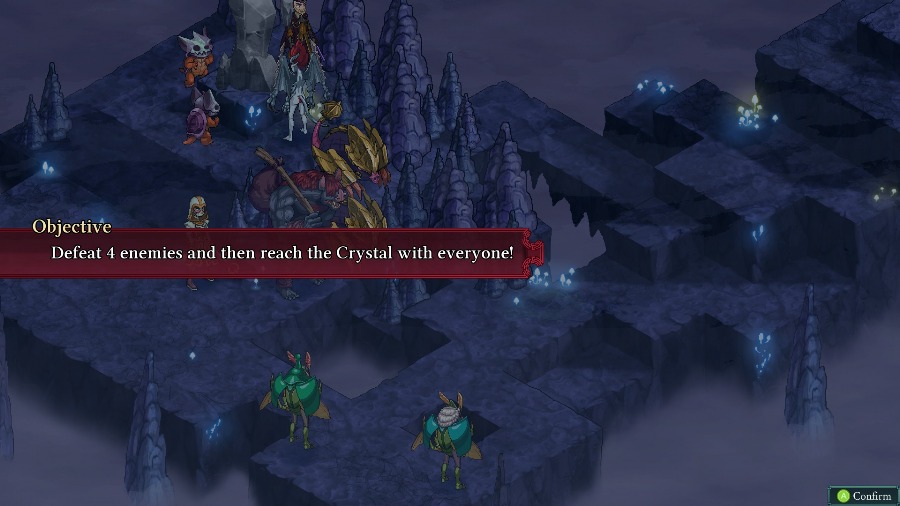
This map is another “reach the Crystal” fight, but since there are no reinforcements there’s no point in rushing through.

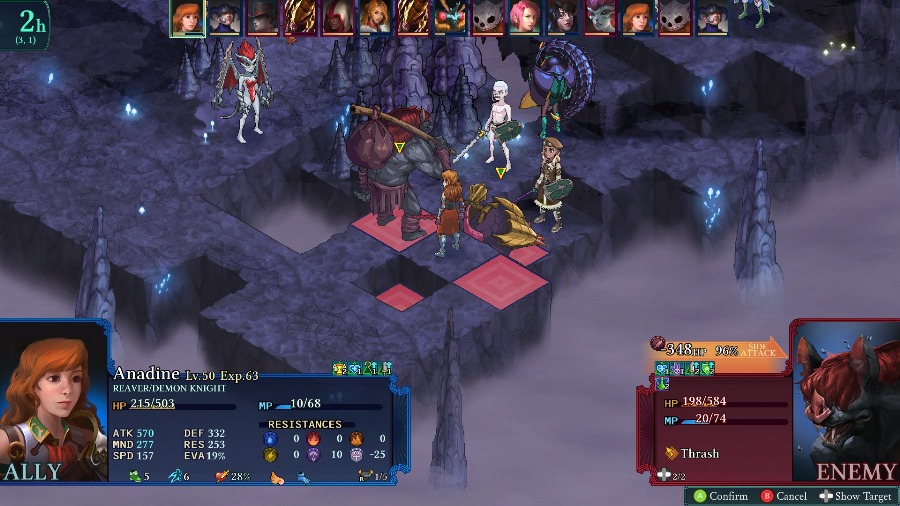
For the fight I’ll be bringing Anadine, Bzaro, Mongo, Azure, Sophia, and Hannah.
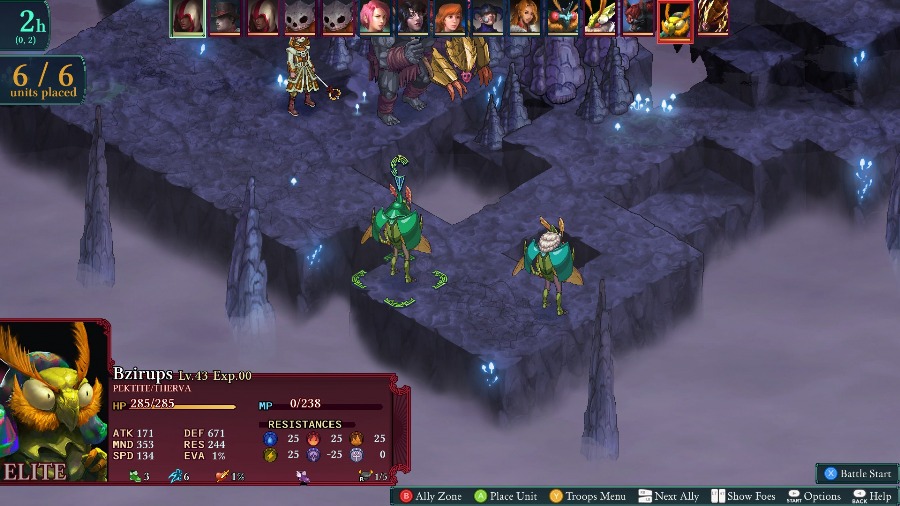
Up against us are 2 Bzil,
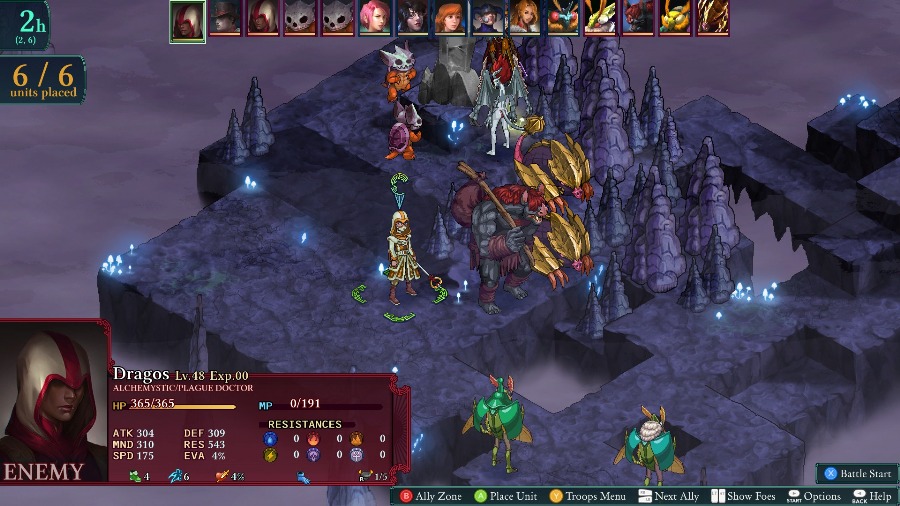
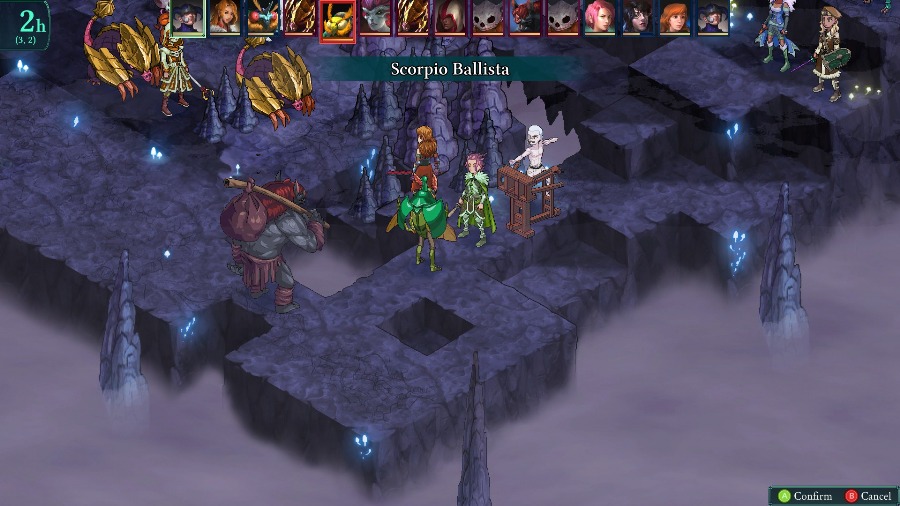
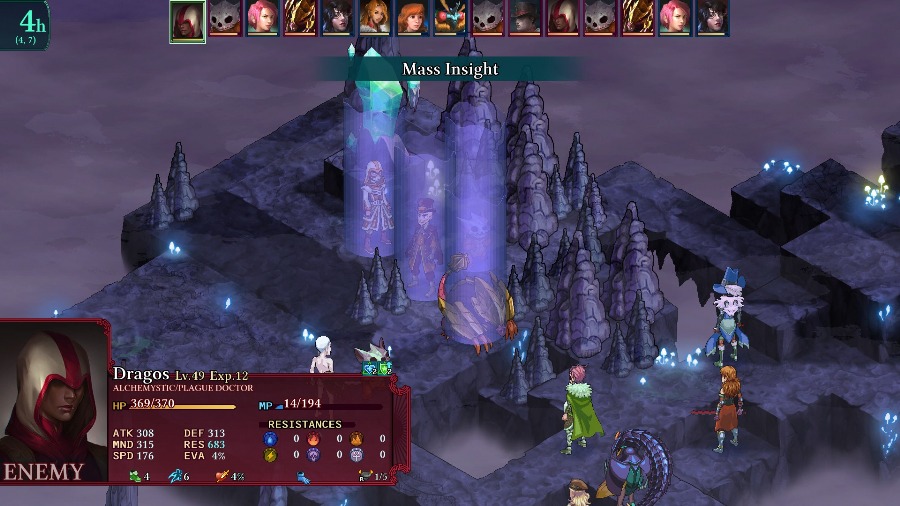
An Alchemystic, a Desmogr, 2 Adamantrogs, 2 Undead Kawa Warriors, a Domincubus,

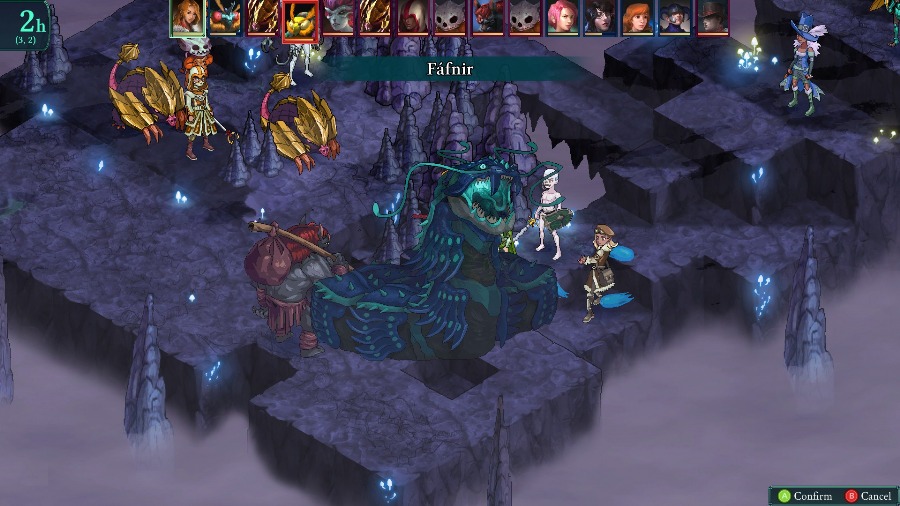
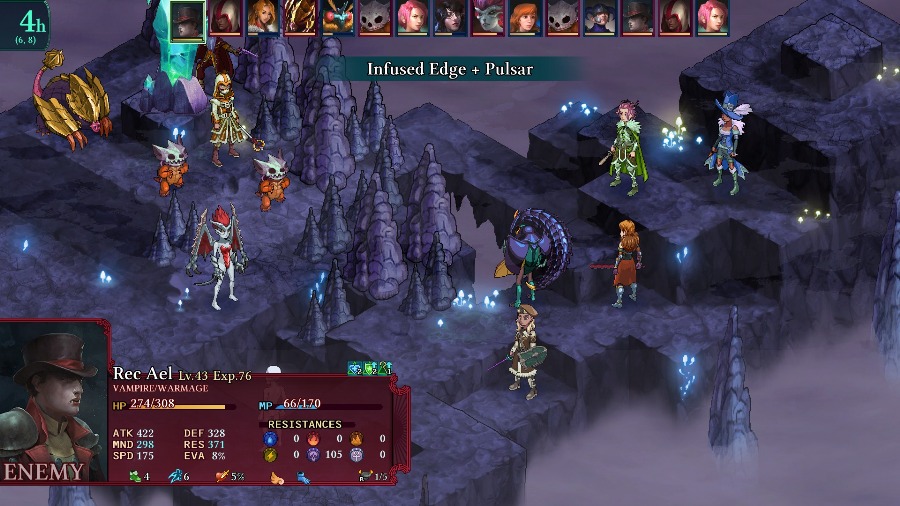
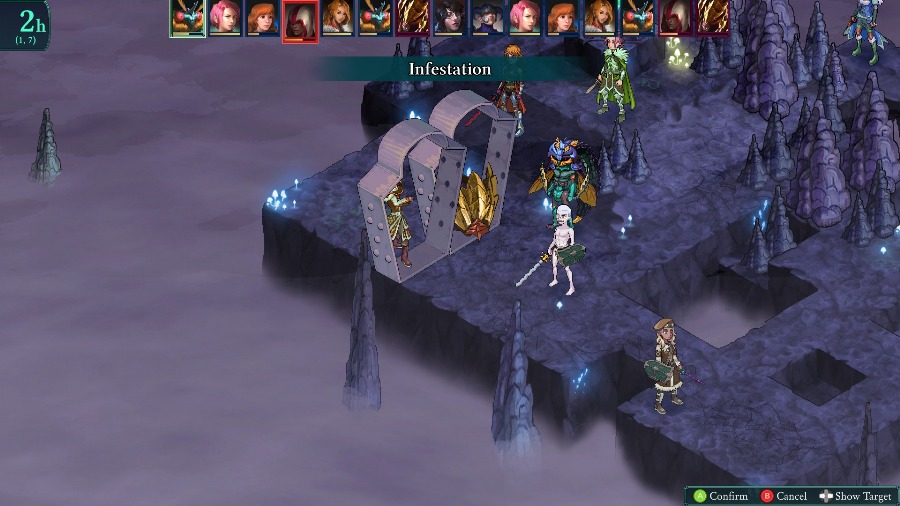
And the centerpiece of the fight, this guy. This Vampire/Warmage is set up to really take advantage of the terrain, with dual-wielded guns and easy movement around the center area. They have the Leech Mana passive to both get more MP and keep your MP low and can pop in a few Vampire abilities (Soul/Blood Suck and Blood Nova) to the Infused Edge combo, giving them a good bit of versatility depending on what they want to do.
In general, the challenge of this map is that there are a good number of ranged attackers able to hit you from relative safety while the bulky melee units block the path to them. There are a couple ways to go about dealing with them. First, and probably the smartest, is have a powerful unit that can fly/teleport, then have them take out or distract the ranged attackers while the rest of the party deals with the blockers. You could also have your own ranged units focus them down. Or you can do what I just end up doing and face tanking everything with liberal healing.
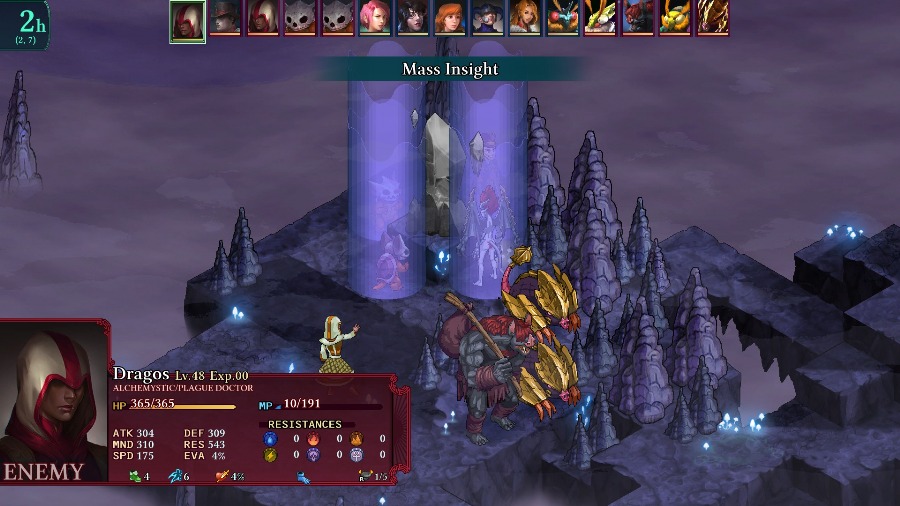
The enemy starts the fight off by buffing all of the enemies around the crystal,

And the Vampire does the first damage, taking a potshot at Bzaro (just a regular attack though).

I move up a bit in preparation for Mongo’s Rally buff, since the haste and damage boost will be very helpful.
There’s a LOT more buffing on the enemy side.
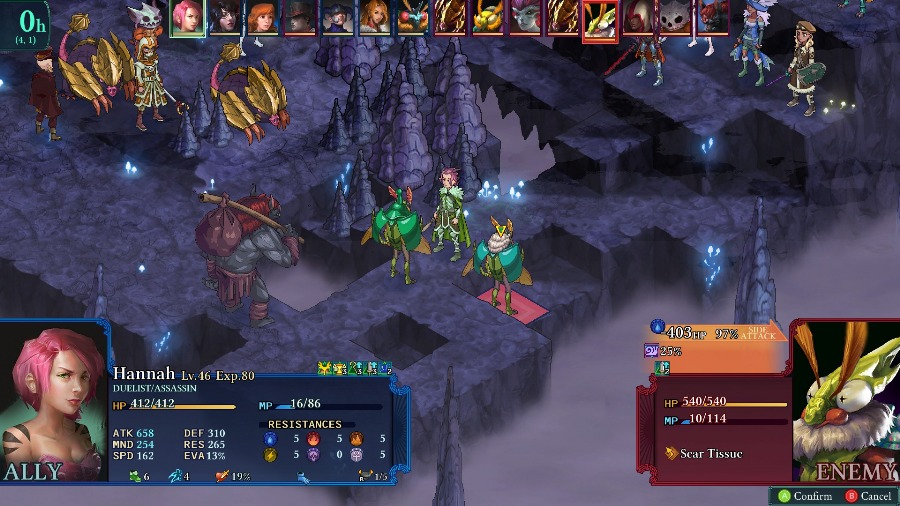
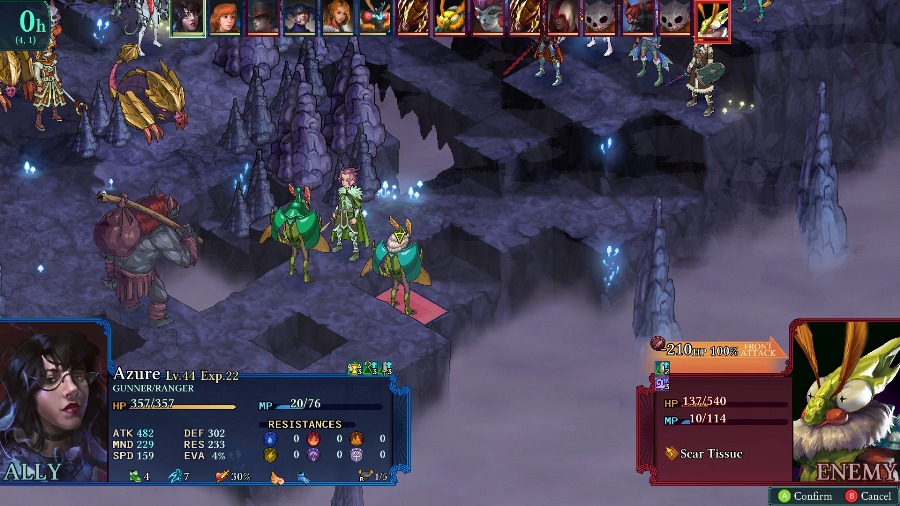
But eventually I start fighting back as Hannah takes a big chunk out of one of the Bzil and Azure quickly finishes it off.

While the Vampire hits Mongo instead of anyone who’d care.
Mongo and Sophia work to weaken the other Bzil, with Sophia dealing over 400 damage in a single spell.
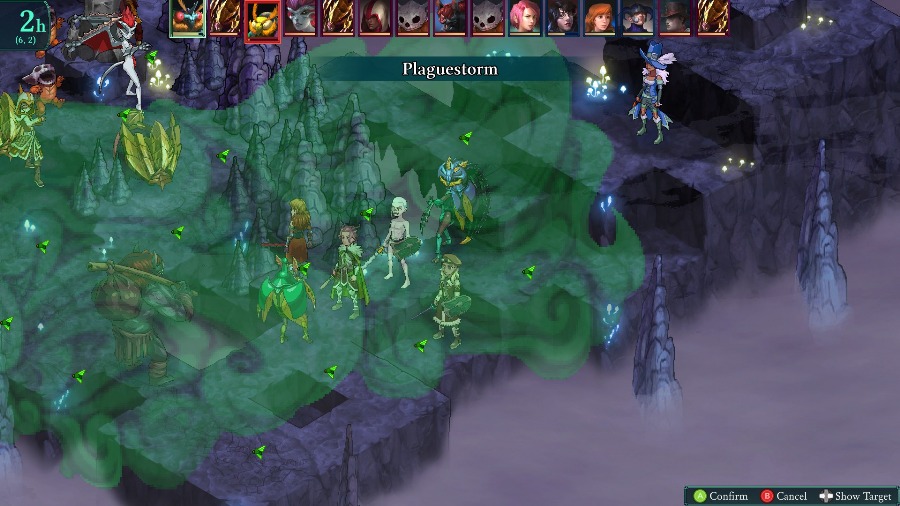
Leaving the Bzil weak enough for Bzaro to kill as he hits everyone with a Plaguestorm.
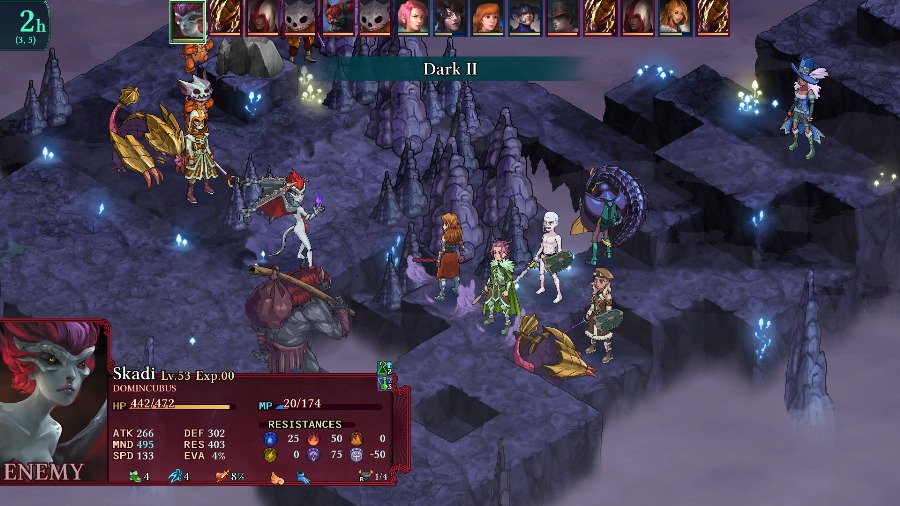
The Domincubus finally makes a move and takes a big chunk out of Anadine with a cast of Dark II.

Followed up by the Alchemystic hitting most of my units with a cast of Soul Tendrils. Soul Tendrils has a pretty high damage modifier, so this actually does quite a bit of damage to everyone despite the Alchemystic’s middling MND stat.
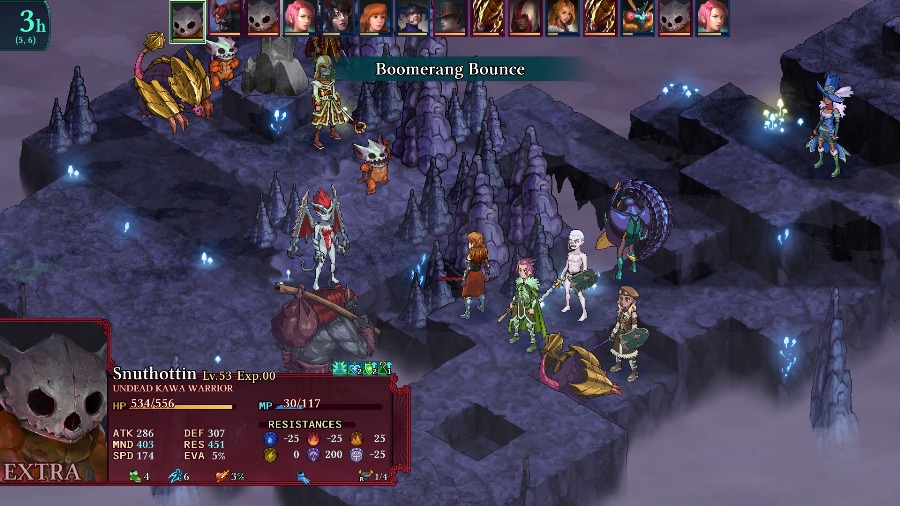
Continuing the ranged barrage, Anadine gets shoved into Hannah twice by the two Kawa.
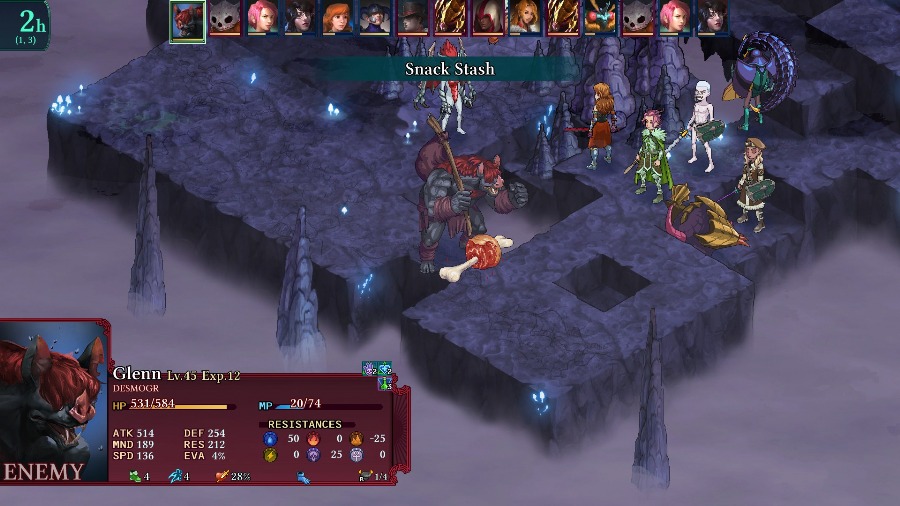
And thankfully the Desmogr decides to buff itself instead of running up and smashing Hannah’s face in.

That leaves Hannah free to weaken the Adamantrog and then retreat back a bit for Azure to hurt the Desmogr.
Leaving them both in range of getting killed by a Wild Swing from Anadine. The Domincubus across the gap is just a little too far away for her to reach so she just retreats and heals a bit instead.

Those kills were enough to trigger the crystal, so if I reached the crystal I could hypothetically leave right now.
Despite being pretty low on health, Bzaro barely survives a Pulsar combo from the Vampire and I have Sophia use her turn to heal him up.

While Bzaro keeps spamming debuffs on everyone, Hannah kills the Domincubus from range with an Assassinate.
There’s a little bit of a lull as my melee units move forward and I attempt to weaken the remaining Adamantrog.
But the enemy uses a full potion on the trog and then buffs it, making my efforts at least temporarily in vain.


But I shift targets to the Vampire, and a quick combo from Azure and Sophia is enough to take them out.

The remaining enemies obviously keep fighting, but the main damage dealers are gone so it’s mostly mop up by now. Especially since I still have a full party.


And after a little bit they all fall.
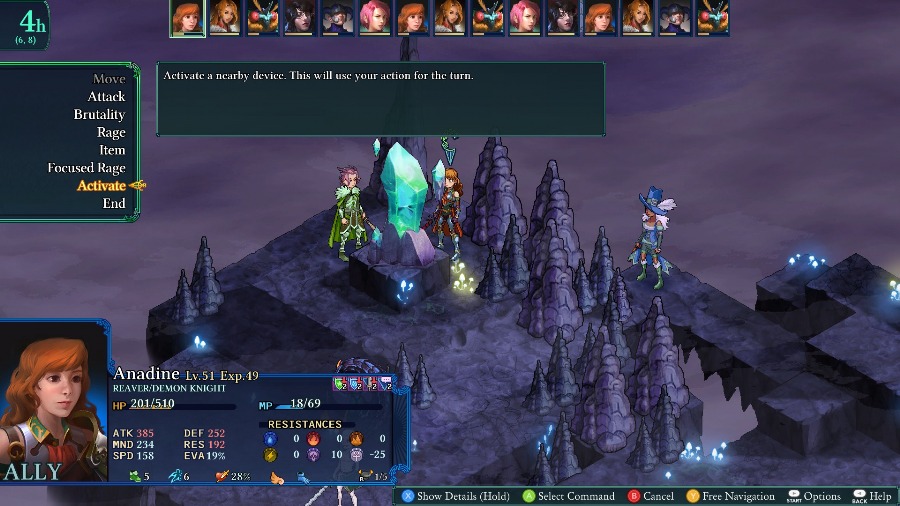
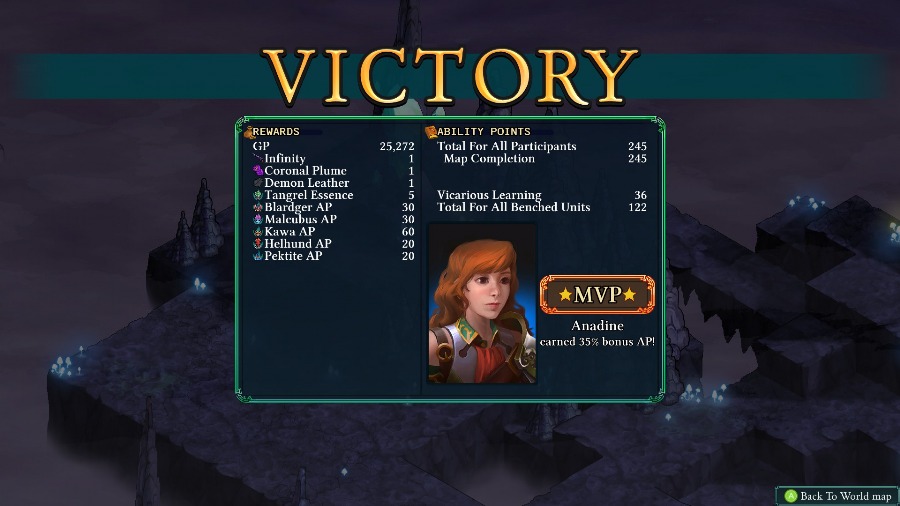
With the fight done, I teleport out shortly afterwards. As a reward, we get an Infinity, the best gun in the game with both the highest attack and an extra 3 squares of range over the 2nd best gun.
Overall, even though I just kinda face tanked the enemies, this map wasn’t too hard. The Vampire and Desmogr can be a pain for burst damage but you can distract the Vampire by weakening nearby enemies or just keeping people healed, and the Desmogr is slow enough that you can at least hurt it before it closes in. The pressure from the other enemies can be annoying but they rarely do enough burst to take someone down without the majority of the enemy party focusing on one person.
Next time we’ll be seeing a very similar area, though one that I think is much more difficult than this one, as we head through the Fetid Depths!