Part 64: Ancient Path IV - Fetid Depths
Update 64: Ancient Path IV: Fetid Depths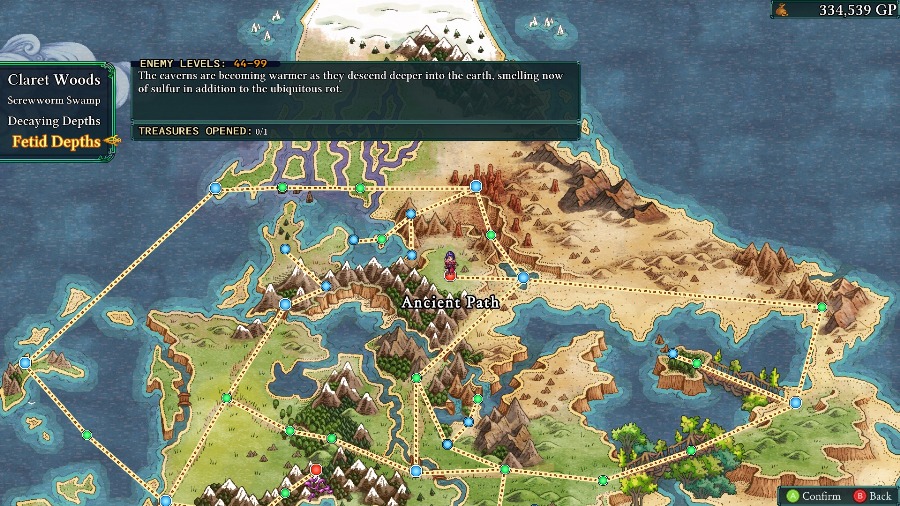
Hello and welcome back! We’re just about at the halfway point of the Ancient Path by now, and this time we’ll be continuing into the Fetid Depths.
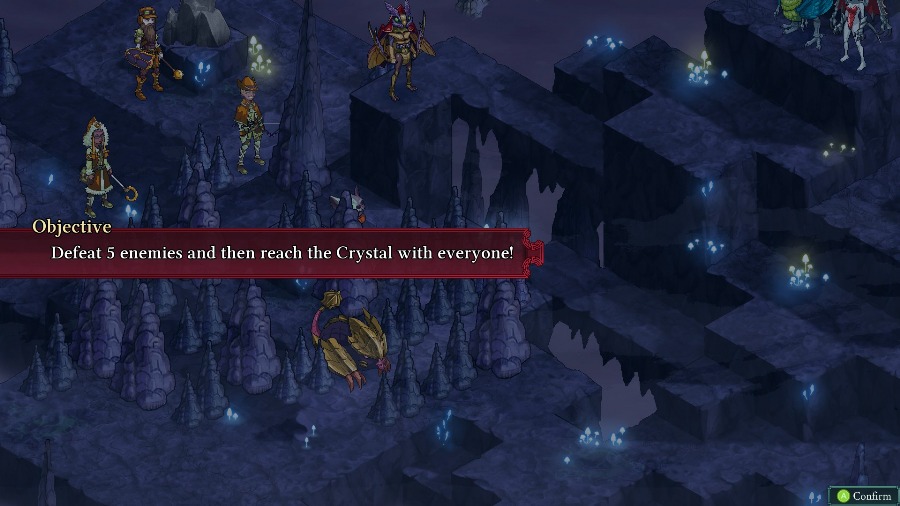
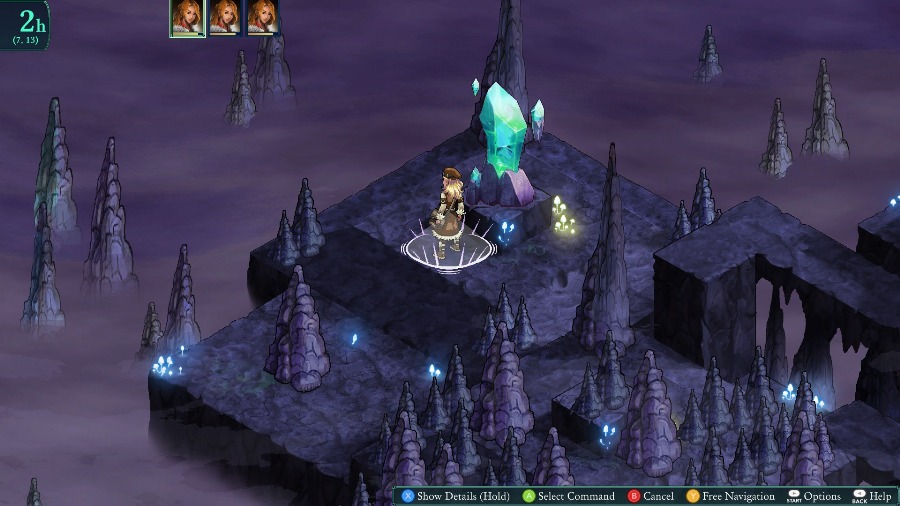
Continuing with the theme of the dungeon, this is yet another Crystal map. This map is overall very similar to the previous map, but is much more difficult in my opinion.
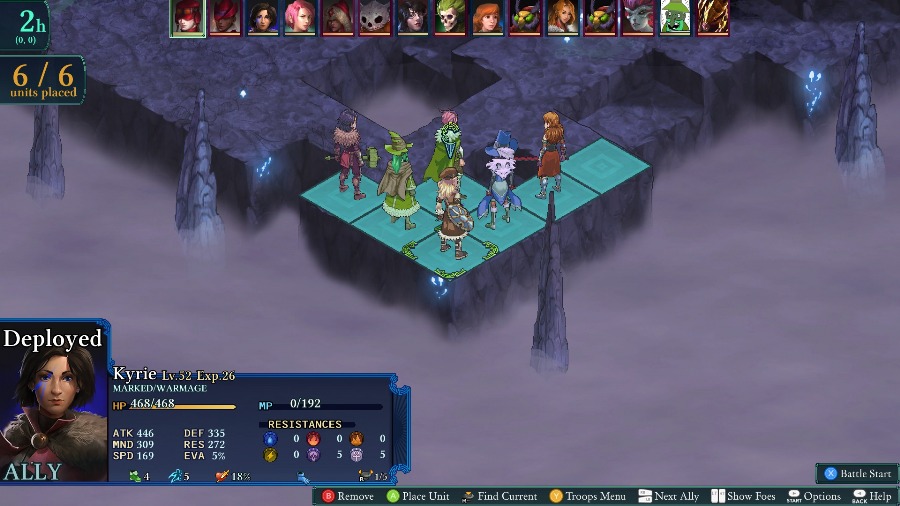
After a few tries, my successful team for this map was Kyrie, Hannah, Bobby, Azure, Sophia, and Anadine. My main priority with this was to be able to focus down specific enemies to reduce incoming damage before things go totally wrong.
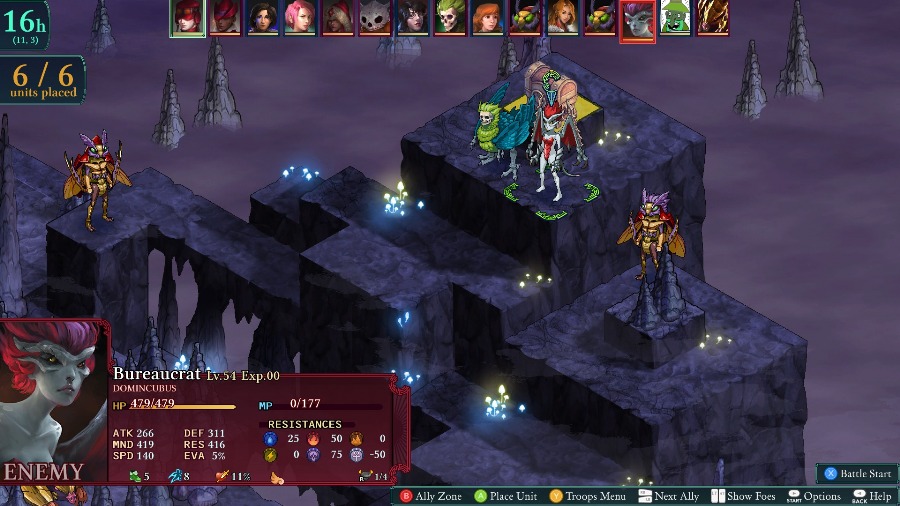
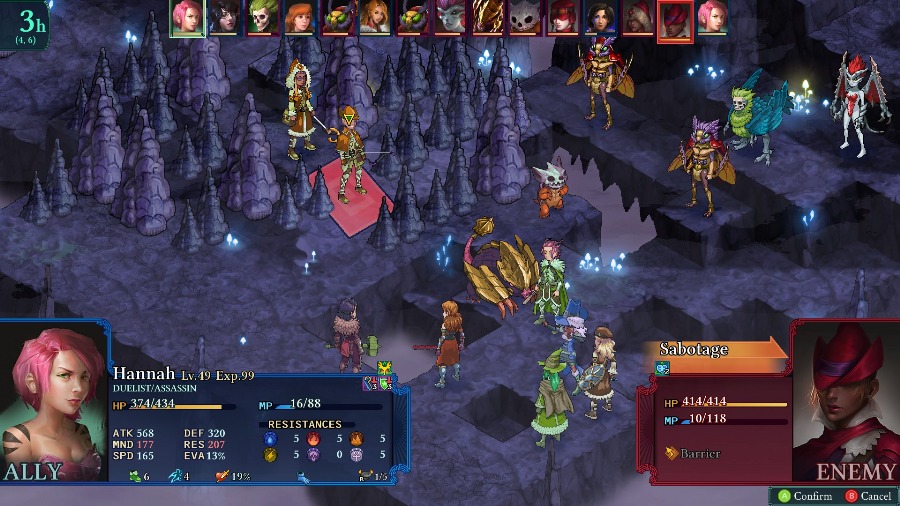
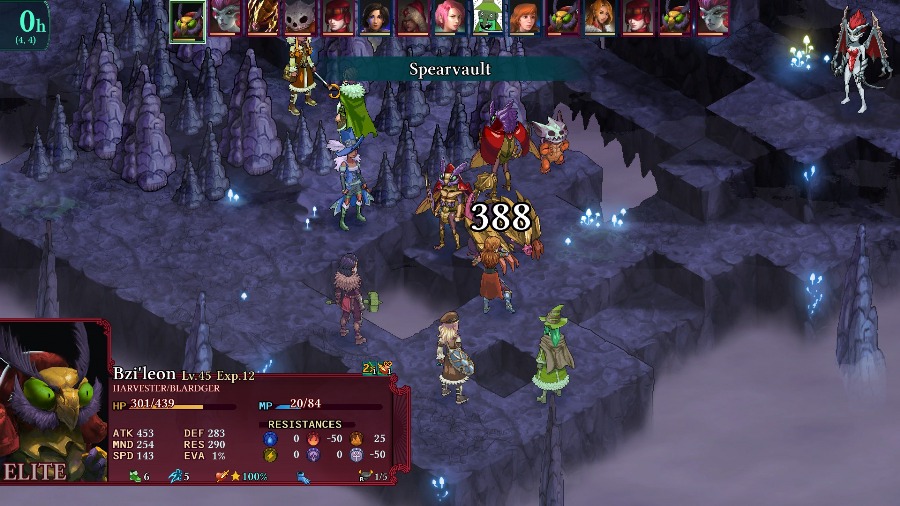
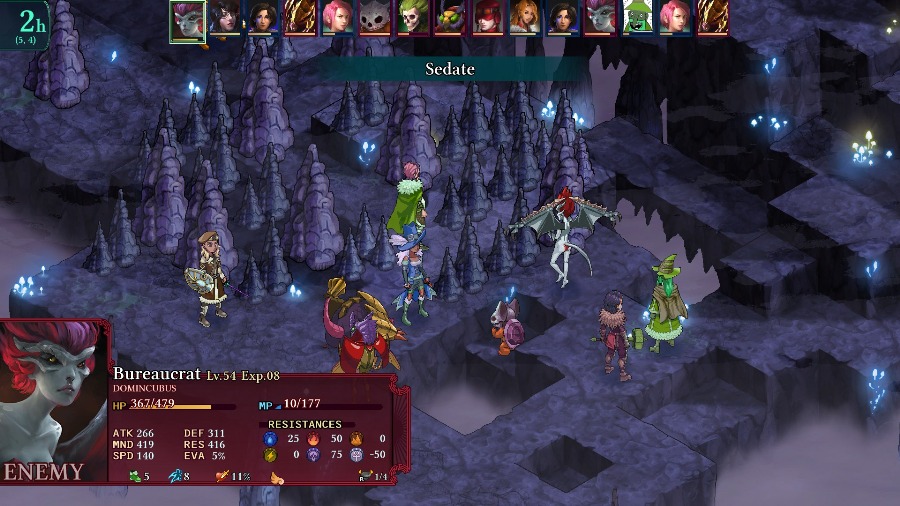
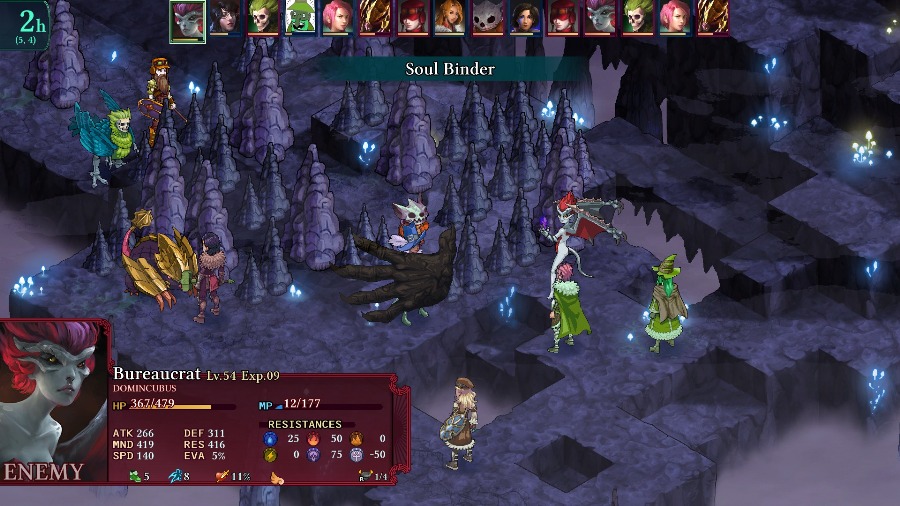
Up against us this time are 2 Bzil (Harvester/Blardger and Arpia/Harvester), a Domincubus, and Undead Arpia,
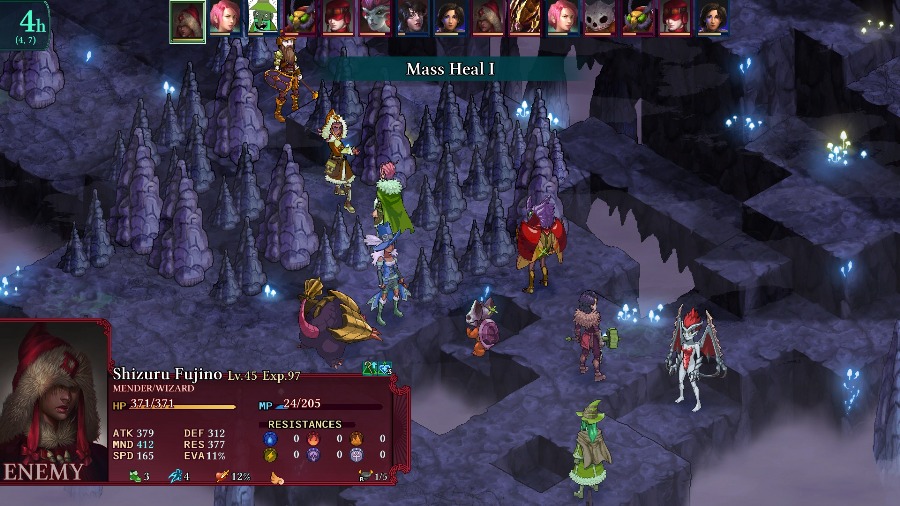
An Adamantrog, a Mender/Wizard with massive range boosts and high stats, a Gadgeteer/Sorcerer, and what I found to be the big threat of this map, the Ranger/Gunner. With just stats they’re okay, but they have a 50% crit rate, boosted damage on crits, and the Gadgeteer often seems to totally dedicate themselves to supporting the Ranger. The Ranger and the Wizard also have the Vampire’s Bat Form passive, so they can really take advantage of the terrain.
Like the previous map, this one is centered on some ranged attackers able to hit you from safety, just with more threatening enemies and a longer path to walk around.
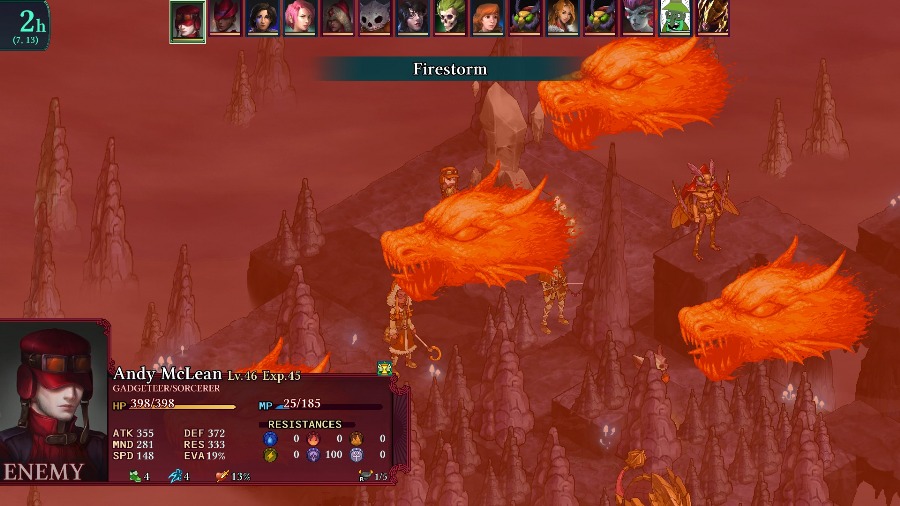
Literally the first move of the fight emphasizes this, as the Gadgeteer hits everyone with a Firestorm. They don’t have a super high MND stat so it doesn’t do that much damage, but it’s still annoying. Anadine and Kyrie counter back with status effects, so the Ranger uses their turn and a valuable Remedy to cure them.
I advance and buff up a little bit and the enemies respond by putting Hannah to sleep off of a 40% chance to succeed. A few enemies take potshots at Kyrie afterwards and I have Sophia wake Hannah back up on her turn.
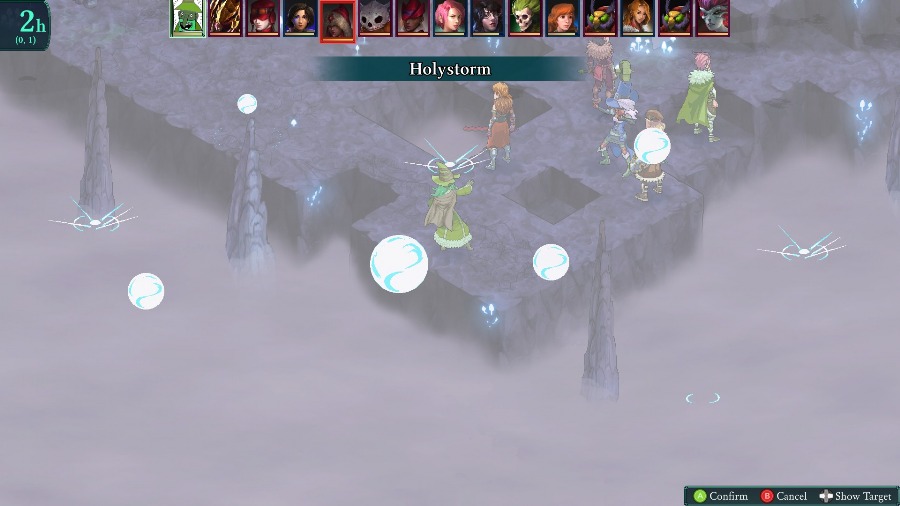
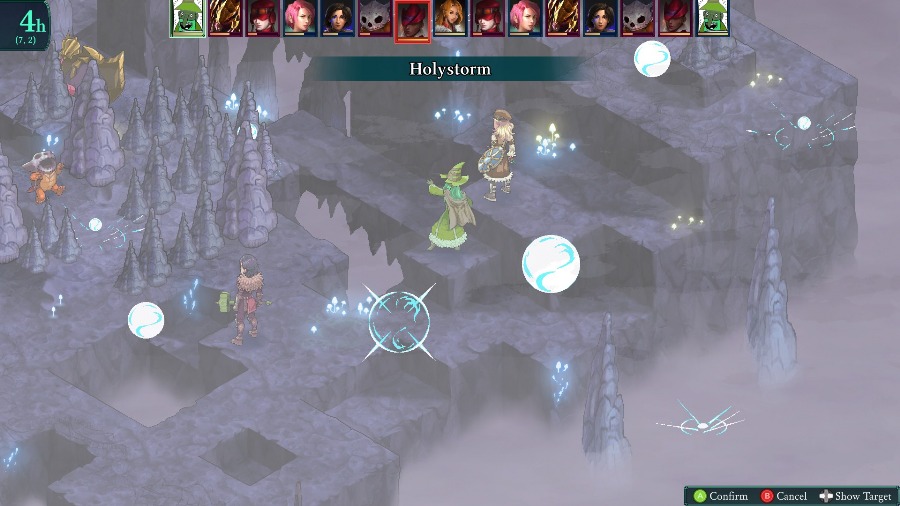
And on Bobby’s turn he gets my first bit of actual damage out with a Holystorm since a big chunk of the enemies are undead.
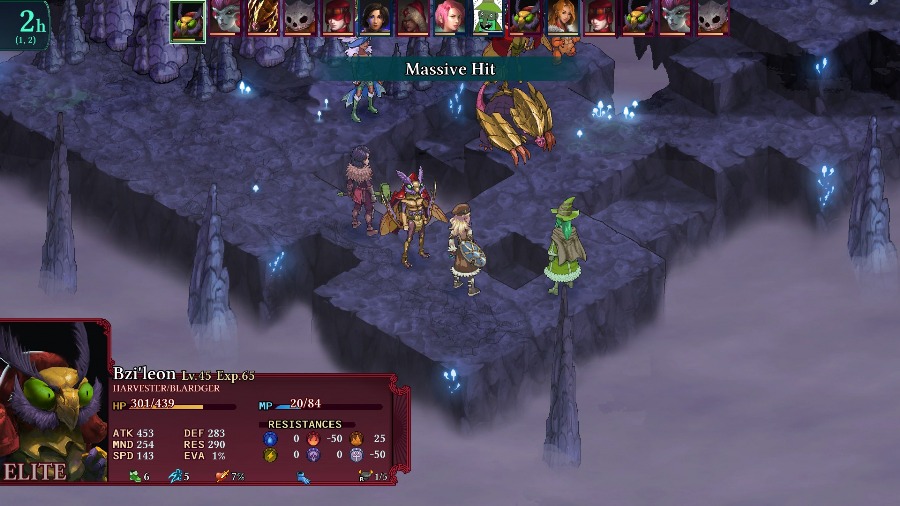
The Adamantrog comes up and whacks Kyrie, so I have her retaliate for a good bit of damage.
But the Mender uses their absurd range to heal it back up.
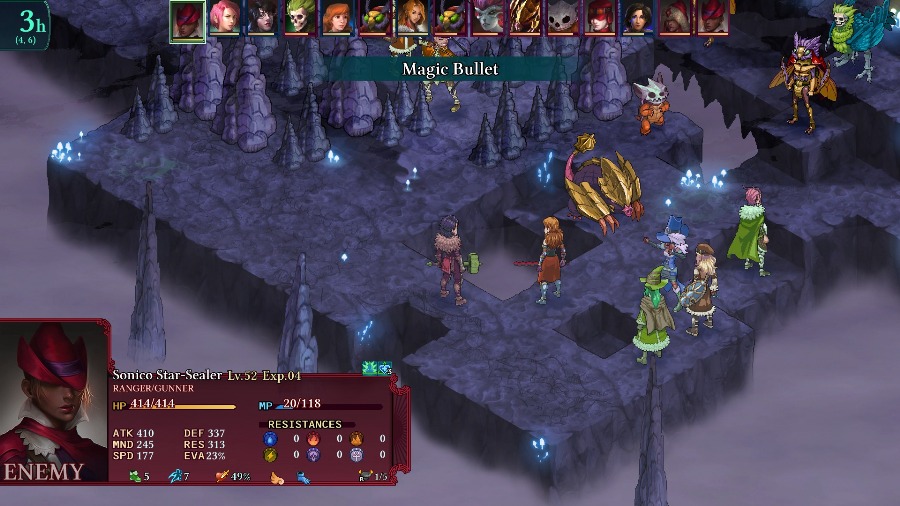
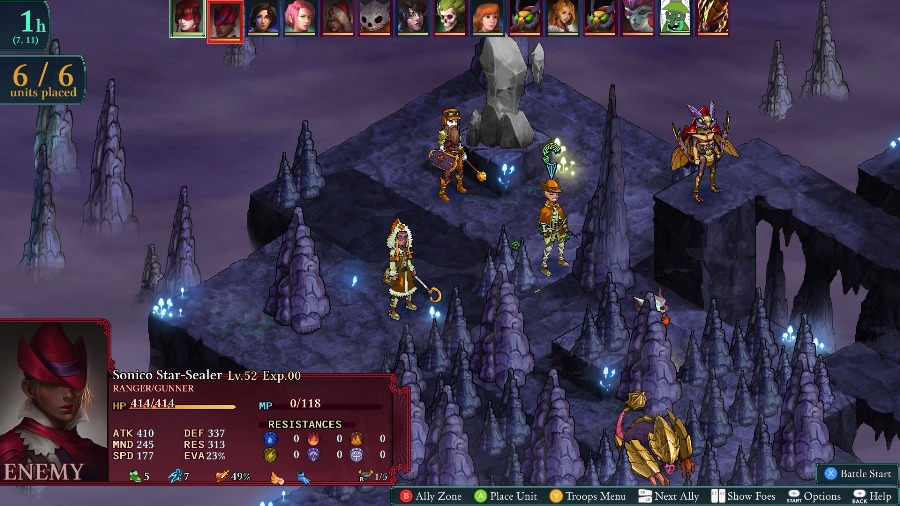
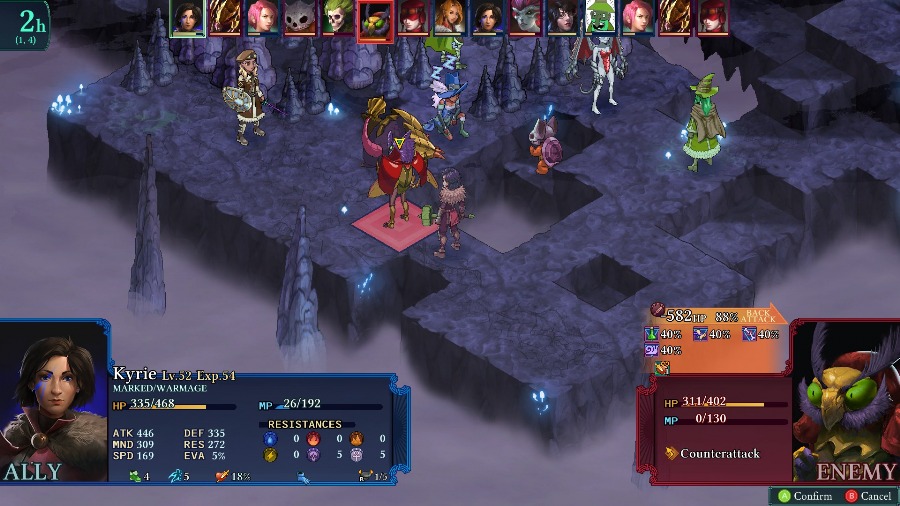
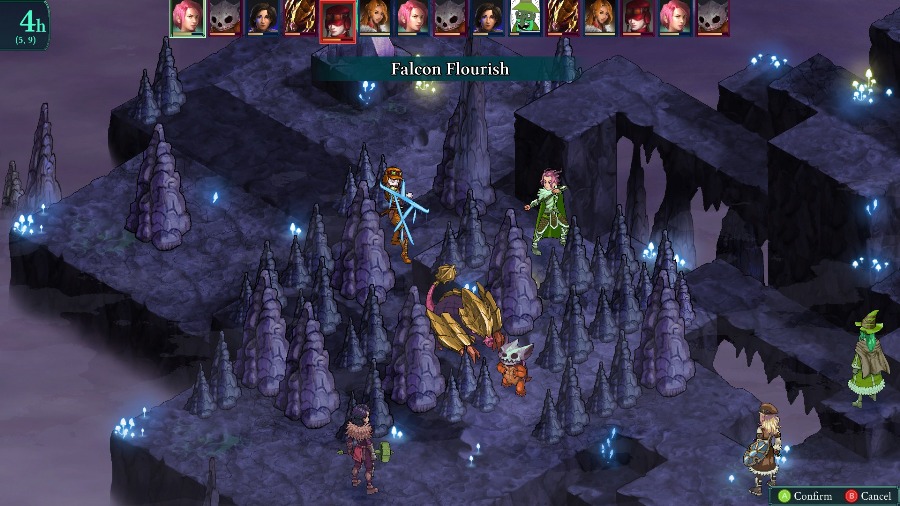
The Ranger moves up and shoots at Anadine.
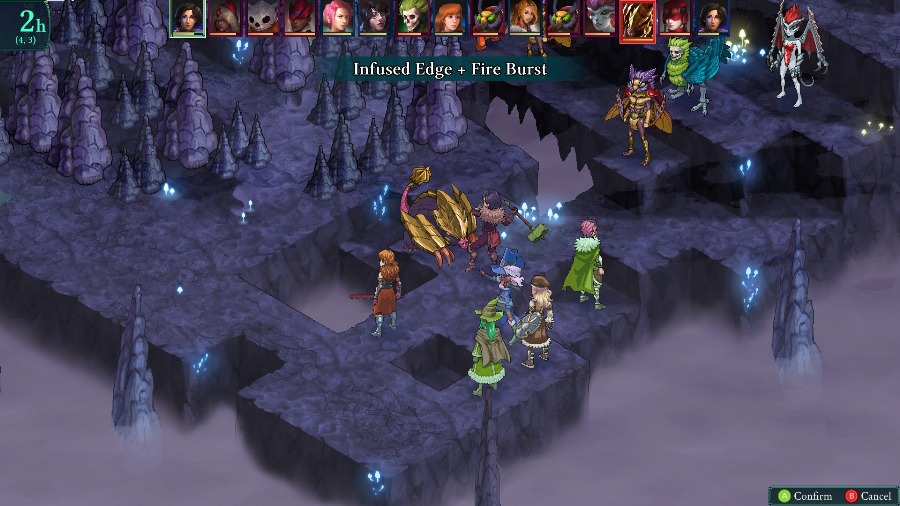
And because this guy was the main cause of multiple previous losses, I take the opportunity to bring him out of safety as Hannah swaps places with him. Azure teleports behind him and weakens him.
And then Anadine kills both a freshly moved up Arpia and the Ranger. I am absolutely psyched by this since that Ranger was a massive pain in previous attempts.
Sophia takes a moment to heal Kyrie after she gets targeted by a few enemies.
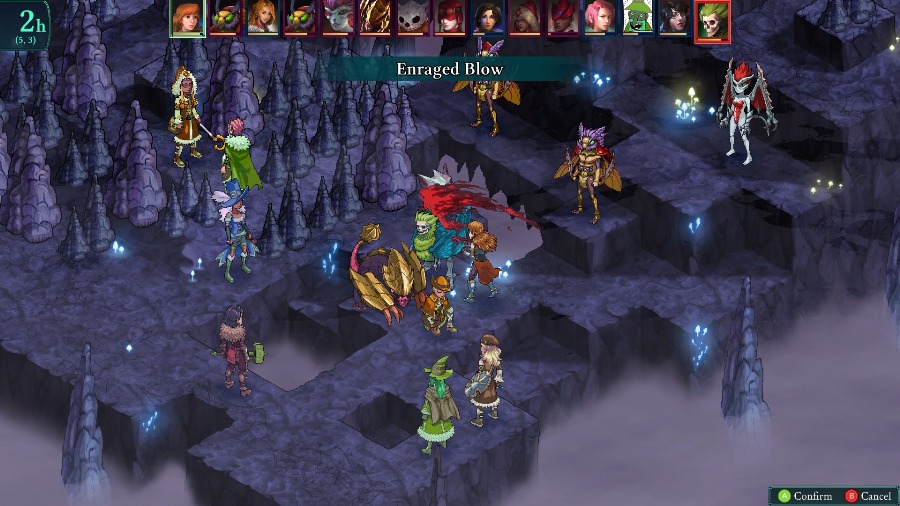
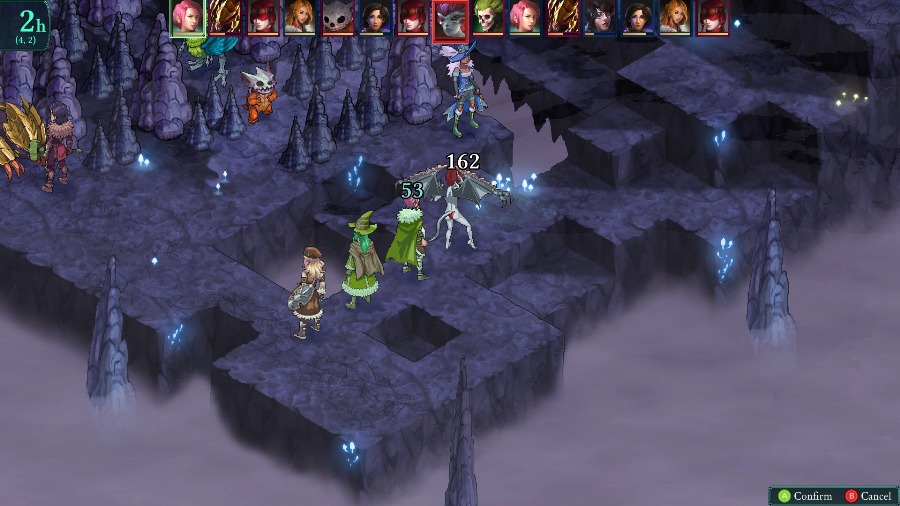
And then a very bad set of turns starts. First, the Harvester Bzil crits Anadine with an ability and kills her.
And because Harvesters have Cleave, they use the 2nd turn to run up and destroy Sophia with a Blardger ability.
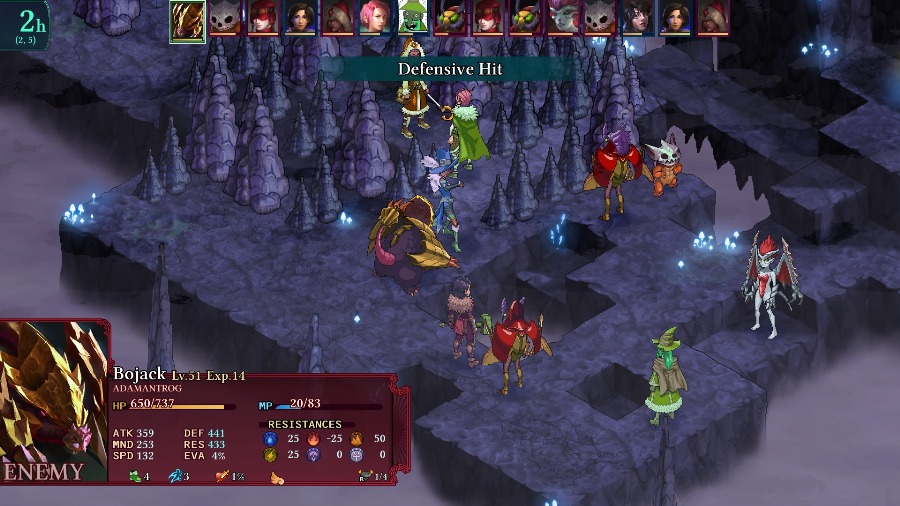
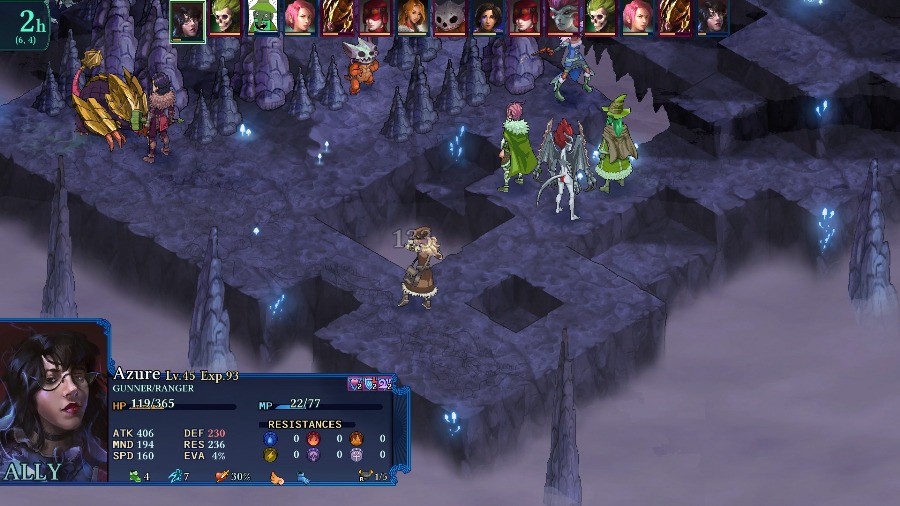
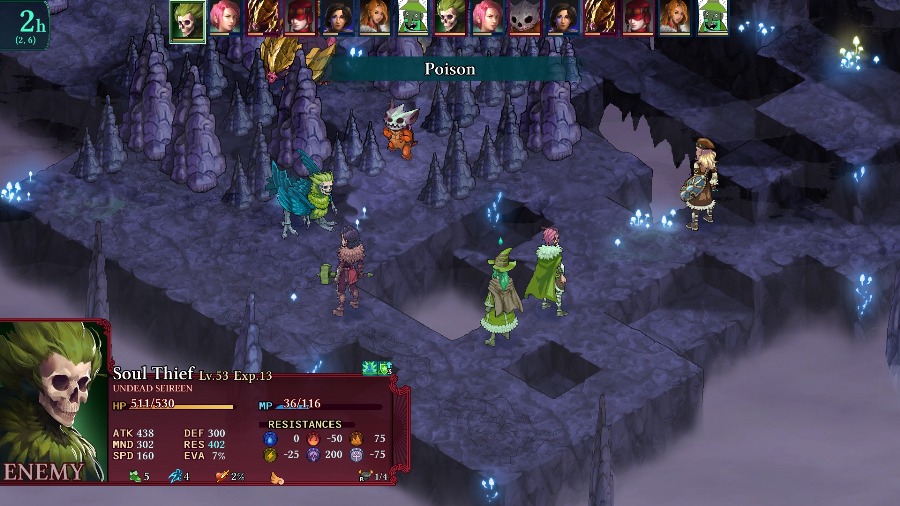
The Domincubus debuffs Bobby’s MND and RES stats, the Adamantrog nearly kills Azure, and the Undead Kawa takes a big chunk out of Kyrie with a boomerang.
Absolutely needing to turn things around, I have Kyrie destroy the Harvester, mostly thanks to the Avenger buffs.
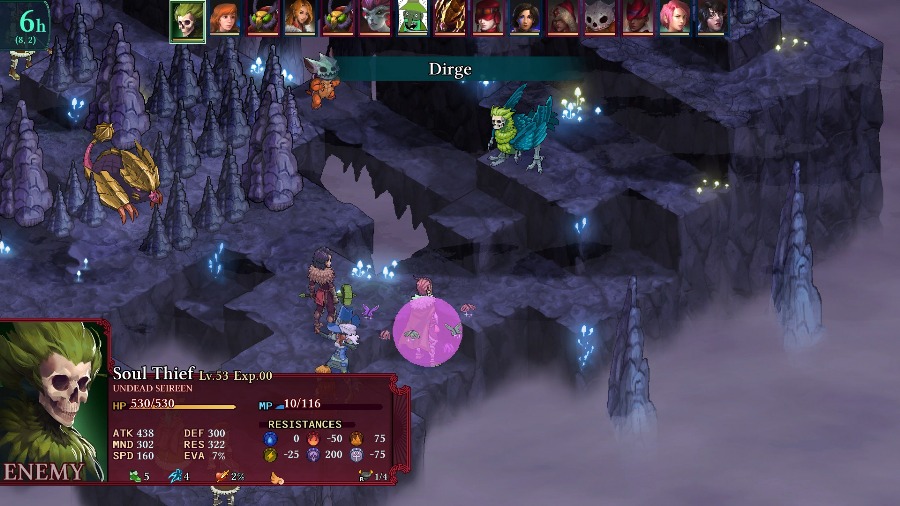
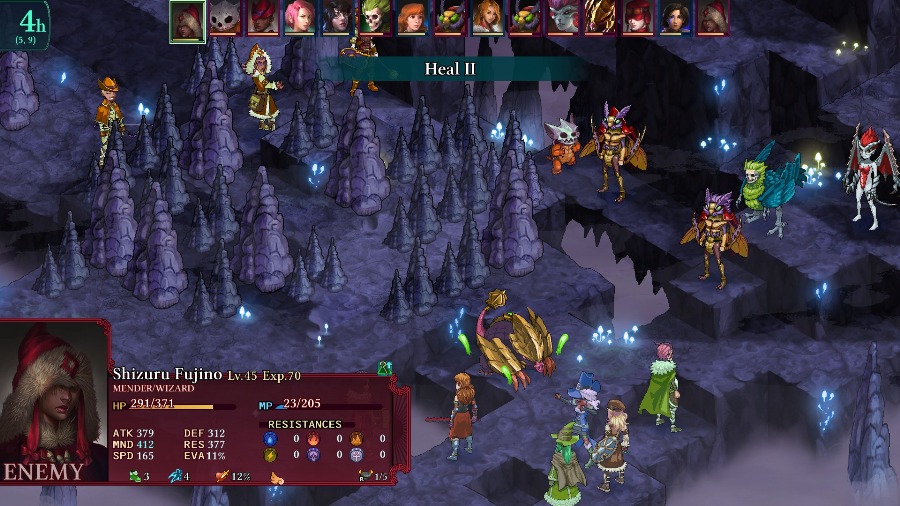
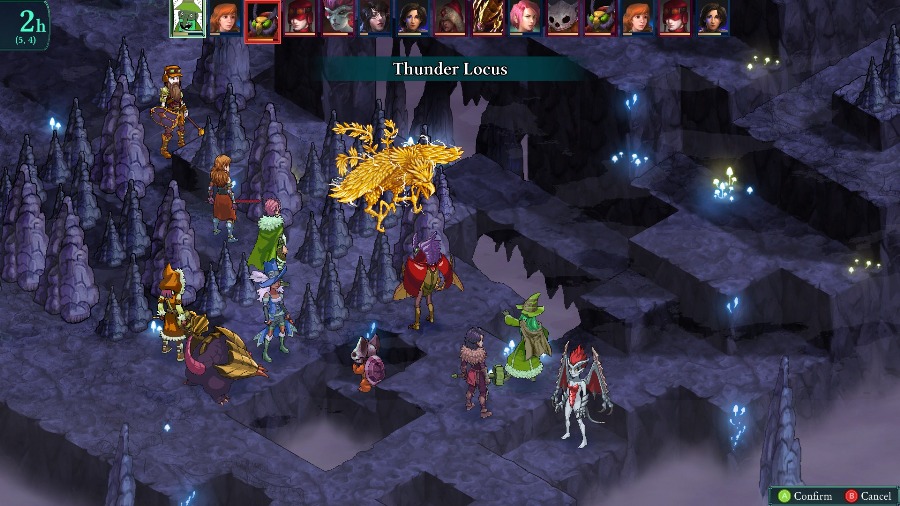
The Mender heals the Bzil and Undead Kawa, and then flies out of the center area.

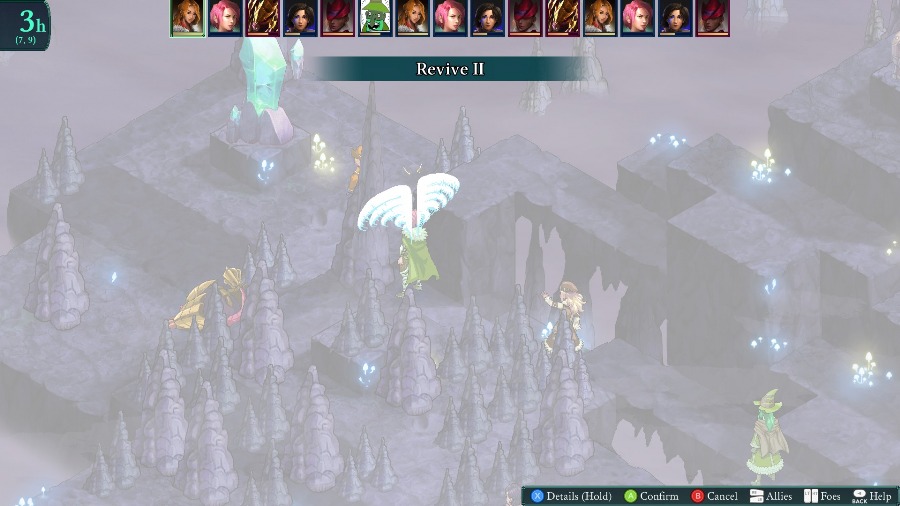
At which point I realize that Hannah could only get out of the center by swapping places with someone. I need to keep the damage up to recover from that Bzil, so instead I have her revive Anadine (I never thought that the random revival on the Duelist would be as useful as it’s turned out to be for me).
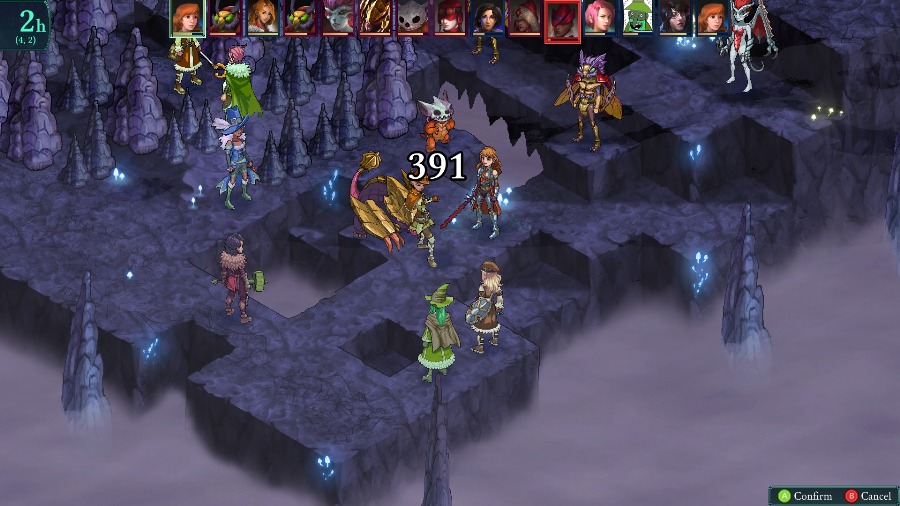
Bobby moves to kill the other Bzil, but totally whiffs.

On Anadine’s turn, I have her take advantage of her low health to 1-shot the Mender. I then have her revive Sophia so that Sophia can heal people back up. Sophia moves right after the Bzil and I tuck her into the corner, so everything should be fine, right?
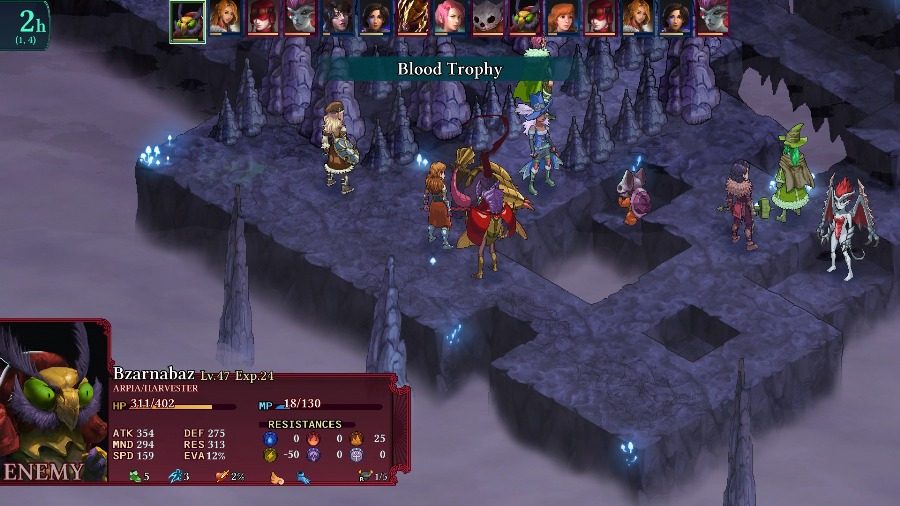
But it turns out that other Bzil has juuuust enough MP for a Blood Trophy and they take Anadine of the fight for good.
Sophia at least saves Azure from certain death, but then the Gadgeteer revives dead Arpia.
And the Domincubus makes me waste Azure’s turn by putting her to sleep.
Rather than wake her up, I have Kyrie kill the final Bzil so I don’t have to worry about anyone else getting removed from the fight.
The Adamantrog nearly kills Sophia and I bring Hannah back into the fight by swapping spots with the Kawa. Mostly because the Kawa would be stuck in the center. Doesn’t stop it from whacking Azure with a boomerang though.
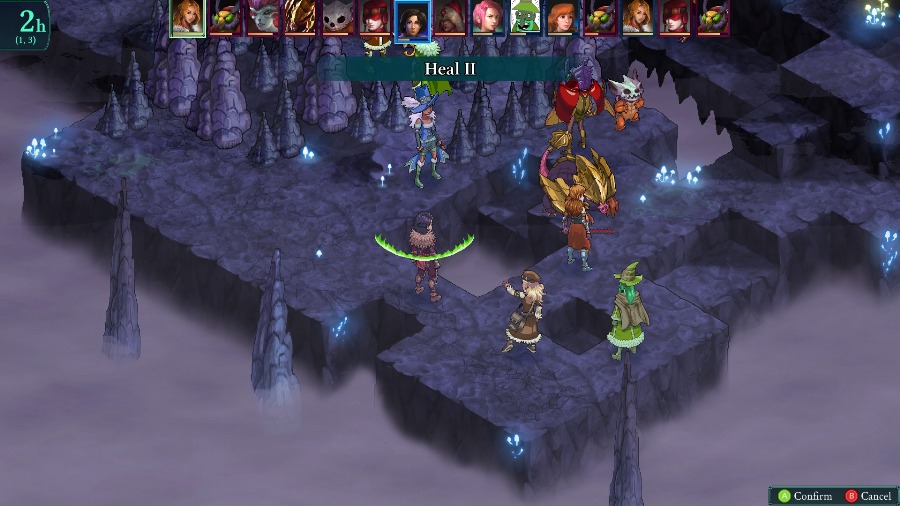
Sophia saves herself and Hannah.
Good thing too, because the Domincubus again steals Azure’s turn from me, this time with a charm from Soul Binder.
The 2 attacks come close to taking Sophia out but she just barely hangs on.

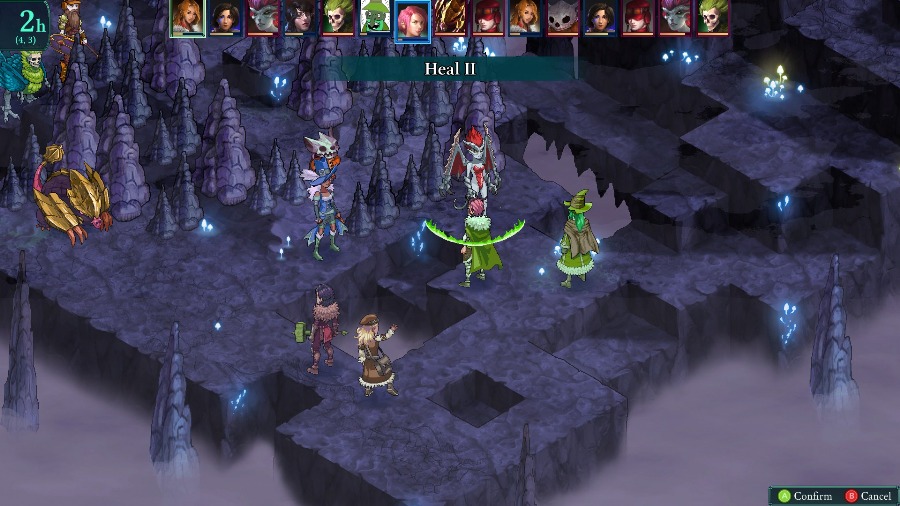
Bobby heals Sophia back to full.
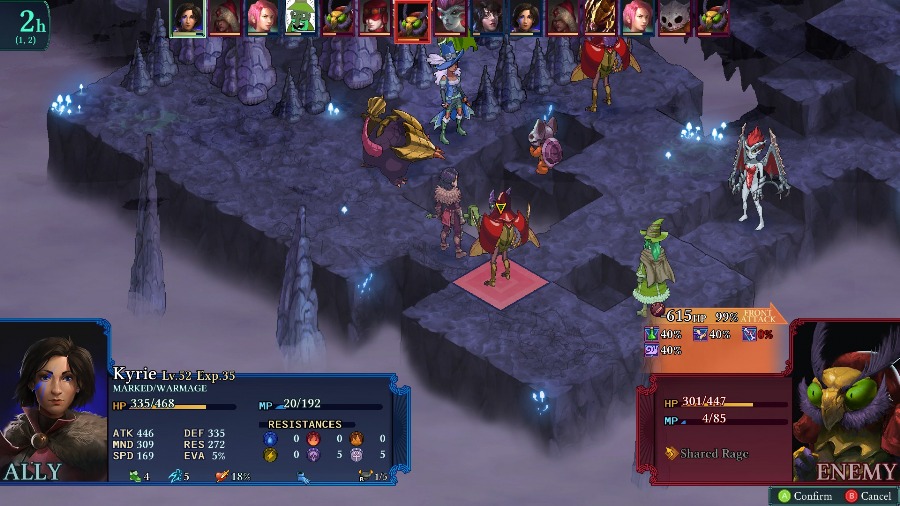
And Hannah crits on her regular attack to kill the Domincubus before it can do anything else stupid.
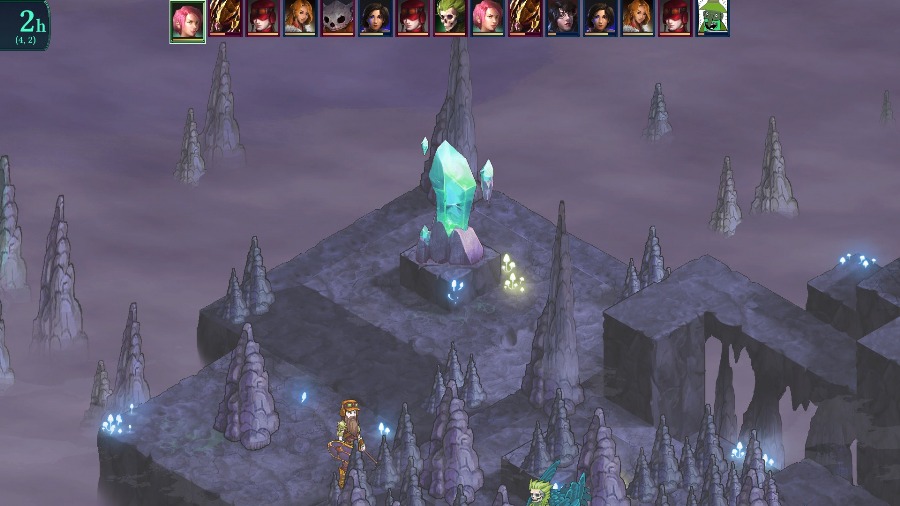
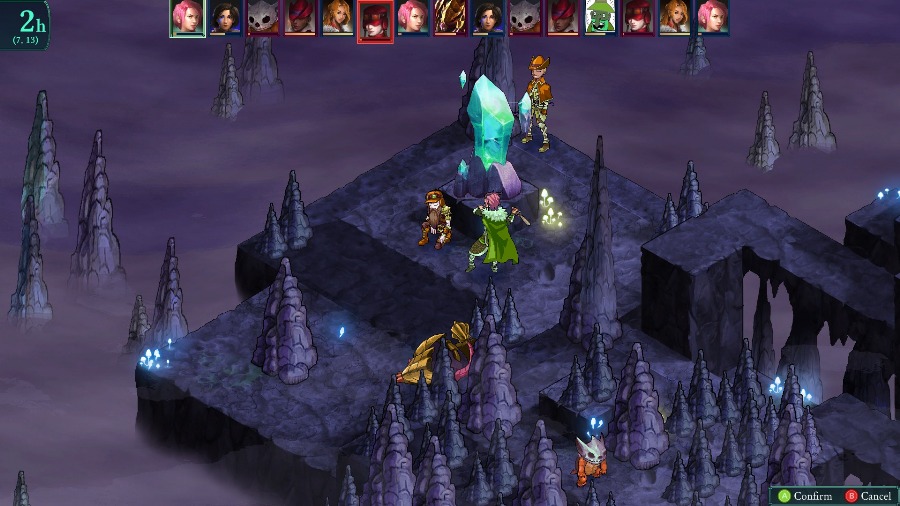
The kill also activates the crystal.
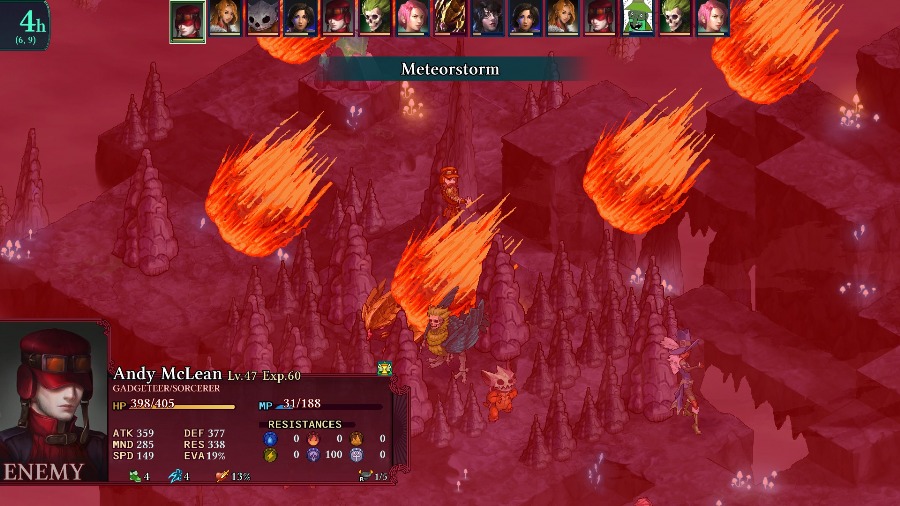
The fight’s not over yet though, as the Gadgeteer hits everyone with a Meteorstorm.
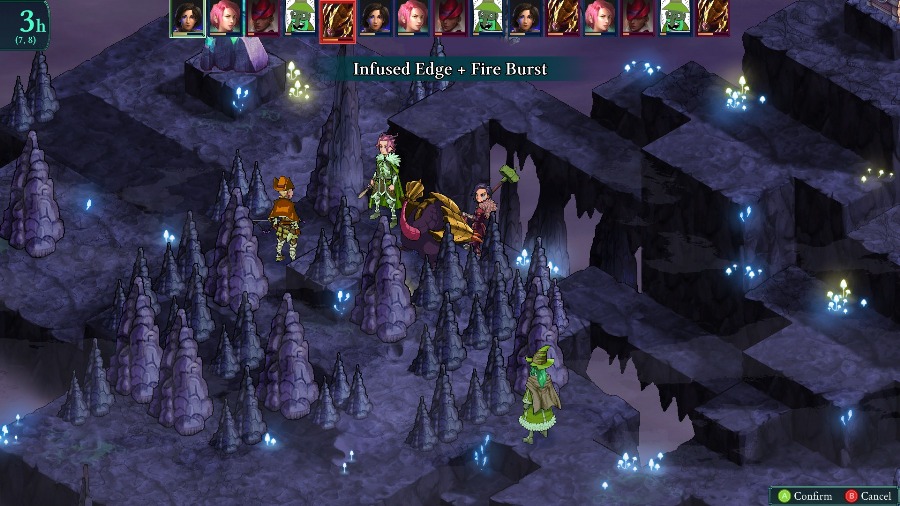
There’s a bit more skirmishing as people whack Bobby and I heal him. Kyrie also goes to kill the Arpia again, hits the melee attack but misses the Burst part of the Infused Edge and leaves the Arpia barely alive.
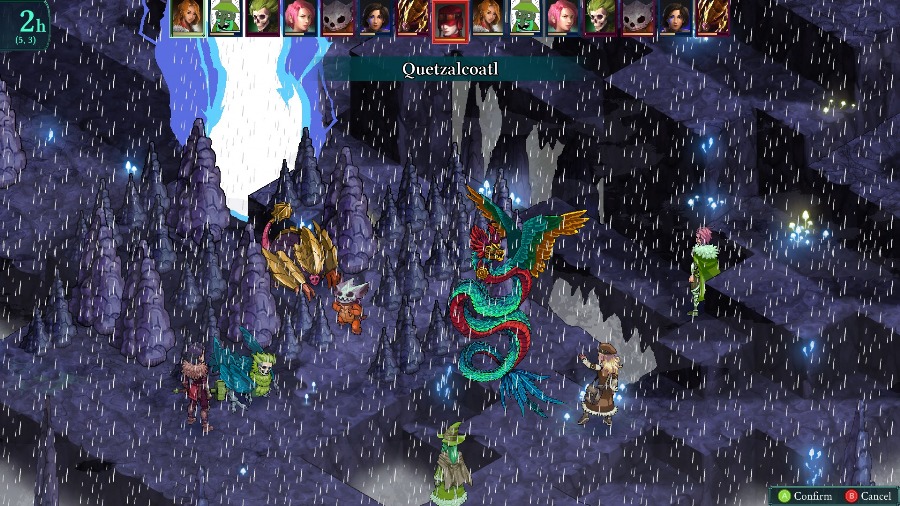
While Sophia puts some damage on the Gadgeteer with a Quetzalcoatl cast.
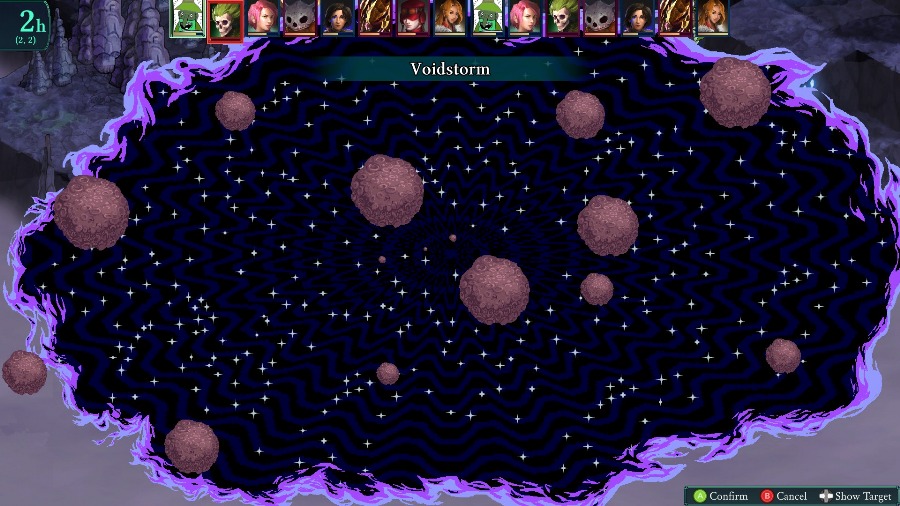
And Bobby kills the Arpia and hurts everyone else with a Voidstorm.
And Hannah rushes around the side to keep the pressure on the Gadgeteer.
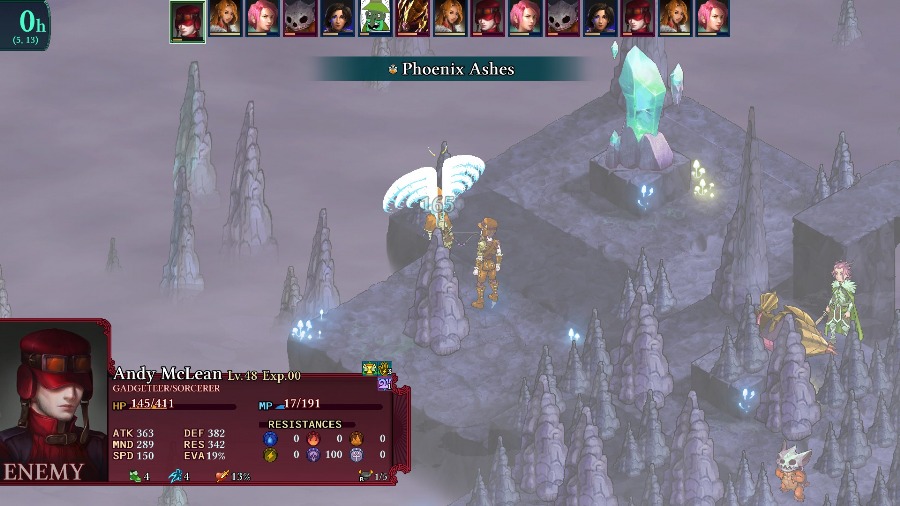
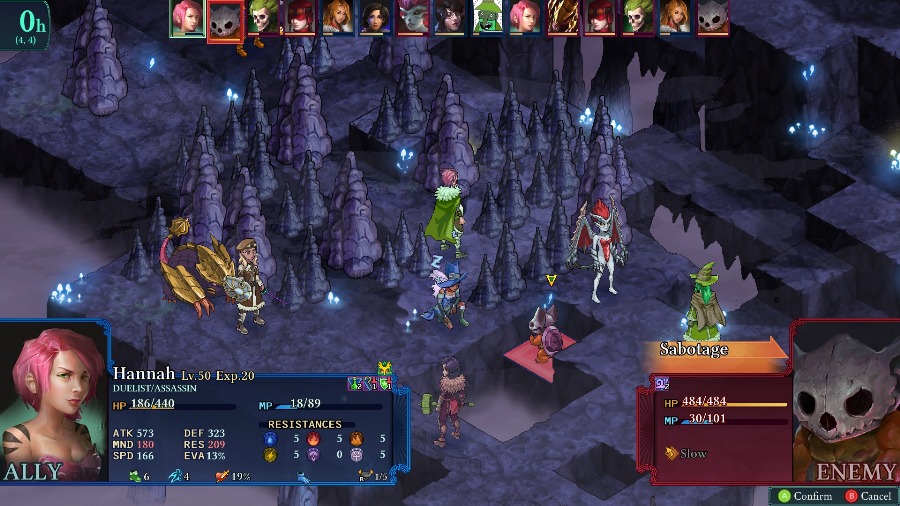
But the Gadgeteer retreats and revives the Ranger, which is very bad.
Hannah runs up to assassinate him but misses.
And then the Ranger heals themselves back to full.
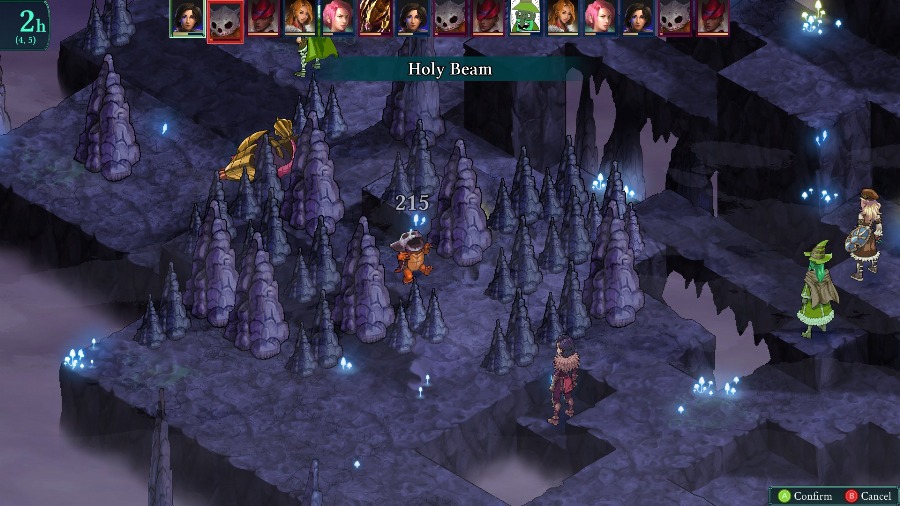
Back on the other end, Bobby keeps things going with another Holystorm, nearly killing the Kawa and Gadgeteer.
Though she gets pretty badly hurt by the Adamantrog, Hannah manages to finish off the Gadgeteer on her turn.
While Kyrie takes out the Kawa.
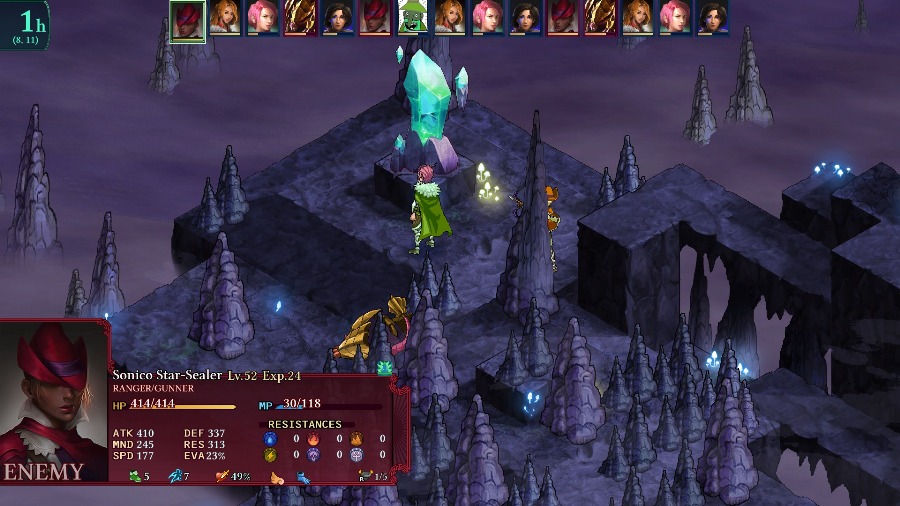
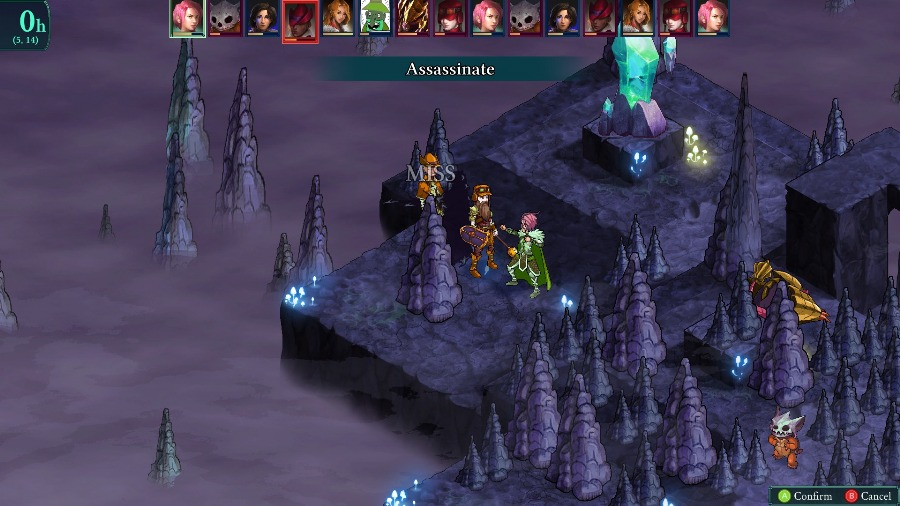
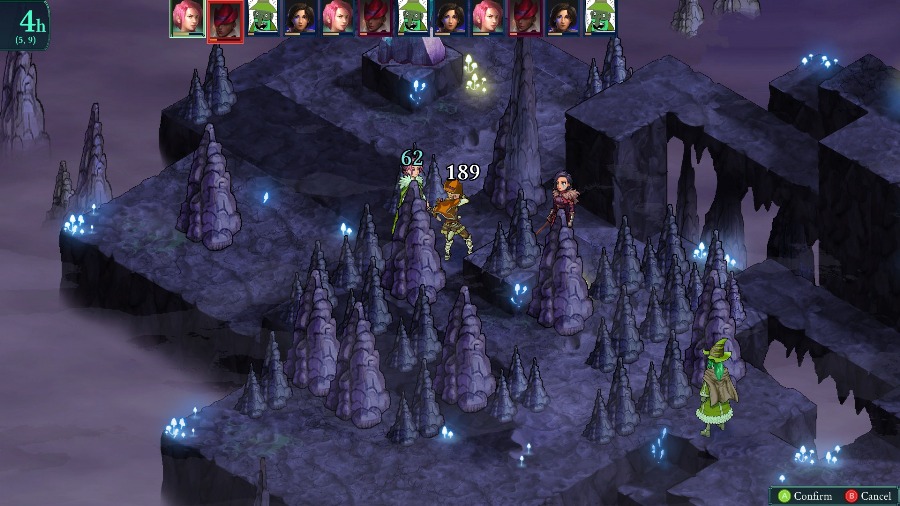
And the Ranger unnecessarily crits Hannah for the kill (it would have nearly 1HKO’d her from full health).
I instantly revive her and she takes out ¾ of the Ranger’s health with an assassinate.
Kyrie kills the Adamantrog.
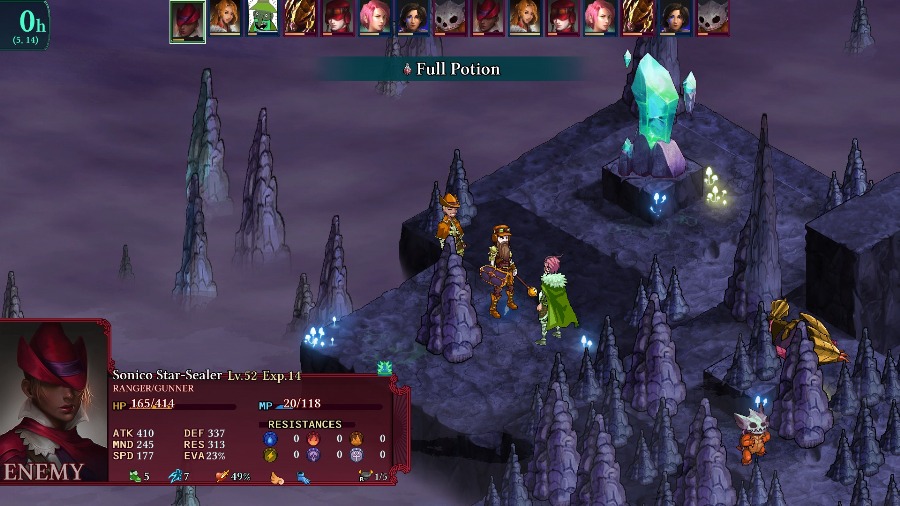
And then Hannah finishes off the Ranger again.
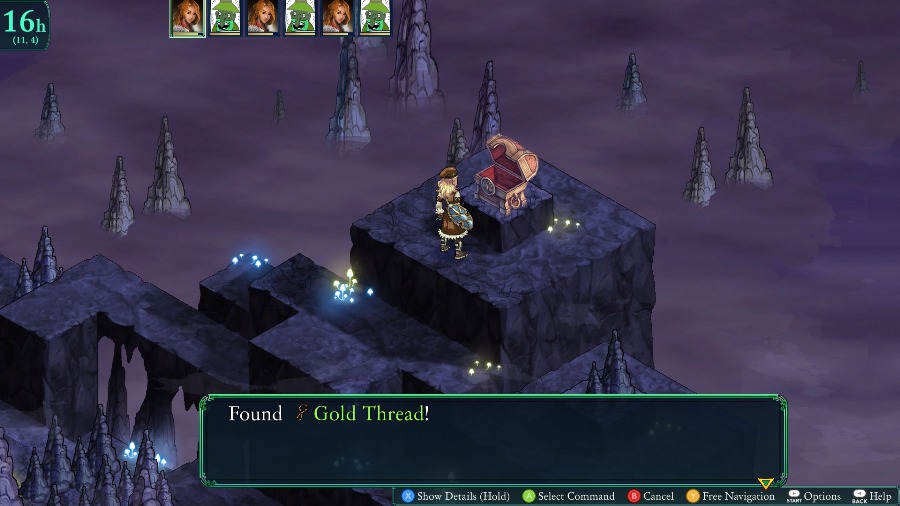
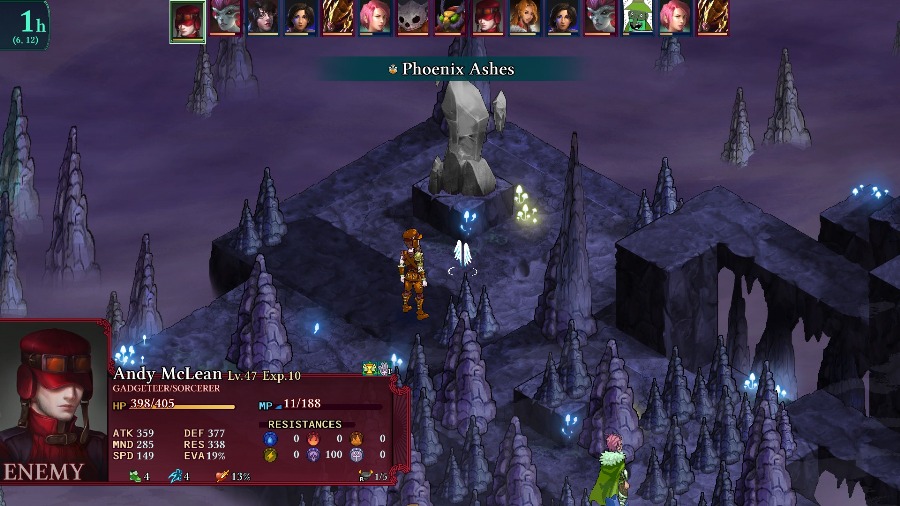
Off on the side, I open up a treasure chest to get a crafting material. This is a pretty rare one that can be used to make some accessories that give +48 to a stat (or +20 to SPD), which is gigantic.
And with that it’s time to teleport out.
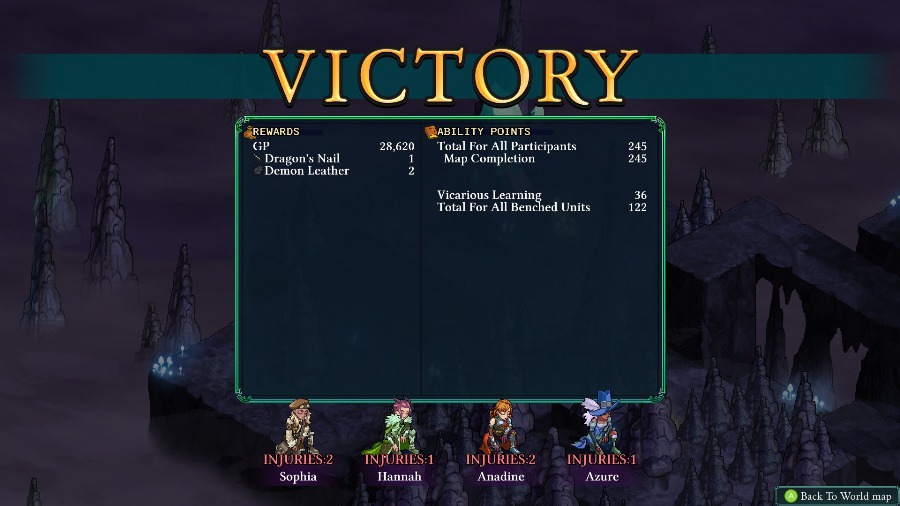
We get another Dragon’s Nail as a reward, but otherwise nothing too crazy.
Overall, pretty happy with the fight. I got a bit sloppy with the 2 Bzil as they ran wild through my backline and I relied a bit much on hitting things I wasn’t guaranteed to, but things went about as well as they could. While I don’t think that the concept really needed to be repeated between this map and the previous one, this was still a fun fight really made me think about what I was going to do.
Next time we’ll be headed to a very different map in the Infernal Depths.