Part 10: Exhaustion! Haven't we reached the top yet?
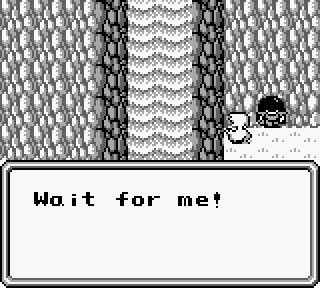
The first thing about this dungeon that makes it unfortunate is that Choco can't come with us. Be safe Choco!
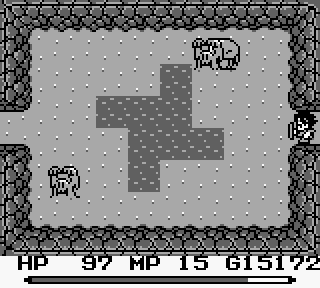
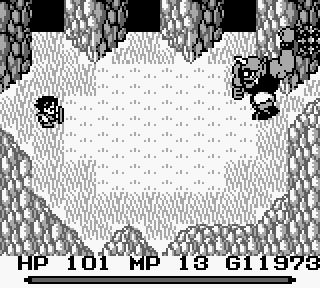
It's a bit of a rogue's gallery in here of enemies, starting with these guys. I can't complain, though, as at least they're not terribly threatening.
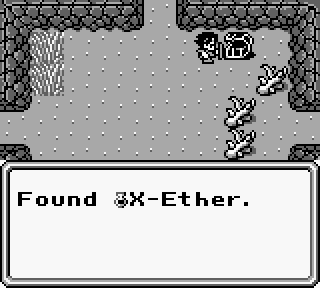
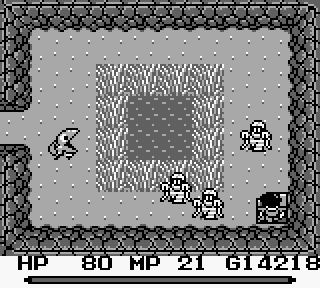
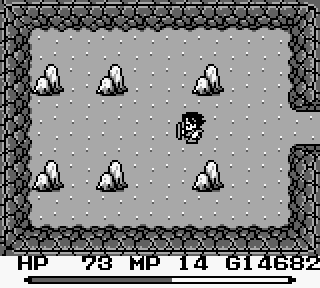
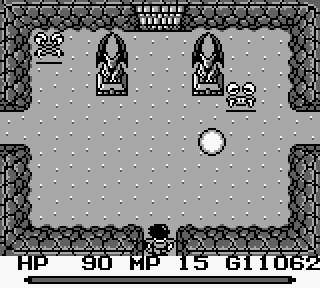
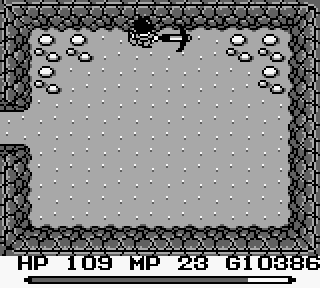
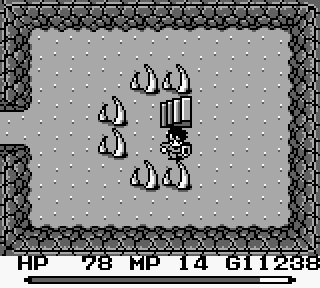
The new threat are these floating faces which can be absolute bastards. We can't damage them with weapons, so it has to be magic. They're not terribly tough, but they can turn you into a moogle if you touch them or cause the stone status effect. On the upside, they're a source of X-Ethers. Now, you might think that there's a hidden passage in the wall to the left.
You'd be right, and end up in here where there's actually no passage. For some reason there's just a dead end to screw with you as a player and cost you some mattocks. After a couple of unremarkable rooms we come to our first battle...
Miniboss Fight:
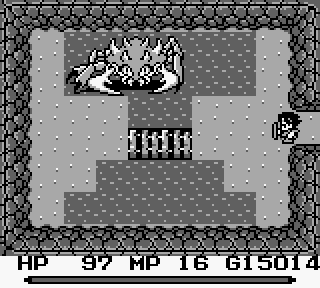
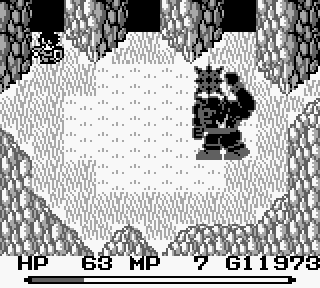
Metal Crab Miniboss
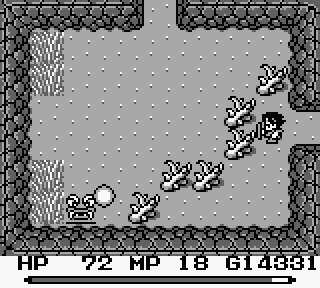
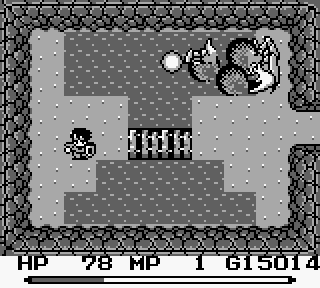
This boss was originally called the Full Metal Hugger in the Japanese game, but is instead called the Metal Crab in the NA version. He's annoying, but not really terribly dangerous. His only vulnerable point is around the eyes, and you don't really want to get that close. He's probably the largest boss we've fought and moves in a diagonal motion so it's also hard to avoid getting hit. The most manageable strategy is to stay on the bridge and lure him down, then dodge to the side and throw the axe through.
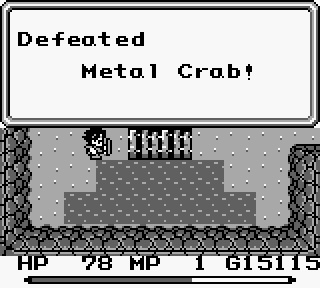
After a dozen or so hits he goes down and a set of stairs appears. Really he's more of a mid-boss than anything else.
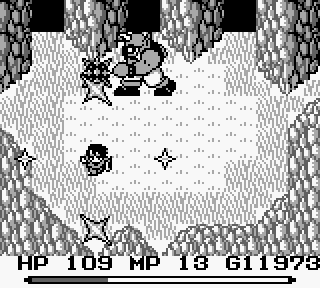
What on earth are these guys from way back around Kett's doing here?
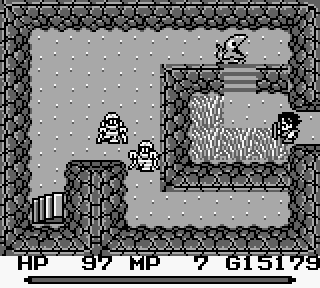
And... we're already at the end. There's really only about a half dozen rooms in this cave. We're not done yet, though.
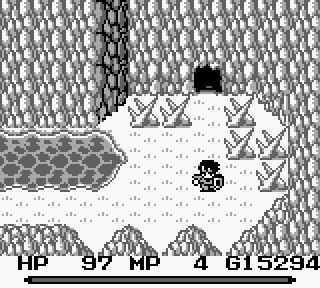
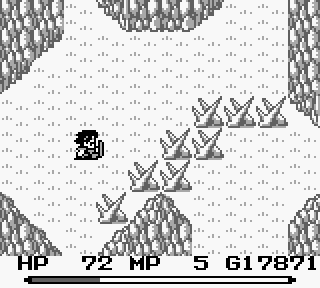
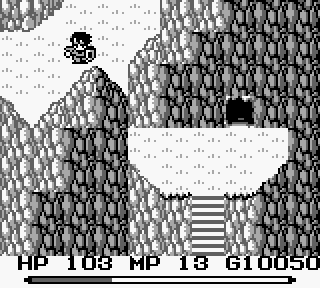
Outside the cave we've come to a disturbing place where even the scenery is pointy.
As you can see from the four exits of this room, it's actually a bit of a wilderness out here. The enemies are safe enough, though, so it's good to explore.
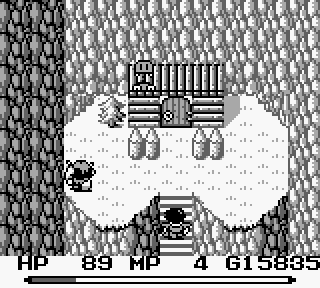
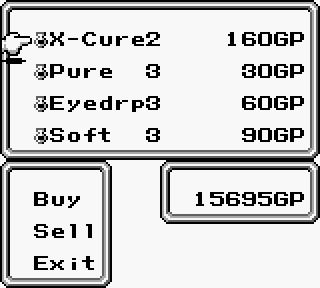
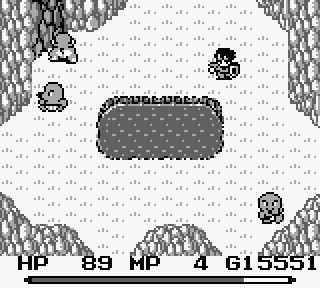
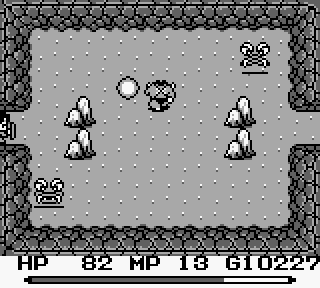
There's a little out of the way shop here with some new enemies. The jumping flowers can turn you into a moogle, and the ox men throw boulders that can't be blocked by our current shield. It's a potent combination since you lose your defense as a moogle. A good hit can easily kill you. The shop itself is unremarkable, but it's a nice place to stock up if you're low on dungeoneering supplies.
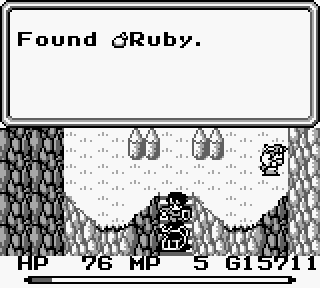
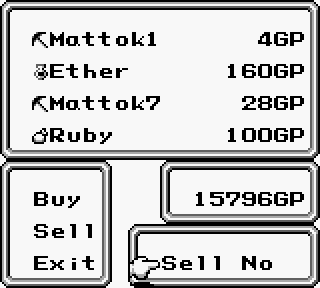
The flowers also drop bags of Ruby. You'd think those would be more valuable than gold, but sadly they're only worth 100 gold.
You know you're getting somewhere when there's an exit closed off from the rest of the screen.
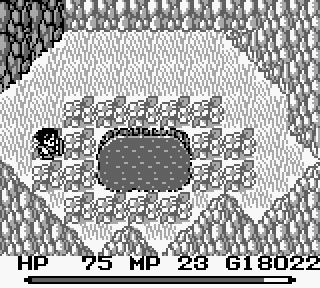
Before that, however, there's a nice healing spring to refresh us after that boss fight and our travels.
After the healing spring we come to a set of vines and have to make a choice...
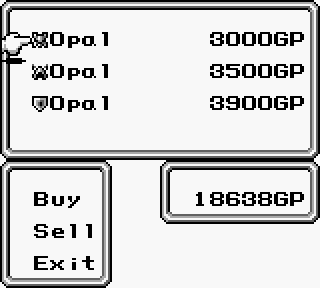
We want to take the right vine, as it leads to a nice little shop with a much needed armor upgrade. We're easily able to afford it, and our armor takes another leap up above our attack.
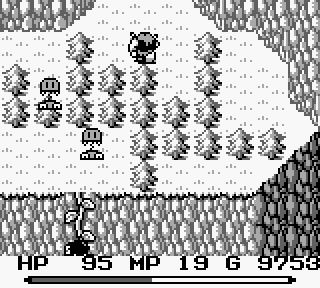
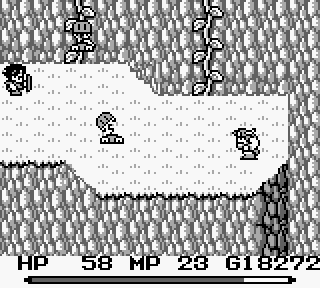
Coming to the top of the cliff we come into this death trap, where we can't really evade the enemies and are pretty much at their mercy. It's even trickier because you might want to try and chop your way through the trees.
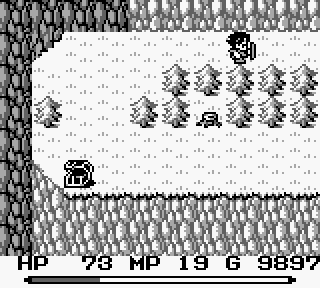
However, the real way you have to go is around to this screen and then chop your way through the trees at the top of the other screen.
I REALLY came to hate these guys. They're fast and unpredictable, and moogle is REALLY annoying.
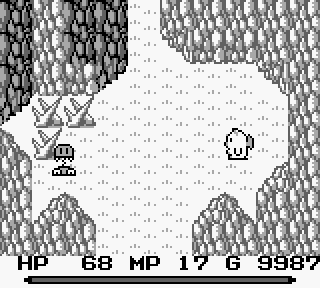
At last, we can see our next destination... at least 3 screens away. Fairly unremarkable screens, but this is a rather long hike. I think we're actually climbing Mount Rocks now.
Inside the dungeon the first room is this one, which you might be seeing a lot. The trick with this dungeon is that there's really only one path to take. If you go the wrong direction, you end up coming back in here, no matter where you were. It's handy at times, but really annoying at others. In this case we have to go up to get to the next room.
The first place to make a choice is in this room. We can go right or we can go through the door, but we don't want to do that. More on that a bit later...
We've got a new oxman variant in here, who throws giant Watts style axes rather than boulders. They always appear with the faces so you've got the possibility of being moogled and smashed into the ground or being petrified and becoming unable to dodge.
Standard "why yes, there is a weak spot in the wall between these two corners with different textures" room...
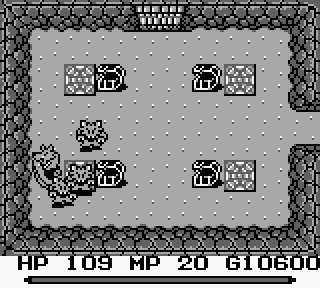
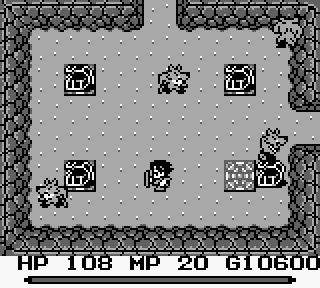
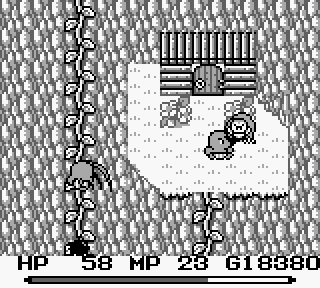
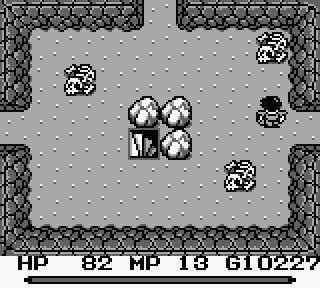
This room is actually a nice change. You'd think that you have to put all four chests on the switches and that would be it, but even after doing that the door won't open. You have to push or destroy one of the chest after putting all four on the switches .
This is another decision point. We want to go right, since heading left will take us all the way back to the beginning.

When we come to this set of stairs and this giant room, you might be forgiven for thinking that this is the final boss of this stretch and we're done, but it's actually just an intermediate step.
Miniboss Battle: Cyclops
Cyclops Miniboss Battle
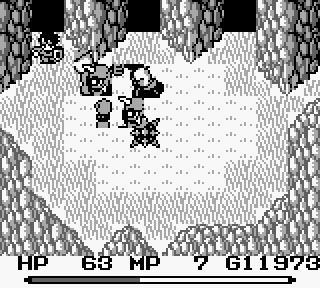
Our next fight is the cyclops, and I've got to say I love the design of boss monsters in this game. We're not here to open a new path or anything, we're actually here for something else entirely.
The cyclops only has one way of attacking you, which is to charge forward and swing that giant morning star directly forward. He telegraphs it very easily and only moves forward at three different places. It's actually very easy to avoid damage in this fight altogether. If you do want to get close, though, he's actually surprisingly quick when he moves down.
He's also vulnerable to magic, so if you want to be a sissy about it you can also hide in a corner and launch spells until he dies.
After a bit he'll messily disintegrate and we can get what we came for.
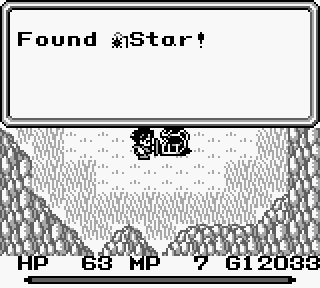
Like a true
 hero, Rock has come here to take a new weapon from his enemy's cold, dead hand.
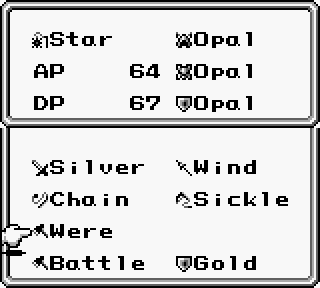
The morning star is a huge upgrade in attack power over our axe, bringing it nearly on par with our defense. It's a pretty simply weapon, but it has a nice wide swing pattern and then extends out in front of us. In all respects it's truly a superb weapon, with an additional benefit I'll talk about in a moment...first, we have to go through that door I mentioned earlier.
Miniboss Fight: Golem
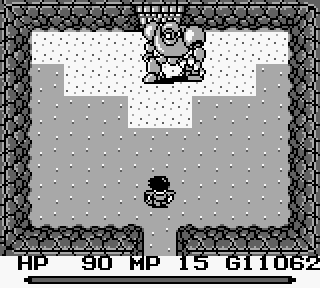
Golem Battle
If you were to go through the door without the morning star, you'd find that nothing in our inventory can actually hurt Golem. He's also invulnerable to magic, and when he's charging he hits like a truck. Now that we have the morning star, the best option is to stay up top and hit him while he's shuffling back and forth. He'll occasionally come up diagonally rather than straight up and down, which can result in some damage. You're going to take some damage no matter what, so just keep beating on him and healing when necessary.
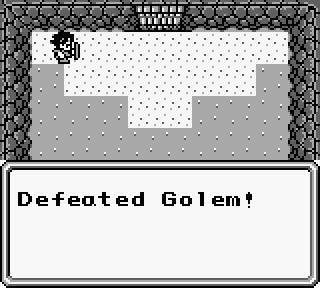

When he bites the dust we can collect our reward and move forward. Golem drops the magic book of lightning upon his demise, which is a step up from the mute and sleep books.
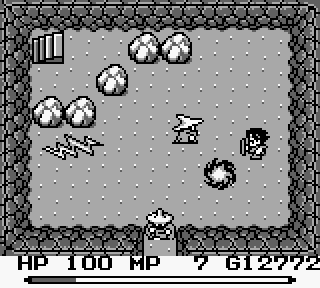
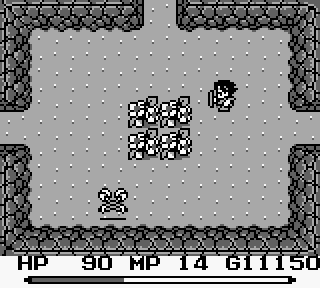
Lightning sends a huge bolt across the screen in a straight line. You have to aim and it's susceptible to being knocked off course if you get hit while casting. It's also a bit more expensive in terms of mana usage, costing two instead of one. For evasive enemies fire might still be a better choice, but lightning can be useful. This room also provides an opportunity to exercise the morning star's other function: it can function as a mattock and destroy walls, boulders, and vases for us. This provides some serious space saving in terms of inventory.
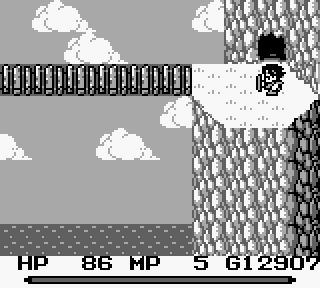
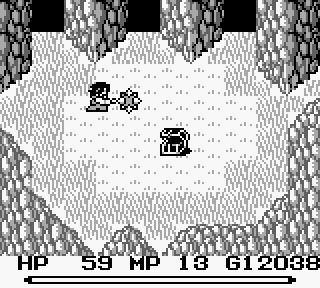
Mysteriously enough, there's a bridge across a chasm up those stairs...

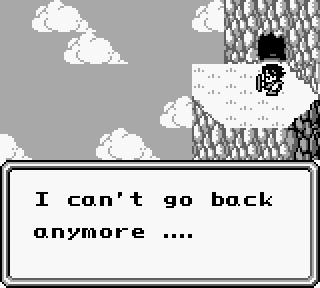
Which promptly collapses behind us. Does this happen every time somebody comes this way?
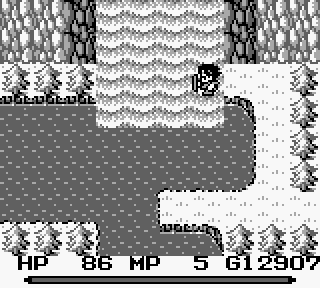
This scene should certainly look familiar. It's time for us to return to Castle Glaive.
Next time: Reunions, vengeance, and revelations.