Part 17: Victory! Was it Worth The Cost?
At the top of the waterfall there waits a still pool with a bridge across it...
And a giant temple that we somehow missed until this point.
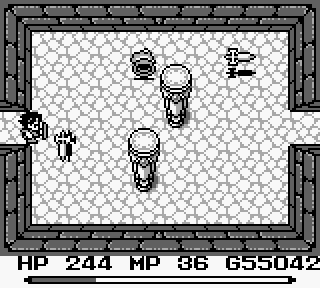
The first enemies we find in the Mana shrine is the Ninja, a persistent pest with great defense from the front, a ninja star attack, and the ability to make giant leaps across the screen.
They also can drop the best armor in the game if you get lucky. Thanks go out to Bellmaker for the trick of trying to open a chest repeatedly with a full inventory in order to force rare drops.
Hello there, emergency key source.
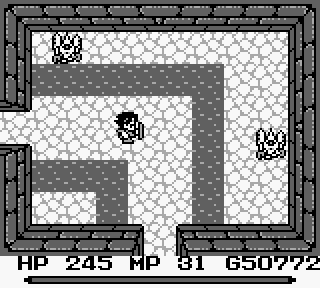
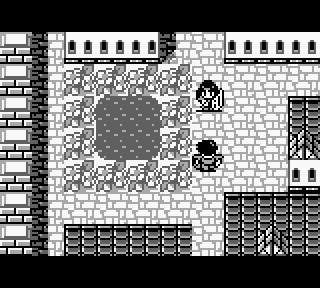
I... I didn't just see an elephant walking through a wall. That did not happen.
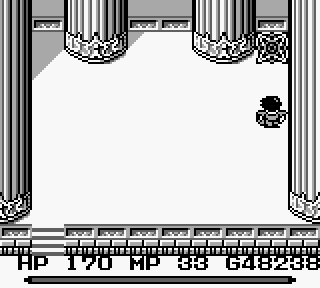
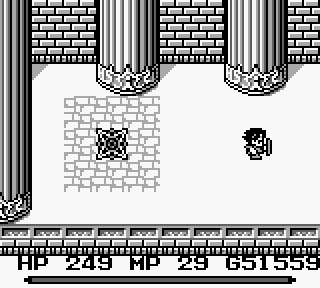
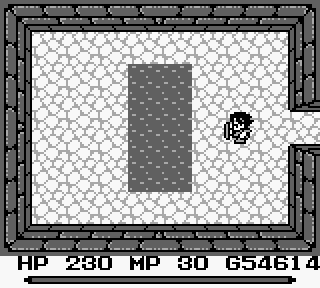
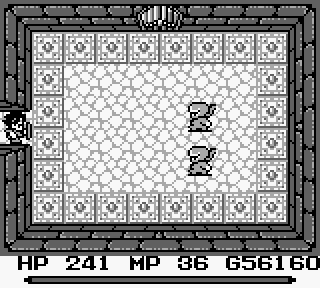
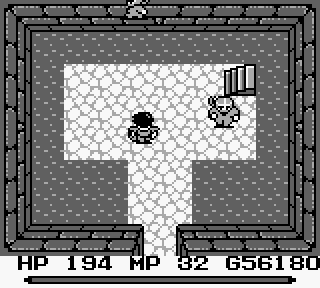
This dungeon adds a teleport mechanic to mix things up a bit. In this case, the teleporter leads to a room with no exits as a kind of introduction. More interestingly, it's not necessarily the case that a teleport seal is a two-way connection.
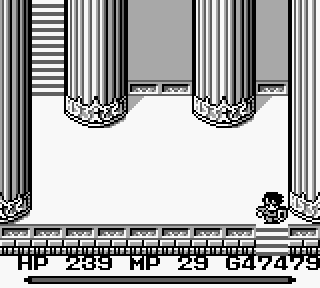
While teleporters might move you around the dungeon, a good old set of stairs leads forward to our first miniboss.
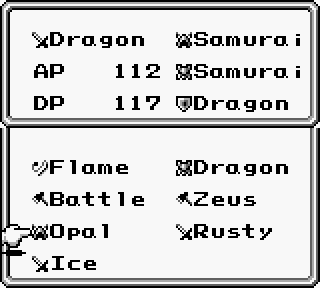
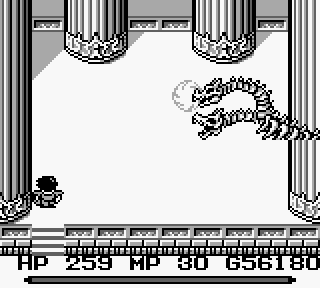
Miniboss Battle: Dragon
Dragon Battle
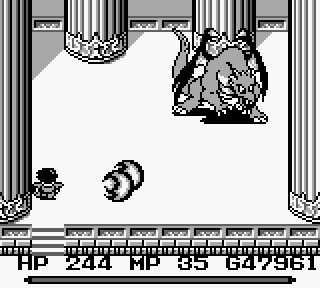
Our first miniboss presents little more than a minor challenge. While he takes up a lot of space and can be unpredictable in his movements, he's slow and his ranged attack can be blocked using the shield we currently have available. The head is the only vulnerable location, meaning that attacks from below or sword charges from the side are the best bet. It's also very easy to get caught in a pillar or in a corner with this boss.
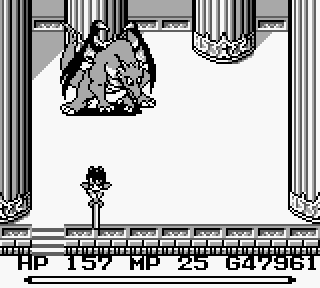
The first capture was actually taken during the death animation, but I kept it because we so rarely see a vertical sword charge on the return.
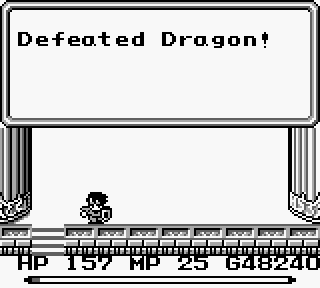
After the Dragon is defeated a new pathway opens up. These teleport squares are strictly two-way, and always lead somewhere worthwhile.

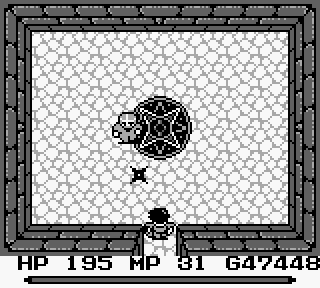
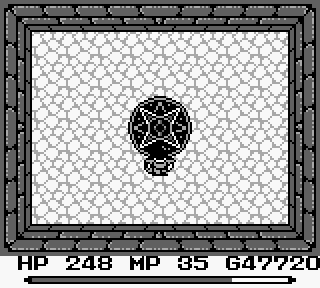
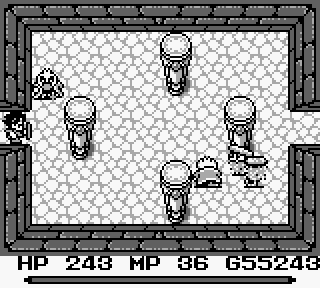
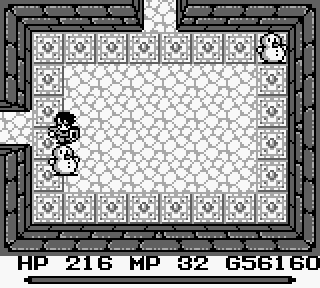
The next unique enemy for this dungeon is the demon head, which can cause dark as a status and has a nasty habit of teleporting to the spot you attacked it from. They're actually a bit tougher than the ninjas as well.
In the finest tradition of this dungeon they also drop the most powerful helmet in the game. Don't worry, though...our defense is only ahead for a moment.
You're just lucky I can't swim!

As you can see, this dungeon is a repository of all the most memorable enemies from the last few dungeons, just to spice things up a bit.
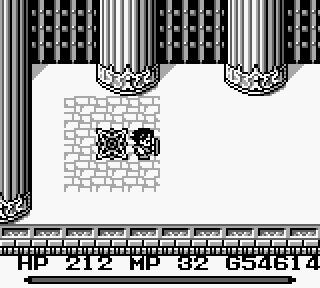
I'm rather impressed with the detail that went into putting a different background in every corridor like this. A lot of games would have made a single background and called it a day.
The western wall is begging for a morning star application, which it receives immediately. Compared to previous dungeons this one has very few breakable walls, concentrating instead on making life difficult with teleport puzzles and switches.

I can only hope at this point that you've been practicing with the ice spell, since you have to guide it along this twisting path to open the door.

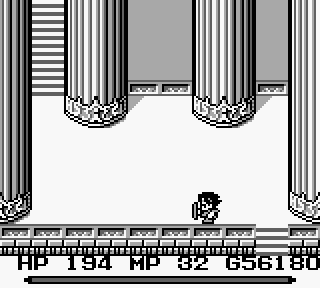
This room, however, is comfortingly familiar.
Miniboss Battle: Dragon 2.0
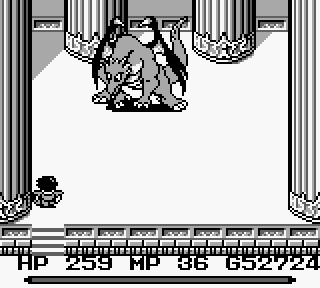
Dragon the Second
Didn't... didn't we just do this? Not quite. This boss has a good deal more health and tends to reverse itself a bit more often to come back on you. What you may not realize, however...
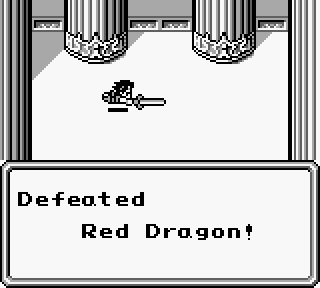
Is that this dragon is in fact red. Who approved a palette swap in a monochrome game?

The next section of the dungeon includes a bit more decoration in the corners.
Well, this is a bit of a problem. Detour!
A paranoid person might expect something to come bursting out of those gates...
Behind another false wall is a nice health spring in case we're running low again.
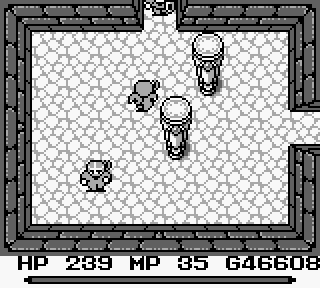
More recycles from earlier dungeons. For the most part they're just easy enough to step around if you don't want to pull out a weapon that will damage them.
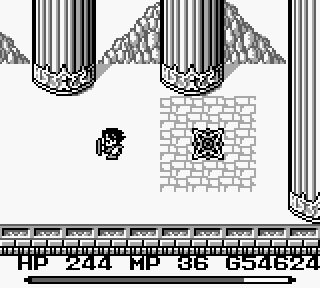
We're looking out at mountain tops at this point. How high up are we?
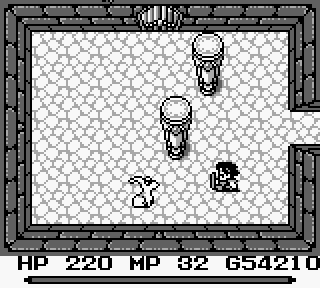
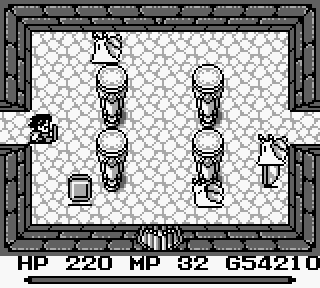
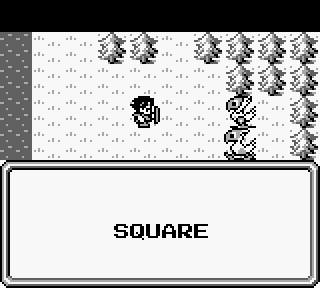
Well, this looks familiar.
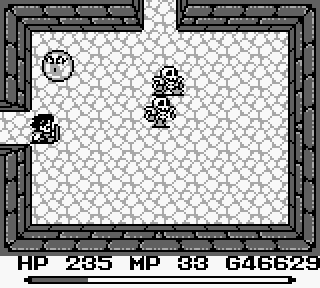
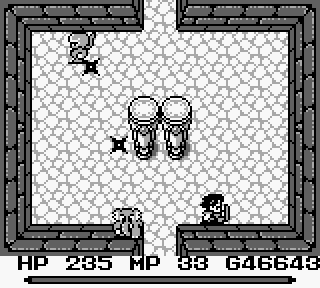
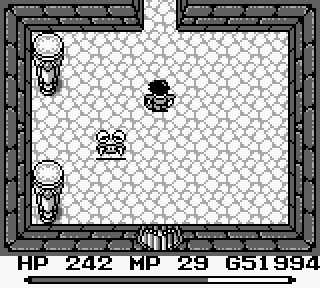
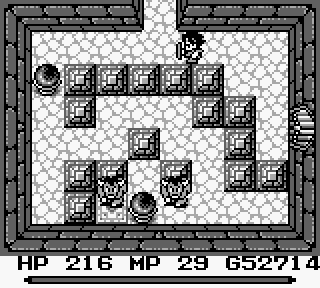
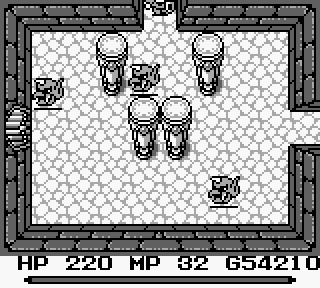
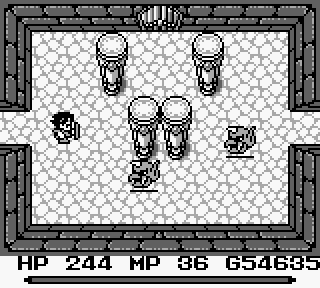
Hmm. Which panel to choose? The simplest method is to turn both of these guys into snowmen and push one around until you reach the right panel.
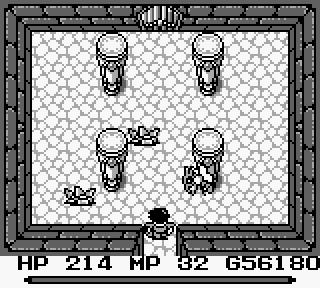
Hey guys. Don't mind me, just passing through.
One might expect things to change after the sudden appearance of this water...
And you'd be correct. Time for another boss battle.
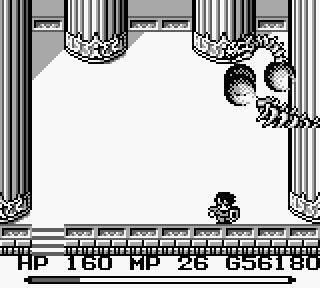
Miniboss Battle: Dragon Zombie
Zombie Dragon Battle
The Zombie Dragon is probably the easiest of the three bosses we've fought so far, being sharply limited in movement and very predictable. Since the battle takes place on dry land you can attack from underneath as well as from the sides, and the fact that we're using a sword makes charging attacks at the vulnerable head easy. One note of caution, however, is that this enemy has enough of a reach in its pattern to attack all the way to the border of the screen. Standing in front and expecting it to stop is not a good strategy.
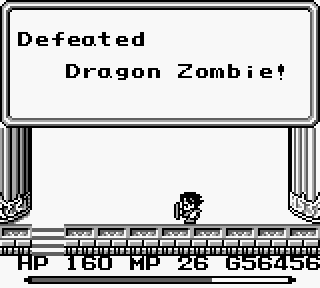
The Dragon Zombie gets a different death animation than the previous two mini-bosses, just for variety's sake.
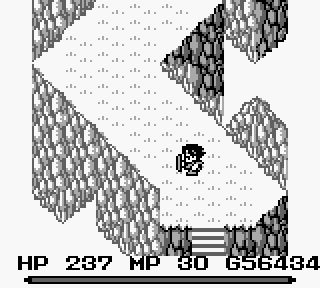
At this point, the route forward has become straightforward. There are no more twists and turns or puzzles from this point on.
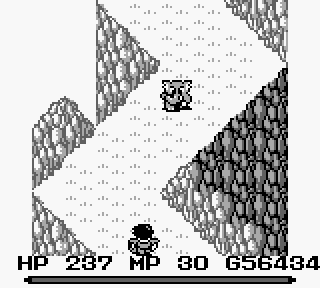
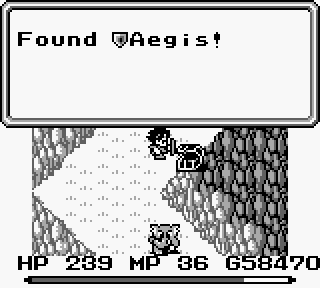
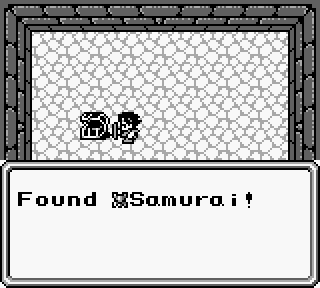
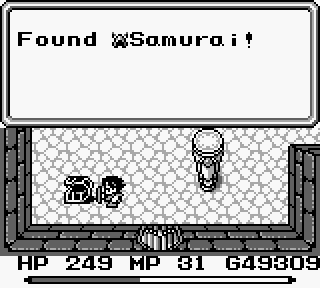
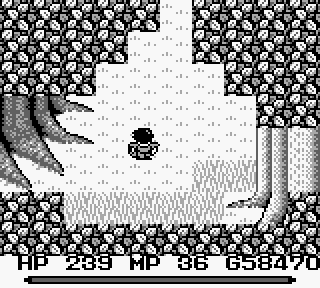
There are, however, elephants that throw boulders and can provide us with the best shield in the game to complete our defensive equipment.
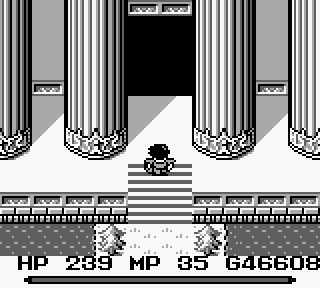
A change of scenery heralds the last section of the game..
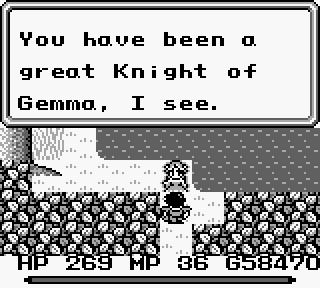
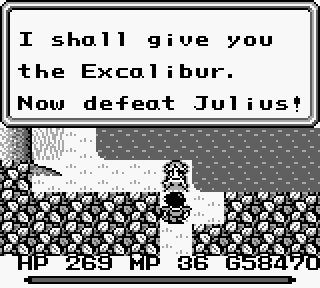
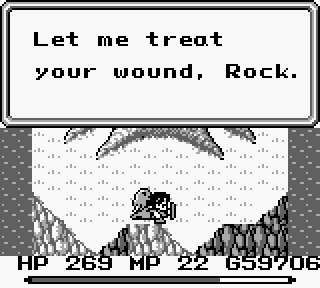
Roll's mom is probably the best ghost mentor ever. The fact that the Sword of Mana is given rather than found is an important plot point, calling back to the Lady of the Lake.
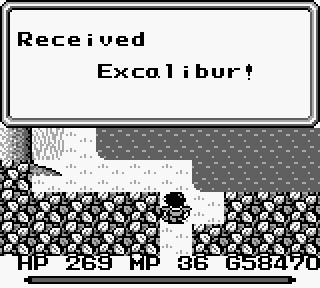
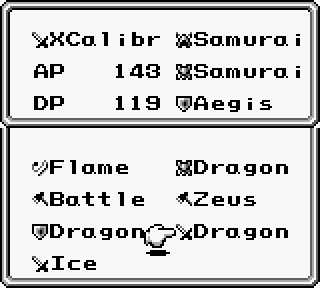
Excalibur is a huge step upward in our offensive capabilities, although there are only a couple of enemies left to use it on.
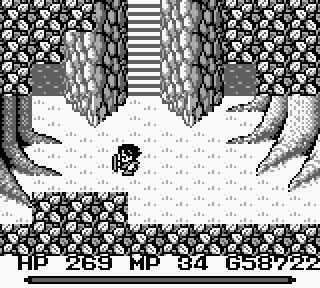
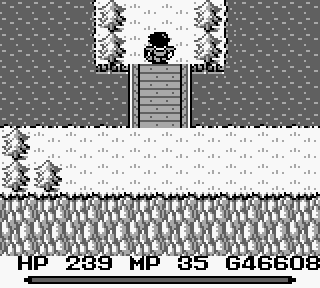
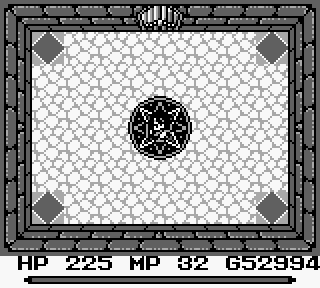
And that brings us to this portentous stairway.
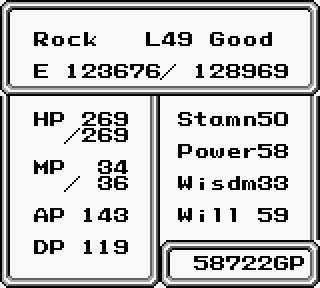
Amusingly enough, it turns out that I didn't actually need as many levels as I thought. Somehow I overestimated the length of the final dungeon.
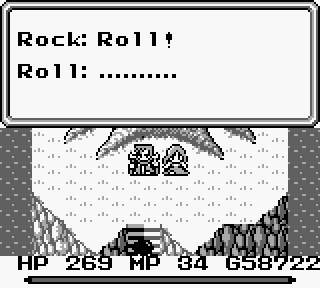
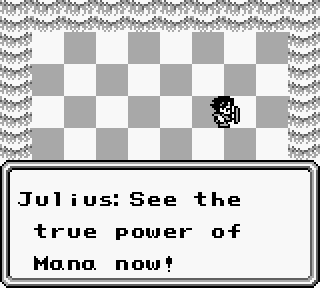
 You're late, Rock... I already got the greatest power of Mana! The time has come for the Empire Neo-Vandole!
 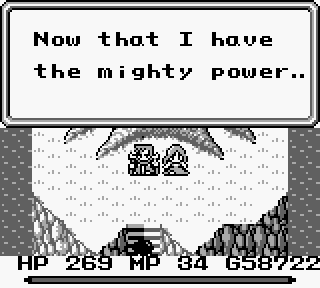 I do not need you anymore, Rock!
 You know... I'd hate to interrupt your monologuing, but you didn't really need me in the first place. In fact, if you'd left me alone I'd probably have ended up dead long before now and you'd have been up here weeks ago.
Final Boss Battle: Julius
The Battle with Julius
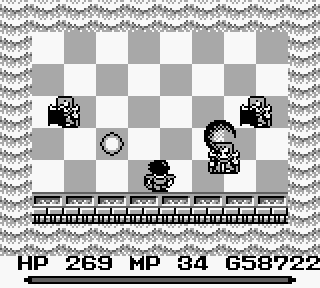
The final boss battle with Julius starts out with a three on one brawl that's not nearly as difficult as it looks. Julius's attacks only do about 1 damage if they hit, and our shield can block his puny nuke spells. There's no room for much finesse here, but there's also no need.
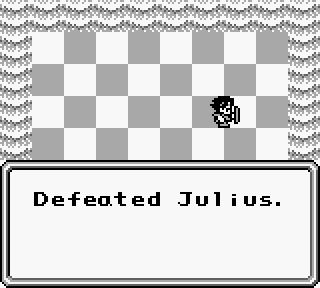
Obviously it can't be this easy.
Now that I think of it, this is probably one of the earliest multi-form boss battles in an RPG...
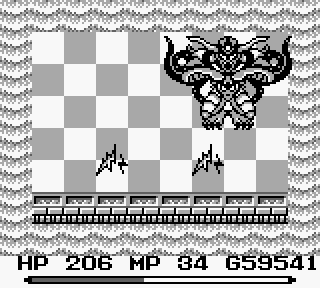
Julius's final form is an inhuman monstrosity reminiscent of Chaos from the original Final Fantasy. He likes to hang out at the top of the screen firing lightning bolts, but will sometimes charge. He also likes to make diagonal movements to throw you off occasionally, so the safest place to be is on the far side of the screen from him. Mitigating factors in this battle are the fact that we can block his lightning with our shield and that any hit on his body will cause damage.
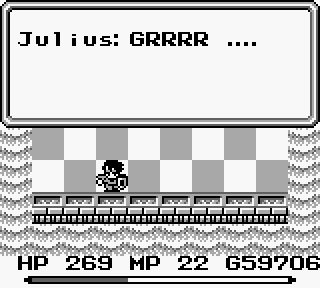
He might have exploded, but that's not the kind of sound a dying final boss makes...
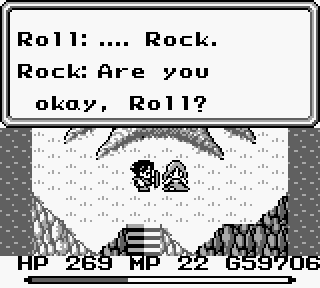
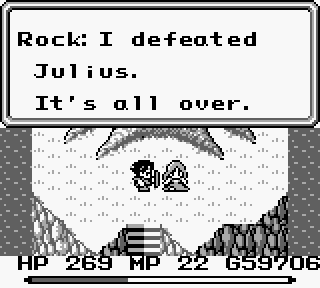
Naturally Rock just has to tempt fate.
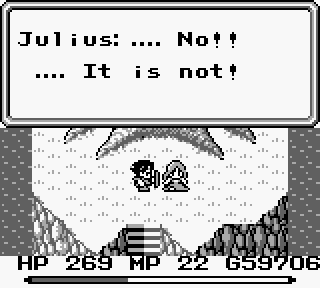 Rock! You will never leave here alive!
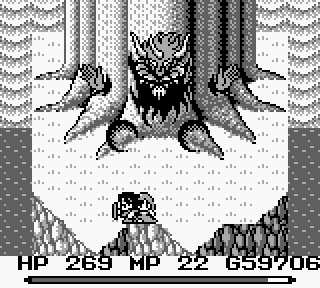
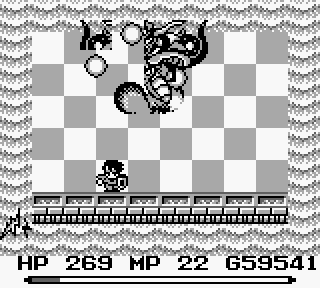
Julius's final form is a three-horned, shriveled up monster that defies description. It's a tough battle, since we're dealing with an enemy who can teleport on top of us and whose ranged attacks can't be blocked. The safest place to be when he's moving is where he just was. Only direct hits on the body count, but we can pass through the tree if necessary to hit him.
As a bonus, Roll and her useful healing ability are back with us for this final fight.
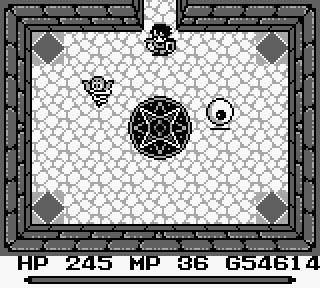
Let the Heart Sing with the Melody
Gemma
Oh... .. What am I supposed to do?
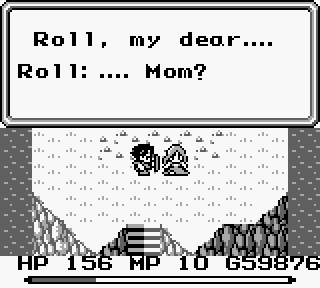
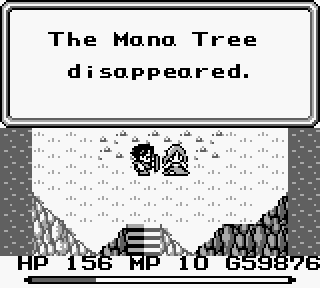
a new gemma of the Mana Tree.
..New tree? Remember what I told you? We are the seeds of the Mana Tree.
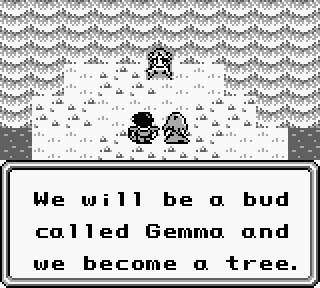 And the Gemma Knights fight to guard it. I became the Gemma last time we lost the tree. That tree...? Was it you...? .. Yes, Roll.
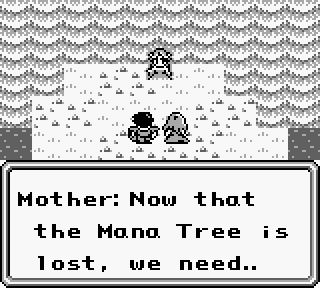
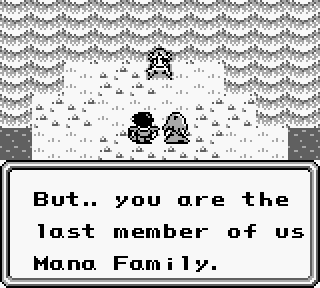 To preserve the Mana Tree, we need you to stay here and become the gemma. But.. Roll.. Nobody else can decide for your life but you..
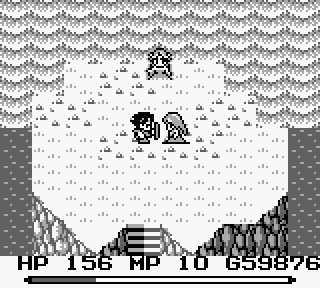
Any dialogue would be too much.
 But if I am the last one left, when I fall.. Yes.. That will be the end of the peace.. .. Bye. Rock. Please go.. .. I must stay here.. .... Don't worry. I will be here as long as.. .. you guard me from the evil....
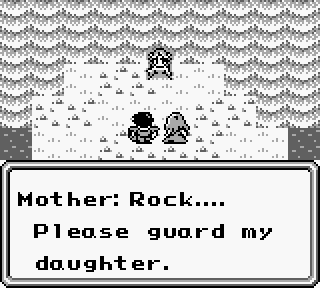 You are the only Gemma Knight for the Tree now.... I will be withering soon.. Please tell my Gemma Knights that I said.. good-bye and thanks to them. .. Good-bye..
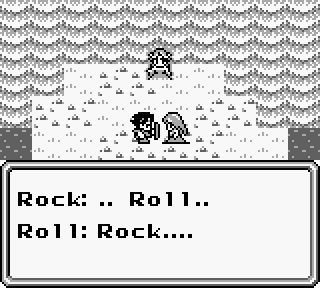
One last time.
Good-bye. .. Roll.. Good.. bye..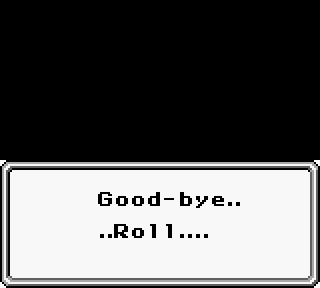
 It's incredibly sad, but there's more to it than that. How many games have such a bittersweet ending?
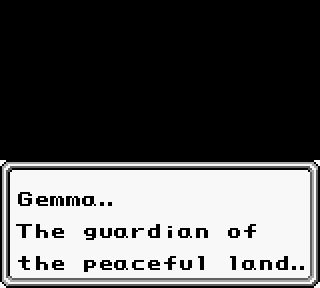
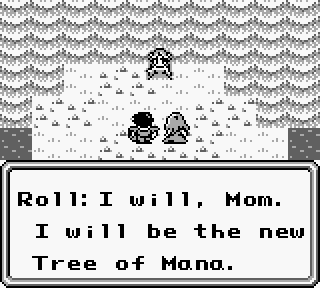
The new Gemma must not be last ever after..
We all must keep it forever..
And you, Rock, are the only Gemma Knight now..
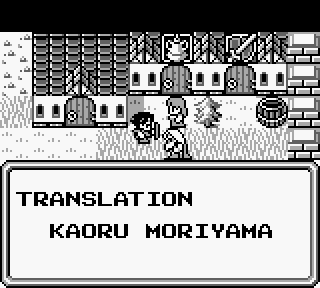
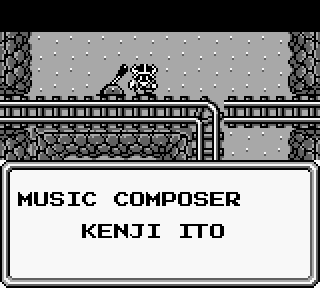
Kudos goes out to both of these people. The translation on this was excellent for the time period, and the music has been a real delight to listen to playing through the game.
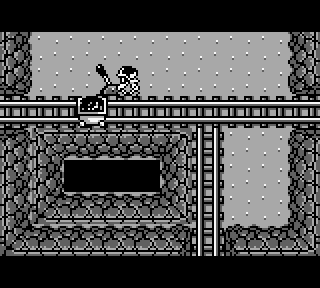
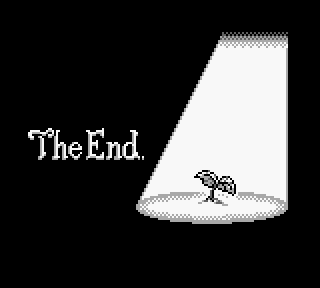
Some things will never change.
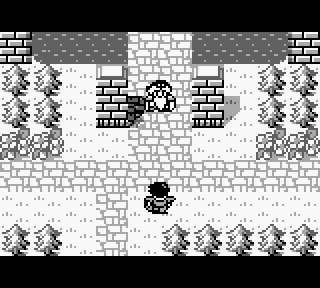
For the ending we're treated to a visit around with some of the surviving NPCs.
Lester's still playing, although if you've seen the ending he appears to have company.
Even with metal legs, Chocobot can find love. For the time, they really outdid themselves with this one.