Part 5: Part Five: Sealed Cave Prep and Mechanics Talk
Part Five: Sealed Cave Prep and Mechanics TalkSo, now we have a full party of four.
Let's talk to some more ghosts.
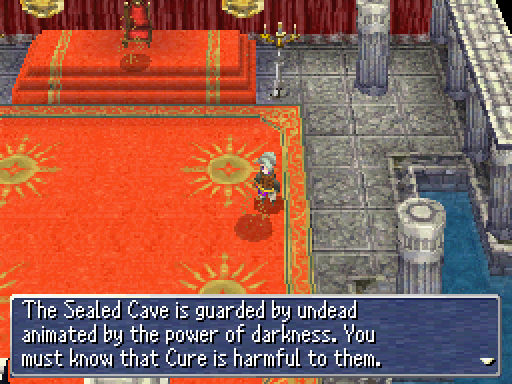
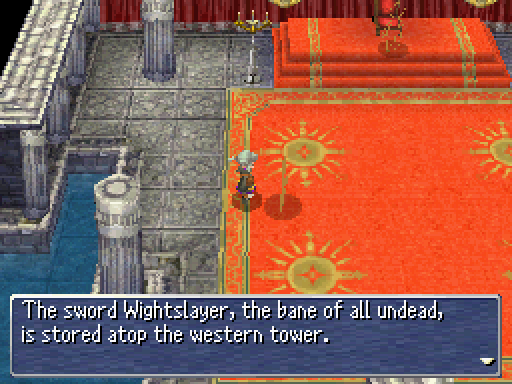
Cure hurts the undead (it's a waste to cast it on them, though) and there's an anti-undead sword in the western tower. The western tower is the one full of monsters, so we will get there...later!

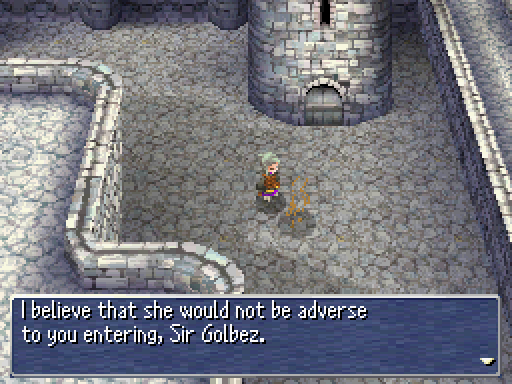
Outside, this ghost tells us that we can just head on up to the princess's room. Probably because we're looking for her and maybe she left some clues as to where she is? Or because everyone else here is a ghost and the party members have bodies?
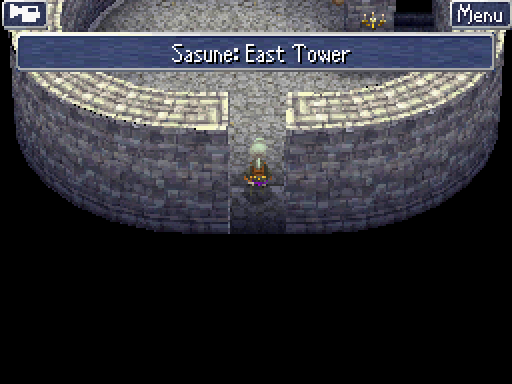
Yup, that's where we are. I don't know why the developers decided this towers had to have name boxes when places like inns don't.
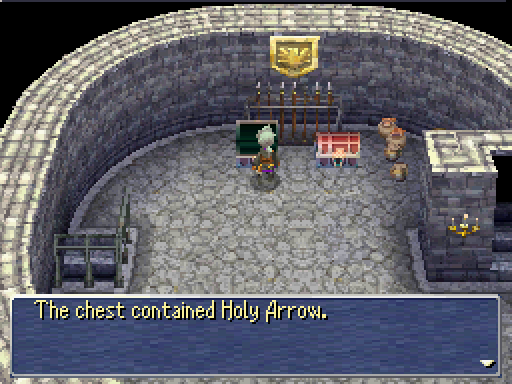
The other treasure chest has some standard Wooden Arrows. Arrows are the other half of using bows, you need both parts to kill enemies with bows. Arrows are also consumable in this game. That's pretty much all I have to say about arrows.
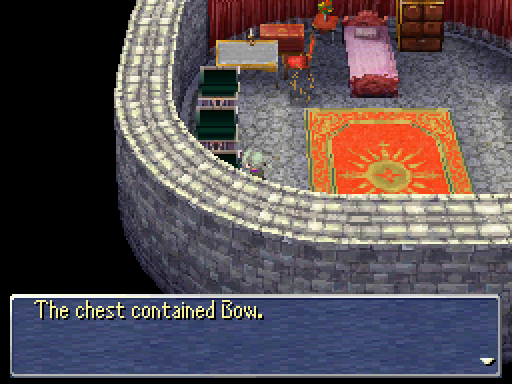
Once I get to Sara's room, I find this, along with a Potion and some more Wooden Arrows. Now I could give someone a bow.
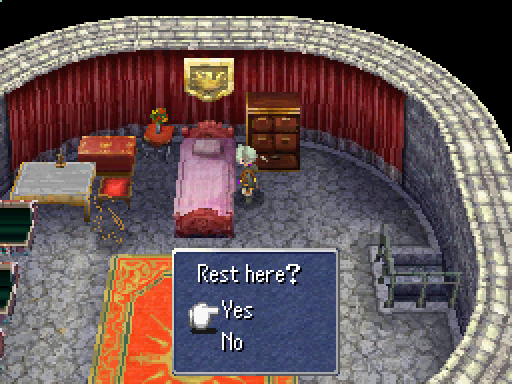
If I wanted, I could sleep in Sara's bed. I don't need to, though, so whatever. Lotta free healing available right now.
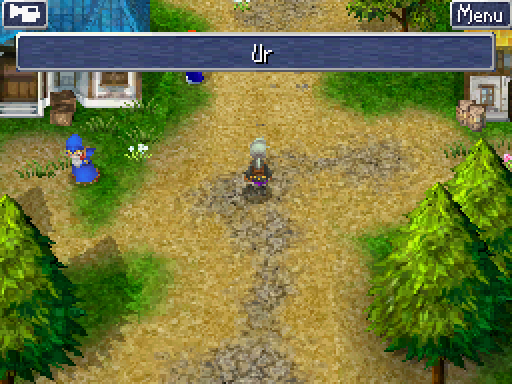
Now, you were probably expecting me to go to kill the Djinn right now, but instead I'm going back to Ur first. I have some stuff to take care of here.
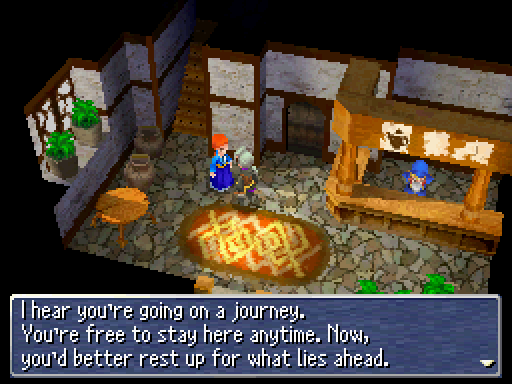
I forgot to go to the inn before, for one thing.
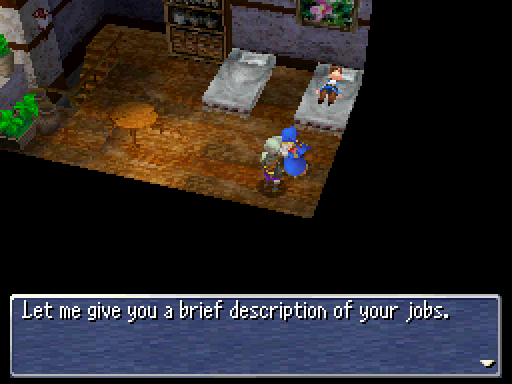
Upstairs, I can talk to this guy to get a rundown on the jobs I'm using. Right now, everyone is a Freelancer, and besides, the descriptions will be in the job profiles, so this guy is useless to you.

There's also this sleeping guy. He doesn't do anything but sleep. Good times. If you're worried, here's a spoiler about this update: nothing significant happens. Just showin' off some prep and then a bit of mechanics chat later.
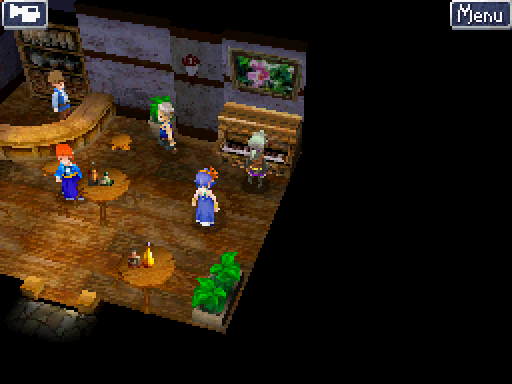
There are people downstairs. There's nothing exciting going on here. One guy tells us to buy Antidotes and Eye Drops, one dude tells us that Ur is an okay town, and then, some lady asks us to play this piano.
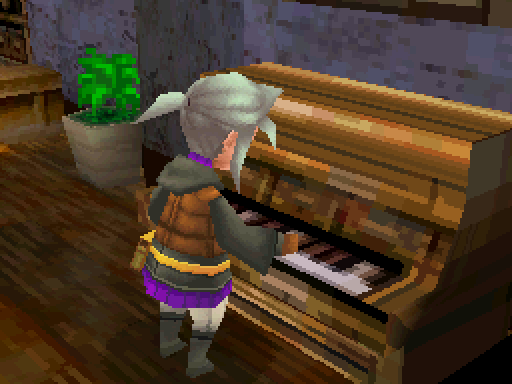
So let's play this fuckin' piano.

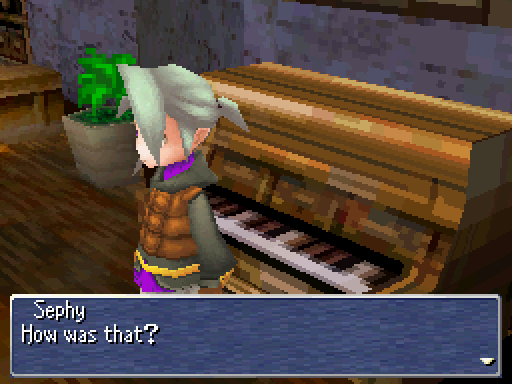
Sephy isn't very good at piano right now and everybody boos him.
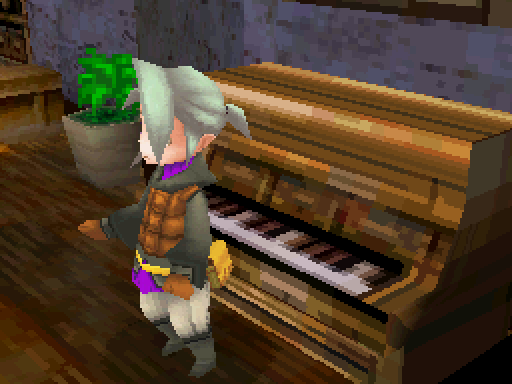
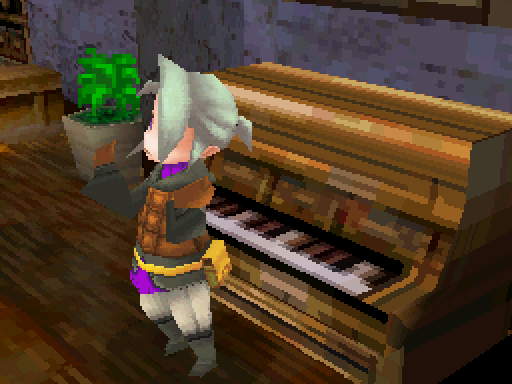
He's a cool dude, though, and he just shrugs it off.
You might also see a woman with blue hair in that earlier screenshot.
http://www.youtube.com/watch?v=rgP2yMYzkL0
She is a dancer, and you can watch her prance!
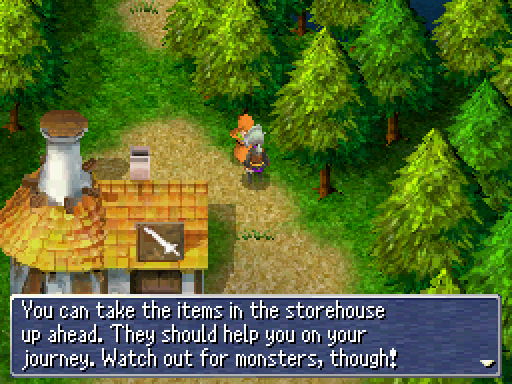
This is the real reason I came back to Ur, by the way. I need that stuff from the storehouse if I want to handle the Sealed Cave properly.
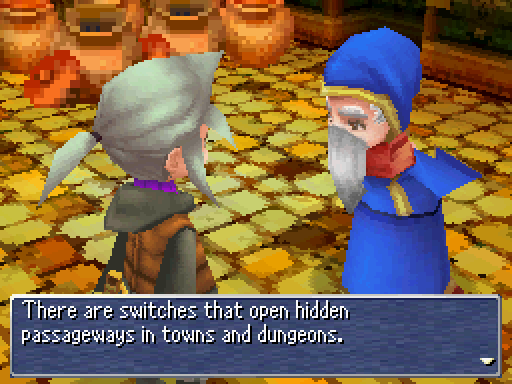
This guy talks about it for a bit, but here's his big secret: sparkly things open hidden passages. I mentioned it back in the first update, and it's still true.
In the storehouse, I find some miscellaneous healing items and stuff, but I also find an extra Longsword, a Cure spell, and a Phoenix Down.
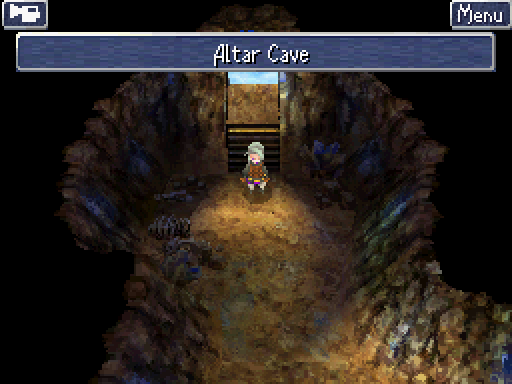
Now back to this cave! There are some areas I couldn't access before, because the game starts you on the second level of the cave.
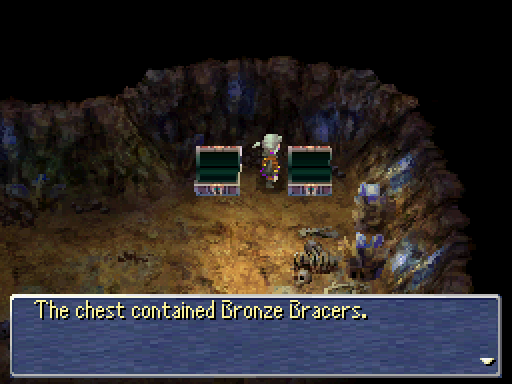
One of the important things is this set of Bronze Bracers, which are arm gear, the third type of armour, which I had none of before. The other chest had a Leather Cap, in case you were wondering. I could equip that to Sephy, but I've already made it obsolete by grabbing a Mythril Helm out of the grass in Kazus.

First bit of mechanics chat, on job levels:
Job levels are important to have because they raise your damage and critical chance, as well as increasing your healing ability. I've mentioned that before, but here's a new piece of information: you can rig it so that you gain a job level after every fight, which is what I did here. The way that job levels work is that you build up a hidden counter of job experience (JP), and when that hits 100, you gain a job level, but you can only gain 199 JP per battle. Taking any action in battle (other than running away) gives you JP, so you can make sure your characters all gain a job level by defending for a few rounds and then killing the enemy. For every job except one, it takes five actions to gain a level until you hit job level 14 (the exception to this rule levels faster than normal), and then the amount varies from 4.17 actions per level to 12.5 actions per level, but the average is about 8.
Job levels also have an effect on one mechanic I'll get to (probably next time), where they lessen the extent that the game decides to shit on the player for making use of a feature.
The actual mechanics of the thing aside, it's just a generally good idea to gain a few job levels with any job as soon as you decide to use it. This goes double for Freelancers because getting your job level to 14 gives you an extra hit, and it's very important to have extra hits right now.
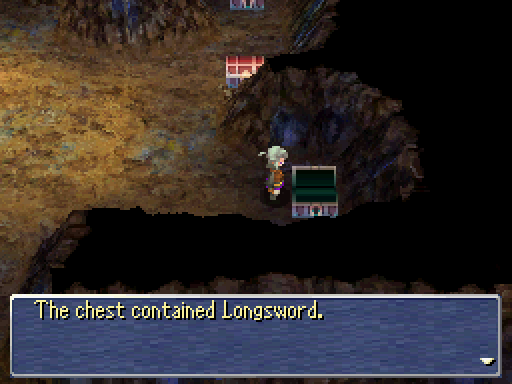
That was quite a lot, wasn't it? It's important that you know, though, so you can understand how I play the game. The real reason I came back to Altar Cave, though, is for this room, which is full of treasure. I pick up another extra sword on top of the one in the picture, another set of bracers and knuckles, and then a Sleep spell. The Sleep spell will probably sit in my inventory forever, because it's hardly worth anything.
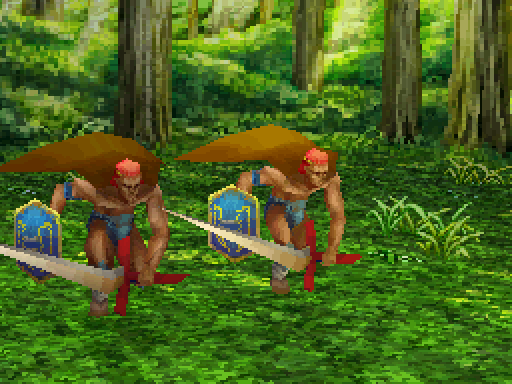
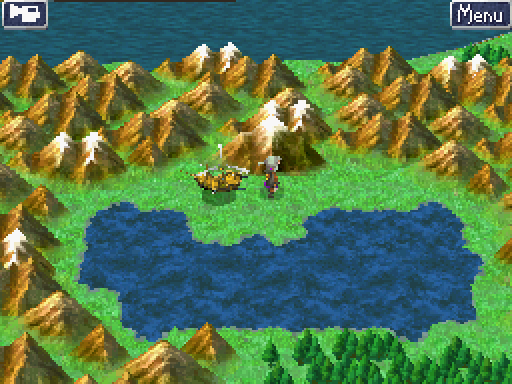
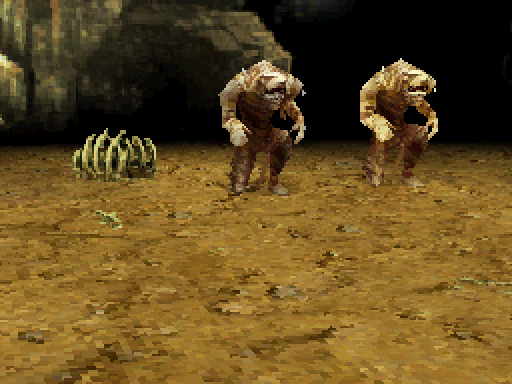
Running around in the forest near the castle, I run into these guys, Berserkers. Now, they're just a trash battle, but I'm going to tell you something now: you need to grind a few levels before you go into the Sealed Cave, and this sucks. Why does it suck?
Well, your options are either the enemies on the world map, who hit like this:
And have more HP and defence than you're likely to deal with in one round (i.e., you're getting hit at least once), or the enemies in the Altar Cave, which don't hurt much and have low HP, but also give shit experience.
Berserkers, however, also give shit EXP, way less than would actually convince me to fight them. For the record, to get to level five from level three fighting these guys would take me 22 battles.
The other reason not to grind Berserkers is that the other encounter in the area, Killer Bees, can cause poison when they attack. Poison deals damage every turn if you have it, and with my current HP levels, I don't have much longevity with that kind of thing.
Anyway, the idea here is that you grind job levels against Goblins, who only hit for a couple of damage, tops, but also give 1 EXP each.
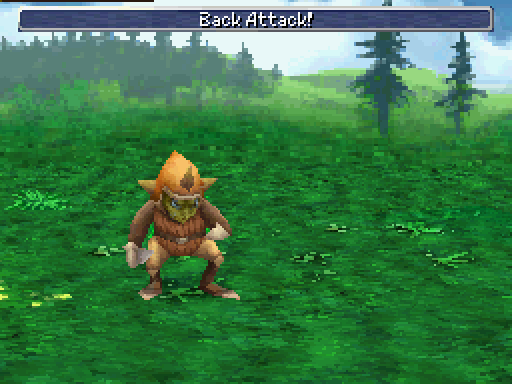
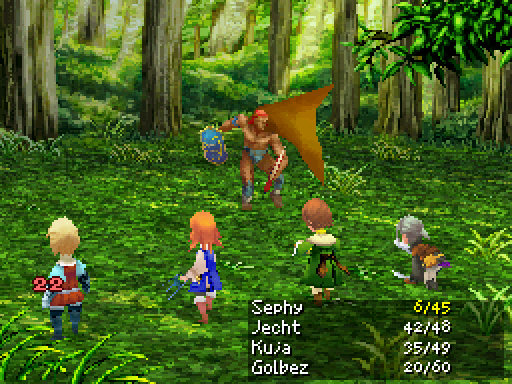
On my way to do this, I end up getting back attacked.
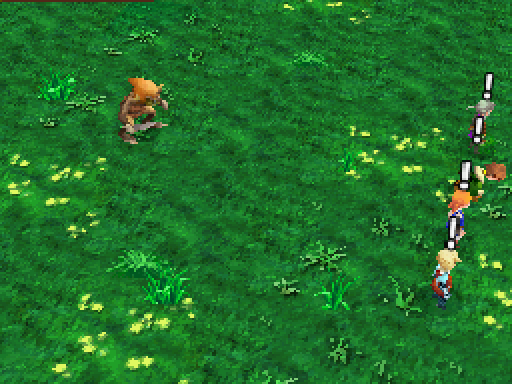
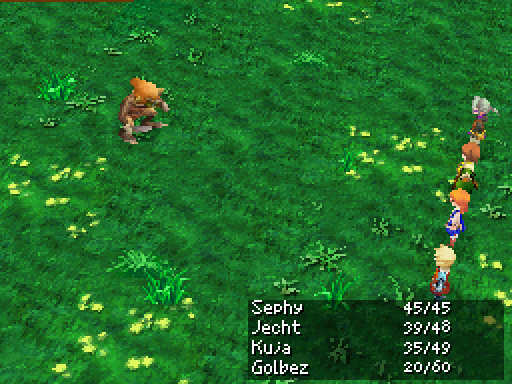

The way a back attack works is that it reverses your row setup, so your front-row kids are in the back row and vice-versa. Since I have everyone in the front row right now, you can see that the back attack moved them to the back. You can also see Jecht kneeling down. That's because he is poisoned.
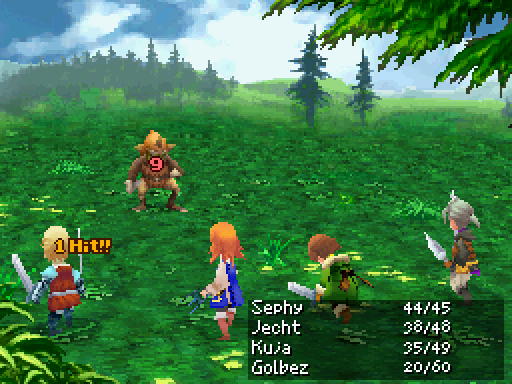
I don't shit around, I just kill the Goblin this time. He might be in the back row, but Golbez still hits hard enough now that he has two swords to kill the monster in one hit.


I pop back into Ur to pick up Poisona, slap it on Jecht, and then have him cure himself.
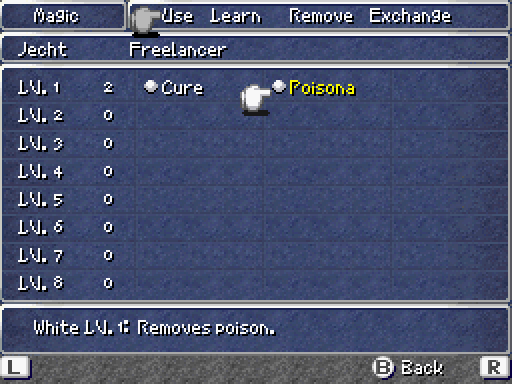
This is a perfect chance to show you how magic works in FF3. As you can see, it's divided into levels, from 1 to 8. In each level, a character can have up to three spells. There are three White Magic spells and three Black Magic spells for each level, so you have to pick and choose what a character gets. There's also one spell for each level of a third type that I'll talk about when it comes up.
Anyway, you see that "2" next to "LV. 1" in the menu? That's your spell charges for that level. Your MP, basically (it's called MP in the game). Right now, Jecht can cast two more first-level spells before he runs dry. His maximum number of charges is three currently, which puts magic at a pretty high premium, and inadvertently makes Poisona a second-class spell that will probably not see any more action after this.
A similar system of spell charges was used in the original Final Fantasy, at least originally, and it was shitty there just like it is here. In modern versions, though, it's replaced by a standard MP system in the first game. There's no reason for it to be in a game that was released in 2006, other than this is supposed to be a big throwback and also fuck the player.
Now, what was I building up to here? Well, let's go to the Sealed Cave and find out.
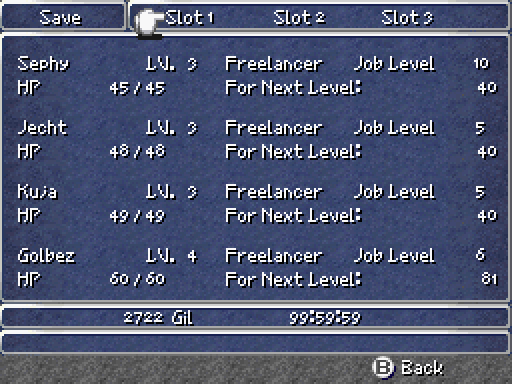
First, though, let's save the game. If you look at the playtime clock there, it's, uh, completely mental. I haven't played for 100 hours, I think it's just an emulator thing.
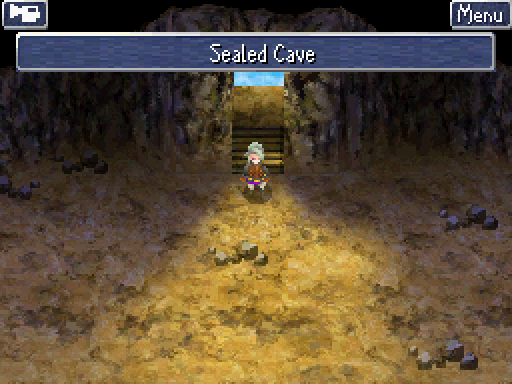
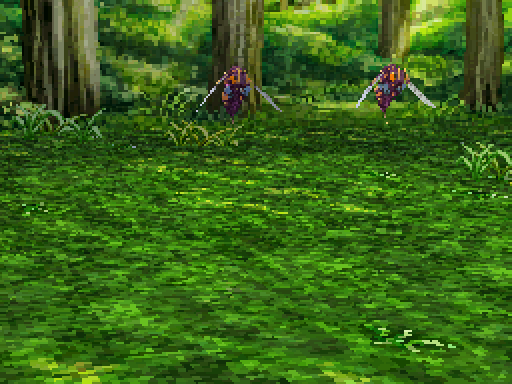
The Sealed Cave. Let me tell you why I didn't come here before.
These guys are why. Mummies. Or, at least, they're a part of the problem.
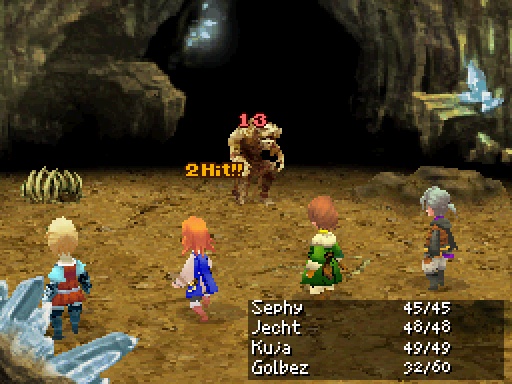
See, Mummies have a bunch of HP and decent defence.
They also hit really fuckin' hard right now. This is more than half of Jecht's HP. I will cop to having him in the front row, but that's because I'm not spending much time here, and I have a point to make.
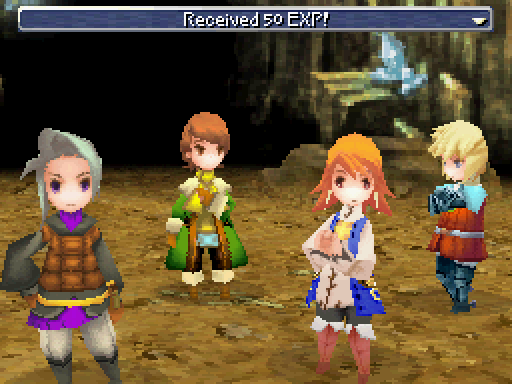
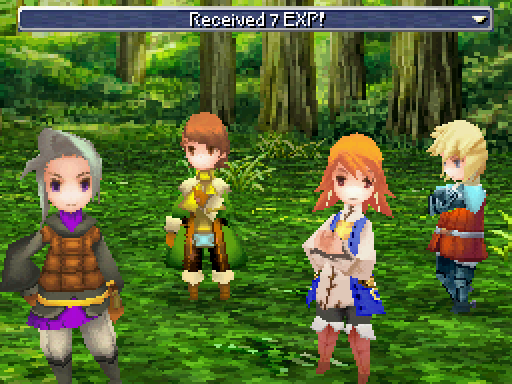
The trade-off? Mummies are actually worth decent EXP. Sephy, Jecht, and Kuja all gain levels from this.
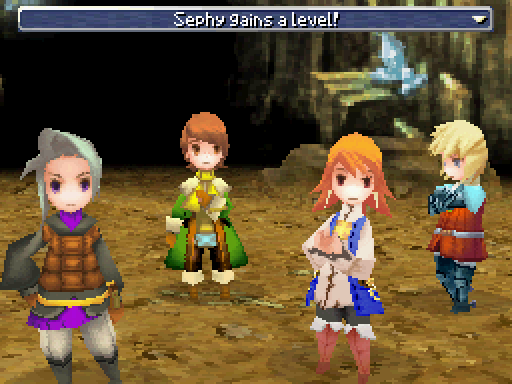
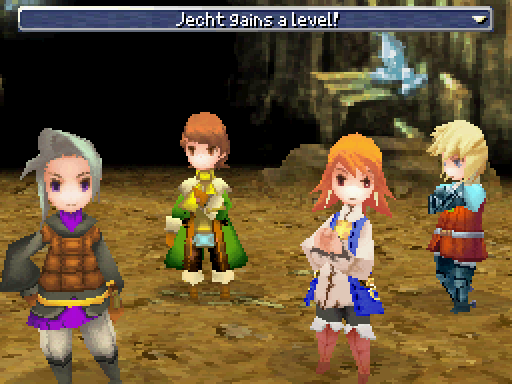

See?
But!
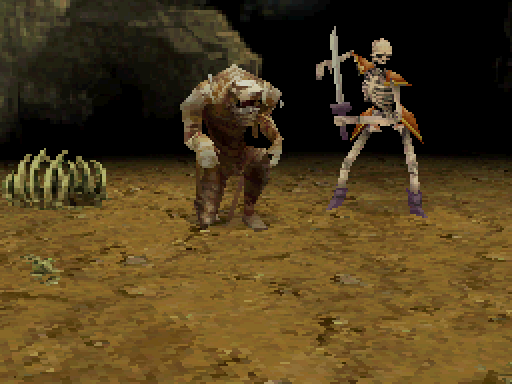
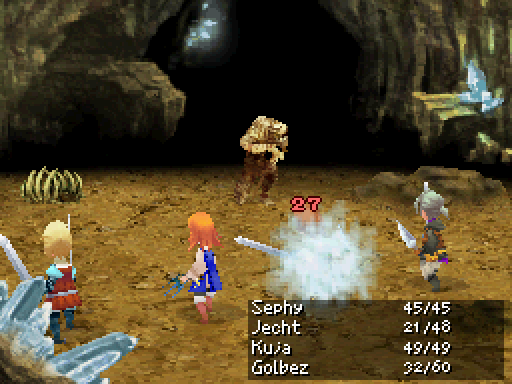
You see that guy on the right?
Now, I can deal with the Mummy. Sort of. Mummies can also cast the spell Poison, which doesn't just poison someone, but also hits like a truck full of smaller trucks. It did 50 damage to Jecht, and spells ignore row. I can't take that kind of hit right now.
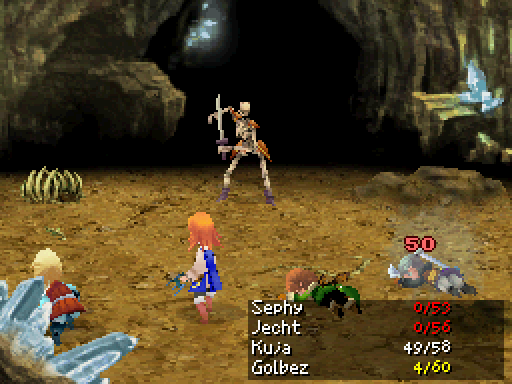
Nor can I take this kind, which Skeletons toss around like rice at a wedding.
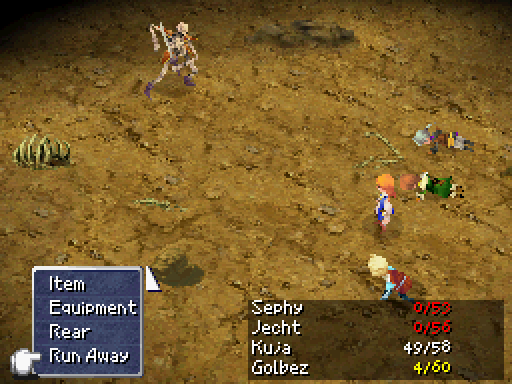
So I book it before the train to Bonetown gets completely away from the station.
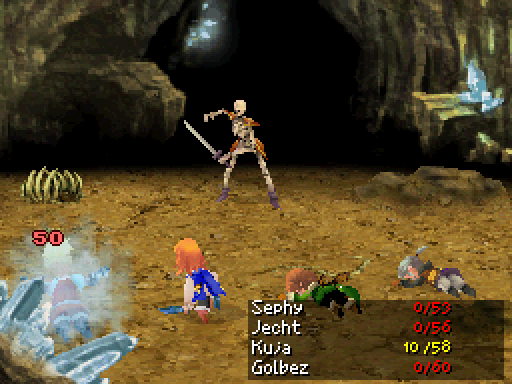
But I don't make it out before Golbez is mashed.
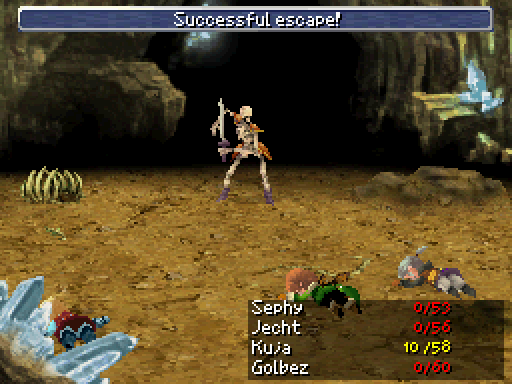
I escape with one character who has 10 HP left.
Need I remind you that this is the second dungeon? Most people who play this game probably go through the Altar Cave, piss around getting the party together, then come here at level three because the game is, by all metrics, still in introductory structure here, and get minced. It's BS, is what it is.
Anyway, that's all for now. Next time: I grab the Wightslayer and then actually do the Sealed Cave in earnest.