Part 9: Sturdia
08. Sturdia[Music: The Airship ~ Flight Theme 1]
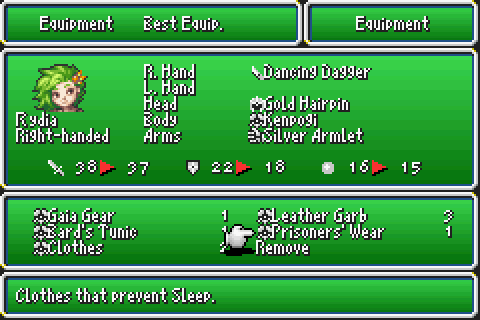
So, before we go around the world in our sweet new airship, we should probably steal Cid's clothes. The sleep protection might come in handy at some point.
That done, we can begin our excursion by heading directly south of Baron to find the town of Agart. Agart exists to just foreshadow act 2 and one of the dumber twists.
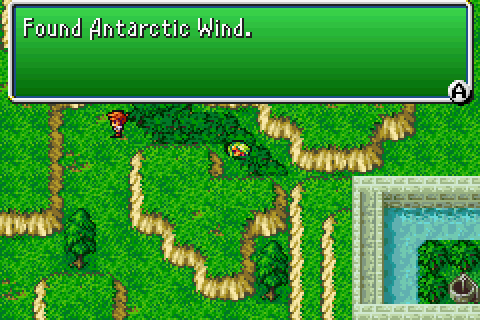
For our purposes, it has a free Antartic Wind (which is a Hi-Potion in every other version). That's it. There's nothing new to buy that Rydia can use, and everything she can is stuff we already have and is just outright weaker than everything else we have.
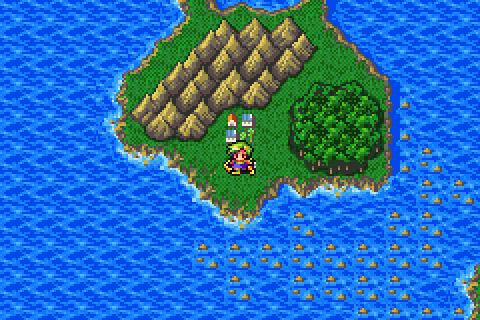
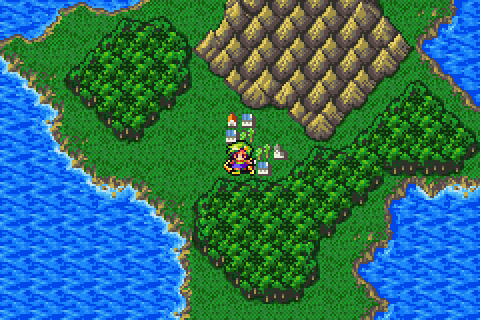
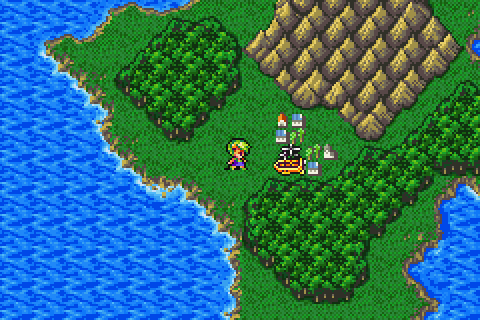
So, Agart was a bust. What about Mythril? It's to the south of Fabul and easily found by following the island chain that's there, but does it have anything for us?
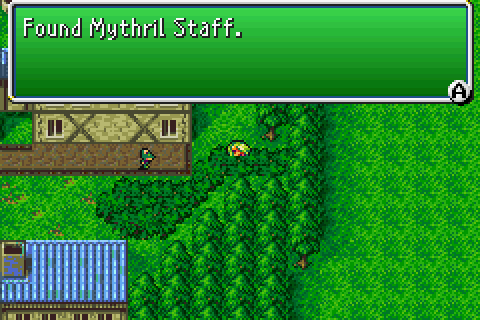
Well, it has more free things than Agart for one. Not only does it have this staff, which acts as a free infinite Unicorn Horn (but only for one person), it also has 5000 gil over in the top left corner and...
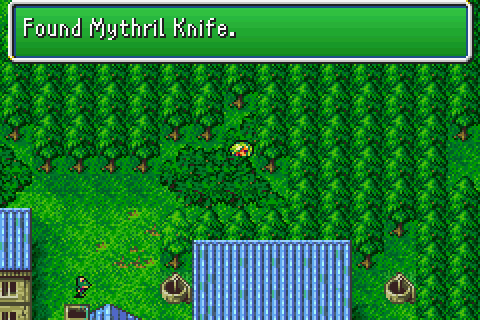
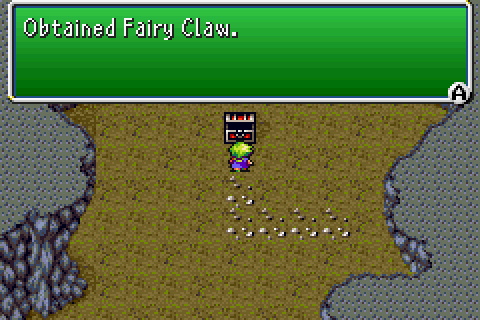
Another free piece of equipment; it's slightly weaker than the Dancing Dagger but apparently deals extra damage to ghouls. Wouldn't you know it? Both free pieces of equipment can be used by Rydia, and are the only things from here she can equip anyway.
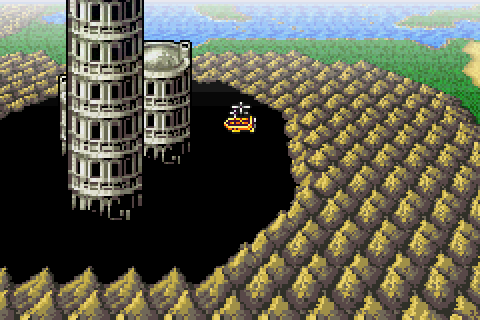
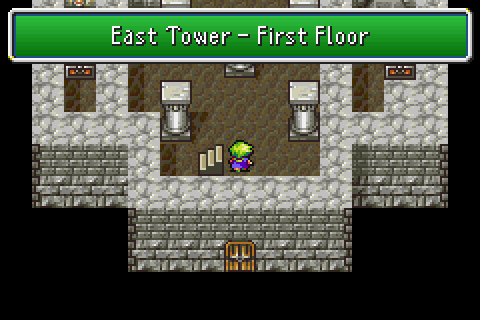
Lastly, we go south from Mt. Ordeals and we can find the Tower of Babel just sticking out. Though, since we can't enter it yet, we'll keep going a bit further south to find a mini-dungeon-but-not-really.
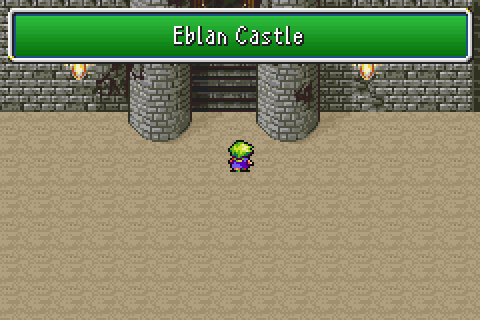
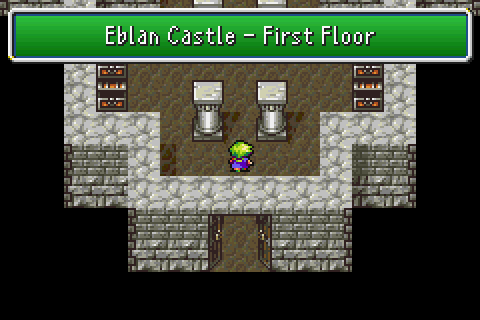
Eblan Castle's pretty full of loot, though as everyone knows it also has 3 rather tricky fights for this stage.
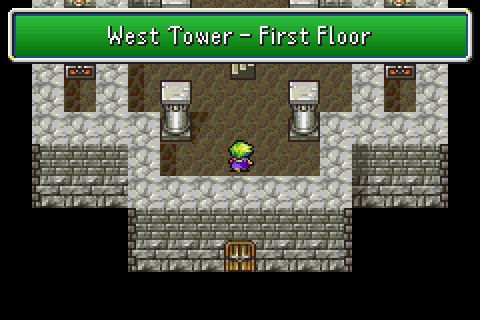
We'll worry about those as/when they become relevant, but for now we'll get the stuff we can without having to fight stuff.
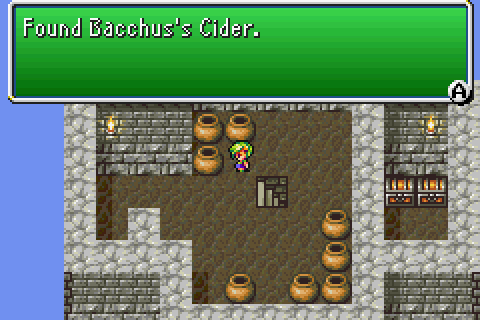
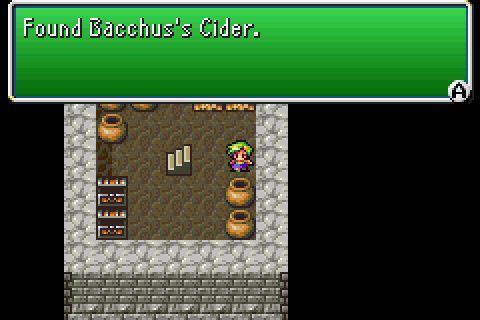
Might as well start with the easily found Bacchus's Cider.
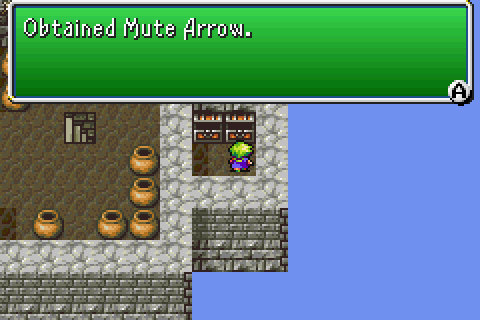
Most important thing up here is this though. 10 Mute Arrows for free isn't that shabby since they're even stronger than the Poison Arrows though these are the only ones we can get for a while.
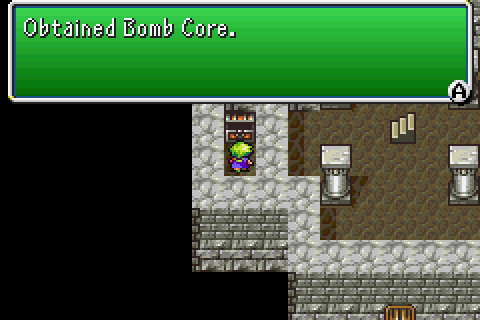
Bomb Cores are dumb at the best of times, and that applies moreso here than anything else. It kills the user in order to deal their remaining HP in damage to something. Sounds familiar, doesn't it?
The other chest over there is trapped, so we'll head on over here for the time being.
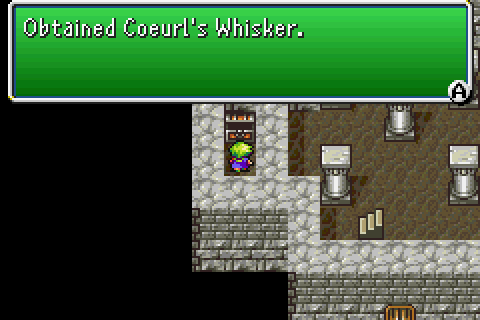
We can quite easily pick up a free Coeurl's Whisker here, and it casts Death for free. Because of this, it's basically useless save for on a few enemies. It's also the only one we get that isn't a random drop so don't expect there to be any instances where I'd actively recommend bothering with it.
Though, on the next floor of the tower, we can pick up...
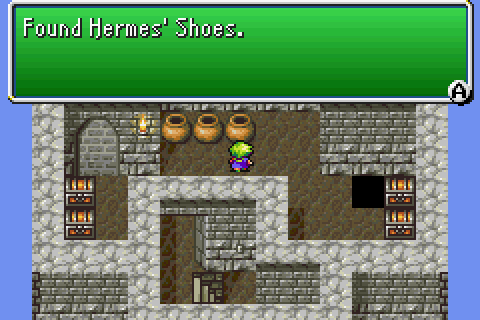
The sixth and final Hermes' Shoes. Unless you're playing the DS/iOS version, there is no more of these left to find at all. No stores sell them, nothing drops them and there's none left to find for free.
The other chests are far less exciting in that they're just an Emergency Exit, and two Hi-Potions. The fourth...?

Okay, let's give this one a shot. It's the easiest fight here by far.
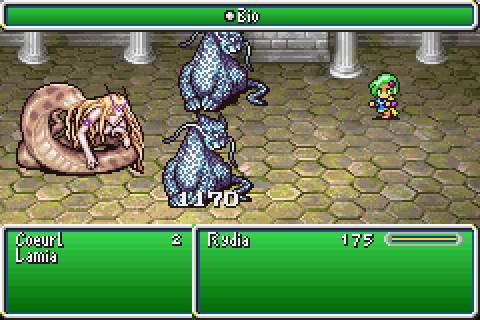
We can start off... by tanking nearly our entire HP in damage and killing a Coeurl in return.
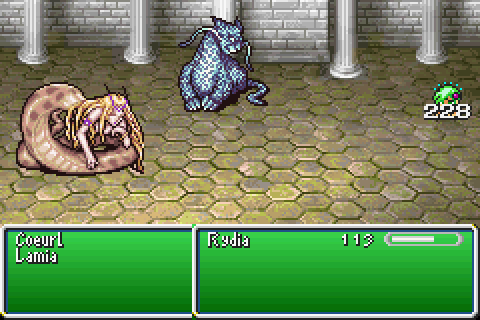
So, yeah. We can't really win this fight yet. With enough attempts at it, sure. But it's not reasonable and the reward isn't worth the hassle anyway.
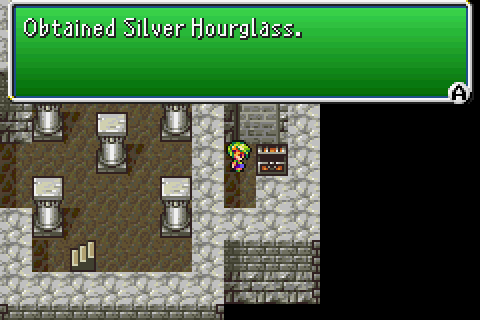
Dropping in the hole lets us pick up the Silver Hourglass. Still inflicts Stop on everything, it just lasts longer than the regular Hourglass. Same length as the actual spell itself.
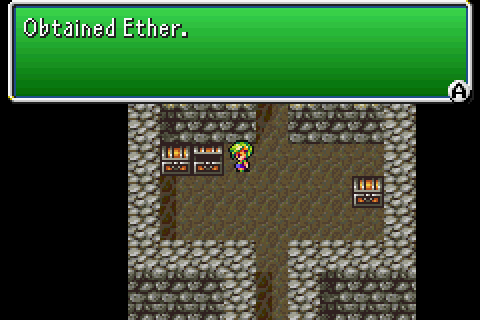
On the way out we can pick up 2 Ethers. We can also try to get the Silver Apple...
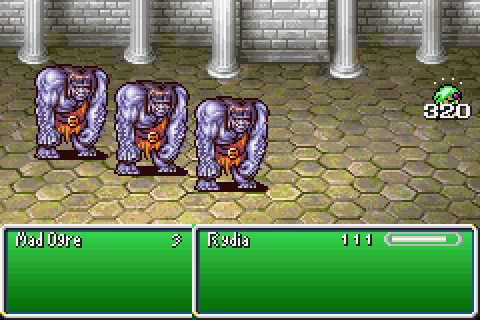
But the emphasis is on the word "try." It's not happening for quite a while, that one. It's probably the hardest fight here if only because Mad Ogres have a lot of HP and Magic Defence and can kill Rydia before she even gets a turn.
So, the central part of the castle. On the way to the throne room, we can pick up a Hi-Potion. Just the one, though. At least from there we can proceed to pick up 5 more things.
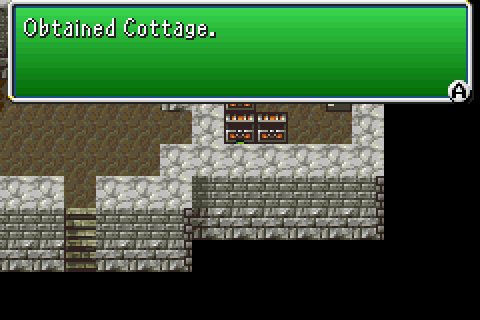
From the right-side of the throne room, we can get to a Cottage, a Gold Needle and Maiden's Kiss. Yeah, only the Cottage is worth anything.
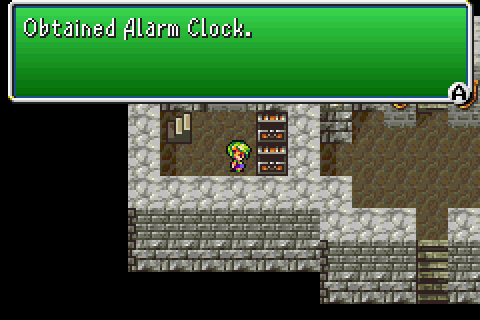
The left side is even worse as it only has an Alarm Clock (full party cure for sleep) and another Unicorn's Horn.
Since we're here, we might as well go take a look at the last trapped chest even though it's not worth anything.
Well, on the one hand Rydia can start to get a turn and then die horrible. On the other hand, even if she get the spell off it probably wouldn't matter anyway.
...And, yes, I know I could just try and cheese these fights with Stop in some capacity (except maybe the ogres because they'd stil take ages to kill and requires getting a turn). It's just not worth the hassle.
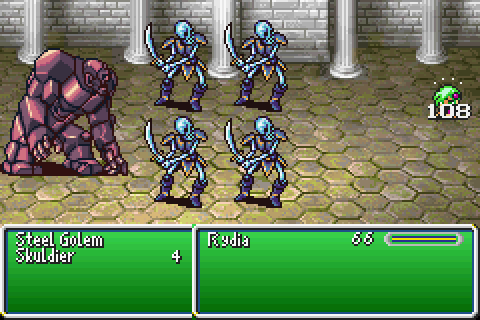
But, since we're on the topic of silly fights lets head back to Agart for a moment. On the one hand, we get really, really weak enemies worth a ton of EXP considering a single one is worth more than anything at Troia and dies a lot easier.
On the other hand, we get this.
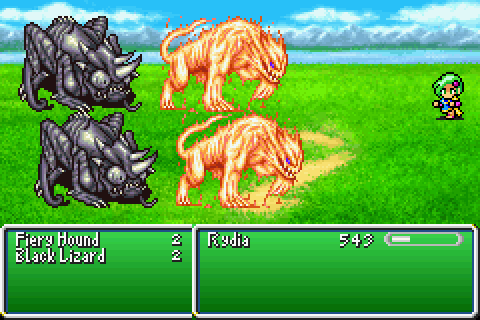
This is just plain nasty, but I guess it also makes sense. Enemies from two dungeons ahead of where we're meant to be but we're not "meant" to come to Agart until after then. It still gives a bit of an idea as to where Zot came from though!
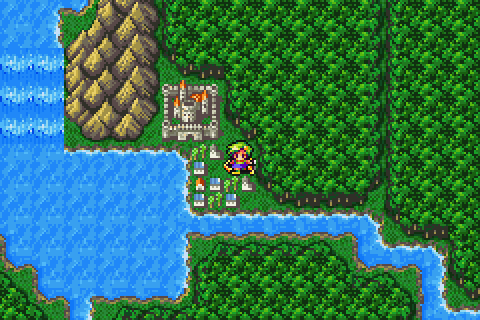
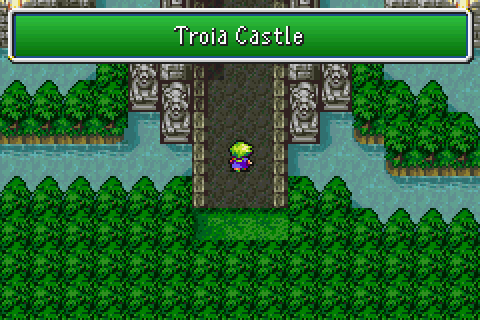
There's nothing else of interest in the world because it's really quite small so let's head on over to Troia now.
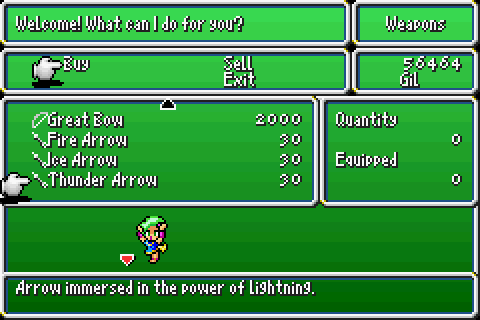
Troia has nothing we can get for free, nor does it have much interesting in general but it does have a bow upgrade and a bunch of elemental arrows. This is usually where bows start to get a bit more reasonable, but I'm just picking these up out of necessity. We won't ever really use a bow unless it proves to basically be mandatory.
That out of the way, we'll head off to the castle where we can make a bit more progress, make the boss beatable, grab some free items and ensure we don't get immediately hit for 9999 damage from the boss.
We can also find out why we need the bow for the dungeon, and why Golbez was worried about it. A lot of people hate the dungeon for this gimmick, because it makes it harder than need be. Personally, I just think it makes it more boring which is even worse because at least if it was hard it'd be fun to play.
Functionally, though, it doesn't matter too much for Rydia because we only want one piece of metallic equipment anyway.
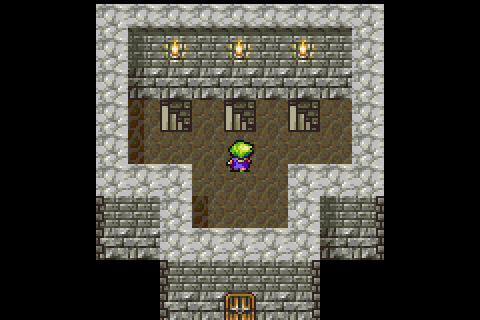
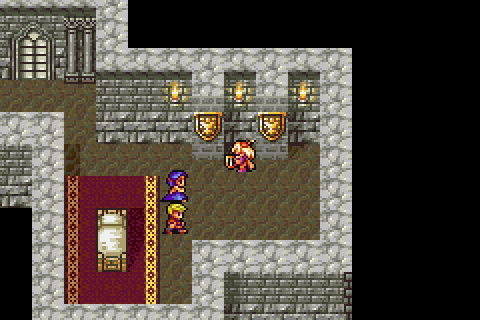
For the time being, let's just loot the castle. We can't get anything from the staircase on the left until after we kick the Dark Elf's teeth in so let's just skip to the middle one.
There's nothing in it but even more Bacchus's Cider.
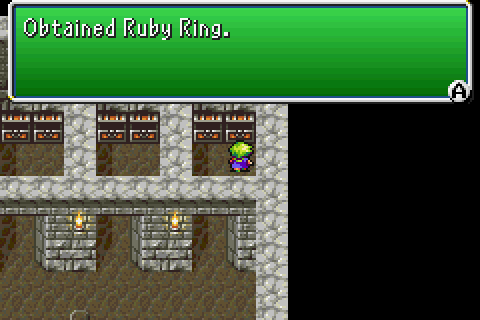
The right staircase just leads to 2 Tents, 2 Hi-Potions, 2 Ethers and 2 Ruby Rings. The Ruby Rings are actually surprisingly useful right now, since they aren't metallic and they'll help most with the boss.
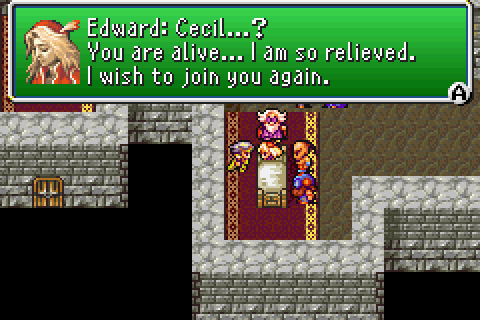
Speaking of which, let's make him possible now. Apparently Leviathan is completely awful at killing people. That or most of the cast is just functionally immortal.
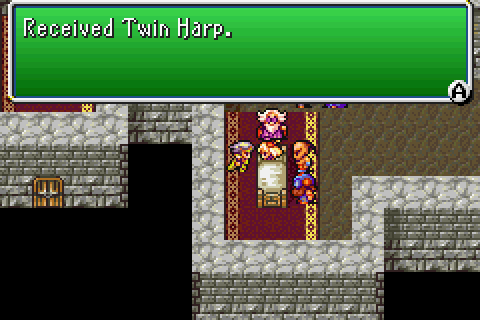
We just need the harp to make it so we can deal damage to the Elf, take reasonable amounts and not get immediately killed without the chance of doing anything.
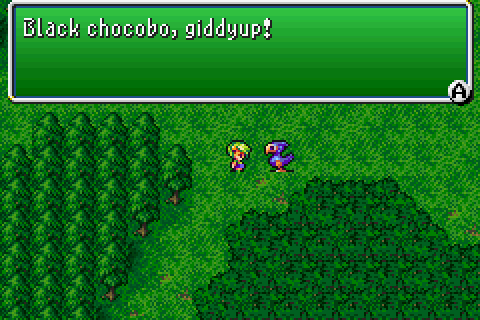
The Magnetic Cave is just east of Troia, but it's on an island where we can't land the airship so we need a black chocobo to fly us there.
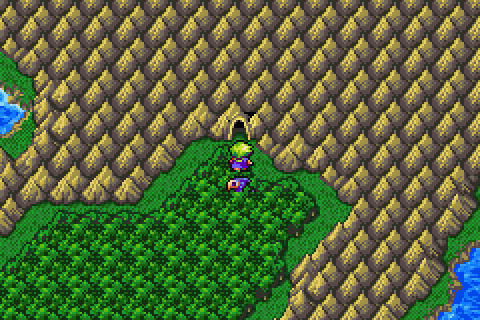
With that, we can head on in and have the first - and last - gimmick dungeon of the game.
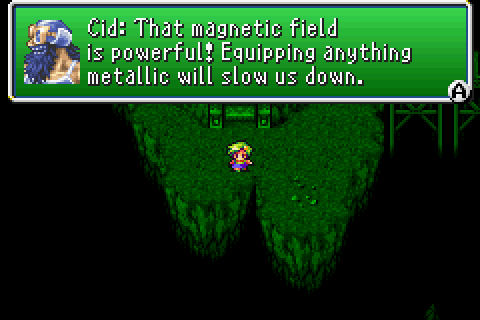
Y'know, there's a lot of equipment that counts as metalic. Most of it can't be obtained until after this dungeon. This gimmick never shows up again.
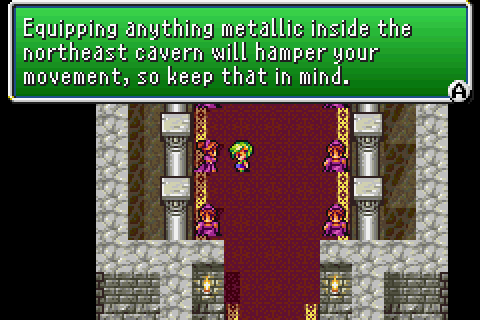
Also Cid lied a little.
Having anything metallic equipped just gives you auto-paralysis in battle, and if the entire party is paralysed in this way (and only this way) then it's a game over.
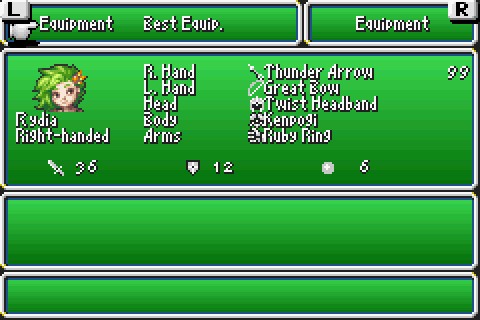
So here's our loud out for the dungeon. It'll change a little later, but for the time being it'll do.
[Music: Battle 1 ~ Battle Theme]
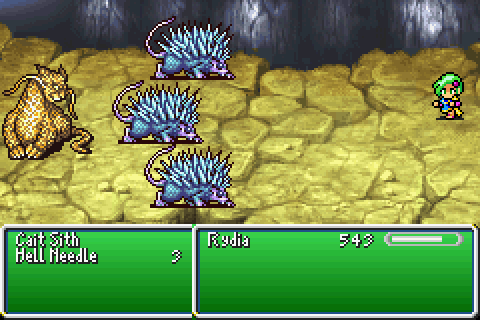
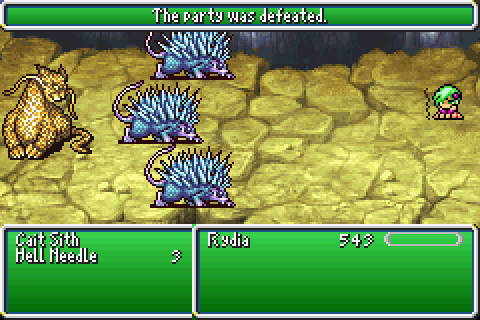
Cait Sith's are the only thing in here that's really dangerous since they sometimes cast Blaster, which'll just outright kill you half the time. The other half it "merely" paralyses. They also drop Coeurl's Whiskers sometimes, being one of a whole two enemies to do so.
Hell Needles are just a newly recoloured Swordrat yet again, and are about as tough as that implies.
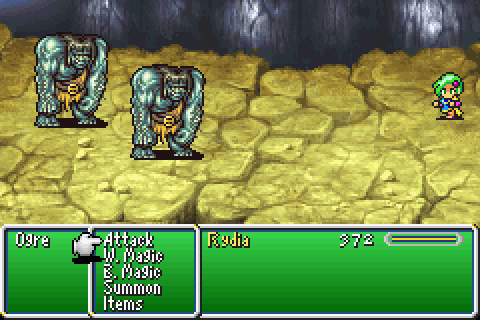
Ogres are, uh, palette swapped into Mad Ogres but in our case it's basically the other way around. They're also much weaker than their Madder, bigger brothers.
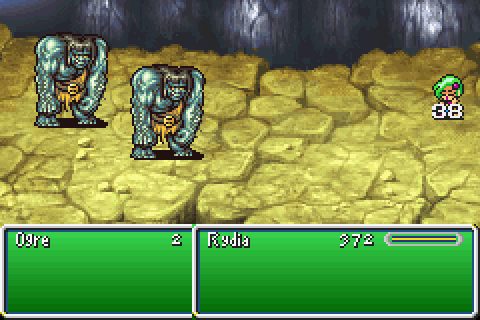
Not only do they deal about 1/10th the damage, they can actually get killed too.
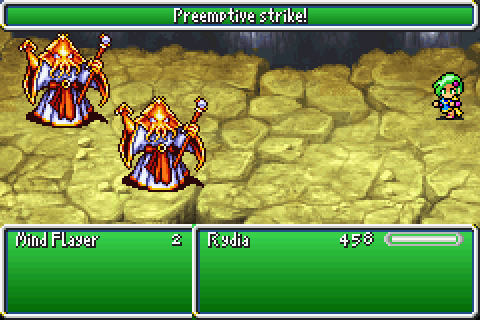
Mind Flayers are the only enemy here with a drop worth a damn, as their rarest is something we'll pick up later. They're also basically really powerful mages that are meant to be able to inflict ailments whilst also being resistant to magic.
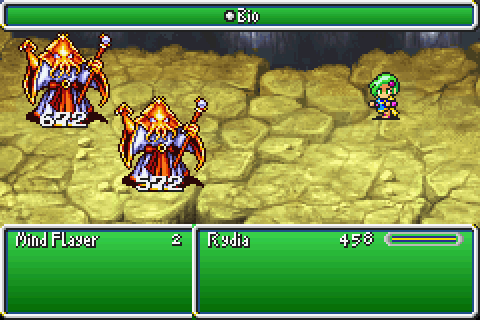
Judicious applications of Bio makes that a non-issue as even split damage like this will oneshot them.

Lastly we have the weakest enemies in the dungeon, excepting maybe the Hell Needles. Twin Snakes hang our around Troia and die if you look at 'em funny. They're nowhere near as tough as a Hydra, nor are they as dangerous. Go figure.
Cave Nagas are just chumps who die horribly.
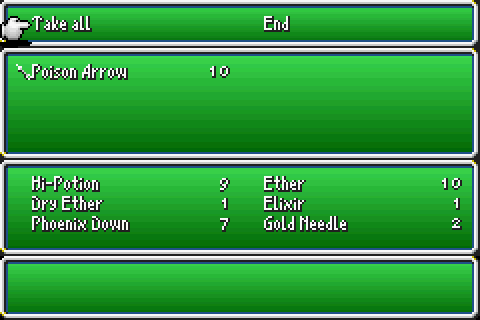
They both drop Poison Arrows very, very rarely. I didn't even want more of these, and I'm not gonna use them, but they might come in handy sometime? Maybe? And if not, then it's just more free money.
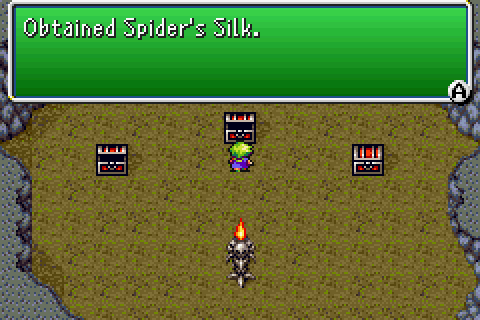
There's not really much treasure in here that's worth worrying about. Mostly it's just Ethers and Hi-Potions, but there's the occasional except (chest on the right is an Hourglass).
There's even a rather nice upgrade for Yang. Disappointingly, it sells for almost nothing so I don't even know why I bothered to get it other than it was right in the way so why not?
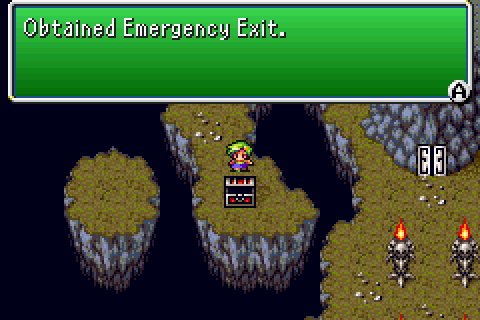
Speaking of which, right at the end we can get another Emergency Exit. This'll come in handy later, I'm sure.
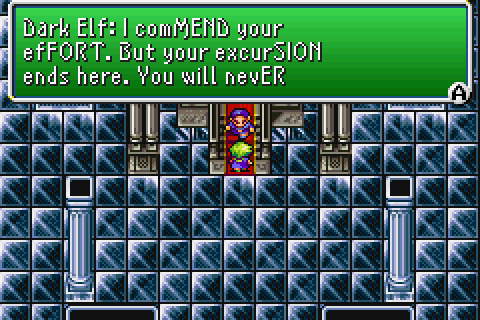
So, let's fight that Dark Elf.
The first bit is, of course, scripted to be unwinnable but at least we can continue here. If we don't have the Twin Harp, we get meleed for guaranteed 9999 until we game over.
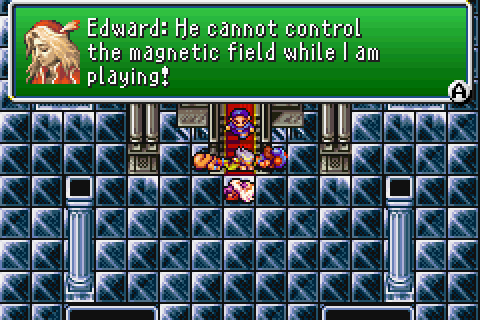
[Music: Melody of Lute ~ Edward's Theme]
With the Twin Harp, though, Edward begins to play and this cuts out the magnetic field so we can re-equip some stuff and beat up the Dark Elf.
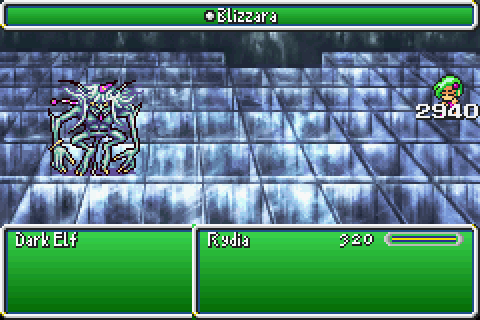
Though now we can deal damage and take less damage in kind, the Dark Elf's stats don't actually change.
This is kind of a problem when all your spells are dealing 1 point of damage.
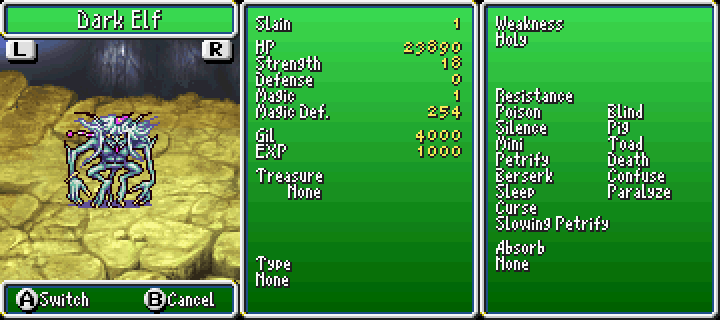
Considering Astos here has 254 magic defence, we're not getting though that at all.
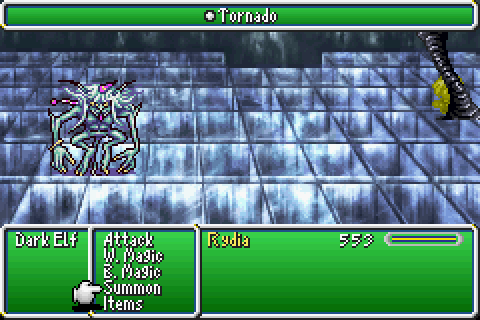
Worse is that he runs on a super-strict pattern of comboing Fira/Blizzara/Thundara → Tornado → Whisper → elemental combo.
Whisper only inflicts/cures Pig. It's not that big of a deal in and of itself but it's kind of an issue here since we can't attack like this, and we'll need to be entirely on the defensive.
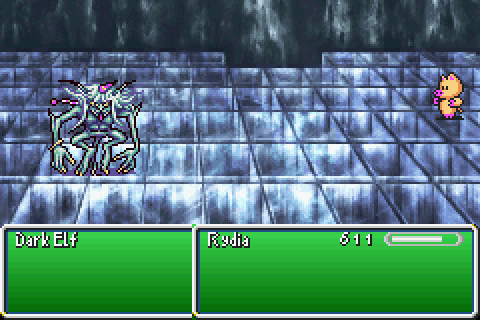
So, we'll need to come up with something. We're in the area, so let's pick up something special.
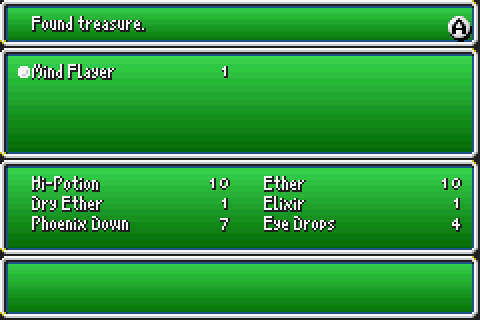
Mind Flayer's the third of four summons that can only be obtained this way. It's probably the second best technically, since Cockatrice is just a single-target Break, but it's also absurdly hard to get.

It deals really, really good damage for what it is so let's try it out on Astos.
It doesn't work quite as well as expected, because Mind Flayer doesn't deal just a lot of damage. It also inflicts Sap and Paralysis, and since they don't work on Astos he doesn't take any damage from it either. That's the biggest problem with Mind Flayer - if any of it is resisted, it doesn't work at all.

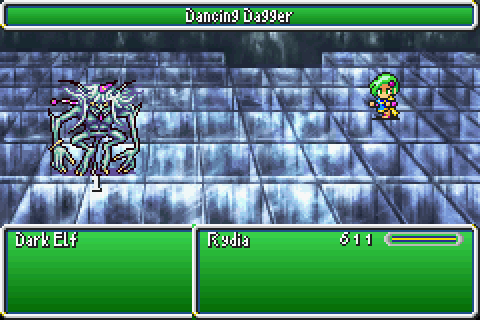
But at least there's a solution to this problem. The Dark Elf is weak to Holy, so let's try and beat him with some arrows. This is a more expedient plan than stabbing him to death with the Dancing Dagger and it's a lot preferable to the only alternative I've seen which is "grind past level 50."
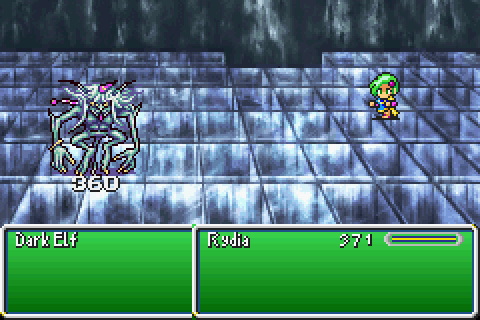
Holy Arrows are really, really good against the Elf and we don't need to deplete all of his 24,000 HP to proceed. With the Gold Hairpin and a Ruby Ring, we just really need to worry about Tornado occasionally working which is easily fixed with a Hi-Potion.
[Music: Battle #2 ~ Boss Battle]
After dealing around 3800-3900 damage, the fight's secondary gimmick is triggered and we get the real boss in the Dark Dragon.
After the spellslinger that is the Elf, the Dragon is much more subdued and easy to deal with. But also much, much more dangerous.
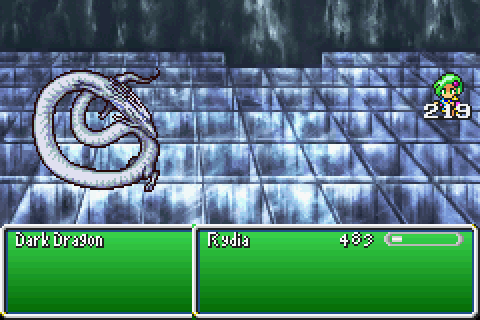
His regular attack deals an awful lot more damage than we're used to from things that don't just immediately kill us, so we can't get lax with healing.
The Dragon's only other attack is this which normally deals less damage in return for hitting everyone. As far as we care, it's just less damage. Of course, the Dark Dragon just alternates between the two so it's not down to luck at all what he does or when.

The only odd thing about the Dark Dragon is that it's both weak to and absorbs Holy. You might think this means the Holy Arrows deal more damage to it but in return heal it for a lot more.
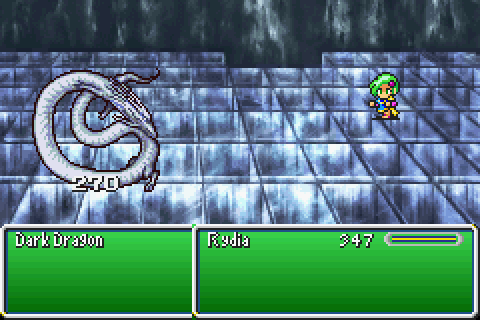
They don't. They just deal extra damage. I have no idea what on earth that Holy absorption is about because it, uh, isn't true as far as I can tell.
Also, magic's still out because its magic defence is completely ridiculous.
So, just remember to heal as needed and the fight's not too tough at all. Will almost definitely use far more arrows than needed this way, because a lot more miss against the Dragon than the Elf.

Even then I barely broke 50 across the two of them so it's not that likely. I have no idea why anyone would grind for hours and hours and hours just for this fight, because it's really not that difficult.
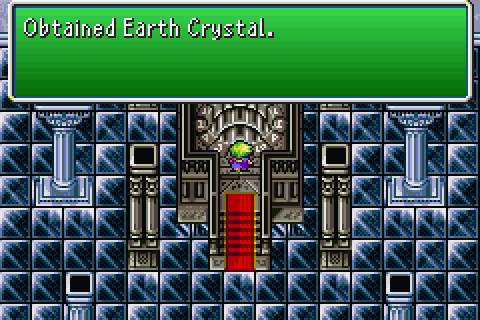
Though now that we have the last crystal, we're done here and can leave freely.

I didn't feel like walking, so I just used an Emergency Exit.
Next time: the second major brickwall I had as a kid, the third fiend and the end of act 1.