Part 11: The Empress of the Winds
09. The Empress of the Winds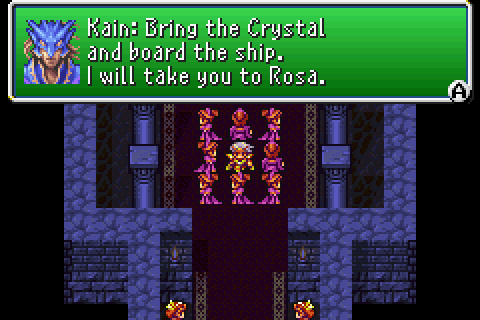
Now that we're done with collecting the Earth Crystal from the Magnetic Cave, we can head on off to Zot.
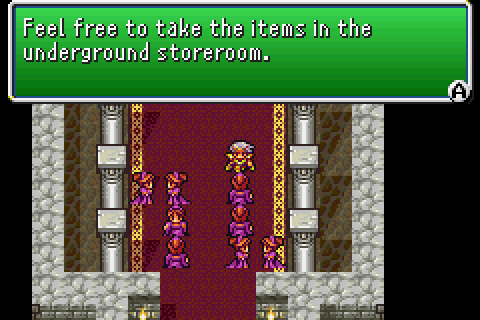
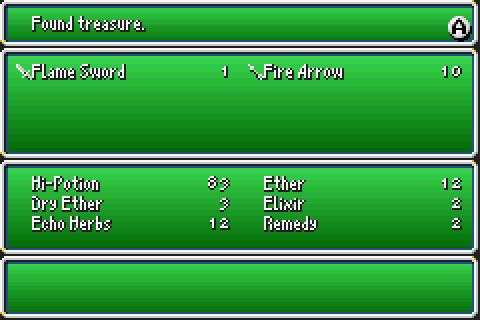
But before we do that, there is some extra treasure we can get from Troia Castle now.
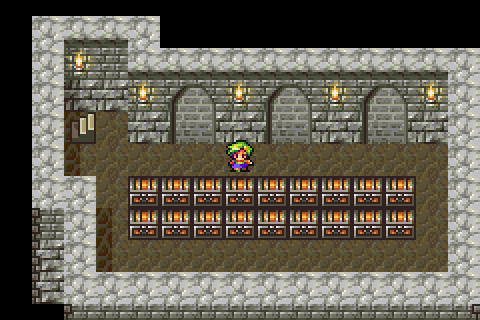
And by some, I mean 18 chests. That's quite a lot, but is it any good?
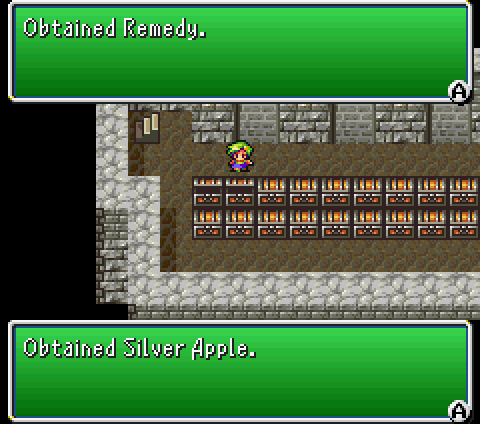
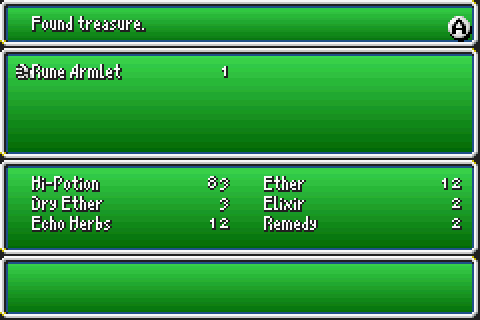
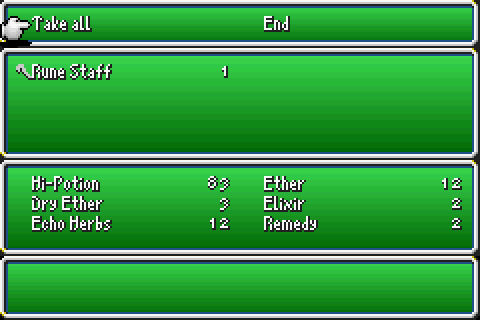
Not really, there's a couple of exceptions but it's mostly just stuff we've already got lying around or is kinda not worth the wait. In total, we get 2 Hi-Potions, 2 Remedies, 2 Ethers, 2 Dry Ethers, an Elixir, two sets of Echo Herbs, a Great Bow, 20 Fire Arrows, 20 Ice Arrows, 10 Thunder Arrows, and a Silver Apple that isn't a pain to get.
Until we're done with Zot, everytime we use the airship we go there automatically so anything we have left to do has to wait until later. Fortunately, there isn't really anything left to do so this is kind of a non-issue.
Zot itself is a pretty short dungeon, that isn't that difficult here even with just Rydia.
Well, except one very, very obvious bit which is super obnoxious and the biggest stopping point imaginable. But we'll get to that when we get to that.
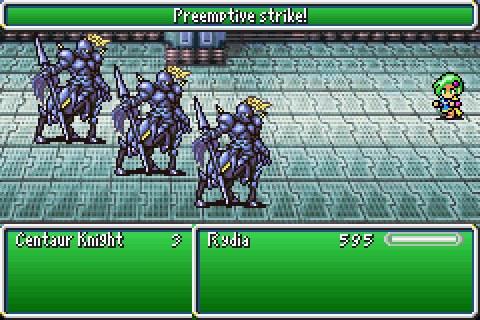
For now, we have a bunch of relatively weak enemies to blast through. Centaur Knights are kinda hard physical hitters, I guess? Doesn't matter since they'll never get a turn.

Also, Rydia can use exactly one piece of treasure we can find lying around here. Most of it is for Cecil, Kain, Yang and Cid.
There's some other stuff we can get here she can use too, but just in chests there's basically nothing.
[Music: Battle 1 ~ Battle Theme]
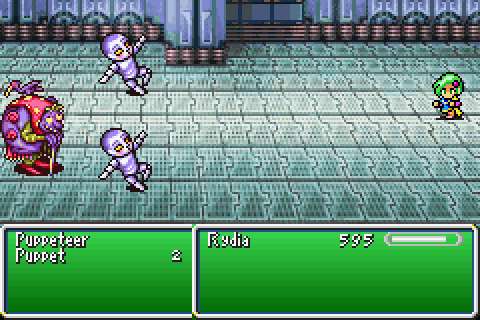
Puppeteer's are a fun enemy though. If you're so inclined you can abuse them for what is essentially infinite EXP but that's boring so they're basically our MP batteries for the dungeon. They always come with 2 or 3 Puppets, too, who are going to be our HP batteries.
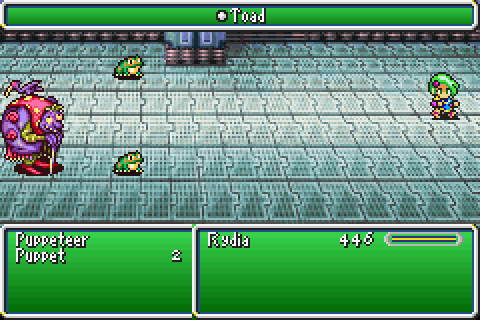
Start the fight off by casting Toad. The Puppeteer is immune, but that's fine. She's dead in 2 turns anyway.
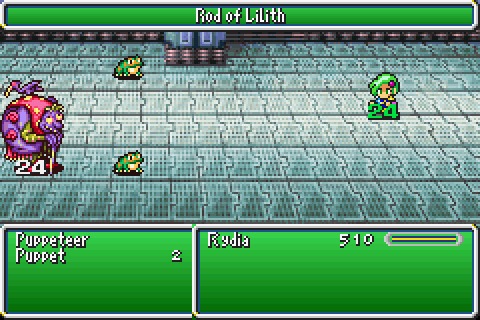
After that, we either use the rod for Osmose or cast the spell itself on the Puppeteer. The Puppets just give 1 MP.
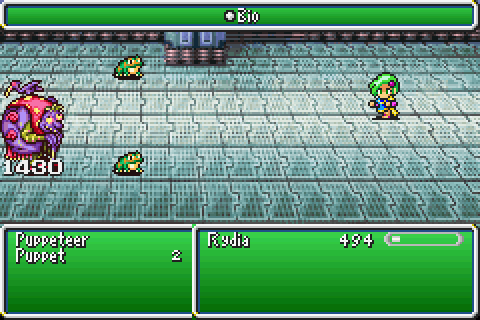
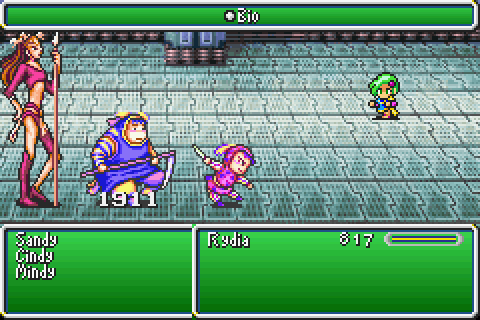
Next, we kill the Puppeteer without hitting the Puppets. Bio's not the most efficient way to do it, but it gives big numbers and I like big numbers.
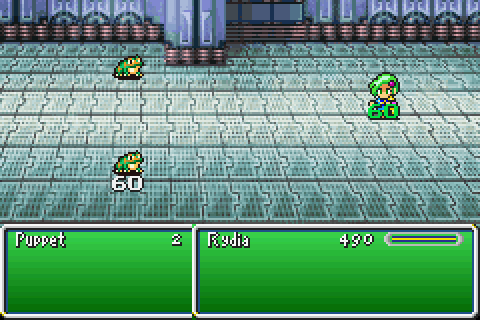
Then we auto-fire A and go do other things while Rydia drains all the life from both Puppets with the rod and always ends back at full HP.
It's slow, but very very efficient. It'd work on other stuff too I guess, but I only do it to Puppets because if the spell misses (and it does on occasion) you don't take that much damage while waiting for Rydia's next turn.
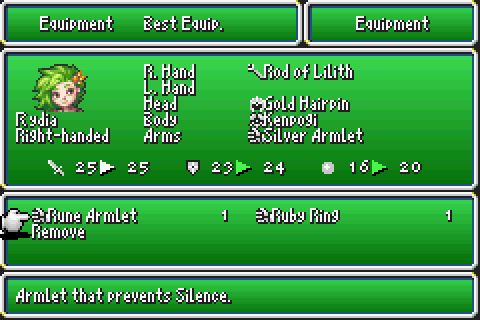
Puppeteers can also drop two very, very nice pieces of equipment. The Armlet is one of them, and is her second drop (her first is just a Healing Rod and we already have that). It comes with a nice defence boost, especially for magic defence, but since it grants immunity to Silence we can get rid of the Bard's Tunic we stole from Edward too.
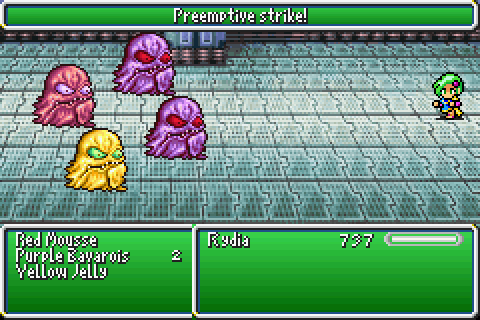
Purple Bavarois are the new pudding enemies and are named after a Bavarian cream dessert. They're weak to fire and are thoroughly uninteresting when we can burn everything in this fight dead in one turn now.
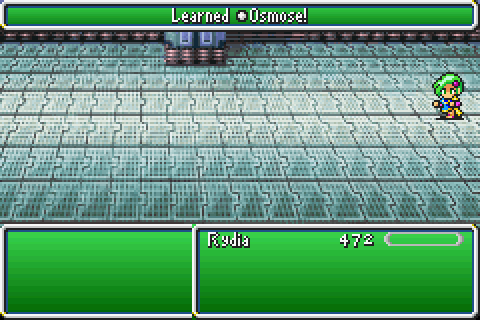
At some point, Rydia also picks up Osmose for real now. It doesn't matter though because I keep forgetting I have that now because I'm used to using the rod for the same effect
 .
.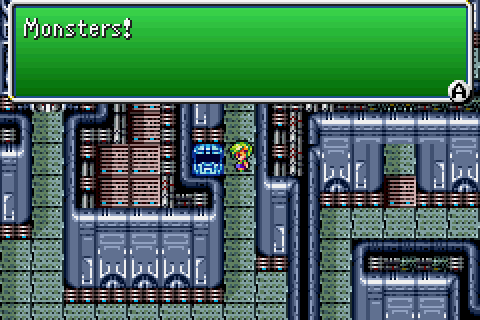
This trapped chest is rather infamous for what's in it being kind of difficult for this stage of the game, especially in the DS or iOS versions.
[Music: Battle 1 ~ Duodecim]
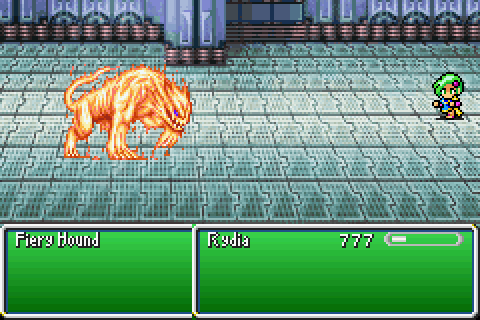
It's just one Fiery Hound, though, so it's not going to be that difficult.
This is the only turn it gets. It kind of hurts, I guess, but it's not that big of a deal since it won't last very long considering how common Puppeteers are.

Being an enemy in this game, it's susceptible to Slow and Stop. Stop's more efficient so we'll go with that.
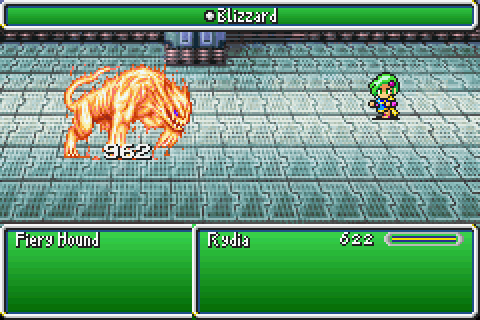
Then we hit it with Blizzard twice.
It promptly dies without getting a second turn. Kind of anticlimactic really.
The sword is from the chest itself, but the arrows are an actual drop from the hound. They, uh, aren't really needed but the effort's nice I guess.
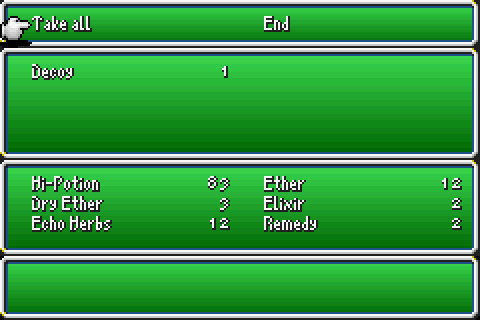
We can also pick up a Decoy from a Puppet. It's the only thing they drop, so no matter what you get you know where it came from in that fight. It casts Blink when used as an item, which makes upto 2 physical attacks miss entirely. I'm sure at some point I'll regret not farming a lot of these, but eh I don't see it mattering that much.
And if it does, then I can get more later anyway.
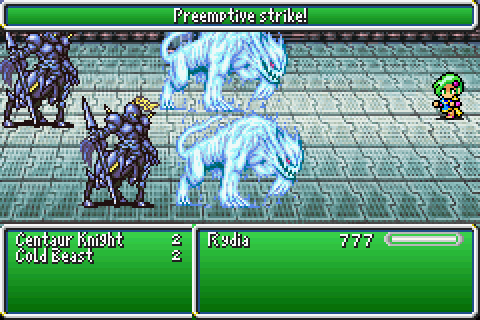
More new enemies, and Cold Beasts are the weaker version of Fiery Hounds.
It's kind of silly how much weaker they are compared to their palette-swapped big brothers.
This piece of armour is the only thing that's not a drop that Rydia can actually use.
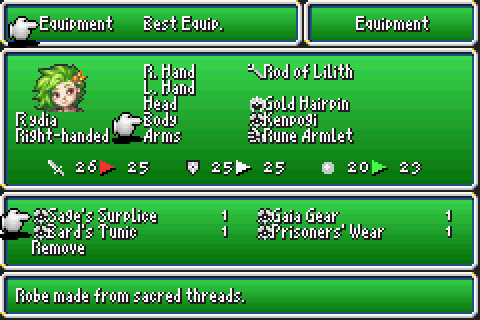
It's a pretty nice upgrade to the Kenpogi. It has the same defence but a higher magical defence; the loss of the +1 Attack bonus is a non-issue, let's be honest.
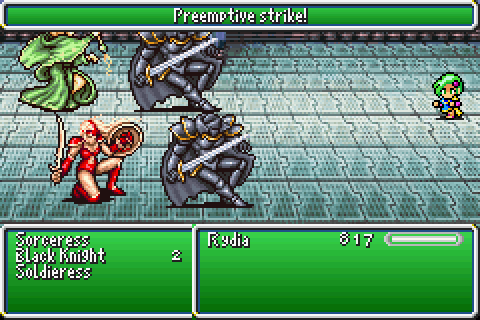
Last new enemies, and only one of them is getting turns. Because the Soldieress has too much HP to die from a single cast of Bio.
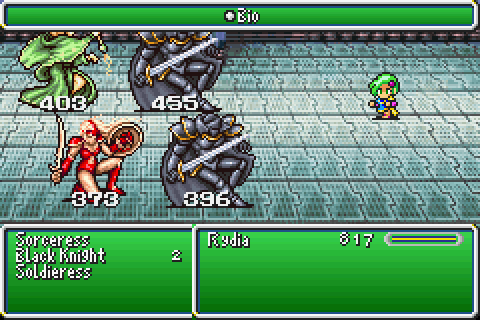
You'd think spamming this in every fight would get boring eventually. It hasn't yet. It's nice being able to deal actual, proper damage and this is a good way to get used to it.
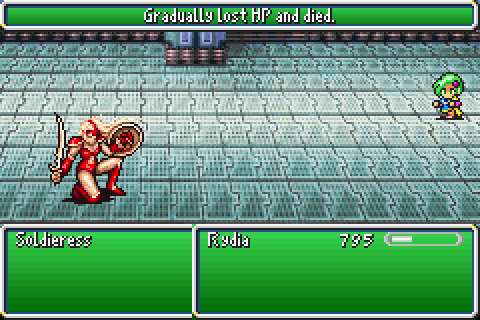
It also inflicts poison on things it doesn't kill outright, so I let that finish off the Soldieress instead.
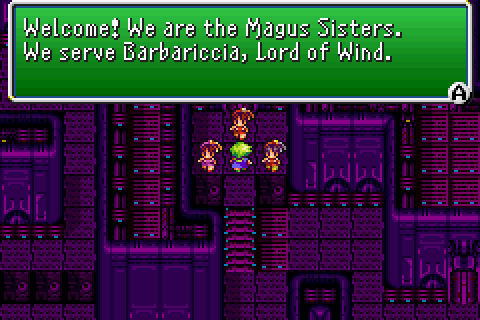
The door in the right corner's the nearby save point and now we have the second boss fight that gave me far more trouble than it ever should. It's probably the most well known because of its gimmick, appropriately enough.
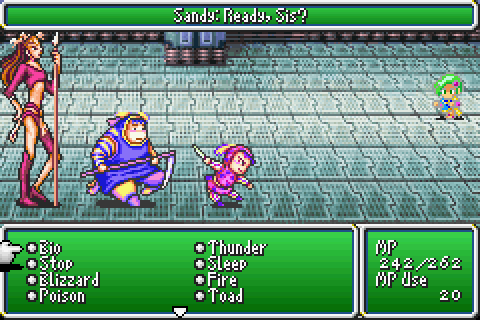
[Music: Battle 2 ~ The Magic Book]
So, the Magus Sisters are really kind of easy if you know their gimmick. If not, it's the only thing they do so you should figure it out pretty fast anyway.
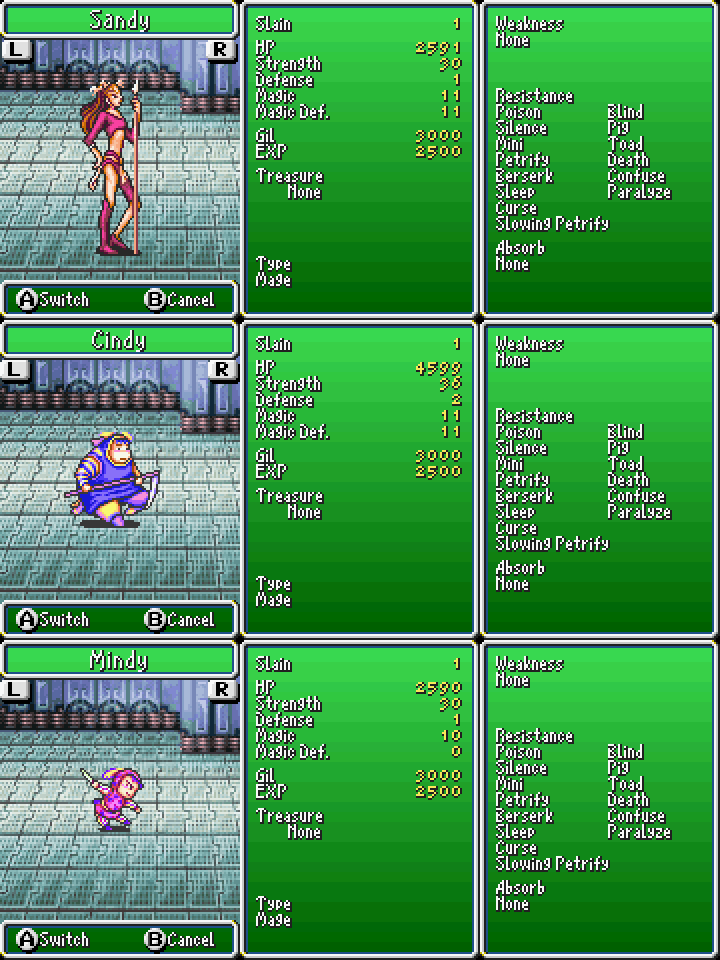
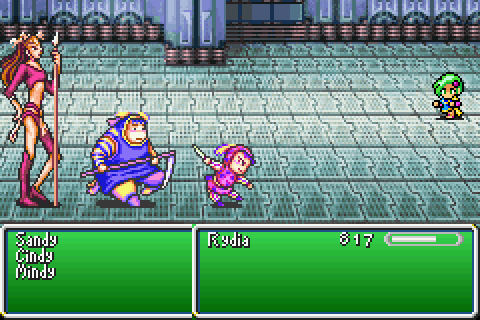
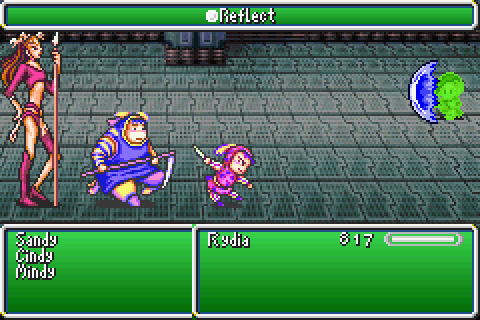
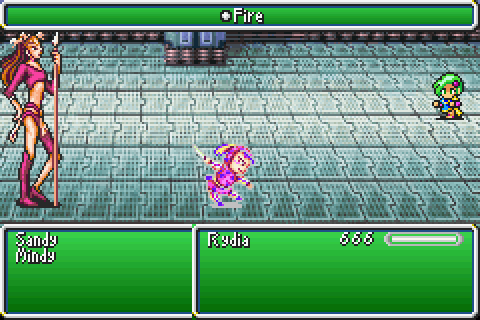
The only thing I don't get is what's up with Sandy's one knee high boot, a ripped trouser leg of some kind and a high-heel shoe? It's not the weirdest fashion choice in a Final Fantasy game but it stands out here.
We need to take out Cindy first, so it's a good thing we can get a hit in first. Just the one though.
Once Rydia's second turn comes around, things get... problematic. Their turns start then, and that's when things become an issue.
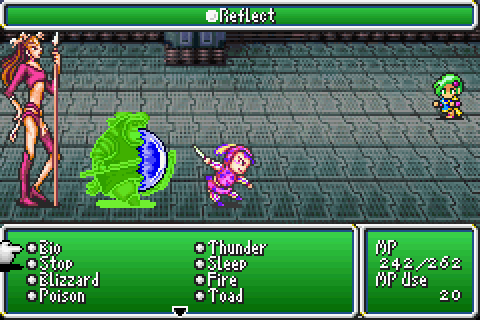
Sandy always casts Reflect. And she always casts it on Cindy. That's a problem, because if we don't kill Cindy first then she'll revive the others with full HP. We can still kind of pull it off, maybe, but it's gonna be harder now.
So, for now we'll just defend and wait this turn out.
Mindy's "contribution" is to throw mid-level spells... directly at her own team mates in the hopes that Reflect is still up. This can hilariously backfire when you have access to Dispel but we don't, so it works.
It doesn't even hurt much, so it's kind of pointless and redundant. I kind of get that it's to make sure I can't reflect their own spells back at them and invalidate the entire fight but...
They do that for me. Sandy always casts Reflect at Cindy. She only stops when Cindy is dead.
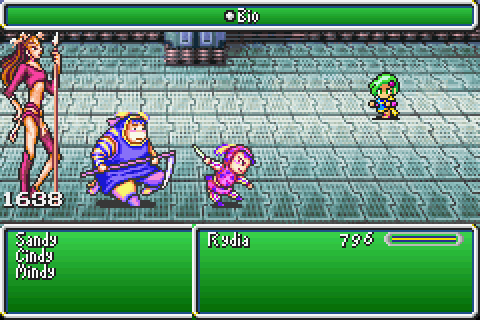
Since this is now Baigan-but-easier, I fling Bios at myself. The untargetable nature is kind of problematic at first, but it works out well enough.
Plus these guys are all spellcasters so I basically have infinite MP for this fight.
Eventually, Cindy dies and the fight becomes less tedious.
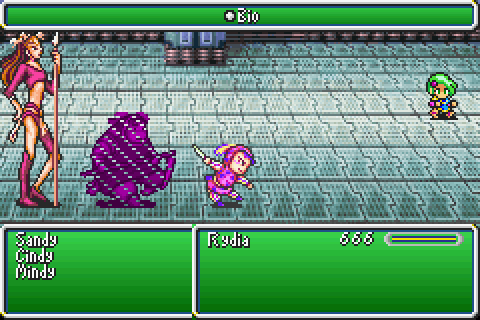
Without Cindy to throw spells at, Mindy now throws them directly at our party. Only, she seems to have forgotten all the good stuff and only uses first level elemental stuff now.
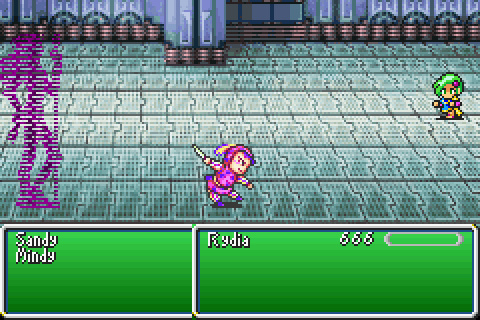
Sandy is meant to use ailments at this point, but her sole contribution was dying horribly instead.
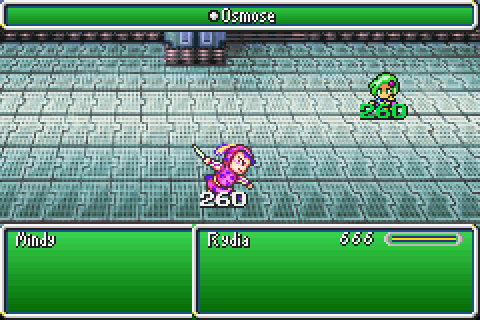
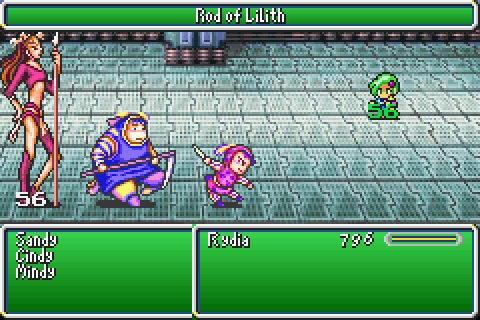
Oh, and, uh, actually casting Osmose is way more efficient than using the rod. I just need to remember to do it.
But, y'know, Mindy's first level spells deal like 10 damage. For a boss fight, that's embarassing.
Let's show her how Fire is really cast.
That annoyance dealt with, there's something from the Puppeteers I really want. We've only got one fight left, really, where we can use it.
There we go. The Rune Staff is the third drop from a Puppeteer so it's a bit easier to get than other stuff we've seen but it's still something of a pain to actively try for. Is it worth it?
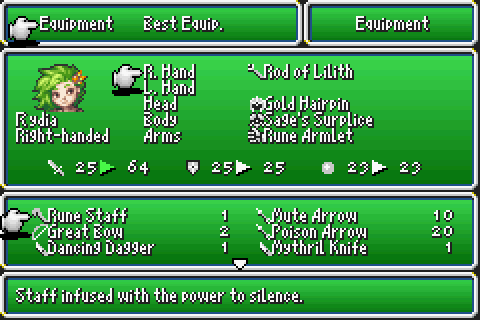
Hell yeah it is. Casts Silence when used as a weapon and it has a pretty damned nice attack stat for a weapon for Rydia too.
Oh, and it, uh, it's kind of the second best staff in the game and the best one Rydia can use. No, really. It has 52 attack, +10 Spirit, deals bonus damage to Mage type enemies, inflicts silence at random when using it to attack and it can cast Silence on command too. We won't get the "best" staff until the last regular dungeon and even then we can only use it in the post-game.
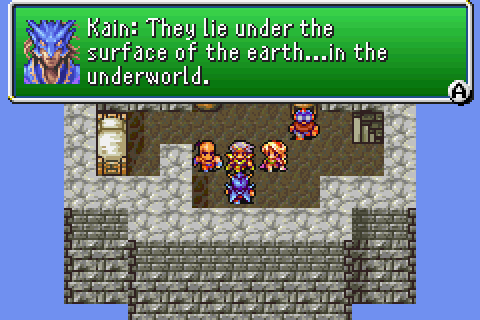
[Music: Golbez - Clad in the Dark ~ Duodecim]
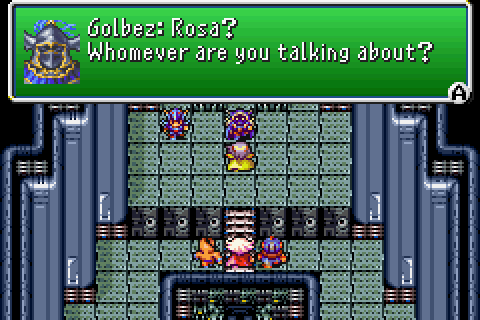
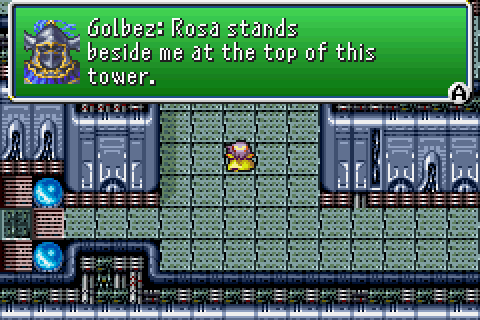
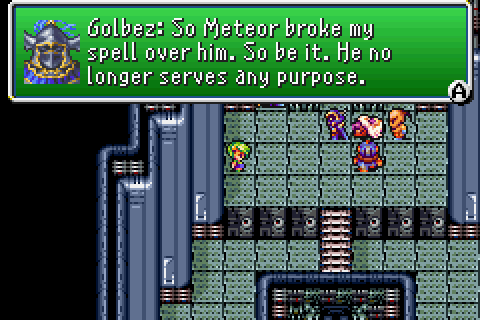
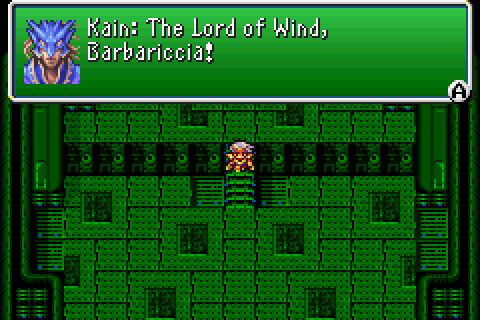
For now, though, we have a crystal to give to the villain named for a fly. To the surprise of no one, he doesn't hold up his end of the bargain.
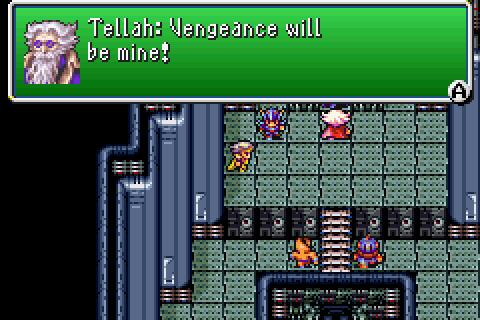
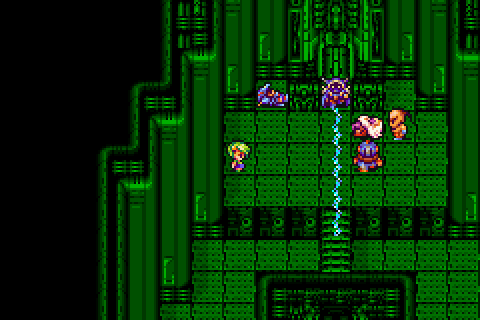
Much more importantly, Tellah proves why he's really the coolest old man in town.

So, Tellah just used over three times his max MP. That's... pretty something, alright.
On the plus side, Kain's now going to be back in the party.
On the down side, Tellah's now going to be dead.
Rydia being in the party and not Cecil leads to some... unusual script problems beyond the usual text goofs.

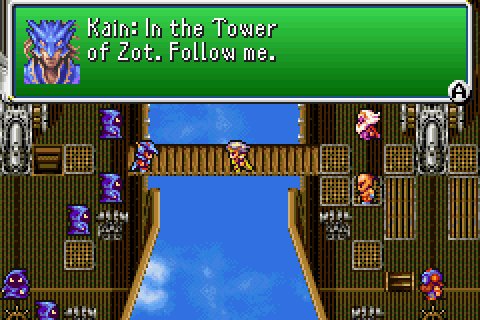
After that, Golbez freaks out over something or other and then heads to the next room where he vanishes before we get there. In return, we collect Kain and can follow him.
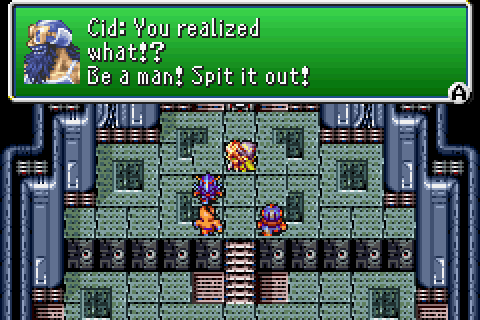
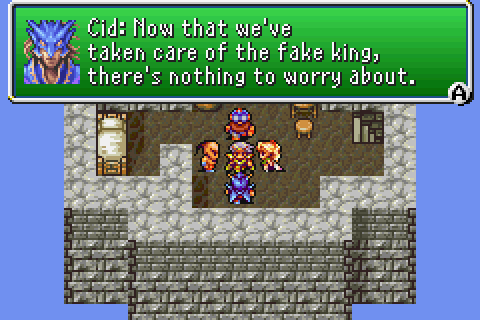
Cid's the second coolest old man and doesn't take the regular ol' namby pamby JRPG bullshit and tells Cecil to say it like it is.
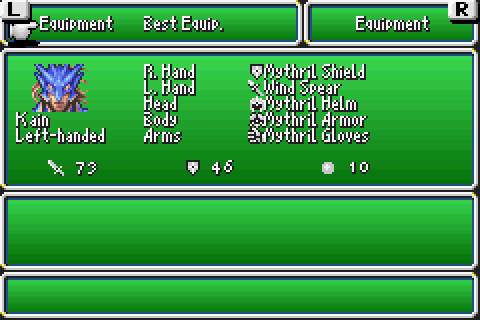
Now we can get to the most important stuff, I think. Kain comes with all Mythril gear except his spear is better than that. That's boring though, so we're stealing all his shit and kicking Rosa out of the party.
When we try and leave for real we get our real boss battle.
[Music: Battle with the Four Fiends ~ Dissidia]
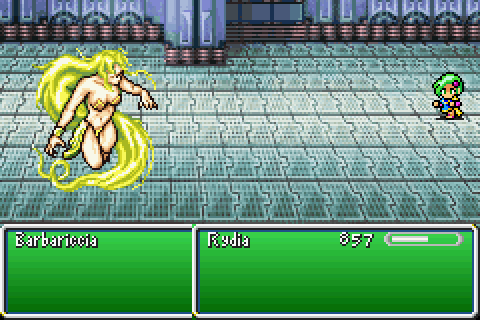
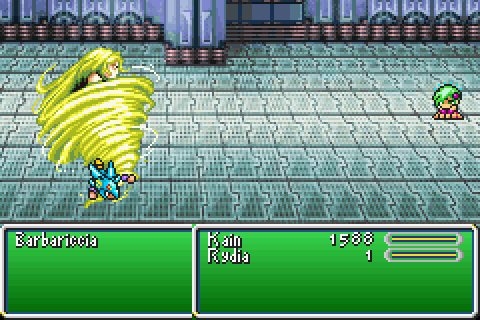
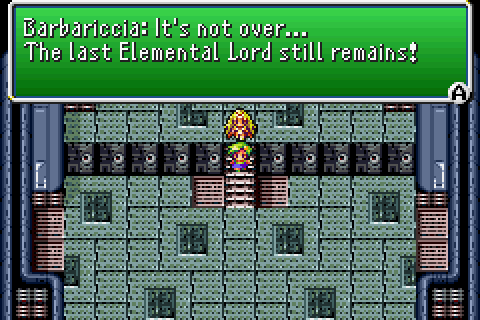
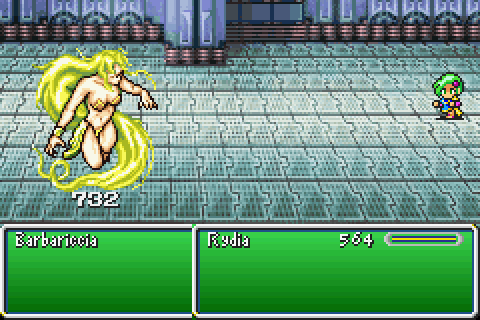
Oh boy, Barbariccia. This fight is absurd. Usually, it's nice and easy but not here.
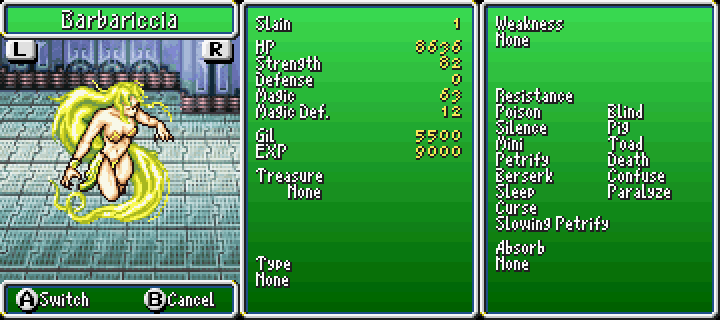
I've already gone over her gimmick and why it sucks massively, so instead let's just highlight why depleting all that HP quite literally 1 by 1 is not going to be efficient.
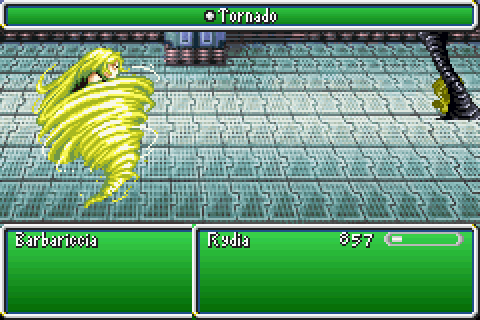
When she's got her hair set up in her tornado form, she only does two things. One of them is to cast Tornado and immediately follow it up with a non-interruptable...
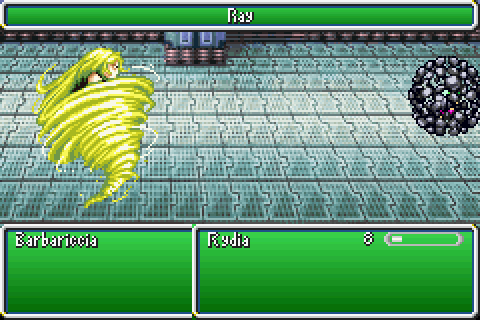
Ray. Ray inflicts Gradual Petrification. This is the one fight where this is kind of a big problem, since she does this combo every other turn. It adds a very real, very ungodly tight time limit to the fight.
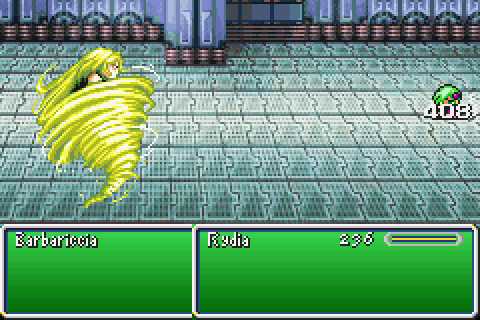
Her only other attack is to hit you with a regular physical attack. I say "only" but it still deals a ton of damage. She doesn't really even need the Tornado to hit to take Rydia out with that kind of damage.
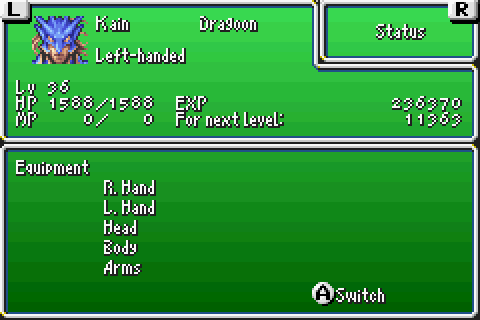
So, we kind of need Kain around to make this fight reasonably doable. We'll strip him of all his gear to make sure he doesn't do much.
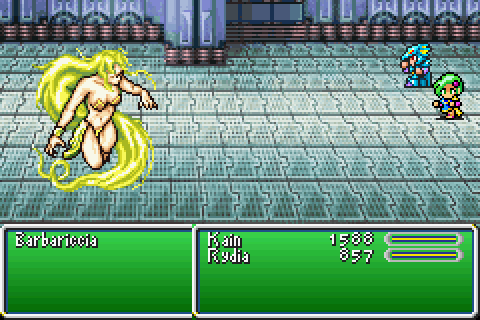
So now we can handle Valvalis. Probably.
Kain's sole job here is to knock Barbariccia out of the hair-tornado. She'll put it back up every few turns, but Kain has enough HP and natural endurance to hopefully not die before we can win.
With the Dancing Dagger, when Valvalis is in her normal form we can actually hit her reasonably often. Same with the Rune Staff, so we can deal a not insignificant amount of damage if need be.
Of course, we can also use summons. They only connect about 2 in every 3 castings, in her normal form, but that's more than enough to help speed things up a lot.
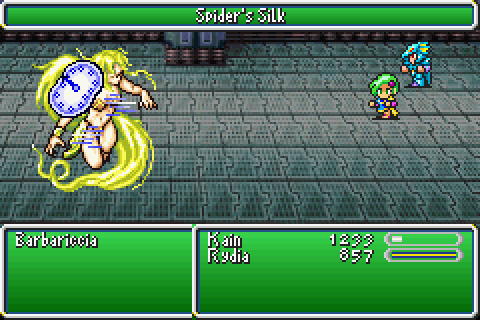
We can also help expediate things by using one of the many Spider's Silks we have lying around at this point. Valvalis is a boss in this game so she can be slowed. Using one of the Hermes' Sandals on Rydia at this point would also help but we're not going to do that here for obvious reasons.
Being able to knock Barbariccia out of her tornado form makes this possible without spending a million hours grinding.
Unfortunately, Kain didn't manage to kill himself in time for the end of the fight but in a way that's fine too.
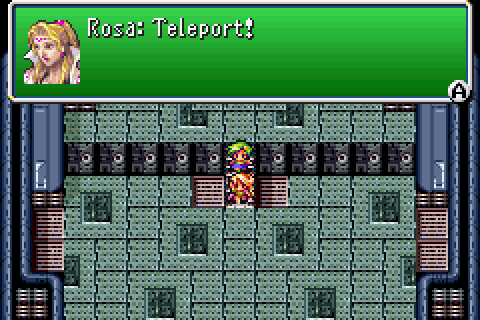
Being a fiend, though, Barbariccia pulls the requisite trying to kill us after we beat her. In this case it involves bringing the entire tower down on us, but Rosa can get us out of there with plot magic.
We end up back in Baron, and can spend the night peacefully because Kainazzo's out of the picture.
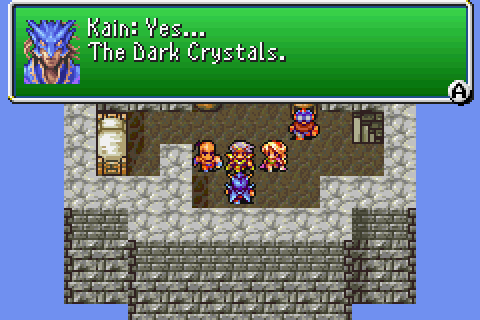
Of course, we also get a requisite plot hook for Act 2 so where is it?
Underground, okay sure. There's no really easy way to get there from what we can see (the giant hole around the Tower of Babel doesn't count because, uh...).

We have a plot token to help get there, so we'll deal with that later.
For now, though, we have Valvalis to deal with again.

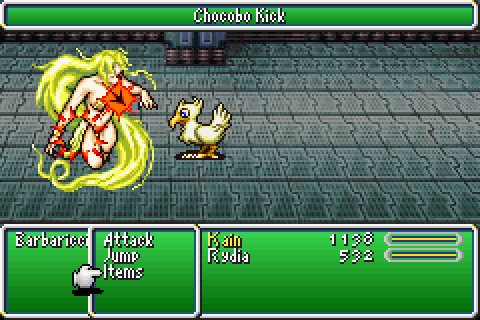
As mentioned before, we can have Rydia just Jump on Barbariccia herself if need be. It's probably a bit less valid than just using Kain because it's actively changing her commands, but I'm not interested in grinding exclusively for this fight.
Also, the Rune Staff makes Jump's damage be pretty nuts. It's really good. Plus we have the Gaia Gear to grant immunity to Ray. This helps by giving an actual margin for error and outright removing the potentially terrible, horrible, no good, very bad time limit.
All in all, anyone not named Kain has an unreasonably difficult time with this fight anyway because Valvalis is terrible like that. Counter productively, she's much more reasonable in the inevitable and obvious refight.
Shy of RNG manipulation, the only reasonable way to handle this fight is "grind forever." And that's not as interesting as having a little girl fly through the air and land on the head of what is essentially wind personified with a big, blunt stick.
Next time: the Clones of Rydia! We finally get mid-level elemental spells?!

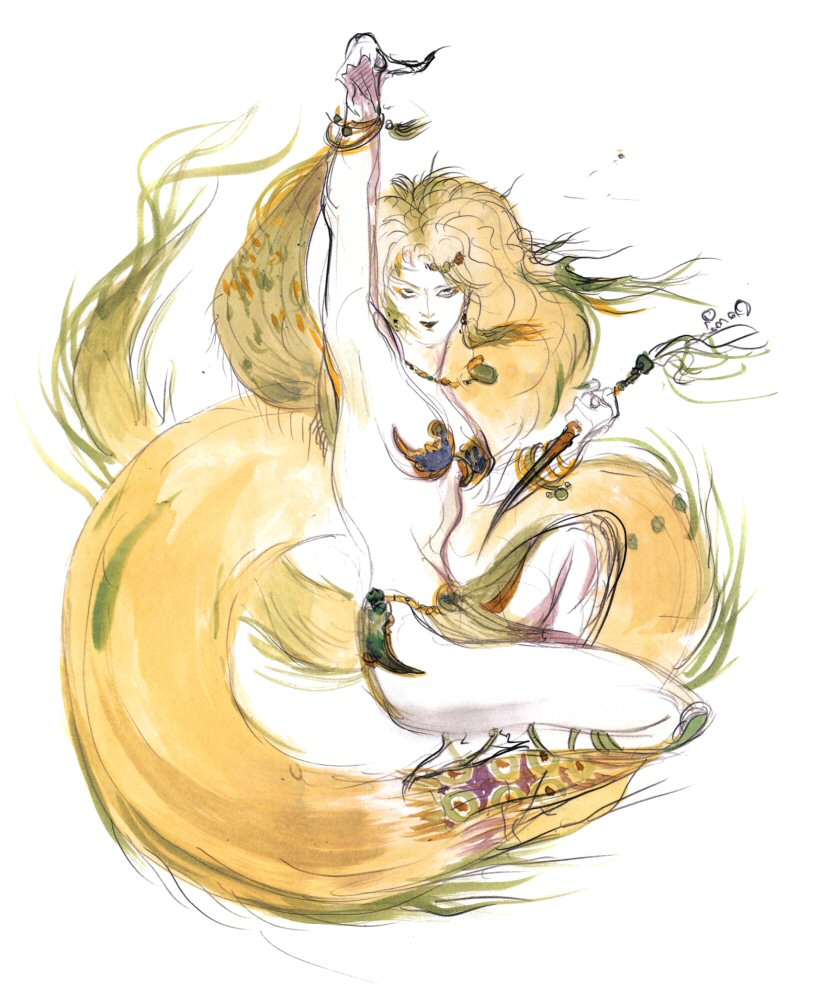
Barbariccia ~ Amano artwork.