Part 13: Hardia
11. Hardia[Music: Land of Dwarves]
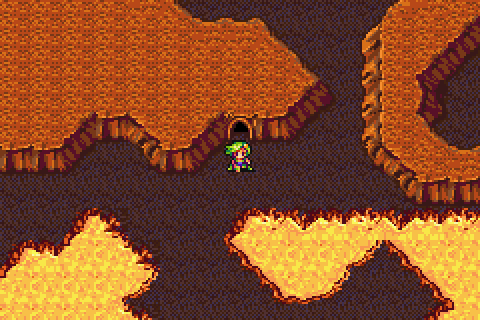
Okay, so we're off to the Tower of Babel now to steal all the crystals. We're kind of missing a thief, but I'm sure it'll be fine anyway. It's just to the north-west of here, so let's head on over there.
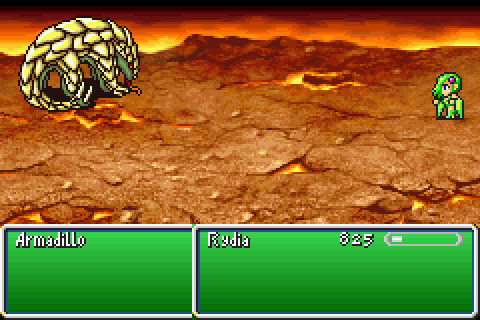
So, the enemies in the new overworld are pretty easy all told. Our new spells can tear through these guys in a single hit. Case in point:
The Armadillo has no weaknesses. The -ara spells are really, really good!
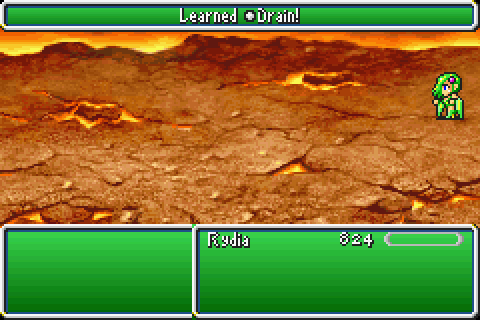
At some point along the road to the tower, Rydia hit level 36 and picked up Drain. It costs 18 MP and restores HP. Problem is, it's not really that good. It's spell power is 20... the same as Fire/Blizzard/Thunder, and costs more MP than the -ara spells which are more than twice as strong (they each have a spell power of 64; this just means they hit very hard, basically).
It might be good in a pinch, but I wouldn't really know. Can't say I've used it often, when the Lilith Rod does its job for free and we also have lots and lots of potions anyway.
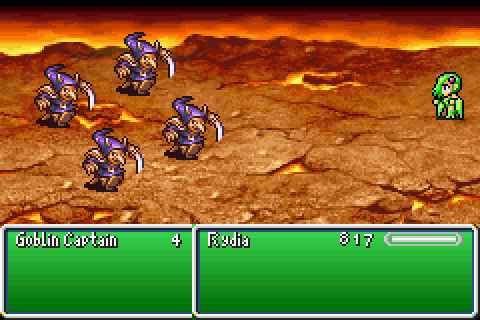
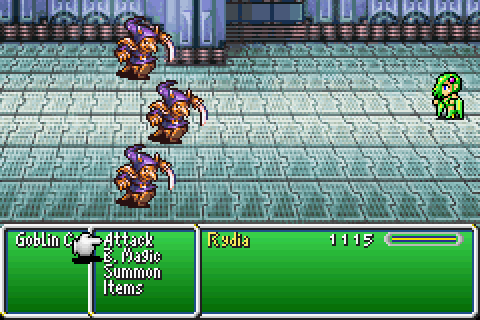
The Underworld also has its own Goblin palette swaps. Naturally, they're a lot weaker than everything else here. They also don't drop a single thing, so I guess it evens out a bit. Maybe.
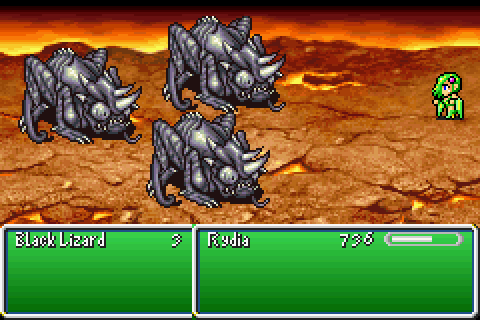
Lastly, we have these guys. You might recognise them from when we got into a fight right outside of Agart, before we went to Troia.
They appear basically everywhere down here for the time being, so we're going to use them for infinite HP. If we get absurdly lucky, they can drop a sword that inflicts petrify on dudes but I don't think it sells for that much so it's a non-issue.
Also, they have a lot of MP so they're really very good at keeping us alive. We could also just murder them with Cockatrice, but at this point it's not worth the 15 MP to maybe kill 1 enemy.
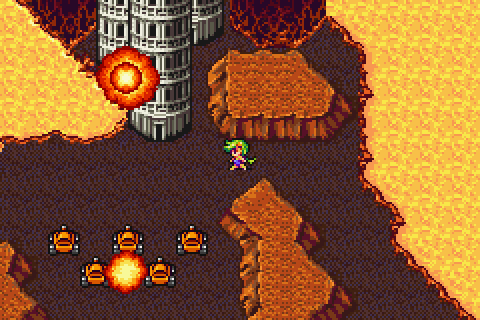
Ah well, let's just go casually walk into the front door while tanks are firing at the tower.
[Music: Tower of Babel]
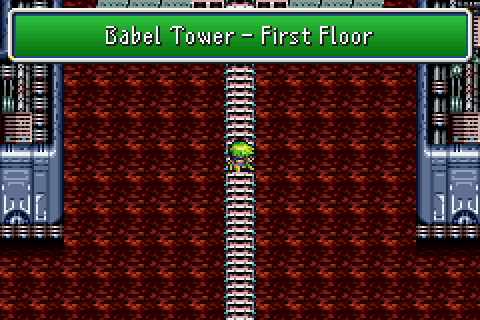
So, the Tower of Babel is an odd place. It serves a pretty distinct purpose and its taunted us a fair bit before now but we get to explore it. Well, the first part of it.
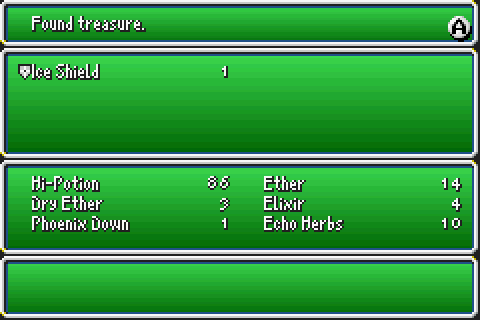
Speaking of which, in this very first room we can get 20 Ice Arrows and an Ether. The Ice Arrows are telling us something very important.
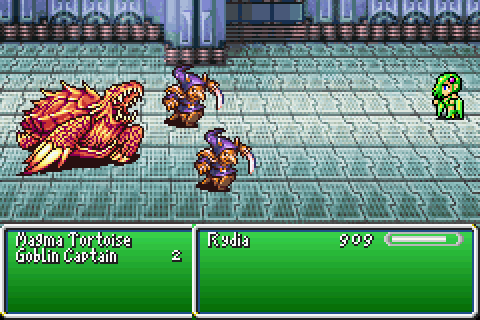
The Magma Tortoise also tells us it for that matter. There's lots of enemies in the tower that are weak to Ice. Mostly they turn up later, but this guy turned up now giving us a sneaky preview of that.
Unsurprisingly, he never gets a turn.
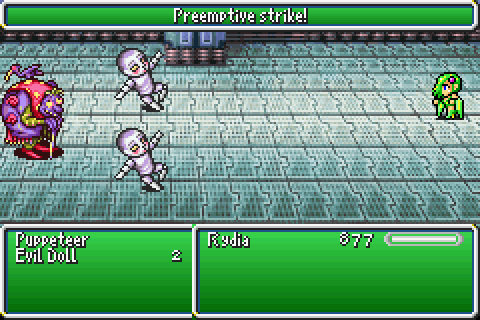
Evil Dolls are just Puppets but with more HP. They'll also serve as HP batteries whenever we find them, and the Puppeteers for MP should we need that too (the Black Lizards turn up here too but are a bit less common).
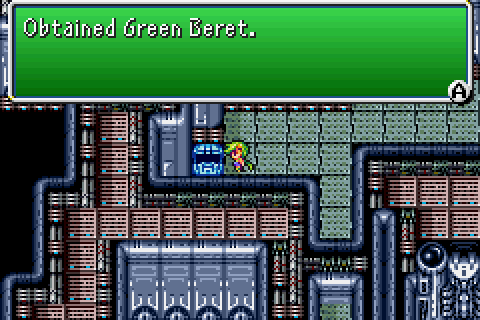
A lot of the "good" treasure here is out of the way, and harder to get than this hat. Also I wouldn't call the Green Beret good in this case anyway.
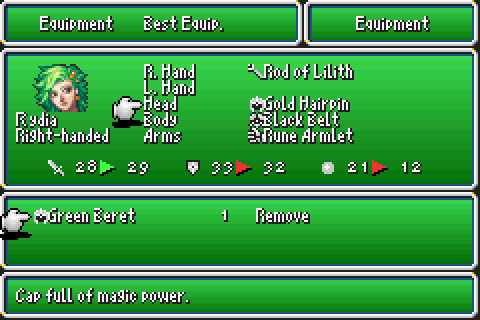
-1 Defence and -9 Magic Defence compared to the Gold Hairpin, in return for +1 Attack? That's an awful tradeoff.

Speaking of awful trades, inside rooms like this one with the weird symbols above them we'll find one of two things. Either a save point...
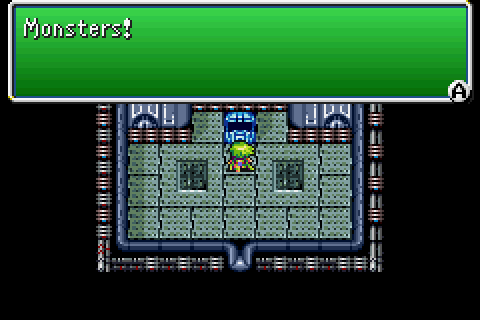
Or a chest with a monster in it. A very special monster in it, even.
[Music: Battle 1 ~ Battle Theme]
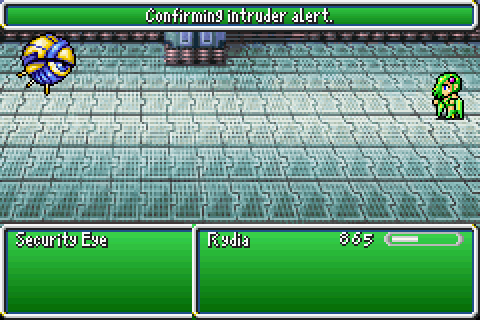
Security Eyes are a completely absurd pain in the ass. They never attack, at least not on their own, but they have two giant caveats.
First off, they have completely absurd Magic Defence. They also have no weakness at all, and will counter all damage by summoning a monster that may or may not be far more powerful than anything we're used to.
Second, we cannot run if it's fought as a monster in a chest. If the Security Eye decides to summon something we somehow can't handle (due to lack of MP, most likely) then we're dead. Simple as.
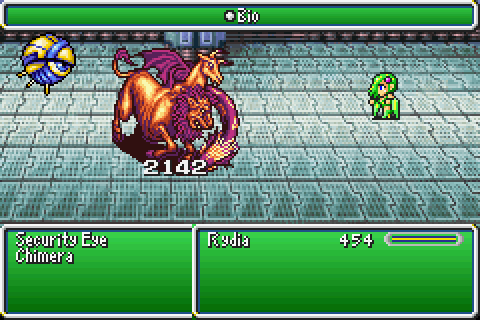
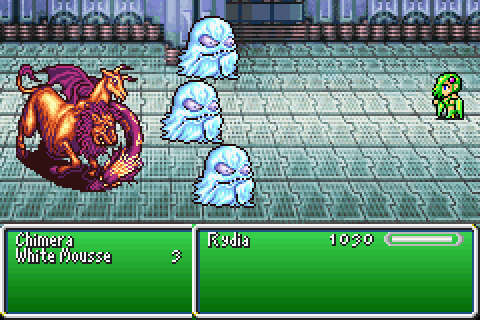
The Chimera does not fit into the latter category at all. One Bio kills it, but it has to be a Bio because the Chimera is kinda rude. It absorbs Fire, Ice and Thunder!
Also, once its dead if we hit the Eye again it'll just summon another. And another. And another. Good for farming, but bad for our MP because we only get 1 back if we Osmose the eye and Bio is rather expensive.
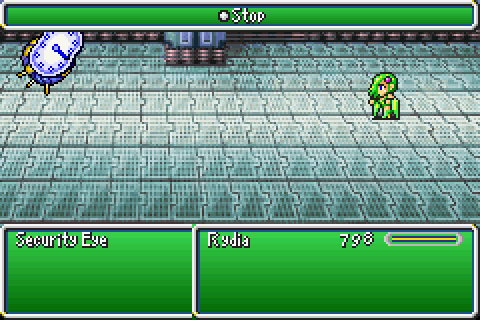
So, our way of avoiding spending ludicrous amounts of MP per fight is to spend slightly less ludicrous amounts. As per usual, the electric eye in the sky can be hit with Stop.
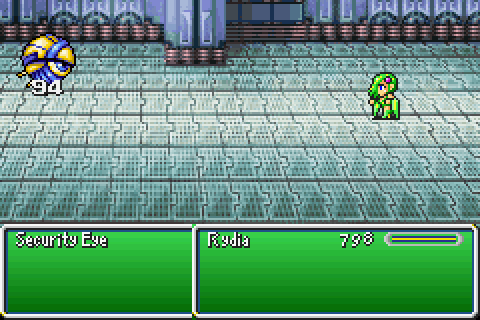
This gives us enough time to stab it a lot with the Dancing Dagger. Not enough time to kill it with the Dancing Dagger, but we can get about 5 hits in. Usually, it dies before the second Stop wears off.

Also none of these fights are even remotely worth it. Like, at all. It's all for gear to make Cecil and Kain able to walk all over the enemies here, which Rydia can do already whenever she has MP.

The Stone Golem is, by far, the most dangerous thing the Eye can summon.
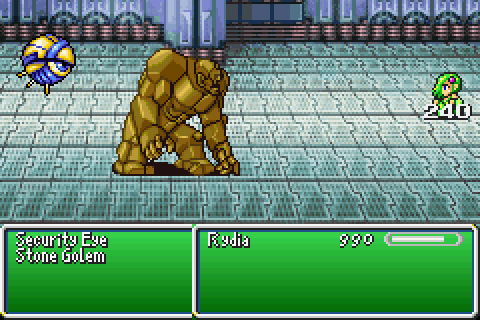
It hits really quite hard, and has no real MP either (nor does the Chimera for that matter). It has a weakness we can abuse... but we can't just yet if that makes sense. We could but at this point, Rydia's kinda running low on MP right now and it has just enough HP to survive a hit or 2 from the -ara version of it.
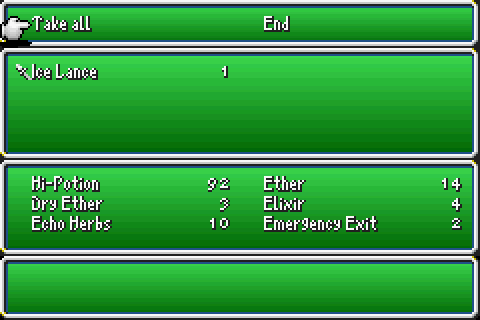
Once the Golem is dead, I have to be super-super careful not to accidentally summon another. That'd be pretty bad, and the Ice Lance is very definitely not worth fighting through 2 golems.
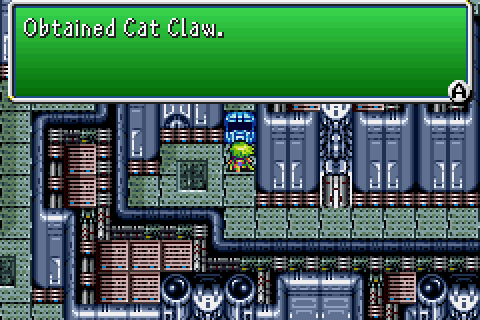
The Cat Claws are a gimme at this stage, but they're also not at all worth our time since they're a weapon for Yang and all. They sell pretty badly too for that matter.
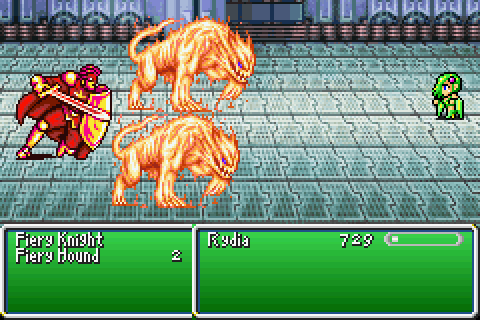
Fiery Hounds turn up for real now, and are slightly easier whenever we can hit them with Blizzara. Their Knight friend is just a palette swap of a Baron Knight, and is marginally easier because he just has a relative bucket of HP. He also has an obvious weakness to Blizzaras.
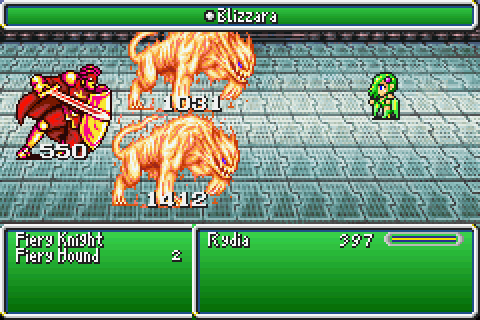
Splitting the damage like this isn't a good representative of the latter, but the hound at the bottom is dead and the one at the top is as good as too. The Knight isn't too far behind.
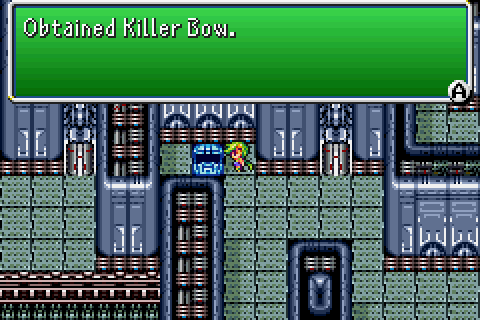
Oh look, a bow upgrade. This is one that Rosa might use if you didn't get a Rune Staff and wanted her to ever attack, but we're not gonna touch it. There's also an Arctic Wind over in the other corner, which casts Blizzara in the same way the Antarctic Wind casts Blizzard.
Black Lizards first 3 drop slots are all occupied by these arrows. They have an Attack of 1 (Iron Arrows have an Attack of 5 for reference), and try to compensate for it by sometimes petrifying dudes. It's the usual 30% chance but isn't worth it since when it doesn't work you're not going to hurt anything.
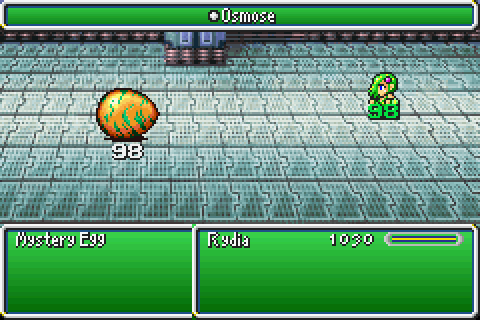
This is also where Mystery Eggs start turning up. They have 1 HP and hatch into a monster from the area whenever you hit one. They also have lots of MP and don't do anything but sit there until you hit them.
All the ones here are Black Lizards, so this is just wonderful.
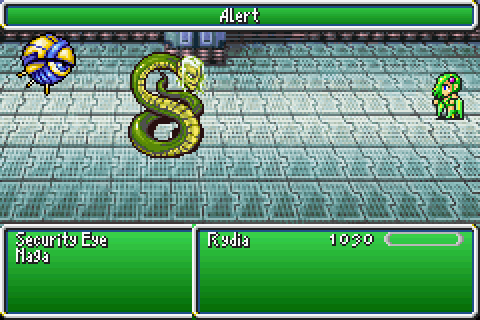
Another trapped chest nearby gives us the last Eye monster from this prticular section. Nagas are the least interesting, by virtue of just being slightly harder versions of an enemy that is absurdly weak.
Nagas are still absurdly weak and beyond "they exist and are easy EXP" are thoroughly not exciting.
I wasn't kidding when I said the trapped chests weren't worth it. All the gear we're gonna get from here that Rydia can use is just a downgrade at best.
Though, there's plenty of new enemies to try out our new fun tactics on.
White Mousses are, of course, weak to Ice.
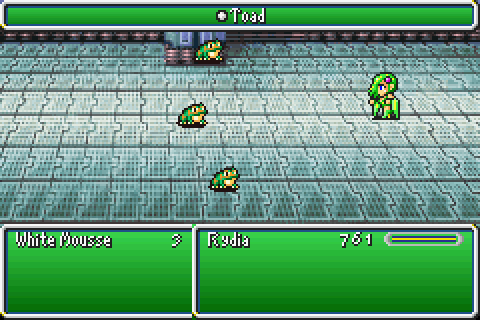
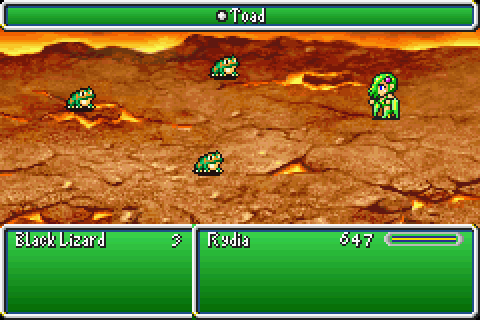
But they're also susceptible to Toad. I want to say the only flan that has immunities to something other than Confuse is the Pink Puff but I might just be misremembering.
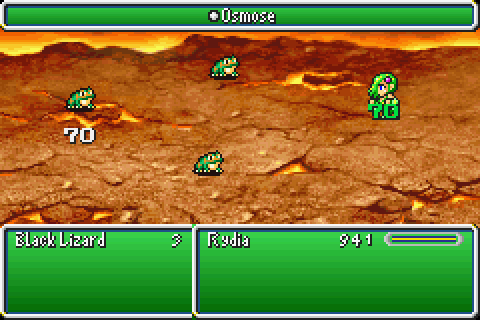
Also this completely nukes their physical defence, so we can use the Rod of Lilith to restock on HP and MP from these guys now too.
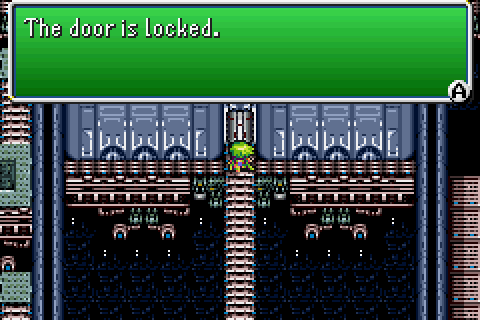
Near what we can presume to be the top of this section of the tower, we come across a locked door.
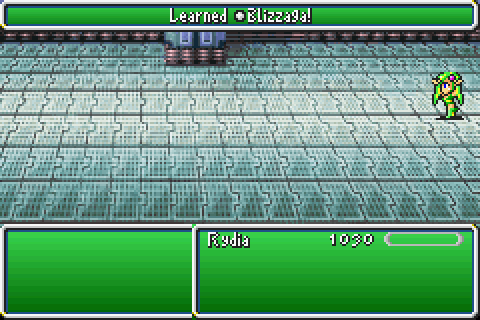
Much more important is that Rydia hits level 39. Level 39 conveys Blizzaga, our first third level elemental spell. All three of the -aga spells cost 30 MP, the same as a few of our new summons. The major difference is these hilariously outclass them.
As mentioned above, Blizzard has a spell power of 20. Blizzara has a spell power of 64. Shiva, meanwhile, has a spell power of 120 in return for costing 30 MP.
Blizzaga has a spell power of 256. This basically means we're going to murder everything in this dungeon before it can so much as blink.
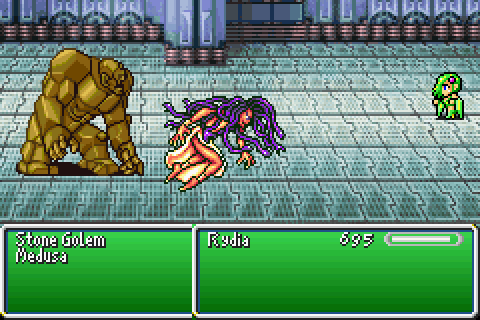
And here's our perfect guinea pig since it's weak to Ice. The Stone Golem can take a while, even if you decide to smack him around with Shiva or Blizzara. Blizzaga?
Blizzaga gives no fucks. None of the -agas do. If you have the audacity to have an elemental weakness, the damage cap gets hit. Instantly. Even if you don't have a weakness, you still take a ton of damage.
For reference, here's Shiva hitting the same Ice weakness:
So, yeah. For the same amount of MP as the summon, we can have more control over a spell and deal over 5 times as much damage.
Also, I feel obligated to point out that the -aga spells received a fair bit of a power nerf in the DS and iOS ports (well, most spells did). Rather than have 256 power, they just have 110.
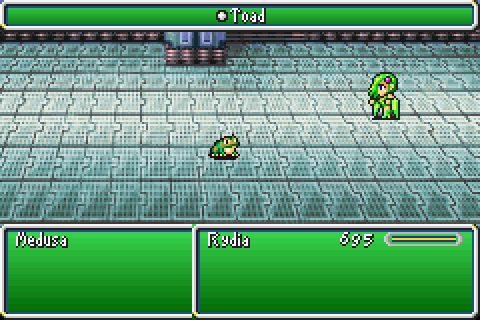
Since she's still technically alive, Medusa real quick: she casts Ray occasionally. That's it. She dies super quick, has decent MP, can be turned into a Toad to stop her casting Ray and has the same drops as the Black Lizard.
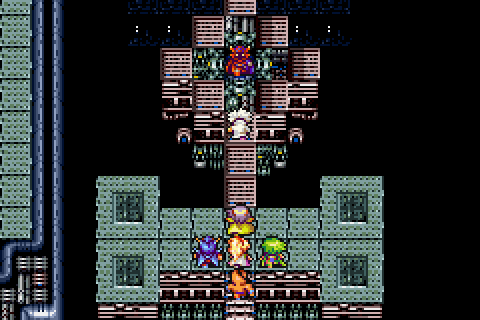
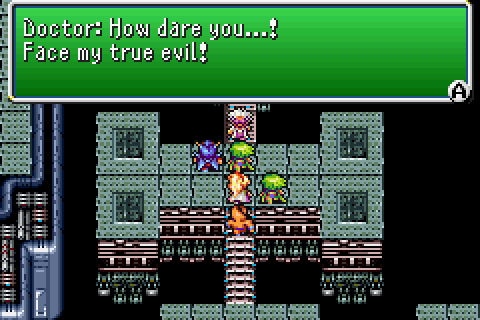
At the top of the tower, so far, we can see an area off the left we cannot reach now no matter how hard we try. We also see Rubicante leave and the good doctor?
He's kinda wacky, and we never see him after this on account of his being dead but he's probably my favourite dancer in the game.
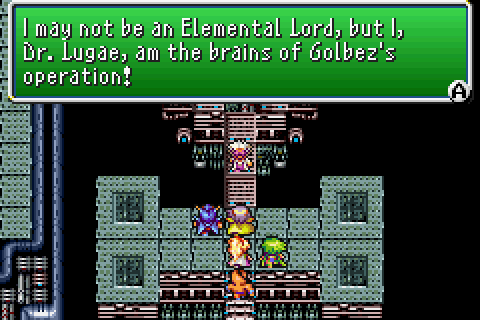
He's also our stand-in boss fight.
Err, our stand-in boss fights. Because there's at least two of 'em back-to-back!
[Music: Dancing Dolls ~ Calcobrena]
So, the Doctor has a robot that looks like a cross between Frankenstein's Monster and a boxer? Sure, why not.
The fight also starts off exactly as goofy as you would want it to.
But, of course, being a boss fight here it has to have a gimmick and sadly "being non-serious" doesn't particularly count.
How about multiple endings? Yeah, that sounds good. If we kill the Doctor first, then we have to be quick to beat Barnabas before he uses Self-Destruct. That's kinda boring, though.
So let's kill Barnabas first instead.
This gives us a second phase to this half of the fight. It also gives us a bestiary entry that is usually easy to miss. And, no, the Calcobrena theme does not stop just yet.
Barnabas-Z himself has its own little gimmick, though. The fight will always end on, or before, its second turn.
He'll always use Self-Destruct on the second turn. It's survivable as we are now, it's just a very bad idea to let it happen. So how do we circumvent this?
Easy enough. We just kill the Doctor and Barnabas at the exact same time. Doing it this way doesn't give us Barnabas-Z for our bestiary, though, so I'm sure someone will be mad at this. It also has the added benefit of giving us extra EXP, since ending the fight with Z only gives us his EXP but doing it this way gives us the EXP of both Barnabas and the Doctor.
But, of course, such a goofy battle isn't really the boss fight. Much like the first fight down here, we're getting two bosses in a row.
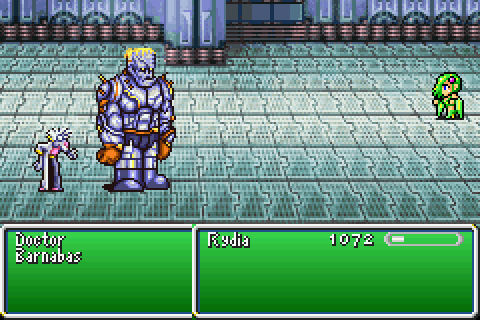
[Music: Battle 2 ~ Boss Battle]
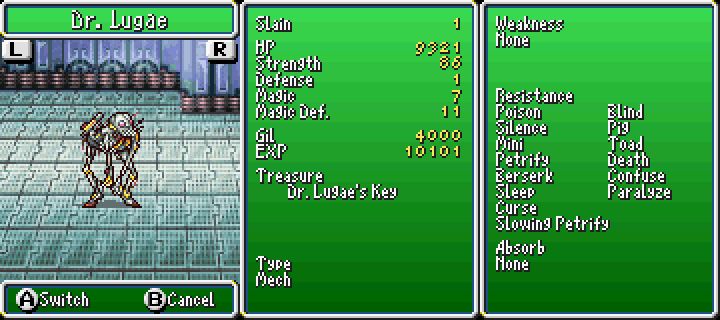
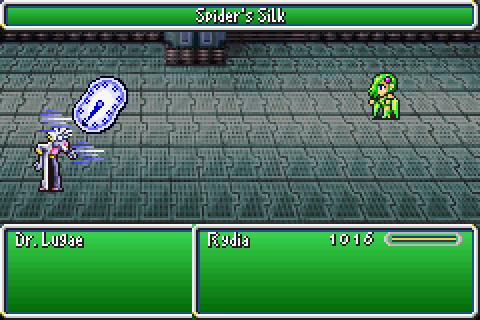
Dr. Lugae proper is one hell of a fun fight, though one that a lot of people seem to have trouble with. Doubly so in the DS/iOS ports where Lugae got a new toy to play with.
I kinda had trouble here, but not for that reason. My trouble was rooted in Lugae's pattern. It's simple, but comes with one large problem.
After he transforms, he'll always open with Poison Gas poisoning the whole party. This is the only time he does this move, though, so you can cure it if you want but I wouldn't bother.
Next, his pattern begins for real. The first move is Beam which seems weak, but deals damage proportional to roughly 10% of the target's max HP.
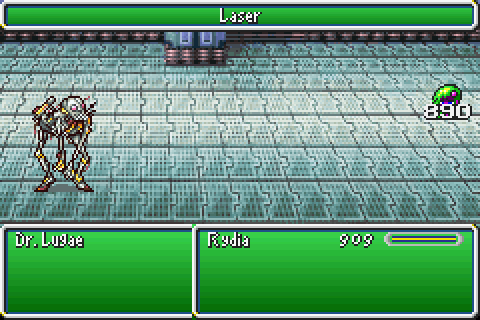
Next is the one major problem in the fight. Laser deals a fucking ton of damage, so we need to kill Lugae before he gets it off. This is unreasonably difficult for a reason we'll cover shortly, so instead we have to know how to mitigate its damage. That is: we need to hit Lugae very hard, since it deals more damage the more remaining HP he has. It starts around 1800 and can only drop from there.
Let's say for the sake of argument we somehow pull that off and don't die here. What comes next?
The respite that comes from Laser being his only dangerous move. Flamethrower is really, really not worth worrying about at all. It's basically just Fire with a different name.
After that, he cures all of our status ailments and the cycle begins again back at Beam.
So, even if we survive one Laser we have the issue of it coming up again three turns later. We also need to maximise our turns whilst minimising his to ensure we can do as much as we can in that interim.
You might've noticed though that Rydia was asleep during most of those attacks. There's a reason for that.
Everytime you hit him, he will counter with Sleeping Gas. He's not meant to counter summons, but he does so anyway for whatever reason.
So, now we have that extra block to contend with. All of his attacks count as spells, so they ignore Blink. Is there any way we can win this without grinding?
Of course there is. If we didn't have Blizzaga, however, I'd be much more inclined to say no.
We got that paced rather well too, so it makes me wonder if this was somewhat intentional at least on some level. The game is designed so that when playing normally, you'll always be either as strong as, or stronger than, needed to proceed without having to stop and grind for anything. Other than the obvious issue with Barbariccia, that has been the case with this run as well. Maybe I'm imagining it due to sheer luck, or knowing what I'm doing or something, but we've been remarkably well set for most anything we find. It's not really what you'd expect from a challenge run.
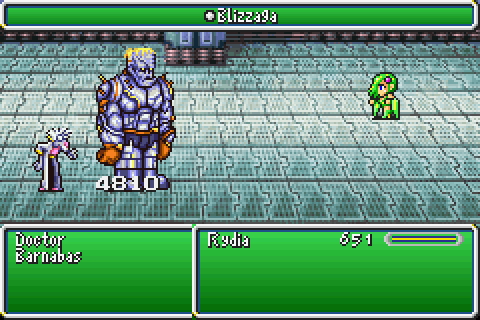
That aside, we have Lugae to contend with. We start off by Slowing him down. Stop would be preferable, but it's less likely to connect, so Slow will do. Next he'll transform and Poison us. That's fine, we actually want that.
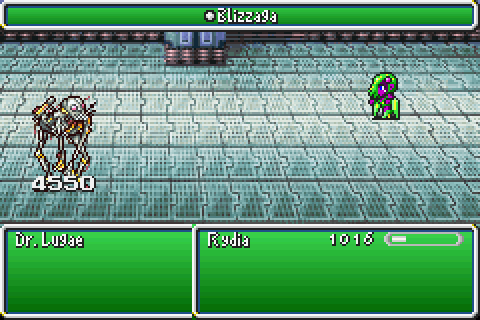
Next, we'll get two turns before he can throw a Beam at us. During that time, we need to deal ~5,000 damage to him. Blizzaga twice would do it, yeah, but that charges too slowly to be reliable. So, one Blizzaga and a summon will do just nicely. I picked Ifrit, but any of the ones we got at Golbez would work fine.
The issue here is the Sleeping Gas. Between those attacks, and even after the second, he'll get a chance to screw everything up and put Rydia to sleep... but it doesn't work. Whilst we can be Poisoned while asleep, the opposite doesn't seem to hold true. The Poison Gas seems to stop the Sleeping Gas from working, or at least messes with it enough to make it a complete crapshoot.
Or maybe I got absurdly lucky, or accidentally primed the RNG to make it so it never connects or the like. Either way, it worked consistently doing it this way.
After our second hit, he gets Beam off and that's when Slow appears to run out. It's fine though, because he's been weakened already just enough.
He'll get a Laser in before our next Blizzaga, but he's lost so much HP that it's damage is completely neutered. At this point, we've already won.
Quite literally, even, because straight after this Blizzaga goes through.
And Lugae is put on ice.
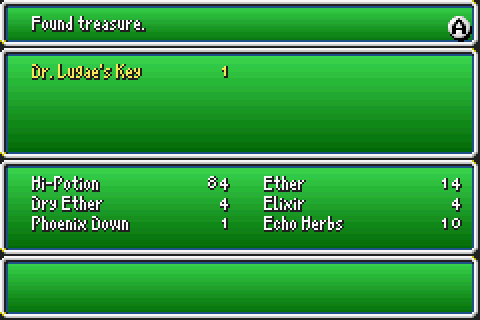
He also has a guaranteed drop of this key. It's yellow, which means its a plot item and we can't leave it behind, throw it away or sell it.
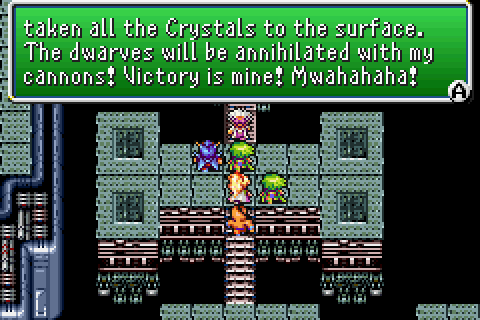
He also tells us we basically wasted our time, and that he has cannons somewhere. We've seen everywhere in this section except what's beyond a locked door, and we just got a key. We also didn't see any cannons on the way here, so...
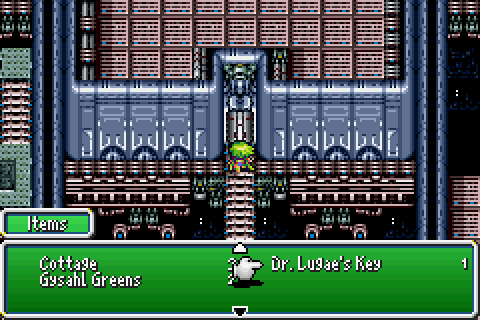
We run all the way back to the locked door and use the key on it.
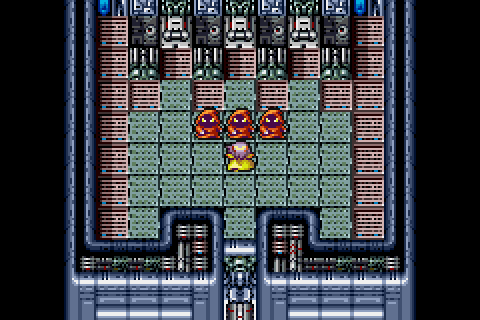
This leads to a forced battle.
It... ends about as well as you would expect it to.

The cannons are going to explode, so Yang sacrifices himself because reasons. He then promptly gets blown up on account of locking himself in a room that was going to explode.

We just try and walk out, and Golbez taunts us as per usual. The bridge then falls out underneath us. The bridge that's on the ground floor of the tower.

We fall from the ground floor of the tower, and land several dozen feet above the ground floor of the tower in Cid's airship.
Try not to think about this too hard. Presumably the "ground" floor is above a really large staircase otherwise this doesn't make sense at all.

Of course, now we're thoroughly on the plot-shit so Cid's getting chased by the Red Wings who've also been conveniently upgraded off-screen.
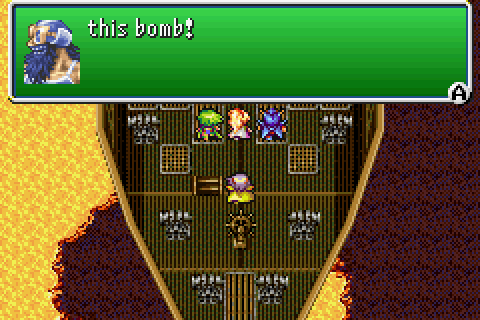
So, Cid does what any reasonable man would do and becomes a suicide bomber. Because obviously.
Also, this is meant to close off the giant hole we made by science and explosions and it's totally cool okay just go with it.
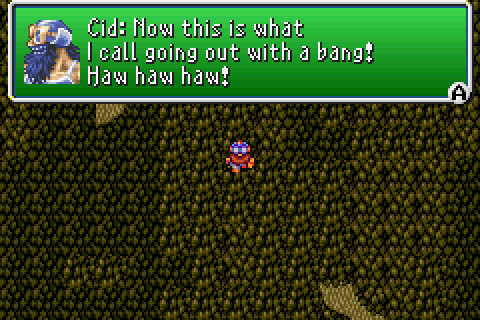
Cid's also kind of a goof, since he can't help but make a terrible pun.
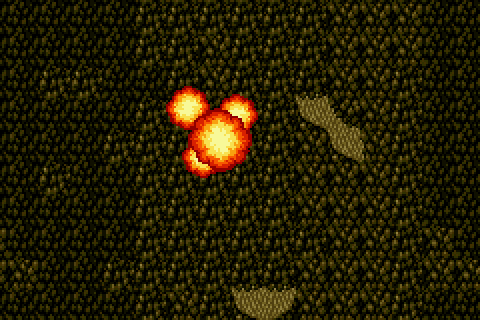
So, he dies in a way that is not at all what you would expect (asterisk). The end.
Everyone is sad, Kain pretends to be deeper than a puddle for a bit, and we decide to go to Baron to get the ability to go to Eblan.
But first, we're going to go to Eblan.
Next time: the Revenge Of The Return Of Hidden Passages. Because Ninjas.


[Video: Vs. Lugae] - No, that video length is not a mistake.
Asterisk: obviously no one ever dies doing these things, so Yang and Cid are just fine. Somehow. They blew themselves up into a billion pieces and lived. Tellah's really dead though. There had to be one that really happened, just to make you think the others potentially did too.