Part 14: The Autarch of Flame
12. The Autarch of Flame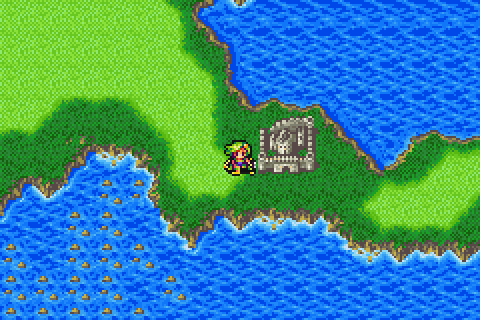
So, before we can go into Eblan Cave we need to go to Baron but first we'll finish cleaning out Eblan Castle.
This is doubly important, since if we can't manage this we're not getting through the next dungeons.
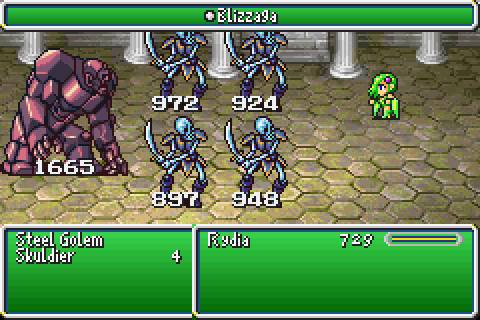
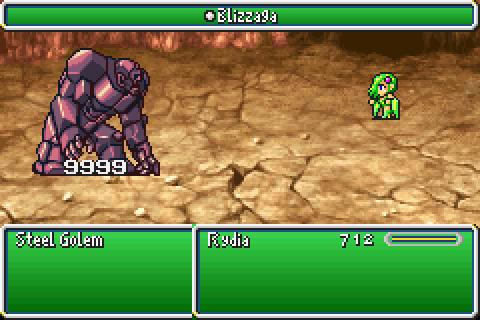
The Skuldiers aren't even weak to Ice and they got one-shotted by this. The Golem is weak to Ice, but barely survived the first one. He doesn't survive the second, naturally.
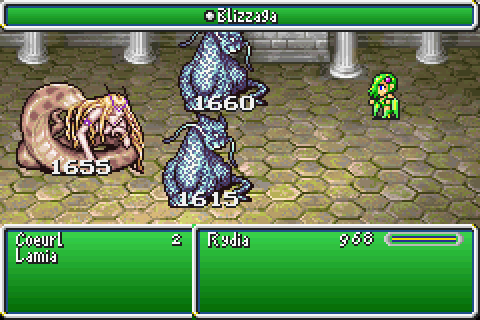
None of these three survived at all, though. They're not even weak to Ice to begin with!
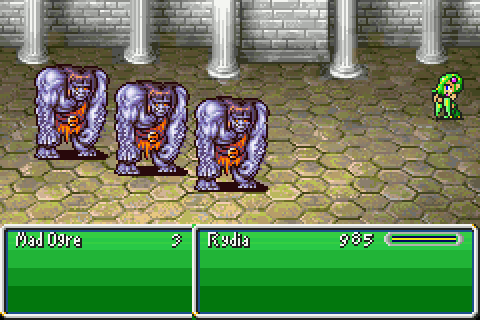
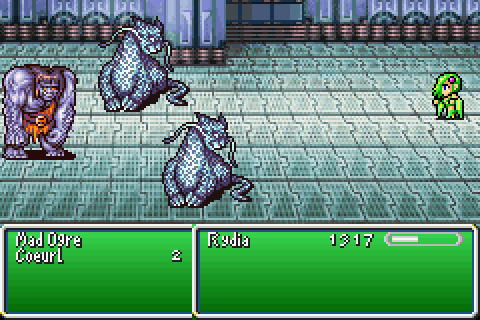
Now, we have a bit of a problem with the Mad Ogres. See, in what is most likely an effort to prevent you nuking them with Tellah, they have a lot of magic defence.
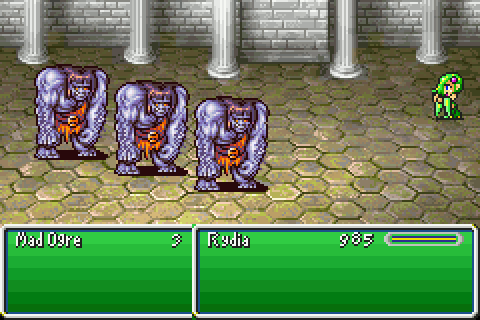
254 of it, even. This is somewhat problematic when you realise our main damage output comes from magic, and that with that much defence even the -aga spells are going to do middling triple digit damage. And these guys have 2000 HP a piece.
Fortunately, we have a solution to this dilemma. The Mist Dragon effectively ignores enemy magic defence, because it deals damage based on the same gimmick as Lugae's Laser. So, it hurts more the more HP Rydia has remaining.
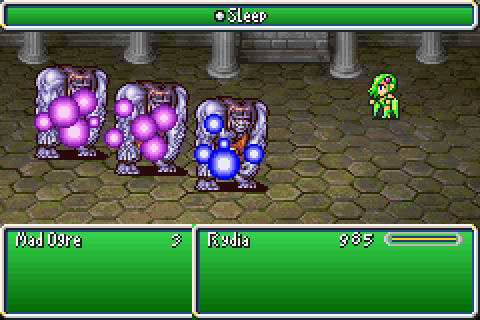
To help alleviate this, we're going to make it so the Mad Ogres cannot do shit in the interim. Their only status resistances are for Toad and Pig, so anything that prevents them getting turns is going to work just fine.

They're also guarding the only treasure down here that isn't completely worthless. Now that we know we can handle the enemies in Eblan, let's head on off to Baron.
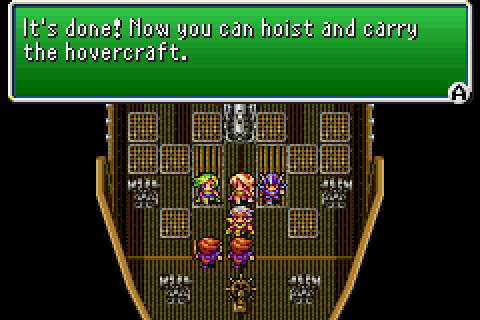
As per usual, we're going to get a nice idea for an airship upgrade and we're going to use it exactly once.
Maybe if I feel like farming a Pink Tail, we'll use it twice. Probably not though, even my crazy farming stuff has its limits.
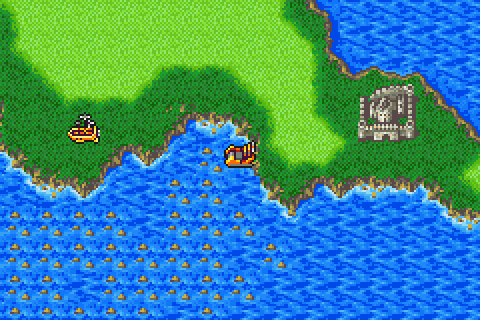
The sole reason we need the hovercraft again is so we can head on off to a cave near Eblan.
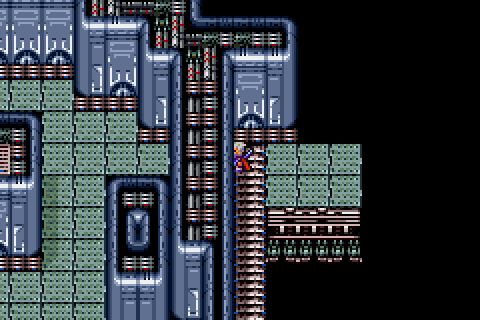
The ever-so-imaginatively titled Eblan Cave is where hidden passages make their long awaited return. And they return with quite a fury.
[Music: Battle 1 ~ Battle Theme]
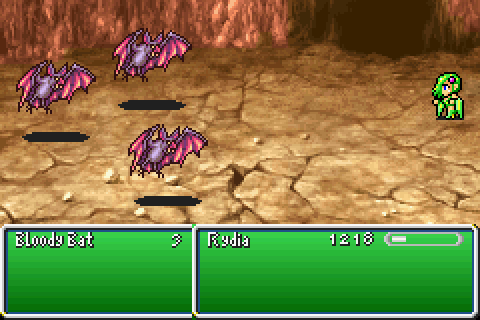
They also brought these assholes with them.
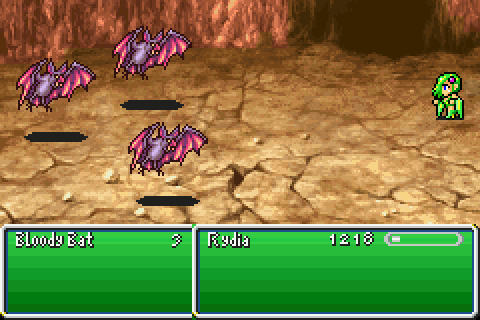
Bloody Bats are not difficult. They just always, always, always open the fight with this. They also always come in 3s or 4s and will all do this before you can attack.
They are very tedious and annoying. As a result, they get dealt with the same way every other nuisance does.
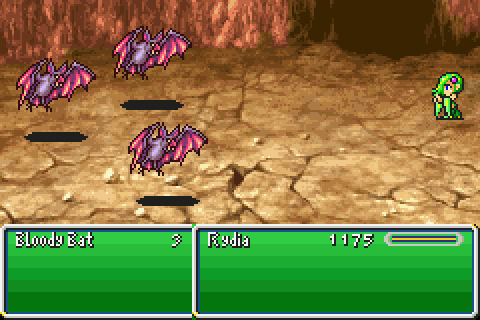
Being burned alive by a magical exterminator, of course. They're weak to Fire (and Throw) so they really should have seen this one coming.
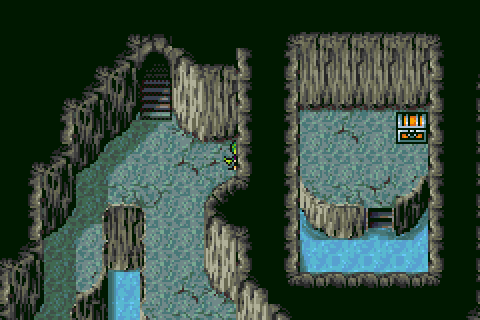
There's hidden passages all over the place in here, even right next to the entrance.
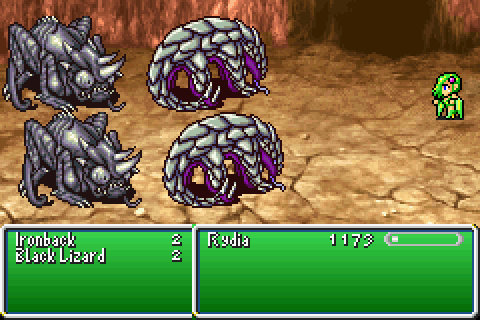
The chest just has a Shuriken in it, which Rydia can't use on account of it only being throwable by Edge. So, instead let's look at the hilariously weak new enemy that is the Ironback.
It has 100 HP and no weaknesses. It will never get a turn.
Steel Golems also start turning up on their own volition now. It ends as well as you'd expect for them.
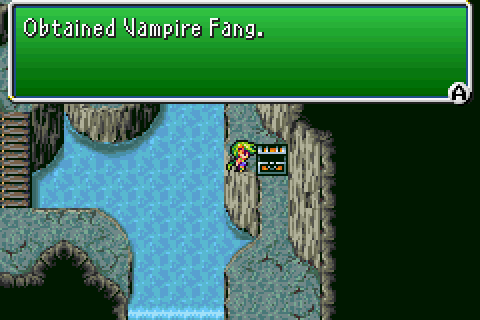
In the far corner of the first room, we can get this. It casts Drain when used in battle.
We're not gonna use it any time soon, though.
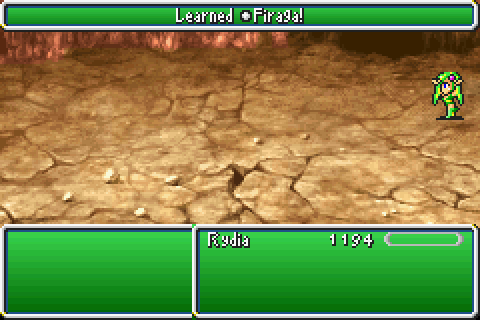
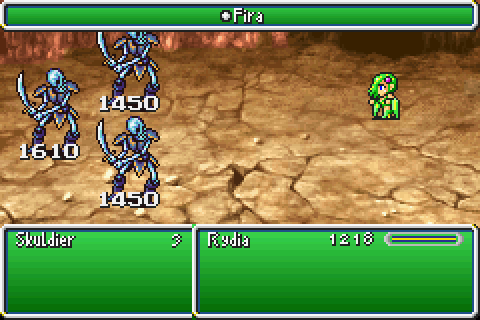
At level 42, Rydia gets Firaga. For those that haven't noticed yet, this is the only Fire spell that isn't gated by the plot. As a result, it's very possible for this to be the first Fire spell she gets.

In the second part of the cave, we find a small settlement of what remains of Eblan.
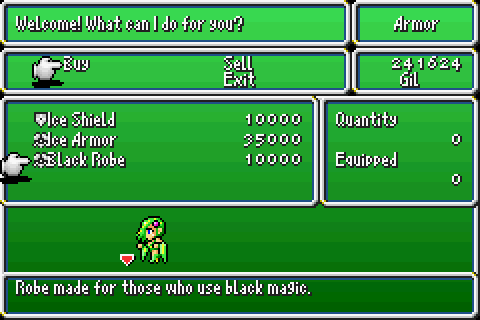
They have stores, so we buy just the Black Robe. The item store is remarkably sparse, there's no new weapons (except maybe Poison Arrows) and this the only armour Rydia can even use.
It has a magic defence boost over the Black Belt but also gives an extra +5 Intellect. We'll be using this in at least one fight later.
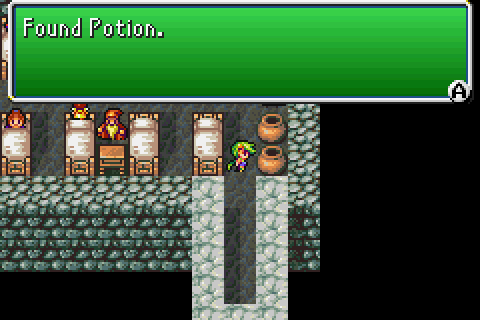
We can also go into their makeshift infirmary and steal their 3 Potions.
They're all regular Potions too.
Now that we've stolen from the sick and wounded, we can continue on with the dungeon proper. There's lots more real treasure to be had up here.
There's also a few more soldiers who've had their butts kicked by Rubicant. Also, Edge is somewhere in here.
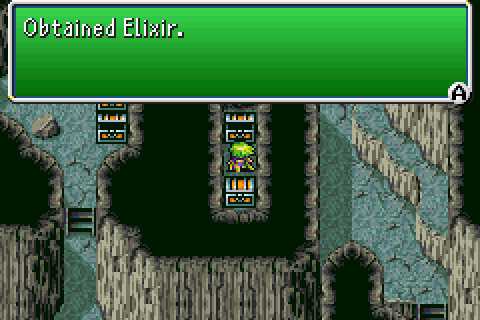
A lot of the treasure is sadly uninteresting, or outright worthless, but there's two Elixirs we can find in the room with 2 Hi-Potions and a Cottage. They're harder to get at than might first appear, because the hidden passage is actually on the leftside.
They're still not even remotely difficult to get, but it's not quite as straight-forward as it seems.
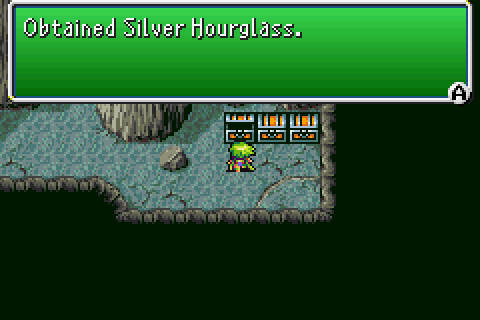
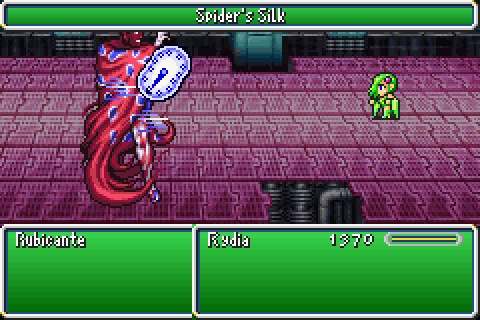
In the same room, we can get another Silver Hourglass and more Spider's Silk.
They also re-use the trick of hiding a hidden passageway inside the room with the save point in it.

This time, though, the chest is trapped and has a couple of enemies in it.
About 10 seconds later, it no longer has enemies in it.
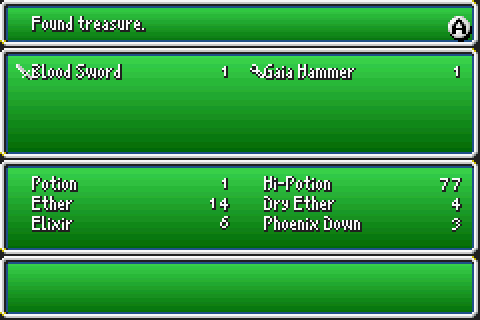
The Blood Sword is what was also in the chest. The Gaia Hammer is the most common drop from these guys.
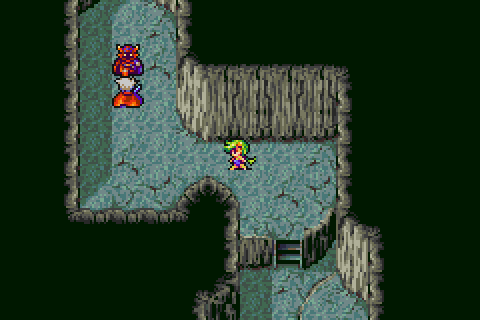
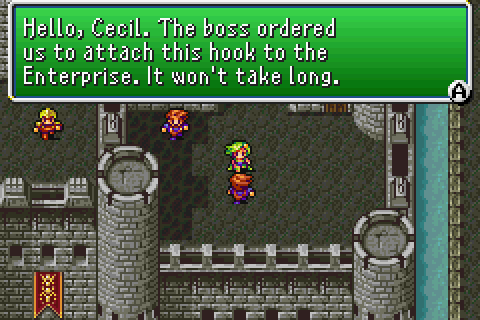
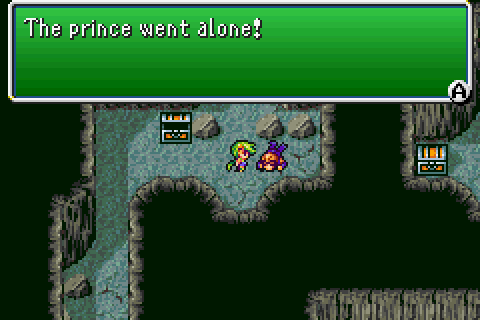
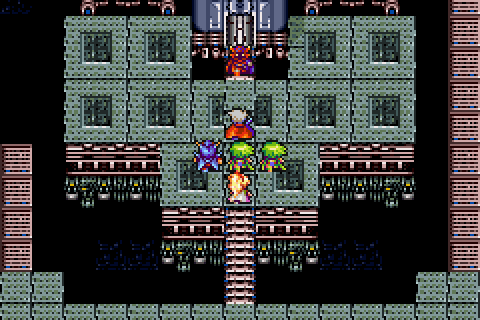
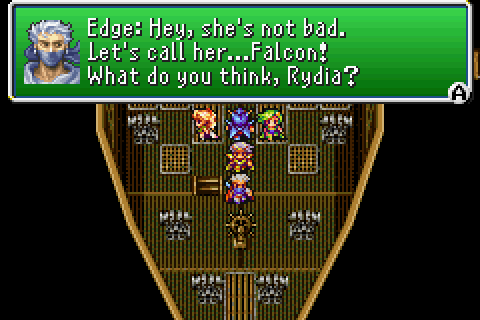
Just past the save point, we find Edge and Rubicant.
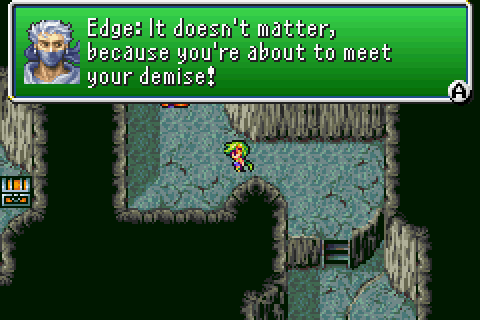
Edward Geraldine is, of course, the last party member and is a ninja who is also the requisite thief.
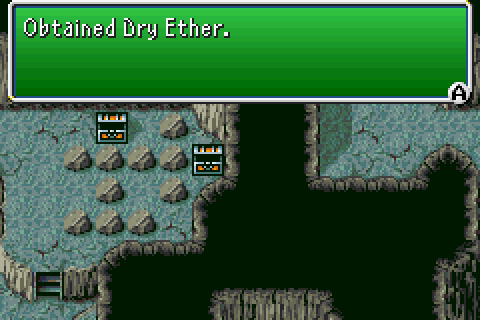
The chest in the corner has a Dry Ether in it, and can only be gotten after this scene ends.
[Music: Battle 2 ~ Boss Battle]
Edge is also not particularly bright, what with trying to use a fire-elemental spell on the Elemental Lord of Fire.
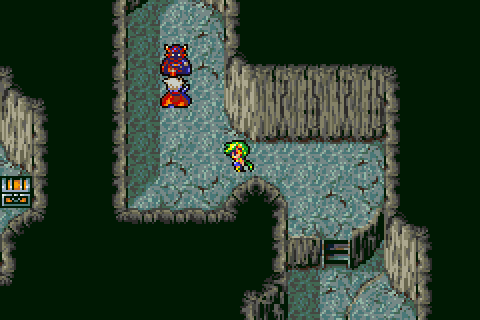
Rubicant also fulfils the requisite "enemy who's all noble and honourable" that basically every RPG must have by law.
That rule is probably this game's fault, but I dunno for sure. I can't think of any instances off-hand of it happening before IV was released anyway.
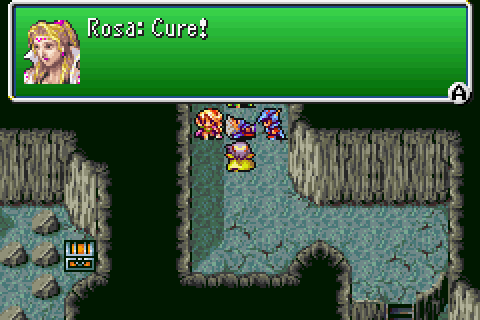
The party proceeds to not be completely dumb, and heals the guy who got beat up in a cutscene battle to stop him from dying.
He then joins the party because he wants revenge on Rubicant, and only Rubicant, which is fair enough.
Obviously, the hidden passage is in the bottom-left corner of the area where Edge just got his butt kicked.
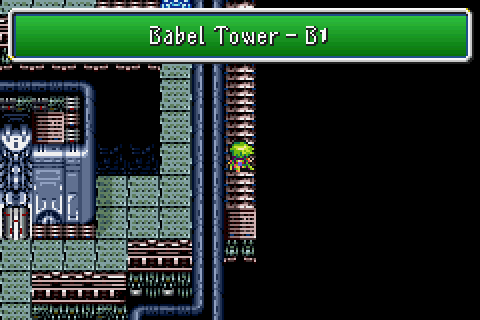
On the next screen, we enter the second half of the Tower of Babel.
We then need Edge to get further in. We do this by way of... a hidden passage.
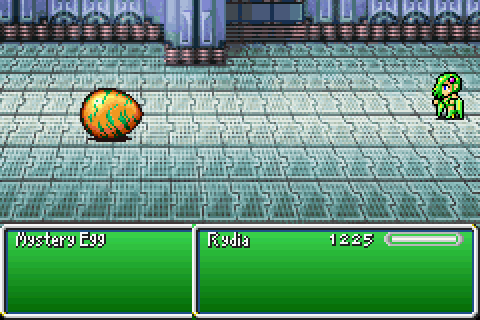
Now that we're back in Babel, we get new Mystery Eggs. These ones contain slightly different enemies to the Black Lizards from before.
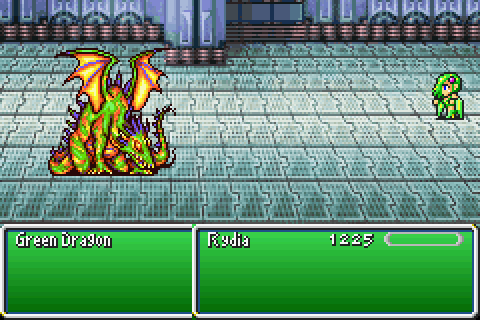
Namely big ol' ugly dragons. They aren't difficult dragons, but they are dragons all the same.
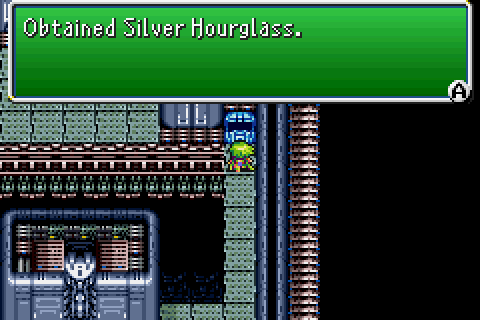
Just past the exit to this bit of Babel, we can get yet another Silver Hourglass. There's also a Unicorn Horn by the start.
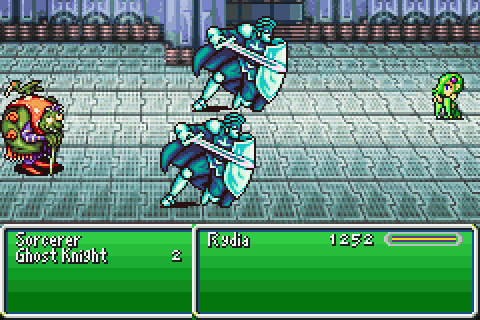
Babel part 2 is also when we start running into Coeurls and Mad Ogres outside of trapped chests.

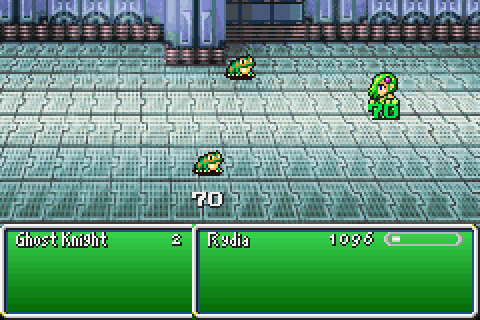
It also gives us a Puppeteer palette swap that has a small amount of MP, and Ghost Knights who can be bastards if you let them get Reflect up. They counter spells with it, and also attack with Bio about half the time.
This of course means that they have a decent amount of MP to nab, and as a bonus can also be Toaded to drain their HP too.
Of course this isn't particularly time-efficient any more but the option is there all the same.
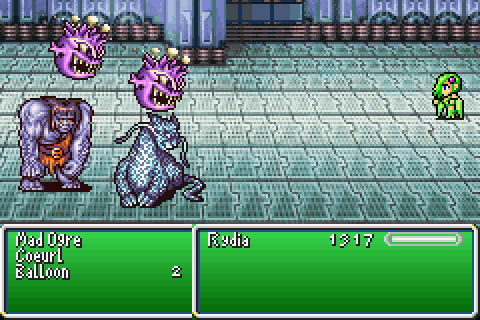
Speaking of bastards, this chest is marginally more cruel than anything else we've done so far.
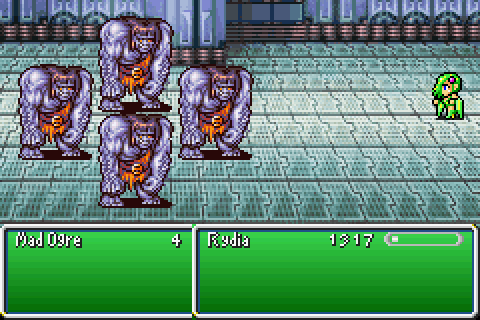
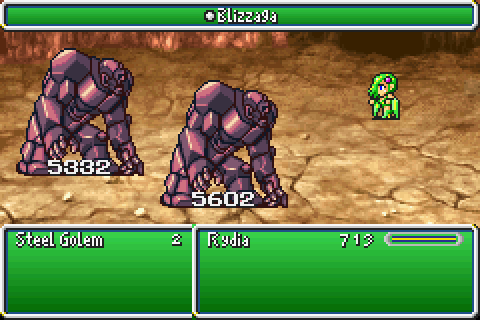
Because it has 4 Mad Ogres instead of 3. Multi-target Sleep and then drop 2 Dragons and they all die.
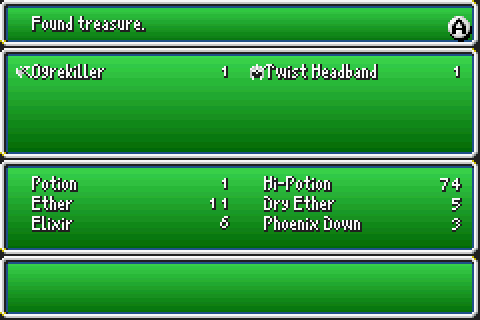
The Ogrekiller is decidedly not worth it in this instance. If we had someone who could use it, it would be very worth it.
The Twist Headband is a drop from a Mad Ogre, and we've had one for quite a long while. Defensively it's now a significant downgrade but it also grants immunity to Confusion.
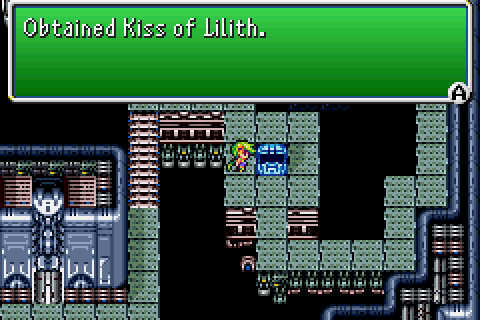
A little further ahead, we get our first Kiss of Lilith that isn't a random drop. It's nice for the free Osmose, but Osmose is already free and we have infinite of it from the Lilith Rod anyway.
The dungeon's remarkably straightforward from here, and we also run into its rarest enemy: the Balloons are the newest permutation of Bombs. They're just more of the same but with more HP, because that's how Bombs work here. They also have a very good drop that is, of course, their slot 4 item so we'll get that later.
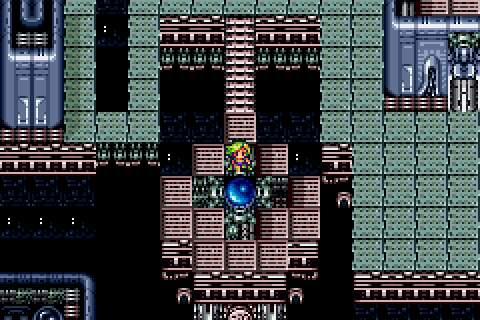
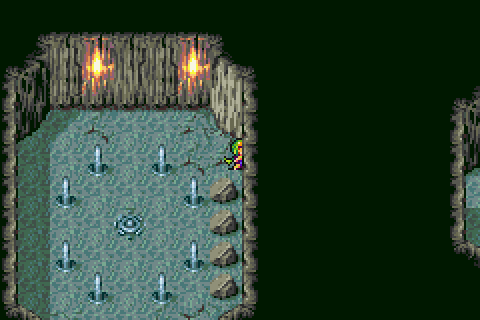
Just by the save point room, we can find this suspicious orb. It does nothing, but since it looks an awful lot like the one Rubicant used to teleport from Lugae's room I would suspect that this is where he ended up.
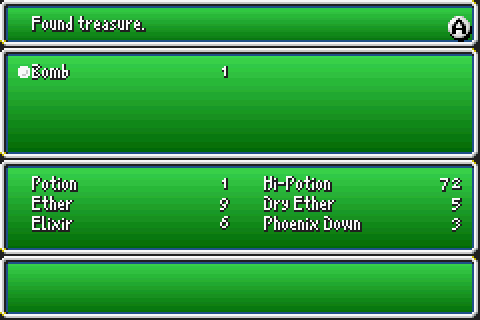
And shortly thereafter, after a good... 4 hours or so of farming (with many, many resets so I didn't get overlevelled in the process), I finally get the Bomb drop. Balloons are the first enemy that can drop this, and it teaches Rydia the Bomb summon which is the fourth and last summon obtained in this manner. Now all the remaining ones want us to complete sidequests which usually, but not always, means "kick the summon's ass."
You might think that Bomb isn't going to be that great, but its only real drawbacks are that it's single target only and scales pretty badly very quickly. It costs 10 MP to deal Rydia's current HP in damage which is basically what you would expect. Despite the name, it doesn't kill Rydia though, so it can in fact be used reasonably.
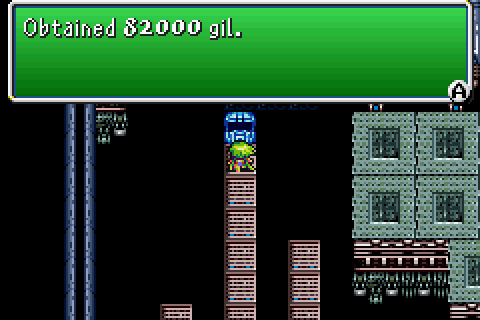
We're at the end of this leg of the dungeon now, and our reward is 82k just sitting off to the side.
Also two boss fights back-to-back, yet again, but the first one doesn't really count.
I'm beginning to notice something of a trend in the Underworld bosses.
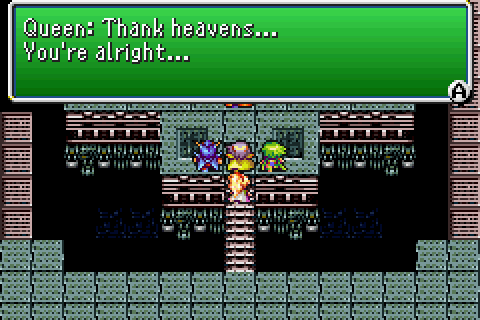
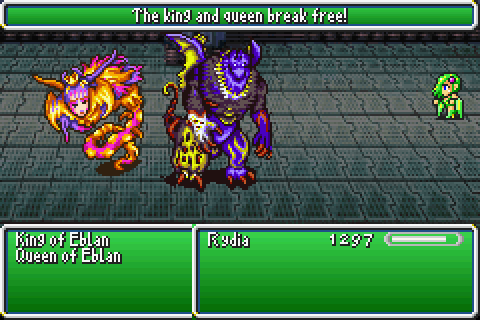
Round 1 is the King and Queen of Eblan.
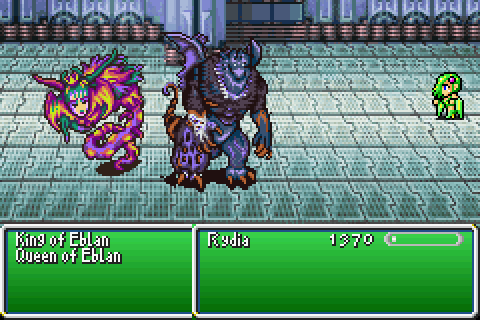
This fight's gimmick is that it's the Dark Knight fight again only much less dangerous. You win by doing nothing. You can deplete their HP but they both have 60,000 so it'll take quite a while.
So, instead you just sit back and let them win by waiting the clock out. They do attack like twice each casting Fire and Fira only. It doesn't even remotely hurt.
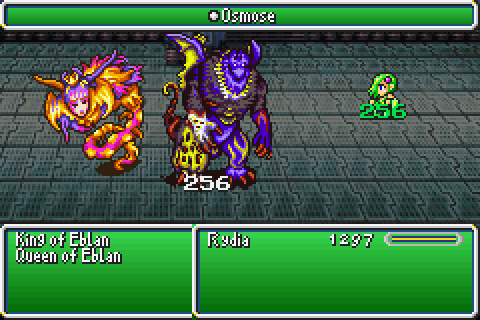
They also have a fair bit of MP each, which is what makes killing them plausible but time consuming.
Though, draining their HP and MP is unnecessary since after they just kill themselves Rubicante warps in and blames Lugae for what just happened.
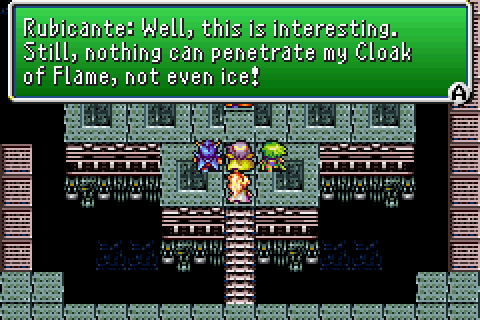
Edge gets new spells, and Rubicante is nice enough to tell us his weakness in case the man of fire being weak to ice wasn't already obvious enough.
He also fully heals the entire party when we start the fight because of course he does.
[Music: Dreadful Fight]

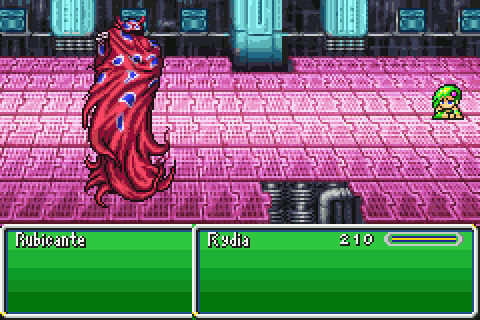
So, Rubicante is really, really easy. Marginally harder than Cagnazzo in that he can kill us but that's about it. Unfortunately for him, he can only do it sometimes.
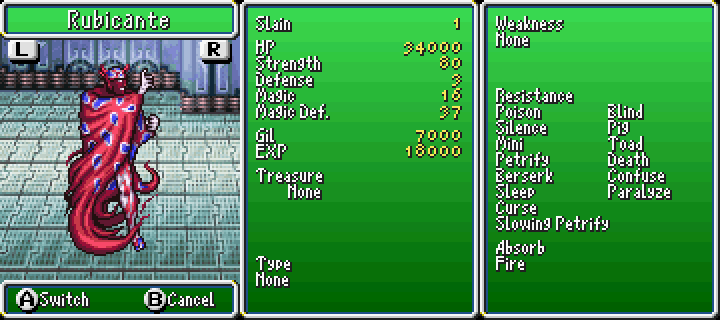
See, Rubicante has a lot of health and that's basically it. Also his resistances are only accurate half the time too, because they only apply for when his sprite is like it is in the bestiary (except his weakness). The other half of the time, his elemental resistances are very different.
The Bestiary likes to you when it comes to bosses that aren't super-straightforward apparently.
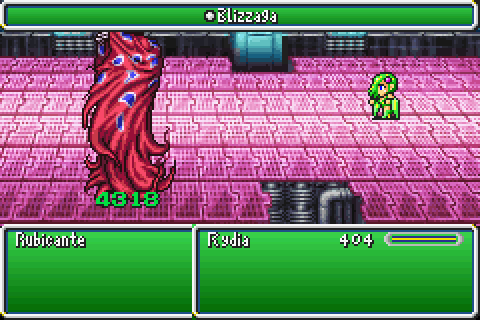
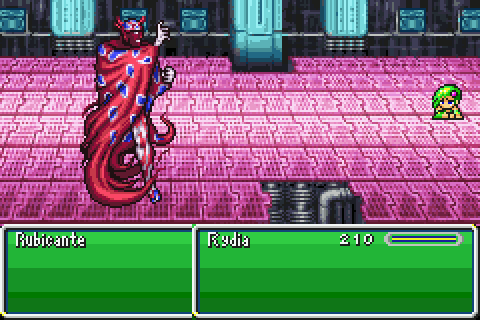
As he demonstrated in his fight with Edge, Rubicant likes to show a bit of leg. When he does so, he can actually deal decent damage. He also gains a crippling weakness to Ice.
He really should have thought this through better, but at least this makes the fight go nice and quick.
Of course, when his mantle is open he can also use Glare like he demonstrated earlier.
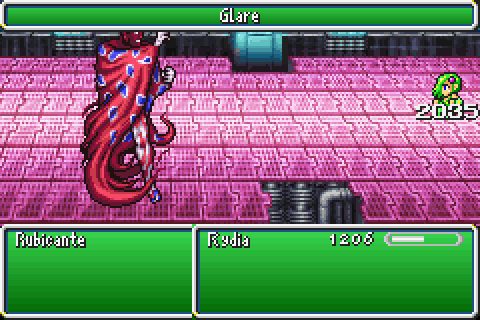
This can deal around 900 damage but it can also effortlessly oneshot Rydia. We have no need to grind to get around this though.
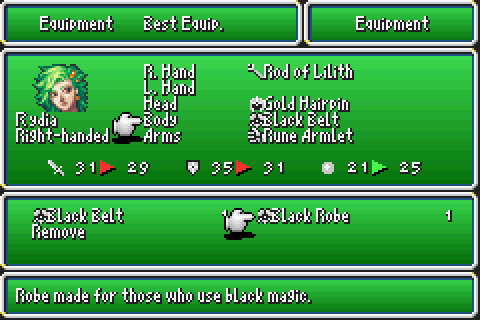
We'll just equip the Black Robe, and the +4 magic defence is more than enough to help alleviate this problem entirely.
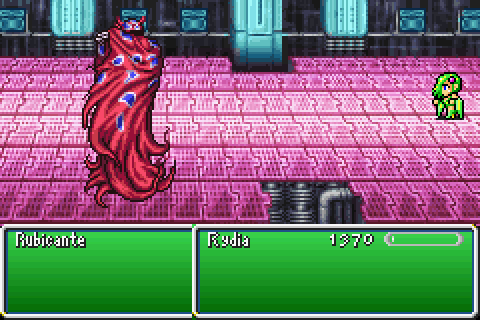
So, of course, we'll slow Rubicante first because healing after a Glare is kinda important.
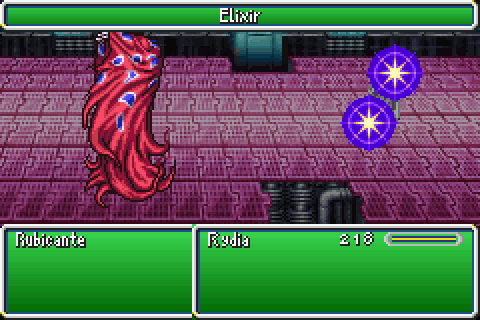
Speaking of which, I use an Elixir to do so. It's just the most convenient way, and we'll be swimming in the things later.
Though you might notice that his cloak is now closed. When that happens...
His elemental resistances switch around wildly. He now absorbs every element... except one, and it's always the same one.
The Autarch of Flame is susceptible exclusively to Fire half the time. This is not a particularly wise move on his part.
That his trump card is also tied to exposing his weakness is probably a bad decision as well, since it makes him kind of a joke.
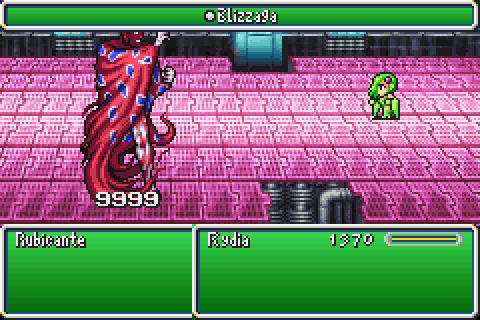
And because he has 34,000 HP I would imagine that you are indeed expected to have Blizzaga by now. He is most likely meant to be this easy.
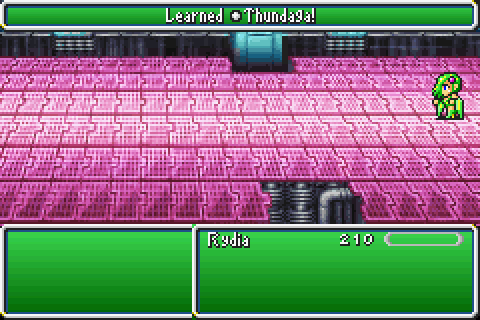
He's also kind enough to push Rydia up to level 45 and let her get Thundaga.
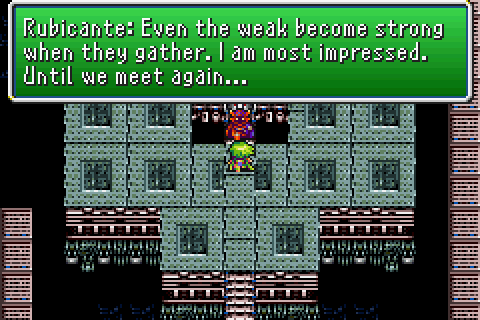
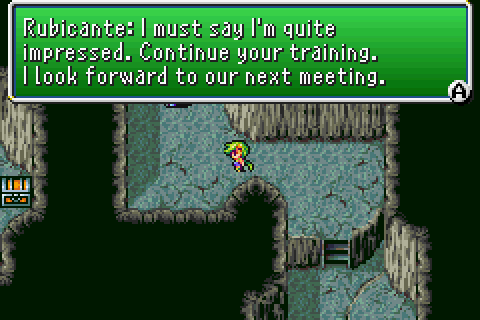
Um, Rubicante... you got beat by a single person. Did I hit you too hard?

Well, that done we can now continue on into the room with all of the crystals though it is trapped. Golbez is also kind of competent right now.

Rather conveniently, we land just next to where we fought Lugae before. The architecture of this tower is kinda weird, but I wouldn't worry too much about it.
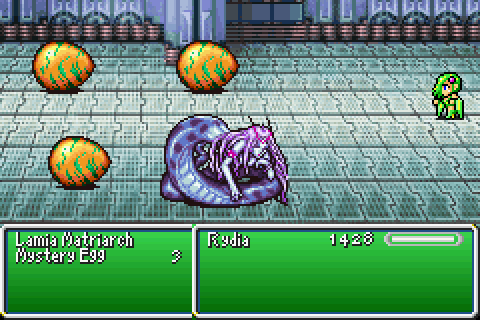
We also get a new enemy now in the form of the Lamia Matriarch. The eggs that come with her are all regular Lamias, and they're all still very weak to Fire.
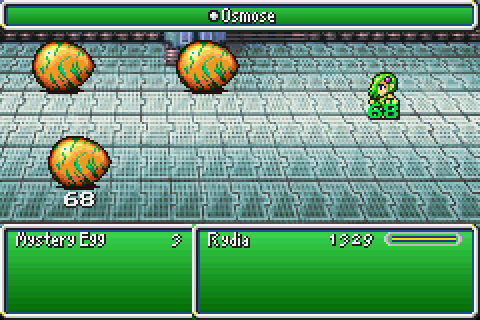
We can Osmose a nice chunk of MP from the Lamia-eggs though.
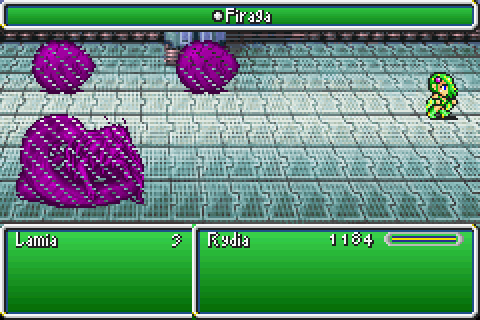
And you can also just outright kill the eggs if you hit them hard enough.
This last little bit of Babel is very linear with only two Hi-Potions that are along the way. It also leads us to stealing an airship. Edge has the right idea to do this, frankly.
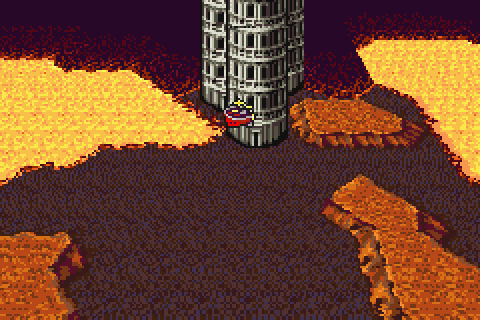
So now we have our second airship, and can go do things in the Underworld. At least once we make the Falcon able to fly over the lavagma.
Next time: we'll face Asura's Wrath.

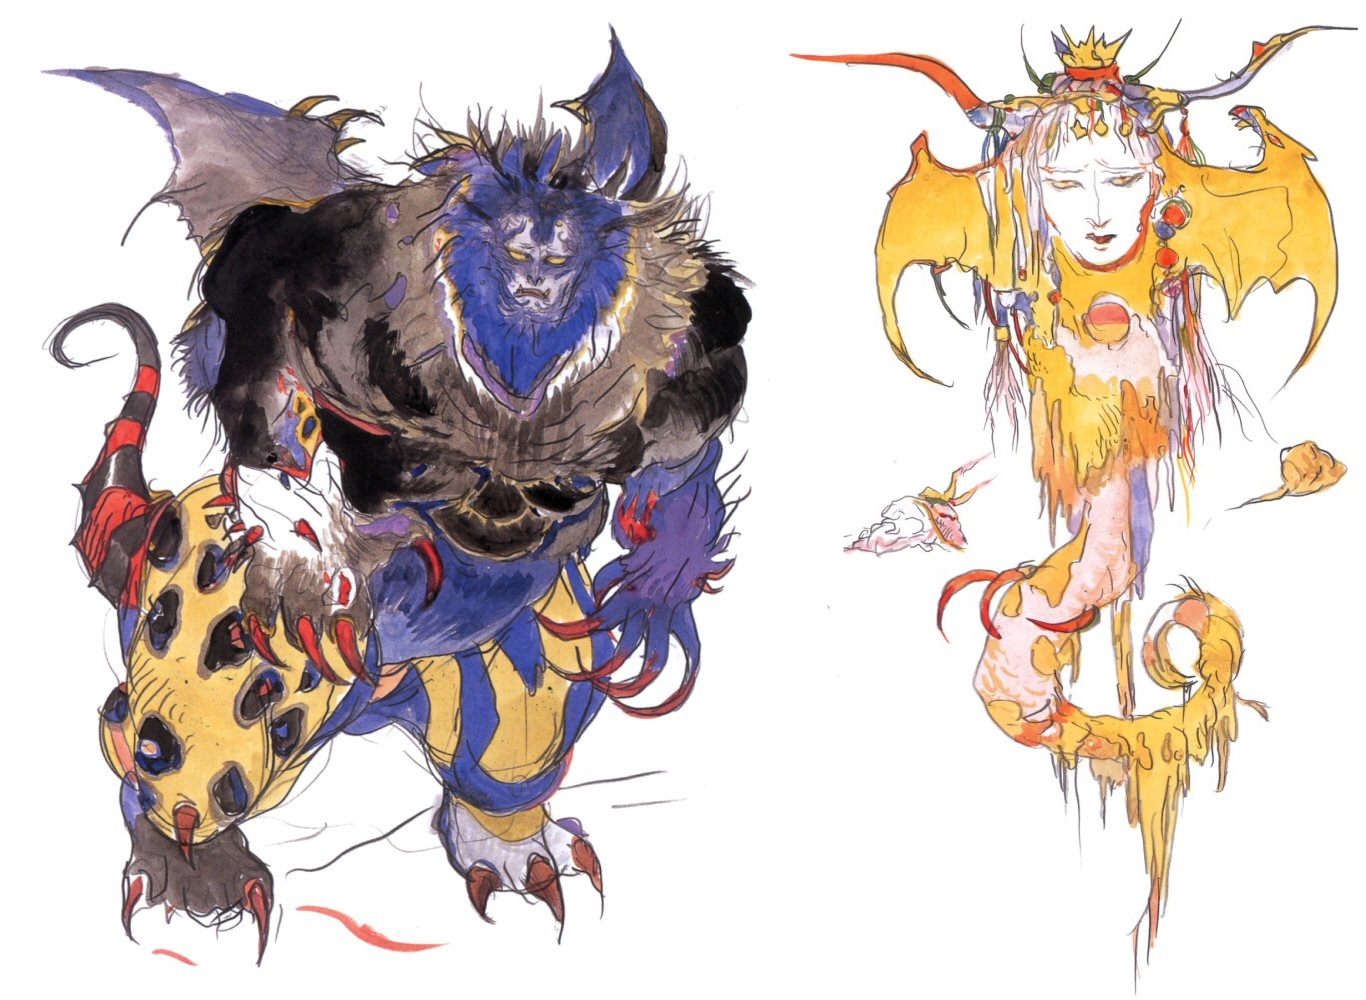
King and Queen of Eblan ~ Amano Artwork